 2 × Skt-Zo Leg
Quest Brakmar
Cypher-Obsessed
Level 196 alignment quest in Brakmar, with Oto Mustam in the militia at [-25,33]: have the coded document from Twist Ham Cathedral decrypted. All the steps, dialogue choices, items, locations and the fight.
What to prepare
Gather the 4 Pandawushu Artefacts and 2,000 kamas. Also bring 4 friends: you need to be 5 to cross the Bwork Village mine.
 2,000 kamasthe Bottle of Bojaway from Rubishwa the Merchant
 1 × Wind Pandawushu Artefactfor Maha Shoja
 1 × Water Pandawushu Artefactfor Maha Shoja
 1 × Fire Pandawushu Artefactfor Maha Shoja
 1 × Rock Pandawushu Artefactfor Maha Shoja
The 18 quest steps
-
1Talk to Oto Mustam
Dialogue · Oto Mustam
The quest starts in the Brakmar militia, with Oto Mustam. Bowisse must decrypt the coded document discovered in Twist Ham Cathedral.
Brakmar Militia · [-25,33] -
2Have Bowisse decrypt the document
Dialogue · Bowisse
Go see Bowisse and tell him about your new discoveries.
Dialogue
- “Tell him about the discoveries made since the last visit and ask for the coded document to be decrypted”
 1 × Coded Documentto give
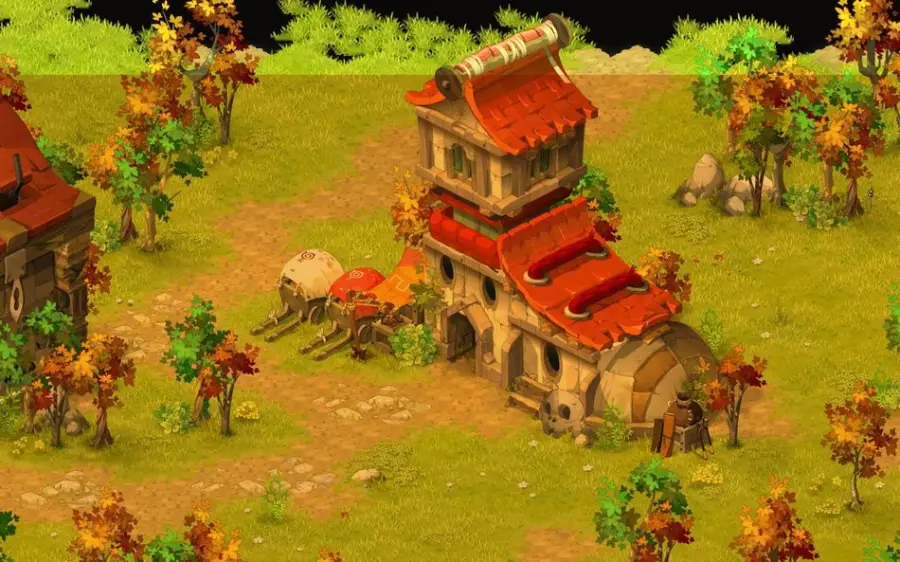
Bowisse · [5,1] -
3See Star Knaykidd
· Star Knaykidd
Go to Pandala Island to talk to Star Knaykidd. Then get ready the 4 Pandawushu Artefacts: Wind, Water, Fire and Roc.
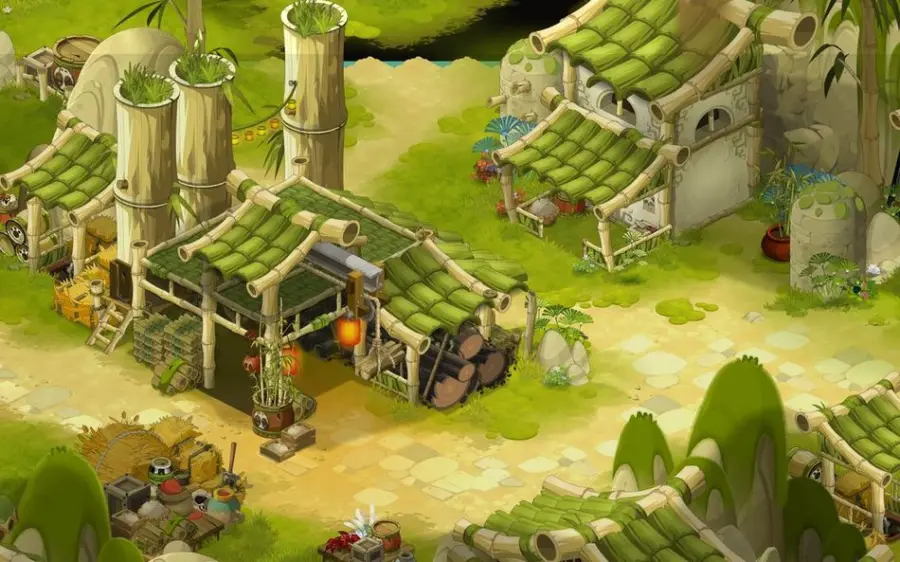
Star Knaykidd · [21,-28] -
4Give the artefacts to Maha Shoja
Items · Maha Shoja
At the Huppermage temple, give your Pandawushu artefacts to Maha Shoja.
Dialogue
- “Explain that the Pandawa goddess guided you here with these artefacts”
- 1 × Wind Pandawushu Artefactto hand over
- 1 × Water Pandawushu Artefactto hand over
- 1 × Fire Pandawushu Artefactto hand over
- 1 × Rock Pandawushu Artefactto hand over
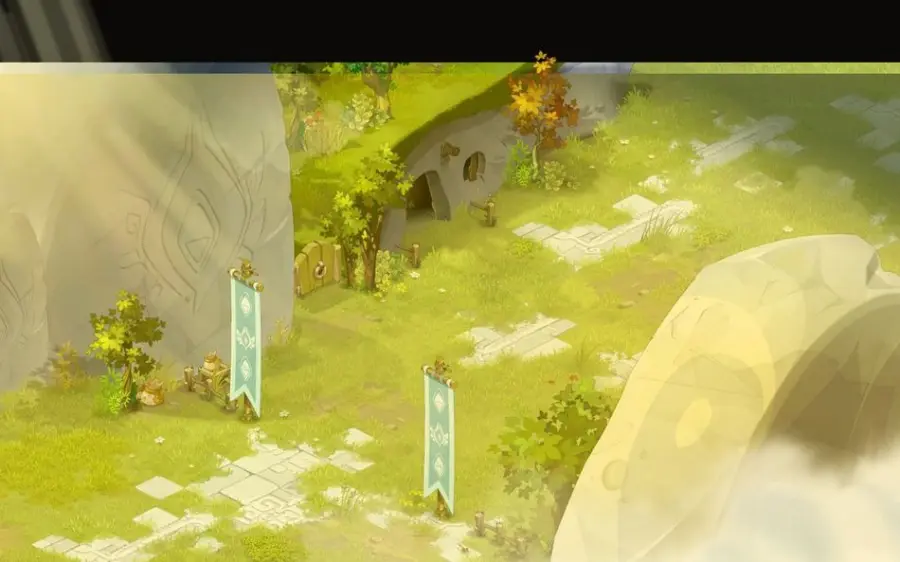
Huppermage Temple · [38,-20] -
5Plunge the sphere into the enchanted waters
At the Enchanted Lakes, plunge Bella Mentary's sphere into the water by clicking on the water plants.
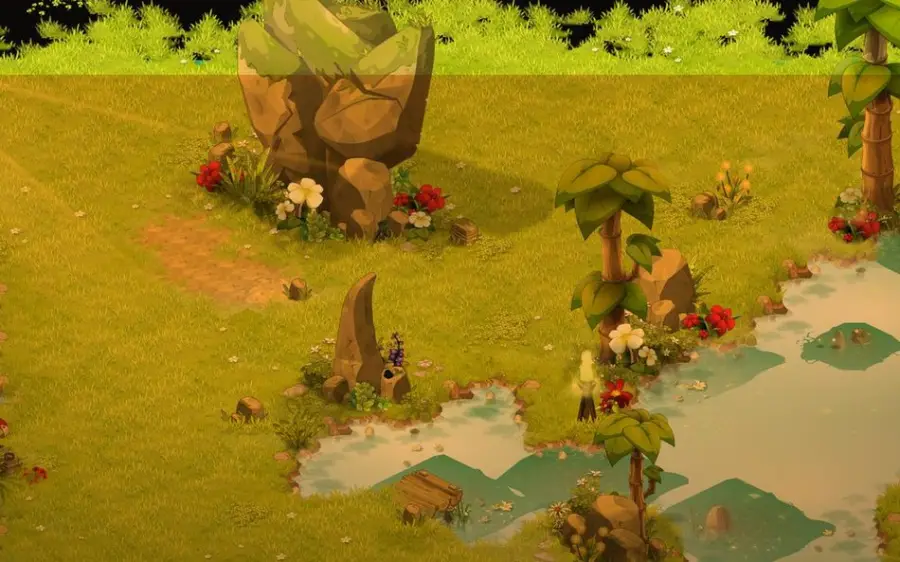
Enchanted Lakes · [-18,-5] -
6Throw the sphere into the quadramental breeze
Enter the cave at and go to . Stand on the cell with a green mark to throw the sphere into the breeze.
-
7Collect the sphere carried by the breeze
Items
Head left and take the zipline, then click again on the cell with a green mark to pick up the sphere.
-
8Plunge the sphere into the funeral flames
Head to the Ohwymi pyramid. It is the dungeon area: you must defeat Thrashtaba to get in, or get teleported. Click on a flame.
 Bella Mentary's Sphere Ashesreceived
-
9Buy a Bottle of Bojaway
Items · Rubishwa the Merchant
On Pandala Island, buy a bottle of Bojaway from Rubishwa the Merchant for 2,000 kamas.
- 2,000 kamasto pay
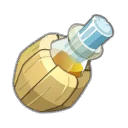 Bottle of Bojawayreceived
-
10Scatter the ashes on the land of the ancients
· Inda Knaykidd
On Nolifis Island, click the rock to scatter the ashes. Drink the Bojaway from your quest inventory, then talk to Inda Knaykidd, who has just appeared.
- 1 × Bella Mentary's Sphere Ashesto give
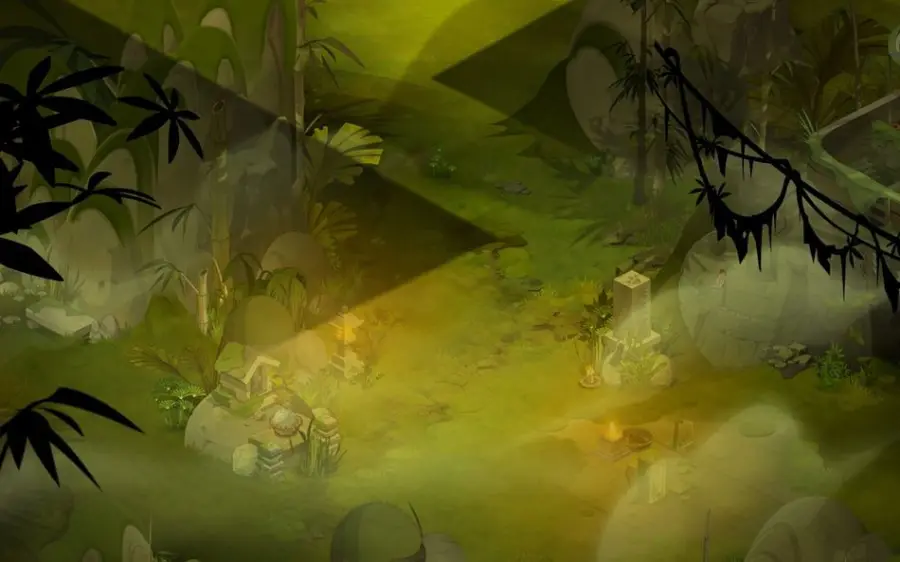
Nolifis Island · [35,-43] -
11Go back to Star Knaykidd
Dialogue · Star Knaykidd
Go back to Star Knaykidd on Pandala Island.
Star Knaykidd · [21,-28] -
12Show the sacred juice to Bowisse
Items · Bowisse
Go back to Bowisse and show him the Sacred Cereal Juice.
Dialogue
- “Show the sacred juice”
Bowisse · [5,1] -
13Prepare the altered cereal juice
Take the door and go down into Bowisse's cellar to pick a Sutol flower. Then click the flower in your inventory to mix it into the sacred juice.
 Altered Cereal Juicereceived
-
14Join Maimane's totem
Movement
At the Bwork Village, enter the mine and cross the rooms using the Brandish weapon emote: you must be 5.
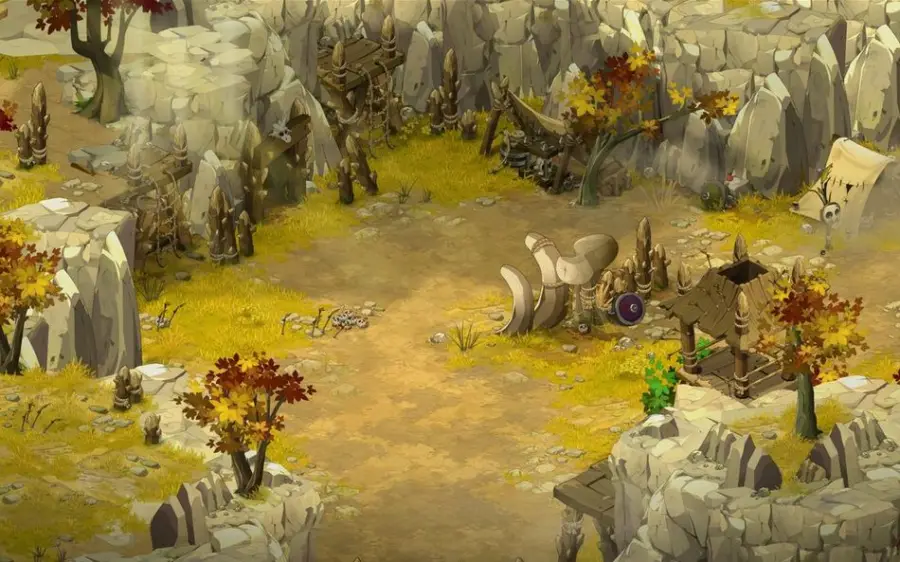
Bwork Village · [-6,5] -
15Activate Maimane's Totem
Drink the Altered Cereal Juice, then click on Maimane's totem, in the middle of the room.
-
16Defeat the bone guardians
Combat · Bonan Skyn
Talk to Bonan Skyn, who has just appeared. A fight starts, with 4 characters at most. Each eliminated monster is immediately resurrected by the next one to play: eliminate each of the 4 monsters at least once and the fight ends.
Dialogue
- “Defend yourself”
Spells seen on the 4 monsters: Back from Beyond the Grave (cast by each at the very start, resurrects the last dead ally with 100 to 200% of its HP); Ce tombeau sera votre tombeau ! (100 to 200 more damage and 500 to 1,000 more pushback damage for 1 turn to allies in a circle of radius 3, 3-turn cooldown); Decrepitude (500 Neutral in a line or diagonal of size 3, pushes back 1 cell, up to 3 range, 2 times per turn); Toss A Bone (-10 to 20 MP, Gravity, poison of 21 to 26 Fire for 3 turns, melee); Mass Grave (450 Earth, pushes back 1 cell in a circle of radius 2 around itself); Jumbhaff (minimizes its enemies' random effects for 1 turn); Deboning (15 to 30% erosion for 2 turns and 350 Neutral, melee); Trombone (-50 to 100 heals and steals 100 to 200 in each element for 2 turns, up to 8 range); Hosterity (-15 to 30 flee, 400 Air, pushes back 1 cell, in a line up to 4 range); Bone Voyage (350 Earth, -2 to 4 MP, up to 2 range, 3 times per turn).
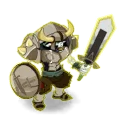 Bonan Skynfight · level 196 · 16,000 HP · 10 AP · 4 MP
-
17Read the totem's message
After the fight, click on Maimane's totem again to read its magical message.
-
18Go back to see Oto Mustam
Dialogue · Oto Mustam
Go back to Oto Mustam in the Brakmar militia to complete the quest.
Brakmar Militia · [-25,33]
The fights
Level 196
At Maimane's totem, in the Bwork Village mine, in , with 4 characters at most. The 4 monsters resurrect each other: you just have to eliminate each one at least once.
The rewards
- XP3,101,701 experience points
Related quests
The quest follows The Phoney and unlocks Cold Sweat, the next Brakmar alignment quest with Oto Mustam.
- Start
- Oto Mustam
- Start
- Oto Mustam
Where does the Cypher-Obsessed quest start?
With Oto Mustam, in the Brakmar militia at . You must have completed The Phoney.
What items should you bring?
The 4 Wind, Water, Fire and Roc Pandawushu Artefacts, and 2,000 kamas for the Bottle of Bojaway.
Where can you find the quadramental breeze?
In , through the cave whose entrance is in . Throw the sphere from the cell marked in green, then take the zipline on the left to retrieve it.
Where can you buy the Bojaway?
At Rubishwa the Merchant's, in on Pandala Island, for 2,000 kamas.
Do you need to be in a group?
Yes: 5 to cross the mine of the Bwork Village with the Brandish weapon emote. The fight itself is limited to 4 at most.
How do you win the Maimane's totem fight?
Eliminate each of the 4 monsters at least once. They resurrect each other, but the fight stops as soon as all of them have fallen once.
What does the quest give?
3,101,701 XP. It unlocks Cold Sweat.

Comments
No comments yet. A tip, or a detail about this page? Be the first.