 2 × Skt-Zo Leg
Quest Pandala Island
So Far, So Close
Level 170 quest on Pandala Island, with the witch Sobomori in [24,-31]: protect her red female Bow Meow Mona before she becomes a Bakeneko, then find her all the way in the spirit world. All the steps, the dialogue choices, the idol recipe and the fights.
What to prepare
Plan for the resources for the Nekineko idol, to craft in , and 2,000 kamas to take on a Bow Meow's appearance. The rest is obtained during the quest.
 2,000 kamasthe Bow Meow transformation at the White Bow Meow Spring, in [19,-23]
 5 × Thicket Substratefor the Nekineko idol
 1 × Captain Scarlight's Heartfor the Nekineko idol
 10 × Antrezure Antennafor the Nekineko idol
 10 × Manderisha Skinfor the Nekineko idol
 3 × Plain Pikoko Nutfor the Nekineko idol
Quest Resources, obtained along the way
 1 × Kamanekobanentrusted by the Nekineko Adept, then blessed
 1 × Moon's Rayentrusted by Tsukimao
The 25 quest steps
-
1Talk to Sobomori
Dialogue · Sobomori
The witch is worried about her red female Bow Meow Mona, who is about to turn 13: at that age, a Bow Meow can become a Bakeneko, a Yokai that lives in the spirit world. To make her her pet, she must delay the transformation with a Nekineko lucky charm.
Dialogue
- “Notice that she seems preoccupied and ask if everything is all right”
- “Offer to go get the talisman for her”
Sobomori · [24,-31] -
2Ask the Nekineko Adept for a talisman
Dialogue · Nekineko Practitioner
Ask him for a talisman against Bakeneko. He entrusts you with a Kamanekoban and asks in exchange that you drive off Oniyami, which bring bad luck, with a Nekineko idol.
- Kamanekobanreceived
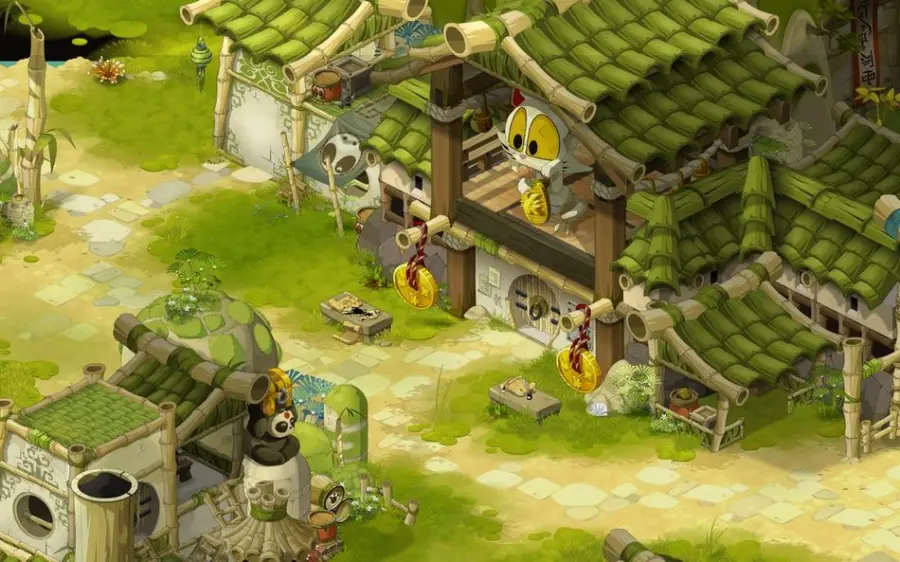
Nekineko Practitioner · [20,-30] -
3Craft the Nekineko idol
Crafting
A Huppermage specialized in idols has set up shop at . Use the dedicated workshop, Make an Idol, with 5 Thicket Substrate, 1 Captain Scarlight's Heart, 10 Antrezure Antenna, 10 Manderisha Skin and 3 Plain Pikoko Nut. The Nekineko idol is a quest item.
The idol is used only for this quest and its Oniyami, and only on the fight map. Use it on each fight map: opponents gain 1 MP each time they are hit, and opponents' melee damage increases by 200%.
- 5 × Thicket Substrateto hand over
- 1 × Captain Scarlight's Heartto hand over
- 10 × Antrezure Antennato hand over
- 10 × Manderisha Skinto hand over
- 3 × Plain Pikoko Nutto hand over
-
4Defeat the dojo Oniyami
Combat · Dojo Oniyami
Enter the dojo and go down to the basement. Use the Nekineko idol, then talk to the dojo Oniyami to start the fight with the alteration.
 Dojo Oniyamifight · level 170 · 4,600 HP · 10 AP · 5 MP
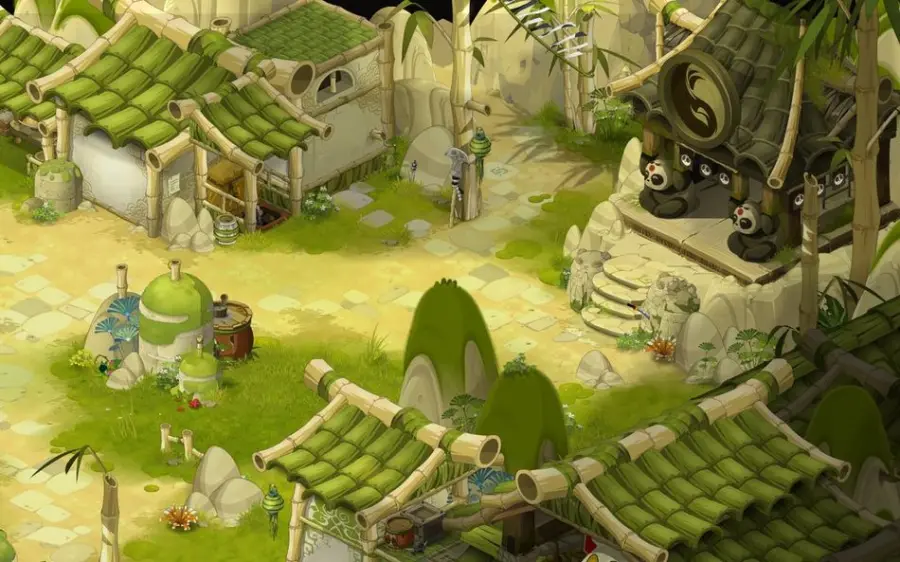
Dojo Oniyami · [20,-31] -
5Defeat the Lantern Oniyami
Combat · Lantern Oniyami
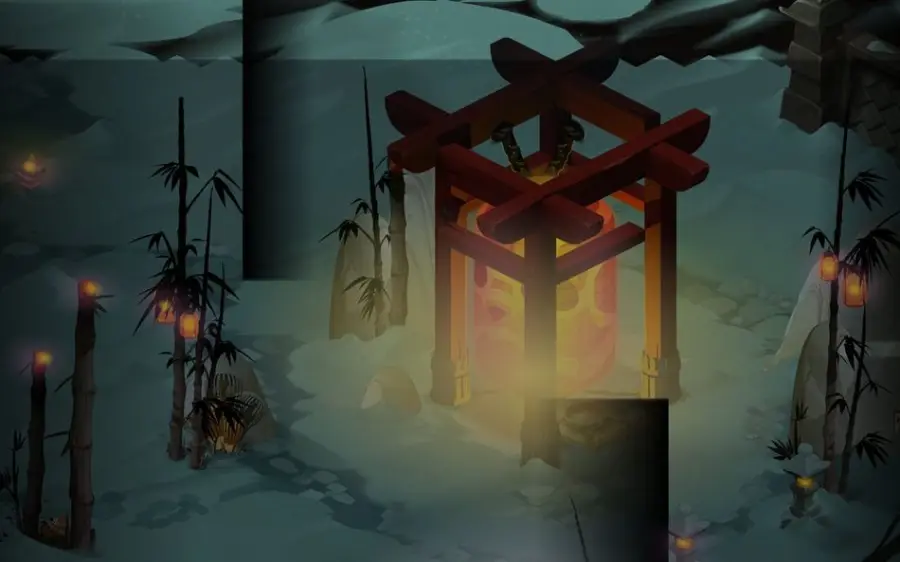
Use the idol on the map, then talk to the Lantern Oniyami to start the fight with the Nekineko alteration. The game asks you to defeat 3 in a single fight.
 Lantern Oniyamifight · level 170 · 4,600 HP · 10 AP · 5 MP
Lantern Oniyami · [17,-32] -
6Defeat the Port Oniyami
Combat · Port Oniyami
Use the idol on the map, then talk to the Port Oniyami to start the fight with the Nekineko alteration. The game asks you to defeat 2 in a single fight.
If you lose, there's no need to craft the idol again: you keep it until the end of the quest. Go back to the fight map and use it again.
 Port Oniyamifight · level 170 · 4,600 HP · 10 AP · 5 MP

Port Oniyami · [22,-20] -
7Have the Kamanekoban blessed
· Nekineko Practitioner
Go back to see the Nekineko Adept once the three groups of Oniyami are defeated. He thanks you for your devotion and has the Kamanekoban blessed, which is meant to protect the red female Bow Meow.
 Blessed Kamanekobanreceived
Nekineko Practitioner · [20,-30] -
8Show the lucky charm to Sobomori
Items · Sobomori
It's too late: Mona has disappeared while Sobomori was gathering plants. Only Nixie, the goddess of red Bow Meow, can locate her disciples, but a pact prevents the witch from going to ask her for help herself. She points you to an old temple in the forest where the Pandalousians worshipped Nixie.
Dialogue
- “Say that you've completed your mission and show the blessed lucky charm”
Sobomori · [24,-31] -
9Take on a Bow Meow's appearance
Before going to the sanctuary, click the White Bow Meow Spring sign: for 2,000 kamas, you are turned into a Bow Meow.
- 2,000 kamasto pay

White Bow Meow Spring · [19,-23] -
10Enter the red Bow Meow sanctuary
Movement
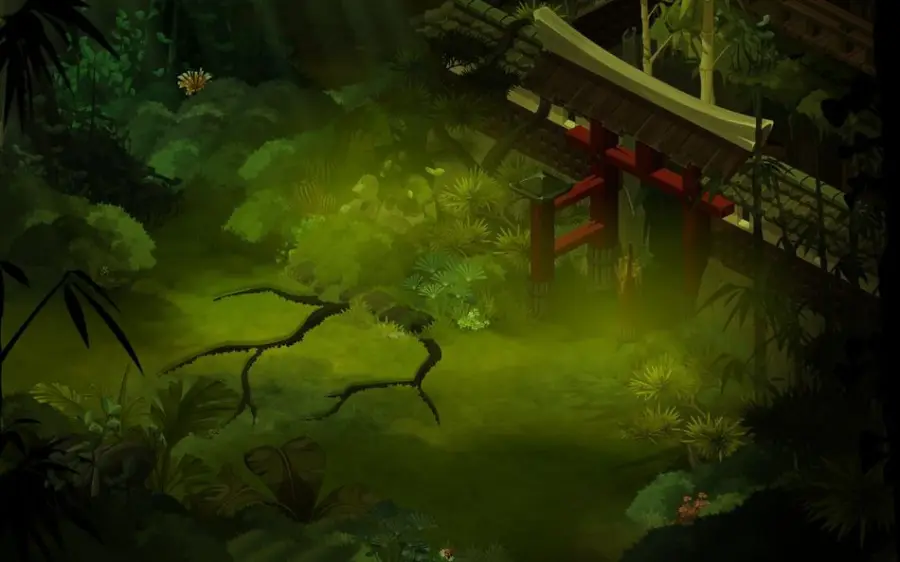
In , go right then take the Shoji. In the room dedicated to Bow Meow, click the herbs in the center of the map to prompt the sanctuary's residents to show themselves.
You need the Bow Meow appearance obtained in the previous step.
Enter the red Bow Meow sanctuary · [25,-34] -
11Defeat Charedivari
Combat · Charedivari
Charedivari appears and doesn't appreciate your presence. Talk to it: the fight is solo.
Dialogue
- “Don't let yourself be intimidated”
 Charedivarifight · level 170 · 5,500 HP · 12 AP · 6 MP
-
12Talk to Nixie
Dialogue · Nixie
Nixie wants to help Sobomori, but fears drawing the attention of the sinister Beelzemeow: he wants Mona to become a Bakeneko to tighten his hold over Sobomori and her twin sister, the witch Hakamori. She turns your Kamanekoban into a pet collar and tells you where to find Mona: if the red female Bow Meow agrees to wear it, she will become Sobomori's pet. She advises you to first learn more about the two sisters.
-
13Access the library archives
· Dick Kerboo Brandtawa
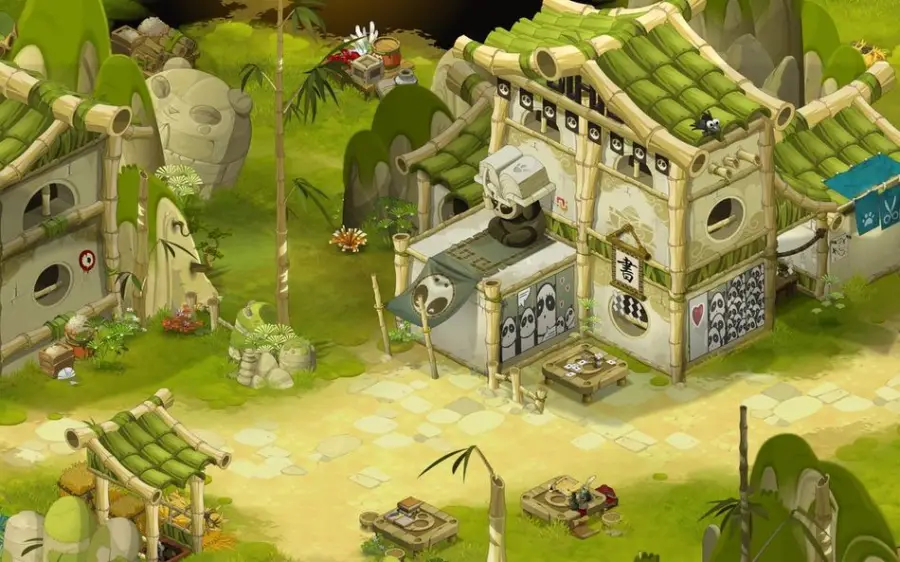
In the Pandala library, ask Dick Kerboo Brandtawa to consult the archives: he agrees, but advises a good sweep with the broom. In the same room, talk to Hahakigami so it follows you, then go up to the first floor and the second, where the archives are.
Pandala Library · [21,-27] -
14Defeat Hokorinosu
Combat · Hokorinosu
In the archives, talk to Hokorinosu, who is nothing but dust. The fight is solo, with the Hahakigami's help.
 Hokorinosufight · level 170 · 4,600 HP · 10 AP · 5 MP
-
15Read the story of the two witches
After the fight, click the scrolls to read the book Two Forsaken Witches. Sobomori and Hakamori are twins. The Bow Meow of their childhood became a Bakeneko at 13 years old and set the house on fire; to save her sister, the younger one accepted Beelzemeow's pact: never to see each other again, on pain of both dying. Disfigured, she went to Nolifis with their Bakeneko, Sekitan; the elder settled in Plantala.
-
16Meet Hakamori on Nolifis
Dialogue · Hakamori
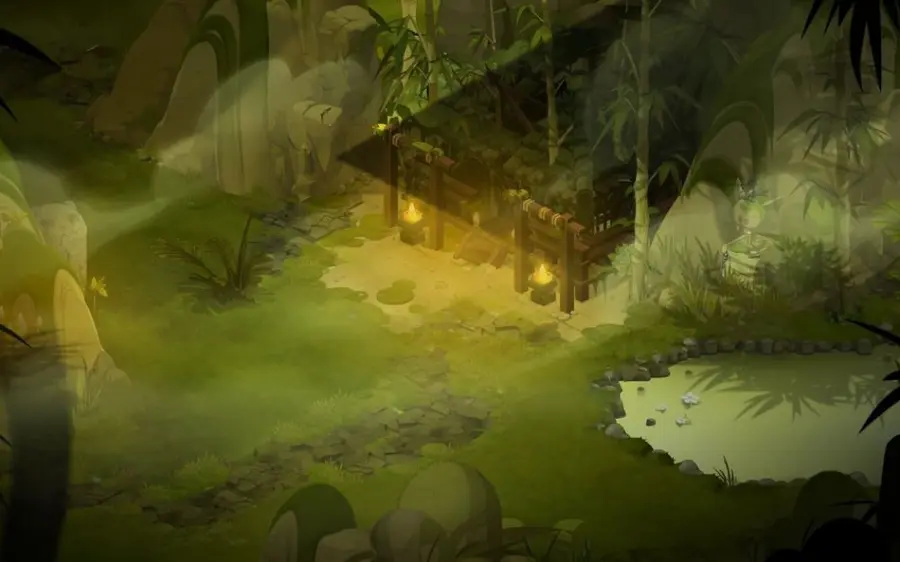
Nolifis is reached by boat from . Tell Hakamori that you met her sister. Her Bakeneko went off to the spirit world with a red female Bow Meow, probably Mona; to join them, you need the help of another Bakeneko, like the one that helped the wandering guide rescue Koumiho. Come closer: she whispers a few words to repeat to her pet Sekitan.
Dialogue
- “Say that you met a witch in the Plantala forest”
- “Step forward with a certain apprehension”
Hakamori · [37,-42] -
17Find Koumiho's Bakeneko
Movement
Find the Bakeneko that made Koumiho's liberation possible. It is still on the island and seeks revenge on the Shogun Tofugawa: Koumiho entrusts you to one of her kitsous to guide you to it.
- ask Jibakurei to let you through
- talk to Koumiho about the Bakeneko that saved her
- leave the dungeon and talk to the Lunar Kitsou
Dialogue
- “Greet him and ask to see Koumiho”
- “Talk about the Bakeneko that freed her long ago”
-
18Talk to Tsukimao
Dialogue · Tsukimao
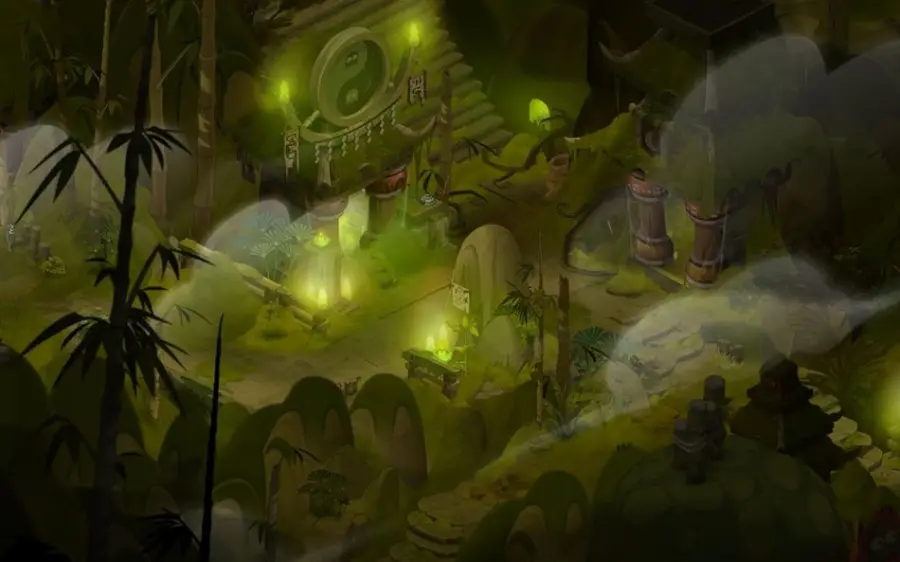
Click the rock to make the Bakeneko appear. Tsukimao hates the Shogun Tofugawa; since you strengthened his power by reviving Koumiho's Hoshinotama, he agrees to guide you to where Bakeneko are born. You need to reach the Astral Plane by breathing the spores of a mushroom circle, then use the Moon's Ray he entrusts to you.
- Moon's Rayreceived
Tsukimao · [37,-45] -
19Fall asleep in the mushroom circle
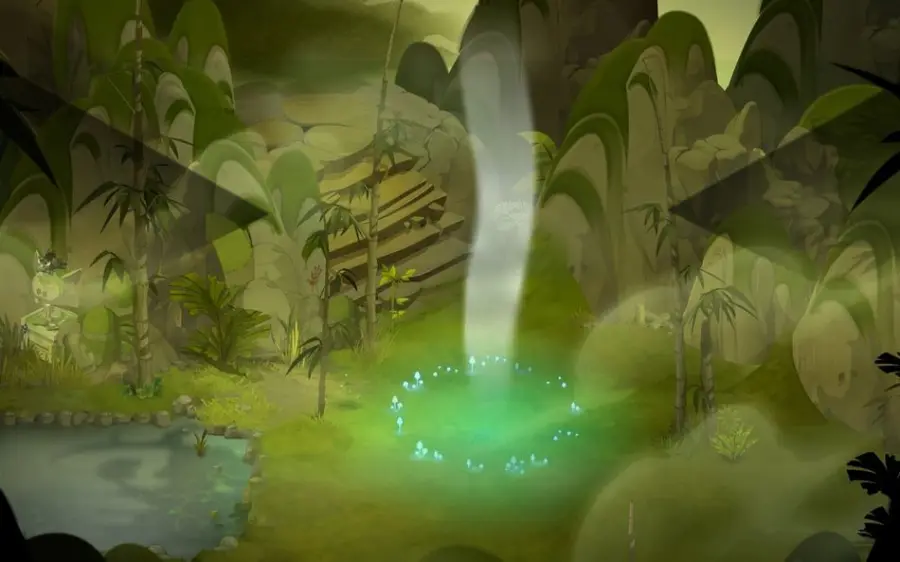
Eliminate the group of monsters on the map, then click the big mushroom in the center of the circle. You don't need to fight yourself: it's enough for the map to be empty, or for someone to be in a fight against the group.
Mushroom circle · [38,-42] -
20Defeat the Bushitake
Combat · Bushitake
You are teleported to the astral clearing, where Bushitake block your way. The fight can be done in a group.
Dialogue
- “Decide to fight to keep your head on your shoulders”
 Bushitakefight · level 170 · 4,600 HP · 10 AP · 5 MP
-
21Follow the moon's ray
Movement
After the fight, use the Moon's Ray from your quest inventory: you are teleported to the Bakeneko moon area.
-
22Talk to Sekitan
Dialogue · Sekitan
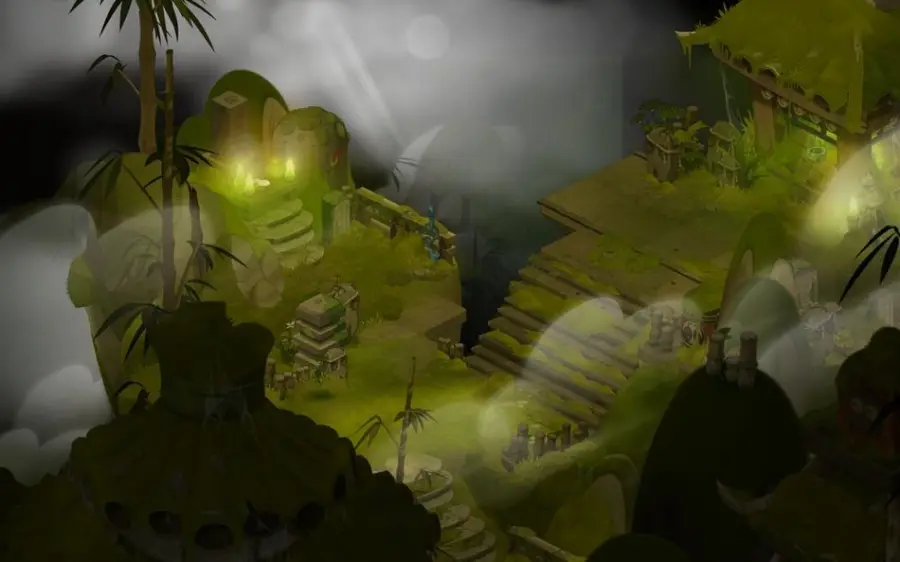
Repeat his mistress's words to Sekitan so he doesn't attack you. The witch's magic protects you from him, but not from the anger of the dead, he warns.
Sekitan · [36,-47] -
23Defeat Werekashmeows and the Chaferokuro
Combat · Chaferokuro
Talk to the Chaferokuro that has just appeared. The fight can be done in a group: stay at range from the monsters.
Dialogue
- “Brandish the moon's ray, then fight the Werekashmeows and the Chaferokuro”
 Werekashmeowfight · level 170 · 4,600 HP · 10 AP · 6 MP
-
24Put the collar around Mona's neck
· Mona
Talk to Mona to show her the pet collar and suggest she join Sobomori. The red female Bow Meow accepts to wear the collar and become the witch's pet.
-
25Attend the two sister's reunion
You are teleported to Mount Tombs. Listen to Mona, then Sekitan, then Mona: the two witches have taken possession of their Bow Meow to talk to each other again. Hakamori thanks her sister for saving her, and Sobomori concludes that, although apart, they will always be bound. The quest ends.
The fights
Level 170
In the dojo basement, in . A single fight, with the Nekineko idol's alteration.
-
Enemy of the Dojo Oniyami
Hits for 300 Neutral damage.
-
Neutralising Oniyattack
Hits for 170 Neutral damage.
-
Oniyami Vision
Gives itself 2 range for 2 turns.
Level 170
In , 3 Lantern Oniyami to defeat in a single fight, with the Nekineko alteration.
-
Enemy of the Lantern Oniyami
Hits for 300 Fire damage.
-
Burning Oniyattack
Hits for 150 Fire damage.
-
Oniyami Vision
Gives itself 2 range for 2 turns.
Level 170
In , 2 Port Oniyami to defeat in a single fight, with the Nekineko alteration.
-
Enemy of the Port Oniyami
Hits for 300 Water.
-
Dripping Oniyattack
Hits for 150 Water.
-
Oniyami Vision
Gives itself 2 range for 2 turns.
Level 170
In the red Bow Meow sanctuary, in . Solo fight: every hit you land on it heals you.
-
Ailurophilia
When it takes damage, heals you for about 500 HP per hit, with no limit.
-
Ginger Snuggle
Water Whack of 250 in a cross of size 2. Can only be cast in a line, from 3 to 8 range.
-
Licking
Fire Whack of 300 that gives you the Licking state for 1 turn, which heals you for 100% of the damage taken.
Level 170
In the archives of the Pandala library, in . Solo fight, with the Hahakigami.
-
Dust in Eye
Neutral Whack of 150 on adjacent cells, removes 2 range for 2 turns and 2 AP (3 on critical hits) for 1 turn.
-
Greyish Cloud
Neutral Whack of 160 in a 3 x 3 square around it.
-
Sneezing Fit
Poison of 21 to 30 Air damage for 2 turns, stackable.
-
Clear off!
Pushes the target and removes 3 MP.
-
What a Mess
Hits for 600 in Air.
Level 170
In the astral clearing, after the mushroom circle in . Can be done in a group.
-
Astral Sporification
Gives 1,200 HP and 2 MP for 3 turns to itself and its allies, in a circle of radius 3 around it.
-
Sabre Dance
Hits for 120 in Air.
-
Honourable Heal
Heals 250 in a circle of radius 3.
-
Katanatak
Hits for 300 Neutral damage in melee and pushes back 3 cells.
Level 170
On the Bakeneko moon, with the Chaferokuro. Can be done in a group; stay at range. Spells noted for this fight, without specifying who casts them: Disappeared Disappearance (invisible 2 turns, cooldown 3 turns), Cemebury (400 Earth in melee), Bloody Head (650 Neutral life-steal in melee, removes 2 AP and 3 range for 3 turns), Macabre Howling (200 Air at mid-range), Upheaval (250 Earth in a cross of size 3, pulls 3 cells and removes 20 Flee), Necatrophagy (300 Fire at close range, 1,380 shield points and steals 2 MP, stackable) and Kikitty Payback (350 Fire, reflects melee damage for 1 turn).
The rewards
- XP4,711,728 experience points
- 64,560 kamas
 5 × Madura Eye
 5 × Kapokaza
Related quests
The quest doesn't unlock any other quest. It is part of the achievement Open Tombs, which groups five quests: Where's My Samurai?, Dark Mystery, Road Safety and Goblifis Gobduracy.
- Start
- Moku

Achievements · Pandala Island
Open Tombs
Complete the following quests:
- So Far, So CloseLvl. 170
- Where's My Samurai?Lvl. 160
- Dark MysteryLvl. 170
- Road SafetyLvl. 170
- Goblifis GobduracyLvl. 170
Where does the So Far, So Close quest start?
With Sobomori, in Plantala on Pandala Island, in . You must be at least level 150 and have completed Pandala Awakens; the recommended level is 170.
How do you get the Nekineko idol?
By crafting it at the Make an Idol workshop, in . Recipe: 5 Thicket Substrate, 1 Captain Scarlight's Heart, 10 Antrezure Antenna, 10 Manderisha Skin and 3 Plain Pikoko Nut.
Where are the Oniyami?
In the dojo basement in , at and at . Use the Nekineko idol on each map before starting the fight.
How do you enter the red Bow Meow sanctuary?
With the Bow Meow appearance, bought for 2,000 kamas at the White Bow Meow Spring in . At , go right, go through the Shoji and click the herbs in the center of the room.
How do you reach Hakamori on Nolifis?
By boat from . Hakamori is then in .
Which fights can be done in a group?
The Bushitake and the fight against the Werekashmeows and the Chaferokuro. Charedivari and Hokorinosu are fought solo, and the three Oniyami fights are done with the Nekineko alteration.
What does So Far, So Close give?
4,711,728 XP, 64,560 kamas, 5 Madura Eye and 5 Kapokaza.

Comments
No comments yet. A tip, or a detail about this page? Be the first.