 2 × Skt-Zo Leg
Quest Bonta
The Dawn Shard
Level 180 Bontarian alignment quest, with Danathor in Bonta at [-36,-60]: find Sacrier's Tears and have the Dawn Shard forged, the weapon intended for Jiva. All the steps, the Sag Mask resources, the dialogue choices and the fight.
What to prepare
You need a Sag Mask, to be crafted by a tailor of level 180 or higher, or bought at the auction house: it is not lost at the end of the quest, and it is often found cheaply. Also come with three friends for the Isle O'Antitch fight.
 2 × Pyrutefor the Sag Mask
 20 × Hemp Fibrefor the Sag Mask
 20 × Black Gobball Leatherfor the Sag Mask
 1 × Brown Boxersfor the Sag Mask
 2 × Fungore Gillfor the Sag Mask
Quest Resources, obtained along the way
 1 × Sacrier's Tearsat the end of the Labyrinth of Deleterious Winds
 4 × Ticket to the Isle O'Anstitchgiven by Maha Shoja
 1 × Isle O'Antitch Flaskin the flasks of Isle O'Antitch
The 15 quest steps
-
1Talk to Danathor
Dialogue · Danathor
Danathor is still trying to forge a weapon worthy of Jiva. Now he needs the Tears of the goddess Sacrier.
Danathor · [-36,-60] -
2Question Chaki Triss
Dialogue · Chaki Triss
At the Sacrier Temple, Chaki Triss tells the legend: during a challenge set by Rushu, the goddess Sacrier carried the Xelor clock and wept over the world's suffering. Her tears brought Bonta and Brakmar back. One of them is said to have fallen southwest of Brakmar, on arid land.
Dialogue
- “Ask him about Sacrier's Tears”
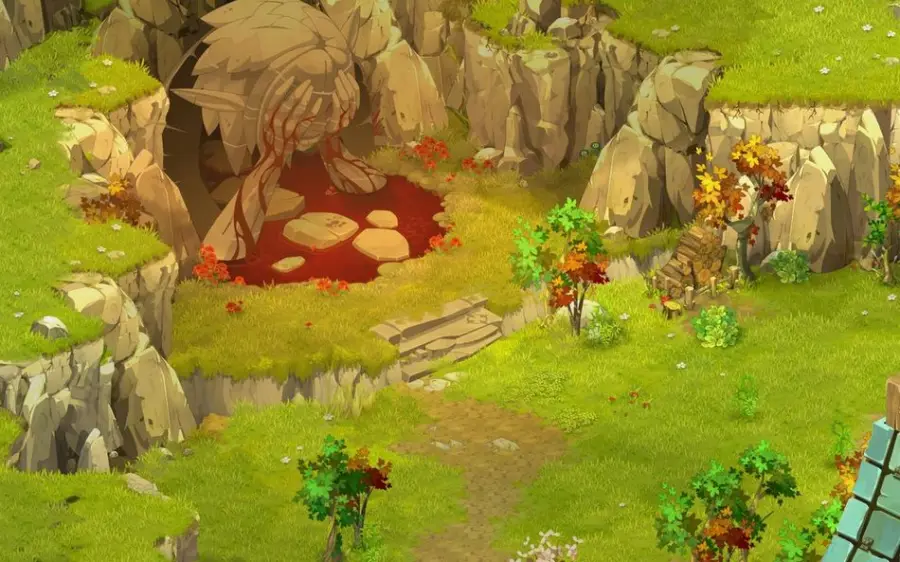
Sacrier Temple · [-3,-4] -
3Talk to Pu Shan
Dialogue · Pu Shan
Pu Shan tells you that the area behind him is impassable without a Sag Mask, because of the gases escaping from it.
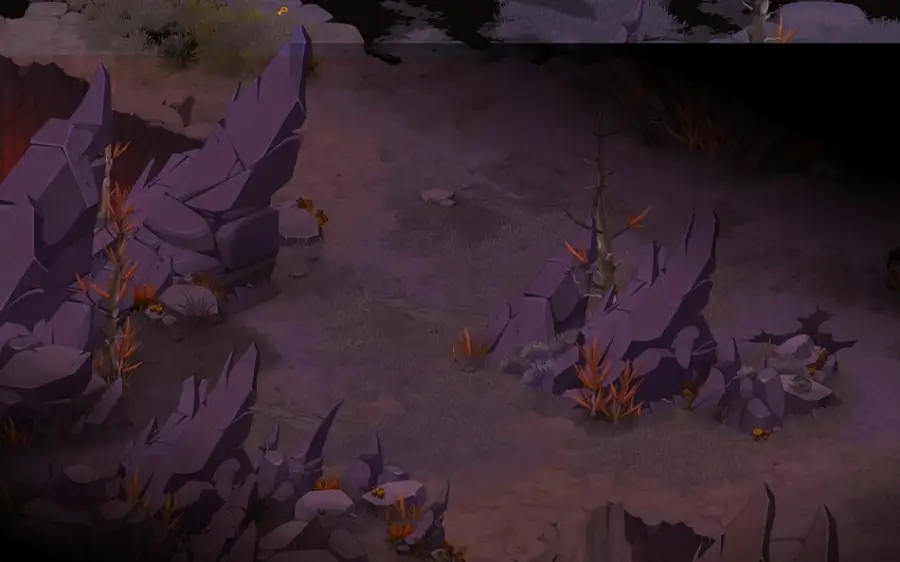
Pu Shan · [-32,40] -
4Ask Sag Dratsum for the recipe
Dialogue · Sag Dratsum
Go to Pandala and ask Sag Dratsum how to make a Sag mask: he gives you the recipe.
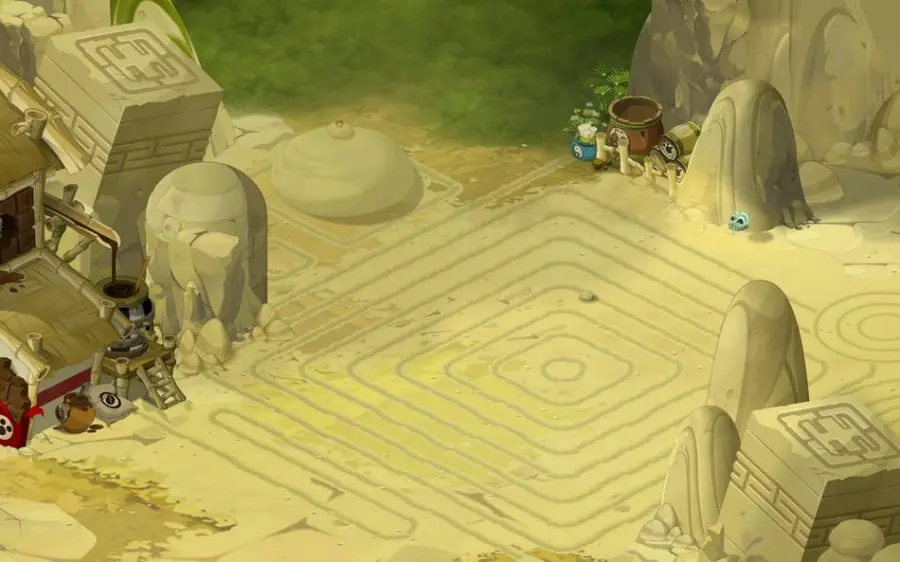
Sag Dratsum · [24,-27] -
5Have the Sag Mask crafted
Find a tailor of level 180 or higher to craft the mask, with 2 Pyrute, 20 Hemp Fibre, 20 Black Gobball Leather, 1 Brown Boxers and 2 Fungore Gill. You can also buy it at the auction house.
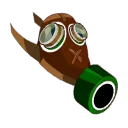 Sag Maskreceived
-
6Cross the maze
Movement · Pu Shan
Go back to the entrance of the area and click the cell behind Pu Shan, with the Sag Mask in your inventory. From now on you just need to talk to him to enter the labyrinth. Then follow the path to the green area, at .
Monsters are on some maps along the path, and they attack you.
Pu Shan · [-32,40] -
7Collect Sacrier's Tears
Items
In the green area, where the tear is said to have fallen, stand on the slab to collect Sacrier's Tears. According to more recent reports, you should rather click an interactive element in the water.
- Sacrier's Tearsreceived
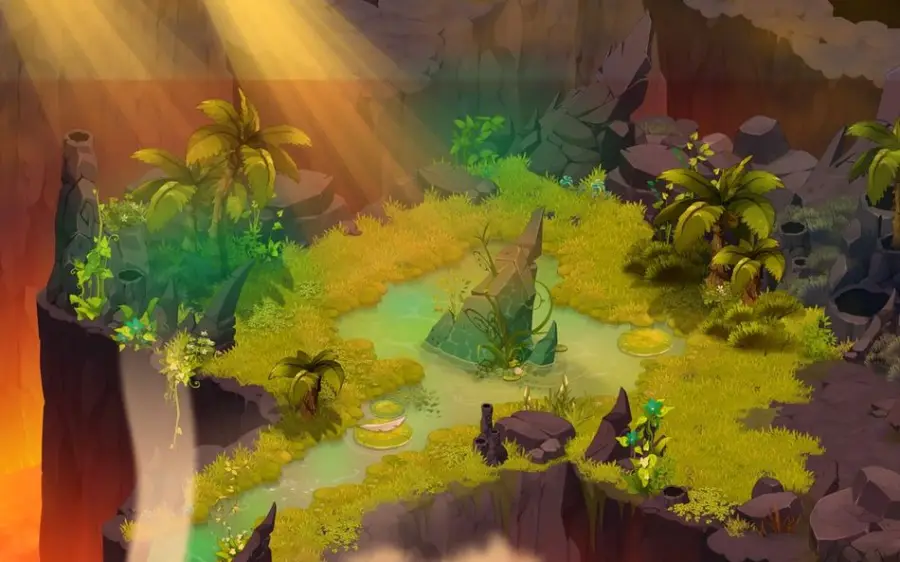
Collect Sacrier's Tears · [-34,44] -
8Bring the tears back to Danathor
Items · Danathor
Give the tears to Danathor. To make the Dawn Shard, you need to go back to see Maha Shoja and get her help.
- 1 × Sacrier's Tearsto hand over
Danathor · [-36,-60] -
9Talk to Maha Shoja
Dialogue · Maha Shoja
Take the passage to the Huppermage temple at , then go to . To succeed at the forging, Maha Shoja asks you to find Nileza's research documents on Isle O'Antitch, and gives you 4 passes.
Dialogue
- “Talk about forging the Dawn Shard”
- Ticket to the Isle O'Anstitchreceived
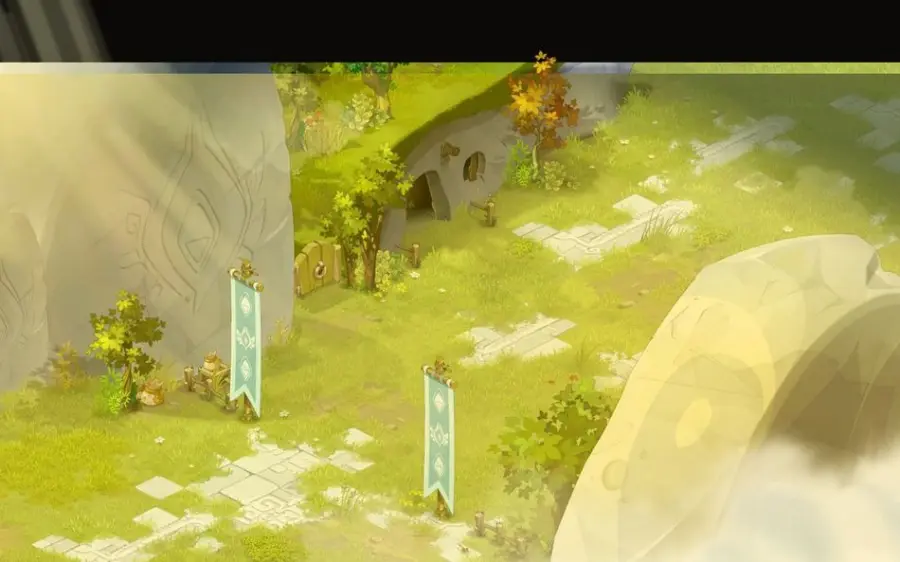
Maha Shoja · [38,-20] -
10Board for Isle O'Antitch
Movement · Nikos Monot
Come with three friends: a four-person fight awaits you on the island. Ask Nikos Monot to take you there.
Dialogue
- “Ask for a ride to Isle O'Anstitch”
In case of defeat, you can buy back passes from Nikos Monot to return to the islet.
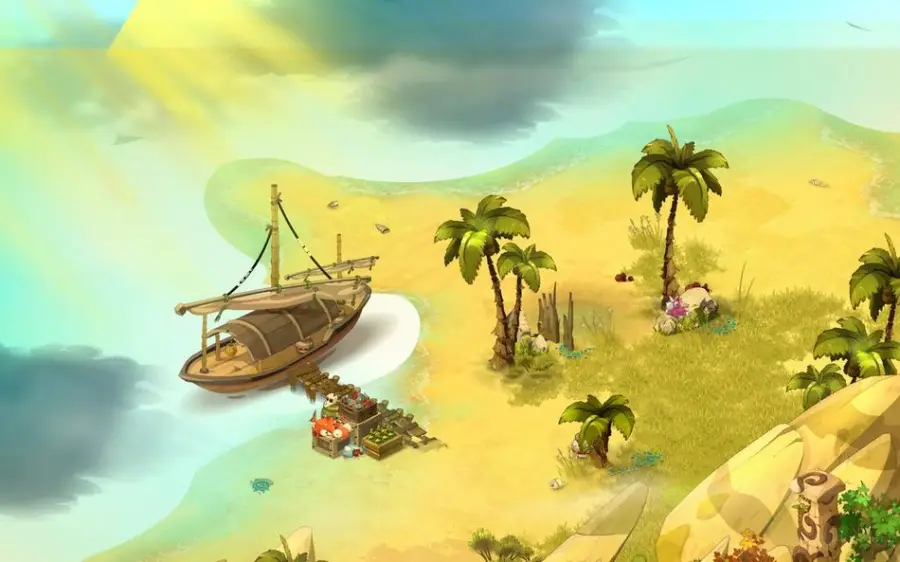
Nikos Monot · [-36,-10] -
11Search the flasks
Click the flasks to get an Isle O'Antitch Flask. It contains a small creature, which asks you to take it to its master.
- Isle O'Antitch Flaskreceived
-
12Meet Rob Mirbelec
Dialogue · Rob Mirbelec
Click the clover to open the grid. Rob Mirbelec explains that Maha would take years to help you with Nileza's notes, whereas he can do it thanks to his primordial Dofus. You have to take part in the forging, with friends.
Dialogue
- “Start the forging”
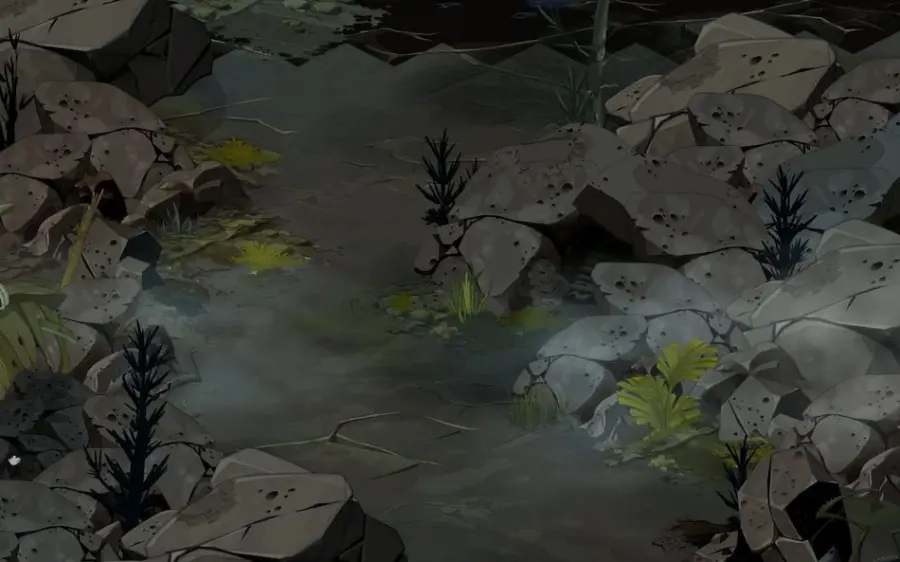
The Isle O'Anstitch Cavern · [-47,-69] -
13Defeat Rob Mirbelec
Combat
The fight starts right away, with four characters at most.
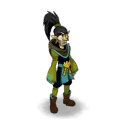 Rob Mirbelecfight · level 180 · 14,000 HP · 16 AP · 6 MP
-
14Receive the Dawn Shard
Dialogue · Rob Mirbelec
Talk to Rob Mirbelec again: the forging was a success. He asks you to tell no one about his presence on the island, and hands you the weapon for Jiva.
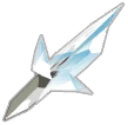 Dawn Shardreceived
-
15Give the Dawn Shard to Danathor
Items · Danathor
Go back to Bonta and hand the Dawn Shard over to Danathor. The quest ends.
- 1 × Dawn Shardto hand over
Danathor · [-36,-60]
The fights
Level 180
In the cave of Isle O'Antitch, with four characters at most. Watch the skull above your characters: it is Transmutation Ritual, which kills the target after 2 turns.
-
Transmutation Ritual
The target dies in 2 turns (skull above the character) and takes 50% Erosion for 2 turns. One technique would be to pass the state on by stealing HP from the affected character, but it does not seem to work.
-
Chemical Restraint
Poison: each MP used makes you lose 20 Fire HP, for 1 turn.
-
Security Perimeter
Hits for 180 Fire in a cross of size 2 and steals 2 dodgeable MP.
-
Unstable Formula
Hits for 230 Fire and removes, for 1 turn, 400 Power, 4 range, 4 AP or 4 MP.
-
Brain Drain
Teleports.
The rewards
- XP11,699,452 experience points
Related quests
The quest follows A Reminder and unlocks Interference in Amakna. It also opens access to the three level 4 orders: Apprenticeship: Supreme Champion for the Order of the Valiant Heart, Apprenticeship: Supreme Assassin for the Order of the Watchful Eye and Apprenticeship: Master of Scrolls for the Order of the Saving Mind.
- Start
- Danathor
- Start
- Amayiro
- Start
- Justfa Lafs
- Start
- Ebru of El
- Start
- Elviana Tirips
Where does the quest The Dawn Shard begin?
With Danathor, in Bonta at . You must be level 170 and have completed A Reminder; level 180 is recommended.
How do I get the Sag Mask?
By a tailor of level 180 or higher, with 2 Pyrute, 20 Hemp Fibre, 20 Black Gobball Leather, 1 Brown Boxers and 2 Fungore Gill. It can also be bought at the auction house, often cheaply.
Where do I find Sacrier's Tears?
At the end of the Labyrinth of Deleterious Winds, at . Enter through Pu Shan at , with the Sag Mask in your inventory, and follow the path to the green area.
How do I get to Isle O'Anstitch?
Through Nikos Monot, at , with the passes given by Maha Shoja. In case of defeat, you can buy more from her.
Can the fight against Rob Mirbelec be done in a group?
Yes, up to four characters. Come with three friends.
Which quest follows The Dawn Shard?
Interference in Amakna, with Amayiro. The quest also opens the apprenticeships of the level 4 orders.

Comments
No comments yet. A tip, or a detail about this page? Be the first.