 2 × Skt-Zo Leg
Quest Gorge of Howling Winds
Wormder
Level 170 quest in Ohwymi, with Mahandos Suk in the Gorge of Howling Winds at [11,-66]: help Sedierta Otel understand the link between the sand worms and the Spice. All the steps, the samples, the dungeon and the fights.
What to prepare
Nothing to gather: one fight possible in a group, one solo fight and the Wurmlord's Passage dungeon. The samples are picked up along the way.
Quest Resources, obtained along the way
 1 × Cart Debrison the cart wheel at [11,-69]
 1 × Ohwymi Mushroomon the phosphorescent mushrooms at [11,-67]
 1 × Vine Fragmenton the vine at [13,-66]
 1 × Piece of Masonryon the rock sticking out of the sand at [8,-70]
 1 × Digestive Juiceon the Wurmlord, in his dungeon
The 9 quest steps
-
1Talk to Mahandos Suk
Dialogue · Mahandos Suk
The quest starts in the Gorge of Howling Winds. Mahandos Suk sends you to look for Sedierta Otel, who might explain the link between the sand worms and the Spice.
Mahandos Suk · [11,-66] -
2Keep the sand worms busy
· Sedierta Otel
Sedierta Otel asks you to keep the worms busy while she takes samples. A fight starts against two sand worms; it can be done in a group. Talk to her again afterward: she sends you to take samples in your turn.
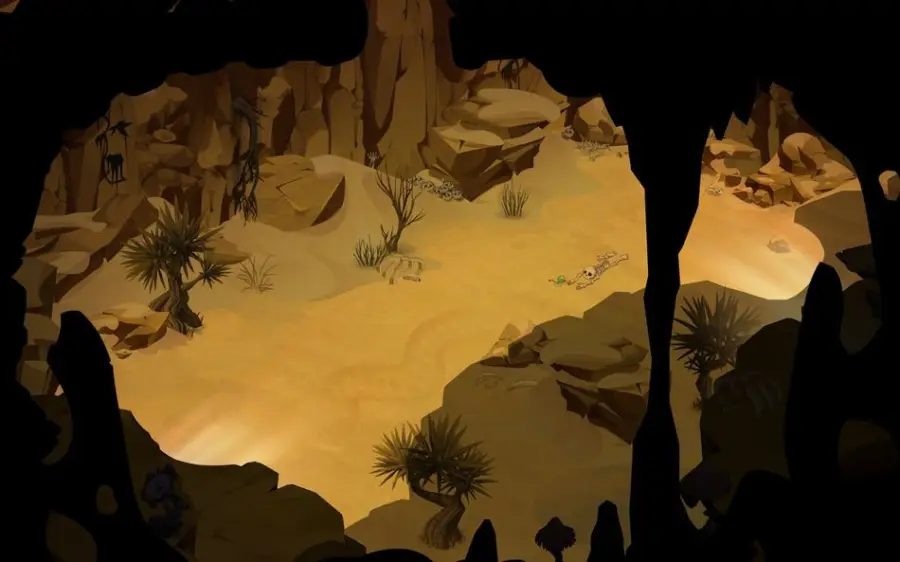
Sedierta Otel · [10,-70] -
3Take the four samples
Click on the indicated element on each of the four maps.
- the cart wheel
- the phosphorescent mushrooms
- the vine
- the rock sticking out of the sand, next to the pot
- Cart Debrisreceived
- Ohwymi Mushroomreceived
- Vine Fragmentreceived
- Piece of Masonryreceived
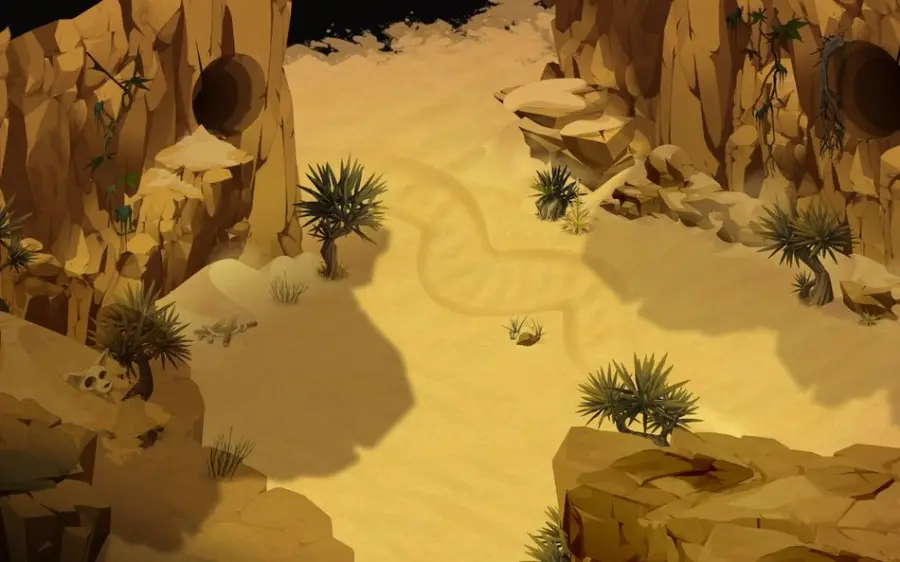
Take the four samples · [11,-69] 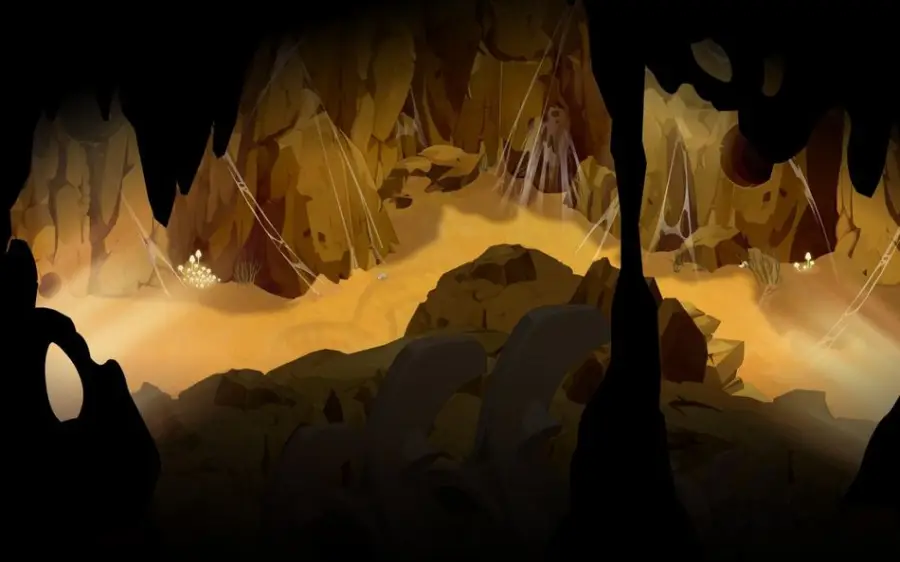
Take the four samples · [11,-67] 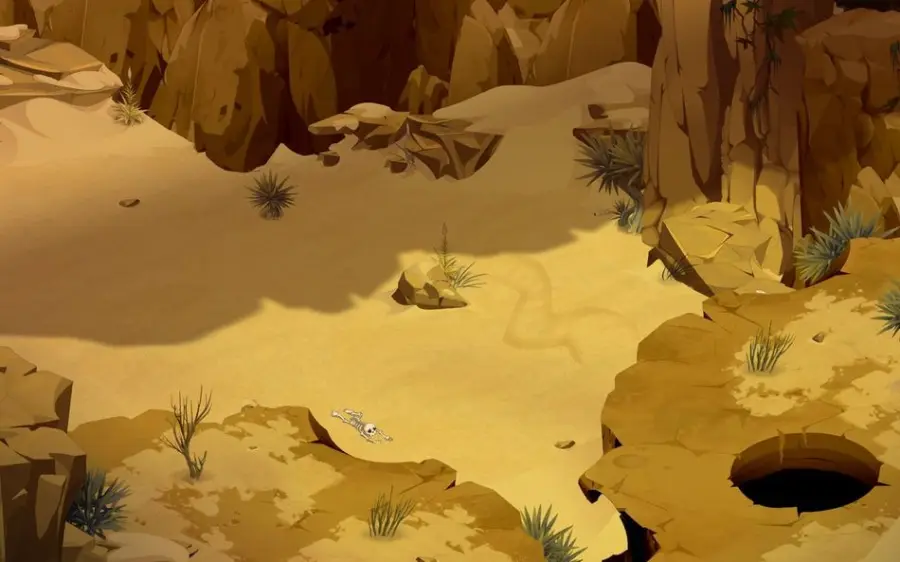
Take the four samples · [13,-66] 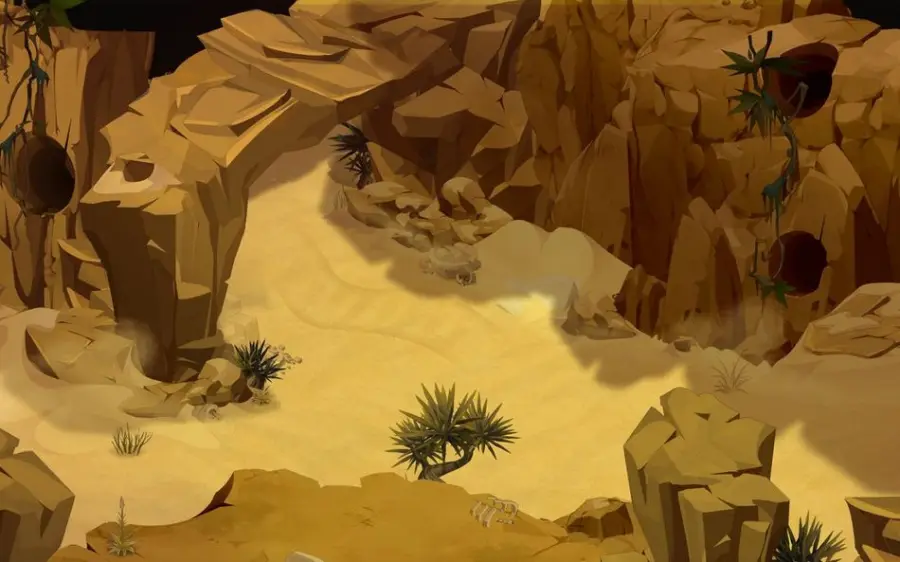
Take the four samples · [8,-70] -
4Take the samples back to Sedierta
Items · Sedierta Otel
Sedierta doesn't find the substance she is looking for in your samples. She now asks you to defeat the Wurmlord in his dungeon.
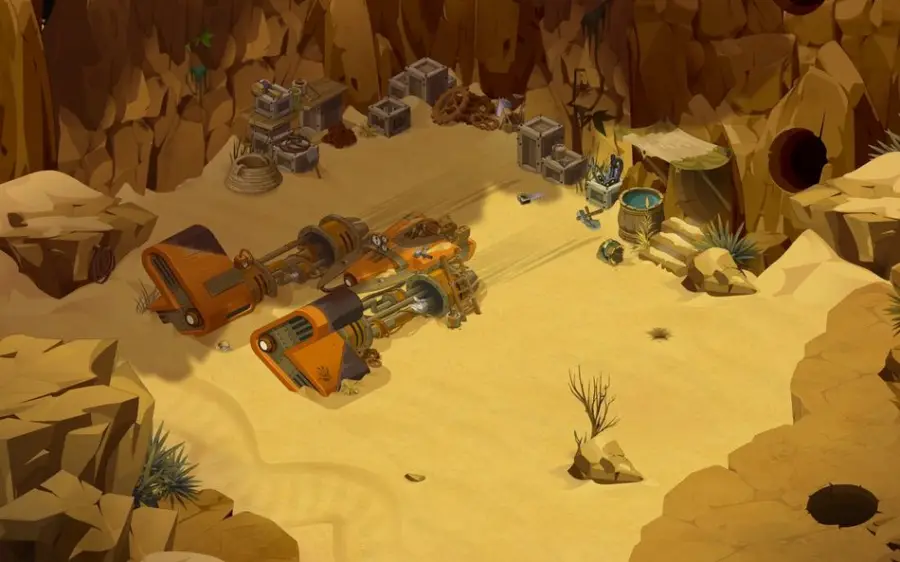
Sedierta Otel · [9,-68] -
5Defeat the Wurmlord
Combat
Enter the Wurmlord's Passage dungeon and defeat the Wurmlord in a single fight. You get a Digestive Juice.
 Wurmlordfight · level 170 · 12,000 to 17,000 HP · 11 AP · immobile
- Digestive Juicereceived
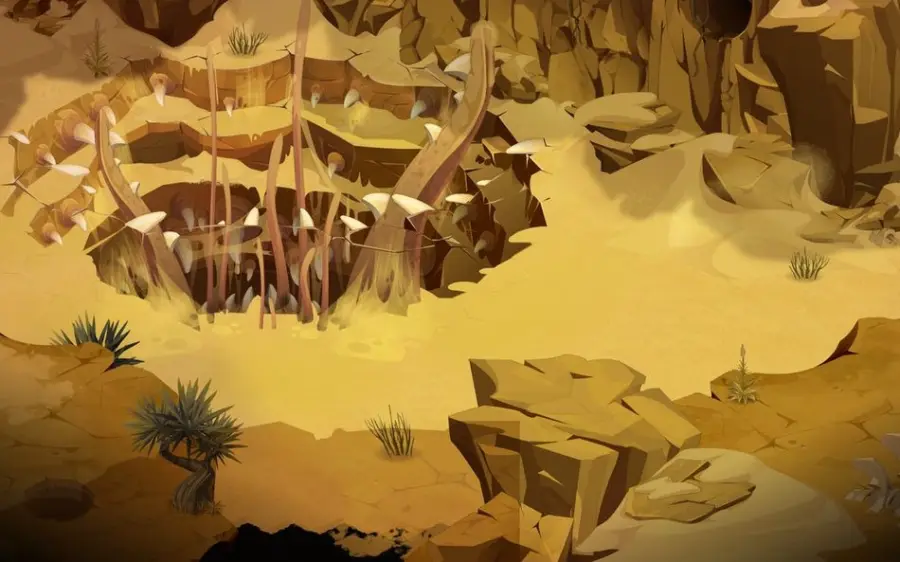
Wurmlord's Passage Entrance · [7,-70] -
6Help Sedierta against the Altered Gobball
Combat · Sedierta Otel
Give the Digestive Juice to Sedierta. She feeds it to a gobball, which ends up attacking her: help her in this fight. It is done alone, at Sedierta's side.
 Altered Gobballfight · level 170 · 8,400 HP · 10 AP · 6 MP
- 1 × Digestive Juiceto give
-
7Check on Sedierta
· Sedierta Otel
After the fight, check on Sedierta Otel.
-
8Escort Bento Mology
Movement · Bento Mology
Suggest that Bento Mology meet Sedierta, then accompany him to her, at , and talk to him again.
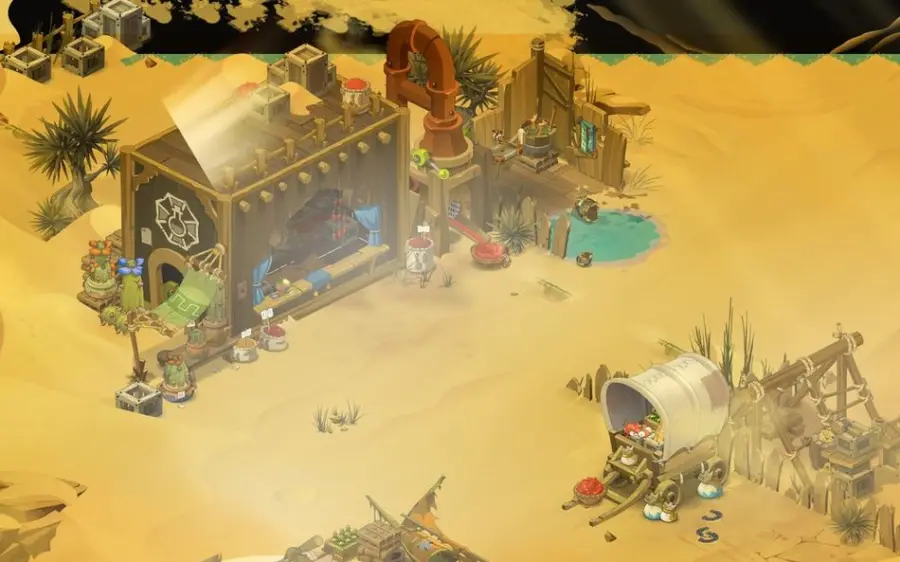
Bento Mology · [14,-56] -
9Report to Mahandos Suk
· Mahandos Suk
Go back to Mahandos Suk to give your report. The quest ends.
The fights
Level 170
Boss of the Wurmlord's Passage dungeon, entrance at . A single fight; it drops the Digestive Juice.
Level 170
In , alone, at Sedierta Otel's side.
-
Mastomachache
-50 % resistances for 1 turn; in return, you gain 50 damage when you are hit.
-
Mastoschlap
Strikes for 550 Neutral and steals 1 MP.
The rewards
- XP4,711,728 experience points
 64,560 kamas
 3 × Stapleworm Spike
Related quests
The quest follows Worm Damage and unlocks Mummy Madness. It is part of the achievement What is the Corporation Looking For?, which groups four Ohwymi quests.
- Start
- Shool Suk
- Start
- Mahandos Suk

Achievements · Ohwymi
What is the Corporation Looking For?
Complete the following quests:
- Worm DamageLvl. 170
- WormderLvl. 170
- Mummy MadnessLvl. 200
- Pyramid of FearLvl. 200
Where does the Wormder quest start?
With Mahandos Suk, in the Gorge of Howling Winds at . You must have completed Worm Damage.
Where do you take the samples?
In , , and . The cart wheel, the phosphorescent mushrooms, the vine and the rock sticking out of the sand.
Where can you find the Digestive Juice?
On the Wurmlord, boss of the Wurmlord's Passage dungeon, at .
Is the fight against the Altered Gobball done in a group?
No, alone, with Sedierta Otel at your side. The first fight, against the sand worms, can be done in a group.
Which quest follows Wormder?
Mummy Madness, with Mahandos Suk at .


Comments
No comments yet. A tip, or a detail about this page? Be the first.