 2 × Skt-Zo Leg
Dungeon Amakna
Kharnotaurus's Lair
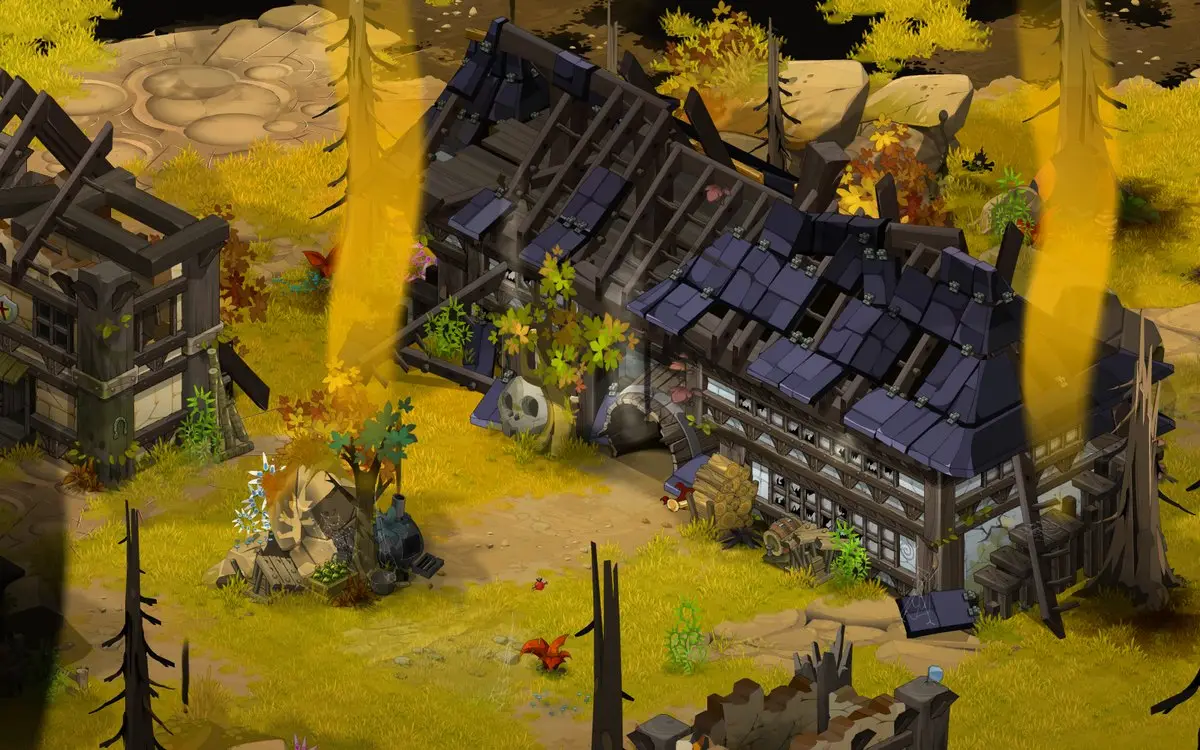
Level 100 dungeon in Dreggon Village, at [-3,25]: five rooms of Dragoss that strengthen with each death, and an unmovable boss who punishes every blow dealt up close, the Kharnotaurus. Quest to start, strategy, monsters, achievements and loot.
Quests linked to Kharnotaurus's Lair
The dungeon quest, Victory Lap, sends you from Otomai Island: accept it before entering, as a fight won without the quest in progress does not count.
It is completed on the Kharnotaurus. Roxy Ring suspects him of hiding a Dofus in his lair: defeat him in a single fight, discover the exit from Kharnotaurus's Lair, then go back to see her.
- Start
- Roxy Ring, Otomai Island
- Prerequisites
- Level 80 and Grand Tour
 Kharnotaurus Eyeand 4,724,400 XP
During events
- Tiwagrum Simulation
Tiwagrum may assign you the Kharnotaurus as a guardian to defeat. Amakna Village, .
The 5 rooms of Kharnotaurus's Lair
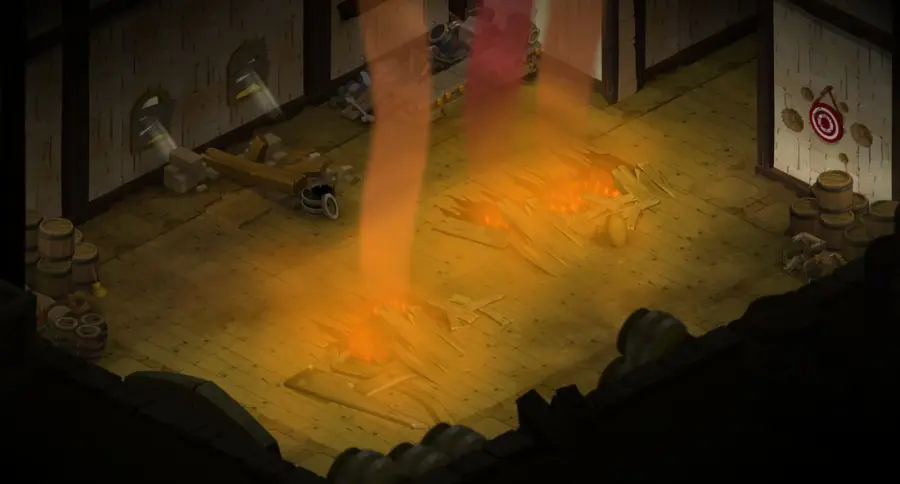
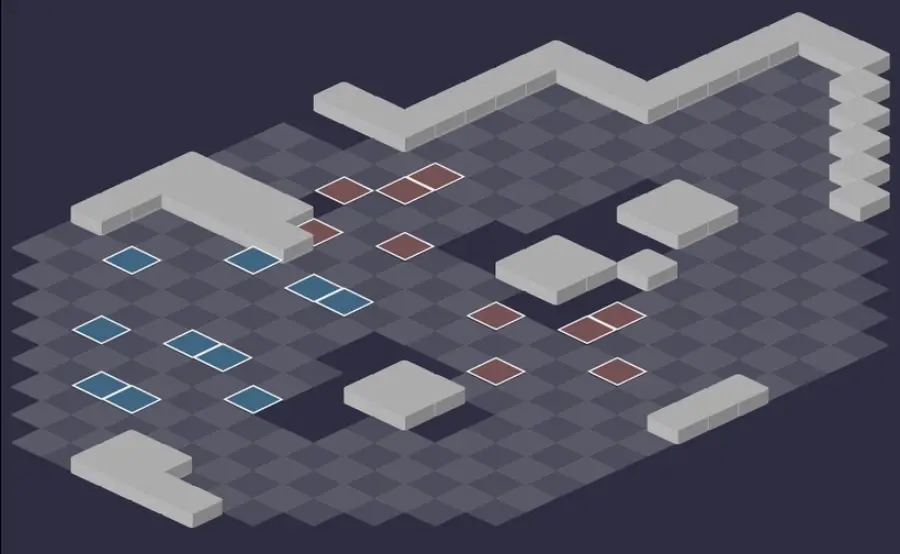
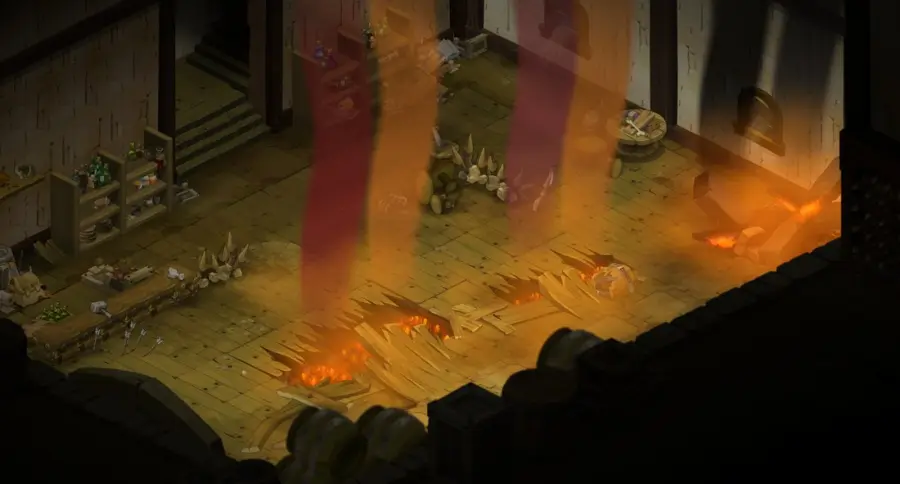
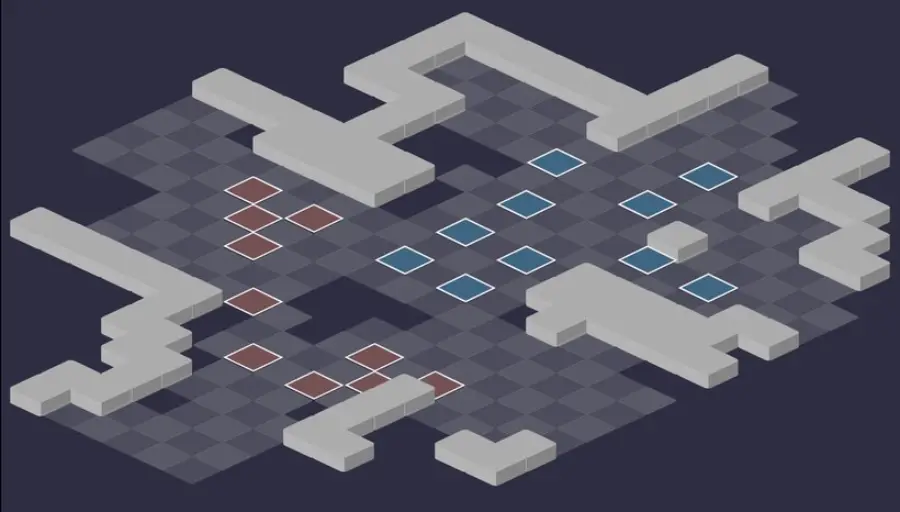
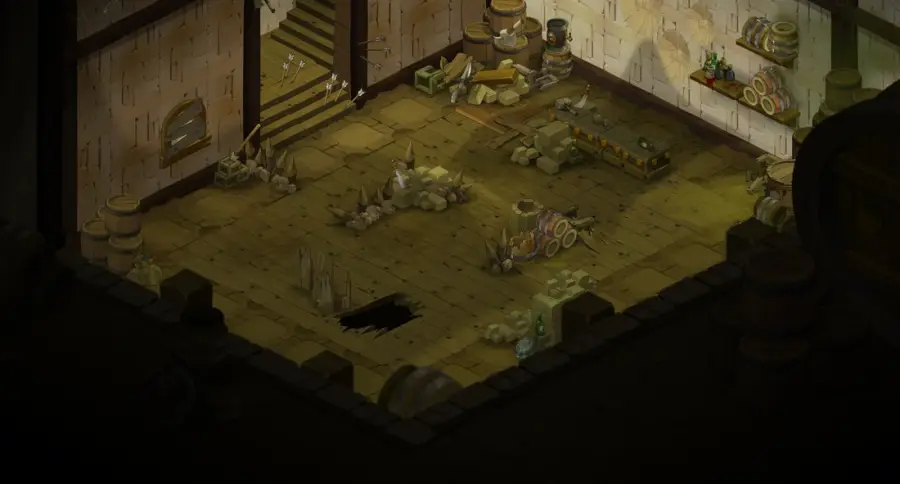
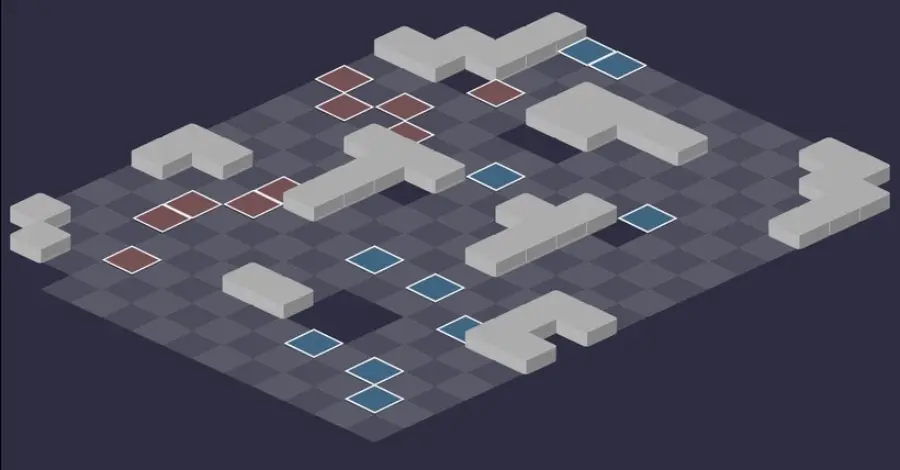
Five fights, in rooms packed with obstacles. Everywhere, each Dragoss killed strengthens the ones that remain: the mechanic is detailed in the boss section. For each room: the scenery, then the tactical view with the starting cells (blue: you, red: the monsters). Tap an image to enlarge it.
Room 1
Room 2
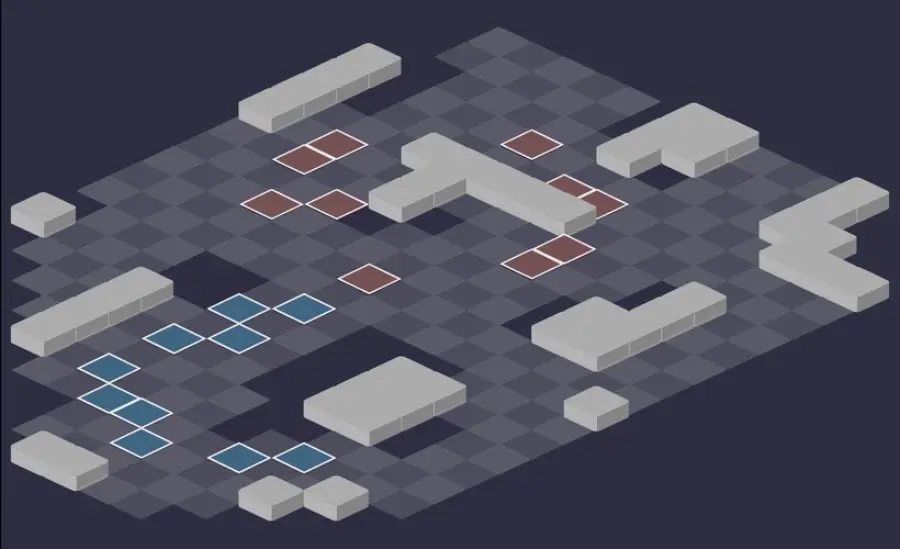
Room 3
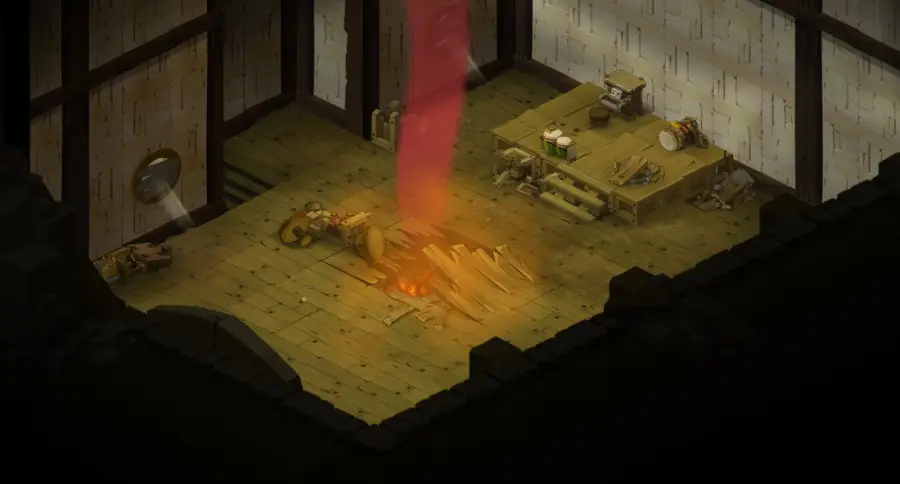
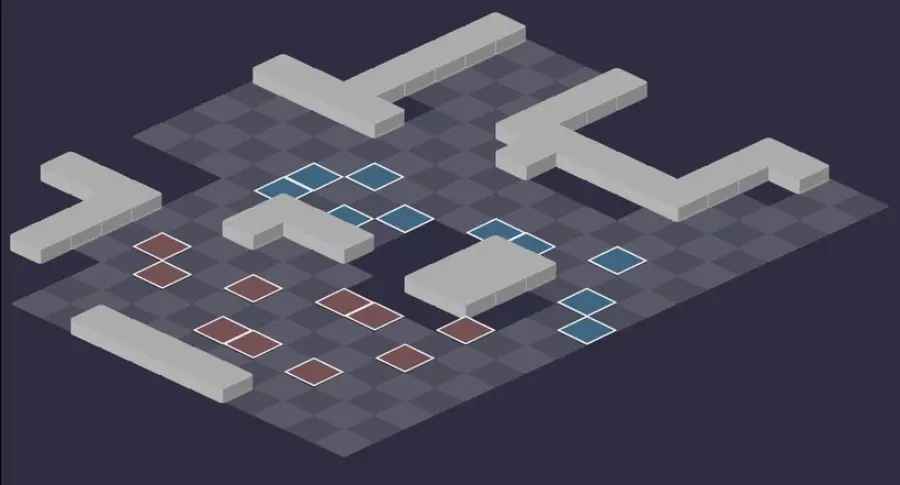
Room 4
The most cluttered room, with 76 obstacles: they cut the lines of the ranged Dragoss, but can also isolate a monster, which counts for the Special achievement.
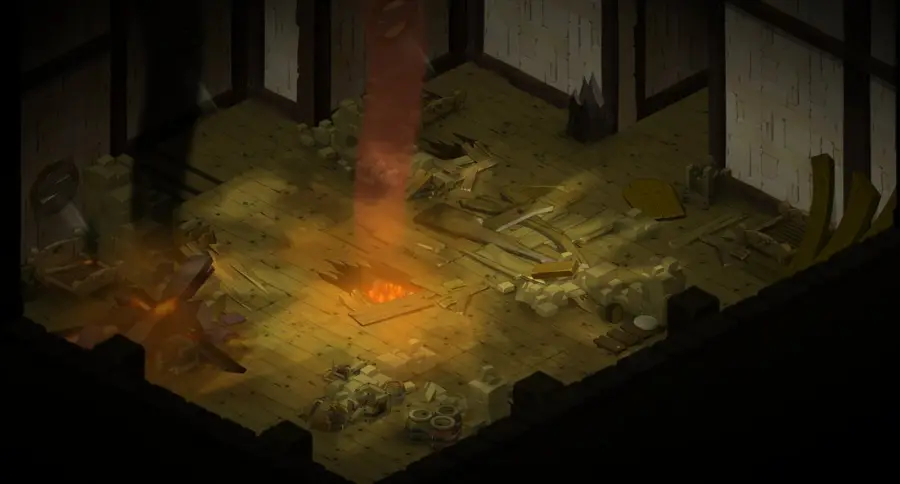
Room 5 — the Kharnotaurus
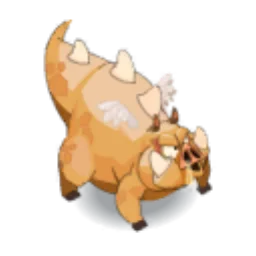
Defeat the Kharnotaurus
Never hit him up close
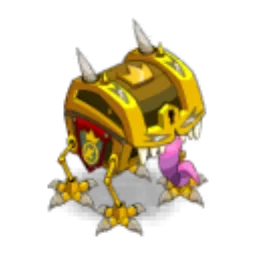
The Kharnotaurus is unmovable for the whole fight. If you hit him from 2 RNG or less, you are pulled into contact with him and he retaliates with Certain Death, once per hit received. While Deafened, Certain Death adds Unhealable and Gravity for 2 turns.

Level 100
 5,700 HP
 10 AP
 3 MP
- Resistances (%)
 Earth 10%
 Fire 10%
 Water 10%
 Air 10%
 Neutral 10%
Unmovable, he only moves through Collision, which throws him at his target. Harrowing Cry hits far around him, removes 3 AP and leaves you Deafened. Each monster killed gives him 710 vitality and 10% final damage. 10% resistance everywhere, no weakness.
 Collision5 AP · 15 RNG · Removes the Unmovable state · Advances 15 cells · Collision State ·36 to 45 Earth damage
It charges at its target, even a distant one. Keep an exit after its turn.
 Harrowing Cry3 AP · self ·46 to 55 Air damage · 26 to 35 Air damage · Pushes back 5 cells · -3 AP · Deafened State
Large area around him: removes 3 dodgeable AP and leaves you Deafened for a turn, which worsens Certain Death.
 Certain Death3 AP · melee ·41 to 50 Earth damage · Unhealable State · Gravity State
Heavy melee strike, one for each hit received up close; while Deafened, Unhealable and Gravity for 2 turns.
The four-step strategy against the Kharnotaurus
Always at 3 cells or more. Never hit the Kharnotaurus from 2 cells or less: each blow sticks you to him and triggers Certain Death. Never end your turn in contact with him, and keep an exit after his turn.
An order that spares your element. Each dead Dragoss gives 5% resistance in its element to the survivors. Kill last the one that strikes in your main element: a Water team saves the Slate for the end. Deal early with the Shape-Shifter, who pulls and boosts all its allies.
A boss who keeps growing. With each monster killed, the Kharnotaurus gains vitality and damage, with no limit. Save your protections for the end of the fight, when he is at his most dangerous.
Finish him from a distance. Alone, he stays unmovable: stay out of his 2 cells, beware of Harrowing Cry, which reaches far, and do not stay stuck to him after a Collision. Move away before resuming the focus.
Bony Gift
All the monsters carry this buff: when one of them dies, the others gain 5% resistance in its element, for the whole fight. Slate: Water, Clay: Air, Limestone: Earth, Coal: Fire. The Shape-Shifting Dragoss gives 200 stat in the element of the form it has taken, or power.
The Kharnotaurus, for his part, gains 710 vitality and 10% final damage with each monster killed. The further the fight goes, the harder he hits: do not leave a fragile character within his reach at the end of the fight.
The monsters of Kharnotaurus's Lair
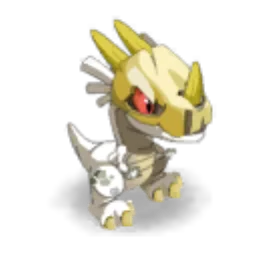
Five level 92 Dragoss: four elemental ones, each weak in one element (-15%), and the Shape-Shifter, which imitates the others. Each death strengthens the survivors and the boss. The resistances in red are their weaknesses.
In which order to kill the monsters
- Shape-Shifting Dragoss — it pulls, strikes in the element it imitates and boosts all its allies.
- Clay Dragoss — it teleports you to the other side and gives MP to the monsters around where you arrive.
- Limestone Dragoss, then Slate Dragoss, then Charcoal Dragoss — depending on your element: save for last the one that strikes in yours.
Level 92
- 2,000 HP
- 8 AP
- 5 MP
- Resistances (%)
- Earth 18%
- Fire 18%
- Water 18%
- Air 18%
- Neutral 18%
Chamanialeon makes him take on the appearance of an ally, whose element he adopts. Hyoid strikes in an area and pulls 2 cells, Enthusiasm boosts all his allies. 18% everywhere, no weakness.
-
Hyoid4 AP · 8 RNG · 46 to 55 damage of the best element ·36 to 45 Earth damage · 36 to 45 Fire damage · Pulls 2 cells · 36 to 45 Air damage · 36 to 45 Water damage · 36 to 45 Neutral damage
Area that pulls 2 cells, in the element it imitates; its damage increases with each cast.
 Enthusiasm2 AP · 10 RNG ·36 to 45 Earth damage · 50 to 51 Strength · 36 to 45 Fire damage · 50 to 51 Intelligence · 36 to 45 Air damage · 50 to 51 Agility · 36 to 45 Water damage · 50 Chance · 36 to 45 Neutral damage · 100 Power · 26 to 35 steal of the best element
Strikes and boosts, for all his allies, the stat of the element he imitates, for one turn.

Level 92
- 1,600 HP
- 8 AP
- 4 MP
- Resistances (%)
- Earth -15%
- Fire 11%
- Water 16%
- Air 32%
- Neutral 22%
Draggnabbit teleports you symmetrically, and the monsters around your arrival cell gain 2 MP; Dragoss Simoom removes 2 RNG. When dead, it gives Air resistance to the others. Weak to Earth.
 Draggnabbit4 AP · 4 RNG ·26 to 35 Air damage · Teleports the target to the other side of the caster
Symmetric teleportation; the monsters around your arrival cell gain 2 MP.
 Dragoss Simoom3 AP · 6 Range ·16 to 20 Air damage · -2 Range
Removes 2 RNG for one turn.
-
Aerial Offering2 AP · 5 Range ·21 to 30 Air damage

Level 92
- 1,400 HP
- 8 AP
- 4 MP
- Resistances (%)
- Earth 32%
- Fire 16%
- Water 11%
- Air -15%
- Neutral 22%
Dragoss Pell strikes in an area and pushes back 2 cells, Seismic Transmission steals 1 MP. When dead, it gives Earth resistance to the others. Weak to Air.
-
Dragoss Pell4 AP · 10 Range ·21 to 25 Earth damage · Push Away 2 cells
Strikes in an area and pushes back 2 cells.
 Seismic Transmission2 AP · 8 RNG ·16 to 20 Earth damage · Steals 1 MP
Steals 1 dodgeable MP, at range.
-
Rocky Offering2 AP · 10 RNG ·11 to 15 Earth damage

Level 92
- 1,600 HP
- 8 AP
- 3 MP
- Resistances (%)
- Earth 11%
- Fire -15%
- Water 32%
- Air 16%
- Neutral 22%
He plays at range, all in Water: Watozone strikes in a perpendicular line and pulls 2 cells, Fumarole strikes in a square and gives 1 AP to the monsters around him. When dead, he gives Water resistance to the others. Weak to Fire.
 Fumarole4 AP · 4 RNG ·26 to 30 Water damage
Square area, and 1 AP for the Slate and nearby monsters, 2 turns.
-
Watozone4 AP · 5 RNG ·21 to 30 Water damage
Pulls 2 cells in an area, in a line only.
-
Aquatic Offering2 AP · 6 RNG ·16 to 20 Water damage

Level 92
- 1,900 HP
- 8 AP
- 4 MP
- Resistances (%)
- Earth 16%
- Fire 32%
- Water -15%
- Air 11%
- Neutral 22%
He strikes in melee, and his Flaming Circle burns the cells within 2 RNG of him: do not step on them. Combustion strikes in a line. When dead, he gives Fire resistance to the others. Weak to Water.
-
Combustion3 AP · melee ·31 to 40 Fire damage
Strikes in a line from melee range.
-
Ardent Offering2 AP · melee ·36 to 45 Fire damage
Preparing your run through Kharnotaurus's Lair
A medium-difficulty dungeon for teams of level 90 to 100 who master distances and elemental focus. People come here for Victory Lap, for the Kharnotaurus Teeth and for the boss's soul, with a Soul Stone for Average Souls (captures up to level 100).
How to enter Kharnotaurus's Lair
The entrance is in Dreggon Village, in Amakna, at ; the nearest zaap is the one at Scaraleaf Plain . You enter with a Key to Kharnotaurus's Lair (consumed), the key ring or the group search.
Crafting the Key to Kharnotaurus's Lair
It is crafted by a handyman. The four Dragoss scales and the Oozing Meat drop in the dungeon, at 36%. Eel, Edelweiss and Rye complete the recipe.
| Ingredient | Quantity | Level |
|---|---|---|
 Limestone Dragoss Scale |
2 | 96 |
 Clay Dragoss Scale |
2 | 96 |
 Coal Dragoss Scale |
2 | 96 |
 Slate Dragoss Scale |
2 | 96 |
 Oozing Meat |
2 | 100 |
 Eel |
2 | 100 |
 Edelweiss |
2 | 100 |
 Rye |
2 | 100 |
Which team to bring against the Kharnotaurus
Play at a distance. The Kharnotaurus punishes every blow dealt up close. Characters who strike from a distance are the basis of the fight, and also keep the Dragoss away.
Several elements. Each elemental Dragoss has its weakness: Fire for Slate, Earth for Clay, Air for Limestone, Water for Coal. Spread your elements, and take the Bony Gift into account in the kill order.
The five achievements of Kharnotaurus's Lair
Each achievement gives 3,937,000 XP and 2 Kharnotaurus Tooth, Duo doubles the XP. Special poses no particular difficulty, and Keep Moving! mostly requires you to put away your MP removal spells.
| Achievements | Condition | Points | XP |
|---|---|---|---|
| Kharnotaurus's Lair | Defeat the Kharnotaurus in this boss's dungeon. | 10 | 3 937 000 |
| Kharnotaurus (Last) | Defeat the Kharnotaurus in his dungeon while completing the “Last” challenge. | 10 | 3 937 000 |
| Kharnotaurus (Special) | Defeat Kharnotaurus in his dungeon while completing the “The Better to See You With” challenge. | 10 | 3 937 000 |
| Kharnotaurus (Duo) | Defeat the Kharnotaurus in his dungeon while completing the “Duo” challenge. | 20 | 7 874 000 |
| Kharnotaurus (Keep Moving!) | Defeat the Kharnotaurus in his dungeon while completing the “Keep Moving!” challenge. | 10 | 3 937 000 |
Last
The Kharnotaurus must be finished off last. Bring the boss down without finishing him, then clean up the Dragoss. Each monster killed gives him back vitality and damage: keep enough to finish him, from a distance, once he is alone.
Keep Moving!
Do not try to remove MP from the opponents throughout the whole fight. No voluntary MP removal: take those spells off your bar before the fight. The Limestone Dragoss's MP steal on you does not fail the achievement. Handle distances with pushes and teleportation.
Special: The Better to See You With
Each enemy must have at least one ally in line of sight at the start of its turn. No particular difficulty: watch the map's obstacles so that no monster ends up isolated from its allies at the start of a turn.
Duo
Two characters at most, in fewer than 20 turns. Two characters who strike from a distance and handle positioning. Never approach the boss, deal with the Shape-Shifter early and take the Bony Gift into account in the kill order. Everything must be finished by the end of turn 19.
Drops and loot of Kharnotaurus's Lair
Base in-game rates, before Prospecting bonuses.
On the Kharnotaurus
 Kharnotaurus ToothBone36 %
- Kharnotaurus EyeEye6,04 %
 Fortunawa CookieTreat3 %
 Dripping MeatMeat1,81 %
 Al Howin GobtubbyCeremonial pet0,35 %
In addition, 1 rare item at 0.05% each: Kinryu.
On the henchmen of the Kharnotaurus
- Slate Dragoss ScaleSkin · Slate Dragoss36 %
- Oozing MeatMeat · Slate Dragoss36 %
- Clay Dragoss ScaleSkin · Clay Dragoss36 %
- Limestone Dragoss ScaleSkin · Limestone Dragoss36 %
- Coal Dragoss ScaleSkin · Charcoal Dragoss36 %
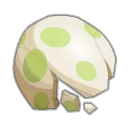 Shape-Shifting Dragoss ShellShell · Shape-Shifting Dragoss36 %
 Slate Dragoss ShellShell · Slate Dragoss6,04 %
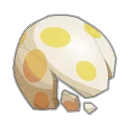 Clay Dragoss ShellShell · Clay Dragoss6,04 %
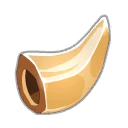 Limestone Dragoss HornBone · Limestone Dragoss6,04 %
 Coal Dragoss ShellShell · Charcoal Dragoss6,04 %
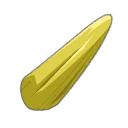 Shape-Shifting Dragoss HornBone · Shape-Shifting Dragoss6,04 %
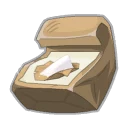 Bag of Magical CureContainer · Slate Dragoss1 %
- Fortunawa CookieTreat · Slate Dragoss1 %
Capturing the soul of the Kharnotaurus
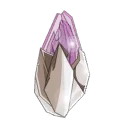 A Soul Stone for Average Souls (captures up to level 100) is enough for the Kharnotaurus, who is level 100.
| Stone ingredient | Quantity |
|---|---|
 Ordinary Soul Splinter |
10 |
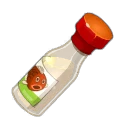 Fish Juice |
1 |
Where is Kharnotaurus's Lair?
In Dreggon Village, in Amakna, at . The nearest zaap is the one at Scaraleaf Plain .
At what level should you do Kharnotaurus's Lair?
From level 90, comfortably at 100. The dungeon is rated medium difficulty.
Which quest should you do in Kharnotaurus's Lair?
Victory Lap, with Roxy Ring on Otomai Island : defeat the Kharnotaurus in a single fight and discover the lair's exit.
How do you avoid Certain Death?
Hit the Kharnotaurus from 3 cells or more. At 2 cells or less, each blow pulls you into contact with him and triggers a retaliation.
Which monster should you target first in Kharnotaurus's Lair?
The Shape-Shifting Dragoss, most of the time. It pulls, strikes in all elements and boosts its allies; save for last the Dragoss that strikes in your element.
What is the Bony Gift?
Each monster killed strengthens the survivors by 5% resistance in its element, and the boss by 710 vitality and 10% final damage.
Which stone should you use to capture the Kharnotaurus?
A Soul Stone for Average Souls (captures up to level 100). The Kharnotaurus is level 100.
Do you need a key for every run of Kharnotaurus's Lair?
No, with the key ring or the group search. Otherwise, the key is crafted with the scales of the dungeon's Dragoss.

Comments
No comments yet. A tip, or a detail about this page? Be the first.