 2 × Skt-Zo Leg
Dungeon Wild Canyon
Koolich Cavern
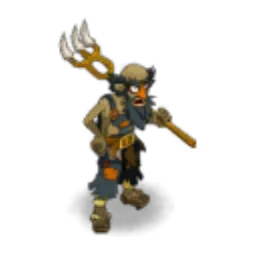
Level 100 dungeon at the end of the Wild Canyon, in Koalak Mountain, in [-17,8]: twelve rooms and a boss that doesn't hit but turns your characters into Gobkools, the Koolich. Quests to start, map of each room, strategy, monsters, achievements and loot.
Quests linked to the Koolich Cavern
Two quests are completed on the Koolich: A Hysterical Judge, a step of a six-dungeon tour, and Astounding for Bontarians. Accept them before entering: a fight won without the quest in progress doesn't count.
The Koolich is the third step. Kris Tericks sends you to beat, in order, the Ancestral Treechnid, the Dragon Pig, the Koolich, the Moowolf, the White Rat and the Black Rat. For each one, a single fight, then the dungeon's exit map, then back to Kris.
- Start
- Kris Tericks, Cania Fields
- Prerequisites
- The Master's Henchmen
 Koolich Stonewith Ancestral Treechnid Bud, Dragon Pig Hair, Moowolf Magic Testicles and 30,420,000 XP
Wid sends you to the Koolich to get you eliminated. After the investigation into the kaliptus flower trafficking, beat the Koolich in a single fight, talk to it on the spot, then go back to see Wid and Amayiro in Bonta.
- Start
- Amayiro, Bonta militia
- Prerequisites
- Level 90 and Tramston Is Dumb
For later
The Koolich's soul is requested. The Ochre Dofus quest requires the souls of many dungeon guardians: capture this one while you're here, with a Soul Stone for Average Souls.
- Start
- Otomai, Otomai Island
- Prerequisites
- Level 40
 Ochre Dofusat the end of the 19 steps
No need to beat the boss. Merlinmagus Ambrosius wants mushrooms from the Koolich's Lair: pick them up in the dungeon, burn them further on a pedestal with his mixture, then head back out.
- Start
- Justfa Lafs, tower of the Orders of Bonta
- Prerequisites
- Apprenticeship: Disciple of Menalt
During events
- Tiwaapi Simulation
Tiwaapi can designate the Koolich as a guardian to defeat. Incarnam, . - Merry Kwismas
Defeating the Koolich in a single fight gives a Kwismas Cavern Key. Harry Kwismas, .
The 12 rooms of the Koolich Cavern
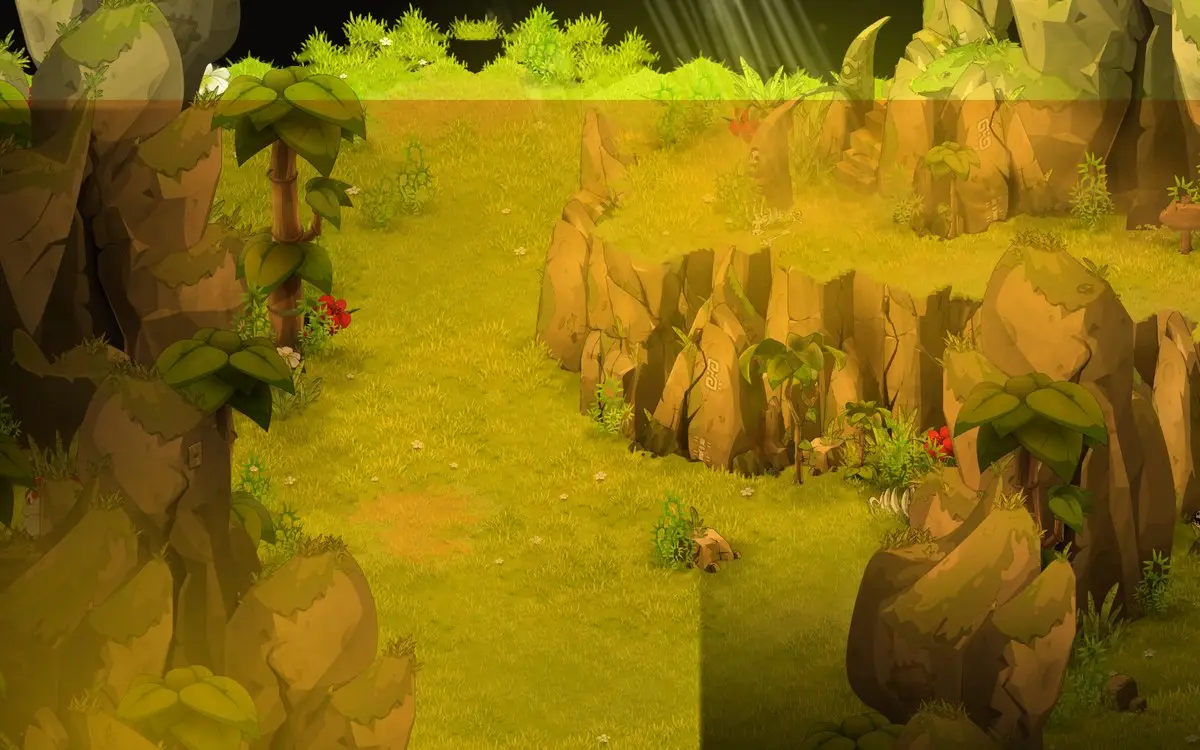
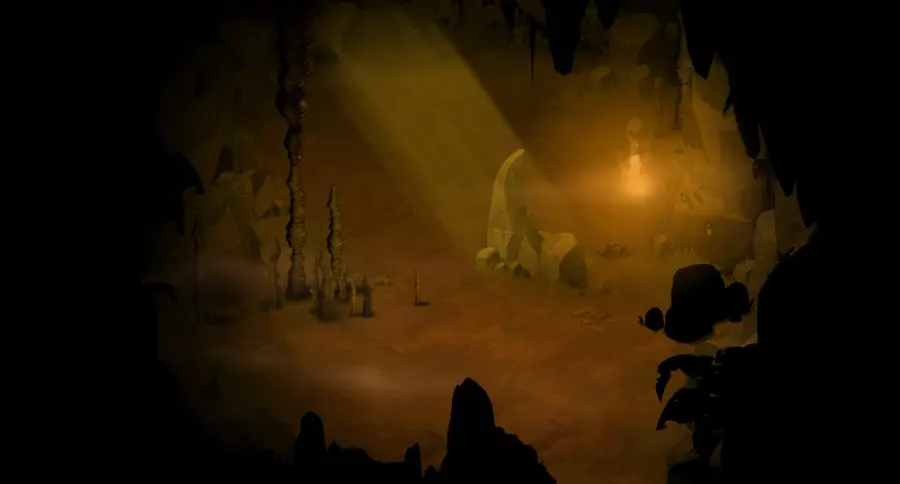
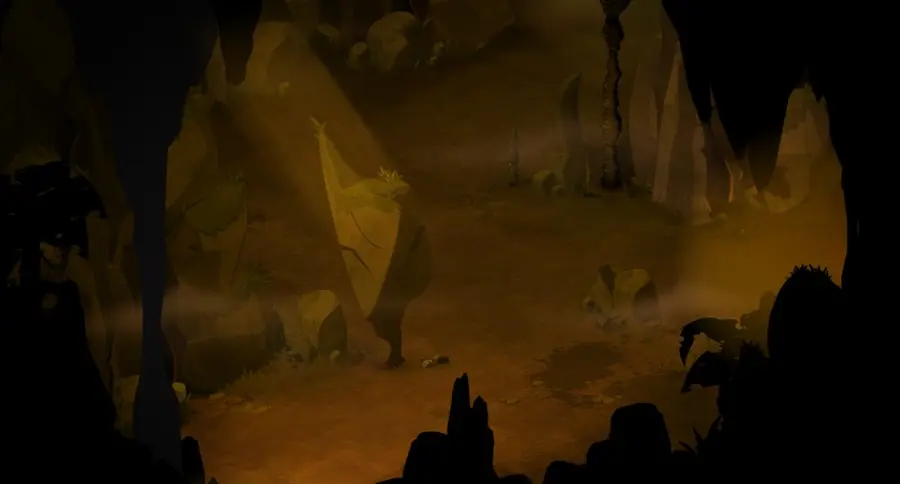
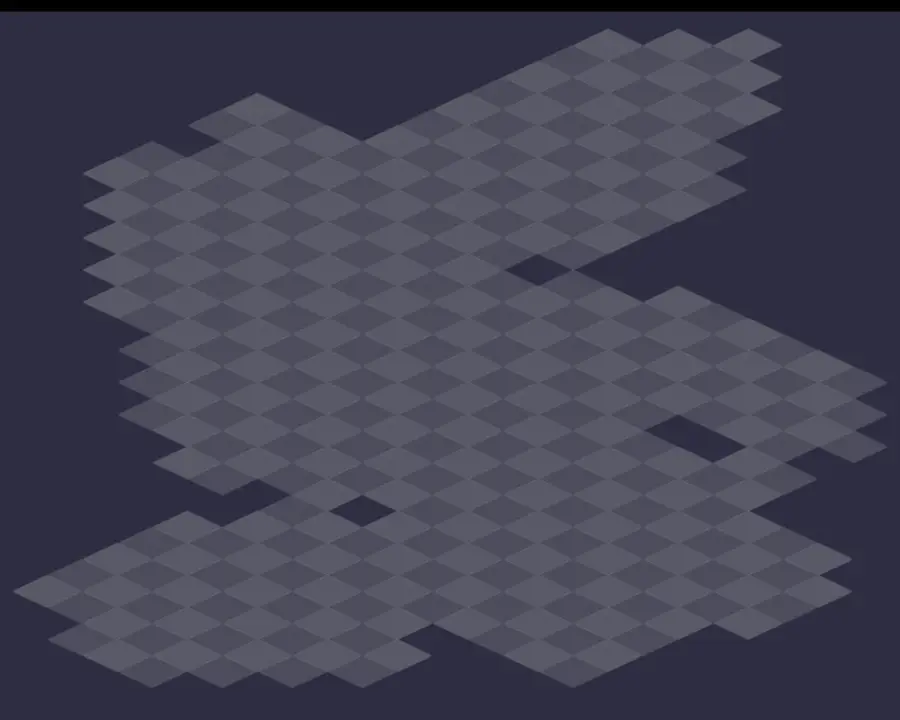
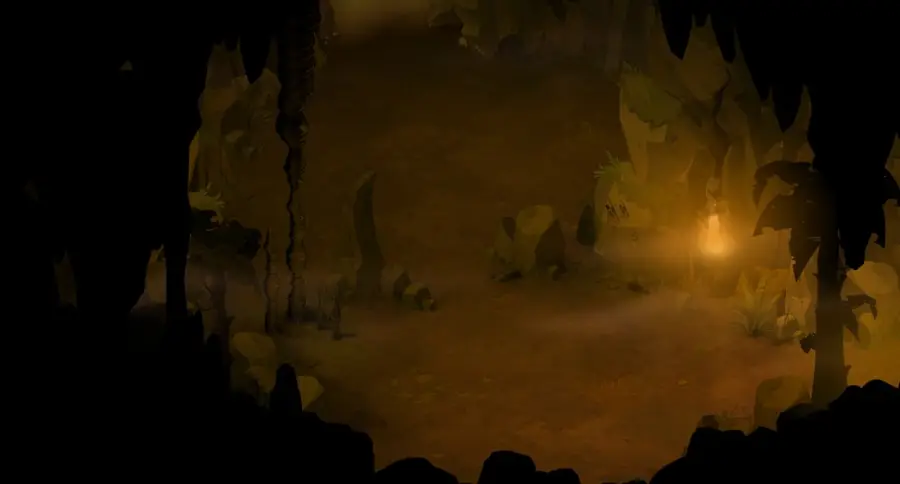
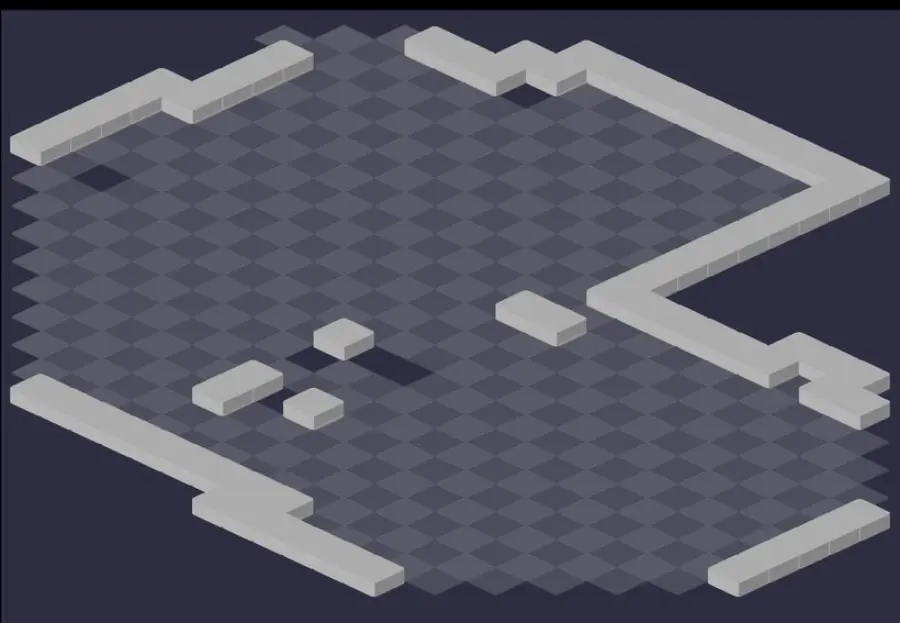
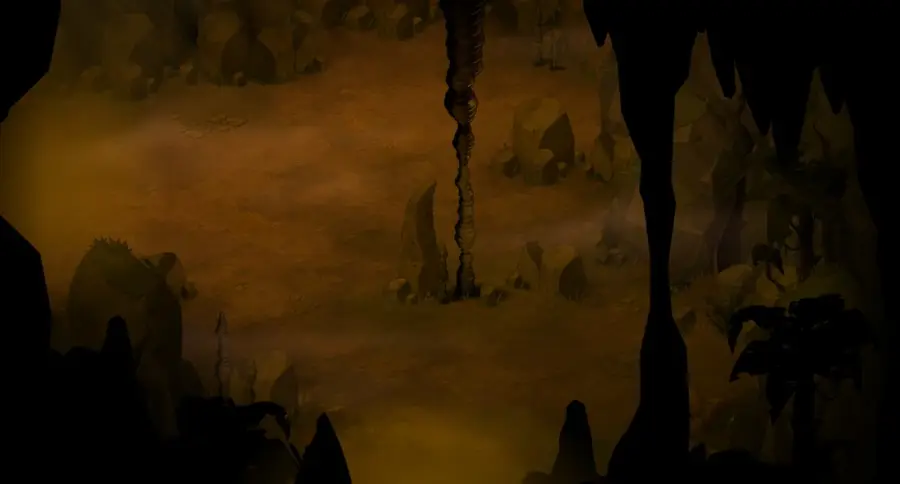
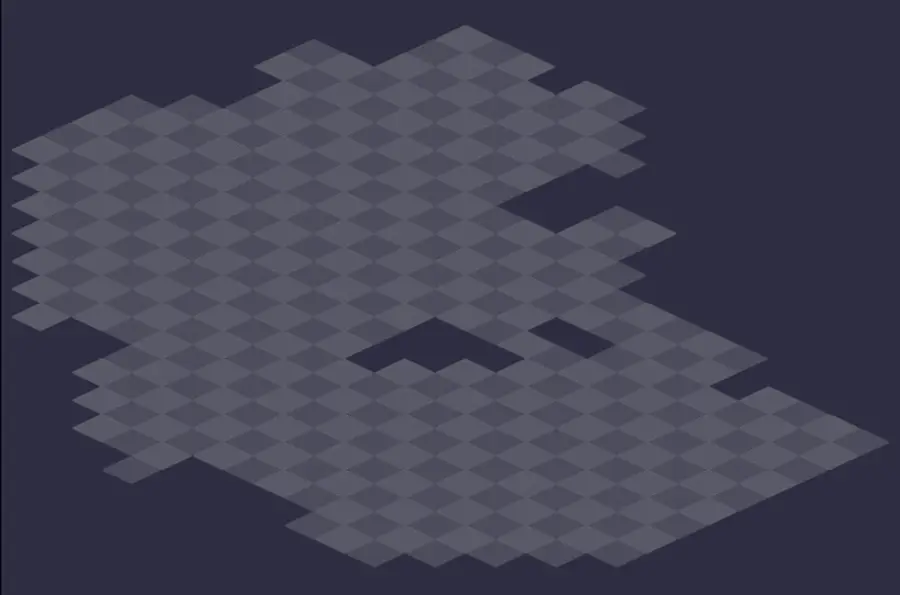
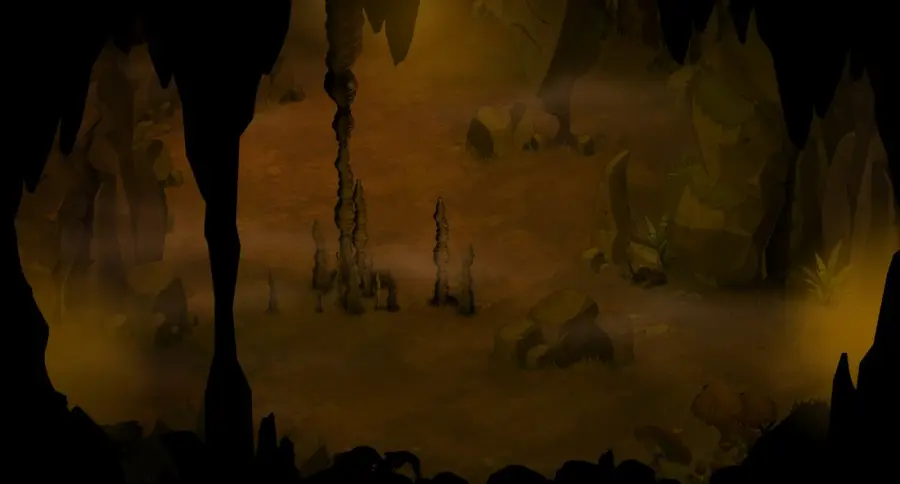
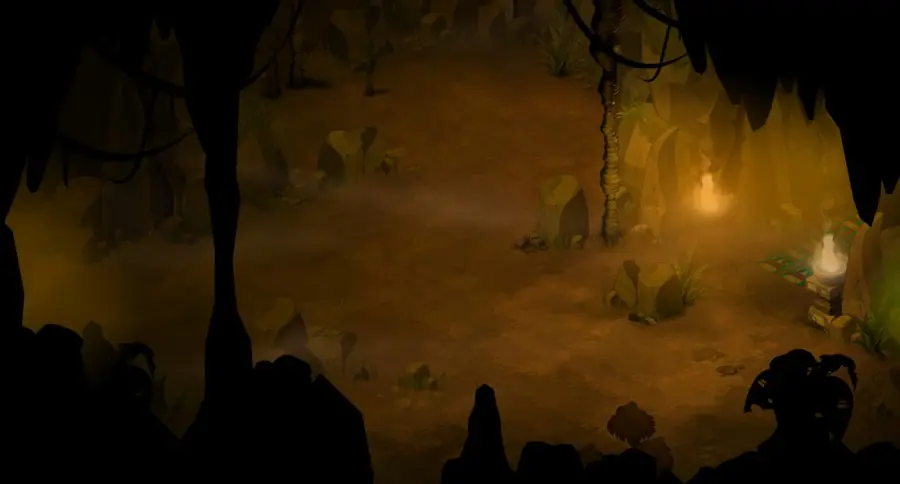
Twelve maps up to the Koolich, including the caves where the Gobkools live. Only a few offer obstacles to break lines of sight: spot them. For each room: the scenery, then the tactical view with the starting cells (blue: you, red: the monsters). Tap an image to enlarge it.
Room 1

Room 2
Room 3
Room 4
Room 5

Room 6
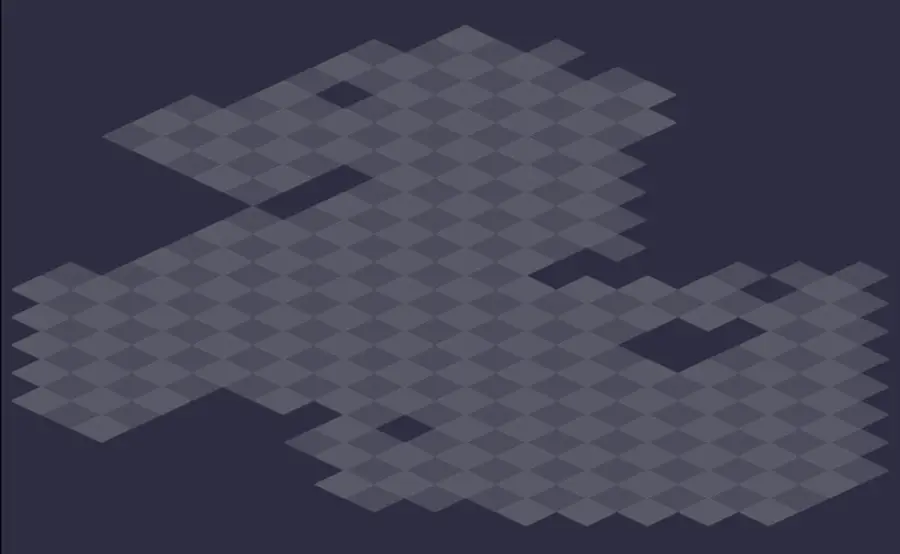
Room 7
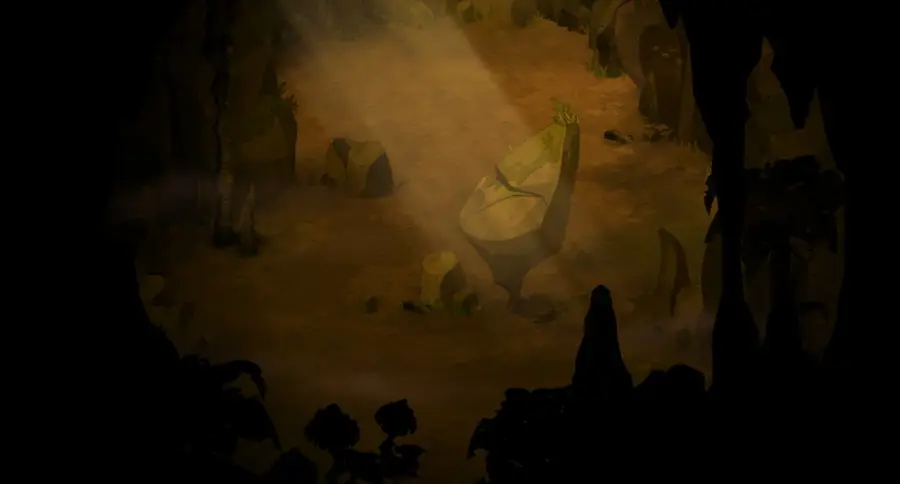
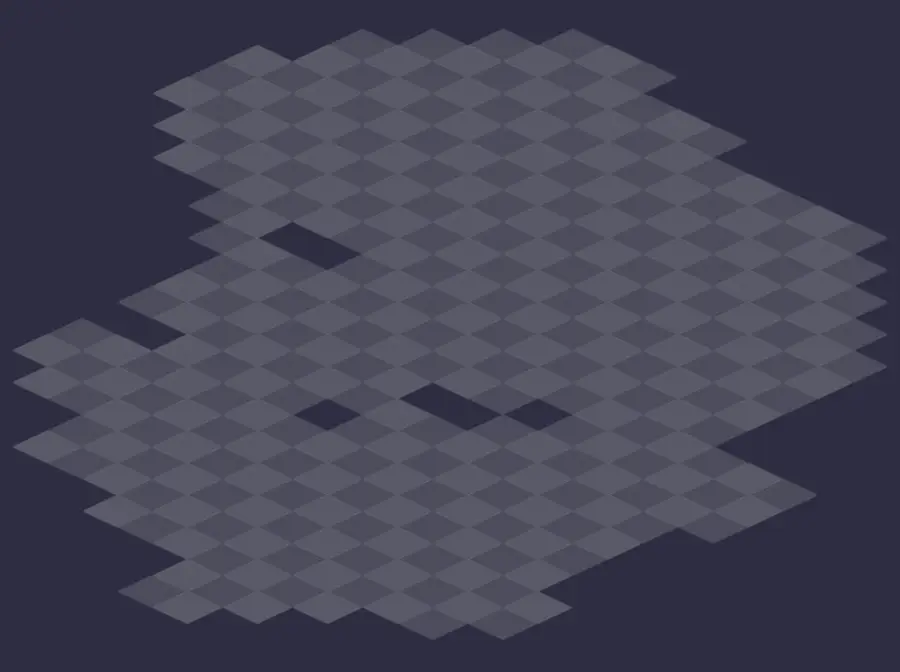
Room 8
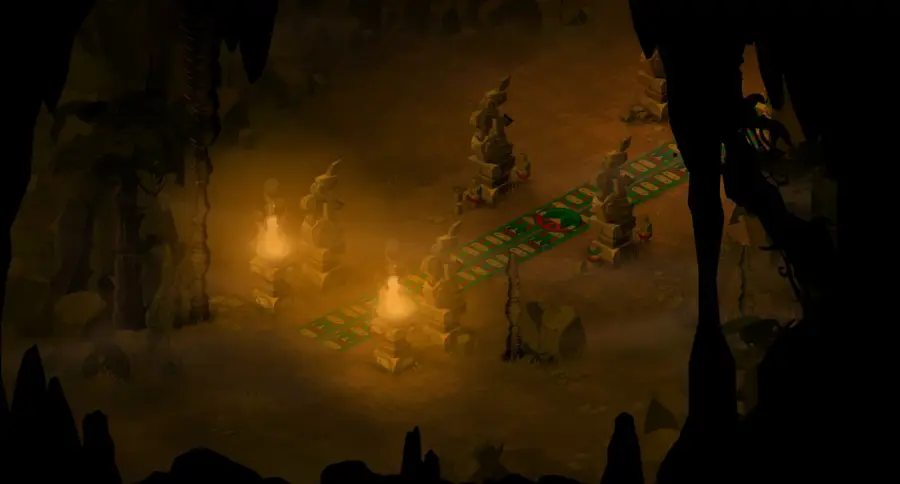
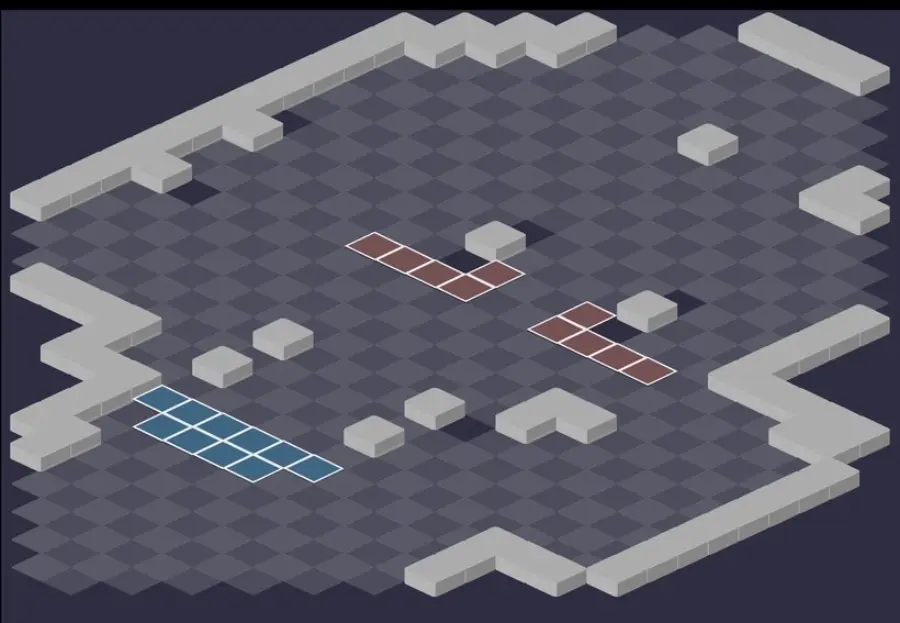
Room 9
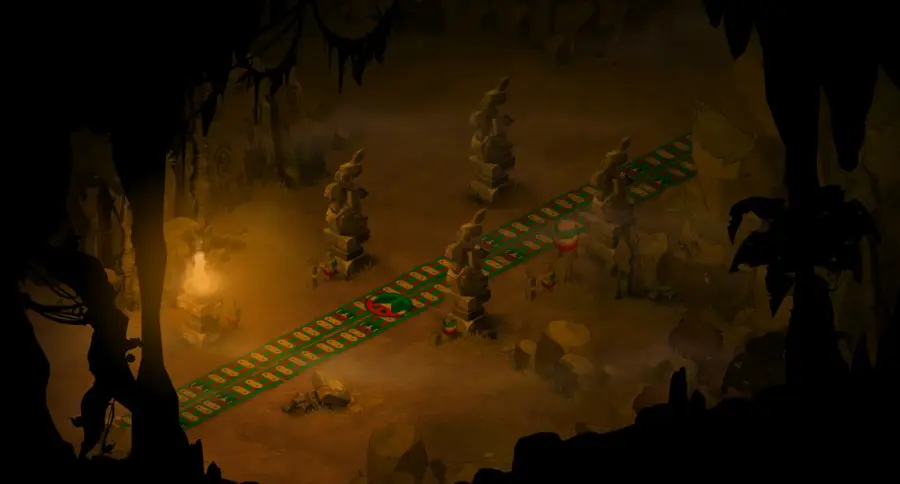
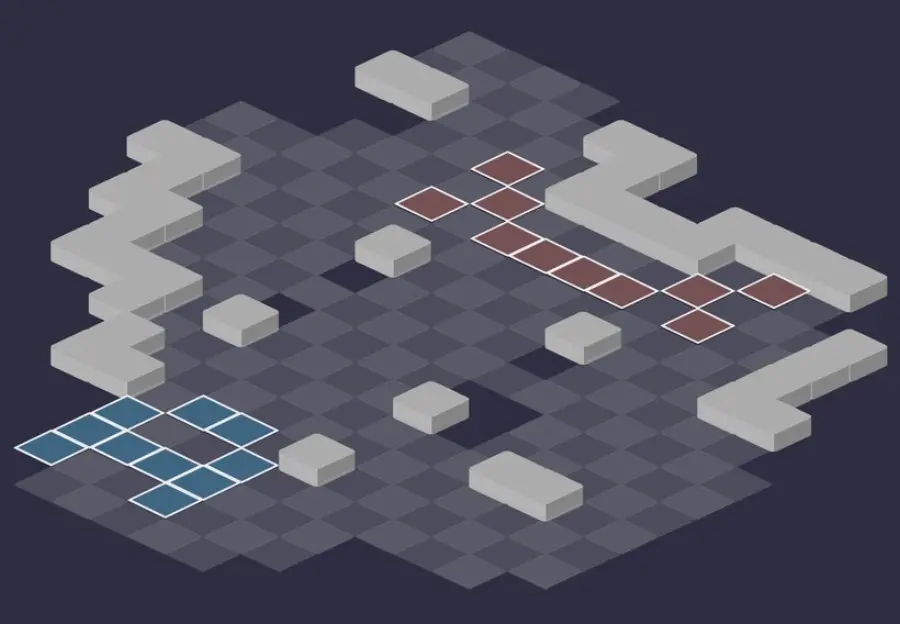
Room 10
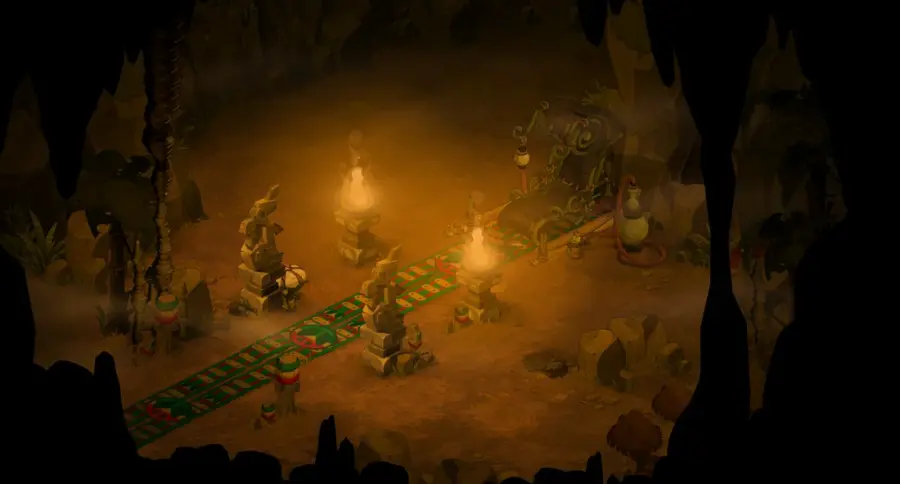
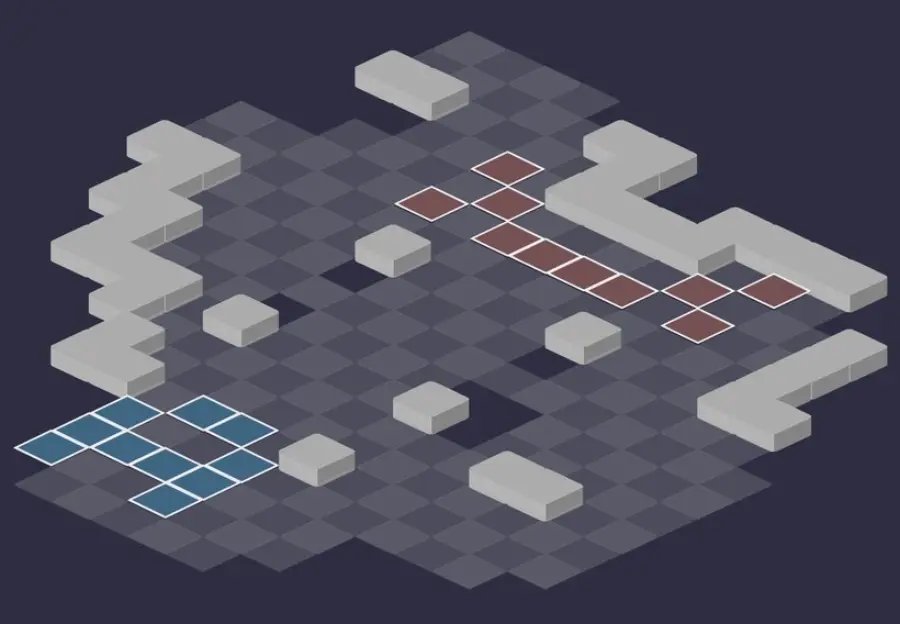
Room 11
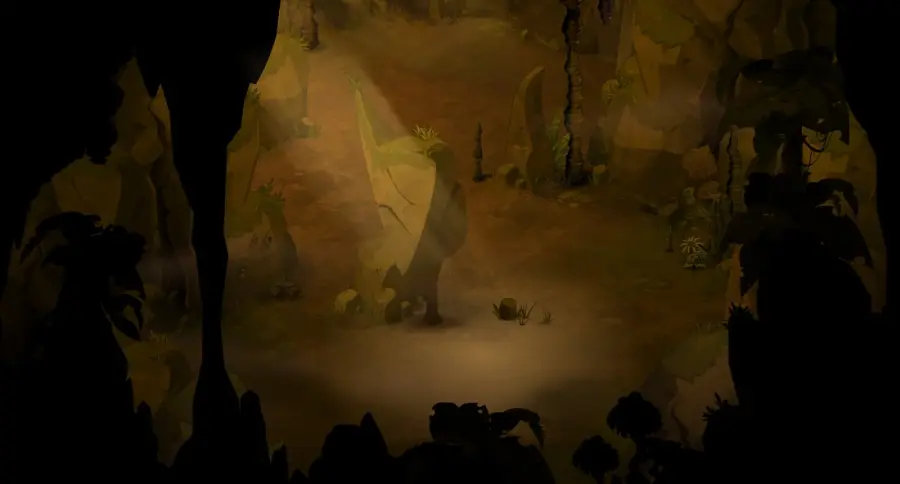
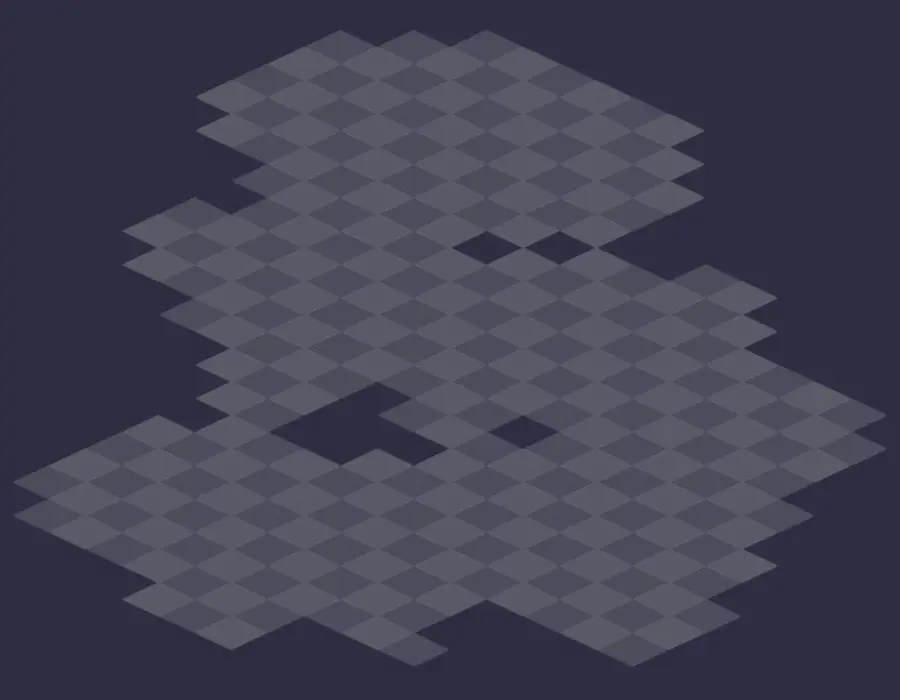
Room 12 — the Koolich
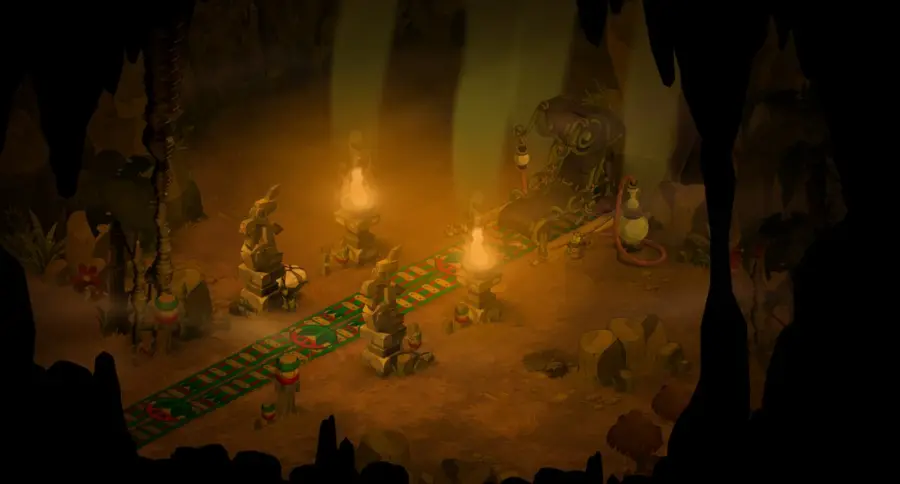
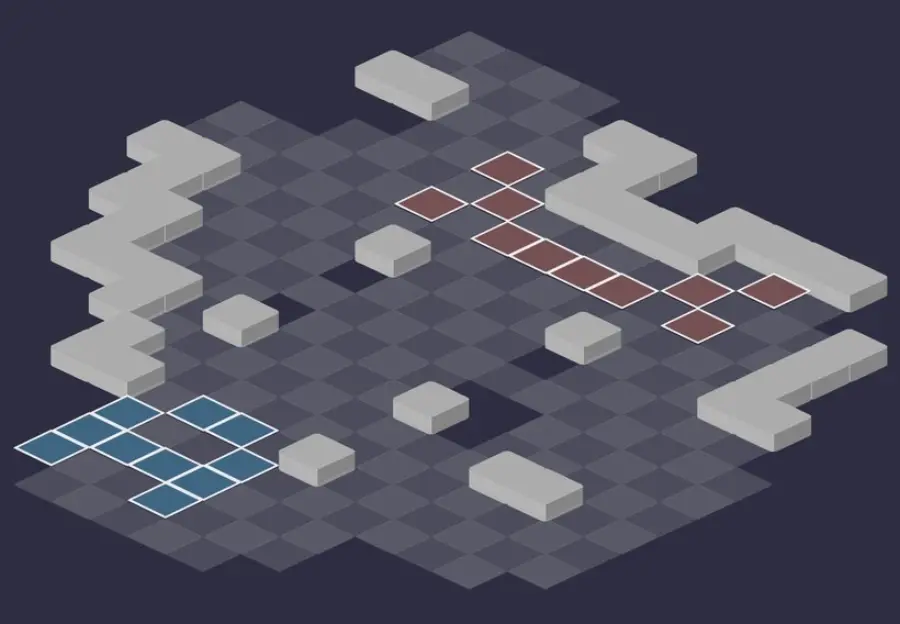
Defeat the Koolich
The Gobkool that makes the Koolich invisible
On a critical hit, the Koolich's summon produces a real Gobkool. In melee, its Bise makes its allies invisible and gives them 5 MP: an invisible Koolich with 5 more MP, and the fight goes south. Kill every Gobkool as soon as it arrives, or keep it from getting near the boss.
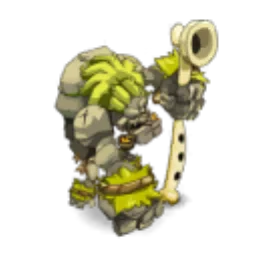
Level 100
 5,800 HP
 10 AP
 5 MP
- Resistances (%)
 Earth 28%
 Fire -12%
 Water -12%
 Air 33%
 Neutral 78%
He deals no damage: his spells pull, transform and summon. But he has huge initiative, Koolich Call pulls from 10 cells in a line and Koolich Breath turns you into a Gobkool. All his spells have modifiable range. Weak to Fire and Water.
 Summoning of Cave Gobball
From turn 2, recast every 3 turns, two summons at most. On a critical hit, a real Gobkool.
 Peace Pipe3 AP · 3 RNG · Changes appearance · 200 Agility ·5 MP · 200 Strength · 200 Vitality · 200 Chance
On a Gobball he has summoned: 5 MP and 200 in every characteristic for two turns. It can be unbewitched.
-
Koolich Call
Pulls 10 cells, in a line from 2 to 8 RNG, once per turn. His only spell on turn 1: it can bring you back within range of the Breath.
 Koolich Breath2 AP · 5 RNG ·-100 AP · Changes appearance · Kills the target · 10 Damage
Transforms into a Gobkool and removes 100 AP until the Koolich's next turn. In a line, at 5 RNG at most, with line of sight, from turn 2. Kills summons.
The five-step strategy against the Koolich
Position yourself opposite. He almost always plays before you: position yourself opposite him, out of his lines. On turn 1, Koolich Call is the only spell he can cast, in a line up to 8 RNG.
Never in line, never in view. From turn 2, Koolich Breath turns into a Gobkool any character in a line at 5 RNG or less, with line of sight. Hide behind obstacles, push him back, remove his MP, and above all his range: without RNG, he only casts his spells in melee.
The Cave Gobballs first. The safe method: kill the Cave Gobballs and the summons, then the Koolich. Any Gobkool takes absolute priority. With only Fire or Water characters, you can also target the Koolich first.
Two summons at most. He only keeps two summons at a time. If he has two plain Cave Gobballs and they don't bother you, let them live: he won't summon any more, and won't risk producing a Gobkool.
Finish it from afar. That leaves the Koolich: always at range and out of its lines, hit it with Fire or Water until its last breath. A transformed character can be unbewitched, or move away with their MP.
The Koolich Breath
The targeted character becomes a Gobkool and loses 100 AP until the Koolich's next turn: they can only move. The spell goes out in a line up to 5 RNG, with line of sight, three times per turn but once per target, and never on turn 1.
On a summon, it kills it outright. The effect can be unbewitched: a Pandawa, a Sadida, an Enutrof or an Eniripsa frees a transformed ally. A transformed character who takes damage also gains 10 damage for two turns, stackable four times.
Summons and Peace Pipe
From turn 2, then every three turns, he summons a Cave Gobball at 3 RNG, without line of sight. One time in ten, it's a Gobkool: lots of Earth resistance, and a Bise that makes its allies invisible and gives them 5 MP. These effects can be unbewitched and end on its death.
Peace Pipe, every two turns from turn 2, dresses one of its summoned Gobballs as a Gobkool and gives it 5 MP and 200 in all characteristics for two turns. It keeps its Gobball spells: unbewitch it rather than running from it. The spell doesn't affect the Gobballs present from the start.
The monsters of the Koolich Cavern
Against the Koolich, only Cave Gobballs, elusive and not very dangerous. The rooms, on the other hand, line up ten species of Koalaks with very varied weaknesses: mix your elements. The resistances in red are their weaknesses.
In which order to kill the monsters
- Cave Gobballs — against the Koolich, they remove AP and MP at range; any summoned Gobkool takes priority over them.
- Mama Koalak — in the rooms, Delivery fills the field with summons.
- Dok Alako — he heals his allies and strengthens their Earth resistance.

Level 84
- 1,300 HP
- 12 AP
- 5 MP
- Resistances (%)
- Earth -18%
- Fire 50%
- Water 20%
- Air -25%
- Neutral 30%
Cave Dribble removes 2 AP and Cave Spit 2 MP at range, then he bites in melee. His AI is elusive, and he fears Air and Earth. The Koolich's summons can become Gobkools, real or disguised.
 Cave Gobball Bite4 AP · melee ·36 to 45 Neutral damage
 Cave Dribble3 AP · 4 Range ·-2 AP
Removes 2 dodgeable AP for one turn, at range, once per target.
 Cave Spit3 AP · 4 Range ·-2 MP
Removes 2 dodgeable MP for one turn, at range, once per target.
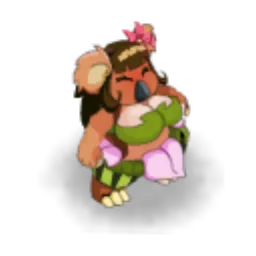
Level 90
- 1,500 HP
- 7 AP
- 4 MP
- Resistances (%)
- Earth 50%
- Fire 30%
- Water -10%
- Air -18%
- Neutral 30%
Delivery fills the field with summons, and Flip steals 1 AP. Take her down early, with Air or Water, before her reinforcements block your lines.
 Release
-
Delivery
Mama Koalak fills the field with summons, up to 3 RNG: kill her before she blocks your lines.
 Flip4 AP · self ·21 to 30 Earth damage · 21 to 30 Water damage · Steals 1 AP
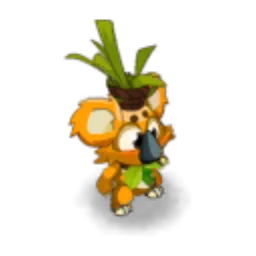
Level 70
- 1,000 HP
- 5 AP
- 7 MP
- Resistances (%)
- Earth -15%
- Fire 30%
- Water -28%
- Air 60%
- Neutral 30%
Furvour heals an ally in melee and strengthens their Earth resistance, Kalik steals life and removes resistances. Kill him before engaging in melee. Weak to Water and Earth.
 Furvour2 AP · melee ·16 to 20 Fire heals · 21 to 30% Earth Resistance
Melee heal and Earth resistance bonus for the targeted ally.
 Kalik2 AP · melee ·16 to 20 Fire steal · -10% Resistance
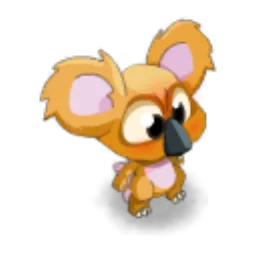
Level 60
- 780 HP
- 6 AP
- 3 MP
- Resistances (%)
- Earth -9%
- Fire -40%
- Water 30%
- Air 40%
- Neutral 20%
Both his Shocks push back, the Brilliant one also removes AP dodge. Fire kills him fast, at -40%.
 Shock4 AP · 6 RNG ·21 to 30 Fire damage · Pushes 2 cells
-
Brilliant Shock7 AP · 8 RNG ·31 to 45 Fire damage · Pushes away 3 cells · -75 AP Parry
 Koalak Liberation
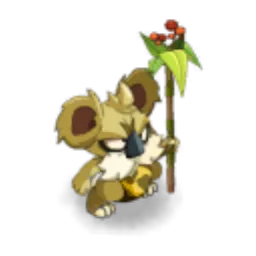
Level 74
- 1,100 HP
- 7 AP
- 4 MP
- Resistances (%)
- Earth 25%
- Fire -18%
- Water -10%
- Air 60%
- Neutral 20%
It summons a Workette, removes range with Short Sight and gives some with Farsight. Deal with it at range, in Fire or Water.
-
Summoning of Workette
 Short Sight2 AP · 8 RNG · -3 to -4 Range ·51 to 60 Air damage
 Farsight
-
Flick4 AP · melee ·31 to 50 Water steal
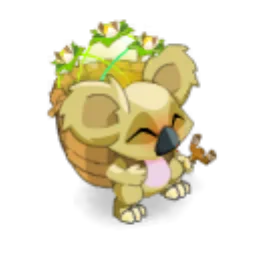
Level 80
- 1,200 HP
- 6 AP
- 3 MP
- Resistances (%)
- Earth -20%
- Fire -20%
- Water -20%
- Air 70%
- Neutral 10%
It summons a Coco Blop, removes range at range and pushes back 3 cells with Koalak Liberation. 70% Air resistance: hit it with any other element.
-
Summoning of Coco Blop
 Coco Weakness3 AP · 8 RNG ·31 to 40 Air damage · -2 to -3 Range
-
Koalak Liberation
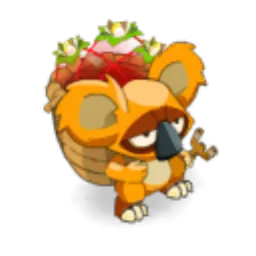
Level 80
- 1,200 HP
- 6 AP
- 3 MP
- Resistances (%)
- Earth -20%
- Fire 70%
- Water -20%
- Air -20%
- Neutral 10%
It summons a Morello Cherry Blop and Morello Cherry Weakness reduces your healing. 70% Fire resistance: hit it with Water, Earth or Air.
-
Summoning of Morello Cherry Blop
-
Morello Cherry Weakness3 AP · 8 RNG ·31 to 40 Fire damage · -11 to -15 Heals
-
Koalak Liberation
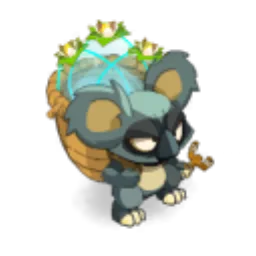
Level 80
- 1,200 HP
- 6 AP
- 3 MP
- Resistances (%)
- Earth -20%
- Fire -20%
- Water 70%
- Air -20%
- Neutral 10%
It summons an Indigo Blop and Indigo Weakness removes MP dodge. 70% Water resistance: hit it with any other element.
-
Summoning of Indigo Blop
-
Indigo Weakness3 AP · 8 RNG ·31 to 40 Water damage · -16 to -20 MP Parry
-
Koalak Liberation
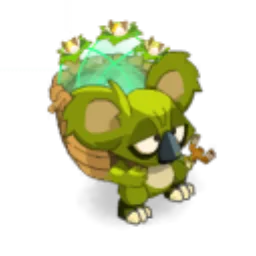
Level 80
- 1,200 HP
- 6 AP
- 3 MP
- Resistances (%)
- Earth 70%
- Fire -20%
- Water -20%
- Air -20%
- Neutral 10%
It summons a Pippin Blop and Pippin Weakness removes power. 70% Earth resistance: hit it with Fire, Water or Air.
-
Summoning of Pippin Blop
-
Pippin Weakness3 AP · 8 RNG ·31 to 40 Earth damage · -41 to -60 Power
-
Koalak Liberation
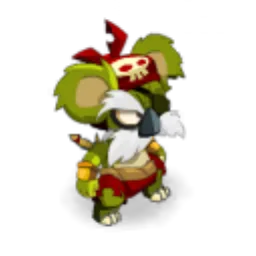
Level 80
- 1,500 HP
- 8 AP
- 4 MP
- Resistances (%)
- Earth 50%
- Fire -10%
- Water -19%
- Air -10%
- Neutral 10%
Piralak Leap teleports it up to 5 RNG, and Poisoned Peat hits according to the AP you use. Keep your distance and remove its MP. Weak to Water.
 Filthipint
 Poisoned Peat5 AP · melee ·10 Neutral damage per 1 AP AP used · 26 to 35 Earth damage
Poison that hits for every AP the target uses: play a light turn if you are hit.
 Piralak Leap
Teleportation up to 5 RNG: distance alone isn't enough to keep him away.

Level 90
- 1,600 HP
- 8 AP
- 2 MP
- Resistances (%)
- Earth -9%
- Fire -9%
- Water -9%
- Air -18%
- Neutral 30%
Only 2 MP, but Warming gives him some and adds damage. Headbutt removes your bewitchments in melee: keep him away from your boosted characters. Weak to Air.
-
Headbutt2 AP · melee · Dispels magic effects ·6 to 10 Earth damage
Removes the target's bewitchments in melee.
-
Warming2 AP · self ·3 to 4 MP · 31 to 40 Damage
Preparing your run through the Koolich Cavern
A level 90 to 100 dungeon that mainly requires you to play out of lines of sight and vary your elements. People come here for the quests, the achievements, the Koolich Braids and the Koolich's soul, requested by the Ochre Dofus: plan for a Soul Stone for Average Souls (captures up to level 100).
How to enter the Koolich Cavern
The entrance is at the end of the Wild Canyon, in Koalak Mountain, at : you have to travel this whole “Koolich path”. The nearest zaap is the one in the Breeder Village . Stand on the cell in front of the Koalak Guard before talking to him. You need a Koolich Cavern Key (consumed), the keyring, or automatic group search. At the end, you are teleported to the zaap .
Crafting the Koolich Cavern Key
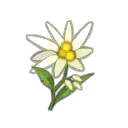
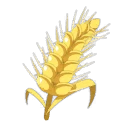
It is crafted at a handyman. Four ingredients drop from the dungeon's monsters: Dok Alako Fabric, Piralak Skin, Brown Warko Boomerang and Oozing Meat. Eel (fishing), Edelweiss and Rye (harvesting) complete the recipe, along with the Fisheralak Bone.
| Ingredient | Quantity | Level |
|---|---|---|
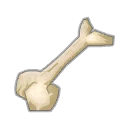 Fisheralak Bone |
2 | 84 |
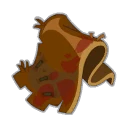 Dok Alako Fabric |
2 | 74 |
 Piralak Skin |
2 | 84 |
 Brown Warko Boomerang |
2 | 78 |
 Oozing Meat |
2 | 100 |
 Eel |
2 | 100 |
 Edelweiss |
2 | 100 |
 Rye |
2 | 100 |
Which team to bring against the Koolich
Two elements for two targets. The Koolich fears Fire and Water, the Cave Gobballs Air and Earth. Two Water or Fire characters and two Earth or Air characters eliminate everything quickly.
Unbewitching. Koolich Breath, Peace Pipe and the Gobkool's Bise can all be unbewitched. An unbewitching class is worth its weight in gold here.
Range and MP removal. All his spells have modifiable range: without RNG, he can only act in melee. MP removal and pushes keep him away.
The comfortable classes. The Pandawa, the Sadida, the Enutrof and the Eniripsa unbewitch a transformed ally or an invisible Koolich. Classes that remove range or MP, and those that play at range, also feel comfortable.
The five achievements of the Koolich Cavern
Each achievement gives 3,937,000 XP and 2 Koolich Braid, and Duo doubles the XP. Killing the Koolich before turn 2 completes Special with no constraint at all.
| Achievements | Condition | Points | XP |
|---|---|---|---|
| Koolich (Special) | Defeat the Koolich in its dungeon by completing the “Keep Your Uncool” challenge. | 10 | 3 937 000 |
| Koolich Cavern | Defeat the Koolich in this boss's dungeon. | 10 | 3 937 000 |
| Koolich (Zombie) | Defeat the Koolich in its dungeon by completing the “Zombie” challenge. | 10 | 3 937 000 |
| Koolich (Clean Hands) | Defeat the Koolich in its dungeon by completing the “Clean Hands” challenge. | 10 | 3 937 000 |
| Koolich (Duo) | Defeat the Koolich in its dungeon by completing the “Duo” challenge. | 20 | 7 874 000 |
Special: Keep Your Uncool
No ally may be transformed into a gobkool. Only your characters count: the Breath kills summons instead of transforming them. Remove its range and it can only transform in melee, with its pull reduced to 2 RNG. Without RNG removal, never stay lined up and in view, and keep it away with positioning and MP removal. The Breath doesn't exist on turn 1: the starting placement matters little.
Zombie
Use exactly one movement point per turn. Impossible to escape its lines by running. Count on range removal, obstacles and pushes, and plan your MP before your spells each turn.
Clean Hands
Finish off enemies without direct damage. Poisons, glyphs, traps, pushes, damage reflection and summons are allowed. Warning, Koolich Breath kills summons: keep them out of its lines.
Duo
Two characters maximum, fewer than 20 turns. One profile that removes RNG or MP, another that hits at range, ideally in different elements. Kill every Gobkool fast, then keep the Koolich away until the end.
Drops and loot of the Koolich Cavern
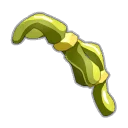
Base game rate, before prospecting bonus. The Koolich Braid drops at 36% from the boss.
On the Koolich
 Koolich BraidHair36 %
- Koolich StoneStone6,04 %
 Nougat Rabmarac BarTreat6 %
 Dripping MeatMeat1,81 %
 Al Howin GobtubbyCeremonial pet0,35 %
On the henchmen of the Koolich
 Blood-Soaked MeatMeat · Immature Koalak44 %
 Immature Koalak SkinSkin · Immature Koalak43 %
- Dok Alako FabricFabric · Dok Alako42 %
 Medicinal StoneStone · Dok Alako42 %
- Oozing MeatMeat · Brown Warko41 %
- Brown Warko BoomerangCombat Resource · Brown Warko40 %
 Coco Koalak HairHair · Coco Koalak39 %
 Morello Cherry Koalak HairHair · Morello Cherry Koalak39 %
 Indigo Koalak HairHair · Indigo Koalak39 %
 Pippin Koalak HairHair · Pippin Koalak39 %
- Piralak SkinSkin · Piralak39 %
 Drakoalak SkinSkin · Drakoalak37 %
 Mama Koalak BoneBone · Mama Koalak36 %
 Kaliptus FlowerFlower · Immature Koalak7,32 %
 Dok Alako BoomerangCombat Resource · Dok Alako6,92 %
 Shredded Drakoalak HeadgearGarment · Drakoalak6,12 %
 Perfect Immature Koalak SkinKoalak Mountain · Immature Koalak6 %
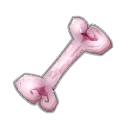 Magic Mama Koalak BoneKoalak Mountain · Mama Koalak6 %
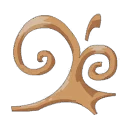 Irritating Brown Warko Beard HairKoalak Mountain · Brown Warko6 %
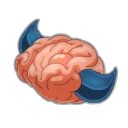 Cave Gobball BrainMiscellaneous Resource · Cave Gobball2 %
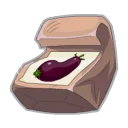 Bag of AuberginesContainer · Cave Gobball1 %
 Aermyne Map fragment 3/4Map fragment · Dok Alako1 %
 Bag of Babbage LeavesContainer · Dok Alako1 %
 Rok Gnorok Map fragment 4/4Map fragment · Dok Alako1 %
 Rok Gnorok Map fragment 3/4Map fragment · Immature Koalak1 %
 Aermyne Map fragment 2/4Map fragment · Immature Koalak1 %
 Rok Gnorok Map fragment 2/4Map fragment · Piralak1 %
 Aermyne Map fragment 4/4Map fragment · Brown Warko1 %
Soul capture and the Gobkools' cave
Capturing the soul of the Koolich and the Ochre Dofus
 One Soul Stone for Average Souls (captures up to level 100) is enough. The soul is used for the An Eternal Harvest quest for the Ochre Dofus, which requires the soul of every dungeon guardian.
| Stone ingredient | Quantity |
|---|---|
 Ordinary Soul Splinter |
10 |
 Fish Juice |
1 |
The Gobkools' cave
On the way to the boss, caves are home to Gobkools and Cave Gobballs: it's the only place where Gobkools are found, so take the chance to complete a challenge on them and unlock their achievement. The archmonster Dokterwho the Tardisporter can also be found there.
The Koolich Cavern as a guild Expedition
The Koolich Cavern exists as a guild Expedition: a single room, the Koolich's, with 100% resistance in all elements and a completely different mechanic:
- hit on an even turn, it transforms into Gobkools the entities in a line with it; on an odd turn, those on a diagonal;
- hit a second time, it turns the already transformed entity into Maximum Kewlitude: a character or summon dies there, a Cave Gobball gains a spell and speeds up the summons;
- an Altered Gobball gains AP, MP, damage and heals; a transformed character loses their AP and becomes pacifist for one turn;
- every Gobkool that starts its turn within 2 RNG or less of an entity loses 20% resistances for two turns: place cheap summons around the Koolich, in a line on even turns or diagonally on odd turns, then hit it to transform them. The Pandawa's Bamboo Grove is ideal;
- it has 0 resistance to push damage: it can also be killed by pushing alone;
- kill the Cave Gobballs first without touching the Koolich, so that they stay without bonuses, and wait for its invisibility turn, every four turns, rather than looking for it with area spells.
Where is the Koolich Cavern?
At the end of the Wild Canyon, in Koalak Mountain, at . The nearest zaap is the one in the Breeder Village .
How do you get into the Koolich Cavern?
Stand on the cell in front of the Koalak Guard, then talk to him, with a key, the keyring or via automatic group search.
What level should you do the Koolich Cavern at?
From level 90, comfortably at 100. The Koolich is level 100 and deals no damage, but its transformations punish poor positioning.
How do you avoid being turned into a Gobkool?
Never end a turn in line and in view of the Koolich, at 5 RNG or less. Remove its range and hide behind obstacles; a transformed ally can be unbewitched.
Which monster should you kill first in the Koolich Cavern?
Any summoned Gobkool, immediately. Otherwise, the Cave Gobballs, then the Koolich. If he already has two plain Gobballs, you can let them live: he won't summon any more.
Which element should you play against the Koolich?
Fire and Water, his two negative resistances. The Cave Gobballs fear Air and Earth instead.
Which stone should you use to capture the Koolich?
One Soul Stone for Average Souls (captures up to level 100). Its soul is required by the Ochre Dofus quest.
Can the Koolich Cavern be done as a duo?
Yes, it's the Duo achievement, in fewer than 20 turns. One character who removes range or MP, another who hits at range.
Comments
No comments yet. A tip, or a detail about this page? Be the first.