 2 × Skt-Zo Leg
Dungeon Xelorium
XLII's Metronomicon
Level 170 dimension dungeon in the Xelorium, at [7,-2]: a single room, five waves of monsters and a boss whose Aurour sets your damage according to the hour, XLII. Quest to start, map of the room, strategy, monsters, achievements and loot.
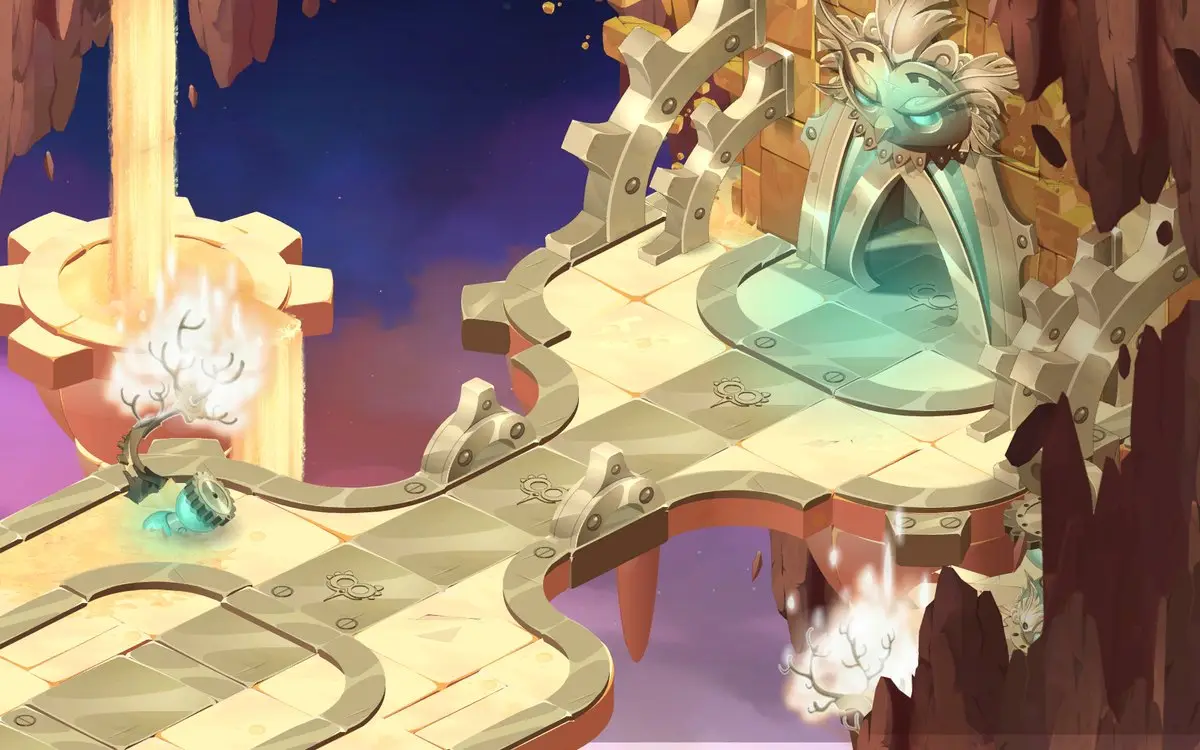
Quests linked to XLII's Metronomicon
The dungeon quest, Life, the Outerworld, and the Rest, is completed on XLII: talk to it after the fight, before leaving. Accept it before entering: a fight won without the quest in progress does not count.
Talk to XLII after the fight, before leaving. Doc Ettem Bworn sends you to see the Metronomicon Guardian, then to defeat XLII in a single fight. Next, threaten to tell God Xelor, and go back to see the Doc.
- Start
- Doc Ettem Bworn, Gonebyways
- Prerequisites
- Thread the Needle
 Orichor35 Orichor, 3 Tuft of Siks-T Hair and 28,081,000 XP
During events
- Tiwaapi Simulation
Tiwaapi can name XLII as a guardian to defeat. Incarnam, .
Sufokia's Missing Person (level 100) asks for a Dimensional Diamond, to be brought back from the dimension dungeon suited to your level: XLII's Metronomicon is one of them.
The room of XLII's Metronomicon
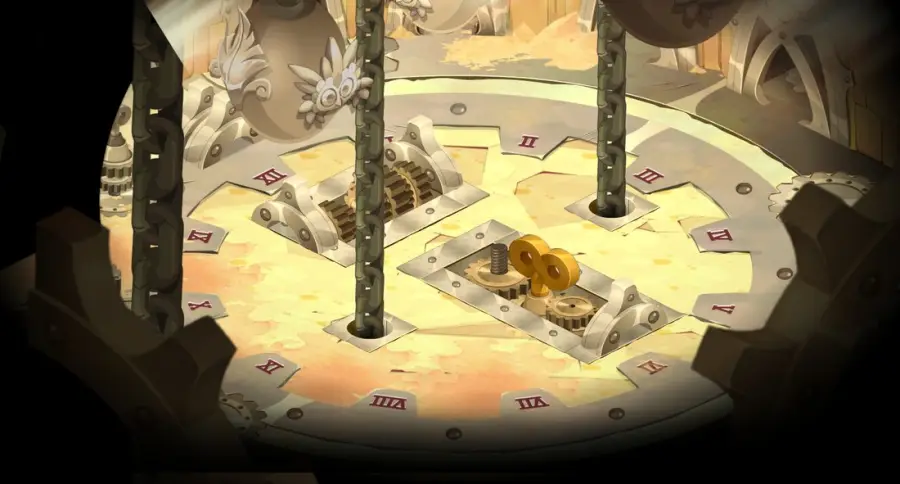
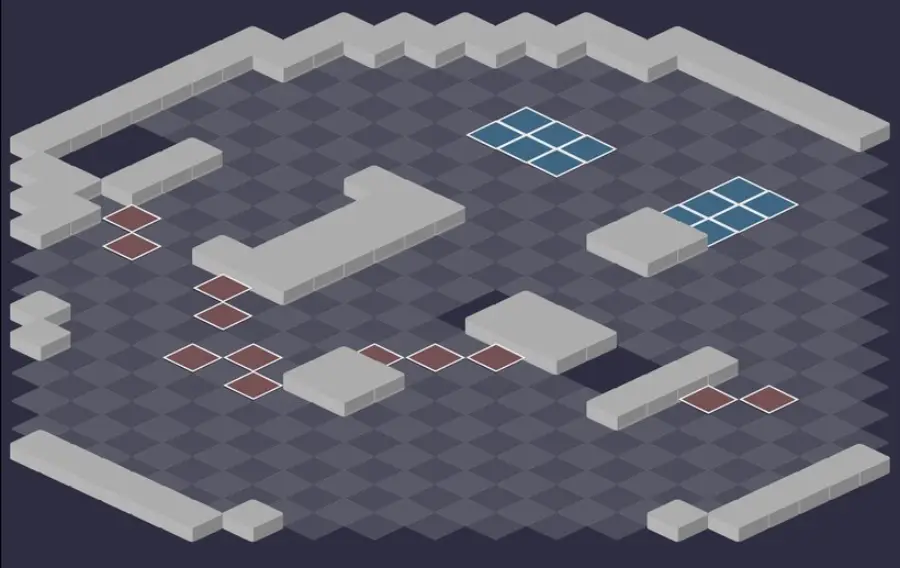
A single room: it's a dimension dungeon. The fight starts against XLII and three monsters with four players, one more for each additional character, then five waves follow one another, each with as many monsters as fighters. A wave arrives after a certain number of turns, shown at the bottom right of the timeline, or as soon as the previous one is entirely killed. Here is the scenery, then the tactical view with the starting cells (blue: you, red: the monsters). Tap an image to enlarge it.
Defeat XLII
Don't move it lightly
Moving XLII gives it the Malfunction state: it can then swap places with one of its allies, at infinite range, and get even closer to you. It's better to push it back than to end up Pacifist, but only if no monster is near you, or by putting Gravity on it.

Level 170
 8,800 HP
 14 AP
 5 MP
- Resistances (%)
 Earth 2%
 Fire 18%
 Water 8%
 Air 26%
 Neutral 6%
No invulnerability, but the Aurour sets your damage and that of its monsters according to the hour. Demonic Breath makes you Pacifist up to 3 Range, without line of sight, and Banter hits around it while reducing the duration of your effects. Heavy for the whole fight; its weakest resistance is Earth.
-
Banter4 AP · melee · Duration of effects: -1 ·61 to 70 Air damage
Area of radius 2 around it: reduces the duration of your effects by one turn. Don't cast your boosts next to it.
 Demonic Breath4 AP · 3 Range · Pacifist State ·81 to 90 Water damage
Pacifist for one turn, up to 3 Range without line of sight, three times per turn. Stay beyond 3 Range; the state can be dispelled.
-
Malfunction
Only after being moved: it swaps places with an ally, at infinite range, twice per turn. Gravity prevents it.
The four-step strategy against XLII
From hour 12 to hour 5: boost yourselves. The Aurour starts at the twelfth hour and advances one hour on each turn of one of your characters. While it is between the twelfth and the fifth, your damage is reduced: boost yourselves to the max and keep XLII at a distance.
At hour 6: the monsters, Thirtree first. Your damage returns to normal, then climbs up to 150% at the eleventh hour. Kill the monsters present with XLII, starting with the Thirtree, the worst monster of the fight.
Around hour 9 or 10: XLII. Depending on your damage, start on XLII around the ninth or tenth hour to finish it before the twelfth, when your damage drops again. Always stay more than 3 Range from it.
After XLII: the waves. Its death takes the Aurour and its effects with it: only waves of ordinary monsters remain. Always aim for the Thirtrees first, and kill each wave fast enough never to stack two.
The Aurour
It turns on a twelve-hour dial, starting at the twelfth hour, and advances one hour at each ally's turn: with four players, it is at the fourth hour after your first turn. The more of you there are, the faster it turns.
From the twelfth to the fifth hour, the monsters only take 40 to 90% of your damage, but also hit less hard. From the sixth to the eleventh, you hit at 100 then up to 150%, and they up to 60% harder.
Invulnerable and unmovable, it swaps places with the entity on its next cell, and hitting it teleports you symmetrically relative to it. It is linked to XLII and disappears with it.
Ctrl Alt Rage
All monsters except XLII react to every line of damage received, differently above and below 50% HP. Above: the Sethen pulls its attacker one cell closer, the Siks-T removes 2 RNG from them, the Thirtree gains 1 MP and 10 tackle, the Thriten 3% resistance, and the Twentoo heals its neighbors for 10% of its HP.
At 50% or less: the Sethen gains 50 critical damage, the Siks-T 1 MP and 10 Flight, the Thirtree 10% vitality, the Thriten 50 endless power, and the Twentoo's attacker spreads half of its damage around it. Under 50%, hit the Thirtree with a single line, hard, preferably in Earth.
Its vitality bonus can be dispelled: if a Thirtree is only holding on thanks to it, a dispel kills it.
Waves and modifiers
Each wave arrives invulnerable for one turn, so as not to appear on a wall of bombs, for example. Kill fast: letting a wave linger means facing ten monsters or more at once.
Each dimension also applies one of its ten combat modifiers, such as Cyclic Power, Explosive Disappearance or Mummifying Solitude. It only changes when you complete the level 200 dungeon of the zone, the Vortex.
The monsters of XLII's Metronomicon
Five Altdemons of level 162, each weak in a different element (-20%), and all subject to Ctrl Alt Rage. Against XLII, they arrive in waves: the Thirtree first, every wave. Resistances in red are their weaknesses.
In which order to kill the monsters
- Thirtree — the hardest monster: its area attacks hit harder as it loses HP.
- Twentoo, then Thriten — one heals its neighbors or spreads your damage, the other steals MP and makes you unhealable.
- Sethen, then Siks-T — simpler, but the Sethen hits very hard with its critical bonuses under 50% HP.
Level 162
- 3,900 HP
- 12 AP
- 5 MP
- Resistances (%)
- Earth -20%
- Fire 25%
- Water 11%
- Air 22%
- Neutral 2%
The hardest: Brute Force in a line and Fistachio diagonally hit in a cross, with a bonus equal to a third of its missing HP. Above 50%, it gains MP and lock; below, 10% vitality per line received. Weak to Earth.
-
Brute Force5 AP · 3 Range ·36 to 45 Neutral damage · Neutral Damage: 33% erosion of the caster's missing HP
Cross around the target, in a line up to 3 RNG, plus a second line equal to a third of the Thirtree's missing HP.
-
Fistachio5 AP · 3 Range ·36 to 45 Fire damage · Fire Damage: 33% erosion of the caster's missing HP
The same in Fire, but diagonally: don't stay in line or on the diagonal of the Thirtree at 3 Range or less.

Level 162
- 3,900 HP
- 12 AP
- 5 MP
- Resistances (%)
- Earth 2%
- Fire -20%
- Water 25%
- Air 11%
- Neutral 22%
Massurance applies Gravity and Discontent removes 3 AP, in a line at medium range. Above 50%, each hit received heals its neighbors; below, your damage is spread around it, allies included: isolate it before hitting. Weak to Fire.
 Massurance4 AP · 6 Range ·51 to 60 Air damage · Gravity State
Gravity for one turn, in a line up to 6 Range.
 Discontent4 AP · 5 Range ·51 to 60 Water damage · -3 AP
Removes 3 AP for one turn, in a line from 2 to 5 range.
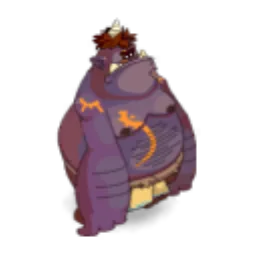
Level 162
- 3,900 HP
- 12 AP
- 4 MP
- Resistances (%)
- Earth 22%
- Fire 2%
- Water -20%
- Air 25%
- Neutral 11%
Ray Binds steals 4 MP in a line up to 5 Range, without line of sight; in melee, Missed Rebound steals life and makes you unhealable. It gains resistance above 50%, power below. Weak to Water.
 Ray Binds4 AP · 5 Range ·Steals 4 MP · 66 to 75 Fire damage
Steals 4 MP in a line up to 5 RNG, without line of sight, once per turn.
 Missed Rebound4 AP · melee ·66 to 75 Earth steal · Unhealable State
Life steal in melee and Unhealable state for one turn.

Level 162
- 3,900 HP
- 12 AP
- 6 MP
- Resistances (%)
- Earth 25%
- Fire 11%
- Water 22%
- Air 2%
- Neutral -20%
Moronimo hits in Air and Water up to 3 Range, Wallop in Earth, Fire and Neutral in melee. Above 50% HP, it pulls in by one cell the one who hits it; below that, each hit received gives it critical damage, fearsome on its multi-line spells. Weak to Neutral.
-
Moronimo4 AP · 3 RNG ·20 Air damage · 20 Water damage
-
Wallop4 AP · melee ·20 Earth damage · 20 Fire damage · 20 Neutral damage
Three lines of Earth, Fire and Neutral in melee: devastating when the Sethen has accumulated critical damage.
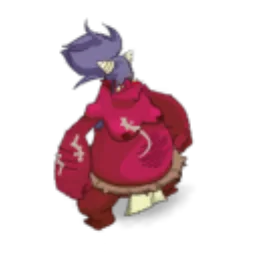
Level 162
- 3,900 HP
- 12 AP
- 5 MP
- Resistances (%)
- Earth 11%
- Fire 22%
- Water 2%
- Air -20%
- Neutral 25%
Two long-range poisons, from 5 to 10 Range: Poison Punch in Neutral, Hithiker depending on the AP used. Above 50%, it removes 2 Range from its attacker; below, it gains MP and Flight. Weak to Air.
 Poison Punch4 AP · 10 RNG ·45 Neutral damage
Neutral Poison lasting 2 turns, from 5 to 10 RNG, stackable twice.
 Hithiker4 AP · 10 Range ·5 Air damage per 1 AP used
A 2-turn poison that costs HP for each AP used, in a line from 5 to 10 Range.
Preparing your run through XLII's Metronomicon
A level 160 to 170 dimension dungeon, for teams that know how to play with the time: your damage follows the Aurour. People come for Life, the Outerworld, and the Rest, the achievements and the XLII Horns. XLII cannot be captured.
How to enter XLII's Metronomicon
The entrance is in the Xelorium, Present Day zone, at ; the zaap indicated is the one in Madrestam Harbour . To join the dimension, start a portal search at . The key ring does not work in a dimension, nor does teleporting the group in front of the dungeon: bring an XLII's Metronomicon Key.
Crafting the XLII's Metronomicon Key
It is crafted at a handyman's workshop. Four ingredients drop from the dungeon's monsters, at 19%: Thriten Tooth, Twentoo Skin, Thirtree Loincloth and Sethen Beard. Altdemon Hair is bought for 2 Orichor from Vertime the Collector, at in the Xelorium; Cod (fishing), Belladonna and Corn (harvesting) complete the recipe.
| Ingredient | Quantity | Level |
|---|---|---|
 Altdemon Hair |
1 | 170 |
 Thriten Tooth |
2 | 170 |
 Twentoo Skin |
2 | 170 |
 Thirtree Loincloth |
2 | 170 |
 Sethen Beard |
2 | 170 |
 Cod |
2 | 170 |
 Belladonna |
2 | 160 |
 Corn |
3 | 160 |
Which team to bring against XLII
Boosts for the right hour. The first turns are played at reduced damage: take advantage to boost yourselves, then hit from the sixth to the eleventh hour. You need enough damage to kill XLII within that window.
Several elements. Sethen, Siks-T, Thirtree, Thriten and Twentoo each have -20% in a different element. The Thirtree is killed with Earth, with single-line hits once under 50%.
Some dispelling. It removes the Pacifist state from Demonic Breath, and kills a Thirtree that is only holding on thanks to its vitality bonus.
The five achievements of XLII's Metronomicon
Each achievement gives 28,081,000 XP and 2 XLII Horn; Duo doubles the XP. For Barbaric, keep XLII at a distance: a Pacifist character can no longer finish with a weapon.
| Achievements | Condition | Points | XP |
|---|---|---|---|
 XLII's Metronomicon |
Defeat XLII in this boss's dungeon. | 10 | 28 081 000 |
| XLII (Barbaric) |
Defeat XLII in its dungeon by completing the “Barbaric” challenge. | 10 | 28 081 000 |
| XLII (Tight) |
Defeat XLII as a team in its dungeon by completing the “Tight” challenge. | 10 | 28 081 000 |
| XLII (Duo) |
Defeat XLII in its dungeon by completing the “Duo” challenge. | 20 | 56 162 000 |
| XLII (Special) |
Defeat XLII in his dungeon while completing the “Wave Goodbye” challenge. | 10 | 28 081 000 |
Special: Wave Goodbye
All the enemies in a wave must be finished before the next wave arrives. Hit as hard as possible during the favorable hours for the first wave, and kill XLII before the twelfth hour: from then on, your damage drops for about a turn.
Barbaric
Enemies must be finished with a weapon. Bring the monsters low with your spells, then keep a weapon for every last hit, XLII included. Stay out of the 3 Range of Demonic Breath: Pacifist prevents weapon damage and fails the achievement. The state can be dispelled.
Tight
Each ally must end their turn on a cell adjacent to another ally. Form pairs from the placement and move together. Before each end of turn, check that an ally is next to your character, without exposing yourself to XLII.
Duo
Two characters maximum, fewer than 80 turns. With two, the Aurour turns more slowly, which lengthens both the low hours and the high hours. Kill the waves as soon as they arrive and choose two characters able to handle enemy AP and MP removal and healing.
Drops and loot of XLII's Metronomicon
Base in-game rates, before Prospecting bonuses.
On XLII
 XLII HornBone19 %
 Nougat Rabmarac BarTreat6 %
 Bag of Temporal PowderContainer3 %
 Miniature SandglassMiscellaneous Resource2,4 %
 Lean CarrionMeat0,97 %
 Al Howin GobtubbyCeremonial pet0,7 %
On the henchmen of XLII
 Damaged Technomagical PartDivine Dimensions · Sethen50 %
- Damaged Technomagical PartDivine Dimensions · Thirtree50 %
- Damaged Technomagical PartDivine Dimensions · Thriten50 %
- Damaged Technomagical PartDivine Dimensions · Twentoo50 %
 Green KrosmorbDivine Dimensions · Sethen30 %
 Crimson KrosmorbDivine Dimensions · Thriten30 %
 Orange KrosmorbDivine Dimensions · Twentoo30 %
- Sethen BeardHair · Sethen19 %
 Lean MeatMeat · Sethen19 %
 Tuft of Siks-T HairHair · Siks-T19 %
- Thirtree LoinclothGarment · Thirtree19 %
- Thriten ToothBone · Thriten19 %
- Twentoo SkinSkin · Twentoo19 %
- Miniature SandglassMiscellaneous Resource · Sethen2,4 %
- OrichorToken · Sethen1,8 %
- Bag of Temporal PowderContainer · Sethen1 %
XLII's Metronomicon as a guild Expedition
The Metronomicon exists in two guild Expeditions, Audacious and Valour, each with its own modifier:
- Audacious: at each hour of the Aurour, enemies gain 50 power and your characters 1 AP, up to 600 power and 12 AP at the twelfth hour. Everything disappears when XLII dies;
- stay at range during the first wave, eliminate all the monsters, boss included, before the end of the first dial revolution, and kill XLII around the tenth or twelfth hour, when your AP are at their highest;
- Valour: each line of damage taken by XLII makes its attacker Pacifist for one turn. So you can only hit it once per character per turn: avoid multi-line weapons and use your biggest spell;
- in Valour, hit the monsters first and keep your AP to hit XLII at the end of the turn, staying far from it because of Demonic Breath.
Where is XLII's Metronomicon?
In the Xelorium, Present Day zone, at . The zaap shown is the one at Madrestam Harbour ; the Xelorium portal is found by searching for a portal at .
What level should you be for XLII's Horologium?
Level 160 minimum, 170 recommended. XLII is level 170, with 8,800 HP, and its monsters are level 162.
Which quest should I do in XLII's Metronomicon?
Life, the Outerworld, and the Rest, at Doc Ettem Bworn's , after Thread the Needle. Talk to XLII after the fight, before leaving.
Why does the dungeon have only one room?
It is a dimension dungeon, with waves. XLII and its first monsters are there from the start, then five waves arrive, each invulnerable during its first turn.
How do I beat XLII?
Boost yourselves during the low hours, hit from hour 6 to hour 11. Kill the monsters present, Thirtree first, then finish XLII before the twelfth hour.
Why does my damage change during the fight?
Because of the Aurour, which advances one hour on each turn of one of your characters. Your damage ranges from 40 to 150% depending on the hour, and the monsters' damage follows the same trend.
Does the key ring work for XLII's Metronomicon?
No, the key ring does not work in a dimension. You need an XLII's Metronomicon Key; the recipe's Altdemon Hair is bought for 2 Orichor from Vertime the Collector .
Can XLII be captured?
No, XLII cannot be captured. No soul stone needs to be prepared for this dungeon.
Can XLII's Horologium be done with two players?
Yes, it is even an achievement, in fewer than 80 turns. With two, the Aurour turns more slowly: kill each wave as soon as it arrives so as not to be overwhelmed.



Comments
No comments yet. A tip, or a detail about this page? Be the first.