 2 × Skt-Zo Leg
Quest Bonta
All's well that ends badly
Level 189 Bontarian alignment quest, at Amayiro's at the Bonta militia at [-32,-57]: take mystic energy readings in the Tower of Gisgoul. All the steps, the two ways to get the mystenergiometre, the dialogue choices, and the fight.
What to prepare
For the mystenergiometre, there are two solutions: 150,000 kamas, or 1 Trechepeira Venom and 1 Sculucanus Pincer with a stop in Srambad. You also need 1 Icy Brockhard Ear and 1 Sapphire for the repair, and friends for the fight, which is quite difficult.
 150,000 kamasRusseva Crow's mystenergiometre, the expensive solution
 1 × Trechepeira Venomcheap solution, for Miss Eloc in Srambad
 1 × Sculucanus Pincercheap solution, for Miss Eloc in Srambad
 1 × Icy Brockhard Earfor the repair by Rooky Rolscuba
 1 × Sapphirefor the repair by Rooky Rolscuba
Quest Resources, obtained along the way
 1 × Broken Mystenergiometreat Russeva Crow's or Miss Eloc's
The 11 quest steps
-
1Talk to Amayiro
Dialogue · Amayiro
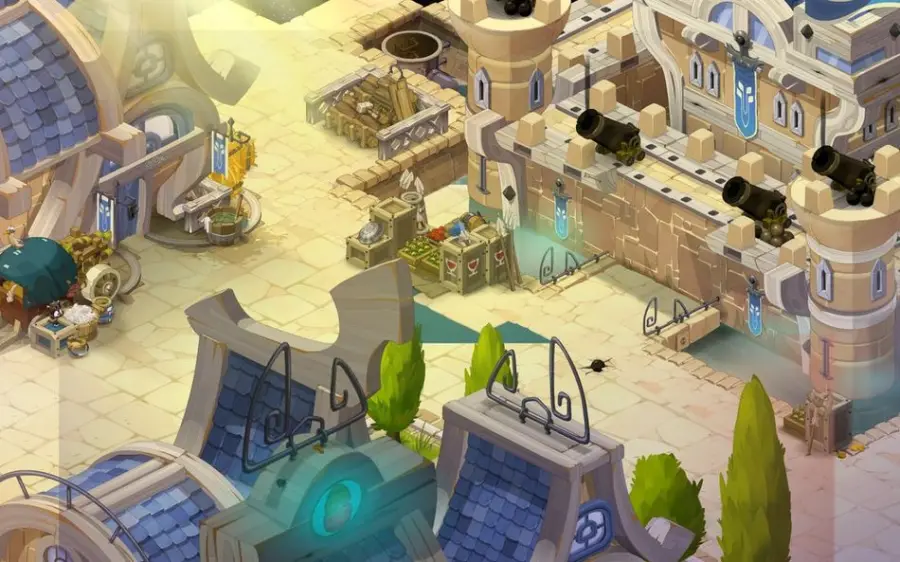
At the Bonta militia, Amayiro tells you that spies have noticed heavy Brakmarian activity around the Tower of Gisgoul. You need to go there and take readings of the mystic activity.
Amayiro · [-32,-57] -
2Ask Larry Poller for equipment
Dialogue · Larry Poller
Ask Larry Poller to lend you mystic energy measuring equipment. According to him, this equipment no longer exists and few people still own any.

Larry Poller · [-34,-58] -
3Buy the mystenergiometre from Russeva Crow
Items · Russeva Crow
Expensive solution: ask Russeva Crow for mystic energy measuring equipment. After negotiation, he lets you have the device for 150,000 kamas.
Dialogue
- “Accept”
- 150,000 kamasto pay
- Broken Mystenergiometrereceived

Russeva Crow · [-30,-55] -
4Or trade it with Miss Eloc
Dialogue · Miss Eloc
Cheap solution: look for the portal to Srambad and go to . Miss Eloc gives you the device in exchange for a Trechepeira Venom and a Sculucanus Pincer.
Dialogue
- “Ask where to find a mystenergiometre”
- 1 × Trechepeira Venomto hand over
- 1 × Sculucanus Pincerto hand over
- Broken Mystenergiometrereceived
-
5Show the device to Larry Poller
Items · Larry Poller
Show the mystenergiometre to Larry Poller: it's broken. He advises you to take it to the tinkerer Rooky to have it repaired.
Larry Poller · [-34,-58] -
6Show the device to Rooky Rolscuba
Items · Rooky Rolscuba
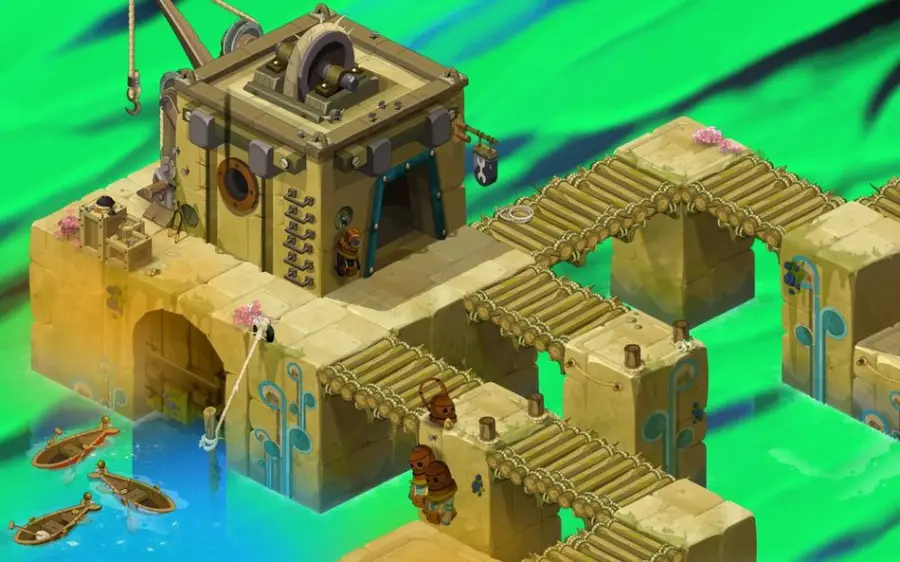
Go to Sufokia: from the zaap, take the zaapi to the DIY Quay. Rooky Rolscuba promises a quick repair, but he needs resources.
Dialogue
- “Show the mystenergiometre”
Rooky Rolscuba · [7,25] -
7Get the mystenergiometre repaired
Dialogue · Rooky Rolscuba
Talk to Rooky again and give him 1 Icy Brockhard Ear and 1 Sapphire, along with the broken device. He gives you back the repaired mystenergiometre.
Dialogue
- “Hand over the resources”
- 1 × Icy Brockhard Earto hand over
- 1 × Sapphireto hand over
- 1 × Broken Mystenergiometreto hand over
 Mystenergiometrereceived
-
8Go down into the Tower of Gisgoul
Movement
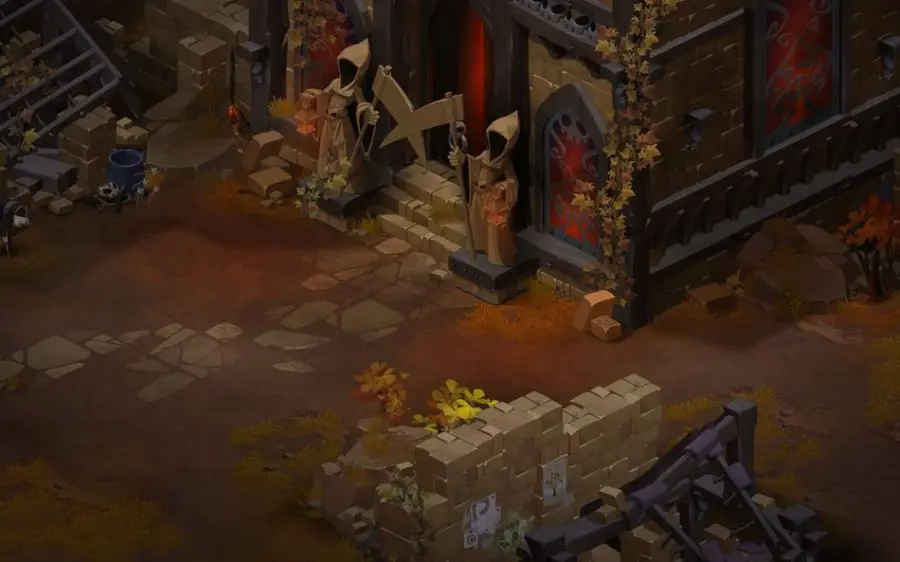
Come with friends. In the first room of the tower, go down to the basement through a hidden passage behind some stone blocks, in the top corner of the room. Click the skeleton statue in a fetal position on the left: a Reinforced Crackler appears. Talk to it to start the fight.
Dialogue
- “Fight”
Tower of Gisgoul · [-16,17] -
9Defeat the monstrous guards
Combat
You fight a Cultivated Ouginak (20,000 HP) and a Reinforced Crackler (15,000 HP). The fight is played in a group, which is recommended. Don't kill the Ouginak first: it's thanks to him that the Crackler loses its resistances.
 Reinforced Cracklerfight · level 189 · 15,000 HP · 10 AP · 6 MP
-
10Take the readings
· Reinforced Crackler
After the fight, talk to the Reinforced Crackler to take your readings.
-
11Report to Amayiro
· Amayiro
Show Amayiro the Broken Restraints and the Metal Shards found in the tower, then give him back the mystenergiometre. He has a lot of questions and asks you to let him think. The quest ends.
- 1 × Mystenergiometreto hand over
Amayiro · [-32,-57]
The fights

Level 189
20,000 HP and no resistance, but if he dies first, he gives the Crackler extra resistances. Keep him alive: his marks let you weaken the Crackler.
-
Tightly Marked
Applies the Skidmark state to the target for 4 turns: it takes 150% of the damage. A character in this state who ends their turn in contact with the Crackler removes 50% resistance from it for 1 turn (non-stackable).
-
Bone Cutter
Hits for 600 Air in a line of 4 cells, applies 20% erosion (30 on a critical hit) and minimizes random effects for 1 turn, and pushes back 3 cells. In a line up to 3 RA.
-
Flaming Chain
Hits for 600 Fire with life steal and removes 8 AP and 4 MP (dodgeable) for 1 turn. Melee only.
Level 189
15,000 HP and 75% resistance to everything. To lower it, end your turn in contact with it while you have the Skidmark state. He gains 10% resistance for 1 turn if you try to remove MP from him, and 50 Power for 1 turn if you try to remove AP from him. When he loses his resistances, the cooldown of Telluric Shield goes up to 2 turns.
-
Cracked Reinforcement
Charge spell, depending on your actions: 50 Power if you remove AP from him, 10% resistance if you remove MP from him, and 100 damage reduction.
-
Telluric Shield
Gives 3,000 shield points (4,500 on a critical hit) to all monsters for 4 turns.
-
Rock Throw
At range, hits for 500 Earth and 150 Neutral in a circle of radius 2, applies the Gravity state, and removes 4 RA (6 on a critical hit) for 2 turns.
-
Flat Foot
Hits for 1,000 Water in a cross of size 1, up to 1 RA, and steals 400 Chance for 2 turns (stackable).
The rewards
- XP6,042,334 experience points
Related quests
The quest follows Let's calm down and unlocks Sends Shivers Down Your Spine, still with Amayiro.
- Start
- Amayiro
- Start
- Amayiro
Where does the All's well that ends badly quest start?
With Amayiro, at the Bonta militia at . You must be level 180 and have finished Let's calm down.
How do you get the mystenergiometre without paying 150,000 kamas?
With Miss Eloc, in Srambad at , in exchange for 1 Trechepeira Venom and 1 Sculucanus Pincer. Otherwise, Russeva Crow sells it for 150,000 kamas at .
Where do you get the mystenergiometre repaired?
At Rooky Rolscuba's, in Sufokia at , via the zaapi at the DIY Quay. He asks for 1 Icy Brockhard Ear and 1 Sapphire.
How do you start the fight in the Tower of Gisgoul?
Go down to the basement through the hidden passage behind the stone blocks in the first room, then click the skeleton statue in a fetal position, on the left. Talk to the Reinforced Crackler that appears.
How do you remove the Reinforced Crackler's resistances?
With the Skidmark state from the Cultivated Ouginak: a marked character who ends their turn in contact with the Crackler removes 50% resistance from it for 1 turn. So don't kill the Ouginak first.
Which quest follows All's well that ends badly?
Sends Shivers Down Your Spine, with Amayiro in Bonta.

Comments
No comments yet. A tip, or a detail about this page? Be the first.