 2 × Skt-Zo Leg
Quest Archipelago of Valonia
Occupational Hazard
Level 200 quest on Ephedrya Island, with the Squad Captain at [22,-80]: find the three Nimbos of his squad, a Bonehammer who fell into a well, a Boarok surrounded by beaztingas and a Bylhuk with no weapon. All the steps, the dialogue choices, the resources and the fights.
What to prepare
Nothing to buy: the resources are obtained in combat on Ephedrya. Ephedryan Brambles can be traded, the rope made from them cannot.
Quest Resources, obtained along the way
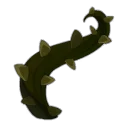 10 × Ephedryan Bramblefrom the bramble fights at [22,-81] and [23,-80], at a base 5.1%
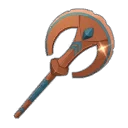 1 × Lost Billhookfrom Arm-of-the-Valleys and Camelliaxes, at a base 6%
The 12 quest steps
-
1Talk to the Squad Captain
Dialogue · Squad Captain
The captain leads a squad of three Nimbos, who split up to go faster. He is the only one back on the beach and can't leave in case one of them returns: offer to look for the three squad members in his place. He describes them to you; the order doesn't matter.
Squad Captain · [22,-80] -
2Examine the well
Examine the well surrounded by brambles, in the center of the map. A Nimbos calls for help and asks you to fetch his captain on the beach.
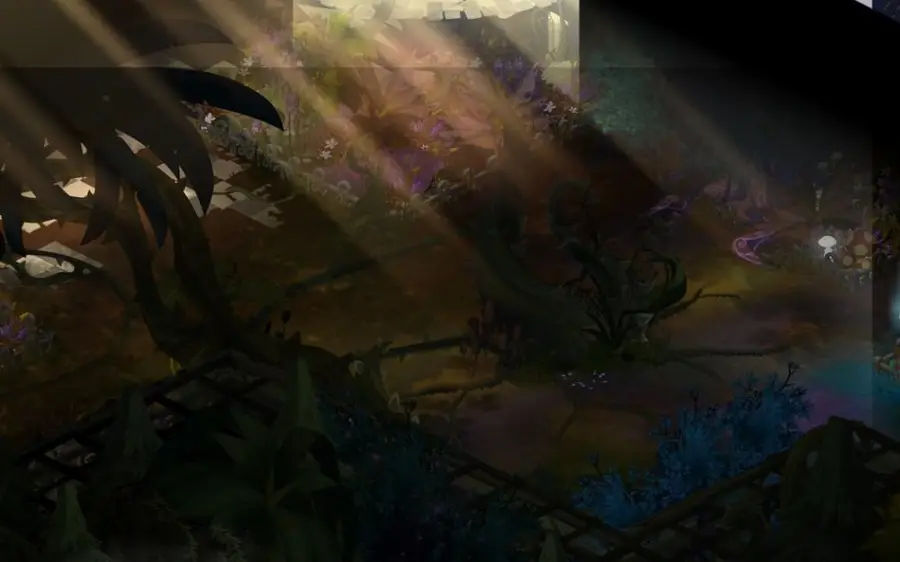
Well surrounded by brambles · [24,-81] -
3Warn the Squad Captain
Dialogue · Squad Captain
Tell him the Bonehammer fell into a well. He asks you to find brambles, strip off their thorns and braid them into a rope. The bramble patch is guarded by a guardian who attacks anyone who damages this natural barrier.
-
4Collect 10 Ephedryan Bramble
Combat
Click a bramble to start a fight against 7 Ephedryan Brambles and 1 Guardian of the Bramble Patch: each bramble has a base 5.1% chance of dropping an Ephedryan Bramble, up to 7 per character per fight. Clicking the bramble also gives a one-in-two chance of getting one.
- two brambles
- a single bramble
Only characters at this step of the quest get brambles. A bramble becomes clickable again after about 5 minutes. In a group, don't craft the rope right away: keep gathering to give the surplus to the others.
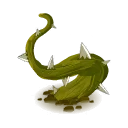 Ephedryan Bramblefight · level 200 · 5,500 HP · 12 AP · 0 MP
- Ephedryan Bramblereceived
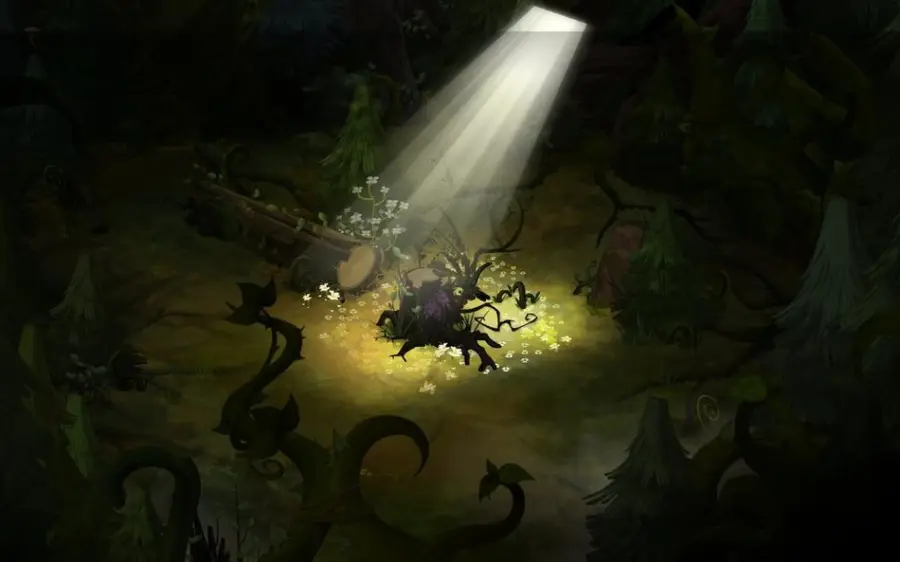
Collect 10 Ephedryan Bramble · [22,-81] -
5Braid the rope
Go back to the beach and use the tools in the center to craft the Woven Bramble Rope.
Brambles can be traded, but the rope is a quest item: it can't be traded.
- 10 × Ephedryan Brambleto hand over
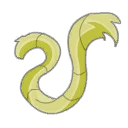 Woven Bramble Ropereceived
-
6Get the Bonehammer out of the well
Movement · Clumsy Bonehammer
Click the well again to lower the rope into it. Talk to the Clumsy Bonehammer, dazed by his fall: surprised that his captain, who never does anything, didn't come, he asks you to escort him back to the beach for fear of the protectors.
- 1 × Woven Bramble Ropeto hand over
-
7Escort the Bonehammer back
Escort the Bonehammer back to his chief. As soon as you arrive on the map, the step is validated.
-
8Free the Boarok
Combat · Desperate Boarok
The Desperate Boarok tried to take a shortcut and finds himself surrounded by beaztingas, to which he is allergic. Make him promise to go straight back to the beach and keep the insects busy: a fight starts, possible in a group. He heads off alone to his chief and the step is validated.
Dialogue
- “Attack the beaztingas”
In a group, take the first choice instead, Check your equipment before exterminating the beaztingas: the quest updates for everyone and the fight only happens once.
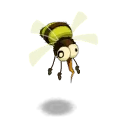 Aggressive Beaztingafight · level 200 · 5,500 HP · 12 AP · 5 MP
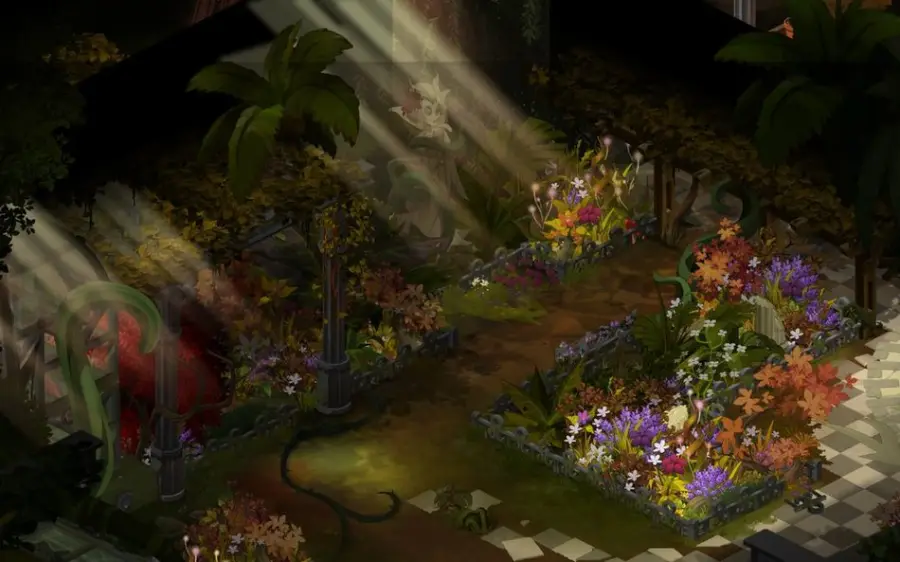
Desperate Boarok · [23,-82] -
9Talk to the Disarmed Bylhuk
Dialogue · Disarmed Bylhuk
In the castle, the Disarmed Bylhuk refuses to rejoin her captain without her billhook. An Ephedrya protector supposedly stole it from her while she was picking belladonna, and she can't fight them without a weapon.
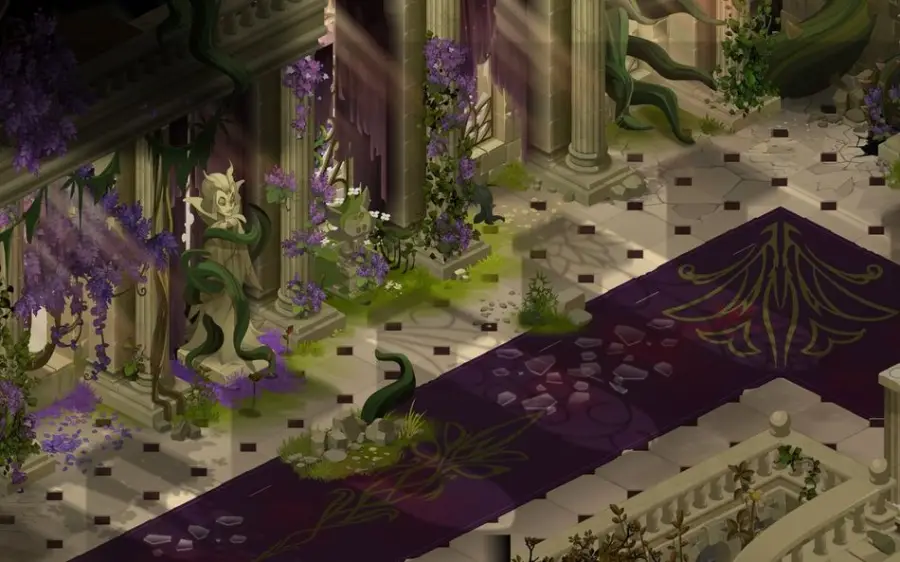
Castle · [26,-86] -
10Collect the Lost Billhook
Items
The Lost Billhook drops at a base 6% only from Arm-of-the-Valleys and Camelliaxes, found pretty much everywhere in the zone.
- Lost Billhookreceived
-
11Return the billhook and escort the Bylhuk
· Disarmed Bylhuk
Return her billhook to the Bylhuk: grateful, she'd like to see you in her squad. Escort her back to her chief at : the step is validated on arriving on the map.
- 1 × Lost Billhookto hand over
-
12Go back to see the Squad Captain
Dialogue · Squad Captain
With all three members brought back, the captain judges that the squad has earned a few days of rest. He can't say anything about their work, reserved for the Nimbos of the Vert-de-gris and Barbe-Monde clans, and invites you for a drink at the Aigrisante tavern in the Ereboria galleries. The quest ends.
Squad Captain · [22,-80]
The fights
Level 200
Fight started by clicking a bramble at or : 7 brambles and 1 Guardian of the Bramble Patch. They reflect about 25% of the earth damage taken to all your characters: avoid hitting too hard in an area, favor poisons and push damage. A bramble's reflection stops after 10 lines of damage and resets at each of its turns; the hit that kills it is not reflected.
-
Cut to the Quick
Active the whole fight: reflects about 25% of each earth hit to all characters. Ending your turn in melee range of a bramble costs about 200 neutral and 15 push damage.
-
Pat-a-Peck Peck-a-Cake
Hits for 250 earth. Range 5.
-
Peck-a-Cake Pat-a-Peck
Hits for 250 air in a cross of size 1 around it and inflicts 10% erosion (15 on a critical hit) for 2 turns.
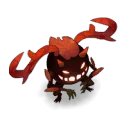
Level 200
Accompanies the 7 brambles. Easy to take down: it hits at mid-range and in melee while pushing back, and protects the brambles around it.
-
Guardian's Spark
Hits for 350 fire. Range 6.
-
Guardian's Pushback
Hits all characters in its melee range for 300 water and pushes them back 3 cells.
-
Guardian's Rampart
Reduces by 8 (12 on a critical hit) the damage taken by the brambles in a circle of radius 5 for 2 turns.
Level 200
In , around the Desperate Boarok. Possible in a group.
-
Aggressive Swarming
Removes 5% resistance from itself in each element for 1 turn.
-
Aggressive Buzz
Hits for 300 water as life steal in a square of 3 cells by 3 around him.
-
Aggressive Bizz
Gives an ally 50 power and 2 MP for 2 turns.
The rewards
- XP2,625,000 experience points
 43,980 kamas
 5 × Camelliaxe Moss
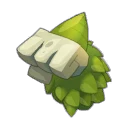 5 × Wallopoppy Fist
Related quests
The quest doesn't unlock another quest. It is part of The Grande Finale achievement, along with The Exiled Witch, The Faltering Flame and Time for Farewells.

Achievements · Archipelago of Valonia
The Grande Finale
Complete the following quests:
- Occupational HazardLvl. 200
- The Exiled WitchLvl. 200
- The Faltering FlameLvl. 200
- Time for FarewellsLvl. 200
Where does the quest Occupational Hazard start?
With the Squad Captain, on the Ephedrya beach at . You must be at least level 180.
Where do I find Ephedryan Brambles?
By clicking the brambles at and . Each click starts a fight against 7 brambles and their guardian, with a base 5.1% per bramble, and gives a one-in-two chance of getting one directly.
Can the rope be traded?
No. Ephedryan Brambles can be traded, but the Woven Bramble Rope is a quest item.
Where do I find the Lost Billhook?
From the Arm-of-the-Valleys and Camelliaxes of Ephedrya, at a base 6%. No other monster drops it.
How do I do the beaztinga fight in a group?
Take the choice Check your equipment before exterminating the beaztingas. The quest updates for the whole group, and the fight only happens once.
In what order should I find the squad members?
In the order of your choice. The Bonehammer is at , the Boarok at and the Bylhuk in the castle at .

Comments
No comments yet. A tip, or a detail about this page? Be the first.