 2 × Skt-Zo Leg
Quest Atoll of the Possessed
Shake Hands with the Devil
Level 200 quest on the Atoll of the Possessed, with One-Armed Beldivere at [42,-55]: his possession ritual failed, and you need to understand why. All the steps, the dialogue choices, the resources and the fights, including Beldivere the Possessed and the Destrunic Golem.
What to prepare
Nothing to buy, but 5 Blood of the Possessed to collect from the monsters of the Atoll of the Possessed, at a base rate of 5%. Three fights can be done in a group, the last two solo (a companion is allowed against the Golem).
Quest Resources, obtained along the way
 1 × Possessed Fangat the ritual site in [41,-57]
 1 × Shushu Hunter Compassfrom the Kraradia Highwaywoman at [43,-58]
 1 × Possessed Diademfrom Bellilith at [42,-53]
 1 × Possessed Necklacein the wreckage debris in [40,-53]
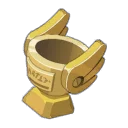 1 × Possessed Cupin the loot of the possessed in [41,-56]
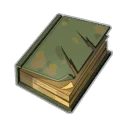 1 × Possessed Logbookin the wreckage debris at [40,-56]
 1 × Possessed Ringin the wreckage debris at [39,-55]
 5 × Blood of the Possessedfrom monsters on the Atoll of the Possessed, 5% base
The 13 quest steps
-
1Talk to One-Armed Beldivere
Dialogue · One-Armed Beldivere
This Iop knight of the order of shushu hunters lost an arm in his youth to a greater shushu. To strengthen his body, he wanted to become a demon's host during a ritual of the destroyers, but the ritual failed: he has red eyes and feels weaker. He suspects the demons of having played him and asks you to investigate.
One-Armed Beldivere · [42,-55] -
2Inspect the ritual site
Click the two Destroyer Glyphs: some glyphs are erased, others give off less energy than those in the rest of the island. Then click the Strange Fang, on the left of the map, to pick it up: it seems to be the cause of the failure.
- Possessed Fangreceived
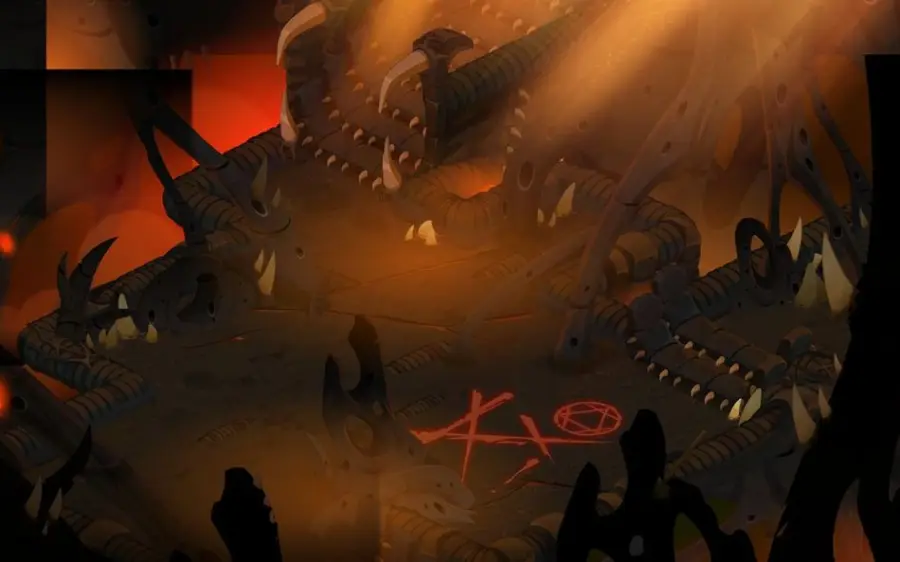
Inspect the ritual site · [41,-57] -
3Show the fang to Beldivere
Items · One-Armed Beldivere
The fang has the same energy as the demon inside him. Beldivere supposedly received only one demon fragment. To find the others, he has a compass that detects demonic essences, but it was stolen from him.
- 1 × Possessed Fangto hand over
One-Armed Beldivere · [42,-55] -
4Take the compass back from the Kraradia Highwaywoman
Combat · Kraradia Highwaywoman
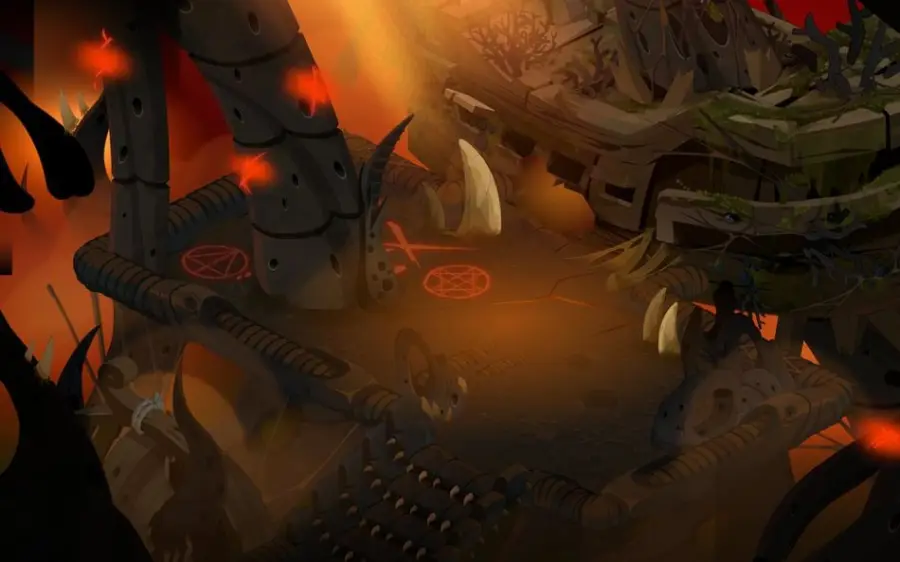
Access the map via the stairs in . You catch the Kraradia Highwaywoman talking about the compass with other destroyers. She refuses to give it back: a fight starts, which can be done with several players.
 Kraradia Highwaywomanfight · level 200 · 5,500 HP · 12 AP · 5 MP
- Shushu Hunter Compassreceived
Kraradia Highwaywoman · [43,-58] -
5Return the compass to Beldivere
· One-Armed Beldivere
The compass points toward Beldivere, since a fragment is inside him: it's up to you to look for the fragments by moving away from him.
- 1 × Shushu Hunter Compassto hand over
One-Armed Beldivere · [42,-55] -
6Collect the 5 demon soul fragments
Combat
The five fragments are possessed objects, to be taken in any order you like. Two of them start a fight that can be done with several players: their monsters' spells are on the Kabaal Ritual page.
- talk to Bellilith, who wears a diadem. After the fight, you get 1 Possessed Diadem
- search the wreckage debris next to the pentagram: 1 Possessed Necklace
- search the possessed's loot, at the very bottom of the boat. After the fight, you get 1 Possessed Cup
- search the wreckage debris at the top of the map: 1 Possessed Logbook
- search the wreckage debris on the left: 1 Possessed Ring
 Bellilithfight · levels 200 to 212 · 6,000 to 6,600 HP · 12 AP · 6 MP
- Possessed Diademreceived
- Possessed Necklacereceived
- Possessed Cupreceived
- Possessed Logbookreceived
- Possessed Ringreceived
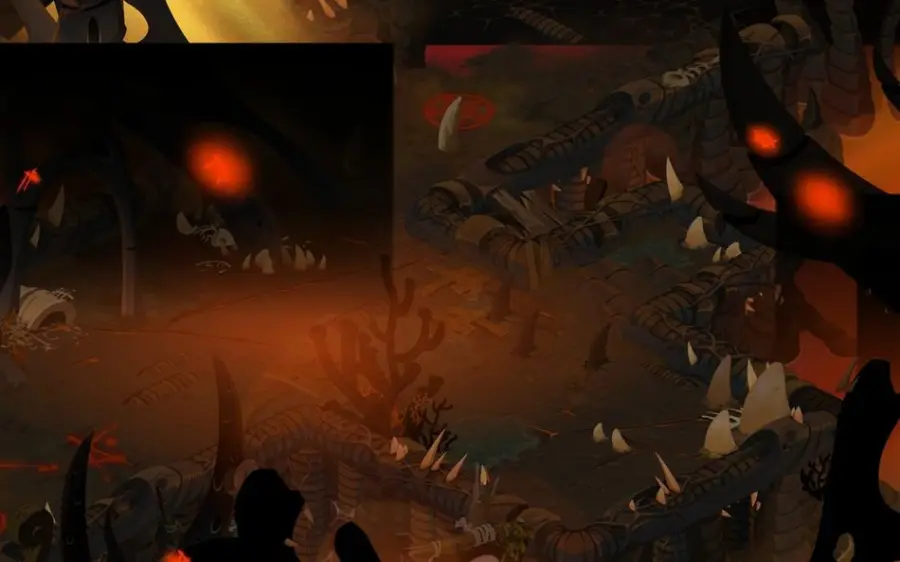
Collect the 5 demon soul fragments · [42,-53] 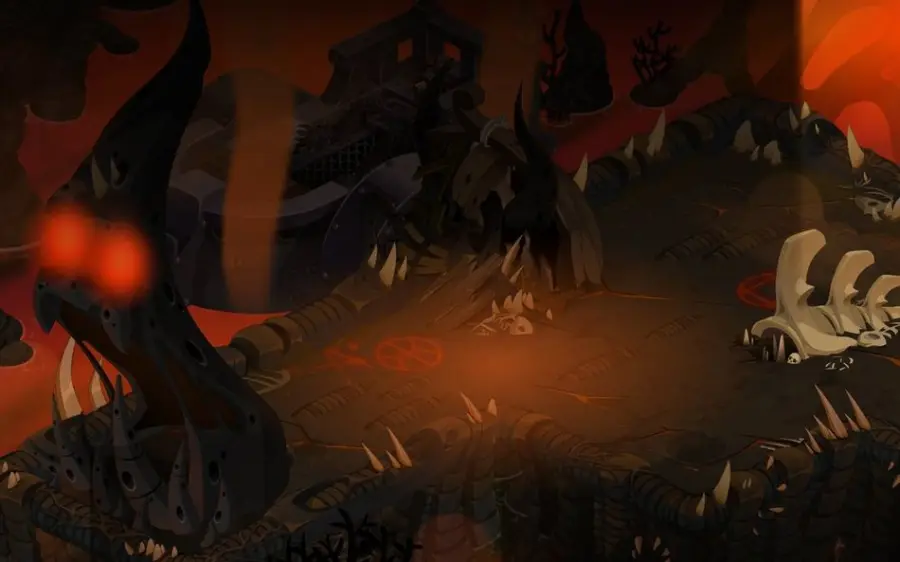
Collect the 5 demon soul fragments · [40,-53] 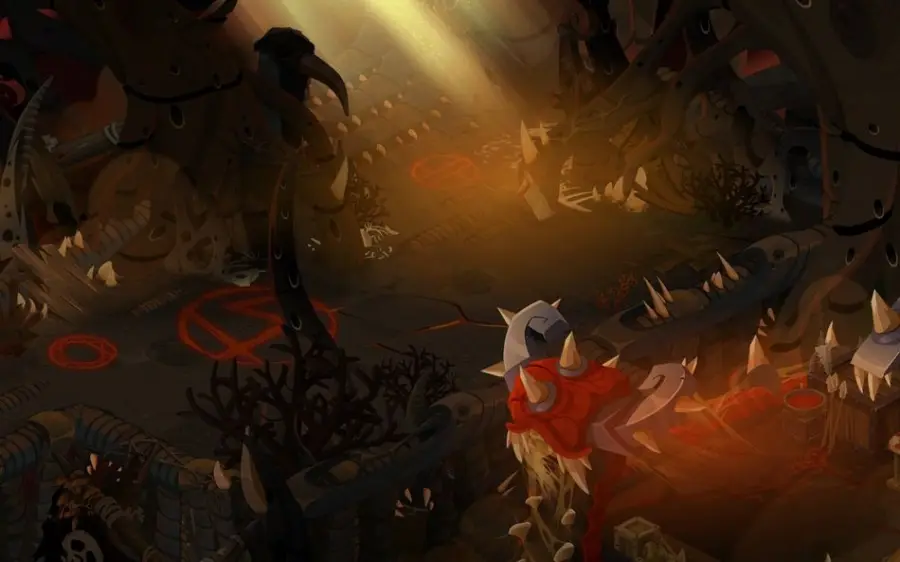
Collect the 5 demon soul fragments · [41,-56] 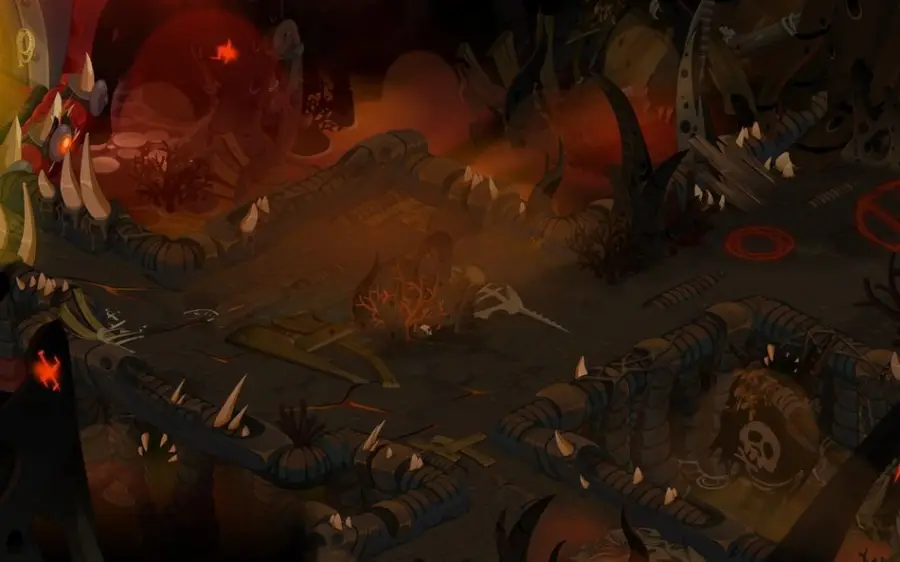
Collect the 5 demon soul fragments · [40,-56] 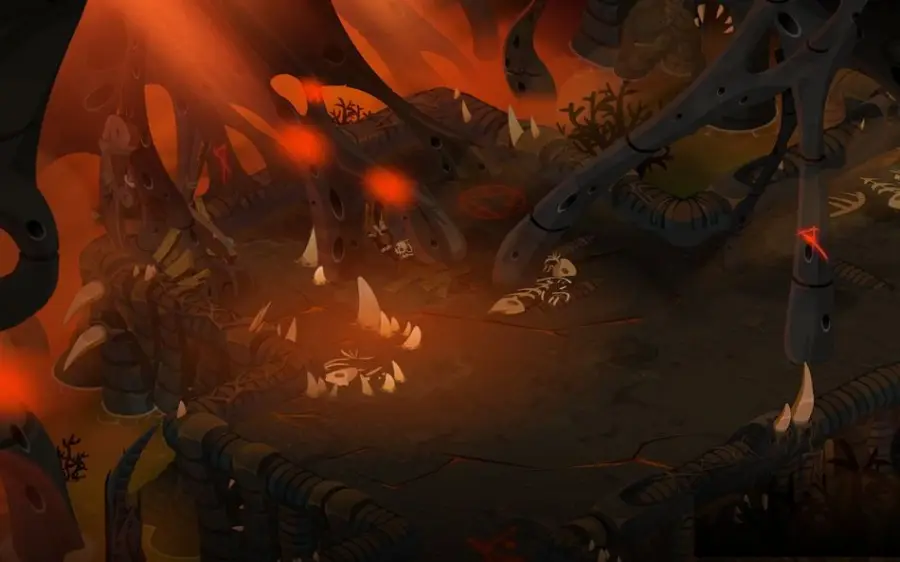
Collect the 5 demon soul fragments · [39,-55] -
7Bring back the possessed objects
Items · One-Armed Beldivere
Give the five objects to Beldivere. A new ritual must infuse their essence into him, but the old glyphs lack power: demon blood is needed to retrace them.
- 1 × Possessed Diademto hand over
- 1 × Possessed Necklaceto hand over
- 1 × Possessed Cupto hand over
- 1 × Possessed Logbookto hand over
- 1 × Possessed Ringto hand over
-
8Collect 5 Blood of the Possessed
Items
Blood of the Possessed drops from the monsters of the Atoll of the Possessed, at a base rate of 5%.
- Blood of the Possessedreceived
-
9Retrace the glyphs
· One-Armed Beldivere
At the ritual site, talk to Beldivere, who has also recovered blood: you retrace the glyphs while he places the objects. Pour the blood onto the Destroyer Glyph to retrace them perfectly.
- 5 × Blood of the Possessedto hand over
One-Armed Beldivere · [41,-57] -
10Attend the ritual
· One-Armed Beldivere
Talk to Beldivere again: he has placed an object at each point of the pentacle and asks you to step back. The objects' energy enters the Iop, then he shouts at you to flee: he can no longer hold back the demon's power.
-
11Defeat Beldivere the Possessed
Combat · Beldivere the Possessed
The Iop has changed appearance. Talk to Beldivere the Possessed to start the fight, solo. The HP threshold details are in the Fights section.
Dialogue
- “Fight the destroyer to weaken it and let the Iop regain control”
 Beldivere the Possessedfight · level 200 · 7,700 HP · 18 AP · 4 MP
-
12Defeat the Destrunic Golem
Combat
Talk to Beldivere the Possessed again: he has come to his senses and even regained his arm, but a defense system prevents him from moving. Examine the Destroyer Glyph on the ground to erase it: a Destrunic Golem appears to protect him. The fight is solo, companion allowed.
Dialogue
- “Smash the creature to pieces”
 Destrunic Golemfight · level 200 · 8,200 HP · 30 AP · 4 MP
-
13Check in with Beldivere
· Beldivere the Possessed
Beldivere can move again. He claims to control the demon, who has supposedly resigned itself and only wants him to sow chaos, no matter the side. You let him go without knowing whether he truly controls it. The quest ends.
The fights
Level 200
In , access by the stairs at . The fight can be done with several players. The monsters' spells are on the Kabaal Ritual page.
Level 200
In , for the Possessed Diadem. The fight can be done with several players, like the one for the possessed's loot at . The monsters' spells are on the Kabaal Ritual page.
Level 200
Solo. He has 7,700 HP and three thresholds, one every 1,540 HP: 6,160, 4,620 and 3,080 HP. At each threshold, he becomes invulnerable for 2 turns, loses 100 AP and MP for the current turn, and gains for the whole fight 30% melee damage, 2 MP and 300 push damage, stackable (90%, 6 MP and 900 at the third threshold). Make him pass each threshold in a single turn, then move away while he is at -100 AP/MP so that he can't reach your melee on the second turn of invulnerability. Also avoid the push damage.
-
Inner Combat
Cast at the start of the fight. At each threshold: invulnerable for 2 turns, -100 AP and MP for 1 turn, and Possession state for 1 turn.
-
Bestial Outpouring
Pulls itself to your melee range, deals 300 Water damage and pushes back 2 cells. In a line up to 6 range.
-
Demonic Storm
Deals 450 Fire damage twice in a cross of size 1. Up to 2 range.
-
Demonic Drive
Deals 200 Earth damage, removes 15% erosion for 1 turn and pushes back 4 cells. In melee.
-
Possession
Cast on the turn after a threshold: 30% melee damage, 2 MP and 300 push damage for the whole fight, stackable 3 times.
Level 200
Solo, companion allowed. 8,200 HP, 120% resistances everywhere, and the Heavy state: he can't be carried. At the start of the fight, he places 10 runes (one-cell orange glyphs, always in the same places). Stand on a rune on his turn: if he targets you with Runic Loan, the rune disappears and he loses 12% resistances everywhere, up to 0% with all the runes. In exchange, he gains a random bonus: 50 Agility and 2 MP, 50 Chance and 3 range, 50 Strength and 125 push damage, or 50 Intelligence and 10% critical. He only casts this spell once per turn and often targets whoever isn't on a rune: if you summon, place your character and your summon each on a rune, otherwise don't summon.
-
Runic Loan
Places the 10 runes at the start of the fight, then targets a character or a summon at the start of each turn: if the target is on a rune, it disappears and he casts Ru'Yne.
-
Ru'Yne
Removes 12% resistances in each element for the whole fight, and gives a random bonus.
-
Gust-Thrust
Whack of 350 in its main element. Melee.
-
Demonic Cooking
Removes 30% erosion and applies the Gravity state for 1 turn, in a 7 × 7 square around him.
-
Telluric Growl
Whack of 350 in its main element and pushes back 5 cells. In a line, uncertain range (3 range).
-
Fetid Flood
Deals 200 damage in its majority element and removes 2 AP (dodgeable) for 1 turn. Up to 5 range.
The rewards
- XP2,625,000 experience points
 43,980 kamas
 5 × Bellilith Diadem
Related quests
The quest doesn't unlock another quest. It is part of the achievement Other Ways, which covers five quests on the Atoll of the Possessed, including SOS from a Villager in Peril and Survival of the Weakest.

Achievements · Atoll of the Possessed
Other Ways
Complete the following quests:
- SOS from a Villager in PerilLvl. 200
- Of Bodies and WaterLvl. 200
- Shake Hands with the DevilLvl. 200
- A Real BoyLvl. 200
- Survival of the WeakestLvl. 200
Where does the quest Shake Hands with the Devil start?
With One-Armed Beldivere, at Destroyers' Port at . You must be at least level 180; level 200 is recommended.
Where do you find Beldivere's compass?
From the Kraradia Highwaywoman, at . You get there by the stairs at ; a group fight starts.
Where are the five demon soul fragments?
In , , , and . Bellilith at and the possessed's loot at start a fight, the others are empty.
Where to find Blood of the Possessed?
From the monsters of the Atoll of the Possessed, at a base rate of 5%. You need 5.
How do you beat Beldivere the Possessed?
By making him pass each HP threshold in a single turn, then moving away while he is at -100 AP/MP. His melee and push bonuses stack at each threshold.
How do you remove the Destrunic Golem's resistances?
By standing on its runes on its turn. Each rune activated by Runic Loan removes 12% of its resistances everywhere, up to 0%.
What does Shake Hands with the Devil give?
2,625,000 XP, 43,980 kamas and 5 Bellilith Diadem.

Comments
No comments yet. A tip, or a detail about this page? Be the first.