 2 × Skt-Zo Leg
Quest Sarakech Port
Worm Damage
Level 170 quest in Ohwymi, from Shool Suk at the Sarakech Port at [14,-55]: investigate the Spice harvested in the Gorge of Howling Winds, where worms destroy the sievers. All the steps, positions and fights.

What to prepare
Nothing to gather: the parts and prototypes are obtained along the way. Prepare for one solo wave fight and two fights that can be done as a group.
Quest Resources, obtained along the way
 1 × Experimental Siever Prototypeto test at [12,-67]
 1 × New Experimental Siever Prototypeto test at [9,-69]
 1 × Final Experimental Siever Prototypeto test at [11,-69]
The 11 quest steps
-
1Talk to Shool Suk
Dialogue · Shool Suk
Shool Suk asks you once again to investigate the Spice: go see Obermer Santile in the Gorge of Howling Winds.
Shool Suk · [14,-55] -
2Go see Obermer Santile
Dialogue · Obermer Santile
Obermer Santile tells you that the sievers meant to extract the Spice are often destroyed by worms.
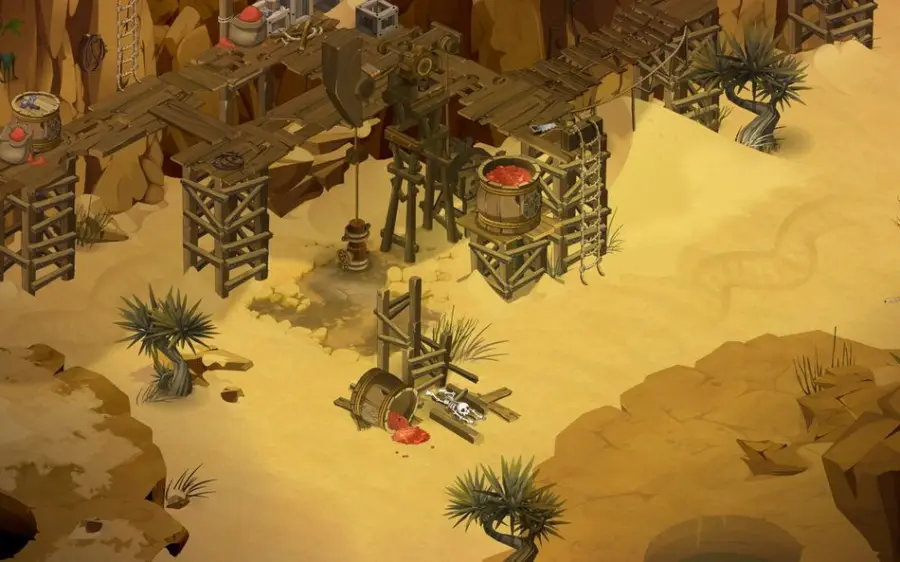
Obermer Santile · [10,-68] -
3Drive back the worms
Combat · Corporation Mercenary
Talk to the Corporation Mercenary to help defend the siever. A wave fight starts: you do it solo, accompanied by the mercenary. Wave 1: 1 Mastifang and 1 Cyclouse. Wave 2: 1 Cyclouse. Wave 3: 1 Sharcut.
 Cyclousefight · levels 162 to 170 · 3,900 to 4,200 HP · 10 AP · 4 MP
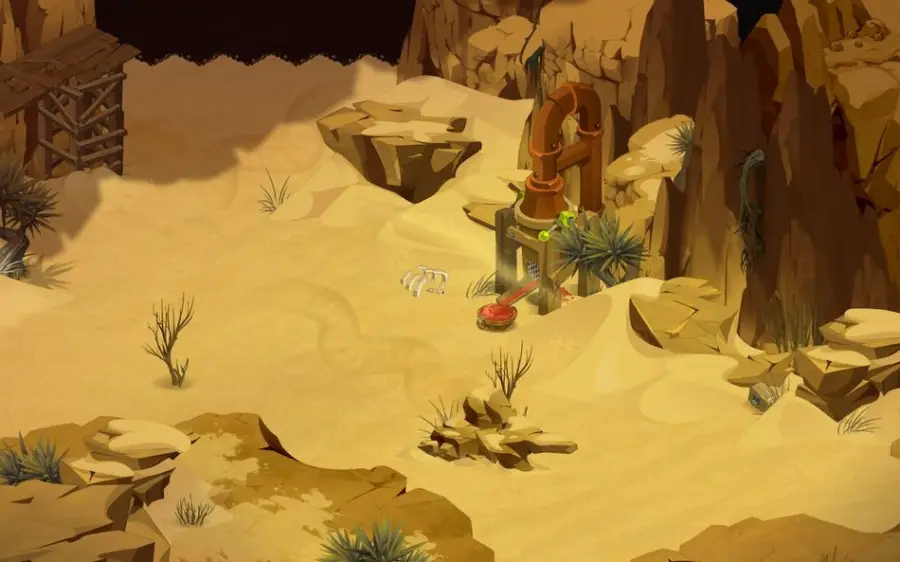
Corporation Mercenary · [11,-68] -
4Talk to Subelba
Dialogue · Subelba
After the fight, talk to Subelba. She is working on a siever that is invulnerable to worm attacks, but she is missing spare parts.
-
5Collect the spare parts
Items
Examine the Small Damaged Siever on each of the three maps. A fight may start.
- examine the first Small Damaged Siever
- examine the second Small Damaged Siever
- examine the third Small Damaged Siever
The fights against the Small Damaged Sievers and the Experimental Sievers can be lost or abandoned: the quest advances anyway, without having to redo the fight.
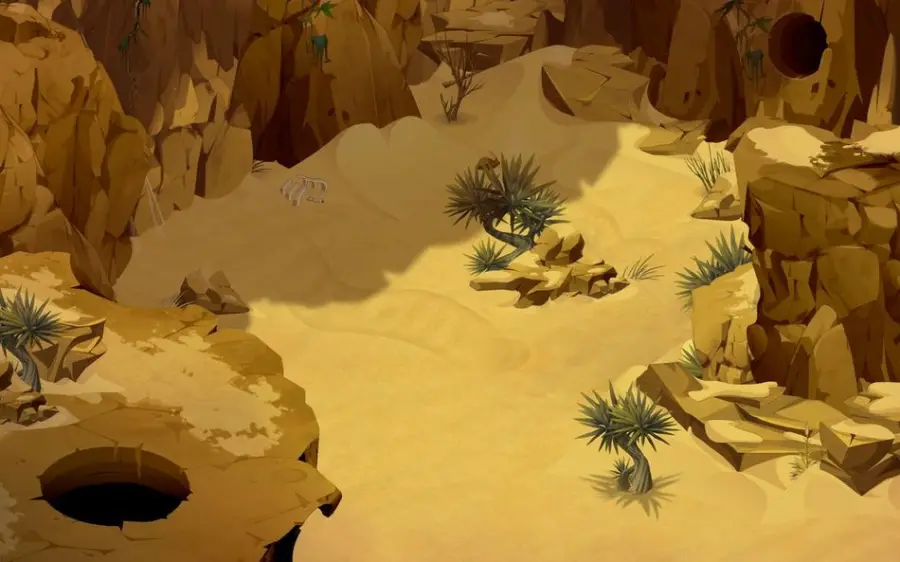
Collect the spare parts · [12,-67] 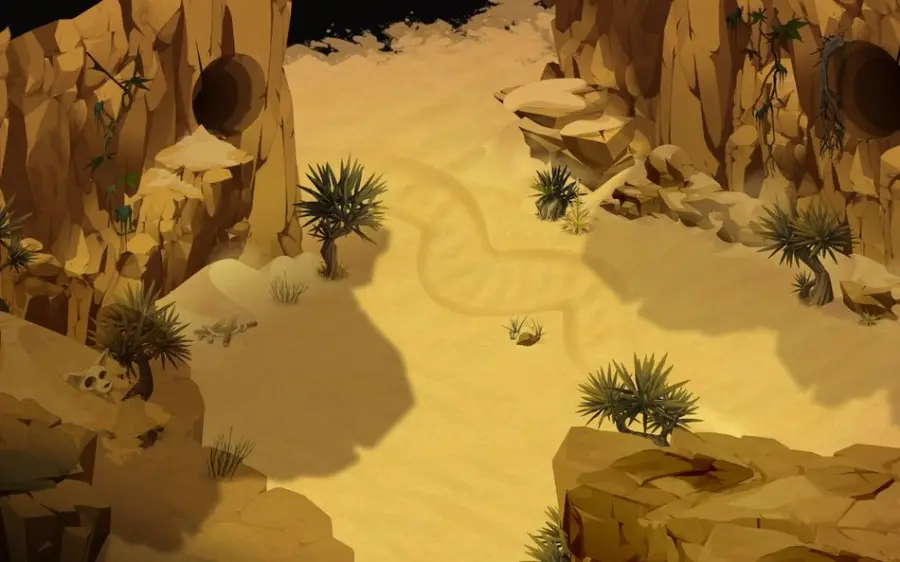
Collect the spare parts · [11,-69] 
Collect the spare parts · [9,-69] -
6Bring the parts back to Subelba
Items · Subelba
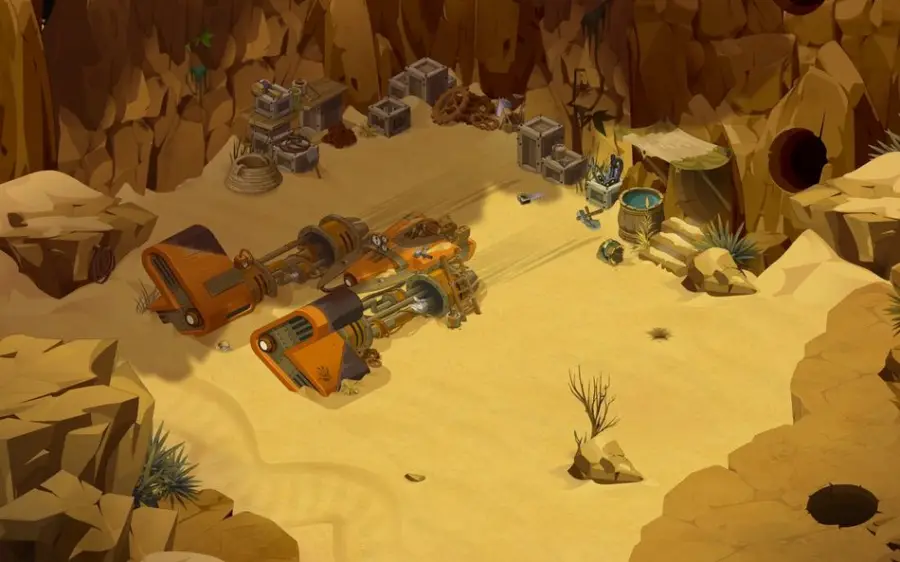
Bring the parts back to Subelba: she entrusts you with her first prototype of a siever.
- Experimental Siever Prototypereceived
Subelba · [9,-68] -
7Test the first prototype
Double-click the Experimental Siever Prototype in your quest inventory, then examine the Experimental Siever. A fight starts against two area monsters, possible as a group. Then go back and tell Subelba, at , that the siever did not hold up.
-
8Test the second prototype
Double-click the New Experimental Siever Prototype, then examine the Experimental Siever. A fight starts against two area monsters, possible as a group. Go back and tell Subelba that the siever did not hold up.
-
9Test the final prototype
Double-click the Final Experimental Siever Prototype, then examine the Experimental Siever. This time, it is a success: go back and announce it to Subelba at .
-
10Go back to Obermer Santile
Dialogue · Obermer Santile
Tell Obermer Santile that his worm problem will soon be solved. You learn that the Spice might prolong the life of those who consume it.
-
11Report to Mahandos Suk
· Mahandos Suk
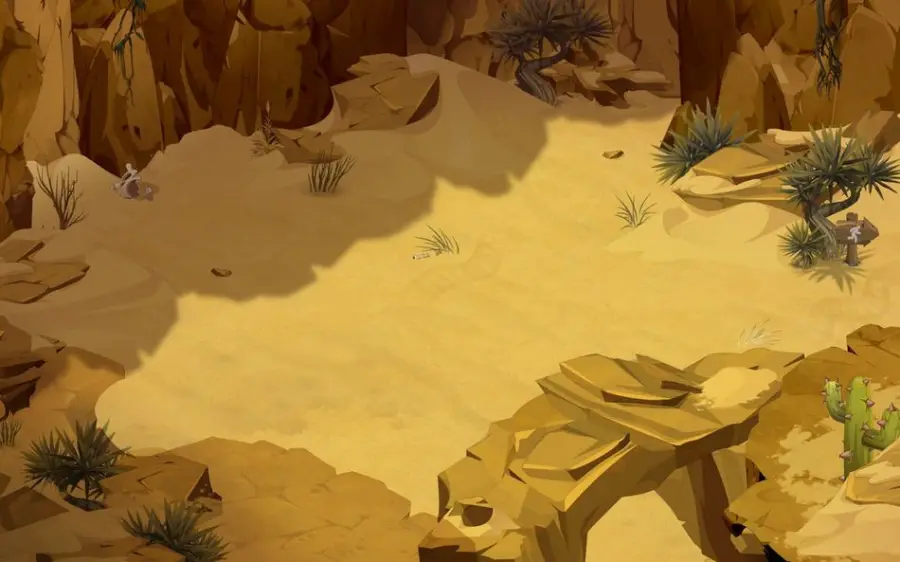
Go and report to Mahandos Suk. The quest ends.
Mahandos Suk · [11,-66]
The fights

Level 162
Wave 1 of the fight at , alone with the Corporation Mercenary, with 1 Cyclouse.
Level 162
One Cyclouse in wave 1, another alone in wave 2.
Level 162
Only monster of wave 3, the last one.
The rewards
- XP4,711,728 experience points
 64,560 kamas
 5 × Cyclouse Tooth
Related quests
The quest follows The World is a Cactus and unlocks Wormder, with Mahandos Suk. It is part of the achievement What is the Corporation Looking For?, which groups four Ohwymi quests.
- Start
- Laura Yon
- Start
- Mahandos Suk

Achievements · Ohwymi
What is the Corporation Looking For?
Complete the following quests:
- Worm DamageLvl. 170
- WormderLvl. 170
- Mummy MadnessLvl. 200
- Pyramid of FearLvl. 200
Where does the Worm Damage quest start?
With Shool Suk, at the Sarakech Port at . You must be level 150 and have completed The World is a Cactus.
Which monsters are in the wave fight?
1 Mastifang and 1 Cyclouse, then 1 Cyclouse, then 1 Sharcut. The fight is done solo, with the Corporation Mercenary.
Where are the damaged sievers?
In , and . Examine the Small Damaged Siever on each map; a fight may start.
Do you have to win the siever fights?
No. The fights against the sievers can be lost or abandoned: the quest advances anyway.
How do you test the prototypes?
Double-click the prototype in your quest inventory, on the right map, then examine the Experimental Siever.
Which quest follows Worm Damage?
Wormder, with Mahandos Suk at .


Comments
No comments yet. A tip, or a detail about this page? Be the first.