 2 × Skt-Zo Leg
Dungeon Frigost Island
Belly of the Whale
A level 200 dungeon on the island of Frigost, at Albatrocious Rock, at [-85,-59]: six rooms of invulnerable Krobes and a boss that only dies after ten turns of Infection, the Protoz'orror. Quests to start, a map of each room, strategy, monsters, achievements and loot.

Quests linked to the Belly of the Whale
Two Albatrocious Rock quests go through the dungeon: Whaleville ends in room 4, Whalebeing is completed on the Protoz'orror. Accept them before going in, and finish Whaleville before the boss fight, as Jangakkuq's quest recommends.
It takes you into the Belly. Clean up the Roc, harvest the Herbe Usse and the Appy Plant in the Winter Gardens, defeat a Pathogerm alone (four elements per turn, five turns in a row), then hand Nina Scharp's Inoculator to Disney Loth, in room 4.
- Start
- Captain Pawl Ouatnos, Albatrocious Rock
- Prerequisites
- Level 180
 Bacterrible Antenna5 antennae, 5 Viring Shell and 50,000,000 XP
The dungeon's quest, for the whale Kideebom. After three Toxic Waste, the Sacred Knives and the blessing of four spirits, defeat the Protoz'orror in a single fight, reach the exit, talk to the Spirit of Kideebom and bring the Protoz'orror Protuber back to Jangakkuq.
- Start
- Jangakkuq, Albatrocious Rock
- Prerequisites
- Level 180
 Protoz'orror Nucleus2 nuclei, 2 Pathogerm Skin and 50,000,000 XP
For later
The Spirit of Kideebom must bless you. After the death mask and the 12 soul dusts, go to the Belly of the Whale to ask the Spirit of Kideebom for its blessing, before joining Ilyzaelle.
- Start
- Dardondakal, Catseye Challenge
- Prerequisites
- The White Dragon and rank 5 in a Bonta or Brakmar order
Protoz'orror Nucleusand 60,000,000 XP
The Protoz'orror can give you the Totem of Disgust. Maimane asks for six emotion totems, each from a boss of your choice: for disgust, Bethel Akarna, Corruption, Dantinea, Nileza or the Protoz'orror.
- Start
- Maimane, Destroyers' Nightmare
- Prerequisites
- Level 180
 Totem of Balanceonce the six totems are handed in
Chef Zutlédoâ wants a Swollen Protoz'orror Nucleus. The Protoz'orror drops it: keep it for the dish that is meant to get the outpost's travelers back on their feet.
- Start
- Brenshi Forgebelly, Gargandyas's Tail
- Prerequisites
- Level 180 and Trouble in Paradise
During events
- Tiwagrum Simulation
Tiwagrum can name the Protoz'orror as the guardian to defeat. Amakna Village, .
Pandamonium Sings, on the Atoll of the Possessed, sends you back to Kideebom: keep a Key to the Belly of the Whale, because the key ring doesn't work for this step.
The 6 rooms of the Belly of the Whale
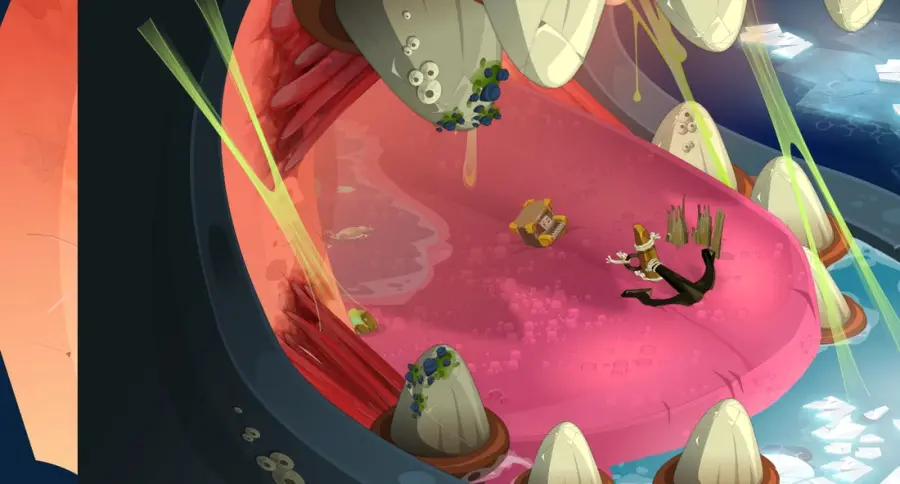
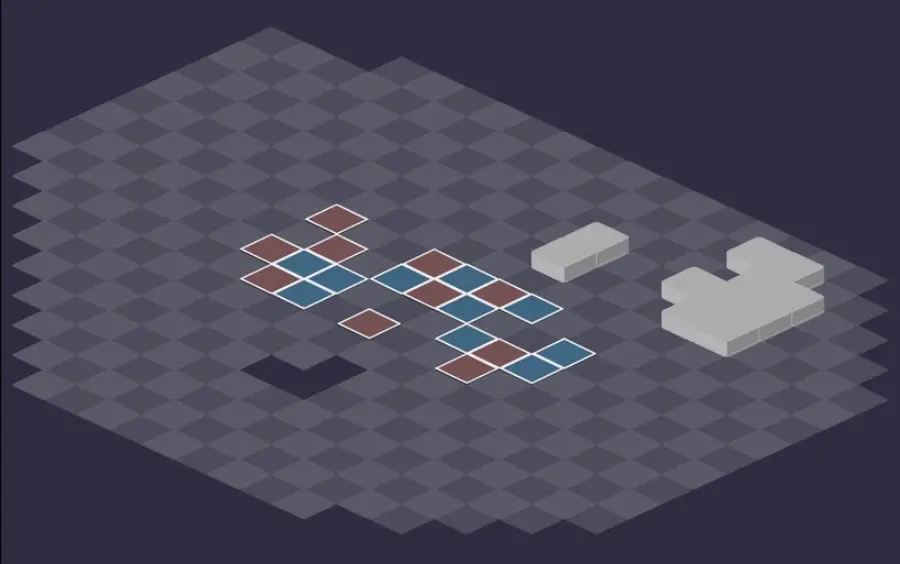
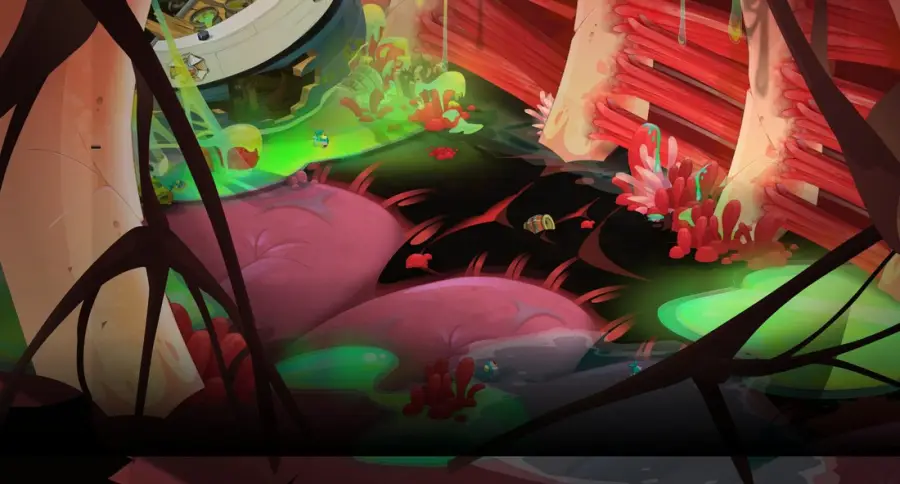
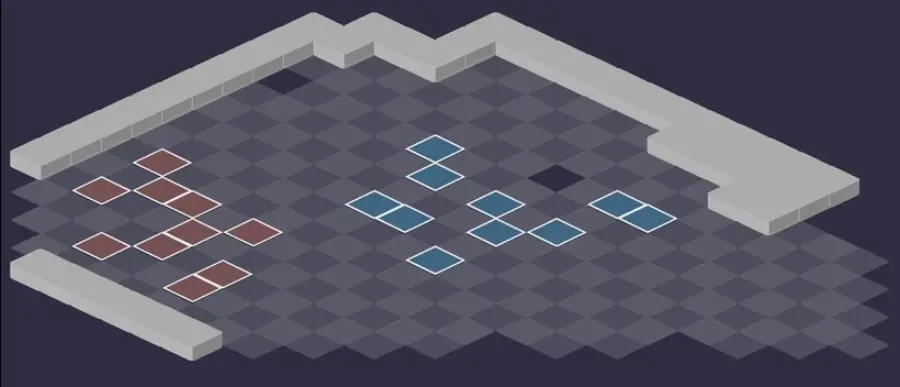
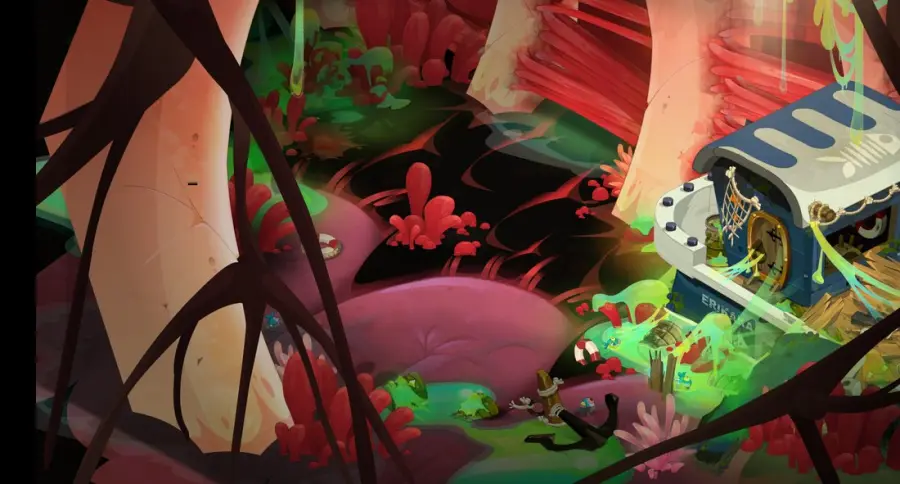
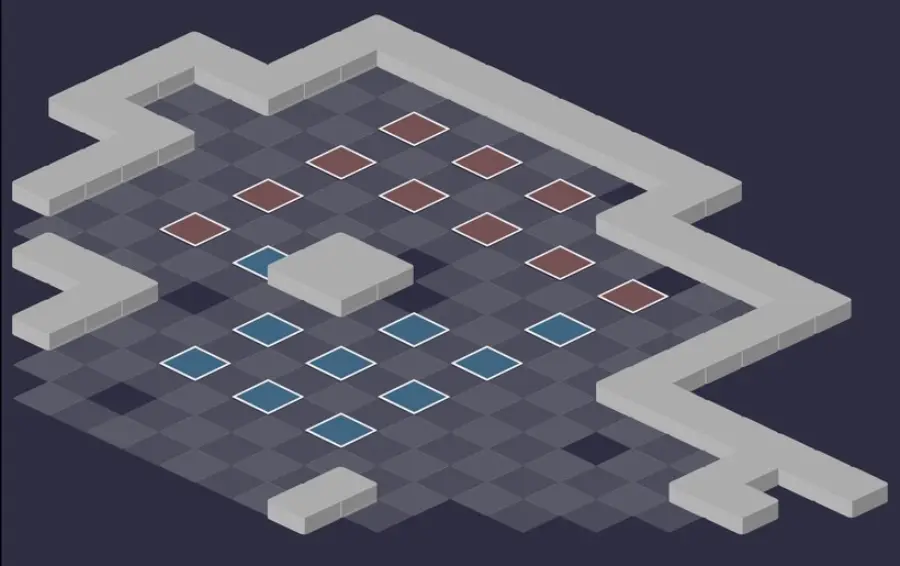
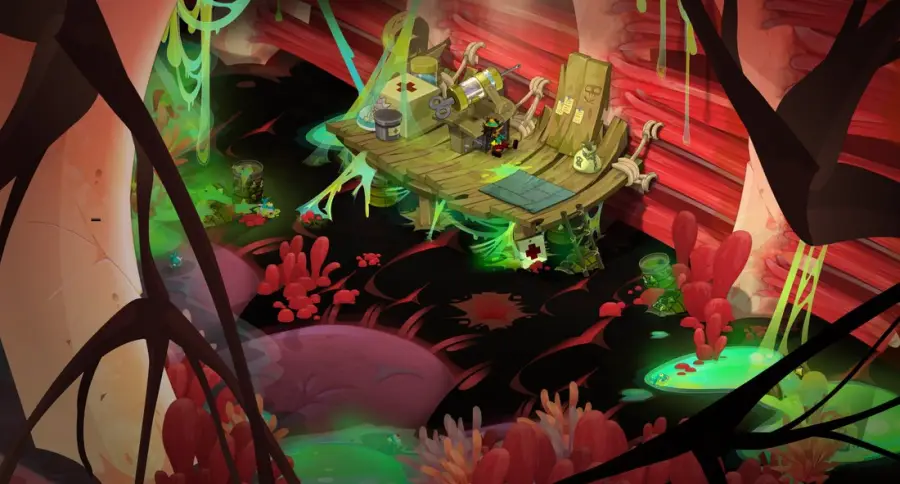
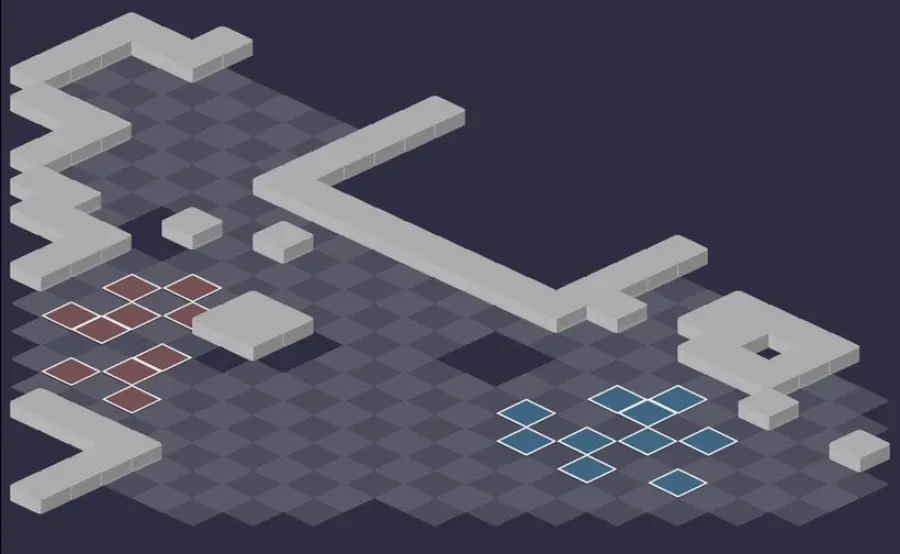
Six fights. Between room 2 and room 3, an annex room without monsters, the contaminated wreck of a Parafiole corporation boat, is crossed without a fight: be careful not to get contaminated there. Everywhere, the Krobes are invulnerable and the Malamoeba takes the damage in their place: the mechanic is detailed below. For each room: the setting, then the tactical view with the starting cells (blue: you, red: the monsters). Tap an image to enlarge it.
Room 1
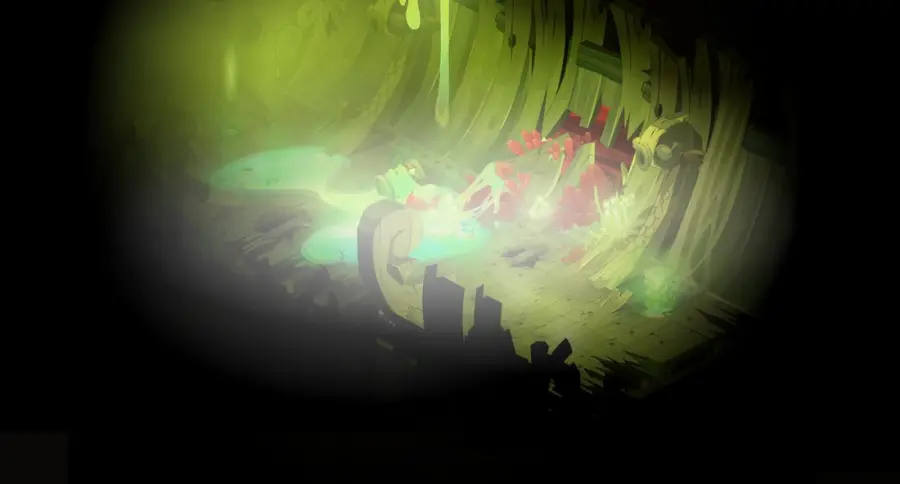
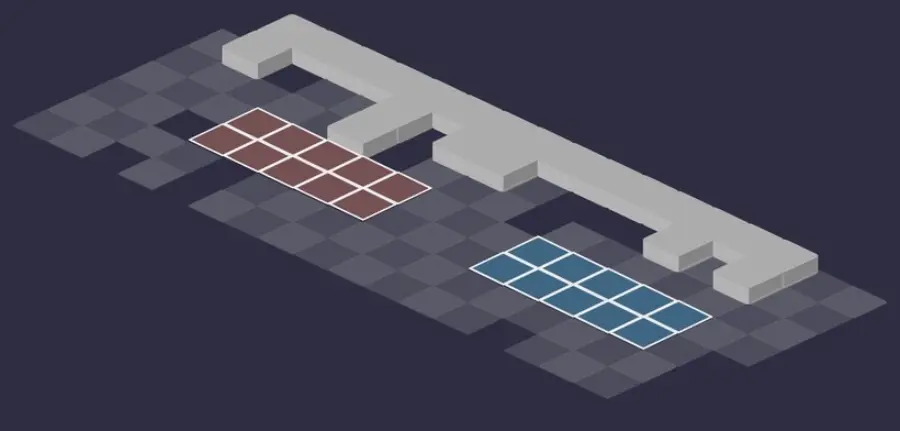
Room 2
Room 3
Disney Loth is waiting for you there: hand him Nina Scharp's Inoculator for Whaleville.
Room 4
Room 5
Room 6 — the Protoz'orror
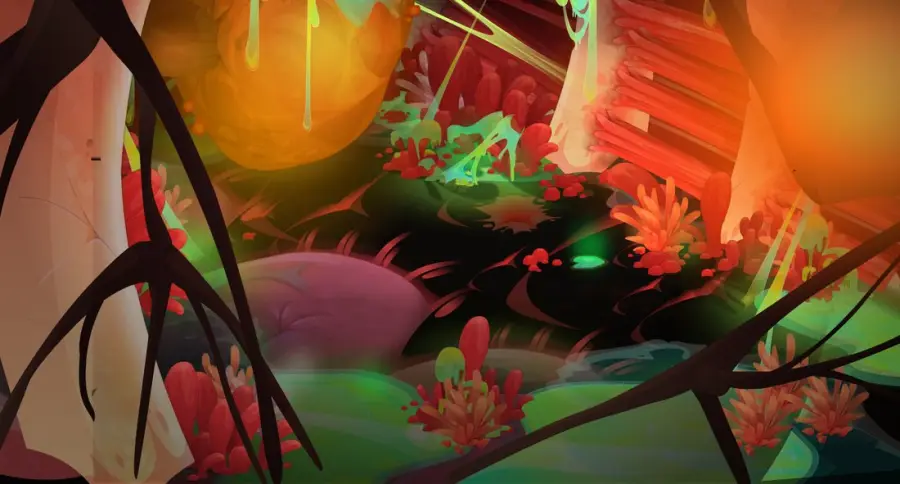
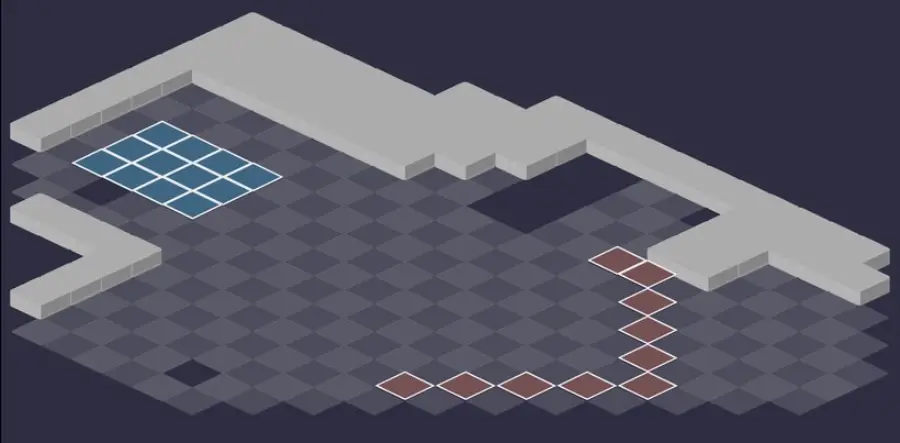
Defeat the Protoz'orror
Two turns for the Malamoeba
The Malamoeba intercepts all damage dealt to the Krobes and has 2,000 HP per living character. If it survives two full turns, it kills the whole team, even when the Protoz'orror is almost defeated. Kill it every cycle, no exceptions.

Level 220
 1,000 HP
 20 AP
 5 MP
- Resistances (%)
 Earth 0%
 Fire 0%
 Water 0%
 Air 0%
 Neutral 0%
Invulnerable and immovable, it only dies after ten turns in a row in the Infection state, which it gains by entering a purple glyph. Outside Infection, it gains 100 power each turn. Its three spells change effect depending on whether it is infected or not.
 Jet Proto4 AP · 10 Range ·41 to 50 Air damage · Pulls 10 cells · Jet Proto: +5 base damage
Outside Infection, its damage increases with each cast, for the whole fight: avoid getting hit. In Infection, it pulls its target into melee.
 Electrocution4 AP · 2 Range ·81 to 100 Fire damage · -6 MP · -6 AP
Removes MP outside Infection, AP in Infection, for one turn. A dispel gives them back to you.
 Infection4 AP · on self · 20% Erosion · Push Away 3 cells · Kills the target ·Water Damage: 50% erosion of the target's eroded HP · Pulls 3 cells
From turn 3, then every 3 turns. Kills any summon in contact with it; outside Infection, it erodes and pushes back 3 cells around it; in Infection, it hits everyone according to eroded HP and pulls 3 cells.
The five-step strategy against the Protoz'orror
Krobes first. Start with the monsters: each one dies after five consecutive turns of its Restoration condition, detailed below. Priority to the Bashillus and the Bacterrible, then the Viring; the Pathogerm and the Verminoculate wait until the others have fallen.
The Malamoeba, every turn. Hit the Krobes, not the Malamoeba: what it intercepts reaches it without reduction, whereas hit directly, it halves your damage. Take advantage of area spells while several monsters remain: the further the fight goes, the fewer targets there are.
The Protoz'orror in the glyph. Any character who takes damage leaves a purple glyph under them. Put that glyph between you and the boss, lined up, then hit it with a cheap spell: only the first attack of the turn pulls it, and it stops in the glyph on its path. It goes into Infection for 3 turns and gains 2 MP.
Ten turns of Infection. Send it back into a glyph at least every 2 turns, otherwise the counter resets to zero. Entrust this positioning to the character with the initiative: as long as the boss hasn't been pulled in, those who play before can't hit it to kill the Malamoeba.
The last turn. It dies at the end of its tenth turn of Infection, after playing that turn: keep your MP removal and protections to the very end, otherwise it can still decimate the team.
The Malamoeba
At the start of the fight, the first monster in initiative summons the Malamoeba, which intercepts the damage taken by all Krobes. It has 2,000 HP per living character, sidekicks included, summons not included. When a character dies, it immediately loses 2,000 HP.
Once dead, it is re-summoned by the next enemy to play. The damage it intercepts is doubled, then halved by its own protection: so it arrives intact. Apply your vulnerabilities to the Malamoeba, not to the Krobe you are hitting.
The Krobes' restorations
A Krobe that meets its condition goes into Infection for one turn; after five consecutive turns, it dies on its own. A single failed turn resets its counter to zero. Nothing forces you to handle everything at once: prioritize.
Bacterrible: no enemy within 5 Range or less when it starts its turn. Pathogerm: hit it in Earth, Fire, Water and Air every turn. Bashillus: no healing, life steal remaining allowed. Verminoculate: a character in contact with it when it starts its turn, summons not counting. Viring: no movement and no MP removal, even caused by its allies.
Two methods against the Protoz'orror
With MP removal, with an Enutrof with 190 removal on initiative: in line with the boss, he hits himself with Coin Throwing to place a glyph under himself, steps back 2 cells and pulls the Protoz'orror into it with Sieving. Shovel of Judgment and Clumsiness remove the rest of its MP, Obsolescence lowers its dodge, then he leaves its line. Repeat every two turns.
With the tank, with a character who has initiative and at least 81 Flee: let the boss hit you to place a glyph, stand next to the glyph, still in line, and hit it to pull it in. It then hits you every turn: break the tackle in line and hit it once per turn. A Pandawa doesn't need Flee: he carries a barrel, steps aside one cell with Waterfall, hits, then puts the barrel back.
The monsters of the Belly of the Whale
Five level 200 Krobes, all invulnerable: none dies under your blows, each one goes out after five consecutive turns of its Restoration condition. Your damage on them only serves to kill the Malamoeba.
In which order to kill the monsters
- Bashillus, then Bacterrible — the former forbids all healing and can swap places with the Viring, the latter removes range and MP at a distance.
- Viring — pushed 7 times against an obstacle, it drops to 0 MP and skips its turns until it dies.
- Pathogerm, then Verminoculate — to be dealt with last, the Verminoculate once the Bashillus is dead, so that its tackler can be healed.

Level 200
- 1,000 HP
- 12 AP
- 4 MP
- Resistances (%)
- Earth 0%
- Fire 0%
- Water 0%
- Air 0%
- Neutral 0%
No healing for five turns, only life steal remains allowed. Each turn without healing gives it 150 power, cumulative for the fight. Remove its MP, push it back and keep it away from the Viring.
 Subtle Exchange4 AP · 4 Range · Switches positions ·26 to 35 Neutral damage · 41 to 50 Neutral damage · 61 to 70 Neutral damage · 81 to 90 Neutral damage
In line up to 4 Range, on an ally as well as an enemy. Stronger on a damaged target; on the Viring, the swap breaks its restoration.
 Gastric Reflux4 AP · 2 Range · Duration of effects: -1 ·31 to 40 Water damage · 51 to 60 Water damage · 61 to 70 Water damage · 81 to 90 Water damage
Diagonally up to 2 cells: removes one turn of bewitchment and hits harder on a damaged target.

Level 200
- 1,000 HP
- 12 AP
- 5 MP
- Resistances (%)
- Earth 0%
- Fire 0%
- Water 0%
- Air 0%
- Neutral 0%
Distant Restoration: no character within 5 Range or less of it when it starts its turn. Its two spells are cast from 6 to 10 Range, and its passive removes one turn of bewitchment from characters farther than 5 Range. Deal with it first, along with the Bashillus.
 Secretion4 AP · 10 Range ·61 to 70 Air damage · -3 Range · -3 MP
Cast from 6 to 10 Range only: a character closer avoids it, but breaks the Bacterrible's Distant Restoration.
-
Repulsive Dance4 AP · 10 Range ·71 to 80 Earth damage · Push Away 3 cells
In line from 6 to 10 Range, even without line of sight: an obstacle doesn't protect you.

Level 200
- 1,000 HP
- 12 AP
- 7 MP
- Resistances (%)
- Earth 0%
- Fire 0%
- Water 0%
- Air 0%
- Neutral 0%
No movement or MP removal for five turns, not even the Bashillus's place swap. Each push damage removes 1 MP from it without breaking its counter: pushed 7 times against an obstacle, it no longer moves. A movement or MP removal gives it those MP back.
 Contamination4 AP · melee · Kills the target ·81 to 100 Fire damage · 20% Erosion
In melee: erodes the target and directly kills a summon.
-
Viral Ball4 AP · 3 Range ·200 Air damage (% remaining MP)
Its damage depends on the Viring's remaining MP: at 0 MP, it does nothing anymore.

Level 200
- 1,000 HP
- 12 AP
- 5 MP
- Resistances (%)
- Earth 0%
- Fire 0%
- Water 0%
- Air 0%
- Neutral 0%
Hit it in all four elements every turn, Earth, Fire, Water and Air, five turns in a row. Downside of its condition: Heartburn gains damage for each element received on the previous turn. Don't stay grouped within its reach.
-
Heartburn4 AP · 4 Range ·28 to 32 Neutral damage · 28 to 32 Fire damage · 28 to 32 Water damage · 28 to 32 Air damage · 28 to 32 Earth damage
Strikes in a circle of radius 2, stronger for each different element the Pathogerm received on the previous turn: its restoration makes it more dangerous.
 Underground Attack4 AP · 3 Range ·71 to 90 Earth damage · -3 MP
Removes 3 MP for one turn, up to 3 Range: don't let it approach your back lines.

Level 200
- 1,000 HP
- 12 AP
- 5 MP
- Resistances (%)
- Earth 0%
- Fire 0%
- Water 0%
- Air 0%
- Neutral 0%
A character in contact with it when it starts its turn, five turns in a row; summons don't count, but several characters can take turns. Acid Jet hits very hard in melee: a sturdy tackler, healed once the Bashillus is dead, or protected by Animated Bag and the Enutrof's Corruption.
-
Inflation4 AP · on self · Pulls 3 cells ·61 to 70 Water damage
Pulls 3 cells in a star around the Verminoculate, which follows up in melee with Acid Jet.
-
Acid Jet4 AP · melee ·131 to 150 Neutral damage
Its melee hit, twice per turn: the tackler must be able to take it, or be relayed.
Preparing your run through the Belly of the Whale
A dungeon for teams of level 190 to 200 who plan their turns rather than hit hard: each Krobe is killed by a condition, not by damage. People come for Whalebeing, the achievements, the Protoz'orror Nucleus and the capture with a Soul Stone for Gigantic Souls.
How to enter the Belly of the Whale
The entrance is on Albatrocious Rock, island of Frigost, at ; the nearest zaap is the one at Albatrocious Rock , and the Permafrost Port boat leads there too. Three ways to open it: a Key to the Belly of the Whale (consumed), the key ring if it is registered there, or automatic group search.
Crafting the Key to the Belly of the Whale
It is crafted at a handyman's. Four ingredients drop from the dungeon's Krobes, at 12%: Bashillus Leg, Verminoculate Eye, Bacterrible Antenna and Viring Shell, as well as Tasty Meat. Icefish (fishing), Snowdrop and Frosteez (harvesting) complete the recipe.
| Ingredient | Quantity | Level |
|---|---|---|
 Bashillus Leg |
2 | 200 |
 Verminoculate Eye |
2 | 200 |
| Bacterrible Antenna |
2 | 200 |
 Viring Shell |
2 | 200 |
 Tasty Meat |
2 | 200 |
 Icefish |
1 | 200 |
 Snowdrop |
1 | 200 |
 Frosteez |
1 | 200 |
Which team to bring against the Protoz'orror
A positioner who has the initiative. The character who puts the Protoz'orror in the glyph must play first. Ideal: an Enutrof with 190 MP removal, who damages himself with Coin Throwing. Failing that, a tank with 81 Flee or a Pandawa.
Four elements and area spells. The Pathogerm must be hit in four elements every turn, and the Malamoeba falls faster when your area spells hit several Krobes. Ranged classes help, without being mandatory.
Held-back healing. As long as the Bashillus lives, no healing: only life steal is allowed. Save your healing for the Verminoculate's tackler and for the boss's tank, once the Bashillus is dead.
The classes that fit best. The Enutrof is the centerpiece: Coin Throwing, Sieving, Shovel of Judgment, Clumsiness and Obsolescence to place and immobilize the boss, Animated Bag and Corruption to protect the Verminoculate's tackler. The Pandawa tanks the boss without Flee thanks to Waterfall, the Eliotrope shines in the Statue achievement and in Duo.
The five achievements of the Belly of the Whale
Each achievement gives 200,000,000 XP and 2 Protoz'orror Nucleus, the Duo doubles the XP. “Can I Get a Boom?” is played with the basic strategy, as long as you have enough damage to kill the Malamoeba every turn.
| Achievements | Condition | Points | XP |
|---|---|---|---|
 Protoz'orror (Special) |
Defeat Protoz'orror in its dungeon by completing the “Can I Get a Boom?” challenge. | 10 | 200 000 000 |
| Belly of the Whale |
Defeat the Protoz'orror in this boss's dungeon. | 10 | 200 000 000 |
| Protoz'orror (Barbaric) |
Defeat the Protoz'orror in its dungeon by completing the “Barbaric” challenge. | 10 | 200 000 000 |
| Protoz'orror (Statue) |
Defeat the Protoz'orror in its dungeon by completing the “Statue” challenge. | 10 | 200 000 000 |
| Protoz'orror (Duo) |
Defeat the Protoz'orror in its dungeon by completing the “Duo” challenge. | 20 | 400 000 000 |
Special: Can I Get a Boom?
The Malamoeba must always be killed before the start of its next turn. You have only one turn to kill it, at 2,000 HP per character. Follow the basic strategy, preferably with a tank, the MP removal method being more random. Eliminate the Bashillus and the Viring first and keep the Verminoculate for last, in order to hit in an area. Vulnerabilities on the Malamoeba; a character's death removes 2,000 HP from it.
Barbaric
Allied characters must finish off enemies with a weapon. A weapon hit on a Krobe or on the Protoz'orror isn't enough: the weapon must hit the Malamoeba, dealing damage, a hit for 0 making the achievement fail. A 2 AP weapon makes the task easier, like the Treechnid Root Bow, which also gives 1 AP. Prefer the MP removal method.
Statue
Allied fighters must end their turn on the same cell where they started it, for the entire fight. The simplest lineup: Enutrof with MP removal, Eliotrope and Pandawa. The Enutrof has the initiative (an Abyssal helps), the Pandawa a spell that throws an ally without line of sight, like Chamrak, the Eliotrope Cabal. Line the team up in a file, Enutrof in front, and drain the Viring of its MP with pushes. Thanks to the Eliotrope's portals, the Enutrof goes around each time: Coin Throwing in front of the portal lined up with the boss, Sieving or Shovel of Judgment to pull it into the glyph, then back to its cell. The Verminoculate is tanked last, when it comes into contact with you.
Duo
Two characters at most, in under 40 turns. The basic strategy works with a Pandawa, an Enutrof or an Eliotrope and another class. The Pandawa tanks the boss with Waterfall, the Enutrof places it with MP removal. With two, the Malamoeba has only 4,000 HP. Everything must be done before turn 40.
Drops and loot of the Belly of the Whale
Base in-game rates, before Prospecting bonuses.
On the Protoz'orror
- Protoz'orror NucleusMiscellaneous Resource12 %
 Nougat Rabmarac BarTreat6 %
 The SarapoxCurse6 %
 Barrel of Drinking WaterContainer3 %
 Whale SaltPowder2 %
 Al Howin GobtubbyCeremonial pet1 %
 Paragon of PowerMain quests0,7 %
 Tasty CarrionMeat0,6 %
On the henchmen of the Protoz'orror
- Tasty MeatMeat · Bacterrible12 %
 The LurgiCurse · Bacterrible12 %
- Bacterrible AntennaMiscellaneous Resource · Bacterrible12 %
 Pathogerm SkinSkin · Pathogerm12 %
- Bashillus LegLeg · Bashillus12 %
- Verminoculate EyeEye · Verminoculate12 %
- Viring ShellShell · Viring12 %
- Whale SaltPowder · Bacterrible2 %
- Barrel of Drinking WaterContainer · Bacterrible1 %
Capturing the soul of the Protoz'orror
 Bring a Soul Stone for Gigantic Souls for the Protoz'orror, level 220.
| Stone ingredient | Quantity |
|---|---|
 Pandawushu Artefact |
2 |
 Supreme Soul Splinter |
10 |
 Drawing Board |
2 |
The Belly of the Whale as a guild Expedition
The Belly exists in two Guild Expeditions, Audacious and Valour, each with its own modifier:
- Audacious: outside Infection, the Protoz'orror is no longer immovable and is pulled in on every hit in line, not just the first. Push it, carry it or throw it directly into a glyph;
- each boss movement deals to the one responsible a start-of-turn Air poison, cumulative: don't overdo it. Infected, it becomes immovable again but is still pulled on every hit in line, which frees the character on initiative;
- Valour: the Malamoeba has 4,000 HP per character, and its summoner gains 2 MP and the untackleable state as long as it lives. At the start of the fight, it is always the Protoz'orror that summons it;
- with an Enutrof on initiative, keep the boss for last: infected, it has 9 MP each turn. On the turn it casts Infection, hitting an ally doesn't place a glyph: place it in a glyph on the previous turn;
- without MP removal, keep a Bashillus or a Verminoculate alive so that it re-summons the Malamoeba in place of the boss: finish it with a character who plays between the Protoz'orror and that monster. A tackler with 160 Tackle or more, on initiative, positions the boss;
- if you keep the Bashillus, heal a little so it doesn't die after 5 turns. A character who hits little can also die on purpose: the Malamoeba loses 4,000 HP.
Where is the Belly of the Whale?
On Albatrocious Rock, island of Frigost, at . The nearest zaap is the one at Albatrocious Rock ; the Permafrost Port boat also leads there.
What level should you be to do the Belly of the Whale?
Level 190 minimum, 200 recommended. The Protoz'orror is level 220 and its Krobes level 200, but the fight mostly demands coordination.
Which quest should you do in the Belly of the Whale?
Whalebeing, from Jangakkuq at Albatrocious Rock . It is completed on the Protoz'orror. Whaleville, from Captain Pawl Ouatnos , stops in room 4.
How do you beat the Protoz'orror?
Keep it ten turns in a row in the Infection state. Pull it into a purple glyph at least every 2 turns, by hitting it lined up with the glyph, and kill the Malamoeba every turn.
How do you kill invulnerable Krobes?
By meeting their Restoration condition five turns in a row. Distance for the Bacterrible, four elements for the Pathogerm, no healing for the Bashillus, melee for the Verminoculate, no movement for the Viring.
What is the Malamoeba?
The summon that takes the Krobes' damage in their place. It has 2,000 HP per living character and must die before two full turns, otherwise it kills the whole team.
Which monster should you deal with first?
The Bashillus and the Bacterrible, then the Viring. The Pathogerm and the Verminoculate are dealt with once the others have fallen.
Which stone should you use to capture the Protoz'orror?
A Soul Stone for Gigantic Souls. The Protoz'orror is level 220.
Can you do the Belly of the Whale with two?
Yes, it's even an achievement: the Duo, in under 40 turns. A Pandawa, an Enutrof or an Eliotrope with another class, using the basic strategy.
Do you need a key for every run of the Belly of the Whale?
No, with the key ring or automatic group search. Still keep a real key for Pandamonium Sings: the key ring isn't enough for it.

Comments
No comments yet. A tip, or a detail about this page? Be the first.