 2 × Skt-Zo Leg
Dungeon Cania Lake
Blop Fields
Level 60 dungeon at Cania Lake, at [-7,-43]: ten rooms and four bosses, the Royal Blops, only one of which is fought on each run. Quests to start, map of each room, strategy, monsters, achievements and loot.
Quests linked to the Blop Fields
The dungeon's quest, Between Four Blops, is completed on any Royal Blop: a single run is enough. Bontarians add Amayiro's Tabi to it. Accept them before entering: a fight won without the quest in progress does not count.
The dungeon's quest. Percy Pointer sends you to inspect the Fields: beat a Royal Blop of your choice in a single fight, reach the dungeon exit, then go back to see him.
- Start
- Percy Pointer, Amakna tavern
- Prerequisites
- Level 40 and Brilliant Dungeon
 Royal Coco Blop Flowerand the three other royal flowers, 954,000 XP
Retrieve the Royal Blop Oil from the Fields. Amayiro also wants a Blop Flower Pulp: crush four Blop flowers of different colors in a Munster Crusher.
- Start
- Amayiro, in Bonta
- Prerequisites
- Level 50 and Trool Fair Suspected
For later
All four souls are required. The Ochre Dofus quest asks for that of each Royal Blop: Coco, Morello Cherry, Indigo and Pippin. One Soul Stone for Average Souls is enough for each.
- Start
- Otomai, Otomai Island
- Prerequisites
- Level 40
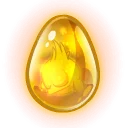 Ochre Dofusat the end of the 19 steps
The Royal Rainbow Blop, from the Fields. For the Golden Milk Pearl, talk to Bibiblop, beat Rogue Angrene and her accomplices, see Gavroch, then beat the Royal Rainbow Blop in a single fight.
- Start
- Apisaph, Sanctuary of a Hundred Detours
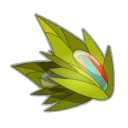 Royal Rainbow Blop Leaf2 leaves, 5 Khamelerost Skin and 11,409,600 XP
Everything starts with Bibiblop. The quest first goes through the Fields, then through the Royal Mastogob's Greenhouse to find Gavroch, before opening the Crimson Dofus room.
- Start
- Apisaph, Sanctuary of a Hundred Detours
- Prerequisites
- Wayward Soul
During events
- Flower Power
The first step requires 5 Blopshroom Flower, 5 Greedoblop Flower, 5 Piece of Blop of each color and one flower from each Royal Blop. Isgrate Giftoyu, Astrub, .
The 10 rooms of the Blop Fields
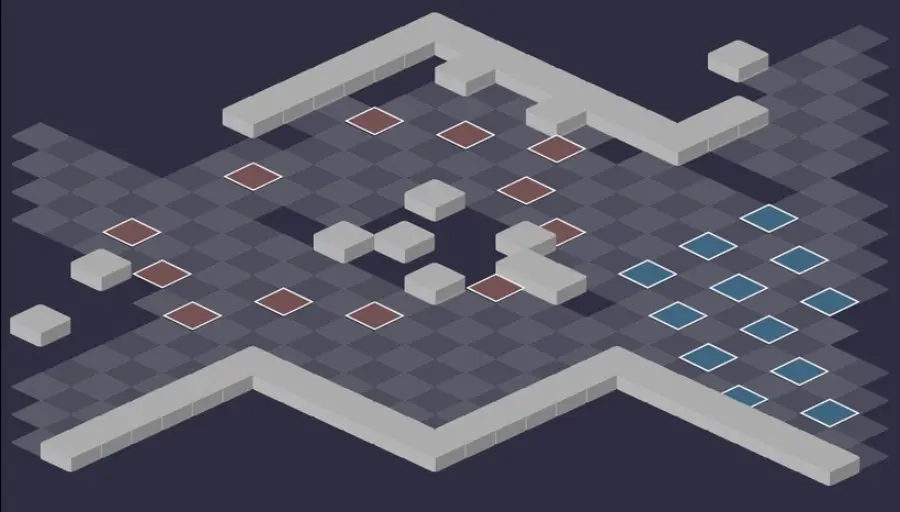
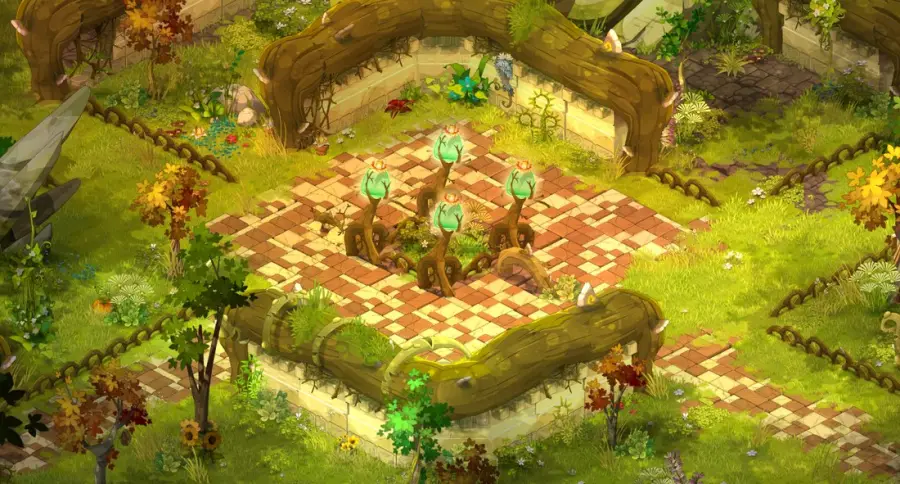
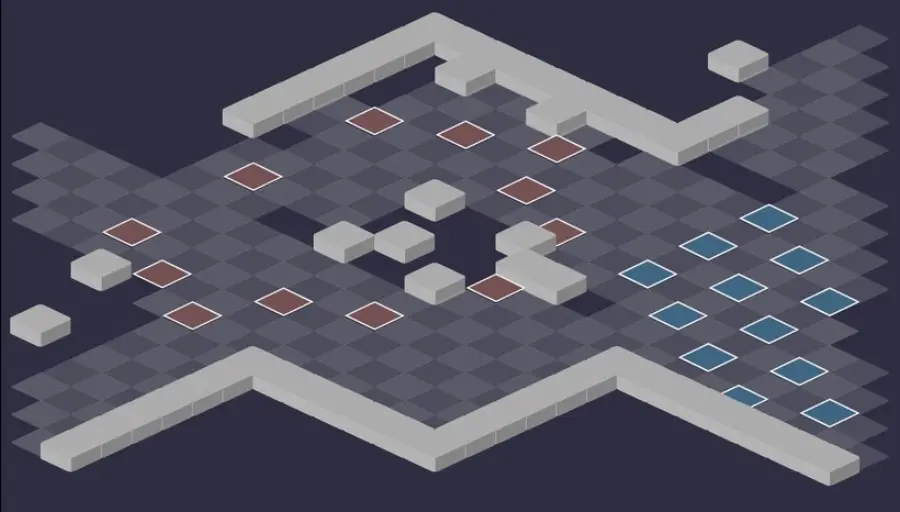
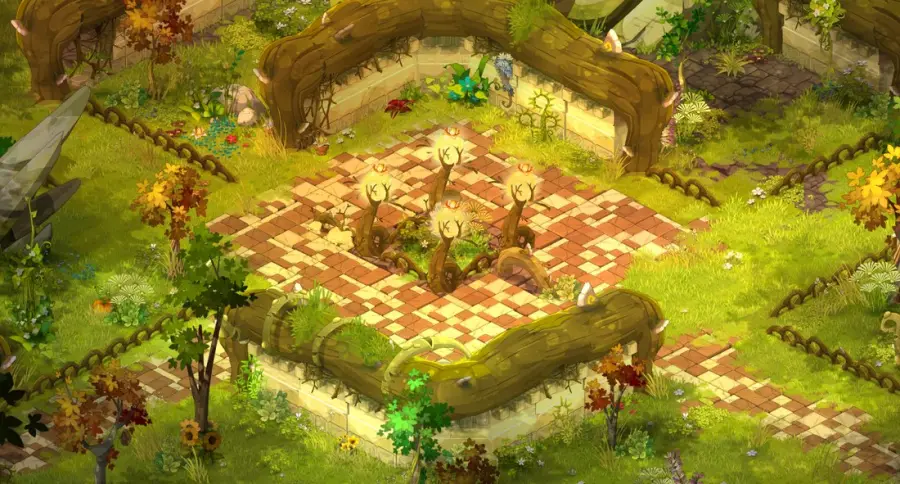
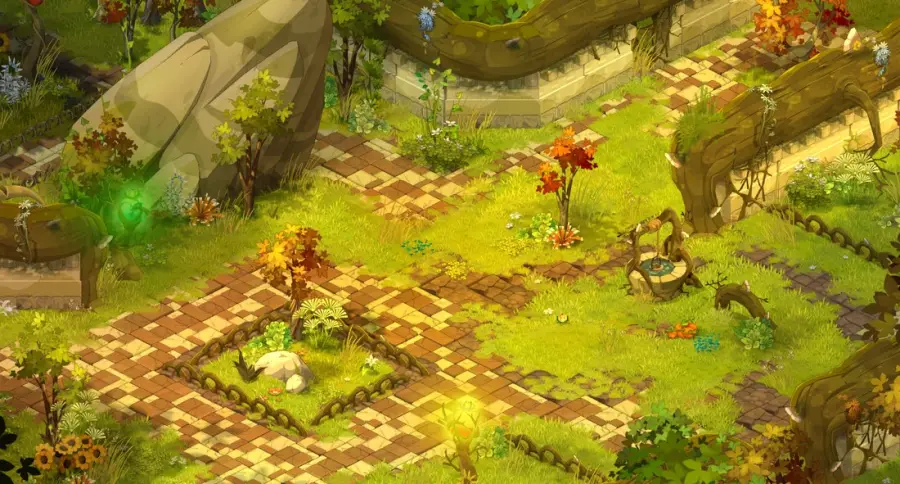
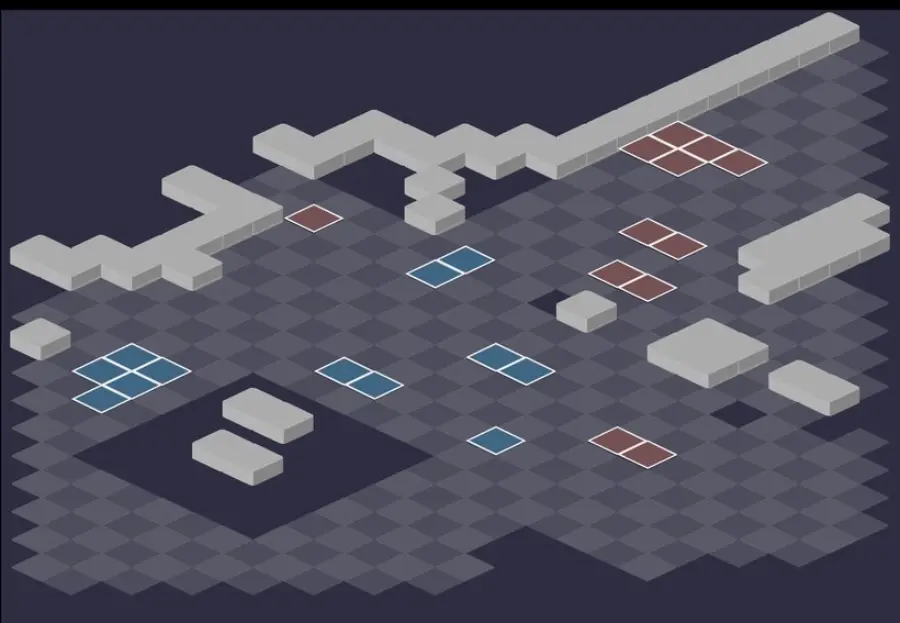
Ten maps, but not ten fights per run: rooms 2 to 5 are the arenas of the four Royal Blops, and you only face one, the Royal you choose from Bibiblop after the fourth fight. For each room: the scenery, then the tactical view with the starting cells (blue: you, red: the monsters). Tap an image to enlarge it.
Room 1
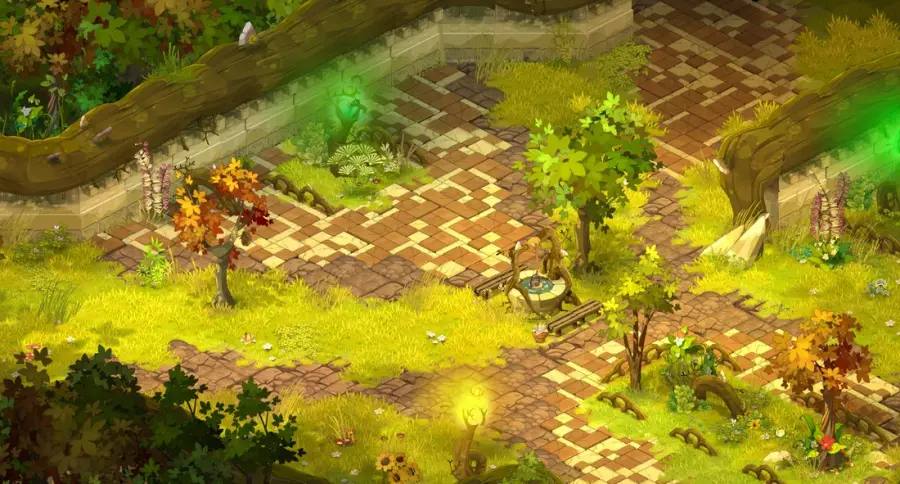
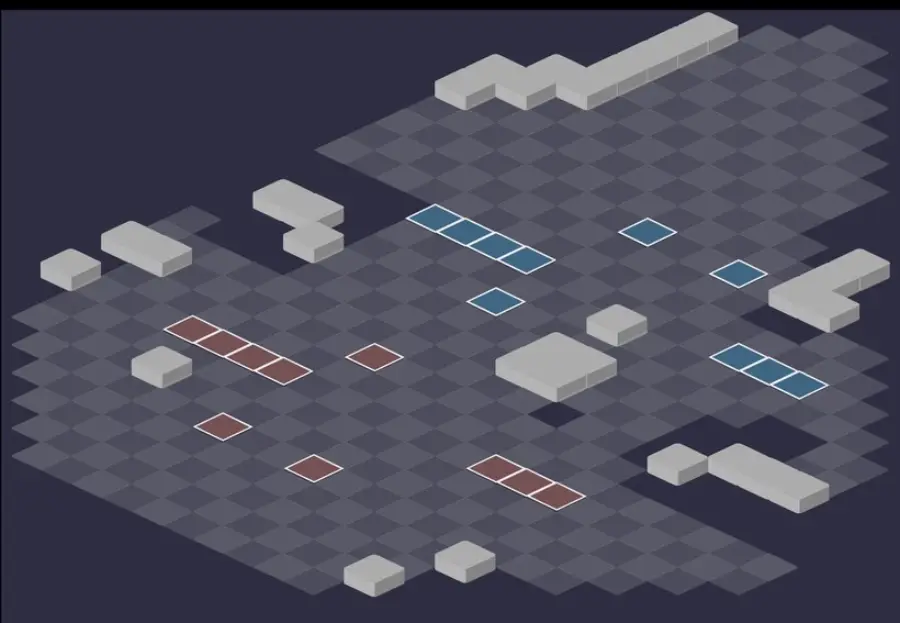
Room 2 — the Royal Indigo Blop
The Royal Indigo Blop's arena: 94% Water resistance, -12% in all other elements.
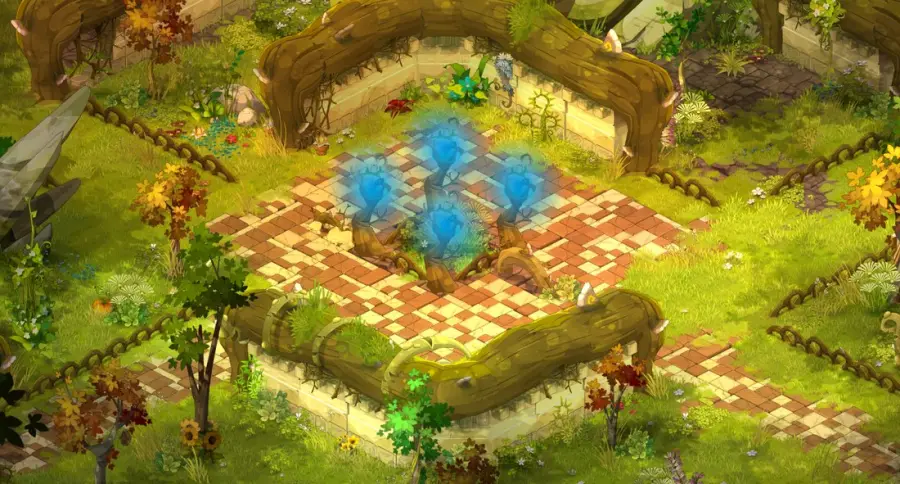
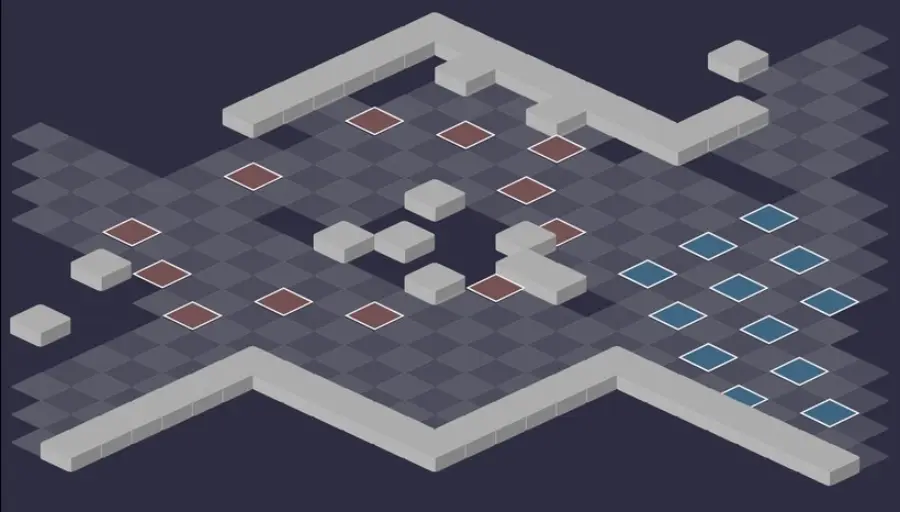
Room 3 — the Royal Morello Cherry Blop
The Royal Morello Cherry Blop's arena: 94% Fire resistance, -12% in all other elements.
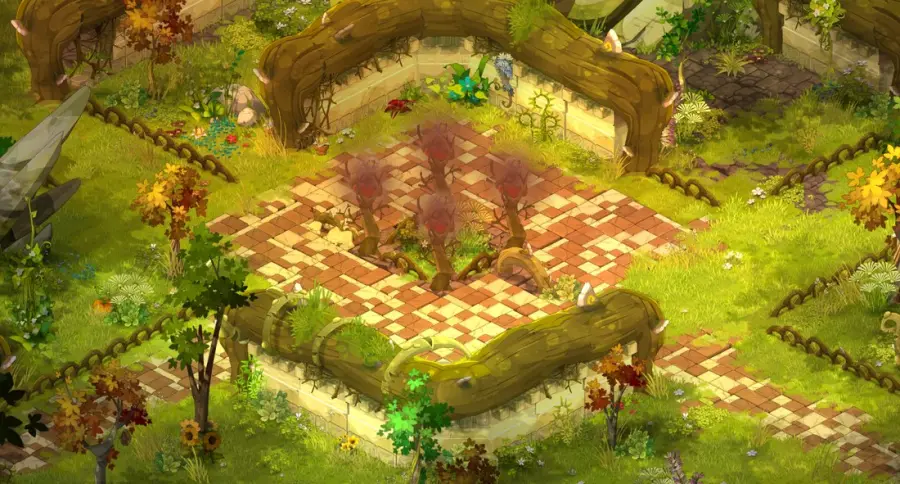
Room 4 — the Royal Pippin Blop
The Royal Pippin Blop's arena: 94% Earth resistance, -12% in all other elements.
Room 5 — the Royal Coco Blop
The Royal Coco Blop's arena: 94% Air resistance, -12% in all other elements.
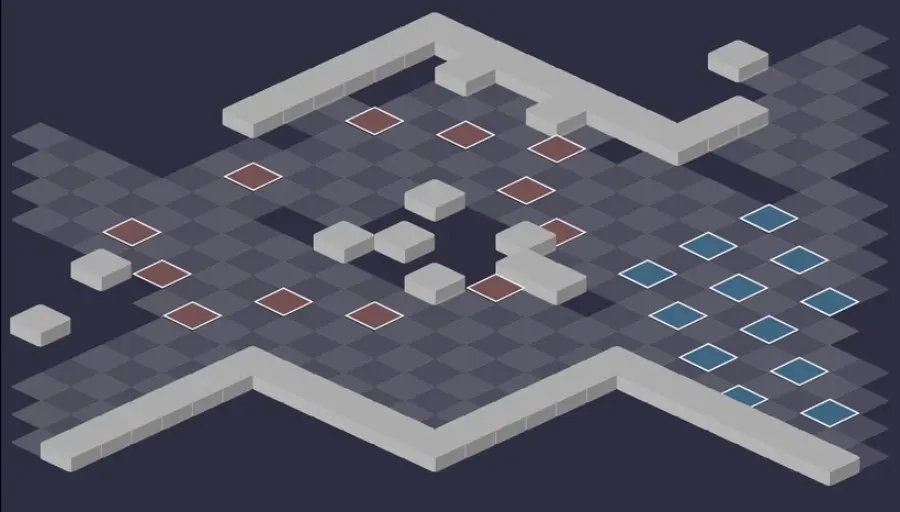
Room 6
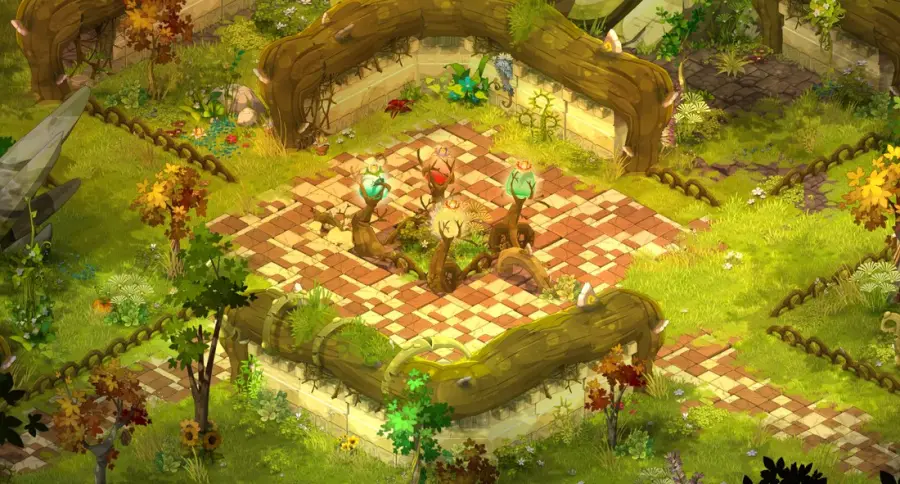
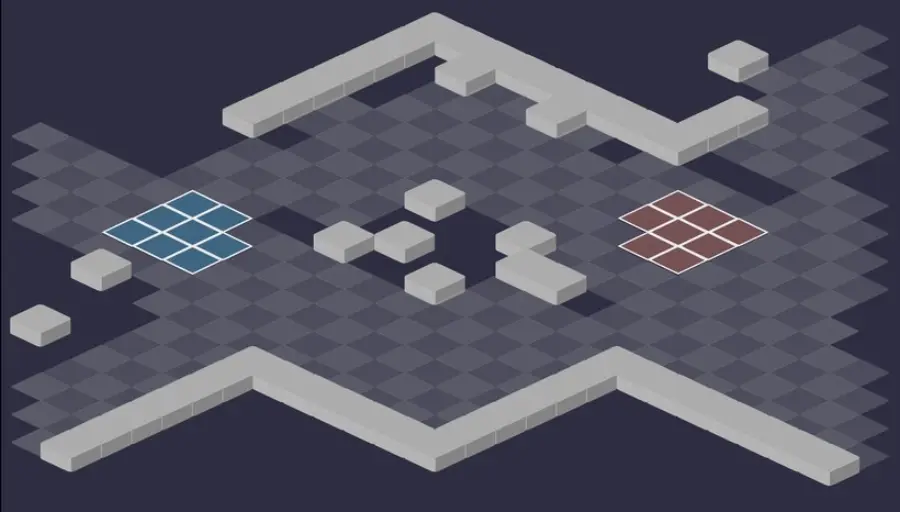
Room 7
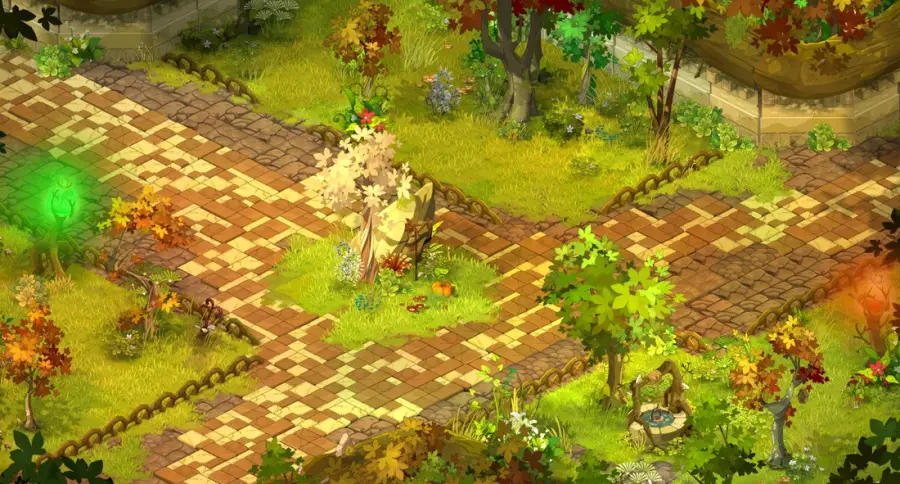
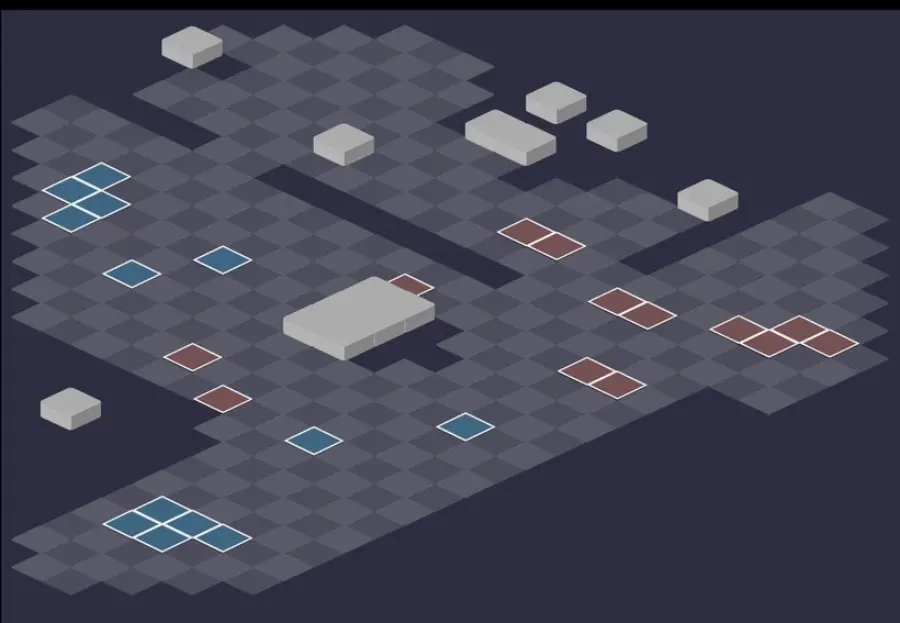
Room 8
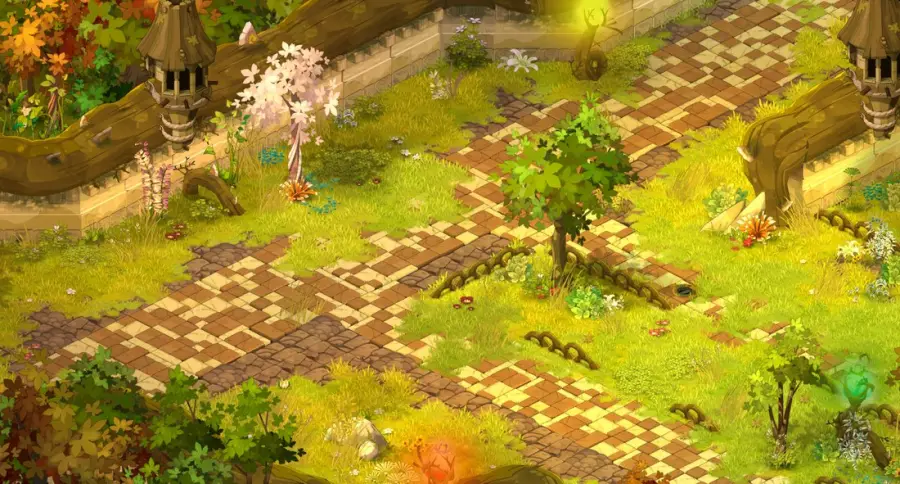

Room 9
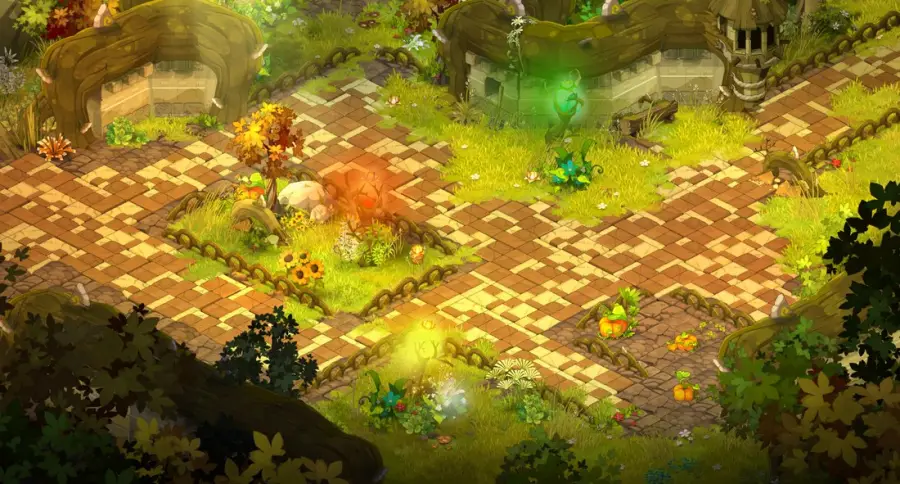
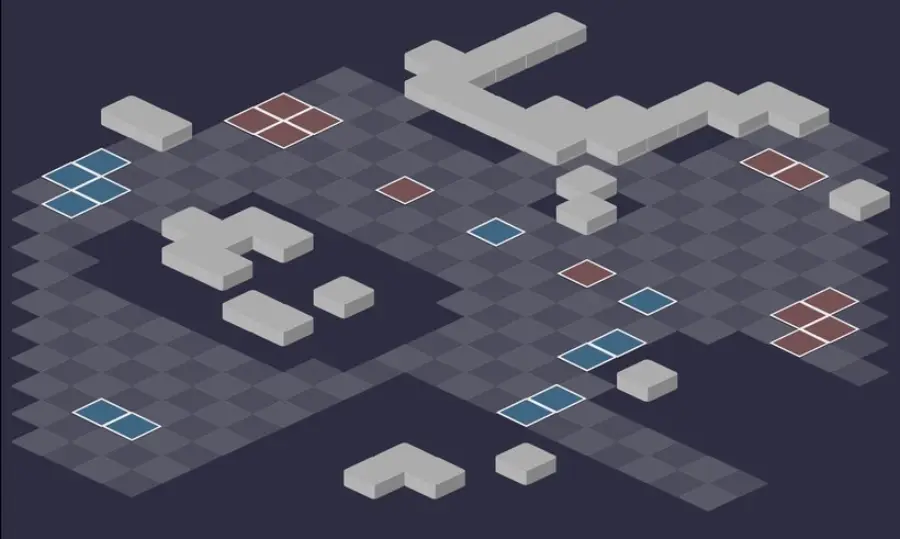
Room 10
Beat the four Royal Blops
The Greedoblop's Touch
Glutination kills its target in melee, after stealing Vitality and MP from it. If the Royal summons a Greedoblop, never let it reach a character: block its path or kill it at range before going back to the Royal.

Level 60
 2,400 HP
 10 AP
 5 MP
- Resistances (%)
 Earth -12%
 Fire -12%
 Water -12%
 Air 94%
 Neutral -12%
The Air Royal: 94% Air resistance, -12% in the four other elements. Like the other three, it hits at short range with Royal Bloptribution, which steals life and 1 MP. A team that plays Air must pick another color.
 Royal Bloptribution6 AP · 4 RNG ·21 to 30 Air steal · Steals 1 MP
The Royal's only attack, up to 4 RNG: life steal and steal of 1 MP (2 on a crit) for one turn.
 Blummoning
Randomly summons a Blop from the dungeon, 3 turns cooldown. Greedoblop and Blopshroom come out half as often as the others.
 Bloprotection3 AP · 4 RNG ·100% Air Resistance
Gives 100% resistance to an allied monster for 3 turns (6 on a crit). 3 turns cooldown: switch targets in the meantime.
Level 60
- 2,400 HP
- 10 AP
- 5 MP
- Resistances (%)
- Earth -12%
- Fire 94%
- Water -12%
- Air -12%
- Neutral -12%
The Fire Royal: 94% Fire resistance, -12% everywhere else. Bloprotection can give 100% resistance to one of its allies for 3 turns: switch targets rather than hitting into it.
-
Royal Bloptribution6 AP · 4 RNG ·21 to 30 Fire steal · Steals 1 MP
The Royal's only attack, up to 4 RNG: life steal and steal of 1 MP (2 on a crit) for one turn.
-
Blummoning
Randomly summons a Blop from the dungeon, 3 turns cooldown. Greedoblop and Blopshroom come out half as often as the others.
-
Bloprotection3 AP · 4 RNG ·100% Fire Resistance
Gives 100% resistance to an allied monster for 3 turns (6 on a crit). 3 turns cooldown: switch targets in the meantime.

Level 60
- 2,400 HP
- 10 AP
- 5 MP
- Resistances (%)
- Earth -12%
- Fire -12%
- Water 94%
- Air -12%
- Neutral -12%
The Water Royal: 94% Water resistance, -12% everywhere else. Blummoning adds a random Blop to it: kill the summon if it's a Blopshroom, a Trunkiblop or a Greedoblop, ignore the others.
-
Royal Bloptribution6 AP · 4 Range ·21 to 30 Water steal · Steals 1 MP
The Royal's only attack, up to 4 RNG: life steal and steal of 1 MP (2 on a crit) for one turn.
-
Blummoning
Randomly summons a Blop from the dungeon, 3 turns cooldown. Greedoblop and Blopshroom come out half as often as the others.
-
Bloprotection3 AP · 4 RNG ·100% Water Resistance
Gives 100% resistance to an allied monster for 3 turns (6 on a crit). 3 turns cooldown: switch targets in the meantime.

Level 60
- 2,400 HP
- 10 AP
- 5 MP
- Resistances (%)
- Earth 94%
- Fire -12%
- Water -12%
- Air -12%
- Neutral -12%
The Earth Royal: 94% Earth resistance, -12% everywhere else. Not very dangerous, like its counterparts: once its henchmen are dead, you can let it hit you and hit it until it dies.
-
Royal Bloptribution6 AP · 4 RNG ·21 to 30 Earth steal · Steals 1 MP
The Royal's only attack, up to 4 RNG: life steal and steal of 1 MP (2 on a crit) for one turn.
-
Blummoning
Randomly summons a Blop from the dungeon, 3 turns cooldown. Greedoblop and Blopshroom come out half as often as the others.
-
Bloprotection3 AP · 4 RNG ·100% Earth Resistance
Gives 100% resistance to an allied monster for 3 turns (6 on a crit). 3 turns cooldown: switch targets in the meantime.
The five-step strategy
Choosing your Royal. After the fourth fight, Bibiblop has you choose a Royal Blop, and the choice is final. Take the one that doesn't resist your elements, and agree on it before clicking: otherwise everyone goes their own way.
First turn: the Blop. The regular Blop has a lot of range and flees, but loses 62% in the opposite element. Kill it before it plays if you can. If it survives and goes far away, leave it: it gets finished last. Never end a turn on its white glyphs.
Blopshroom, then Trunkiblop. The Blopshroom hits at range and hurts the most, for few HP and resistances. The Trunkiblop is less dangerous but heals its allies. Kill them in that order, before touching the Royal.
The Royal. It isn't very dangerous: hit it until it dies, even in melee. Kill its summons only if it's a Trunkiblop, a Blopshroom or a Greedoblop, ignore the others.
The end of the fight. Finish off the Blop if it fled on the first turn. Then talk to Bibiblop again: Royal Rainbow Blop fight, or exit. The details are further down, with the soul capture.
Only one Royal per run
It is impossible to choose all four Royal Blops at the same time. To defeat them all, you have to do the dungeon four times, rooms included: that is the real difficulty of the Fields, far more than the fight. Hence the value of at least two characters of different elements if you're aiming for all four.
The four Royals are found together in the Royal Rainbow Blop fight, offered by Bibiblop after your victory. But the Rainbow Blop is level 120: a completely different fight for a level 60 team.
Blummoning's summons
Blummoning randomly summons a Blop from the dungeon: one of the four Biblops, one of the four regular Blops, a Blopshroom, a Greedoblop or a Trunkiblop. The Greedoblop and the Blopshroom come out half as often as the others, about 4.5% versus 9%.
A summoned Greedoblop can also clean house: it devours its allies, except the Royals and other Greedoblops. But it gains MP and vitality with every meal: watch its distance every turn.
The monsters of the Blop Fields
Seven henchmen of level 52: the four regular Blops, which differ only by their element, and three Blops with very distinct roles. The regular Blop is handled separately: killed on the first turn if it can't flee, otherwise last. The resistances in red are their weaknesses.
In which order to kill the monsters
- Blopshroom — it hits at range, removes range and hurts the most, for few HP.
- Trunkiblop — it heals the monsters around it and gives them MP.
- Greedoblop — it kills on contact: shoot it down at range as soon as it approaches a character.

Level 52
- 610 HP
- 6 AP
- 5 MP
- Resistances (%)
- Earth -19%
- Fire -14%
- Water 0%
- Air 26%
- Neutral 21%
The monster that hurts the most in the Fields: Blopiction hits up to 12 RNG and removes 4 range. Bloblo steals 1 MP in melee and Bloprojection punishes every MP spent near it. Its Earth and Fire weaknesses make it fall quickly.
 Bloblo4 AP · melee ·21 to 30 Air damage · Steals 1 MP
 Blopiction3 AP · 12 RNG · -4 Range ·31 to 40 Water damage
Removes 4 RNG (6 on a crit) for 3 turns, in a cross. A ranged character becomes useless: all the more reason to kill the Blopshroom early.
 Bloprojection3 AP · on self ·7 to 10 Earth damage · 4 Earth damage per 1 MP MP used
End-of-turn poison around the Blopshroom: each MP used that turn costs HP. It can be unbewitched.
Level 52
- 610 HP
- 7 AP
- 2 MP
- Resistances (%)
- Earth 41%
- Fire 31%
- Water -9%
- Air -24%
- Neutral 0%
It heals the monsters around it with Bloperation, gives them 1 MP with Blopzone and reveals invisible entities with Blopium. Only 2 MP and an Air weakness: it is easily killed at range.
-
Blopzone4 AP · on self ·21 to 30 Fire steal · 1 MP
 Bloperation2 AP · on self ·21 to 30 Fire heals
Heals the Trunkiblop and the monsters around it. 2 turns cooldown.
 Blopium3 AP · on self · Reveals invisible entities ·10 MP Parry
Reveals invisible characters around the Trunkiblop and gives MP Parry to nearby monsters.

Level 52
- 800 HP
- 6 AP
- 4 MP
- Resistances (%)
- Earth -9%
- Fire -24%
- Water 26%
- Air 11%
- Neutral 21%
Glutination kills its target in melee, after stealing 200 Vitality and 2 MP from it. It can target its allies, never the Royals or another Greedoblop. Weak to Fire: kill it before it reaches you.
-
Glutination6 AP · melee · Steals 200 Vitality ·Steals 2 MP · Kills the target
Kills the target, a character or allied monster, but neither the Royal Blops nor other Greedoblops. The Greedoblop grows with every meal.
Level 52
- 680 HP
- 6 AP
- 4 MP
- Resistances (%)
- Earth -62%
- Fire 15%
- Water 15%
- Air 50%
- Neutral 15%
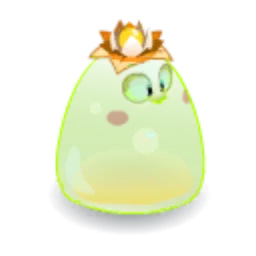
It resists Air but loses 62% in Earth: an Earth character can kill it before it plays. Like all regular Blops, it has a lot of range and a fleeing AI: if you miss it on the first turn, it gets finished last.
-
Biblopition
-
Biblop Mask
Makes nearby allied summons invisible for 2 turns, without line of sight. A hidden Biblop can make Cautious or the Special one fail.
-
Biblobish4 AP · 2 Range ·17 to 24 Air damage
-
Blopition
Costs 7 AP for the Blop's 6: it almost never casts it without a gift of AP.
 Blyph4 AP · 14 RNG · Places an end-of-turn glyph ·-1 MP
Removes 1 MP in a cross and leaves a white glyph for 2 turns (4 on a crit). Ending your turn on it costs HP and 1 more MP.
Level 52
- 680 HP
- 6 AP
- 4 MP
- Resistances (%)
- Earth 15%
- Fire 50%
- Water -62%
- Air 15%
- Neutral 15%
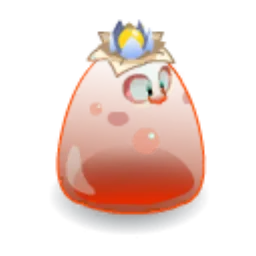
It resists Fire and loses 62% in Water. Its Blyph, cast from very far away, removes 1 MP and leaves a white glyph: never end your turn on it.
-
Biblopition
-
Biblop Mask
Makes nearby allied summons invisible for 2 turns, without line of sight. A hidden Biblop can make Cautious or the Special one fail.
-
Biblobish4 AP · 2 range ·17 to 24 Fire damage
-
Blopition
Costs 7 AP for the Blop's 6: it almost never casts it without a gift of AP.
-
Blyph4 AP · 14 RNG · Places an end-of-turn glyph ·-1 MP
Removes 1 MP in a cross and leaves a white glyph for 2 turns (4 on a crit). Ending your turn on it costs HP and 1 more MP.

Level 52
- 680 HP
- 6 AP
- 4 MP
- Resistances (%)
- Earth 15%
- Fire -62%
- Water 50%
- Air 15%
- Neutral 15%
It resists Water and loses 62% in Fire. Biblop Mask makes its summons invisible, which is a trap for the Cautious and Hands off My Blop challenges.
-
Biblopition
-
Biblop Mask
Makes nearby allied summons invisible for 2 turns, without line of sight. A hidden Biblop can make Cautious or the Special one fail.
-
Biblobish4 AP · 2 RNG ·17 to 24 Water damage
-
Blopition
Costs 7 AP for the Blop's 6: it almost never casts it without a gift of AP.
-
Blyph4 AP · 14 RNG · Places an end-of-turn glyph ·-1 MP
Removes 1 MP in a cross and leaves a white glyph for 2 turns (4 on a crit). Ending your turn on it costs HP and 1 more MP.

Level 52
- 680 HP
- 6 AP
- 4 MP
- Resistances (%)
- Earth 50%
- Fire 15%
- Water 15%
- Air -62%
- Neutral 15%
It resists Earth and loses 62% in Air. Biblopition adds a Biblop to it; Blopition, which costs 7 AP for its 6 AP, almost never comes out.
-
Biblopition
-
Biblop Mask
Makes nearby allied summons invisible for 2 turns, without line of sight. A hidden Biblop can make Cautious or the Special one fail.
-
Biblobish4 AP · 2 RNG ·17 to 24 Earth damage
-
Blopition
Costs 7 AP for the Blop's 6: it almost never casts it without a gift of AP.
-
Blyph4 AP · 14 RNG · Places an end-of-turn glyph ·-1 MP
Removes 1 MP in a cross and leaves a white glyph for 2 turns (4 on a crit). Ending your turn on it costs HP and 1 more MP.
Preparing your run through the Blop Fields
An easy dungeon, ideal for discovering elemental mechanics: each Royal Blop almost totally resists its color. You come here for Between Four Blops, for the four Ochre Dofus souls with a Soul Stone for Average Souls (captures up to level 100), and for the key fragments that open the Royal Rainbow Blop's lair.
How to enter the Blop Fields
The entrance is at Cania Lake, in the Cania Plains, at , west of the Cania Lake zaap . You need a Blop Field Key (consumed) or the key ring if it is registered there: this dungeon has no automatic group search.
Crafting the Blop Field Key
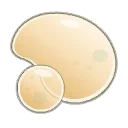
It is crafted at a handyman's. Pieces of Blop and Maggoty Meat drop from the dungeon's Blops; the rest comes from fishing (Ediem Carp) and harvesting (Wild Mint, Hop). It can also be found at the auction house.
| Ingredient | Quantity | Level |
|---|---|---|
 Piece of Coco Blop |
2 | 26 |
 Piece of Morello Cherry Blop |
2 | 26 |
 Piece of Indigo Blop |
2 | 26 |
 Piece of Pippin Blop |
2 | 26 |
 Maggoty Meat |
2 | 60 |
 Ediem Carp |
2 | 60 |
 Wild Mint |
2 | 60 |
 Hop |
2 | 60 |
The right team for the Blop Fields
At least two elements. Each Royal has 94% resistance in its color and -12% in the other elements. For the four Royals, bring at least two characters of different elements, otherwise you'll get stuck on one of them. For a single run, simply choose the Royal that suits you.
Damage on the first turn. The regular Blop flees far away on its very first turn, but loses 62% in the opposite element. A character able to kill it on turn 1 saves you from having to go after it at the end of the fight.
The five achievements of the Blop Fields
Each achievement gives 795,000 XP and 2 Royal Blop Leaf, and Duo doubles the XP. A special feature of the Fields: a challenge must be completed on each of the four Royals, i.e. four runs, to unlock its achievement. You can also complete them all at once against the Royal Rainbow Blop, but some of them conflict there with its own challenges (Cautious and Impertinence, for example).
| Achievements | Condition | Points | XP |
|---|---|---|---|
 Blop Fields |
Defeat the 4 Royal Blops in their dungeon. | 10 | 795 000 |
| Royal Blops (Duel) |
Defeat the 4 Royal Blops as a team in their dungeon by completing the “Duel” challenge. | 10 | 795 000 |
| Royal Blops (Cautious) |
Defeat the 4 Royal Blops in their dungeon by completing the “Cautious” challenge. | 10 | 795 000 |
| Royal Blops (Special) |
Defeat the Royal Blops in their dungeon by completing the “Hands off My Blop” challenge. | 10 | 795 000 |
| Royal Blops (Duo) |
Defeat the 4 Royal Blops in their dungeon by completing the “Duo” challenge. | 20 | 1 590 000 |
Duel
An enemy attacked by an ally must not be attacked by anyone else for the whole fight. It lengthens the fight a bit. Assign a monster to each character, the hardest hitter taking the Royal, and those who play the element resisted by the Royal or the Blop taking the Trunkiblop or the Blopshroom. Let the Blop flee, it gets killed last. If one character hits far harder than the others, they can kill everything alone while the team buffs and protects them. Beware of summons you don't control.
Cautious
No ally may end their turn next to an enemy. Not hard, but you need to stay vigilant: there are often several summons, and ending next to a summon makes the achievement fail, even an invisible one under Biblop Mask. Stay at a distance throughout the fight. Mobility and positioning spells help, and the common spell Release lets you push back.
Special: Hands off My Blop
Enemy summons must not suffer any damage. Don't hit any summon, even an invisible one: hit the Royal and the allowed Blops directly. Watch your area damage, your pushback damage and your own summons.
Duo
Two characters maximum, fewer than 20 turns. Rather easy, but four runs: take two characters of different elements so you don't get stuck on a Royal. Keep the same order: the Blop if possible, the Blopshroom, the Trunkiblop, then the Royal. If the Blop flees on the first turn, kill it last. Everything must be finished by the end of turn 19.
Drops and loot of the Blop Fields
Base game rates, before prospecting bonus. Each Royal drops its own flower: Flower Power asks for one of each.
On the bosses
 Royal Blop LeafPlant · Royal Coco Blop45 %
 Dead BlopMiscellaneous Resource · Royal Coco Blop7,6 %
- Royal Coco Blop FlowerFlower · Royal Coco Blop7,6 %
 Royal Morello Cherry Blop FlowerFlower · Royal Morello Cherry Blop7,6 %
 Royal Indigo Blop FlowerFlower · Royal Indigo Blop7,6 %
 Royal Pippin Blop FlowerFlower · Royal Pippin Blop7,6 %
 Nougat Rabmarac BarTreat · Royal Coco Blop6 %
 Bag of Jelly BlubberContainer · Royal Coco Blop3 %
 Maggoty CarrionMeat · Royal Coco Blop2,29 %
 Wa Odanowth's CwownCeremonial hat · Royal Coco Blop0,15 %
 Wa Odanowth's CloakCeremonial cape · Royal Coco Blop0,15 %
 Al Howin GobtubbyCeremonial pet · Royal Coco Blop0,15 %
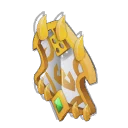 Queen Odasouth ShieldCeremonial shield · Royal Coco Blop0,15 %
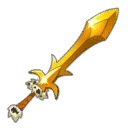 Wa Odanowth's SwordCeremonial weapon · Royal Coco Blop0,15 %
 Wa Odanowth ShieldCeremonial shield · Royal Coco Blop0,15 %
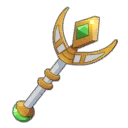 Queen Odasouth WandCeremonial weapon · Royal Coco Blop0,15 %
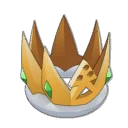 Queen Odasouth CrownCeremonial hat · Royal Coco Blop0,15 %
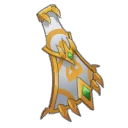 Queen Odasouth CloakCeremonial cape · Royal Coco Blop0,15 %
On the henchmen
- Piece of Coco BlopMiscellaneous Resource · Coco Blop46 %
- Maggoty MeatMeat · Coco Blop46 %
- Piece of Morello Cherry BlopMiscellaneous Resource · Morello Cherry Blop46 %
- Piece of Indigo BlopMiscellaneous Resource · Indigo Blop46 %
- Piece of Pippin BlopMiscellaneous Resource · Pippin Blop46 %
 Blopshroom FlowerFlower · Blopshroom46 %
 Greedoblop FlowerFlower · Greedoblop46 %
 Trunkiblop RootRoot · Trunkiblop46 %
- Dead BlopMiscellaneous Resource · Trunkiblop7,64 %
- Bag of Jelly BlubberContainer · Coco Blop1 %
Soul capture, key fragments and Rainbow Blop
Soul capture and Ochre Dofus
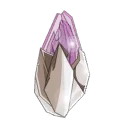 A Soul Stone for Average Souls (captures up to level 100) is enough for a level 60 Royal. The soul is used for the An Eternal Harvest quest of the Ochre Dofus, which asks for that of the four Royal Blops.
| Stone ingredient | Quantity |
|---|---|
 Ordinary Soul Splinter |
10 |
 Fish Juice |
1 |
The key fragments
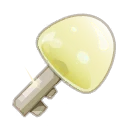 At the end of the dungeon, you receive a key fragment in the color of the defeated Royal. Together, the Coco, Morello Cherry, Indigo and Pippin fragments let you craft the Royal Rainbow Blop Lair Key.
The Royal Rainbow Blop
 After your Royal, talk to Bibiblop again: he offers the Royal Rainbow Blop fight, level 120 and accompanied by the four Royals, or the exit. Even if you don't fight it, at least enter its room with the key ring, then leave with a recall potion: the save will let you come back later without redoing the Fields.
Where are the Blop Fields?
At Cania Lake, at , in the Cania Plains. The nearest zaap is the Cania Lake one .
What level should you be to do the Blop Fields?
From level 50, comfortably at 60. The dungeon is rated easy: its real constraint is having to redo it for each Royal.
Can you face the four Royal Blops in a single run?
No, only one per run. After the fourth fight, Bibiblop has you choose your Royal, and the choice is final. The four are only found together in the Royal Rainbow Blop fight, level 120.
Which element should you use against the Royal Blop?
Everything except its color. The Coco resists Air, the Morello Cherry Fire, the Indigo Water and the Pippin Earth: 94% in that element, -12% in the others.
Which quest should you do in the Blop Fields?
Between Four Blops, at Percy Pointer's in the Amakna tavern . Accept it before entering: beating a single Royal is enough, and it gives one flower from each Royal.
Which monster should you target first in the Blop Fields?
The regular Blop, if it can die before playing, then the Blopshroom and the Trunkiblop. If it flees on the first turn, leave it and kill it last.
What should you do if the Royal summons a Greedoblop?
Never leave it in contact with a character: Glutination kills its target. It can also devour its allies, except the Royals, but grows with every meal.
Which stone should you use to capture the Royal Blops?
A Soul Stone for Average Souls (captures up to level 100). The Ochre Dofus quest asks for the soul of the four Royals.
How do you unlock the Royal Blops achievements?
By completing the same challenge on all four Royals. The Duel achievement, for example, is only unlocked after a successful Duel against each color.
Do you need a key for every run of the Blop Fields?
Yes, or the key ring: this dungeon has no automatic group search. The key is crafted with dungeon resources, fishing and harvesting.



Comments
No comments yet. A tip, or a detail about this page? Be the first.