 2 × Skt-Zo Leg
Dungeon Alma's Cradle
The Wreck of the Hesperus
Level 150 dungeon in Alma's Cradle, on Frigost Island, at [-60,-84]: five rooms of ghost pirates and an invulnerable boss that must be blown up by his own Hamrack, Buck Anear. Quests to start, strategy, monsters, achievements and loot.
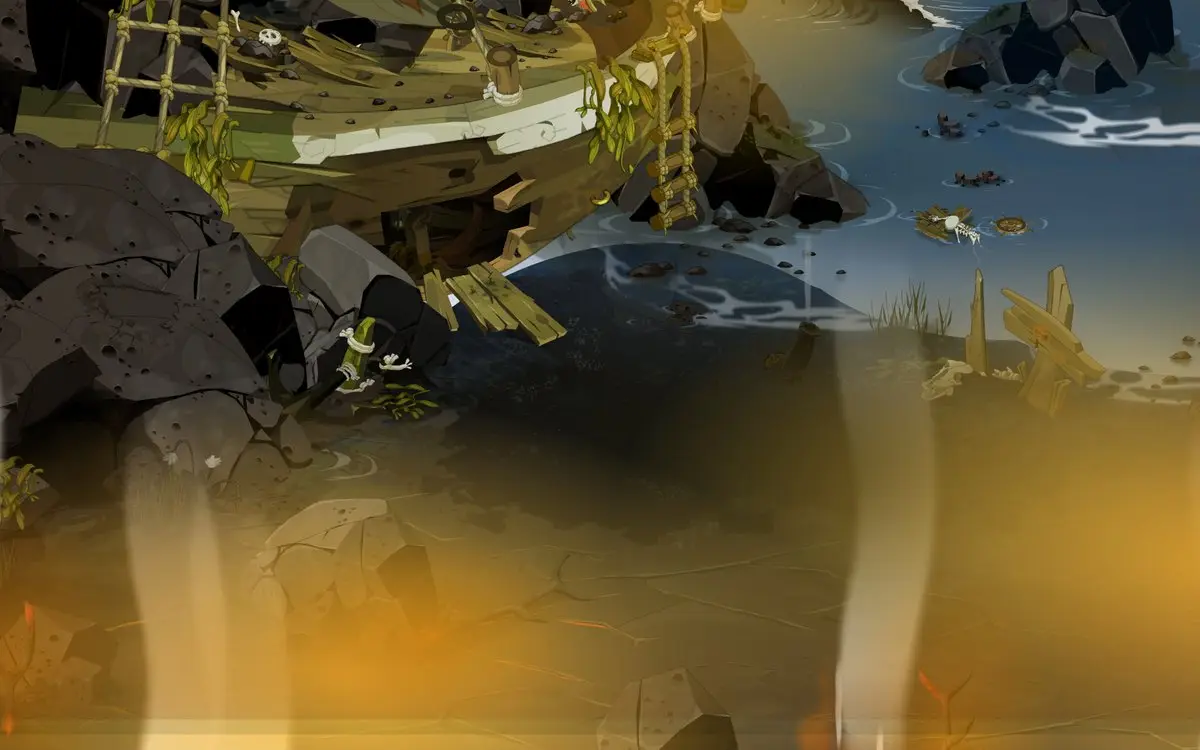
Quests linked to the Wreck of the Hesperus
Sleep Tight, You'll Get Cake is started in front of the wreck and completed on Buck Anear; it opens Piwates of the Seven and a Half Seas and A Buck Anear Hack and Slash for later runs. Accept it before entering: a fight won without the quest in progress does not count.
The dungeon quest. Phantomahawk wants proof that Buck Anear has fallen: beat him in a single fight, then bring him Buck Anear's Prosthesis, received automatically on victory.
- Start
- Phantomahawk, Alma's Cradle
- Prerequisites
- Level 50
For later
Your city's agent wants the mutiny to end. Beat Buck Anear in a single fight, discover the dungeon's final map, then make your report: Michele Seyroth for Bonta, Jammy Rokwai for Brakmar.
- Start
- Frigost Village
- Prerequisites
- Level 120 and Sleep Tight, You'll Get Cake
 Ice Kama2 Ice Kama and 16,457,000 XP
Reach the last room of the wreck. The sequel to Sleep Tight, You'll Get Cake: beat Buck Anear, check that the last room has been discovered, then leave alive.
- Start
- Phantomahawk, Alma's Cradle
- Prerequisites
- Sleep Tight, You'll Get Cake
Buck Anear under the Thomahon Marine Idol. Activate it in the last room before the fight, place your allies more than 4 cells apart from each other and end each turn with an enemy in contact with you.
- Start
- Thomahon's Disciple, Tears of Ouronigride
 Obsidemon Vertebraafter the four guardians, and 25,825,200 XP
During events
- Tiwaapi Simulation
Tiwaapi may designate Buck Anear as the guardian to defeat. Incarnam, .
The 5 rooms of the Wreck of the Hesperus
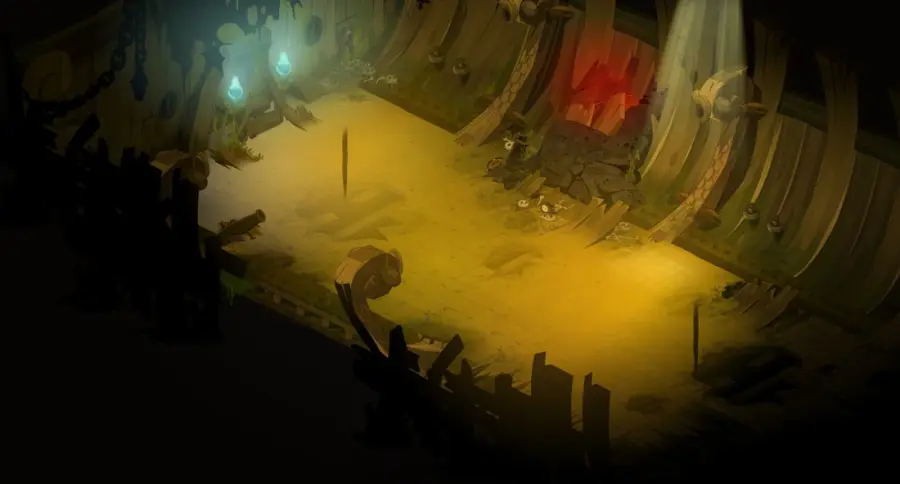
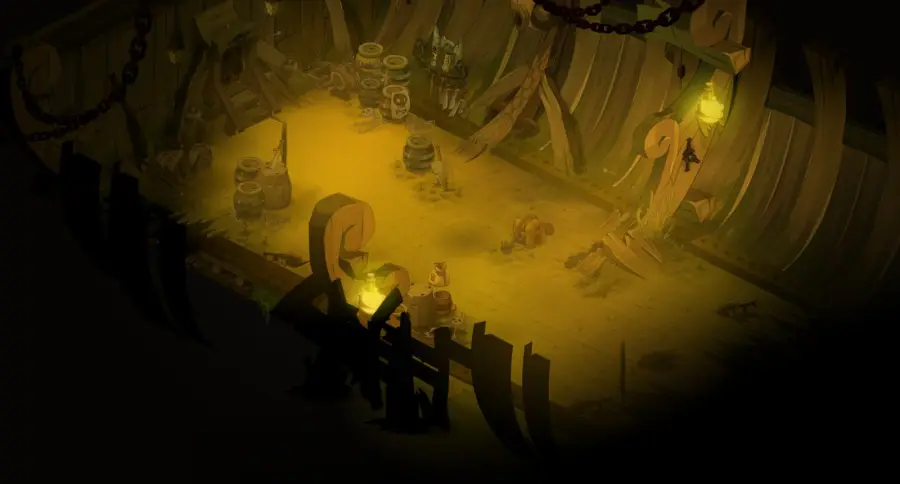
Five rooms leading to Buck Anear, filled with ghost pirates who pull, push and swap places: always keep a fallback cell. For each room: the scenery, then the tactical view with the starting cells (blue: you, red: the monsters). Tap an image to enlarge it.
Room 1
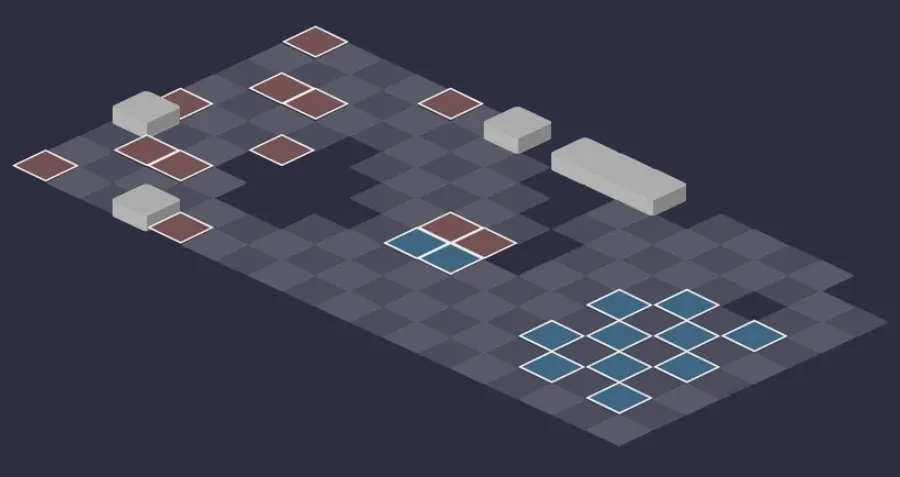
Room 2
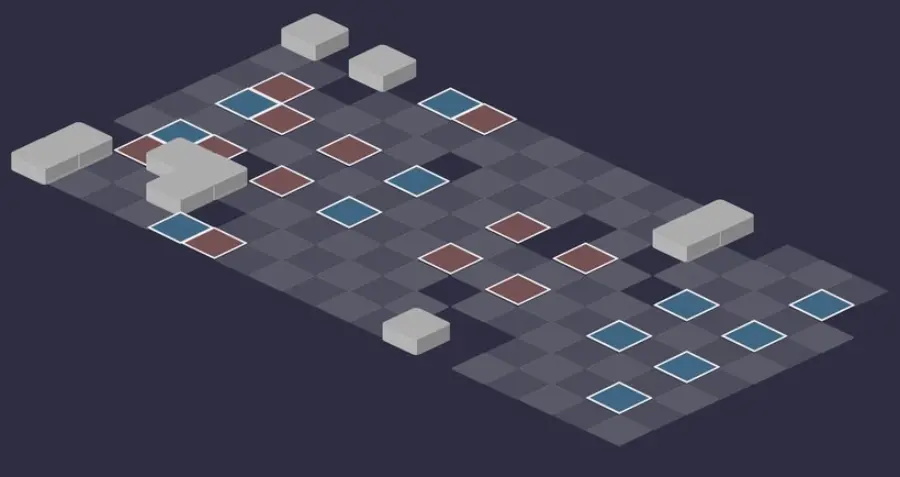
Room 3
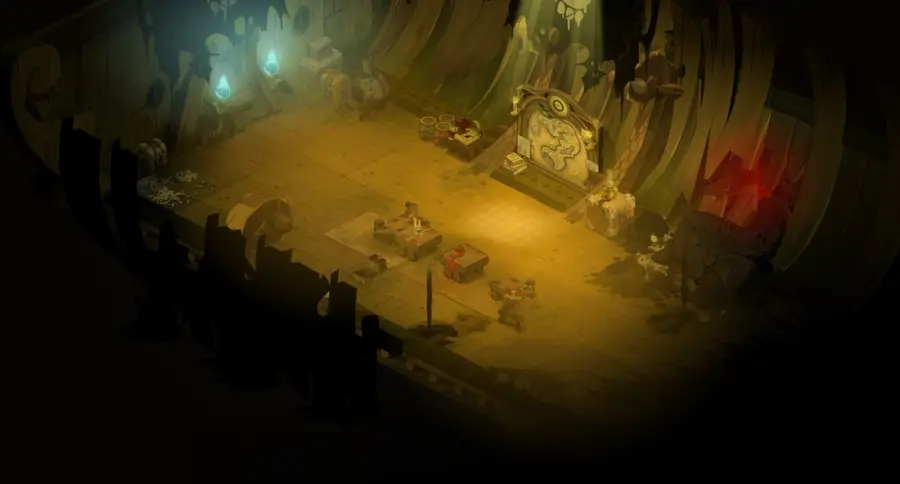
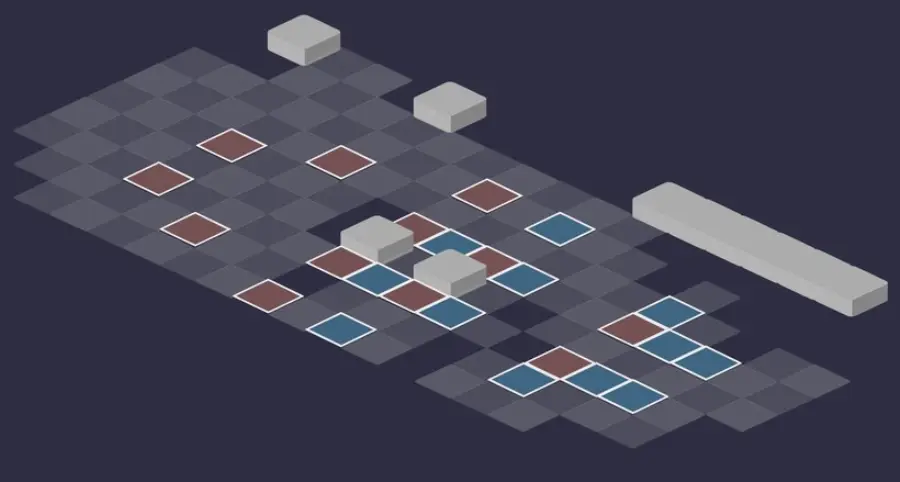
Room 4
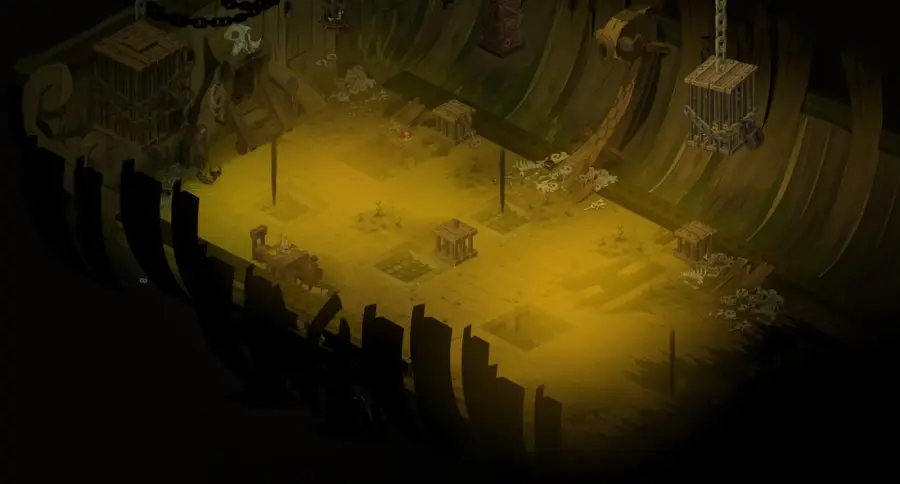
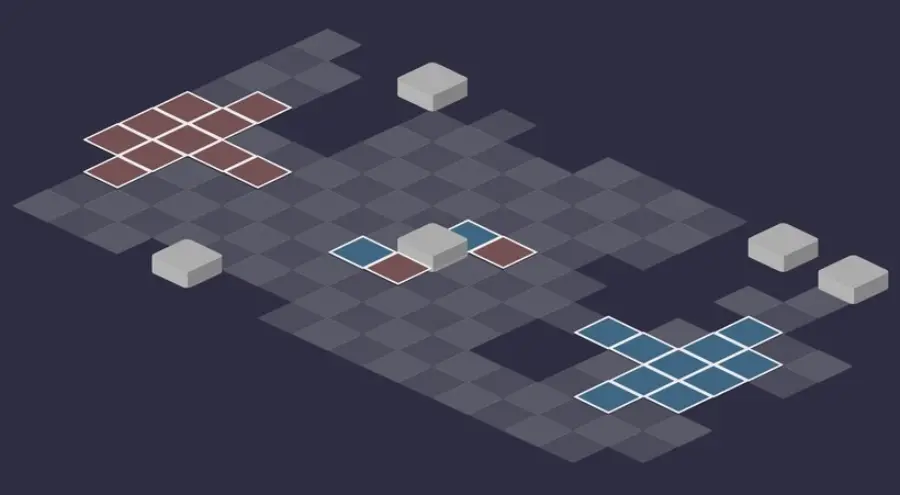
Room 5 — Buck Anear
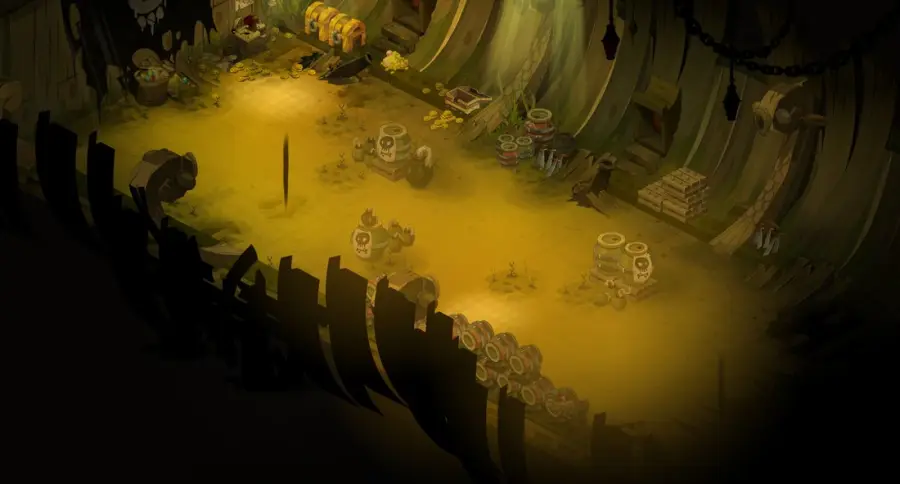
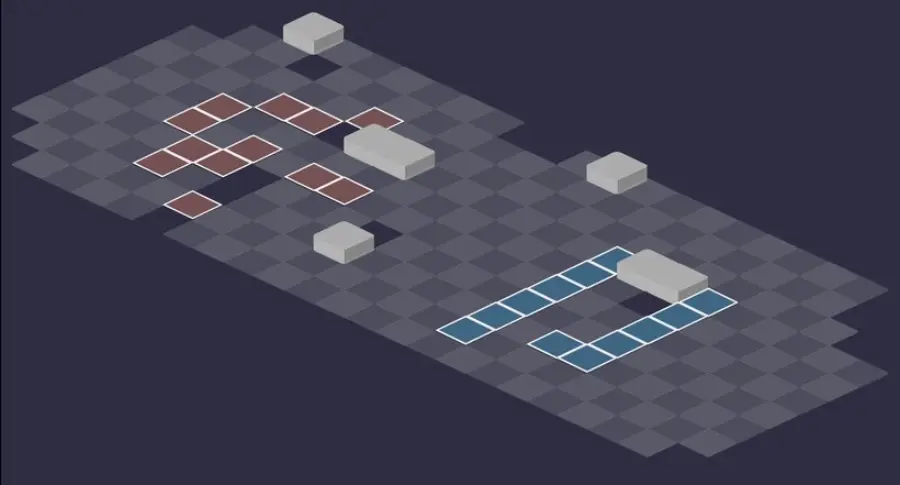
Beat Buck Anear
The Hamrack's explosion
Stuck to Buck, the Hamrack casts Rudder and explodes: Buck becomes vulnerable for 5 turns, but any ally in the blast zone takes heavy Water damage. Move the team away before it reaches him, and stay clear of the other Hamracks, which explode at the same time.
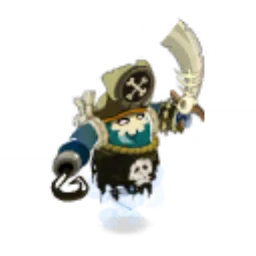
Level 150
 7,200 HP
 16 AP
 5 MP
- Resistances (%)
 Earth 16%
 Fire 17%
 Water 20%
 Air 26%
 Neutral 24%
Invulnerable and Heavy from the start of the fight: impossible to carry or swap places with. Every 2 turns, Turt Hell summons a Hamrack, the only way to make him vulnerable. Coaster heals and boosts his allies, and Sea Shanty pulls in a cross, all the harder the more wounded he is.
 Ship Mate4 AP · melee ·56 to 65 Water steal
Life steal in a line in front of him, starting from his contact.
-
Turt Hell
Summons a Hamrack from 5 to 10 RNG, every 2 turns. It is the one that will make Buck vulnerable.
-
Coaster4 AP · 8 RNG ·41 to 50 Fire heals · 150 Power
Heals a monster and gives it 150 power for one turn, can be dispelled. Up to twice per turn, on two targets.
-
Sea Shanty4 AP · on self · Pulls 3 cells ·Fire Damage: 10% erosion of the caster's missing HP
Cross around Buck that pulls 3 cells, stronger as he loses HP. Do not stay lined up with him.
The four-step strategy against Buck Anear
Understanding the Hamrack. The Hamrack is Heavy, invulnerable and rooted: nobody can move it, it advances on its own with 2 MP and explodes after 3 turns. It must end up in contact with Buck to cast Rudder.
Bring Buck to the Hamrack. Push Buck toward the Hamrack; the reverse is impossible. Buck plays before it and may move away: block him with characters or summons. Give the Hamrack MP, or try to remove some from it: it gains 3 for one turn.
Everyone out of the way. Before the Hamrack reaches Buck, get the whole team out of the blast zone. Also stay out of Buck's reach, since he could get to you as soon as he becomes vulnerable.
Five turns of damage. Buck stays vulnerable for 5 turns: focus everything on him if you can kill him within the window. Dispel the monster benefiting from Coaster, and beware of Sea Shanty, which gets stronger as he loses HP.
The Karrybean Pirate's Ectobomb
Bertha summons an Ectobomb. Under the Scared Shipless state, hitting it makes it explode and kills your allies within a radius of 4 cells; the rest of the time, it gives 40 damage to its nearby allies for 4 turns. Always check its state before touching it.
The monsters of the Wreck of the Hesperus
Six level 142 ghost pirates with 3,100 HP, each weak to one element. Several heal or boost their allies: kill them first. Resistances in red are their weaknesses.
In which order to kill the monsters
- Yuara Pirate, then Karrybean Pirate — they heal and boost their allies, and the second summons a booby-trapped Ectobomb.
- Vigi Pirate — it erodes and reduces your healing around it, and Vigilance pins you in place.
- Harpy Pirate, then Retspan Pirate, then Talklyka Pirate — poisons, pushes and pulls: handle them from a distance, each in its weakness.
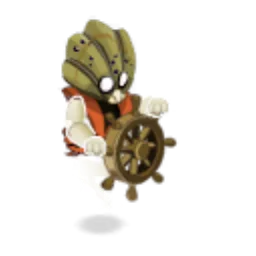
Level 142
- 3,100 HP
- 12 AP
- 5 MP
- Resistances (%)
- Earth 21%
- Fire 15%
- Water -28%
- Air 31%
- Neutral 13%
Barbling heals an ally and gives it 100 damage for 3 turns, Barricade gives range to his allies and removes some from your characters around him. Barbarian steals life in a line. Weak to Water.
-
Barbarian4 AP · melee ·71 to 90 Water steal
 Barricade
+4 RNG for his allies and -4 RNG for you within a radius of 3 cells, 3 turns.
 Barbling4 AP · 4 RNG ·71 to 90 Fire heals · 100 Damage
Delayed heal and 100 damage for the targeted ally for 3 turns.
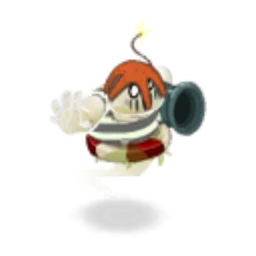
Level 142
- 3,100 HP
- 12 AP
- 4 MP
- Resistances (%)
- Earth 33%
- Fire -28%
- Water 10%
- Air 15%
- Neutral 21%
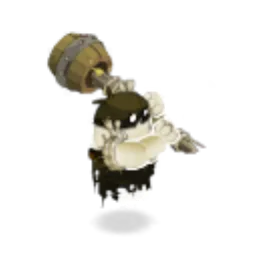
Kannonball hits hard in contact and Buoy heals its neighbors. Bertha summons an Ectobomb that you must never hit under the Scared Shipless state. Weak to Fire.
 Kannonball4 AP · melee ·61 to 100 Fire damage · 10% Critical
 Buoy4 AP · on self ·51 to 70 Fire heals
-
Bertha
Summons an Ectobomb: under Scared Shipless, hitting it kills your allies around it.
Level 142
- 3,100 HP
- 12 AP
- 3 MP
- Resistances (%)
- Earth 18%
- Fire 40%
- Water 22%
- Air 25%
- Neutral -22%
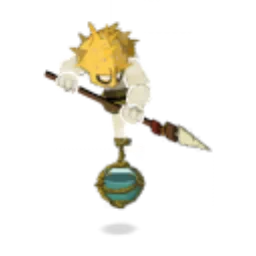
Vigil removes 1,000 healing and erodes by 20% within a radius of 4 cells, Vigilance removes all your MP and applies gravity in contact, and Vigintillion swaps places. His hits grow with his missing HP. Only 3 MP; weak to Neutral.
 Vigilance4 AP · melee ·Earth Damage: 20% erosion of the caster's missing HP · -63 MP · Gravity State
Removes all your MP and applies gravity for one turn, in an area perpendicular to the contact.
 Vigil
Removes 1,000 healing and applies 20% erosion within a radius of 4 cells, for one turn.
-
Vigintillion4 AP · 4 RNG ·Neutral Damage: 10% erosion of the caster's missing HP · Switches positions
Swaps places from 2 to 4 RNG and hits around the arrival cell.
Level 142
- 3,100 HP
- 12 AP
- 5 MP
- Resistances (%)
- Earth 15%
- Fire -26%
- Water 12%
- Air 19%
- Neutral 31%
Pyromaniac steals life and Agility, Pyrolyse poisons you for each AP spent. Pyjamas marks one of your characters: monsters that hit it heal for the same amount. Weak to Fire.
 Pyromaniac4 AP · melee ·66 to 95 Air steal · Steals 100 Agility
-
Pyjamas
For 2 turns, monsters that hit the marked character heal for the damage dealt.
-
Pyrolyse4 AP · 8 RNG ·3 Fire damage per 1 AP used
Poison for each AP spent over 3 turns, cast in a line from 4 to 8 RNG.
Level 142
- 3,100 HP
- 12 AP
- 3 MP
- Resistances (%)
- Earth 10%
- Fire 12%
- Water 32%
- Air -22%
- Neutral 15%
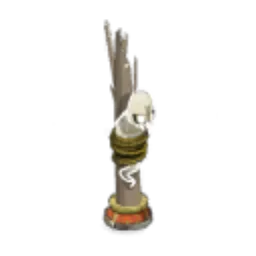
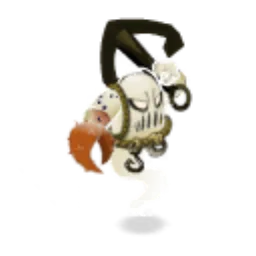
Spandex hits up to 10 RNG and pushes back 4 cells, Spanokopita hits in a line in contact. Under Spank, hitting him pushes back and immobilizes the characters lined up with him. Weak to Air.
-
Spanokopita4 AP · melee ·76 to 105 Neutral damage
 Spank
Places Paytank on the Retspan Pirate and his neighbors: hitting them removes MP and pushes back lined-up characters 4 cells.
-
Spandex4 AP · 10 Range ·41 to 60 Water damage · Push Away 4 cells
Pushes back 4 cells, in a straight line up to 10 RNG: watch out for obstacles behind you.
Level 142
- 3,100 HP
- 12 AP
- 4 MP
- Resistances (%)
- Earth -26%
- Fire 10%
- Water 32%
- Air 14%
- Neutral 5%
Ranchor pulls one cell, Oil Tanchor steals 2 RNG, Canchor gives 50 damage to him and his neighbors. Weak to Earth, he goes down fast in that element.
-
Ranchor4 AP · 3 RNG ·66 to 75 Earth damage · Pulls 1 cell
-
Canchor
50 damage for the Talklyka Pirate and its neighbors, for one turn.
 Oil Tanchor4 AP · 5 range ·36 to 45 Water damage · Steals 2 Range
Preparing your run through the Wreck of the Hesperus
A dungeon accessible to teams of level 140 to 150, as long as you understand the Hamrack. People come here for the Frigost quests, the achievements and Buck Anear Hair; capturing him requires a Soul Stone for Big Souls (captures up to level 150).
How to enter the Wreck of the Hesperus
The entrance is in Alma's Cradle, at , on Frigost Island; the nearest zaap is the one at Entrance to Harebourg's Castle . Alma's Cradle only opens after Royal Mastogob's Greenhouse and Royal Pingwin's Excavation, completed at least once. Talk to Phantomahawk to enter, with a Wreck of the Hesperus Key (consumed), the key ring or the automatic group finder.
Crafting the Wreck of the Hesperus Key
It is crafted at a handyman's workshop. Six ingredients drop from the dungeon's crew, at 21 or 24%: Vigi Pirate Fabric, Harpy Pirate Scale, Retspan Pirate Mast, Yuara Pirate Shell, Talklyka Pirate Claw and Biltong Meat. Sickle-Hammerhead Shark (fishing) and Ginseng (harvesting) complete the recipe.
| Ingredient | Quantity | Level |
|---|---|---|
 Vigi Pirate Fabric |
2 | 140 |
 Harpy Pirate Scale |
2 | 140 |
 Retspan Pirate Mast |
2 | 140 |
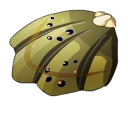 Yuara Pirate Shell |
2 | 140 |
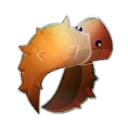 Talklyka Pirate Claw |
2 | 140 |
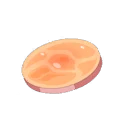 Biltong Meat |
2 | 150 |
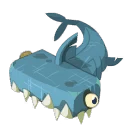 Sickle-Hammerhead Shark |
2 | 150 |
 Ginseng |
3 | 140 |
Which team to bring against Buck Anear
Push and block. Buck and the Hamrack are Heavy, and the Hamrack is rooted: only Buck can be pushed, toward the Hamrack. Characters or summons then block him against it.
An MP boost. The Hamrack has only 2 MP. A spell that gives MP, or a simple removal attempt that gives it 3 more for one turn, helps it reach Buck.
The six achievements of the Wreck of the Hesperus
Each achievement gives 16,457,000 XP and 2 Buck Anear Hair, Duo doubles the XP; Sidekick gives 24,685,500 XP. For Keep Moving!, forget the trick of removing MP from the Hamrack.
| Achievements | Condition | Points | XP |
|---|---|---|---|
| Buck Anear (Special) | Defeat Buck Anear in his dungeon while completing the “Hamrack 'n' Roll” challenge. | 10 | 16 457 000 |
| Buck Anear (Keep Moving!) | Defeat Buck Anear in his dungeon while completing the “Keep Moving!” challenge. | 10 | 16 457 000 |
| Buck Anear (Statue) | Defeat Buck Anear in his dungeon while completing the “Statue” challenge. | 10 | 16 457 000 |
| Buck Anear (Sidekick) | Defeat Buck Anear in his dungeon while completing the “From Beyond the Grave” challenge | 5 | 24 685 500 |
| Buck Anear (Duo) | Defeat Buck Anear in his dungeon while completing the “Duo” challenge. | 20 | 32 914 000 |
| The Wreck of the Hesperus | Defeat Buck Anear in this boss's dungeon. | 10 | 16 457 000 |
Special: Hamrack 'n' Roll
No ally must take damage from a Hamrack. The explosion hits the entities around Buck. Stay far from him, so you are not in the zone and so he cannot reach you when the Hamrack removes his invulnerability. Also keep away from the other Hamracks, which explode at the same time.
Keep Moving!
Never try to remove MP from opponents. No MP removal, not even on the Hamrack to give it 3 MP: push Buck toward it, block him, or give the Hamrack MP with a boost spell.
Statue
Each ally must end their turn on the cell where they started it, throughout the fight. Play from your starting cell with ranged spells, and let your pushes place Buck against the Hamrack. Choose starting cells far from Buck, outside the future blast zone.
Duo
Two characters maximum, fewer than 20 turns. Rely on controlling Buck and on heavy damage output during his 5 turns of vulnerability. Do not get distracted by the summons.
Sidekick: From Beyond the Grave
Four characters minimum, including one eligible Sidekick: Koksiks, Kubitus, Kalkaneus, Ektope or Hichete. The basic strategy applies. Keep the Sidekick out of the Hamrack's blast zone, like the rest of the team.
Drops and loot of the Wreck of the Hesperus
Base in-game rates, before Prospecting bonuses.
On Buck Anear
 Buck Anear HairHair24 %
 Echo of the PastFrigost Island12 %
 Ol' John's TromaHat12 %
 Nougat Rabmarac BarTreat6 %
 Buck Anear ScapulaBone4,04 %
 Bag of SaltContainer3 %
 Biltong CarrionMeat1,21 %
 Family ChestFrigost Island1,2 %
 Al Howin GobtubbyCeremonial pet0,6 %
On the henchmen of Buck Anear
- Biltong MeatMeat · Talklyka Pirate24 %
- Talklyka Pirate ClawBone · Talklyka Pirate24 %
- Yuara Pirate ShellShell · Yuara Pirate24 %
 Karrybean Pirate TailTail · Karrybean Pirate24 %
- Retspan Pirate MastWood · Retspan Pirate24 %
- Harpy Pirate ScaleSkin · Harpy Pirate24 %
- Vigi Pirate FabricFabric · Vigi Pirate21 %
- Echo of the PastFrigost Island · Talklyka Pirate12 %
- Ol' John's TromaHat · Talklyka Pirate12 %
 Talklyka Pirate RopeMiscellaneous Resource · Talklyka Pirate4,04 %
 Yuara Pirate OilOil · Yuara Pirate4,04 %
 Karrybean Pirate BuoyMiscellaneous Resource · Karrybean Pirate4,04 %
 Retspan Pirate ToothBone · Retspan Pirate4,04 %
 Harpy Pirate ShellShell · Harpy Pirate4,04 %
 Vigi Pirate EyeEye · Vigi Pirate3,48 %
- Family ChestFrigost Island · Talklyka Pirate1,2 %
- Bag of SaltContainer · Talklyka Pirate1 %
 Pirate Bhey Map fragment 1/5Map fragment · Yuara Pirate1 %
 Pirate Bhey Map fragment 4/5Map fragment · Karrybean Pirate1 %
 Pirate Bhey Map fragment 2/5Map fragment · Retspan Pirate1 %
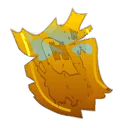 Pirate Bhey Map fragment 3/5Map fragment · Harpy Pirate1 %
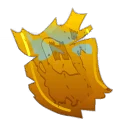 Pirate Bhey Map fragment 5/5Map fragment · Talklyka Pirate0,8 %
Capturing the soul of Buck Anear
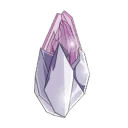 A Soul Stone for Big Souls (captures up to level 150) is enough for this level 150 boss, to be finished during his vulnerability window.
| Stone ingredient | Quantity |
|---|---|
 Superior Soul Splinter |
10 |
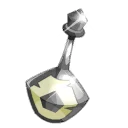 Mineral Potion |
1 |
Where is The Wreck of the Hesperus?
In Alma's Cradle, at , on Frigost Island. The nearest zaap is the one at Entrance to Harebourg's Castle .
How do you get to Alma's Cradle?
Complete Royal Mastogob's Greenhouse and Royal Pingwin's Excavation at least once. The dungeon area then opens up.
What level should you be to do The Wreck of the Hesperus?
From level 140, comfortably at 150. Buck Anear is level 150 with 7,200 HP, his crew level 142.
How do you make Buck Anear vulnerable?
Bring the Hamrack into contact with Buck: push Buck toward it and block him. The Hamrack explodes with Rudder and makes Buck vulnerable for 5 turns.
Should you remove MP from the Hamrack?
Yes, it is even a trick: a removal attempt gives it 3 MP for one turn, enough to reach Buck. Except for the Keep Moving! achievement, which forbids any MP removal.
Which quest should you do in The Wreck of the Hesperus?
Sleep Tight, You'll Get Cake, at Phantomahawk's in front of the wreck . Beat Buck Anear, then bring him back Buck Anear's Prosthesis.
Which stone should you use to capture Buck Anear?
A Soul Stone for Big Souls (captures up to level 150). Buck Anear is level 150.
Can the Wreck be done with two players?
Yes, it is even an achievement: Duo, in fewer than 20 turns. Control Buck and save your biggest damage for his 5 turns of vulnerability.
Comments
No comments yet. A tip, or a detail about this page? Be the first.