 2 × Skt-Zo Leg
Dungeon Gorge of Howling Winds
Wurmlord's Passage
Level 170 dungeon in the Gorge of Howling Winds, on Ohwymi, in [7,-70]: five sandworm rooms and a motionless boss, invulnerable at range, the Wurmlord. Quest to start, map of each room, strategy, monsters, achievements and loot.
Quests linked to the Wurmlord's Passage
The dungeon quest, Wormder, follows Worm Damage in the Gorge of Howling Winds investigation. It has you enter the Passage and defeat the Wurmlord in a single fight: accept it before entering, a fight won without the quest in progress doesn't count.
It is completed on the Wurmlord. Mahandos Suk sends you to Sedierta Otel: help her against the worms, bring her samples, then enter the Passage and beat the Wurmlord in a single fight. The rest takes place outside, with an Altered Gobball.
- Start
- Mahandos Suk, Gorge of Howling Winds
- Prerequisites
- Worm Damage
 Stapleworm Spike3 spikes and 28,081,000 XP
The 5 rooms of the Wurmlord's Passage
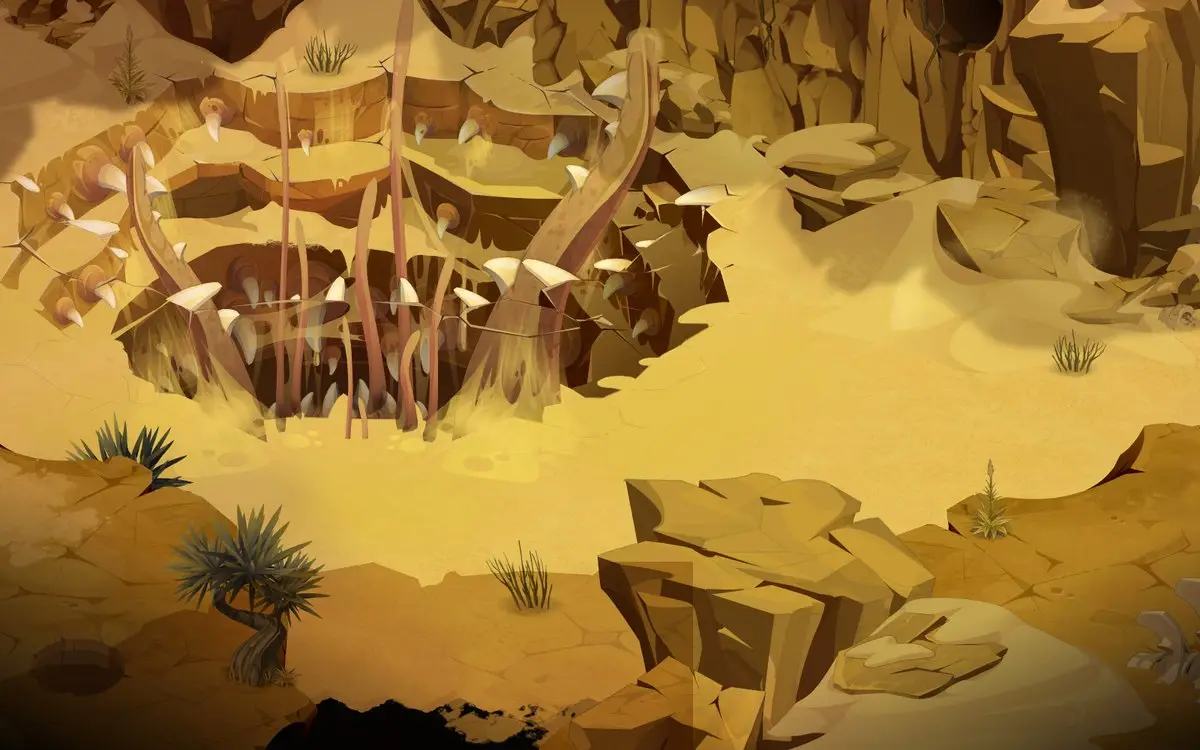
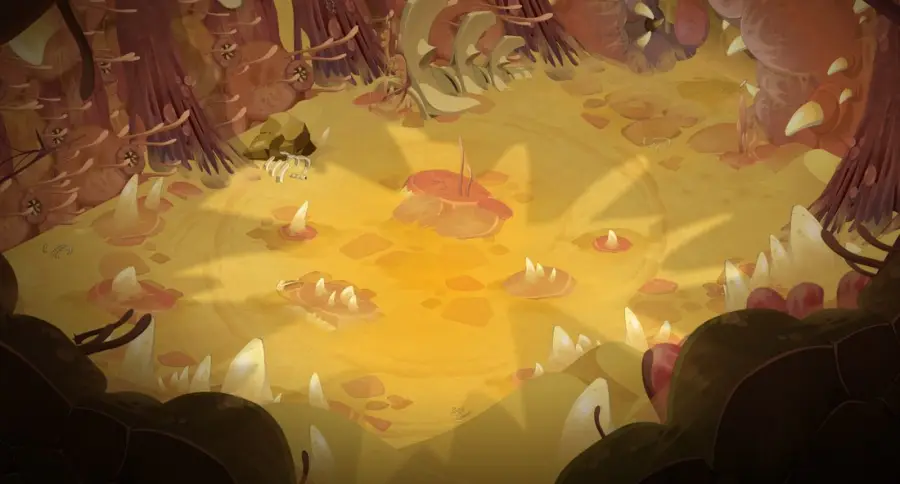
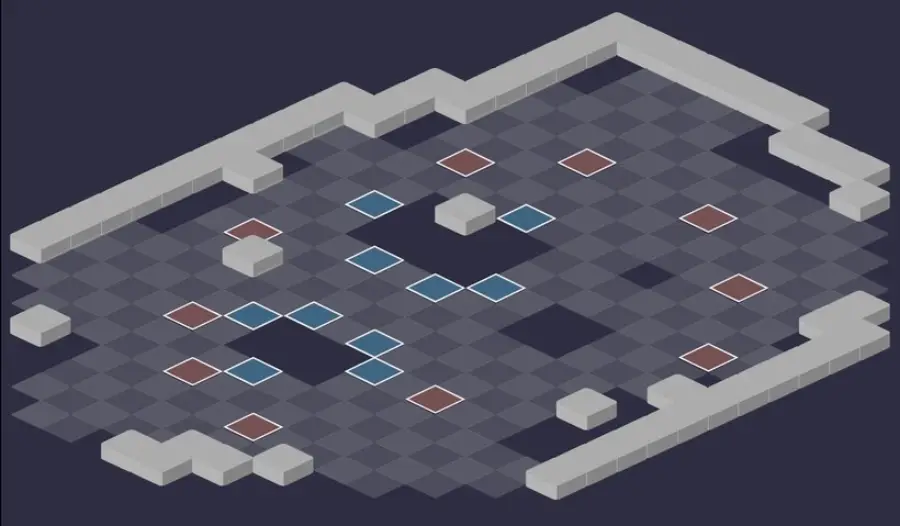
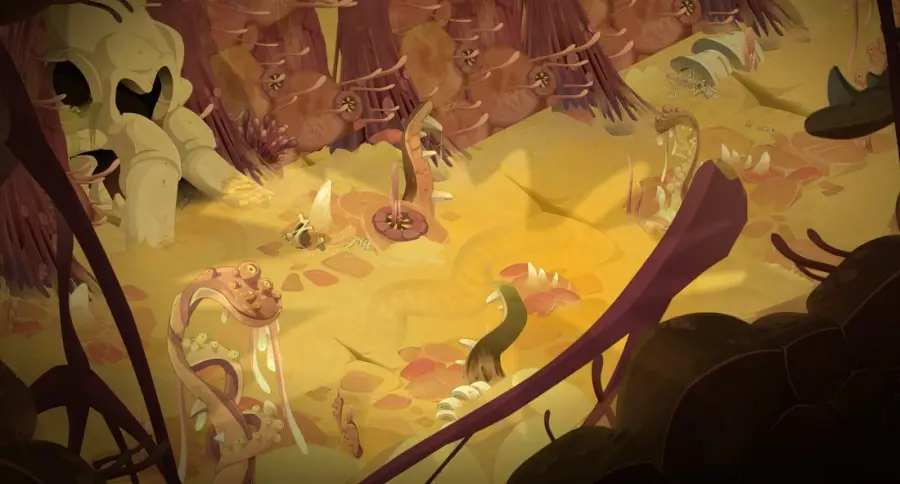
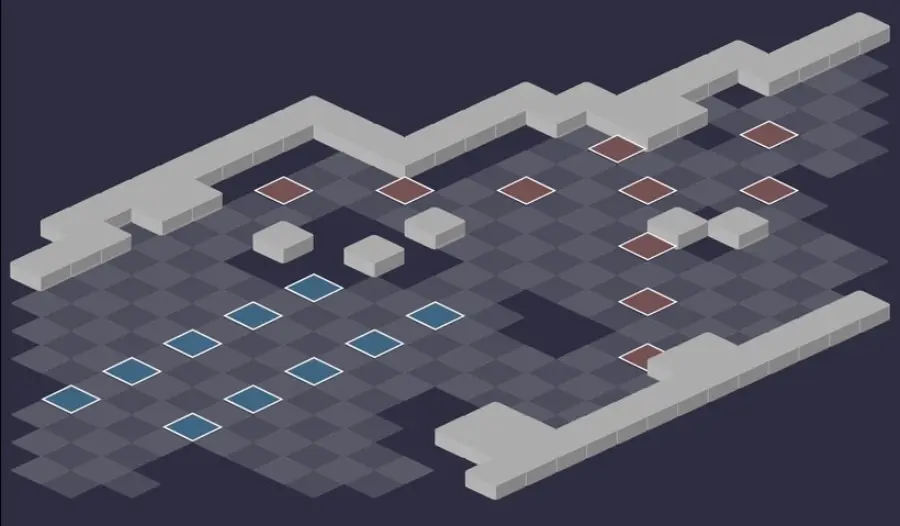
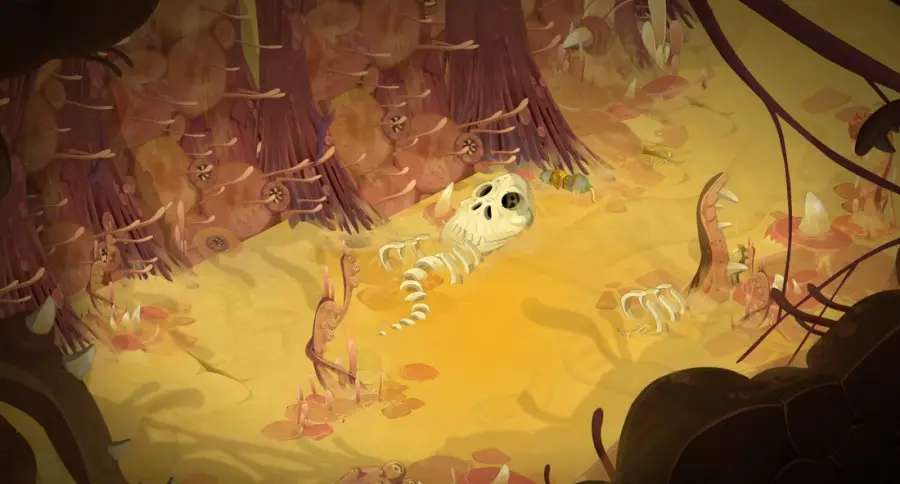
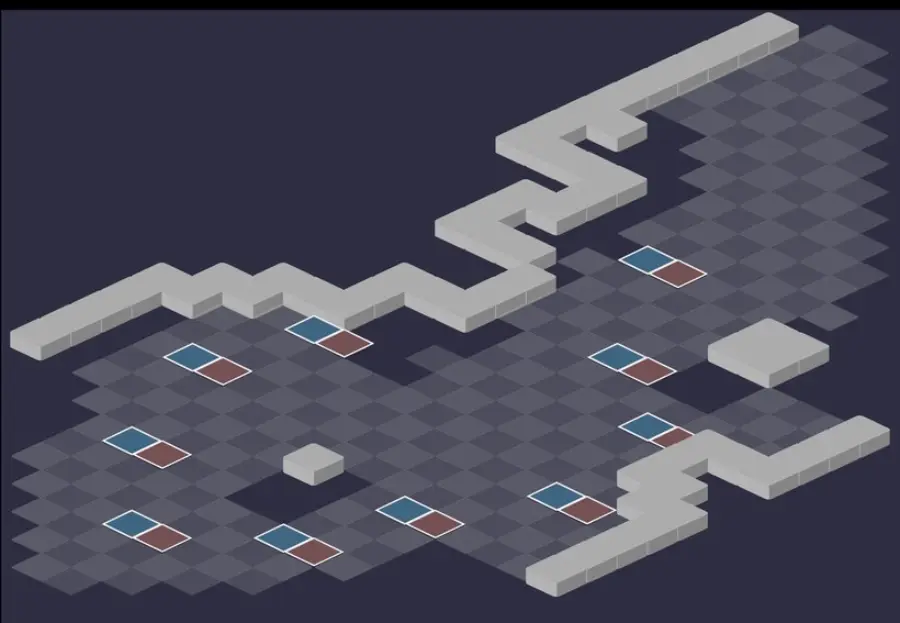
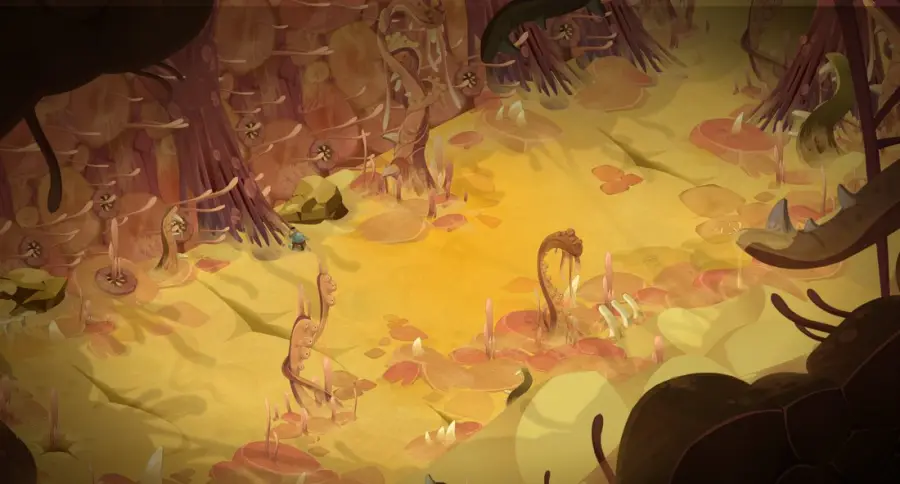
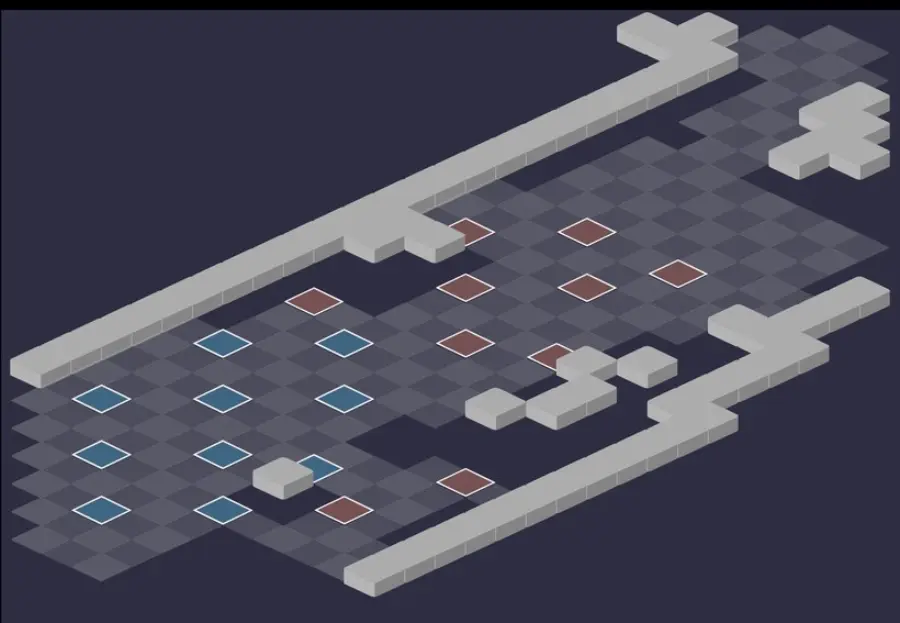
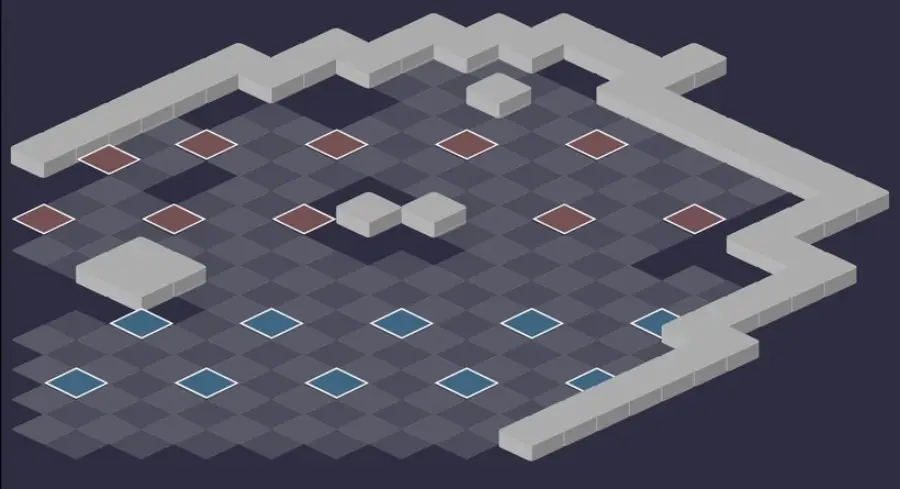
Five fights against sandworms, most of them impossible to push or pull: plan to fight next to them rather than pushing them back. For each room: the scenery, then the tactical view with the starting cells (blue: you, red: monsters). Tap an image to enlarge it.
Room 1
Room 2
Room 3
Room 4
Room 5 — the Wurmlord
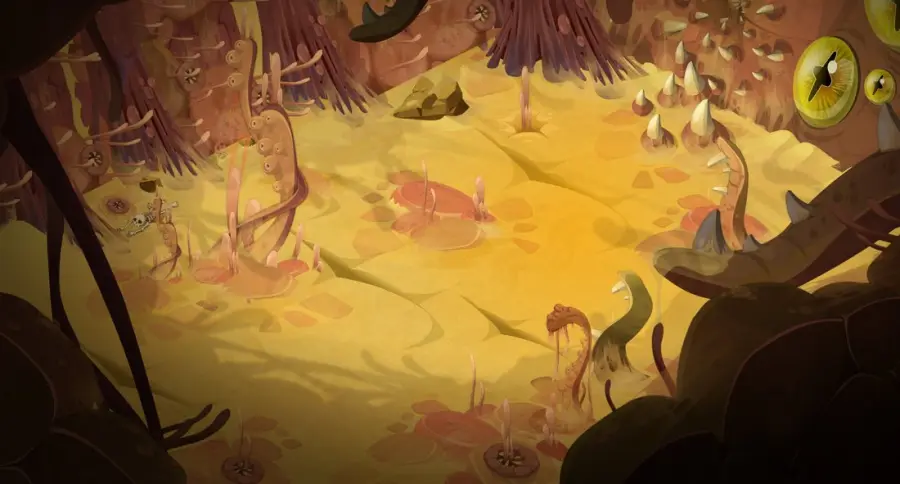
The Wurmlord's room. Even though it seems to occupy a placement cell, it teleports at the very start of the fight to a fixed cell, at the top right of the map, and no longer moves. The strategy is detailed just below.
Defeat the Wurmlord
Every monster that dies explodes
On death, each monster deals heavy Fire damage to all characters in its line of sight, even after the Wurmlord has fallen. Before each killing blow, get the team out of its line of sight, or block it with a summon or an obstacle.
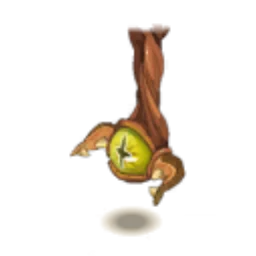
Level 170
 12,000 HP
 11 AP
 Immobile
- Resistances (%)
 Earth 20%
 Fire 10%
 Water 10%
 Air 50%
 Neutral 35%
It doesn't move, can't be moved and is only vulnerable in melee. Alone, it isn't dangerous: it's its passives and its support for the monsters that complicate the fight. It resists only 10% to Fire and Water, but 50% to Air, and can't be captured.
 Paternalism2 AP · 63 Range · Shares damage · Heals: 10% of max HP ·41 to 50 Air steal
From turn 2: shares its damage with a monster, which then takes only half of your hits and heals itself. Change targets, the sharing can't be dispelled.
 Glance3 AP · 63 Range ·6 Neutral damage for 1 MP used · 31 to 40 Neutral damage
Hits the whole team and applies a poison that hits for each MP used that turn. Cast every other turn, as a priority: move as little as possible.
 Blinding Obviousness3 AP · 63 Range ·2 MP · 200 Power
Gives MP and power to a monster for one turn, without line of sight, once per target.
The five-step strategy against the Wurmlord
First turn: at range. Stay out of the monsters' range, and boost yourselves or hit them from afar. The Tremrus is the target of turn 1: it has a lot of initiative, so hit it as hard as possible once it has played and moved closer. Paternalism only arrives on turn 2, so nothing protects it yet.
Follow the damage sharing. From turn 2, the Wurmlord shares its damage with a monster: your hits on it lose half their effect. Switch targets every turn to a monster that doesn't have the sharing, unless it's nearly dead.
Kill out of sight. Before finishing a monster, move your characters out of its line of sight or hide them behind a summon. Each death removes 10% resistances from the Wurmlord, but heals it for 20% of its HP: irrelevant if you save it for last.
Holding out over time. End your turn on the brown glyph placed under you at the start of the turn: it restores 15% of your HP. On the turns when Glance lands, turns 1, 3, 5 and onward, move as little as possible. The last monster has the sharing every turn: it takes half as much damage and heals itself, so keep at it.
The Wurmlord alone. Go into melee and hit until it dies: even at death's door, the team must be able to finish it. A character with very low HP shouldn't start their turn next to it: it hits everyone in contact with it at the start of each of its turns.
The Wurmlord's passives
As long as it lives, all your characters take 10% erosion, every forced movement deals Water damage to you, and it pulls all characters in its line of sight 4 cells at each of its turns, revealing the invisible. Each character places a brown glyph on their cell at the start of their turn, which heals them if they end their turn there.
On its death, erosion, pulling and glyphs disappear, but your characters gain an end-of-turn Water poison until the end of the fight. The explosions of monsters that die, however, remain active.
Paternalism and Blinding Obviousness
From turn 2, Paternalism shares the Wurmlord's damage with a monster for one turn, hits around that monster and heals it at the start of its next turn. Since the Wurmlord is invulnerable at range, half of your damage on that monster is lost. The sharing can't be dispelled.
It only casts it on a wounded monster, or one next to which it can hit a character. If the Tremrus survives turn 1, lightly damage the other monsters: with four, you have a two-in-three chance that the sharing lands elsewhere. Blinding Obviousness, for its part, gives two monsters 2 MP and 200 power per turn.
The monsters of the Wurmlord's Passage
Five level 162 sandworms, with 3,900 HP each, all Unlockable against the Wurmlord. Kill them all before touching the boss, the Tremrus first, then each turn a monster that Paternalism isn't protecting. Resistances in red are their weaknesses.
In which order to kill the monsters
- Tremrus — the most dangerous: it hits hard, removes power from you, and plays early thanks to its initiative.
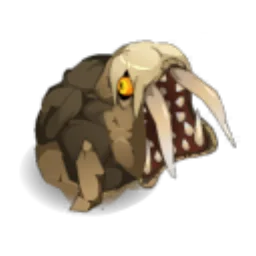
Level 162
- 3,900 HP
- 9 AP
- 6 MP
- Resistances (%)
- Earth 1%
- Fire -24%
- Water 6%
- Air 16%
- Neutral 26%
Impossible to push, pull or carry. Engulfment removes 300 power from you and weakens you; after Engulfment and Tongue Flicks, it can cast Bitter Spit, which erodes and poisons. Weak to Fire.
 Tongue Flicks2 AP · 2 Range ·41 to 50 Earth damage · Tremrus Generic State 01
In a line up to 2 cells, once per target. Combined with Engulfment, it opens Bitter Spit.
 Engulfment3 AP · melee ·31 to 40 Fire steal · Weakened State · -300 Power · Push Away 1 cell · Tremrus Generic State 02 · Removes the Tremrus Generic State 01
In melee: removes power, weakens and pushes back one cell.
 Bitter Spit5 AP · 5 Range · 10% Erosion ·31 to 40 Water damage · Removes the Tremrus Generic State 02
Only on a target already hit by Engulfment and Tongue Flicks: erosion and end-of-turn Water poison.
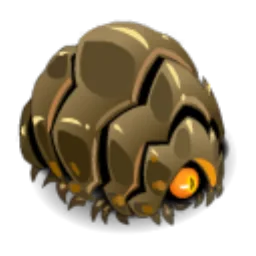
Level 162
- 3,900 HP
- 10 AP
- 4 MP
- Resistances (%)
- Earth 21%
- Fire 21%
- Water 21%
- Air 21%
- Neutral -9%
On turn 2, then every 4 turns, its Lasccar passive puts it on its back for 2 turns: immobile, it takes 20% more damage, but places a red glyph around it that hits, removes 6 MP and makes Heavy those who start their turn in it. The rest of the time, Volvation protects it at range. Weak to Neutral.
 Ceflown3 AP · 12 Range ·41 to 50 Water damage · -4 AP
Up to 12 cells: for 3 turns, each movement of the target removes AP from them. Avoid moving a hit ally.
 Volvation
Reduces the damage it takes at range. Any attempt to remove MP, push or pull gives it range.
 Greedy Aspiration
Only on its back: pulls all nearby characters 8 cells. A character in the red glyph at the start of their turn takes the Cyclouse's damage in its place.
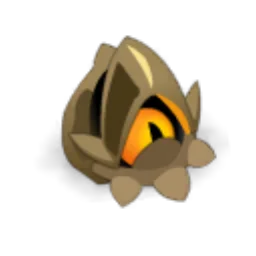
Level 162
- 3,900 HP
- 9 AP
- 5 MP
- Resistances (%)
- Earth 16%
- Fire 11%
- Water -24%
- Air 6%
- Neutral 16%
Impossible to push, pull or carry. Sanding makes it invisible and invulnerable for 2 turns; it comes back out with Pop-Up on the cell of its choice, hitting around it. Wait until it's visible to hit. Weak to Water.
 Sanding
Invisible and invulnerable for 2 turns, with 100% critical. It teleports randomly and ends its turn.
 Pop-Up2 AP · 63 Range · Teleports to the targeted cell ·51 to 60 Water damage · -3 MP · Removes the spell's effects
Without line of sight: it reappears, hits and removes 3 MP around it. Those hit are made Heavy and send half of the damage they take back to their neighbors.
 Mouth of the Sands3 AP · melee ·41 to 50 Fire damage · Reveals invisible entities · Mastifang State
In melee, in a cone: it reveals invisible entities.
 Sandy Movement2 AP · 8 Range ·10 AP Parry · 10 MP Parry · -10 AP Parry · -10 MP Parry
Gives AP and MP dodge to a monster, or removes some from one of your characters.
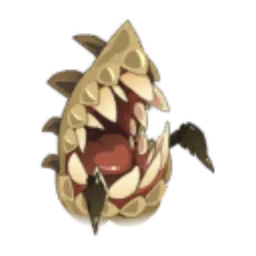
Level 162
- 3,900 HP
- 10 AP
- 5 MP
- Resistances (%)
- Earth 6%
- Fire 0%
- Water 31%
- Air -14%
- Neutral 6%
Impossible to move or carry, it gains power every time one of your characters takes damage. Crunchy Charge makes it pass to the other side of its target while hitting and poisoning it. Weak to Air.
 Crunchy Charge3 AP · 5 Range · Removes the Unshakable state · Advances 4 cells · Symmetric teleportation ·31 to 40 Air steal · 15 to 20 Air damage · Unshakable State
In a line up to 5 cells: it rushes at its target, teleports to the other side, steals life and poisons.
 Swirling Sand4 AP · on self ·41 to 50 Neutral damage · -20 Lock
Hits around it and reduces your lock for one turn.
 Reddur
Reduces your critical resistances and heals received for 2 turns.

Level 162
- 3,900 HP
- 10 AP
- 6 MP
- Resistances (%)
- Earth 0%
- Fire 46%
- Water 16%
- Air -19%
- Neutral -14%
The only one without a passive. Gyroskopik swaps places with you and leaves a glyph under you that hits and removes AP; Pik Er Wood makes it reflect part of the damage. Weak to Air and Neutral, very resistant to Fire.
-
Gyroskopik
In melee, twice per turn: place swap and a black glyph under you, which hits and removes 2 AP if you start your turn in it.
-
Pik A Slow3 AP · on self ·41 to 50 Air damage · Stapleworm Generic State
Hits all around it, and gains resistances for each character hit: don't stay several of you in contact with it.
-
Pik Er Wood3 AP · on self ·40 MP Parry
For 2 turns, it dodges MP removal and reflects part of the damage. A heal makes it lose 2 MP.
Preparing your run through the Wurmlord's Passage
An extreme-rated dungeon, for level 160 to 170 teams able to take hits: there is a lot of hard-to-avoid damage. You come for Wormder, the achievements and the Wurmlord Eye: the Wurmlord can't be captured.
How to enter the Wurmlord's Passage
The entrance is on Ohwymi island, in the Gorge of Howling Winds, in ; the nearest zaap is the one in the Forgotten City . Three ways to open it: a Wurmlord's Passage Key (consumed), the key ring if it is registered there, or the automatic group search.
Crafting the Wurmlord's Passage Key
It is crafted at a handyman's. Tooth, Tongue, Leg and Skin drop at 19% from the dungeon's worms, as does Lean Meat. Worm Damage, which opens the dungeon quest, also gives 5 Cyclouse Tooth. Cod (fishing), Belladonna and Corn (harvesting) complete the recipe.
| Ingredient | Quantity | Level |
|---|---|---|
 Cyclouse Tooth |
2 | 170 |
 Sharcut Tongue |
2 | 170 |
 Mastifang Paw |
2 | 170 |
 Tremrus Skin |
2 | 170 |
 Lean Meat |
2 | 170 |
 Cod |
2 | 170 |
 Belladonna |
3 | 160 |
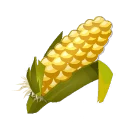 Corn |
3 | 160 |
Which team to bring against the Wurmlord
Something to take hits. Monster explosions, the boss's melee hit, Glance's poison: a lot of damage can't be avoided. Decent resistances and good vitality are recommended, along with an Emerald Dofus or a Dorigami.
Melee damage. The Wurmlord is invulnerable at range, and the monsters have a lot of MP. Sooner or later, you have to hit in melee: prefer a shield that increases your melee or spell damage over a range-oriented shield.
Something to cut lines of sight. A summon placed between the team and the monster you're finishing avoids the explosion of its death. The room's obstacles do the same job: spot them before each killing blow.
The classes that do well here. Protection and healing classes help you hold out, and summoners cut lines of sight when monsters die. Movement spells are useful for First, which requires reaching the Wurmlord by turn 1, and for Zombie, which limits you to one MP per turn. Pushback strategies matter little: almost all the monsters are unmovable.
The five achievements of the Wurmlord's Passage
Each achievement gives 28,081,000 XP and 2 Wurmlord Eye, the Duo doubles the XP. Zombie, I'm Not Touching You and Duo are played with the basic strategy; First requires a separate plan.
| Achievements | Condition | Points | XP |
|---|---|---|---|
 Wurmlord (Special) |
Defeat Wurmlord in its dungeon by completing the “I'm Not Touching You” challenge. | 10 | 28 081 000 |
| Wurmlord's Passage |
Defeat the Wurmlord in this boss's dungeon. | 10 | 28 081 000 |
| Wurmlord (First) |
Defeat the Wurmlord in its dungeon by completing the “First” challenge. | 10 | 28 081 000 |
| Wurmlord (Zombie) |
Defeat the Wurmlord in its dungeon by completing the “Zombie” challenge. | 10 | 28 081 000 |
| Wurmlord (Duo) |
Defeat the Wurmlord in its dungeon by completing the “Duo” challenge. | 20 | 56 162 000 |
First
The Wurmlord must be finished off first. You have to survive the monsters longer: protections, a tank, and no Air against its 50%. Put out as much damage as possible on turn 1, the only turn without sharing. Position as close as possible to its fixed cell to reach it from turn 1 with your movement spells, while a character or a summon goes to the opposite side to draw the monsters. After that, stop attacking when the monster that has the sharing becomes weak, and wait for it to move to another one. Lightly damage all the monsters to vary its targets, and don't touch them outside of that.
Zombie
Use exactly one MP per turn. No particular difficulty with classes that have movement spells. Without a positioning spell, plan for about thirty escape to break free from the lock and spend your MP. Get close to the Wurmlord from the start, so that you don't have to cross the room cell by cell once the monsters are dead.
Special: I'm Not Touching You
Each ally must end their turn diagonal to an enemy. Kill the monsters first. When only one is left, check that each character can position themselves diagonal to the Wurmlord before finishing it. Hit it in melee, then shift into its diagonal, 2 cells from it, with about 30 escape to break free from its lock. There is no need to be diagonal at the moment it dies.
Duo
Two characters maximum, fewer than 20 turns. Doable with the basic strategy: monsters first, the Wurmlord afterward, without dawdling. With two, you have to take more hits: Emerald Dofus, Dorigami, and if possible one of the two classes that protect or heal. Everything must be finished by the end of turn 19.
Drops and loot of the Wurmlord's Passage
Base in-game rates, before Prospecting bonuses.
On the Wurmlord
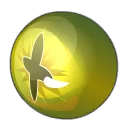 Wurmlord EyeEye19 %
 Nougat Rabmarac BarTreat6 %
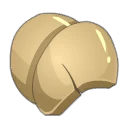 Sandworm ShellCarapace3,24 %
 Bag of SpicesContainer3 %
 Lean CarrionMeat0,97 %
 Al Howin GobtubbyCeremonial pet0,7 %
On the henchmen of the Wurmlord
- Lean MeatMeat · Cyclouse19 %
- Cyclouse ToothBone · Cyclouse19 %
- Mastifang PawLeg · Mastifang19 %
- Sharcut TongueMiscellaneous Resource · Sharcut19 %
- Stapleworm SpikeBone · Stapleworm19 %
- Tremrus SkinSkin · Tremrus19 %
- Sandworm ShellCarapace · Cyclouse3,24 %
- Bag of SpicesContainer · Cyclouse1 %
Where is the Wurmlord's Passage?
On Ohwymi island, in the Gorge of Howling Winds, in . The nearest zaap is the one in the Forgotten City .
At what level should you do the Wurmlord's Passage?
Minimum level 160, 170 recommended. The dungeon is rated extreme: the Wurmlord has 12,000 HP and its monsters, level 162, hit hard.
Which quest should you do in the Wurmlord's Passage?
Wormder, at Mahandos Suk's . It is completed by beating the Wurmlord in a single fight, after the quest Worm Damage.
How do you beat the Wurmlord?
Kill all the monsters first, then hit it in melee. It is invulnerable at range and doesn't move: alone, it isn't dangerous.
Which monster should you target first in the Wurmlord's Passage?
The Tremrus, ideally before turn 2. After that, aim each turn at a monster that doesn't have Paternalism's damage sharing.
Why don't my ranged spells hit the Wurmlord?
It is invulnerable at range for the whole fight. Only damage dealt in melee wears it down.
What are the brown glyphs for?
To heal yourself for 15% of your max HP. Each character places their own at the start of their turn: end your turn on it. They disappear when the Wurmlord dies.
Can the Wurmlord be captured?
No, the Wurmlord can't be captured. You don't need to bring any soul stone for this dungeon.
Can the Wurmlord's Passage be done with two players?
Yes, it's even an achievement: the Duo, in fewer than 20 turns. Two sturdy characters, including one that protects or heals, follow the basic strategy.

Comments
No comments yet. A tip, or a detail about this page? Be the first.