 2 × Skt-Zo Leg
Quest Kramdam Heights
Armed Against Destiny
Level 200 quest at the Huppermage temple, with Rimanda at [38,-21]: to cut the threads of the Norrai, you need to create a Third Eye and Scissors of Destiny. All the steps, dialogue choices, resources and fights.
What to prepare
You need a gathering profession at level 200 (Alchemist, Lumberjack, Farmer, Miner or Fisherman), two dungeons, 600 Dream Reflection and a few resources. The Raspberry can be bought at the auction house; otherwise, it is obtained along the way with the kamas below.
 2,000 kamas10 Square of Milk Chocolate from Stayfun Bonnawa, only if you don't have the Raspberry
- 200 kamas1 Square of Dark Chocolate from Stayfun Bonnawa, if you don't have one
- 500 kamas1 Kriek at the Sea Fever tavern, only if you don't have the Raspberry
 1 × Raspberryat the auction house, or through the exchange described in the steps
 10 × Square of Milk Chocolateonly if you don't have the Raspberry, at Stayfun Bonnawa's at [23,-27]
 1 × Square of Dark Chocolateat the auction house or from Stayfun Bonnawa at [23,-27]
 1 × Onioncommon resource, at the auction house
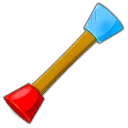 1 × Rikiki Wandto equip to get through the mouse hole
 600 × Dream Reflectionfor the Sandman
Quest Resources, obtained along the way
 1 × Cursed Snowflake from Frigostfrom Frigost's resource protectors, or from Grampa Muscle at [-77,-45]
 3 × Goblin Foreman Skinfrom the Goblin Foremen
 3 × Veteran Bwork Skinfrom Veteran Bworks
 1 × Harebourg's Broken Destinyin Count Harebourg's Dungeon
 1 × Vortex's Broken Destinyin the Eye of Vortex dungeon
The 32 quest steps
-
1Talk to Rimanda
Dialogue · Rimanda
In the Huppermage temple, Rimanda tells you that you must cut three threads: what has been, what is and what will be. To do so, you first need a Third Eye and Scissors of Destiny. The following steps detail the two items, one after the other.
Huppermage Temple · [38,-21] -
2Make Badmorva's Ghost appear
· Badmorva's Ghost
Click the barrel buried in the ground, then talk to Badmorva's Ghost who appears. You gave its first eye to Decimandi in a previous quest: she agrees to entrust you with another one in exchange for a Cursed Snowflake from Frigost, which she will be able to gaze at every day.
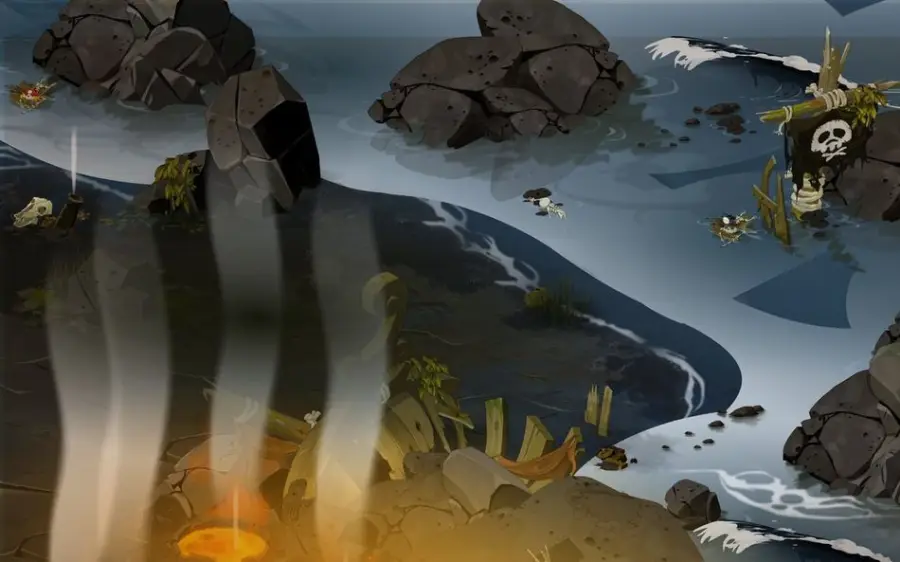
Badmorva's Ghost · [-54,-76] -
3Obtain a Cursed Snowflake from Frigost
Items
The snowflake drops from the resource protectors of Frigost (Snowdrop, Obsidian, Icefish, Frosteez, Aspen), at a rate of 100%. Harvest resources in Frigost with a gathering profession at level 200 until you get attacked, and wear Prospecting gear to reach the 100% chance. Another solution: buy it from Grampa Muscle, at the Frigost grocery at , in exchange for 30 Ice Kama.
Even to buy it from Grampa Muscle, you need a gathering profession at level 200 (Alchemist, Lumberjack, Farmer, Miner or Fisherman). Buying it is not really worth it.
- Cursed Snowflake from Frigostreceived
-
4Give the snowflake to Badmorva's Ghost
Items · Badmorva's Ghost
Go back to and give the snowflake to Badmorva's Ghost. He hands you a Sorceress's Eye, which you will have to turn into a Third Eye.
- 1 × Cursed Snowflake from Frigostto give
 Sorceress's Eyereceived
-
5Buy the squares of chocolate
Items · Stayfun Bonnawa
If you already have the Raspberry (bought at the auction house, which is faster), go straight to the raft. Otherwise, enter the house and buy from Stayfun Bonnawa 10 Square of Milk Chocolate for 2,000 kamas, as well as a Square of Dark Chocolate for 200 kamas if you don't have one: it is used later.
- 2,200 kamasto pay
-
6Break Droopik's spell
Dialogue · Droopik
In the Ouginak temple area, Droopik has been turned into a seagull by the seagull goddess. To break the spell, give him the 10 squares of chocolate: you are then the one turned into a seagull.
Dialogue
- “Sympathize with his misfortune”
- “Show her the ten squares of chocolate”
Keep this seagull appearance until the trade with the Frozen Seagull.
- 10 × Square of Milk Chocolateto give
-
7Buy a Kriek
Items
Still as a seagull, enter the Sea Fever tavern and buy 1 Kriek for 500 kamas.
- 500 kamasto pay
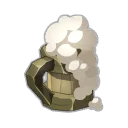 Kriekreceived
-
8Exchange the Kriek for a Raspberry
Items · Frozen Seagull
Leave the tavern and talk to the Frozen Seagull. You get 1 Raspberry. Check that you also have 1 Onion and 1 Square of Dark Chocolate before leaving.
Dialogue
- “Offer to trade a Kriek for a raspberry that you will give to Maewin”
- 1 × Kriekto hand over
- Raspberryreceived
-
9Sail west
Board Galaethiel's raft, head out to sea, then west.
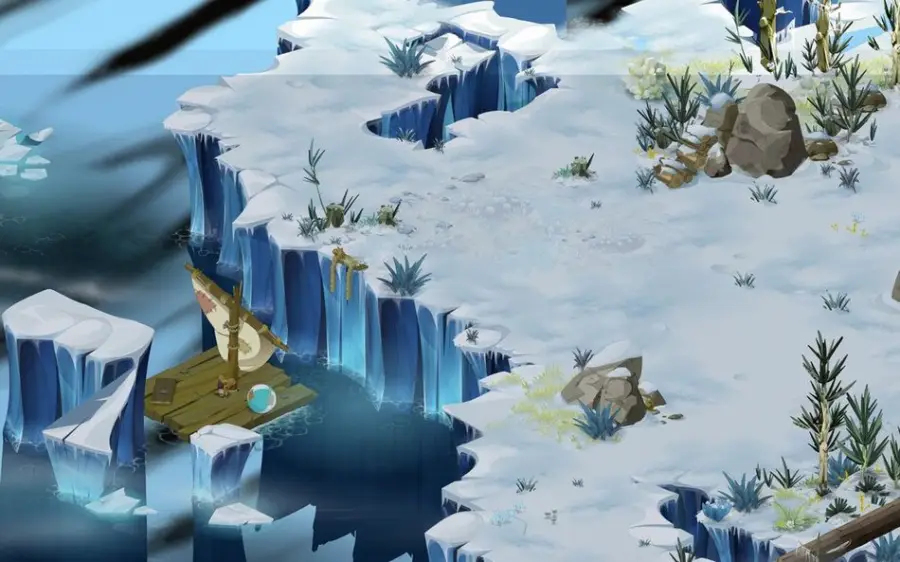
Galaethiel's raft · [-74,-53] -
10Offer the raspberry to Maewin
Items · Maewin
Offer the raspberry to the goddess, then talk again to Maewin, who has taken a human form, to ask her for help creating the Third Eye. She will only use her magic if you bring happiness back to an unhappy doggo.
Dialogue
- “Offer a raspberry to the goddess”
- 1 × Raspberryto give
-
11Console Pesto
Dialogue · Pesto
Enter the Astrub tavern and go upstairs to talk to Pesto. The dog is sad: someone stole his toy.
Dialogue
- “Melt like an ice cube under the Calanques sun and pet Pesto's head”
-
12Defeat the Elite Crooket
Combat · Elite Crooket
Go to Kerub's house. Equip a Rikiki Wand and use the mouse hole on the ground floor. Talk to the Elite Crooket to start the fight, which can be done in a group.
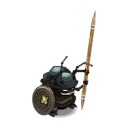 Elite Crooketfight · level 200 · 3,800 to 6,600 HP · 12 AP · 5 MP
-
13Collect the ball
Items
After the fight, click on the big ball at the back of the room: it probably belongs to the doggo.
-
14Return the ball to Pesto
Dialogue · Pesto
Go back to the second floor of the Astrub tavern and talk to Pesto. The dog is happy again and playing with his ball.
Dialogue
- “Roll the ball across the floor”
-
15Go back to see Maewin
Dialogue · Maewin
Take the raft again at , out to sea then west. Bow before Maewin, then talk to her again in her human form to announce that Pesto is no longer depressed. She gives you a Divine Dust, which will partly be used to enchant the Sorceress's Eye, and warns you: fighting against your destiny is not without consequences.
Dialogue
- “Bow before Maewin”
 Divine Dustreceived
-
16Offer the dark chocolate to Galaethiel
Items · Galaethiel
On the same map, talk to Galaethiel, then talk to her again in her human form. She knows you want to stop being the puppet of the Norrai: she will help you if you punish a few mansots she has taken in.
Dialogue
- “Offer a square of dark chocolate to the goddess”
- “Say that you are ready”
- 1 × Square of Dark Chocolateto give
-
17Subdue the pingwin rebels
Combat · Pingwin Rebel
You are teleported to a room: talk to the Pingwin Rebel to start a fight against 5 pingwins, alone with one pingwin on your side. Then go into the room on the right and talk to the Pingwin Rebel again for the second fight, also solo.
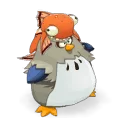 Pingwin Rebelfight · level 200 · 3,800 to 4,400 HP · 10 AP · 5 MP
-
18Obtain the Divine Tear
Items · Galaethiel
Talk to the Pingwin Warden to leave the prison. Bow before Galaethiel, then talk to her again in her human form: announce that the task is done and give her 1 Onion. She hands you a Divine Tear.
Dialogue
- “Leave Galaethiel's prison”
- “Bow before Galaethiel”
- 1 × Onionto hand over
 Divine Tearreceived
-
19Meet Draconiros
Dialogue · Draconiros
Use the Infinite Dreams tab to reach them, then go up the stairs in front of you. Draconiros recommends that you meet the Sandman.
Dialogue
- “Say that you are trying to create a Third Eye”
- “Meet the Sandman”
-
20Defeat the Kerrai
Combat · Sandman
Go to the map to the left of the arrival map in the dreams and talk to the Sandman, busy counting his grains. Kerrai immediately attack you: the fight is solo.
Dialogue
- “Say that you are trying to create a Third Eye”
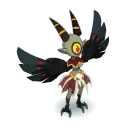 Kerraifight · level 200 · 6,000 HP · 12 AP · 6 MP
-
21Buy the Dream Sand
Items · Sandman
Talk to the Sandman again. He asks for 600 Dream Reflection in exchange for his sand, one of the purest according to him. You get Dream Sand.
Dialogue
- “Exchange dream sand for dream reflections”
- “Pay the asking price”
- 600 × Dream Reflectionto give
 Dream Sandreceived
-
22Create the Third Eye
Open your quest inventory and double-click the Sorceress's Eye. You get the Third Eye, which will be used later.
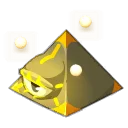 Third Eyereceived
-
23Ask Valdi Valiantsilver for grithril
Dialogue · Valdi Valiantsilver
For the Scissors of Destiny, you need a blacksmith expert in Grithril. In the Miners' Workshop, the Nimbo of the Ventrepierre clan agrees to give you an ingot, since his people recognize you, if you help him take revenge on the goblins and bworks the Nimbos have been at war with for years. You must bring back 3 Goblin Foreman Skin and 3 Veteran Bwork Skin.
Dialogue
- “Accept the deal”
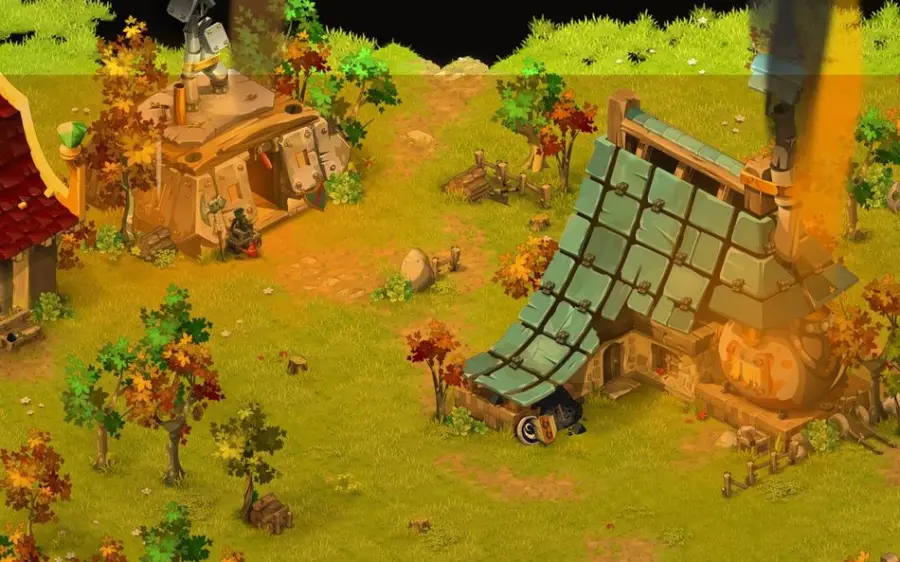
Miners' Workshop · [3,29] -
24Defeat the goblins and the bworks
Combat
Talk to each of these NPCs to fight them. The fights are solo, but they are relatively simple. Each victory gives a skin.
- talk to the Goblin Foreman
- talk to the Veteran Bwork
- talk to the Veteran Bwork
- talk to the Veteran Bwork
- talk to the Goblin Foreman
- talk to the Goblin Foreman
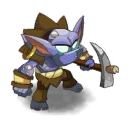 Goblin Foremanfight · level 200 · 3,800 to 5,500 HP · 10 AP · 5 MP
- Goblin Foreman Skinreceived
- Veteran Bwork Skinreceived
-
25Bring the skins back to Valdi Valiantsilver
Items · Valdi Valiantsilver
Go back to the miners' workshop and give the skins to Valdi Valiantsilver in exchange for the Grithril Ingot. Keep to yourself that the smith who will work this metal is a goblin.
- 3 × Goblin Foreman Skinto hand over
- 3 × Veteran Bwork Skinto give
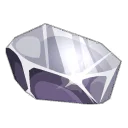 Grithril Ingotreceived
-
26Have Gobannus forge the scissors
· Gobannus the Smith
Go to the Realm of the Gods using your temple's class statue, then go down the stairs on the left. Gobannus the Smith crafts you a pair of grithril scissors on the divine anvil. He nonetheless advises you to sharpen the blades if you want them to cut.
- 1 × Grithril Ingotto hand over
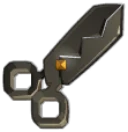 Grithril Scissorsreceived
-
27Show the scissors to Maha Shoja
Items · Maha Shoja
Take the Huppermage platform in to reach the temple. Maha Shoja is surprised: it is the first time anyone has asked her to enchant a simple pair of scissors. She agrees, but she needs shards of broken destinies, to be taken from Count Harebourg and from Vortex.
Dialogue
- “Say that you want to create Scissors of Destiny”
The shards are only obtained if you already have the Third Eye: finish the eye steps first.
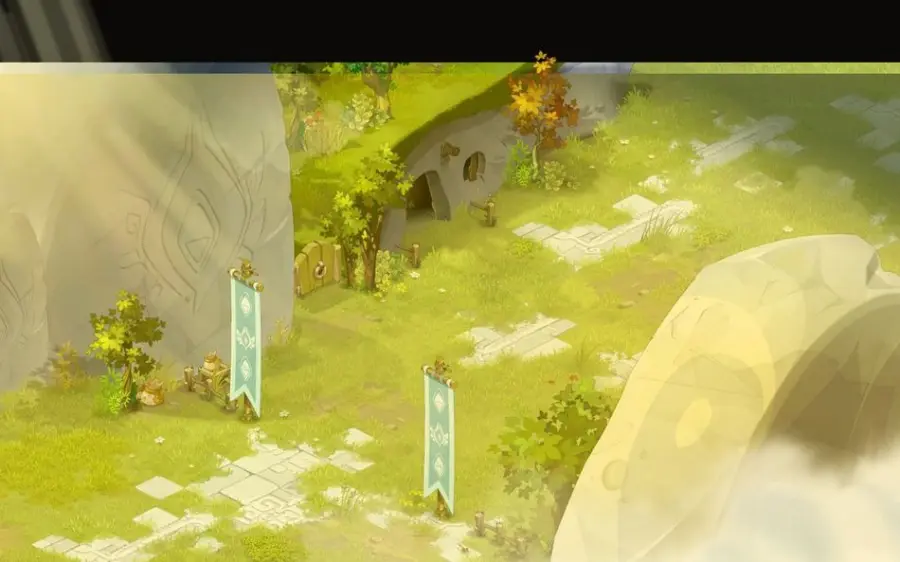
Maha Shoja · [38,-20] -
28Finish Count Harebourg's Dungeon
Combat
Wrest a shard of broken destiny from Count Harebourg by completing the Count Harebourg's Dungeon dungeon.
The Count's fight with his henchmen does not work: you have to do the dungeon.
 Count Harebourgfight · level 220 · 13,000 to 20,000 HP · 20 AP · 5 MP
- Harebourg's Broken Destinyreceived
-
29Talk to Djaul
Dialogue · Djaul
Once the dungeon is finished, talk to Djaul. He knows you have gathered the six Dofus and offers to let you join Rushu's clan to conquer the World of Twelve and rule over it.
Dialogue
- “Ask what he's doing”
- “Reply that you will think about it”
-
30Finish the Eye of Vortex dungeon
Combat
Get the second broken destiny shard by finishing the Eye of Vortex dungeon.
 Vortexfight · level 220 · 15,000 to 22,000 HP · 16 AP · 5 MP
- Vortex's Broken Destinyreceived
-
31Have the scissors enchanted
Dialogue · Maha Shoja
Take the Huppermage platform again at . Give the two broken destinies to Maha Shoja, then the grithril scissors: she enchants them into Scissors of Destiny and sends you back to Rimanda.
Dialogue
- “Give the broken destinies of Vortex and Count Harebourg”
- 1 × Harebourg's Broken Destinyto give
- 1 × Vortex's Broken Destinyto give
- 1 × Grithril Scissorsto give
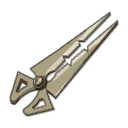 Scissors of Destinyreceived
-
32Show the items to Rimanda
Items · Rimanda
Show Rimanda the Scissors of Destiny and the Third Eye. The eye lets you find the silver threads, the scissors cut them. The quest ends.
Huppermage Temple · [38,-21]
The fights
Level 200
In Kerub's house in , through the mouse hole, with a Rikiki Wand equipped. The fight can be done in a group. The spells encountered in this fight:
-
Elite Buttonshield Blow
Whacks for 350 Fire damage in melee, removes 2 dodgeable AP for 1 turn and pushes back 2 cells.
-
Elite Impalement
Deals 300 Earth damage in melee, in a line of size 3.
-
Elite Splutter
Damage taken × 125% for 2 turns. Range 3, line of sight.
-
Elite Attrape conton-tige
Whacks for 400 Earth damage, removes 20 MP dodge for 1 turn and pulls 3 cells. In a line up to 4 range, line of sight.
-
Elite Salute
Heals 300 HP.
-
Smearwax
Places a glyph, yellow, with radius 2: whacks for 350 Earth damage, removes 3 dodgeable MP and 30 flee for 1 turn.
-
Elite Toothpick Shot
Whacks for 150 Fire damage, from 3 to 6 range, line of sight.
-
Elite Toothpick Whack
Whacks for 400 Fire damage in melee.
-
Elite Marking
Gives, in a circle of size 2 around itself, 20 power, 20% critical and 50 critical damage.
Level 200
In Galaethiel's prison, alone, with one pingwin on your side: a first fight against 5 pingwins, then a second in the room on the right. The spells encountered in these fights:
-
Matty Pingwindbag
Deals 350 Air damage while swapping places with the target.
-
Pingwarrest
Deals 200 Earth damage in a cross of size 1 and steals 2 range for 2 turns.
-
Matty Hammering
In a circle of size 2 around it, randomly removes 2 AP, 2 MP, 200 power, 10% critical, 50 heals, 100 damage or 3 range for 2 turns.
-
Pingwiheal
Heals an ally for 400 HP by swapping positions with them.
-
Pingwidiocy
Whacks for 200 Fire damage in melee, in an infinite line, and removes 33 damage for 1 turn.
-
Pingwisoap
Whacks for 400 Water damage in melee and pushes back 2 cells.
-
Pingwobstination
Gives itself 52 damage for 2 turns; every other time, it heals when hit, otherwise takes damage × 2 for 1 turn.
-
Pingwileap
Teleports and deals 250 Fire damage to the cells adjacent to its arrival cell.
-
Pingwischief
Whacks for 400 Neutral damage in melee, swaps positions with the target and applies the Gravity state for 1 turn.
-
Pingwacrobatics
Gives itself 55 damage for 2 turns (second fight).
-
Pingwijostle
Deals 300 Earth damage with life steal (second fight).
Level 200
In the Infinite Dreams, by talking to the Sandman. Solo fight. The Kerrai are unmovable and swap positions with their nearest ally when you hit them.
-
Kerosene
Whacks for 370 Fire damage and removes 200 power for 1 turn. Up to 6 range, line of sight.
-
Kertch
Deals 650 Air damage and pulls itself 4 cells. Up to 5 range, without line of sight.
-
Kerfair
Poison, effect not detailed.
Level 200
Three solo fights against the Goblin Foremen at , and , and three against the Veteran Bworks in , and . Relatively simple. The spells encountered in these fights:
-
Strategic Deportation
Teleports up to 6 range and removes 20 flee for 1 turn from the character in contact with its arrival cell.
-
Bwork Brutality
Whacks for 400 Air damage in melee.
-
Infallible Sniff
Removes 2 dodgeable AP for 2 turns.
-
Gobelin Protection
Gives itself 25% resistance, 50% melee damage and 2 MP for 2 turns.
-
Master of Evisceration
Deals 700 Neutral and 650 Earth damage in melee.
-
Voltaging Pick
Whacks for 400 Earth damage.
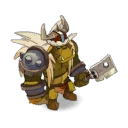
Level 200
In , and , one solo fight on each map. Each victory gives a Veteran Bwork Skin.
Level 220
Boss of the Count Harebourg's Dungeon. You have to do the dungeon: the Count's fight with his minions does not give the shard.
Level 220
Boss of the Eye of Vortex dungeon. It gives Vortex's Broken Destiny if you already have the Third Eye.
The rewards
- XP6,300,000 experience points
- 105,552 kamas
 3 × Miniature Sandglass
 1 × Count Harebourg's Bandages
Related quests
This quest follows In the Dragon's Mouth. By continuing the conversation with Rimanda, you unlock The End… or the Beginning, the last quest of the Six out of Six achievement.
- Start
- Meriana
- Start
- Rimanda

Achievements · World Quests
Six out of Six
Complete the following achievements, then finish some quests:
- In the Dragon's MouthLvl. 200
- Armed Against DestinyLvl. 200
- The End... or the BeginningLvl. 200
In the Dragon's MouthNext quest: The End... or the Beginning
Where does the quest Armed Against Destiny start?
With Rimanda, in the Huppermage temple in . You must have completed In the Dragon's Mouth.
Where to find the Cursed Snowflake from Frigost?
From the Frigost resource protectors, with a 100% chance with Prospecting. Otherwise from Grampa Muscle in for 30 Ice Kama. In both cases, you need a gathering profession at level 200.
How do you get the Raspberry without the auction house?
By trading a Kriek for it with the Frozen Seagull in . You must first give 10 Square of Milk Chocolate to Droopik in to become a seagull, then buy the Kriek at the Sea Fever tavern in .
How do you get into the mouse hole in Kerub's house?
By equipping a Rikiki Wand. The hole is on the ground floor of Kerub's house, in .
Where are the Goblin Foremen and the Veteran Bworks?
Goblin Foremen in , and ; Veteran Bworks at , and . Talk to them to start a solo fight.
Why doesn't Count Harebourg give the shard?
You need the Third Eye and the complete dungeon. The Count's fight with his henchmen does not work.
How many Dream Reflections are needed?
600 Dream Reflection, to give to the Sandman in the Infinite Dreams in exchange for Dream Sand.
Which quest follows Armed Against Destiny?
The End… or the Beginning, which starts by continuing the conversation with Rimanda.

Comments
No comments yet. A tip, or a detail about this page? Be the first.