 2 × Skt-Zo Leg
Dungeon Nimaltopia
Count Razof's Camp
Level 190 dungeon on Nimaltopia island, at [-68,30]: five rooms, invisible traps, and a boss with over 100% resistances that only your summons can bring down, Count Razof. Quests to start, map of each room, strategy, monsters, achievements, and loot.
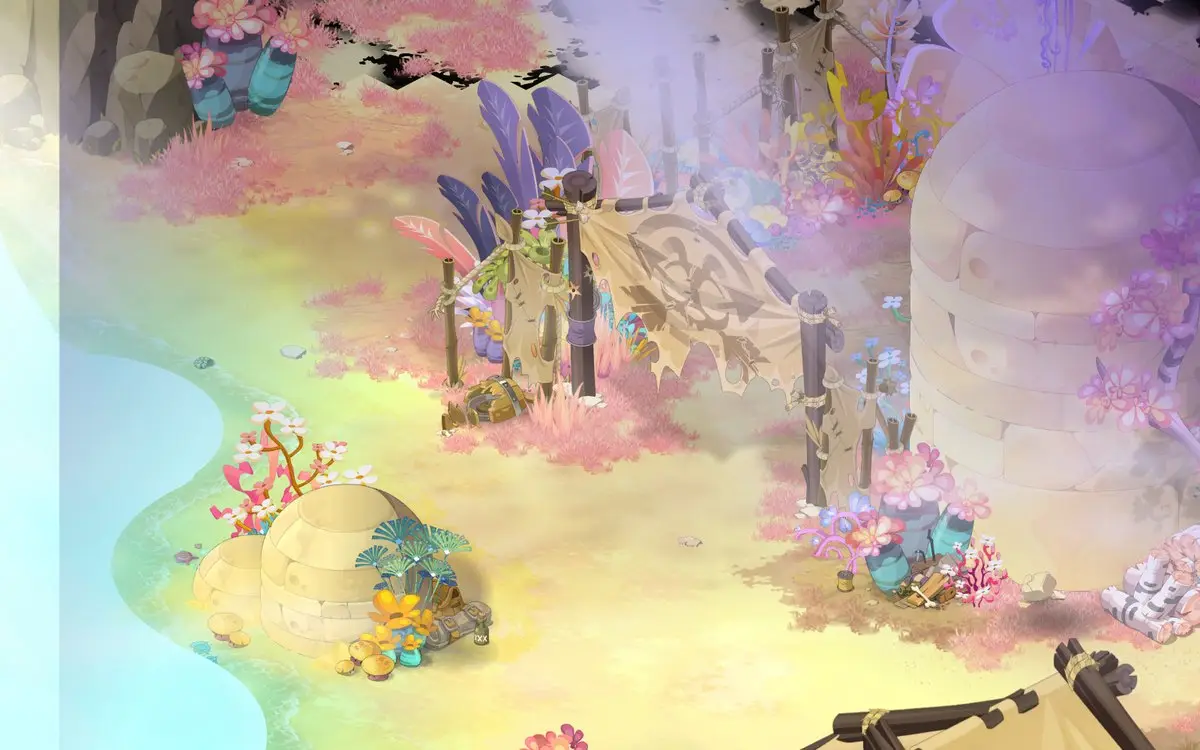
Quests linked to Count Razof's Camp
To reach the camp, you must first have the right to take the Seemyoolbus to Nimaltopia. The dungeon quest, The Manual Waltz, is triggered with an item and ends in the boss room: don't leave before searching the camp and talking to the Count.
Without it, no Seemyoolbus to Nimaltopia. Agatha Mynah asks you three questions: answer in the order The pink one, I give them lots of kisses, then I'm an adventurer above all. For later trips, just tell her you have already answered.
- Start
- Agatha Mynah, Rocky Roads
- Prerequisites
- Level 30
A Textbook starts it: it drops from Nimaltopia's monsters, including those of the camp. After Mishell and the relaxed hunters, go to the fifth room, talk to the Scared Minikron, and beat Count Razof. Then search the barrel at the bottom of the map and question it before leaving.
- Start
- Mishell, Nimaltopia
- Prerequisites
- Level 170
 Hunderp Blood3 bloods and 137,711,000 XP
During events
- Tiwaapi Simulation
Tiwaapi can designate Count Razof as the guardian to defeat. Incarnam, .
The 5 rooms of Count Razof's Camp
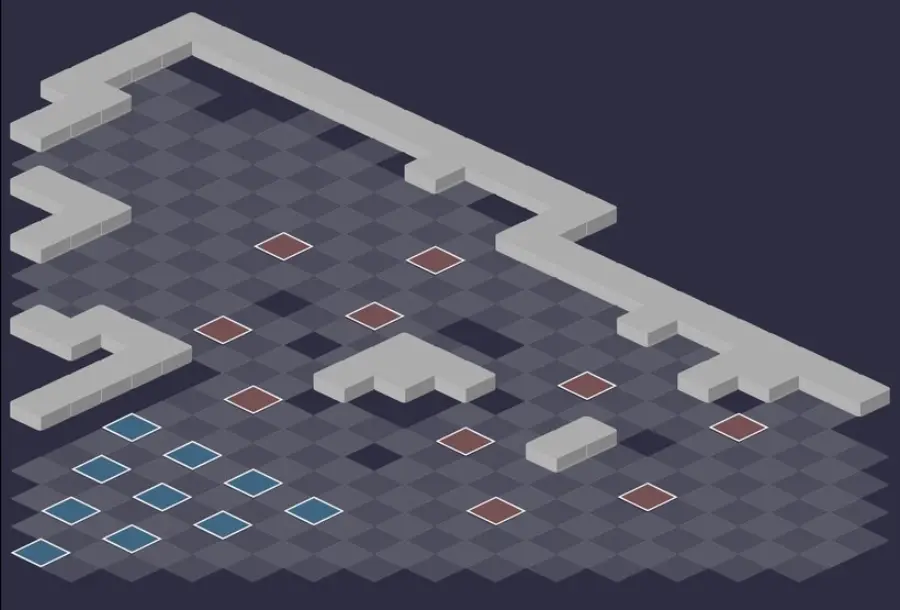
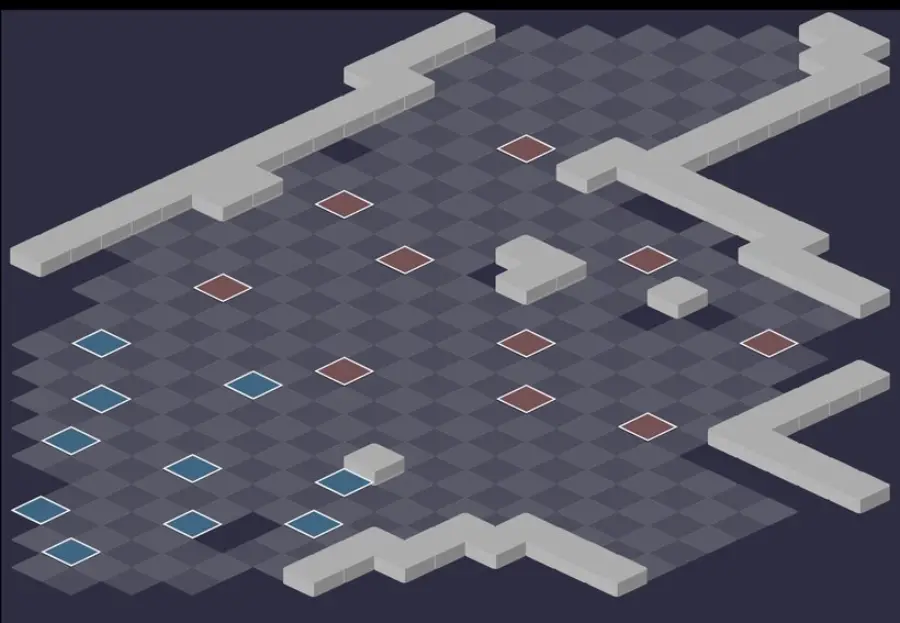
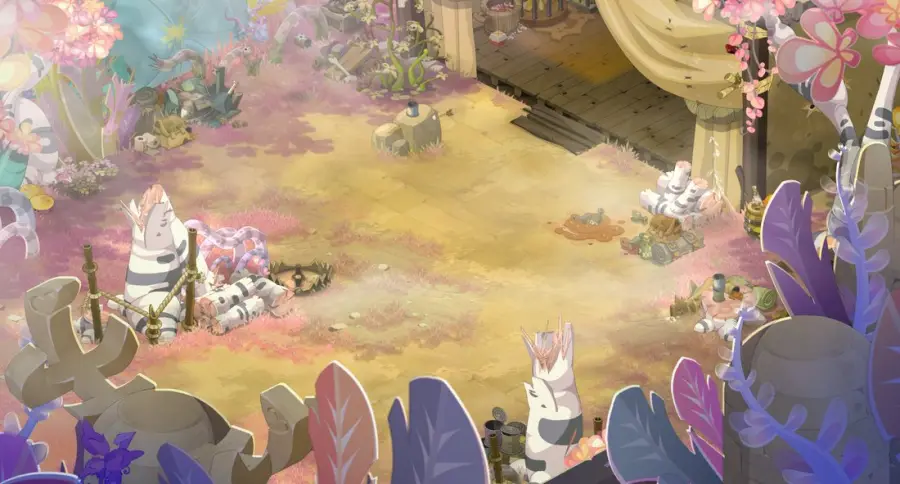
Five rooms, with Count Razof in the fifth. In each fight, the Nemroz places invisible traps that give the Trapped state, which the monsters' spells take advantage of: the mechanic is detailed in the next section. For each room: the scenery, then the tactical view with the starting cells (blue: you, red: the monsters). Tap an image to enlarge it.
Room 1

Room 2

Room 3
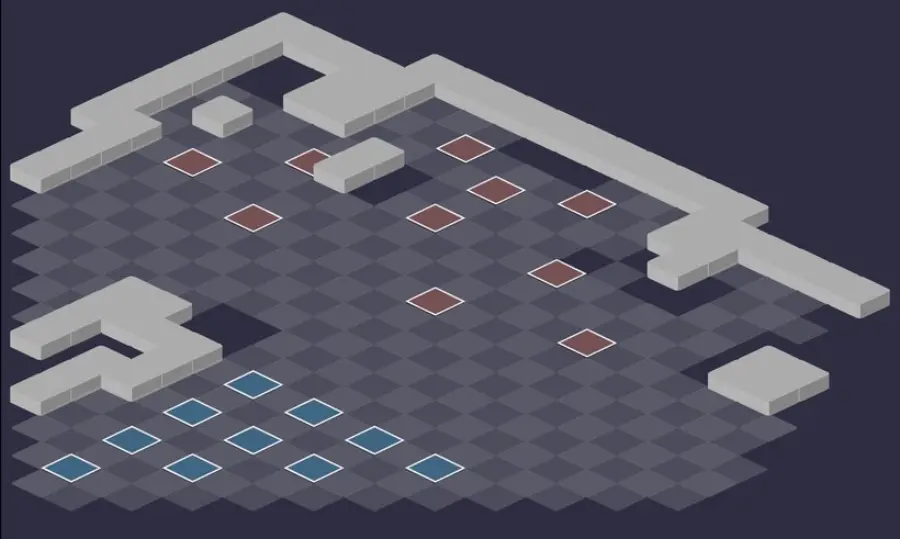
Room 4
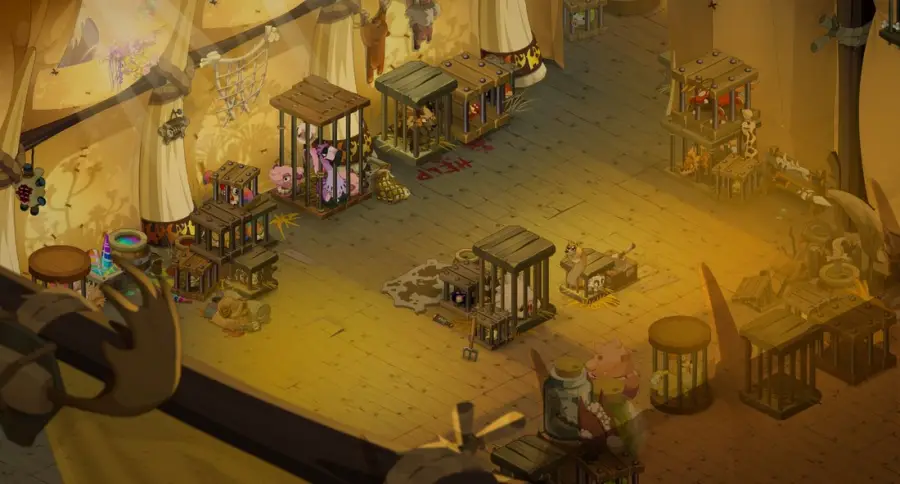
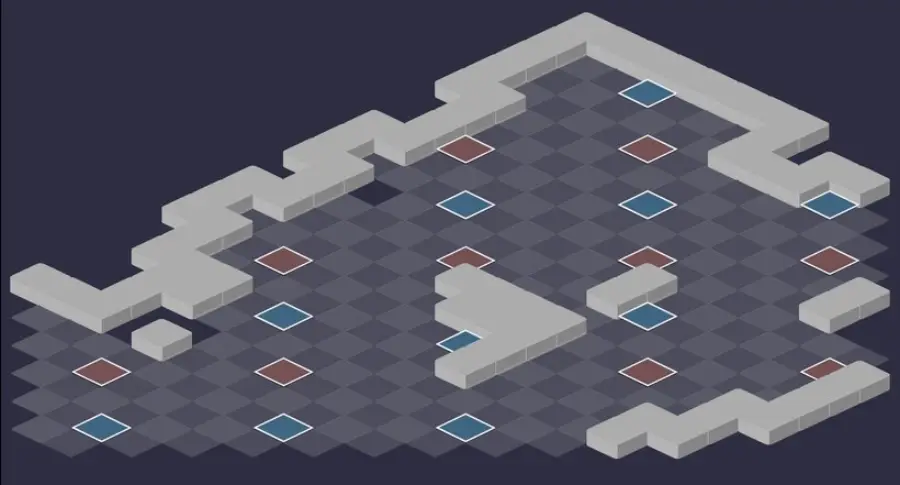
Room 5 — Count Razof
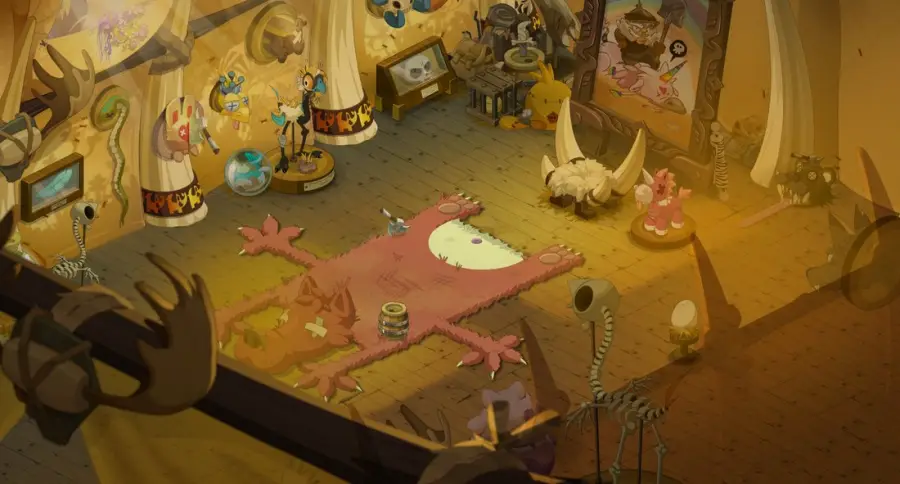
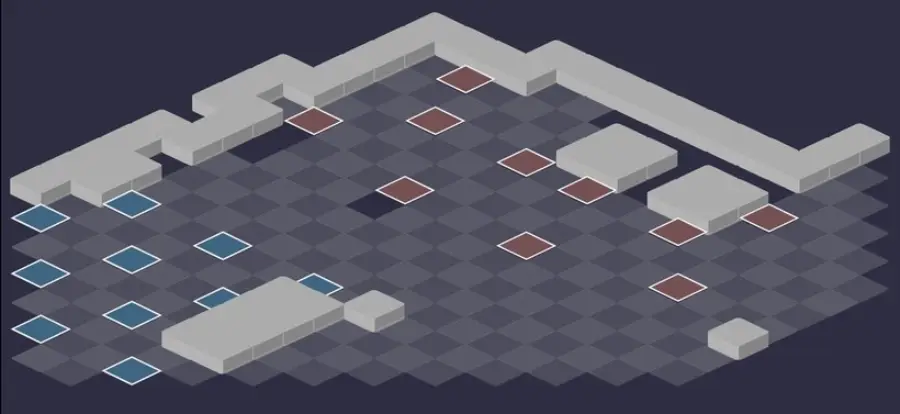
Defeat Count Razof
The Minikron must not die
From turn 2, Hunting Trophy kills any summon in melee, Minikron included, and gives the Count 1 MP and 200 power. If the Minikron dies, your characters lose 20% resistance and 2 AP until the end of the fight. Never leave it within its reach.
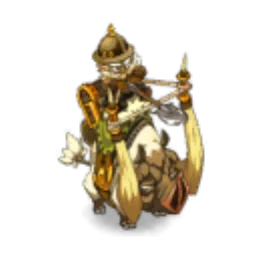
Level 190
 11,000 HP
 13 AP
 6 MP
- Resistances (%)
 Earth 120%
 Fire 115%
 Water 135%
 Air 105%
 Neutral 100%
Over 100% resistance everywhere: 100% Neutral, 105% Air, 115% Fire, 120% Earth, 135% Water. Only your summons bring them down, by 20% each at the end of its turn. Shovellista strikes up to 15 range, removes 6 MP, and applies Gravity; in melee, Hunting Trophy executes your summons.
 Shovellista4 AP · 15 range ·61 to 70 Earth damage · 71 to 80 Earth damage · -6 MP · Weakened State · Gravity State
Up to 15 range, twice per turn: removes 6 dodgeable MP, Gravity, and Weakened. A tackler placed in front of him cuts his line of sight.
 Arshovelago5 AP · 6 range ·41 to 50 Water damage · 51 to 60 Water damage · Reveals invisible entities · Removes the spell's effects
Area of radius 2 up to 6 range, not modifiable: each target hit deals the same damage in a cross around itself. Spread out and keep summons beyond 6 range.
 No Poachers
Reduces the ranged damage taken by the monsters around it for one turn, cooldown: 3 turns.
 Hunting Trophy1 AP · melee · Removes the Minikron state 1 · Kills the target ·1 MP · 200 Power
From turn 2, in melee: kills the targeted summon, Minikron included, and gives it 1 MP and 200 power. Up to five times per turn.
The five-step strategy against Count Razof
Positioning: think about the Minikron. At the start of the fight, an invulnerable Minikron appears on your side, next to the character closest to Razof, and tends to follow him. That character must not be the one who goes into melee: choose your cells accordingly.
A tackler in front of Razof. The simplest method: a tank with about 150 tackle, in melee with Razof and between him and the team, which blocks him and cuts his line of sight. Reposition it before the Count's turn if the Hunderp pulls it or if the Crambo pushes it.
The monsters, Hunderp first. While Razof is blocked, kill the monsters: the Hunderp first, then the Crambo, which can push your tackler. Stay out of the Crambo's line of sight if you are at full health. The Nemroz can wait until the end.
Summons out of his sight. Then summon as many non-static creatures as possible, scattered, far from Razof and out of his line of sight. Each one alive at the end of his turn removes 20% of his resistance for a turn, Minikron included.
Strike during the window. With five summons and the Minikron, he loses 120% resistance until his next turn. Move forward to get line of sight, strike, step back out of sight, and keep summoning until he dies.
Bringing down his resistances
The count is made at the end of the Count's turn: each living non-static summon removes 20% of his resistance in all elements, for a turn. A summon killed in the meantime doesn't give anything back right away, but will count for less at the next count.
Summoning classes (Sadida, Osamodas, Enutrof) help a lot, but the common spells Chafer and Arachnee are enough: learn them before entering. Arshovelago strikes in an area up to 6 range, range not modifiable: keep your summons more than 6 range from him, even if he has lost range. If you can't limit his actions, use the width of the map and its obstacles to hide them.
The Minikron
Invulnerable and with 6 MP, it casts no spells, but its passive has four effects. If it starts its turn in melee with a monster, your characters lose 600 power for a turn; in melee with one of them, it heals it for 10% of its HP and gives it a shield. If it dies, -20% resistance and -2 AP for the whole team, with no way back.
At the start of its turn, it places a black glyph on its cell: if it ends its turn there, your characters lose 2 MP and take 50% erosion for a turn. It joins its summoner; if the summoner doesn't move, it stays on its glyph, so push it at least one cell. Invulnerable, it also serves as a shield that blocks line of sight. A Pandawa cannot carry it.
The Trapped state
The Nemroz's Blinding Trap is invisible. Triggering it removes 6 AP for one turn and 9 range for two turns, from the character and those within a radius of 2 cells, and gives them the Trapped state, a blue skull above the character. Most of the monsters' and the Count's spells hit Trapped characters harder.
These effects can be dispelled. Without Nemroz in the fight, the Trapped state cannot be obtained: don't step on a suspicious cell for a bit of extra damage.
The monsters of Count Razof's Camp
Five Chassulliers of level 182, all dangerous, whose spells hit Trapped characters harder. Hunderp first, Nemroz last. The resistances in red are their weaknesses.
In which order to kill the monsters
- Hunderp — it pulls, removes 400 power, and hits very hard in melee: the most dangerous.
- Crambo — his First Blood hits full-health targets very hard up to 15 range, and Uranus can push your tackler away.
- Draftwit, then Buckshot — AP removal, poison, and Running Bow Wow: to be eliminated afterward.
- Nemroz — its traps are annoying, but it can be killed last.

Level 182
- 4,700 HP
- 12 AP
- 7 MP
- Resistances (%)
- Earth 16%
- Fire 11%
- Water 6%
- Air 6%
- Neutral 16%
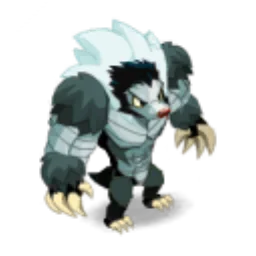
Lure pulls 2 cells and removes 400 power. In melee, Sautéed Meat hits harder below 50% HP and Ground Meat reduces heals received, especially fearsome against summons. 7 MP and no weakness: its lowest resistances are Air and Water.
 Sautéed Meat4 AP · melee ·61 to 70 Neutral damage · 71 to 80 Neutral damage · 81 to 90 Neutral damage · 91 to 100 Neutral damage
In melee, stronger on a target below 50% HP.
 Ground Meat5 AP · melee ·41 to 50 Air damage · 51 to 60 Air damage · 61 to 70 Air damage · Heals Received x70%
In melee, in an area: heals received reduced by 30% and damage boosted against summons.
 Lure
Pulls 2 cells in a line and removes 400 power for 2 turns: the Hunderp brings you back to its side.
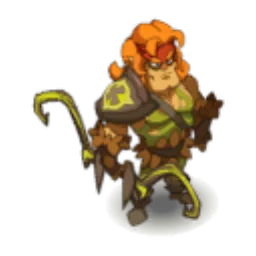
Level 182
- 4,700 HP
- 11 AP
- 4 MP
- Resistances (%)
- Earth 11%
- Fire 0%
- Water 21%
- Air -14%
- Neutral -9%
First Blood hits about twice as hard against a target at 100% HP, from 4 to 15 range. His Blue Lamp reveals invisible units and gives him range and power; Uranus pushes back in melee. Weak to Air and Neutral.
 First Blood4 AP · 15 range ·51 to 60 Fire damage · 61 to 70 Fire damage · 101 to 120 Fire damage · 121 to 140 Fire damage
Twice as strong on a target at 100% HP: lightly wound a full-health ally to protect it. On a summon, pulls nearby characters one cell.
 Blue Lamp3 AP · melee · Summons: Blue Lamp · Reveals invisible entities · 4 Range · 200 Power ·-1 MP · Removes the spell's effects
Static lamp that reveals invisible units and gives 4 range and 200 power to nearby Crambos, 4 range to the other monsters.
 Uranus5 AP · melee ·21 to 30 Neutral damage · Pushes away 1 cell · Steps back 1 cell · -1 MP
Pushes back one cell and makes the Crambo step back: a summon placed behind him keeps him in melee with your tackler.

Level 182
- 4,700 HP
- 11 AP
- 6 MP
- Resistances (%)
- Earth 16%
- Fire 26%
- Water -14%
- Air 31%
- Neutral 0%
Pandabeck removes 3 AP in an area up to 12 range and places a Bottle of Pandabeck, which tackles hard and explodes on its next turn. Tailing reveals invisible units and increases the damage you take; Off the Trail strikes your summons. Weak to Water.
-
Pandabeck4 AP · 12 range ·41 to 50 Neutral damage · 51 to 60 Neutral damage · -3 AP · Summons: Bottle of Pandabeck
Removes 3 AP in an area up to 12 range and places a Bottle of Pandabeck that explodes on its next turn. Don't stay around it.
 Tailing
Reveals invisible units and +20% damage taken within a radius of 3 cells, cooldown: 3 turns.
-
Off the Trail3 AP · 12 range ·-50 AP Reduction · -50 MP Reduction · 51 to 60 Neutral damage
Strikes your summons in an area and reduces your AP and MP removal for a turn.
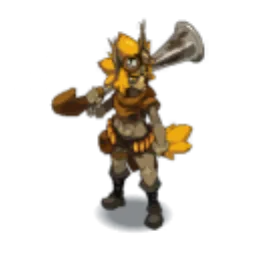
Level 182
- 4,700 HP
- 11 AP
- 5 MP
- Resistances (%)
- Earth -9%
- Fire 6%
- Water 11%
- Air 16%
- Neutral 6%
Shot in the Dark strikes up to 10 range and poisons for 2 turns. His Running Bow Wow drains your MP in melee and puts you in Gravity, and Sit... Stay! empowers Buckshot and his dog. Weak to Earth.
 Shot in the Dark4 AP · 10 RNG ·31 to 40 Neutral damage · 41 to 50 Neutral damage
Strikes and poisons for 2 turns, up to 10 range, once per target.
 Summoning of Running Bow Wow
The Bow Wow drains your MP in melee and puts you in Gravity; when hit afterward, it sends half of the damage back to the blocked character.
 Sit... Stay!3 AP · 10 range ·1 MP · 10 AP Parry · 10 MP Parry · 10% Vitality · 2 MP · 20 AP Parry · 20 MP Parry · 20% Vitality

Level 182
- 4,700 HP
- 11 AP
- 6 MP
- Resistances (%)
- Earth 0%
- Fire -9%
- Water 11%
- Air 6%
- Neutral 1%
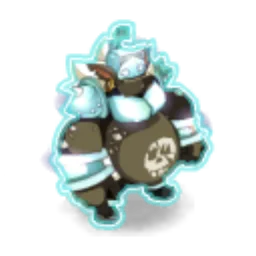
Without line of sight, it places the invisible Blinding Trap, which gives the Trapped state, and the Corrosive Trap, a glyph that erodes and burns those who start their turn on it. Soaked to the Groan removes AP parry. Weak to Fire.
 Soaked to the Groan4 AP · 6 range ·41 to 50 Water damage · 51 to 60 Water damage · -20 AP Parry
-
Corrosive Trap
Glyph of radius 2: erosion and Fire damage if you start your turn on it. Erosion doubled on summons.
 Blinding Trap
Invisible trap without line of sight: -6 AP, -9 range, and Trapped state for the character and its neighbors within a radius of 2 cells.
Preparing your run through Count Razof's Camp
A level 180 to 190 dungeon, rated very hard, for teams that know how to summon and protect their summons. People come here for The Manual Waltz, the achievements, and the Count's soul, captured with a Soul Stone for Huge Souls (captures up to level 200).
How to enter Count Razof's Camp
The entrance is on Nimaltopia island, at , right next to the Nimaltopia zaap . To reach the island, take the Seemyoolbus at , after the quest See You Soon on the Seemyoolbus. Three ways to open it: a Count Razof's Camp Key (consumed), the keyring if it is registered there, or the automatic group search.
Crafting the Count Razof's Camp Key
It is crafted at a handyman. Five ingredients drop from the dungeon's monsters, at 15%: Buckshot Tail, Draftwit Slobber, Nemroz Bone, Crambo Arrow, and Midnight Meat. Swordfish (fishing), Mandrake and Millet (harvesting) complete the recipe.
| Ingredient | Quantity | Level |
|---|---|---|
 Buckshot Tail |
2 | 190 |
 Draftwit Slobber |
2 | 190 |
 Nemroz Bone |
2 | 190 |
 Crambo Arrow |
2 | 190 |
 Midnight Meat |
2 | 190 |
 Swordfish |
2 | 190 |
 Mandrake |
3 | 180 |
 Millet |
3 | 180 |
Which team to bring against Count Razof
Summons, even without a summoner. Without summons, the Count's resistances don't go down. Sadida, Osamodas, or Enutrof make everything easier, but the common spells Chafer and Arachnee are enough: learn them before entering, on each character.
A tackling tank. About 150 tackle and enough to take hits: it blocks Razof and cuts his line of sight to the team and the summons. It's the simplest strategy, and it makes the Freedom achievement free.
Or MP and range removal. Without a tackler, play at a distance: range removal on the Nemroz and the Count, useless on the Hunderp, and the Crambo has too much with his Lamp. Kill Hunderp then Crambo, then the Nemroz. Incompatible with Freedom.
The classes that are comfortable here. Summoners (Sadida, Osamodas, Enutrof) bring down the resistances effortlessly; a high-tackle tank blocks Razof; Cra, Feca, and Enutrof remove range for ranged play.
The five achievements of Count Razof's Camp
Each achievement gives 137,711,000 XP and 2 Count Razof Hair, and Duo doubles the XP. With the tackler strategy, Freedom requires no effort.
| Achievements | Condition | Points | XP |
|---|---|---|---|
 Count Razof's Camp |
Defeat Count Razof in this boss's dungeon. | 10 | 137 711 000 |
| Count Razof (Freedom) |
Defeat Count Razof in his dungeon while completing the “Freedom” challenge. | 10 | 137 711 000 |
| Count Razof (First) |
Defeat Count Razof in his dungeon while completing the “First” challenge. | 10 | 137 711 000 |
| Count Razof (Duo) |
Defeat Count Razof in his dungeon while completing the “Duo” challenge. | 20 | 275 422 000 |
| Count Razof (Special) |
Defeat Count Razof in his dungeon while completing the “Animals Are Our Friends Too” challenge. | 10 | 137 711 000 |
Freedom
Do not try to remove MP or range from your opponents. No particular difficulty: just forget the ranged strategy with removals. Play the tackler strategy, or freely with the basic tips.
First
Count Razof must be finished off first. Summon from turn 1 to remove as many of his resistances as possible on turn 2. Spend that first turn summoning and boosting yourselves, then hit him on turns 2 or 3: the monsters are too dangerous to let the fight drag on. Tackler or ranged, protect your summons, then finish the monsters.
Special: Animals Are Our Friends Too
No allied summons may be finished off by an enemy. The Minikron counts as an allied summon: if Razof reaches it, the achievement fails. Block him with a tackler, kill the monsters first, then summon out of his reach, behind obstacles, to bring down his resistances.
Duo
Two characters maximum, fewer than 20 turns. Fewer characters, fewer summons: a summoning class simplifies the phase against Razof a lot, without being required. Kill the monsters first so your summons survive. With a tackler, block the Count and hit him; otherwise, scatter the summons far from him and make sure he only targets your characters.
Drops and loot of Count Razof's Camp
Base in-game rates, before Prospecting bonuses.
On Count Razof
 Count Razof HairHair15 %
 Nougat Rabmarac BarTreat6 %
 Bag of PepperContainer3 %
 Bottle of NottlebeckMiscellaneous Resource2,44 %
 Al Howin GobtubbyCeremonial pet0,8 %
 Midnight CarrionMeat0,73 %
On the henchmen of Count Razof
 Crambo DisguiseNimaltopia · Crambo24 %
- Draftwit SlobberLiquid · Draftwit15 %
- Midnight MeatMeat · Draftwit15 %
- Buckshot TailTail · Buckshot15 %
- Crambo ArrowMiscellaneous Resource · Crambo15 %
- Nemroz BoneBone · Nemroz15 %
- Hunderp BloodLiquid · Hunderp15 %
 Work ContractNimaltopia · Draftwit6 %
- Bottle of NottlebeckMiscellaneous Resource · Draftwit2,44 %
 TextbookNimaltopia · Draftwit2 %
- Bag of PepperContainer · Draftwit1 %
 Predagob Map fragment 3/5Map fragment · Draftwit1 %
 Predagob Map fragment 4/5Map fragment · Buckshot1 %
 Predagob Map fragment 1/5Map fragment · Crambo1 %
 Predagob Map fragment 2/5Map fragment · Nemroz1 %
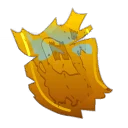 Predagob Map fragment 5/5Map fragment · Draftwit0,5 %
Capturing the soul of Count Razof
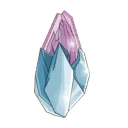 A Soul Stone for Huge Souls (captures up to level 200) covers Count Razof, who is level 190.
| Stone ingredient | Quantity |
|---|---|
 Majestic Soul Splinter |
10 |
 Alteration Potion |
2 |
Where is Count Razof's Camp?
On Nimaltopia island, at , next to the Nimaltopia zaap . The island is reached by Seemyoolbus from , after the quest See You Soon on the Seemyoolbus.
What level should you be to do Count Razof's Camp?
Level 180 minimum, 190 recommended. Count Razof is level 190, with 11,000 HP and more than 100% resistance in all elements.
Which quest should you do at Count Razof's Camp?
The Manual Waltz, started by a Textbook found on Nimaltopia's monsters. After the victory, search the barrel and talk to the Count before leaving.
How do you lower Count Razof's resistances?
With non-static summons alive at the end of his turn: -20% each for a turn, Minikron included. The common spells Chafer and Arachnee are enough.
Can you kill the Minikron?
No, it is invulnerable to you. Only the Count can kill it, in melee, from turn 2: your characters then lose 20% resistance and 2 AP for the rest of the fight.
Which monster should you target first in Count Razof's Camp?
The Hunderp, which pulls and removes 400 power. The Crambo next, the Nemroz last despite its traps.
What is the Trapped state?
The state given by the Nemroz's Blinding Trap, an invisible trap. The monsters' and the Count's spells hit Trapped characters harder; without the Nemroz, no Trapped.
Which stone should you use to capture Count Razof?
A Soul Stone for Huge Souls (captures up to level 200). It covers Count Razof's level 190.
Can you do Count Razof's Camp with two players?
Yes, it's even an achievement, in fewer than 20 turns. Preferably bring a summoning class, and kill the monsters before going after the Count.


Comments
No comments yet. A tip, or a detail about this page? Be the first.