 2 × Skt-Zo Leg
Dungeon Archipelago of Valonia
Bitter-Hammers' Stronghold
A level 190 dungeon in the Ereboria Tunnels, at [32,-64]: five rooms of Bitter-Hammers that grow stronger with each hit landed, and a boss who swaps places with you, Berylbell Copperbeard. Quest to start, strategy, monsters, achievements and loot.
Quests linked to Bitter-Hammers' Stronghold
The dungeon quest, The Cursed Island, has you sneak into the Bastion and is completed by defeating Berylbell Copperbeard. Accept it before entering: a fight won without the quest in progress does not count.
It is completed on Berylbell Copperbeard. Investigate the latest ore delivery, repel the Bitter-Hammers' assault, quietly go down into the city, then slip into the Bastion and defeat Berylbell in a single fight.
- Start
- Marina Tysal, New Albuera
- Prerequisites
- An Unexpected Event
 Boarok Beard Elastic Band5 elastic bands and 137,711,000 XP
During events
- Tiwotokar Simulation
Tiwotokar can designate Berylbell Copperbeard as the guardian to defeat. Astrub, .
The story continues without combat: Berylbell entrusts you with Search for a Bitter-Hammer in an Ereboria tunnel, you come back to warn her in Last but Plot Least, then The Faltering Flame sends you back to talk to her before facing Cire Momore.
The 5 rooms of Bitter-Hammers' Stronghold
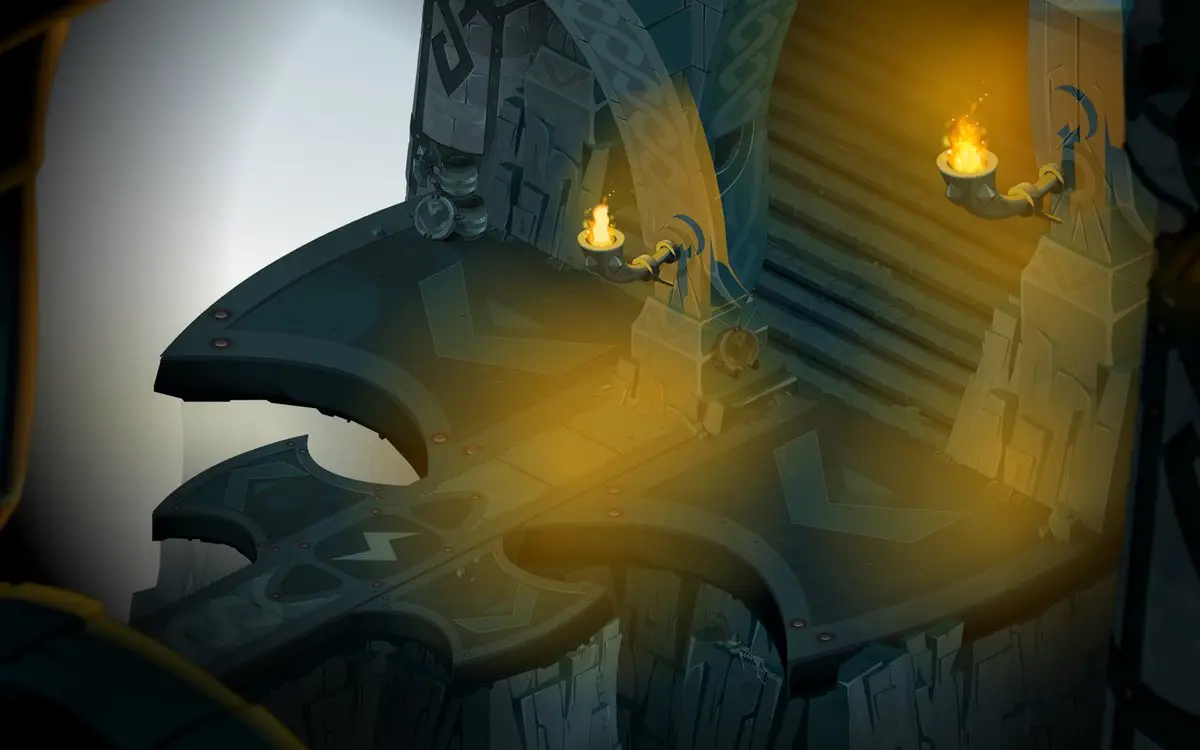
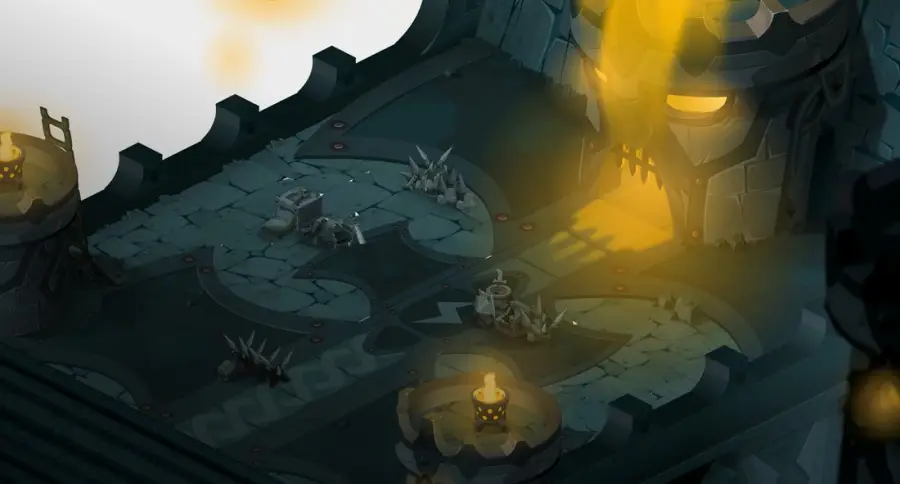
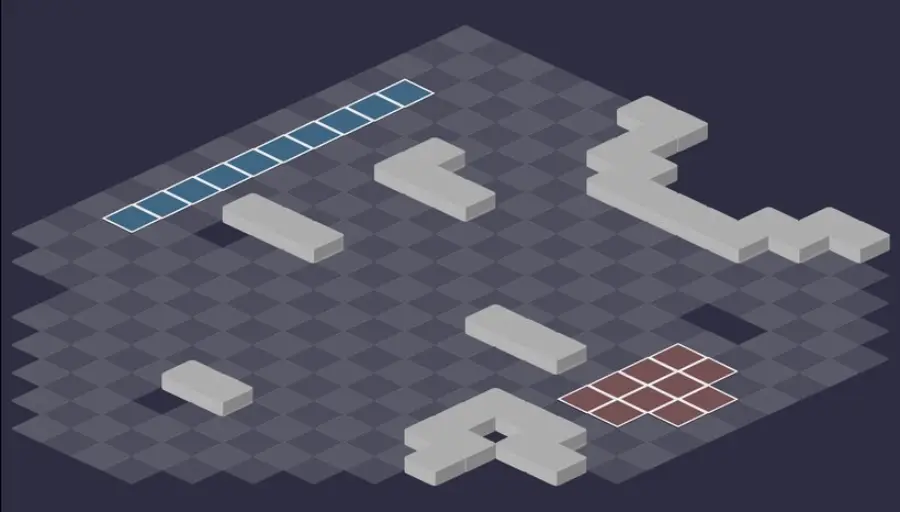
Five fights. Everywhere, each hit a Bitter-Hammer lands on you strengthens it: Stubbygerness, detailed below, applies from the first room. For each room: the setting, then the tactical view with the starting cells (blue: you, red: the monsters). Tap an image to enlarge it.
Room 1
Room 2
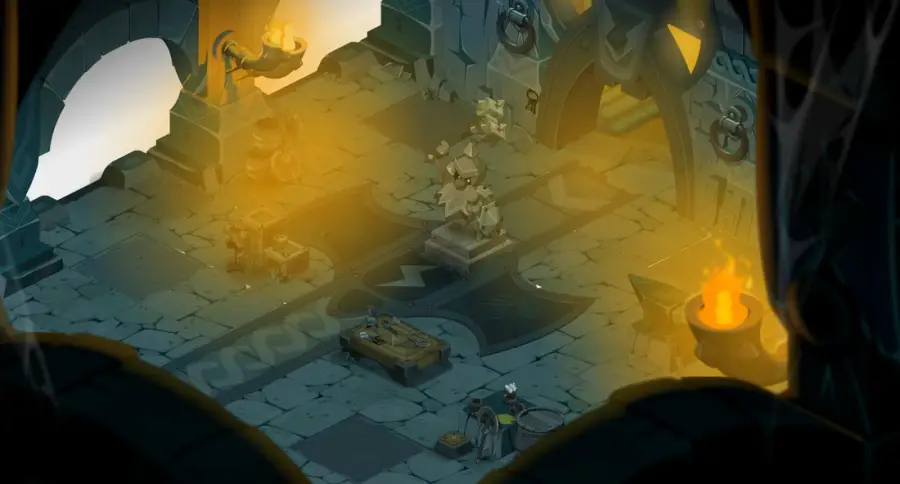
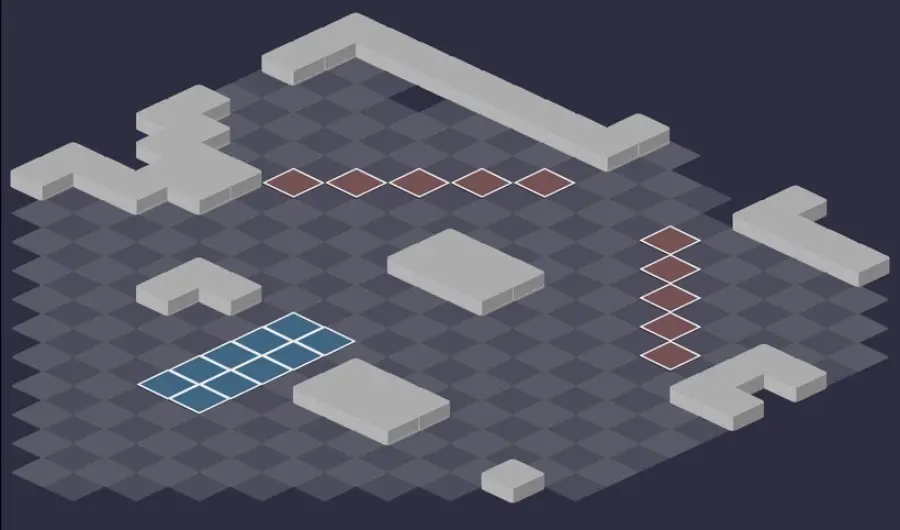
Room 3
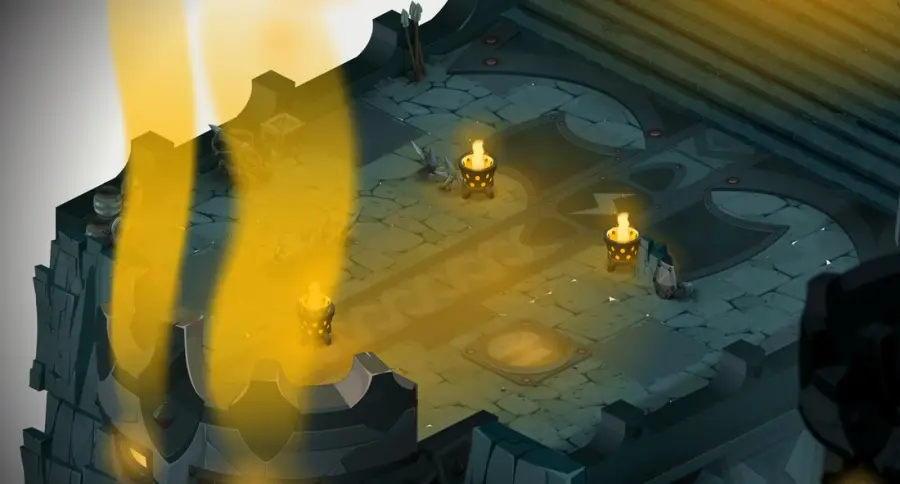
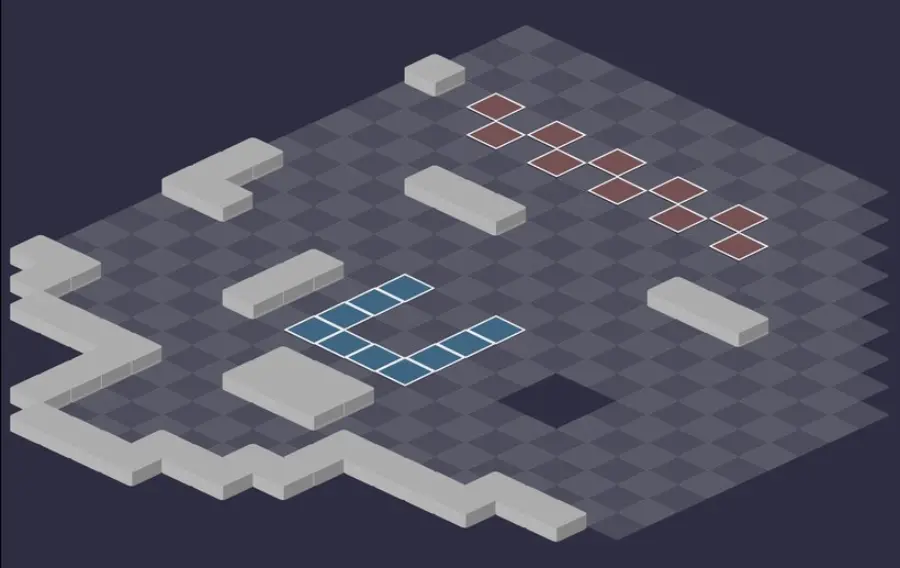
Room 4
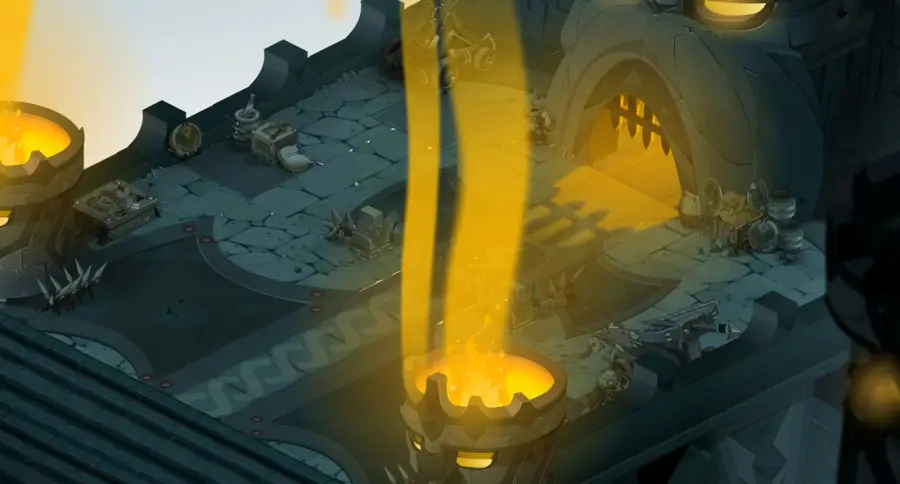
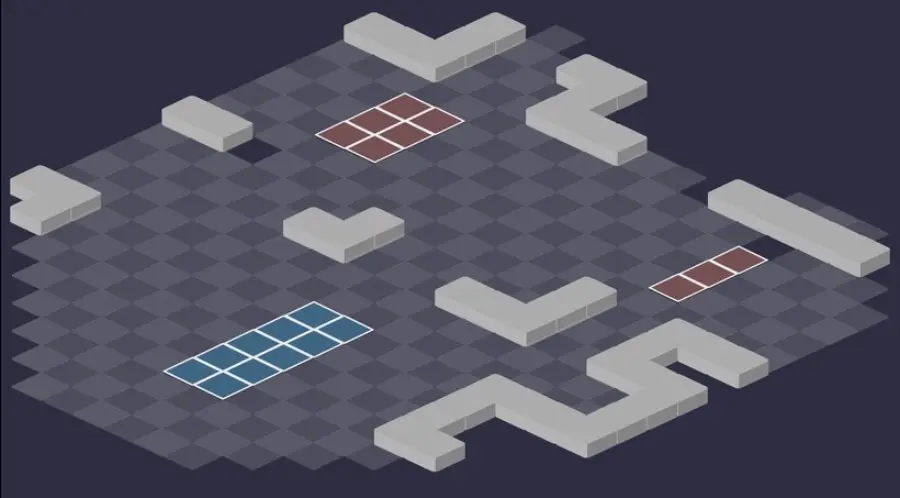
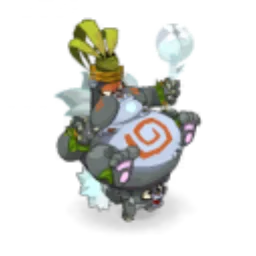
Room 5 — Berylbell Copperbeard
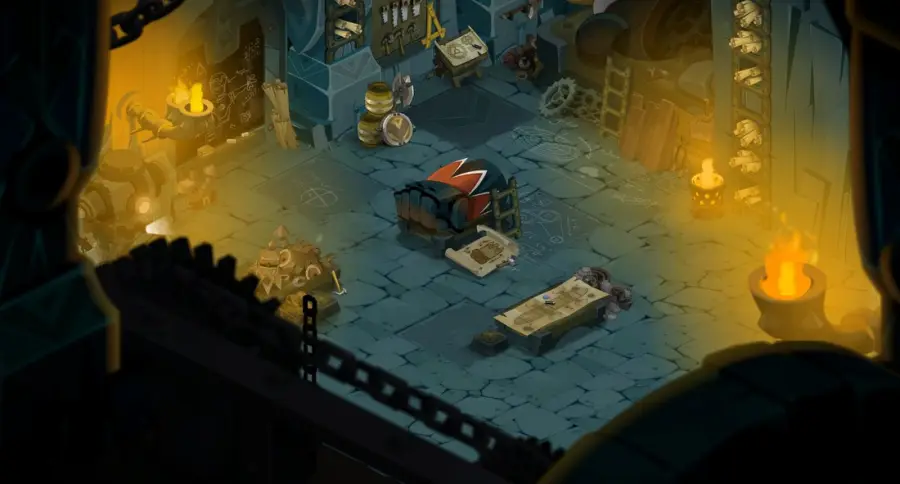
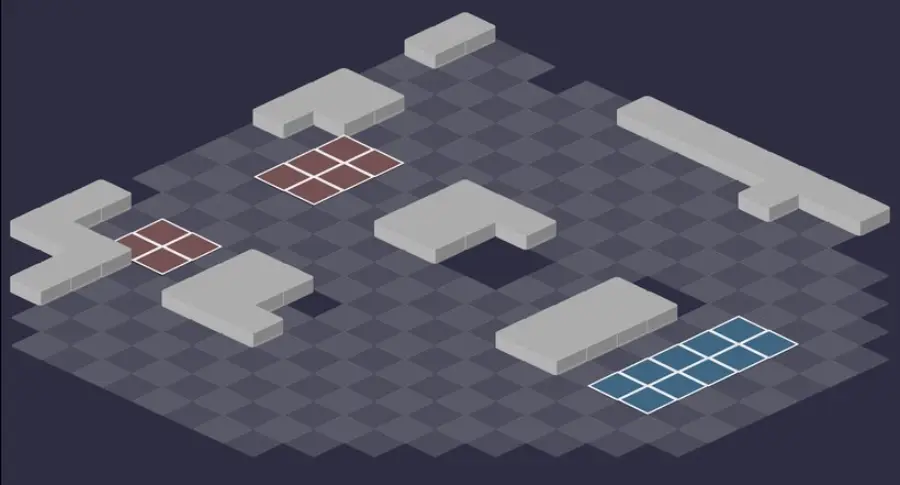
Defeat Berylbell Copperbeard
The bell rings at the start of her turn
The first character wounded during the turn, even by an ally, gets the Copperbeard state: at the start of her turn, Berylbell swaps places with them and removes 100 MP from them. Hit her in melee before her turn to remove the state, or apply Gravity to one of the two.
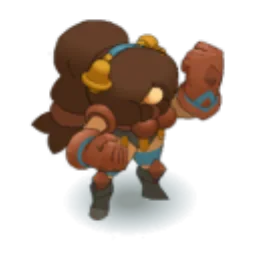
Level 190
 18,000 HP
 20 AP
 5 MP
- Resistances (%)
 Earth 10%
 Fire 2%
 Water 4%
 Air -7%
 Neutral -9%
She steals MP up to 8 Range with Irrefutyobility, pulls herself onto you with Invasyob and teleports with Infernyob: very mobile, but not very dangerous as long as she stays far away. At Stubbygerness III, Indecentyob kills a character in melee, once; at V, every turn. Weak Point: Neutral and Air, slightly negative.
 Infernyob4 AP · 6 Range · Teleports to the targeted cell ·32 to 38 Earth damage
Teleportation up to 6 Range and hits around the landing cell, from turn 2, cooldown 2 turns. Gravity prevents it.
 Irrefutyobility3 AP · 8 Range ·31 to 35 Water steal · Steals 1 MP
Life steal and steal of 1 MP, up to 8 Range; she takes at most 2 MP from you per character. Staying out of this range stops her from climbing in Stubbygerness.
 Invasyob
Berylbell pulls herself onto her target, in a line up to 5 Range, and erodes them for 2 turns. Get out of her lines.
 Indecentyob
Kills the target in melee. Unlocked at Stubbygerness III (once), then every turn at V: never end next to Berylbell.
-
Indecentyob
Kills the target in melee. Unlocked at Stubbygerness III (once), then every turn at V: never end next to Berylbell.
The five-step strategy against Berylbell Copperbeard
Turn 1: get ready. Stay out of range of Berylbell and the monsters, boost the whole team and, if your damage is tight, start hitting her at range. The goal: kill her on turn 2, before she reaches Stubbygerness III and its spell that kills in melee.
Neutralize Copperbeard. As soon as a character has the state, hit Berylbell in melee, with any character or a summon. Failing that, apply Gravity or Rooted to them, or carry them with a Pandawa. Beware of the Bonehammer's Yoboring, which can hit you along an entire line.
No pushing, no sharing. Each push gives her 20% resistances for 2 turns, stackable: no pushes during the focus. Move the Boarok more than 5 Range away from her, cut its line of sight or dispel Inspirayob, which would share her damage.
Turn 2: everything on Berylbell. The whole team hits Berylbell until she dies. If she survives, you will finish her on turn 3, probably at the cost of a character. In the meantime, stay back and apply Gravity to her to stop her from reaching you.
The remaining monsters. Without Berylbell, the main danger is gone. Finish the monsters one by one, at range to limit their Stubbygerness, starting with the Bonehammer.
The Copperbeard effect
Berylbell casts it at the start of the fight. It makes her Heavy (impossible to carry) and gives her 20% resistances for 2 turns with each push, stackable and not dispellable. Above all, it marks the first character wounded in the turn, by her, by a monster or by an ally. An area attack can mark several: she then swaps with each one, from closest to farthest, and removes 100 MP from all of them.
Rooted, Gravity, Unmovable or being carried, on her or on the target, cancels the swap and the MP removal. If nobody has been hit yet, you can choose yourself who will take the state by hitting them. A summon can only receive it if it was already on the field on Berylbell's previous turn.
Stubbygerness
Each damage line a Bitter-Hammer deals to one of yours adds a Stubbygerness state to it, twice per turn at most, up to five, and nothing brings them back down. Each level gives a bonus specific to the monster: final damage for all, tackle for the Hardarmur and the Boarok, AP removal for the Slingobb, critical hits for the Bonehammer, ranged damage and range for the Bylhuk. Berylbell gains 20% final damage per level.
At Stubbygerness III, each monster unlocks its special spell, usable only once; at V, it gets it back strengthened and can cast it every turn. Stay out of range of Irrefutyobility: without hitting you, Berylbell does not climb and kills no one.
Divert Indecentyob with summons
Berylbell often targets the first entity in her path, with a preference for summons: place some in front of her if she reaches Stubbygerness III. Under Copperbeard, you can also stick yourself in a corner surrounded by summons: after the swap, she is the one who ends up locked in, provided you do not hit her in melee or apply Gravity that turn.
Another trick: place a summon in a corner, away from the monsters, then hit it on the next turn so that it takes the state instead of a character. This only works if Berylbell, who has the initiative, did not hit you during her turn. On the other hand, avoid summoning near the monsters: they would hit your summons and climb in Stubbygerness.
The monsters of Bitter-Hammers' Stronghold
Five level 182 Bitter-Hammers, with 4,200 to 6,100 HP, that grow stronger with each hit landed. Stay out of their range and line of sight: that is what limits their Stubbygerness. The resistances in red are their weaknesses.
In which order to kill the monsters
- Bonehammer — its Yoboring hits an entire line and can give you Copperbeard from very far away.
- Slingobb, then Hardarmur — especially with five or more players: the former's glyph immobilizes you, the latter teleports into contact with you.
- Boarok — it shares its damage with an ally thanks to Inspirayob: keep it for last, at range and without MP.
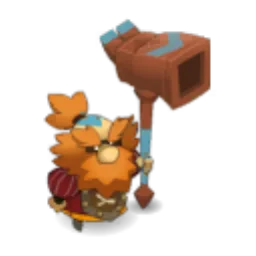
Level 182
- 4,900 HP
- 12 AP
- 6 MP
- Resistances (%)
- Earth -8%
- Fire 13%
- Water -20%
- Air 11%
- Neutral 4%
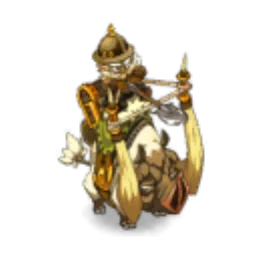
Yoboring hits along an entire line, even from very far away. Unstubbable hits an area in melee, and its special spell, Instubbtaneous, hits in a circle around it and heals its allies. Weak to Water: block its lines with a summon or push it back.
 Yoboring4 AP · melee ·21 to 29 Fire damage
Hits along an infinite line and gives critical hits to the Bonehammer for each enemy hit. It is enough to give you Copperbeard.
-
Unstubbable4 AP · 2 Range ·43 to 49 Air damage
-
Instubbtaneous4 AP · on itself ·56 to 65 Fire damage · 56 to 65 Air damage
Hits in a circle around the Bonehammer and heals the monsters hit for a share of their maximum HP.
-
Instubbtaneous4 AP · on itself ·56 to 65 Fire damage · 56 to 65 Air damage
Hits in a circle around the Bonehammer and heals the monsters hit for a share of their maximum HP.
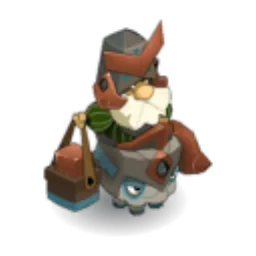
Level 182
- 4,500 HP
- 12 AP
- 6 MP
- Resistances (%)
- Earth 9%
- Fire -16%
- Water -24%
- Air 9%
- Neutral 22%
Incarceratyob places a star-shaped glyph for 2 turns: Gravity and -3 MP while you are inside, and damage if you start your turn there. Disempoweryob removes 2 AP up to 7 Range, three times per turn. Weak to Water and Fire.
 Disempoweryob3 AP · 7 Range ·-2 AP · 31 to 37 Air damage
Removes 2 AP for 2 turns, dodgeable, up to 7 Range; not stackable.
 Incarceratyob
2-turn star-shaped glyph: Gravity and -3 MP while you are inside. The damage from several glyphs stacks, the penalties do not.
 Stubbynsolence4 AP · 10 Range ·37 to 43 Earth damage · 37 to 43 Air damage · -15% Resistance · Stubbynsolence: cooldown fixed at 1 turn
-
Stubbynsolence4 AP · 10 Range ·37 to 43 Earth steal · 37 to 43 Air steal · -20% Resistance
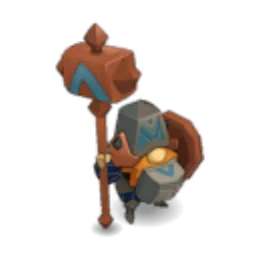
Level 182
- 6,100 HP
- 12 AP
- 6 MP
- Resistances (%)
- Earth 21%
- Fire 4%
- Water 17%
- Air -8%
- Neutral -34%
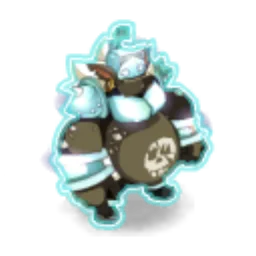
It teleports in a line up to 7 Range with Indestructiyob, becomes unmovable, gains a shield and hits around its landing cell. Indictyob steals life, erodes and steals flight and tackle. Very weak to Neutral (-34%).
-
Indictyob4 AP · 2 Range ·46 to 54 Water steal
 Indestructiyob4 AP · 7 Range · Teleports to the targeted cell ·43 to 49 Earth damage
The Hardarmur teleports in a line, becomes unmovable and takes a shield for 2 turns; these effects can be dispelled.
-
Compensayob4 AP · on itself · Pulls 3 cells ·41 to 48 Water damage · 41 to 48 Earth damage · Compensayob: cooldown fixed at 1 turn
Hits in a cross around the Hardarmur and pulls everyone into contact with it; at Stubbygerness V, as a life steal.
-
Compensayob4 AP · on itself · Pulls 3 cells ·41 to 48 Earth steal · 41 to 48 Water steal
Hits in a cross around the Hardarmur and pulls everyone into contact with it; at Stubbygerness V, as a life steal.
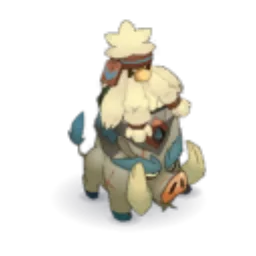
Level 182
- 5,600 HP
- 12 AP
- 6 MP
- Resistances (%)
- Earth 5%
- Fire -8%
- Water 18%
- Air 9%
- Neutral -24%
Inspirayob shares its damage with an allied monster and swaps places with it if attacked. Stubbyngest steals life and takes 5% of your HP, up to 8 Range, three times per turn. Weak to Neutral (-24%).
 Stubbyngest4 AP · 8 Range · -5% Vitality · 5% Vitality ·51 to 59 Water steal
Life steal that takes 5% of your HP for 2 turns, stackable three times.
 Disobedyob
-
Disobedyob
 Inspirayob
Shares damage between the Boarok and an allied monster for 2 turns, up to 5 Range. On Berylbell, it ruins your focus: dispel it.
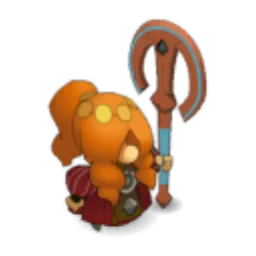
Level 182
- 4,200 HP
- 12 AP
- 5 MP
- Resistances (%)
- Earth -27%
- Fire 7%
- Water 9%
- Air -21%
- Neutral 32%
Unrelentyob steals 1 Range up to 10 Range, three times per turn, and hits harder with each cast; Incendiaryob pushes 2 cells. Its special spell, Instubbility, hits everyone it sees at the start of its turn. Weak to Earth and Air.
 Unrelentyob3 AP · 10 Range ·25 to 29 Water damage · Steals 1 Range · Unrelentyob: +5 base damage
-
Incendiaryob4 AP · 8 Range · Push Away 2 cells ·37 to 43 Fire damage
 Instubbility4 AP · on itself · Unlockable State ·3 MP · 39 to 45 Water steal · 39 to 45 Fire steal
At the start of its turn, the Bylhuk hits all characters and summons in line of sight, then gains MP and the Unlockable state.
-
Instubbility4 AP · on itself · Unlockable State ·3 MP · 39 to 45 Water steal · 39 to 45 Fire steal
At the start of its turn, the Bylhuk hits all characters and summons in line of sight, then gains MP and the Unlockable state.
Preparing your run through Bitter-Hammers' Stronghold
An extreme dungeon, for level 180 to 190 teams that hit very hard on turn 2 or know how to keep everything at a distance. People come for The Cursed Island, for the achievements and for capturing Berylbell, with a Soul Stone for Huge Souls (captures up to level 200).
How to enter Bitter-Hammers' Stronghold
The entrance is in the Ereboria Tunnels, at , in the Archipelago of Valonia; the nearest zaap is the Dunes of Bones one . To reach the tunnels, take the boat to Ereboria at , then enter on the left at . Three ways to open it: a Bitter-Hammers' Stronghold Key (consumed), the key ring if it is registered there, or the automatic group search.
Crafting the Bitter-Hammers' Stronghold Key
It is crafted at a handyman's workshop. Five ingredients drop from the dungeon's monsters, at 15%: Midnight Meat, Hardarmur Armour, Slingobb Sling, Bylhuk Hair and Bonehammer Slobber. Swordfish, Mandrake and Millet complete the recipe.
| Ingredient | Quantity | Level |
|---|---|---|
 Hardarmur Armour |
2 | 190 |
 Slingobb Sling |
2 | 190 |
 Bylhuk Hair |
2 | 190 |
 Bonehammer Slobber |
2 | 190 |
 Midnight Meat |
2 | 190 |
 Swordfish |
2 | 190 |
 Mandrake |
3 | 180 |
 Millet |
3 | 180 |
Which team to bring against Berylbell Copperbeard
Damage for turn 2. The simplest method is to kill Berylbell on turn 2, before her Stubbygerness III. You need classes capable of an enormous damage turn, boosted on turn 1. Otherwise, you will finish her on turn 3, probably losing a character.
Or MP removal. The other way, that of the Last achievement: keep Berylbell and the monsters at a distance by removing their MP. MP removal replaces pushing, which gives her resistances as soon as you target her.
Something to block the swaps. Gravity prevents Copperbeard's swap and Infernyob's leap; Rooted and Unmovable also block the swap. Always keep a melee hit available, from a character or a summon, to remove the state.
The comfortable classes. The Pandawa can carry the character under Copperbeard to block the swap, at the cost of the Vertigo effect; on the other hand, Berylbell is Heavy and cannot be carried. Summoners divert Indecentyob and take the state in place of the team. A class that dispels solves the Inspirayob problem.
The six achievements of Bitter-Hammers' Stronghold
Each achievement gives 137,711,000 XP and 2 Berylbell Copperbeard's Bell, Duo doubles the XP; Sidekick gives 206,566,500 XP. Last and Duo are played with the same method, at range and with MP removal.
| Achievements | Condition | Points | XP |
|---|---|---|---|
| Berylbell Copperbeard (Duo) | Defeat Berylbell Copperbeard in her dungeon while completing the “Duo” challenge. | 20 | 275 422 000 |
| Berylbell Copperbeard (Sidekick) | Defeat Berylbell Copperbeard in her dungeon while completing the “Z'others” challenge | 5 | 206 566 500 |
| Berylbell Copperbeard (Special) | Defeat Berylbell Copperbeard in her dungeon while completing the “Antioxidant” challenge. | 10 | 137 711 000 |
| Bitter-Hammers' Stronghold | Defeat Berylbell Copperbeard in this boss's dungeon. | 10 | 137 711 000 |
| Berylbell Copperbeard (Last) | Defeat Berylbell Copperbeard in her dungeon while completing the “Last” challenge. | 10 | 137 711 000 |
| Berylbell Copperbeard (Versatile) | Defeat Berylbell Copperbeard in her dungeon while completing the “Versatile” challenge. | 10 | 137 711 000 |
Last
Berylbell Copperbeard must be finished off last. With MP removal, this is the safest method. Keep Berylbell and the monsters at a distance; as long as you do not target her, you can push her back despite the resistances she gains, and apply Gravity to her. Kill the Bonehammer first, then the Slingobb and the Hardarmur if there are five or more of you, a monster that does not benefit from Inspirayob, and the Boarok last. Finish Berylbell at range, removing her MP, without pushing her any more and watching out for Infernyob.
Special: Antioxidant
No enemy may enter the Stubbygerness V state. Stubbygerness never goes back down: each hit that lands on you brings a monster closer to level V. Kill Berylbell on turn 2, then the monsters as fast as possible, starting with the most advanced ones, and never let yourself be hit.
Versatile
Each ally may only use the same action once during their turn. No particular difficulty: never cast the same spell twice in a turn, and play the fight normally.
Duo
Two characters maximum, under 20 turns. Two approaches: kill Berylbell first, which requires two classes with enormous damage, or reuse the method of the Last achievement with a class that removes MP, which is simpler, while watching the turn counter.
Drops and loot of Bitter-Hammers' Stronghold
Base in-game rates, before Prospecting bonuses.
On Berylbell Copperbeard
 Berylbell Copperbeard's BellMiscellaneous Resource15 %
 Nougat Rabmarac BarTreat6 %
 Bitter-Hammer Beard HairHair2,44 %
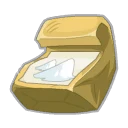 Bag of SaltContainer1 %
 Al Howin GobtubbyCeremonial pet0,8 %
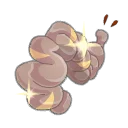 Midnight CarrionMeat0,73 %
On the henchmen of Berylbell Copperbeard
- Midnight MeatMeat · Hardarmur15 %
- Hardarmur ArmourCombat Resource · Hardarmur15 %
- Slingobb SlingCombat Resource · Slingobb15 %
- Bonehammer SlobberLiquid · Bonehammer15 %
- Boarok Beard Elastic BandMiscellaneous Resource · Boarok15 %
- Bylhuk HairHair · Bylhuk15 %
- Bitter-Hammer Beard HairHair · Hardarmur2,44 %
- Bag of SaltContainer · Hardarmur1 %
Capturing the soul of Berylbell Copperbeard
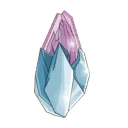 A Soul Stone for Huge Souls (captures up to level 200) suits Berylbell, level 190. Bring it before entering.
| Stone ingredient | Quantity |
|---|---|
 Majestic Soul Splinter |
10 |
 Alteration Potion |
2 |
Where is Bitter-Hammers' Stronghold?
In the Ereboria Tunnels, at , in the Archipelago of Valonia. Take the boat to Ereboria at , then enter the tunnels at .
What level should you do Bitter-Hammers' Stronghold at?
Level 180 minimum, 190 recommended. Berylbell has 18,000 HP with four characters, a lot for her level, and the dungeon is rated extreme.
How do you remove the Copperbeard state?
Hit Berylbell in melee before her turn. Any character or a summon can do it; Gravity, Rooted, Unmovable or a Pandawa carrying the character also prevent the swap.
Should you kill Berylbell first?
Yes, it is the simplest, ideally on turn 2. She then has no time to reach Stubbygerness III and its spell that kills in melee. Without enough damage, play at range with MP removal and save her for last.
Why not push Berylbell?
Each push gives her 20% resistances for 2 turns, stackable. Remove her MP instead or apply Gravity to her.
Which monster should you target first in Bitter-Hammers' Stronghold?
The Bonehammer, whose Yoboring hits an entire line and can give you Copperbeard from very far away. The Boarok, which shares its damage, is kept for last.
Which quest should you do in Bitter-Hammers' Stronghold?
The Cursed Island, following An Unexpected Event: it is completed by defeating Berylbell Copperbeard in a single fight.
Which stone should you use to capture Berylbell Copperbeard?
A Soul Stone for Huge Souls (captures up to level 200). Berylbell is level 190.
Comments
No comments yet. A tip, or a detail about this page? Be the first.