 2 × Skt-Zo Leg
Dungeon Fangs of Glass
Kolosso's Caverns
Level 190 dungeon in the Fangs of Glass of Frigost, in [-61,-69]: four rooms to do in the order of your choice, then two bosses, the Kolosso, which only a summon makes vulnerable, and Professor Xa. Quests to start, map of each room, strategy, monsters, achievements and loot.
Quests linked to Kolosso's Caverns
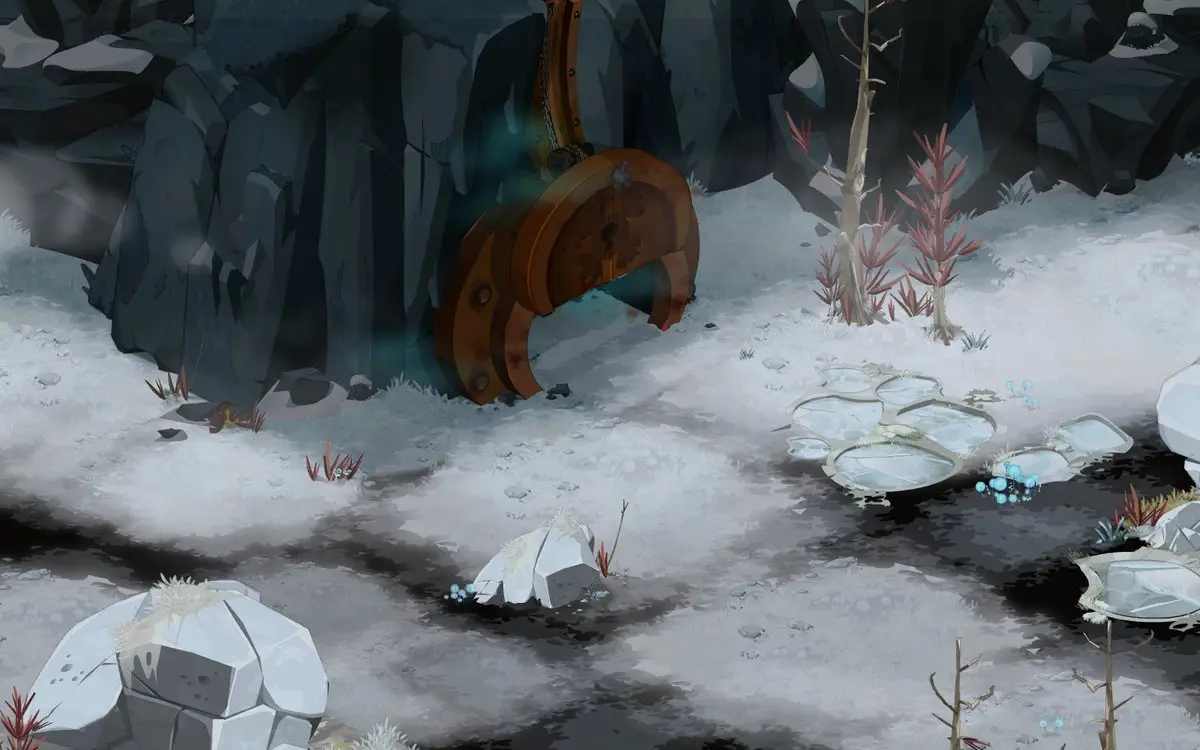
Professor Xa, in front of the entrance, starts Up There on the Mountain, which opens A Kolosso Hack and Slash and Sir Rebro. The first two are completed on the Kolosso, the third in the last room. Accept them before entering: a fight won without the quest in progress doesn't count.
Professor Xa sends you to the deepest part of the caverns. Go down to the Kolosso, beat it in a single fight, then come back out.
- Start
- Professor Xa, Fangs of Glass
- Prerequisites
- Level 50
You just need to reach the last room of the caverns. It is completed on the same run as Up There on the Mountain.
- Start
- Professor Xa, Fangs of Glass
- Prerequisites
- Up There on the Mountain
Back to the caverns, to allow the capture of the Kolosso. Beat it in a single fight, discover the end of the dungeon, then report to your city's agent.
- Start
- Michele Seyroth, Frigost Island
- Prerequisites
- Level 160 and Up There on the Mountain
For later
No need to defeat the Kolosso. The investigation into Francis's supposed death leads you to his hideout in the caverns: help him get out safe and sound.
- Start
- Baka Laive, Snowbound Village
- Prerequisites
- Level 145 and Supply Depot
 Nightcrawling Brockhard Fabric5 Ice Kama and 137,711,000 XP
Herr Peece wants a sample from each Brockhard. The Kolosso drops its own, and those of the Bestial Brockhard, the Icy Brockhard, the Venomous Brockhard, the Nightcrawling Brockhard, the Pyrotechnic Brockhard and the Gluttonous Brockhard drop at 37.2% in the dungeon.
- Start
- Herr Peece, Frigost Village
- Prerequisites
- Level 160 and Blood Above, Blood Below
 Kolosso Fabric10 Ice Kama and 688,555,000 XP
The caverns are part of Lou Bricante's tour, which asks you to brave the dangers of eight Frigost dungeons before coming back to see her.
- Start
- Lou Bricante, Frigost Village
- Prerequisites
- Level 100 and The Frozen Lake
During events
- Tiwagrum Simulation
Tiwagrum can designate the Kolosso as a guardian to defeat. Amakna Village, .
Other quests go through the Brockhards: Unyobable has you face Professor Xa's in front of the caverns, Fangs for the Memory counts those of the Fangs of Glass and the caverns, and The Field of Heroes requires Comic Seeds, which both bosses also drop.
The 9 rooms of Kolosso's Caverns
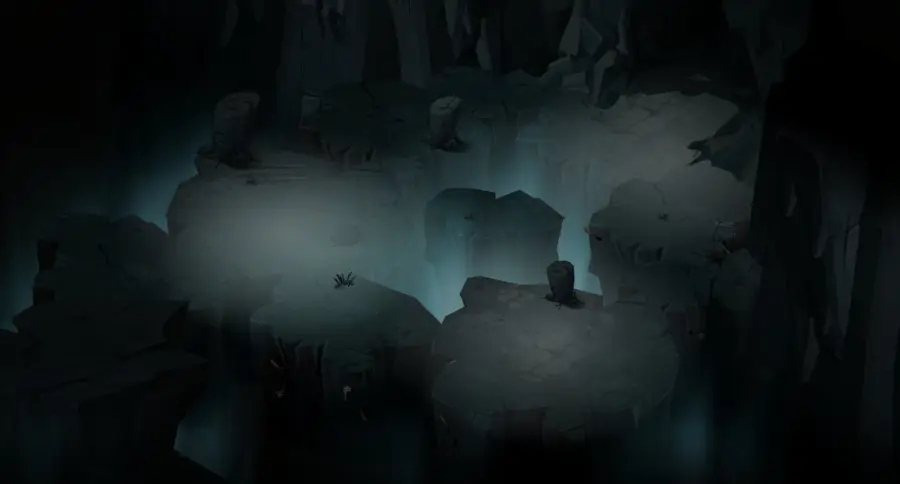
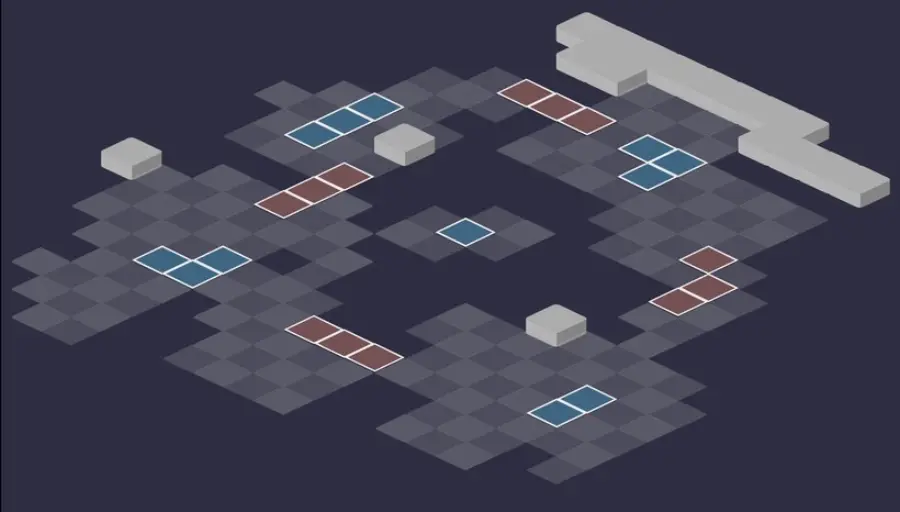
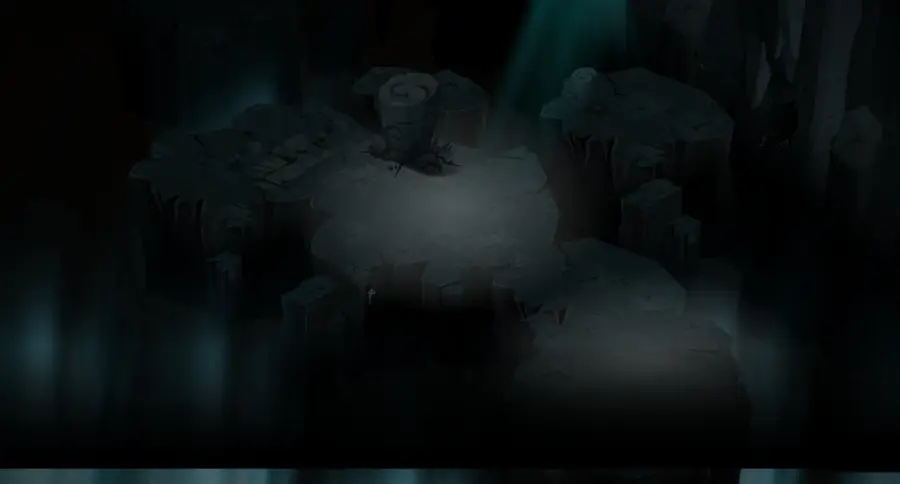
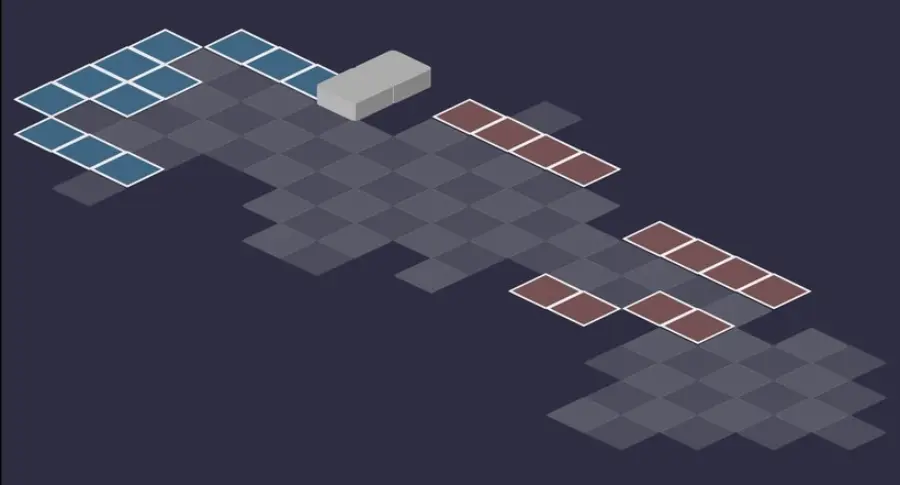
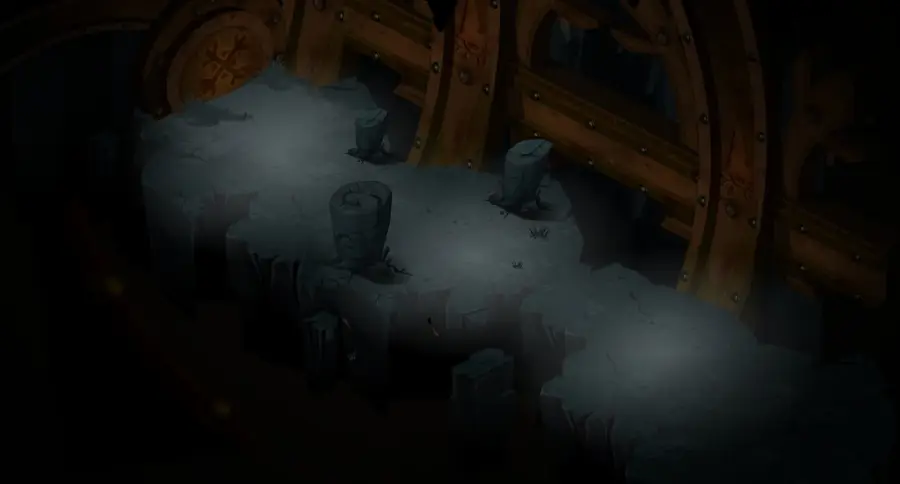
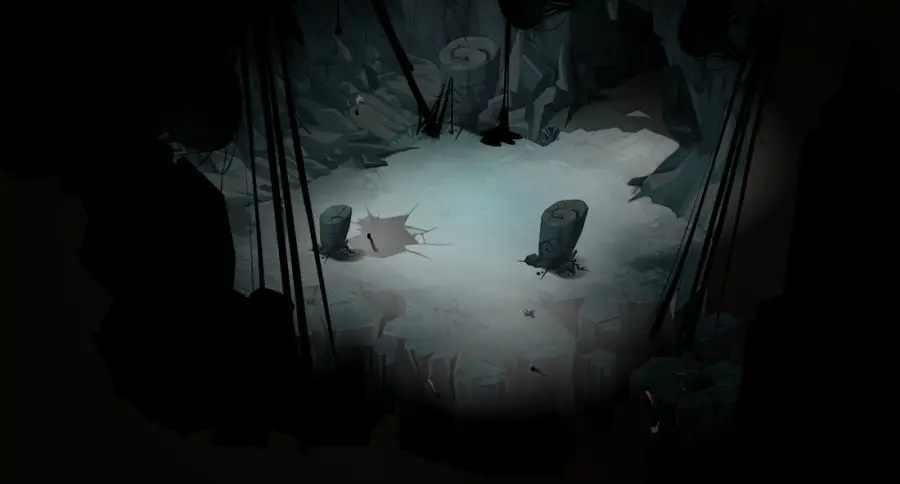
The dungeon isn't played in order: the first four rooms can be done in the order of your choice, each with its family of Brockhards (Icy Brockhards, Venomous Brockhards, Bestial Brockhards, Pyrotechnic Brockhards) and its relic. In the Icy Brockhards' room, a team of eight also meets a Venomous Brockhard, a Gluttonous Brockhard and a Nightcrawling Brockhard. With all four relics, talk to Professor Xa, then cross three empty rooms to the Kolosso. For each room: the scenery, then the tactical view with the starting cells (blue: you, red: the monsters). Tap an image to enlarge it.
Room 1
Room 2
Room 3
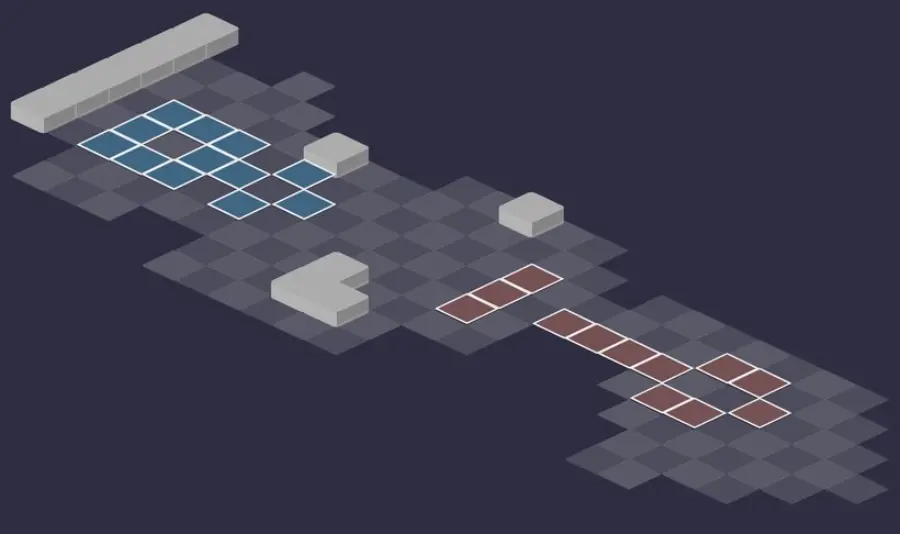
Room 4
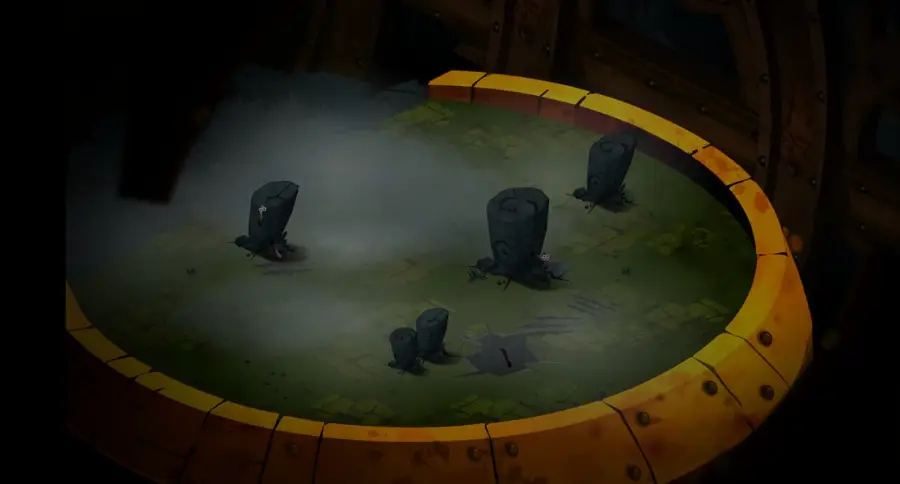
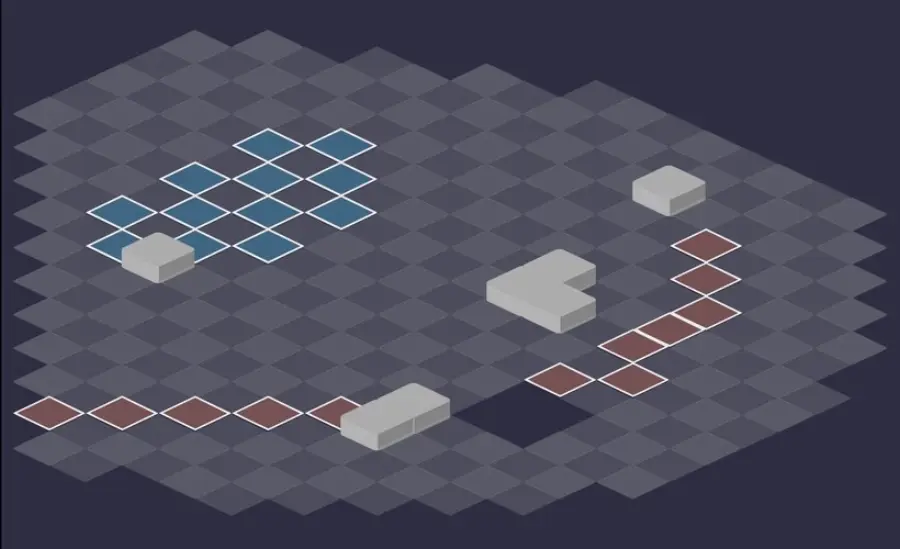
Room 5
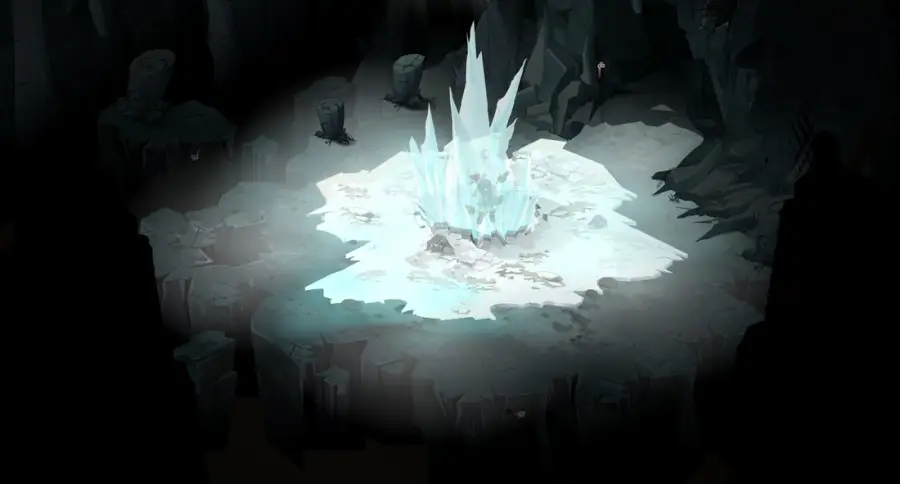
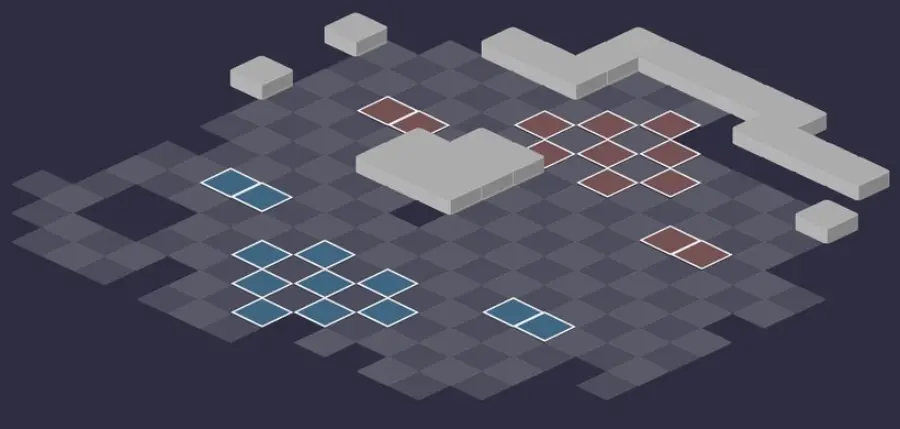
Room 6
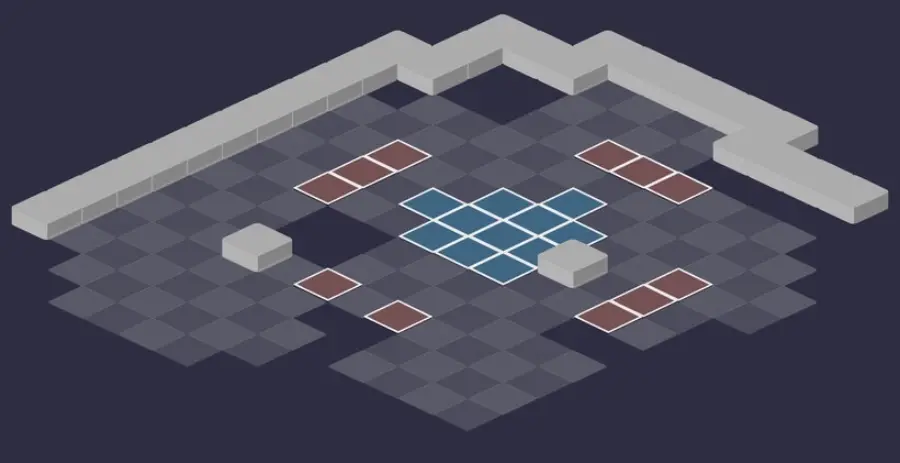
Room 7
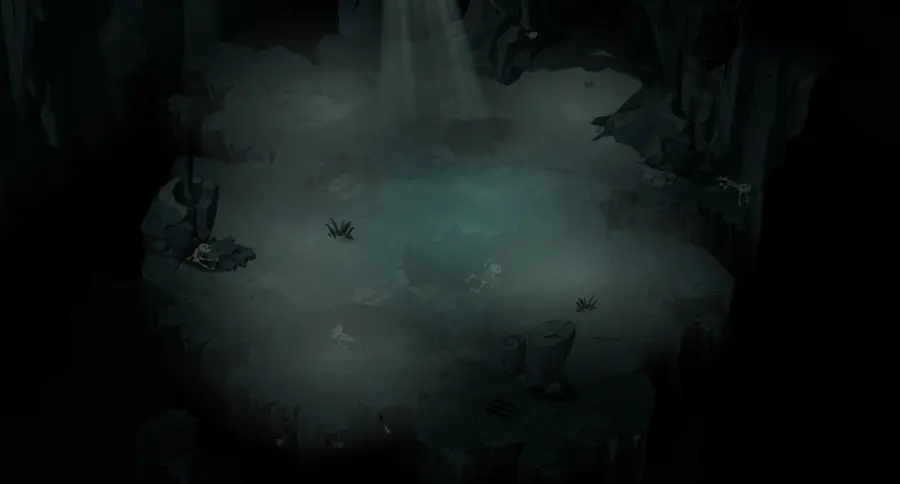
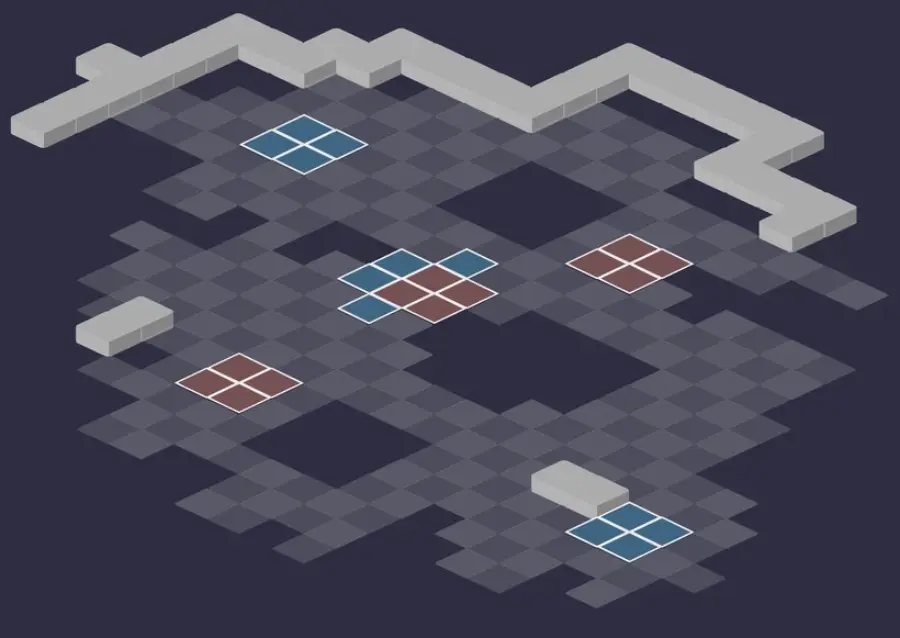
Room 8
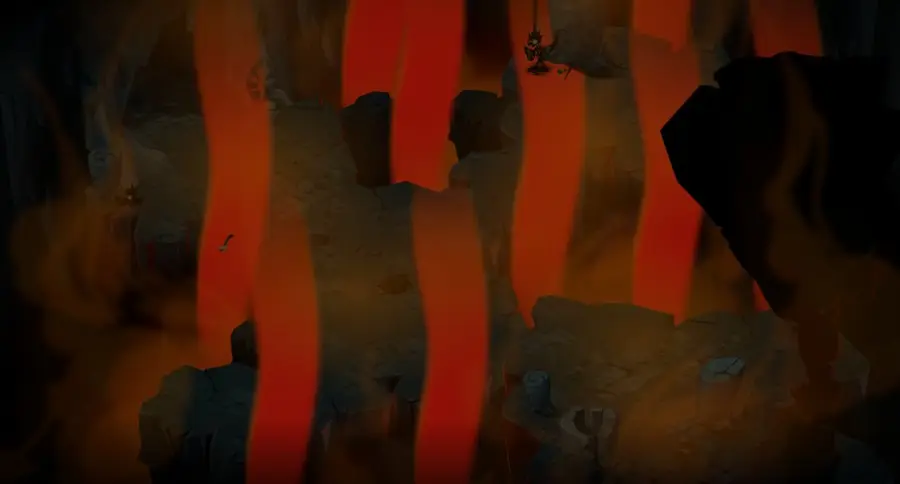
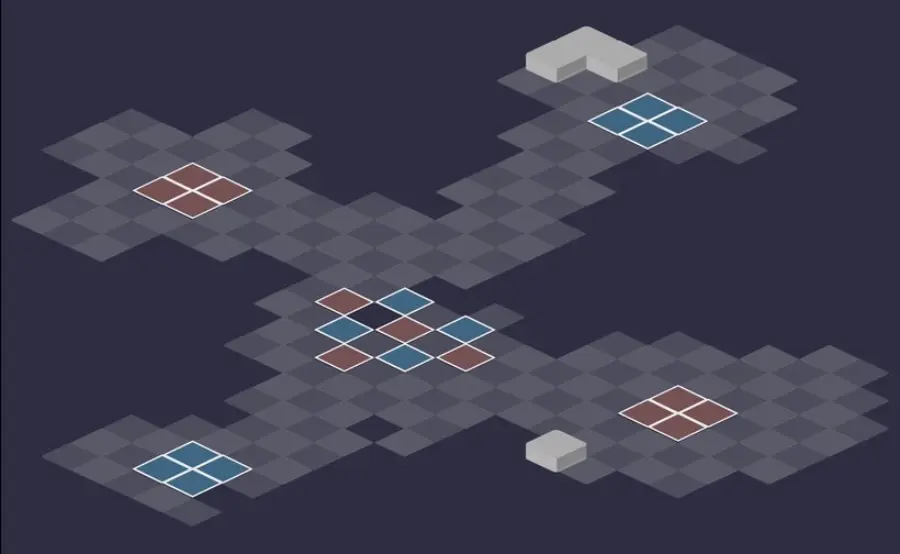
Room 9
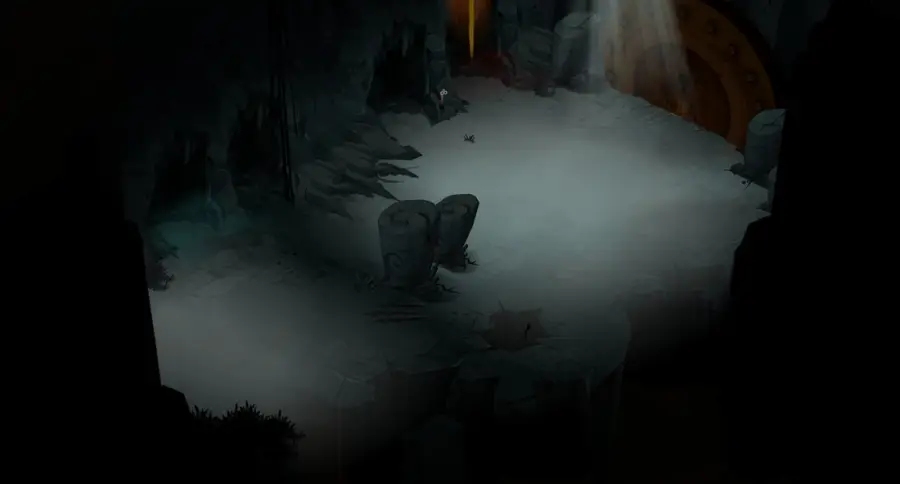
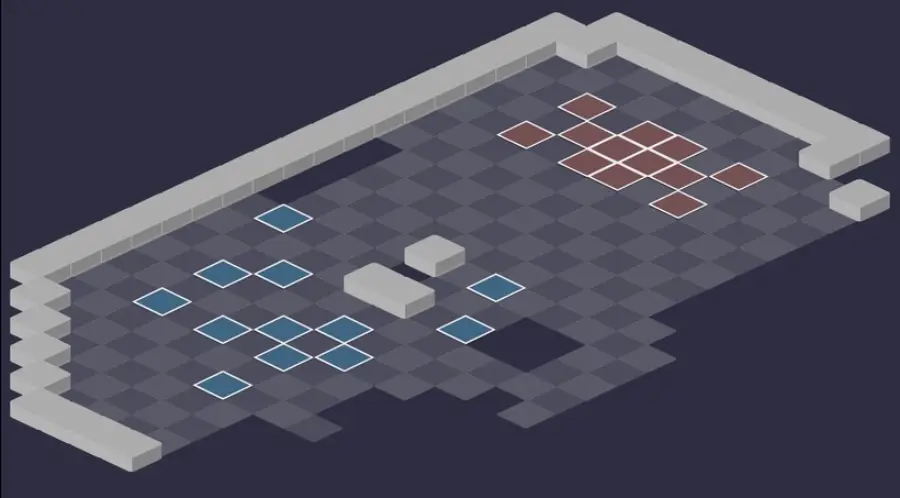
Defeat the Kolosso and Professor Xa
No one in contact with the Kolosso
Razepoutine, his only attack, only goes off if an entity is in contact with him, summons included, and hits very hard in a triangle behind him. Never end a turn stuck to the Kolosso, and beware of Illyana, which pulls from 2 cells.
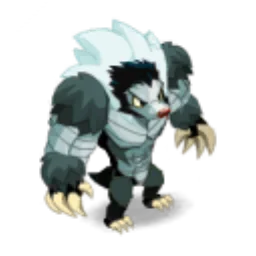
Level 190
 8,600 HP
 15 AP
 6 MP
- Resistances (%)
 Earth 16%
 Fire 22%
 Water 10%
 Air 29%
 Neutral 25%
Heavy and invulnerable, it only becomes vulnerable for one turn, when a summon deals damage to it. It only hits in melee with Razepoutine, harder and harder as it loses HP, and heals its allies. No weakness: Water is what it takes the least well.
 Xalactite3 AP · 8 RNG ·37 to 43 Water steal · -30% Flight
Only after Professor Xa's death: life steal and -30% flight (40% on a critical hit), up to 8 RNG, twice per turn.
-
Razepoutine5 AP · melee ·86 to 95 Earth damage
His only attack, only if an entity is in contact with him: a triangle of heavy damage behind him, stronger when he has lost HP.
-
Baikal
Every damage taken in melee gives it 10% final damage: hit it from range.
-
Illyana5 AP · 3 RNG ·86 to 95 Fire heals · Pulls 2 cells · Unhealable State
Up to 3 RNG: heals an ally, pulls 2 cells and makes Unhealable. Enough to bring a target into melee.

Level 190
- 8,600 HP
- 15 AP
- 6 MP
- Resistances (%)
- Earth 24%
- Fire 29%
- Water 16%
- Air 9%
- Neutral 18%
He hits in an area in front of him in melee, removing AP, and resurrects the last dead monster with Acolyte. Every other turn, Kirbili strengthens his allies on every hit received, but heals your nearby characters. No weakness: Air is what he takes the least well.
 Kirbili
On turn 1 then every 2 turns: monsters gain damage on every hit received, and every hit heals your characters near the monster hit.
-
Acolyte
Resurrects the last dead monster with 25% of its HP: kill Professor Xa before his Brockhards.
-
Cerebro5 AP · melee ·66 to 75 Fire damage · -4 AP
In melee, in an area in front of him: damage and -4 AP.
The four-step strategy
Positioning. From the first turn, keep everyone out of the Kolosso's reach: with no target next to it, it doesn't hit. For the whole fight, your characters have -10,000 healing, with no unbewitching possible: play it safe.
Professor Xa first. Kill him before the Kolosso: Acolyte resurrects the last dead monster, which ruins a poorly prepared focus, and Kirbili strengthens his allies. Keep him away from your characters, Cerebro hits in melee.
Prepare for the Kolosso. His death strengthens the Kolosso: 1 MP, 200 power, a larger size and the Xalactite spell. Boost yourself and apply your penalties before opening the window.
The summon window. Have a summon hit it: it is vulnerable for one turn. Hit it from range: under Baikal, every hit received in melee gives it 10% final damage. Repeat until it dies, never staying next to it.
Kirbili, the healing that comes from across the way
On turn 1 then every 2 turns, Kirbili gives the monsters 100 damage for every hit received, but every hit received by a monster heals your characters around it. It's the only healing that reaches you in this fight, and the trap of the Special achievement.
The Kolosso without the Professor
Once Professor Xa is dead, the Kolosso gains 1 MP and 200 power for the whole fight, grows, and obtains Xalactite: Water life steal and -30% flight, up to 8 RNG. Left alone, it can also make you Unhealable in a line up to 3 RNG.
The monsters of Kolosso's Caverns
Six level 182 Brockhards, each very resistant in one element and very weak in another: change element depending on the room. Several of them punish melee hits. The resistances in red are their weaknesses.

Level 182
- 4,700 HP
- 12 AP
- 2 MP
- Resistances (%)
- Earth -45%
- Fire 11%
- Water 15%
- Air 20%
- Neutral 63%
Hanke gives it 500 vitality on every hit received, for 4 turns: hit it with few hits, and hard. Spring Forth makes it leap, Biste steals 6 MP in melee. Only 2 MP; very weak to Earth.
-
Spring Forth4 AP · 8 RNG ·76 to 85 Air damage · Pushes away 1 cell · Teleports to the targeted cell
Teleportation up to 8 RNG, with damage and a push of one cell.
-
Biste4 AP · melee ·66 to 75 Neutral damage · Steals 6 MP
In melee: steals 6 MP.
-
Hanke
For 4 turns, every hit received gives 500 vitality to the Bestial Brockhard.

Level 182
- 4,700 HP
- 12 AP
- 5 MP
- Resistances (%)
- Earth 17%
- Fire 16%
- Water 63%
- Air -41%
- Neutral 5%
Under Iceberg, hitting him in melee removes 100 MP from the whole team for one turn. Hydrokinetics pushes back 4 cells, Thermokinetics pulls 7. Very weak to Air.
-
Hydrokinetics4 AP · melee ·66 to 75 Water damage · Pushes away 4 cells
In melee: pushes back 4 cells.
-
Thermokinetics4 AP · 8 RNG ·46 to 55 Fire damage · Pulls 7 cells
Up to 8 RNG: pulls 7 cells.
 Iceberg
Under its effect, a melee hit removes 100 MP from your whole team for one turn.
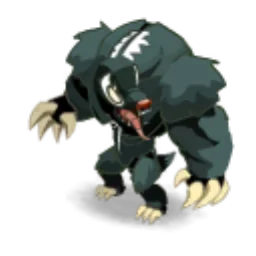
Level 182
- 5,200 HP
- 12 AP
- 5 MP
- Resistances (%)
- Earth 12%
- Fire 21%
- Water -33%
- Air 60%
- Neutral 15%
Symbiote makes him take his allies' damage. Under Toxin, if he locks you when you flee his side, he heals. Carnage steals life and makes you Weakened. Weak to Water.
-
Carnage4 AP · melee ·66 to 75 Air steal · Weakened State
-
Toxin4 AP · self ·500 Fire heals
If it locks you when you leave its side, it heals.
-
Symbiote
The Venomous Brockhard intercepts the damage meant for its allies: kill it or move it away first.
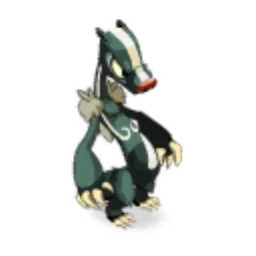
Level 182
- 4,700 HP
- 12 AP
- 7 MP
- Resistances (%)
- Earth 44%
- Fire 22%
- Water 1%
- Air 6%
- Neutral -38%
Under Fugue, he steps back one cell when you hit him in melee, and can become invisible. Shadow steals 4 RNG at range, Acrobatics swaps places while hitting. 7 MP; very weak to Neutral.
-
Acrobatics4 AP · melee ·76 to 85 Fire damage · Switches positions
In melee: position swap and damage.
 Shadow4 AP · 6 RNG ·46 to 55 Earth damage · Steals 4 Range
Up to 6 RNG: steals 4 RNG.
-
Fugue
It dodges melee hits by stepping back one cell, and can become invisible.

Level 182
- 4,700 HP
- 12 AP
- 5 MP
- Resistances (%)
- Earth 5%
- Fire 60%
- Water -43%
- Air 15%
- Neutral 12%
Coal hits in melee and removes 200 damage; under Slash and Burn, it steals life from you when you hit it in melee. Pyro hits at range. Very weak to Water.
-
Pyro4 AP · 6 range ·26 to 35 Fire damage
 Ember
Under Slash and Burn, every melee hit costs you life for its benefit.
-
Coal4 AP · melee ·46 to 55 Earth damage · -200 Damage
In melee: removes 200 damage.
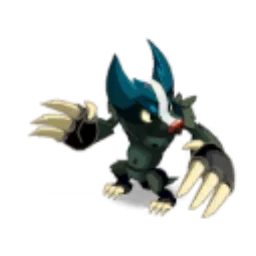
Level 182
- 4,700 HP
- 12 AP
- 5 MP
- Resistances (%)
- Earth 5%
- Fire -36%
- Water 58%
- Air 13%
- Neutral 21%
Gulon pulls 4 cells, up to 5 RNG, and Mantium gives it 150 HP on every hit received. Deathclaw hits in melee according to its missing HP. Very weak to Fire.
-
Gulon4 AP · 5 RNG ·66 to 75 Air steal · Pulls 4 cells
Up to 5 RNG: life steal and pull of 4 cells.
-
Deathclaw4 AP · melee ·Water damage: 20% erosion of the caster's missing HP
In melee: its damage depends on the HP lost by the Gluttonous Brockhard.
-
Mantium
Gives it back 150 HP on every hit received: hit it with few hits.
Preparing your run through Kolosso's Caverns
A level 180 to 190 dungeon rated easy, but long: four rooms of your choice and three empty rooms before two bosses, in a fight with no healing for you at all. People come here for Professor Xa's quests, Herr Peece's levies, the achievements and capturing the Kolosso with a Soul Stone for Huge Souls.
How to enter Kolosso's Caverns
The entrance is in the Fangs of Glass, Frigost Island, at ; the nearest zaap is the one at Alma's Cradle . Talk to Professor Xa to enter, with a Kolosso's Caverns Key (consumed), the keyring if it is registered there, or automatic group search. Talk to him again to leave.
Crafting the Kolosso's Caverns Key
It is crafted at a handyman. Five ingredients drop from the dungeon's Brockhards, at 14 or 15%: Bestial Brockhard Claw, Icy Brockhard Molar, Nightcrawling Brockhard Ear, Pyrotechnic Brockhard Ear and Gluttonous Brockhard Tail, as does the Midnight Meat. Swordfish (fishing) and Mandrake (harvesting) complete the recipe.
| Ingredient | Quantity | Level |
|---|---|---|
 Bestial Brockhard Claw |
2 | 180 |
 Icy Brockhard Molar |
2 | 180 |
 Nightcrawling Brockhard Ear |
2 | 180 |
 Pyrotechnic Brockhard Ear |
2 | 180 |
 Gluttonous Brockhard Tail |
2 | 180 |
 Midnight Meat |
2 | 190 |
 Swordfish |
2 | 190 |
 Mandrake |
3 | 180 |
The right team for Kolosso's Caverns
A summon that hits. Only a summon that deals damage to the Kolosso makes it vulnerable. Bring a summon able to hit, and something to replace it if it falls.
Protection rather than healing. Your healing is cancelled for the entire boss fight, except from summons like the Coney. Count on protection and life steal, and keep your distance from the Kolosso.
Several elements. Each Brockhard strongly resists one element and loses more than 30% in another, a different element for each family: at least two elements keep you from getting stuck on a room.
The four achievements of Kolosso's Caverns
Each achievement gives 137,711,000 XP and 2 Kolosso Claw, and Duo (fewer than 20 turns) doubles the XP. First requires you to kill Professor Xa before any other monster, which the basic strategy already covers.
| Achievements | Condition | Points | XP |
|---|---|---|---|
 Kolosso (First) |
Defeat the Kolosso in its dungeon by completing the “First” challenge. | 10 | 137 711 000 |
| Kolosso (Special) |
Defeat the Kolosso in its dungeon by completing the “Summons Stoppage” challenge. | 10 | 137 711 000 |
| Kolosso's Caverns |
Defeat Kolosso in this boss's dungeon. | 10 | 137 711 000 |
| Kolosso (Duo) |
Defeat the Kolosso in its dungeon by completing the “Duo” challenge. | 20 | 275 422 000 |
Special: Summons Stoppage
Allies must not receive any healing. The trap is Kirbili, cast by Professor Xa on turn 1 then on odd turns: no ally within 5 RNG or less of a monster taking direct damage during its effect. Life steal doesn't count as healing, but summons must not be healed either. Kill Professor Xa fast, before attacking the Kolosso.
Drops and loot of Kolosso's Caverns
Base in-game rates, before Prospecting bonuses.
On the bosses
 Still WaterLiquid · Kolosso15 %
 Kolosso ClawBone · Kolosso15 %
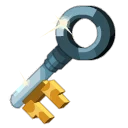 Fangs of Glass Secret KeyFrigost Island · Kolosso6 %
 Nougat Rabmarac BarTreat · Kolosso6 %
 The SarapoxCurse · Kolosso6 %
 Bag of AuberginesContainer · Kolosso3 %
- Kolosso FabricFabric · Kolosso2,44 %
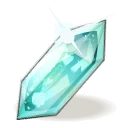 Resonance CrystalFrigost Island · Kolosso1,2 %
 Al Howin GobtubbyCeremonial pet · Professor Xa0,8 %
 Midnight CarrionMeat · Kolosso0,73 %
On the henchmen
 Bestial Brockhard SampleFrigost Island · Bestial Brockhard37,2 %
 Icy Brockhard SampleFrigost Island · Icy Brockhard37,2 %
 Venomous Brockhard SampleFrigost Island · Venomous Brockhard37,2 %
 Nightcrawling Brockhard SampleFrigost Island · Nightcrawling Brockhard37,2 %
 Pyrotechnic Brockhard SampleFrigost Island · Pyrotechnic Brockhard37,2 %
 Gluttonous Brockhard SampleFrigost Island · Gluttonous Brockhard37,2 %
 Icy Brockhard HeartFrigost Island · Icy Brockhard25 %
- Bestial Brockhard ClawBone · Bestial Brockhard15 %
- Midnight MeatMeat · Bestial Brockhard15 %
- Icy Brockhard MolarBone · Icy Brockhard15 %
 Venomous Brockhard ScapulaBone · Venomous Brockhard15 %
- Nightcrawling Brockhard EarEar · Nightcrawling Brockhard15 %
- Gluttonous Brockhard TailTail · Gluttonous Brockhard15 %
- Pyrotechnic Brockhard EarEar · Pyrotechnic Brockhard14 %
 The LurgiCurse · Bestial Brockhard12 %
- Still WaterLiquid · Bestial Brockhard2,44 %
 Bestial Brockhard HairHair · Bestial Brockhard2,44 %
 Icy Brockhard EarEar · Icy Brockhard2,44 %
 Venomous Brockhard TailTail · Venomous Brockhard2,44 %
- Nightcrawling Brockhard FabricFabric · Nightcrawling Brockhard2,44 %
 Gluttonous Brockhard ManubriumBone · Gluttonous Brockhard2,44 %
 Pyrotechnic Brockhard EyeEye · Pyrotechnic Brockhard2,36 %
- Resonance CrystalFrigost Island · Bestial Brockhard1,2 %
- Bag of AuberginesContainer · Bestial Brockhard1 %
 Flasho Map fragment 5/5Map fragment · Bestial Brockhard1 %
 Flasho Map fragment 1/5Map fragment · Icy Brockhard1 %
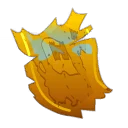 Flasho Map fragment 3/5Map fragment · Nightcrawling Brockhard1 %
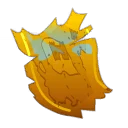 Flasho Map fragment 2/5Map fragment · Pyrotechnic Brockhard1 %
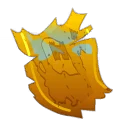 Flasho Map fragment 4/5Map fragment · Gluttonous Brockhard1 %
Soul capture
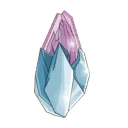 A Soul Stone for Huge Souls (captures up to level 200) is enough for the Kolosso, who is level 190. Sir Rebro sends you back to defeat it precisely so it can be captured.
| Stone ingredient | Quantity |
|---|---|
 Majestic Soul Splinter |
10 |
 Alteration Potion |
2 |
Where is Kolosso's Caverns?
In the Fangs of Glass, Frigost Island, at . The nearest zaap is the one at Alma's Cradle ; talk to Professor Xa to enter.
What level should you do Kolosso's Caverns at?
Level 180 minimum, 190 recommended. The Kolosso and Professor Xa are level 190, their Brockhards level 182.
Which quest should you do in Kolosso's Caverns?
Up There on the Mountain, with Professor Xa, at the entrance. It opens A Kolosso Hack and Slash and Sir Rebro, which send you back there.
In what order should you do the rooms?
In whatever order you like. Each of the first four rooms gives a relic; with all four, Professor Xa lets you continue on to the Kolosso.
How do you make the Kolosso vulnerable?
Have a summon hit it: it becomes vulnerable for one turn. Then hit it at range, never in melee.
Who should you kill first, the Kolosso or Professor Xa?
Professor Xa, who resurrects the last dead monster with Acolyte. His death strengthens the Kolosso: prepare your boosts beforehand.
Can you heal against the Kolosso?
No, your healing is cancelled for the entire fight, except from summons like the Coney. Only Kirbili, from Professor Xa, heals you when you hit a monster.
Which stone should you use to capture the Kolosso?
A Soul Stone for Huge Souls (captures up to level 200). The Kolosso is level 190.
Do you need a key for every run of Kolosso's Caverns?
No, with the keyring or automatic group search. The key is crafted at a handyman with resources from the dungeon's Brockhards.



Comments
No comments yet. A tip, or a detail about this page? Be the first.