 2 × Skt-Zo Leg
Dungeon Otomai Island
Lair of the Giant Kralove
Level 180 dungeon in the Putrid Peat Bog of Otomai Island, at [-60,-8]: a grid that opens with 49 players, three rooms and a boss with 900% resistances, the Giant Kralove, whom only its tentacles expose. Access, quests, strategy, monsters, achievements and loot.
Quests linked to the Lair of the Giant Kralove
Two quests on Otomai Island determine access to the dungeon area: The Death Bridge Keeper and Miss Lousy Piggy's Revenge. Complete them before gathering your group. The Giant Kralove is then used for Around About Done and for the last step of the Ochre Dofus.
Essential to reach the dungeon area. You just have to answer the Death Bridge Keeper correctly.
- Start
- Death Bridge Keeper, Otomai Island
- Prerequisites
- Castaway Island
The second access condition. For Miss Lousy Piggy, defeat the Black and Pink Knight in a single fight, at .
- Start
- Miss Lousy Piggy, Otomai Island
- Prerequisites
- Castaway Island
For later
Would Kralove be guarding the Ochre Dofus? Lil Pinkie sends you to check: defeat the Giant Kralove in a single fight, go back to see her, then stop by Belina Thumb.
- Start
- Lil Pinkie, Sufokia Bay
- Prerequisites
- Level 180 and Spinning Around
 Giant Kralove Inkwith a spell scroll and a Flask of Draconic Gas, 60,000,000 XP
The last soul of the quest. Step 19 requires Kralove's Soul: equip the special soul stone received during the quest, the capture happens by itself, without casting Soul Capture.
- Start
- Otomai, Otomai Island
- Prerequisites
- Level 40
 Ochre Dofusat the end of the 19 steps
The 3 rooms of the Lair of the Giant Kralove
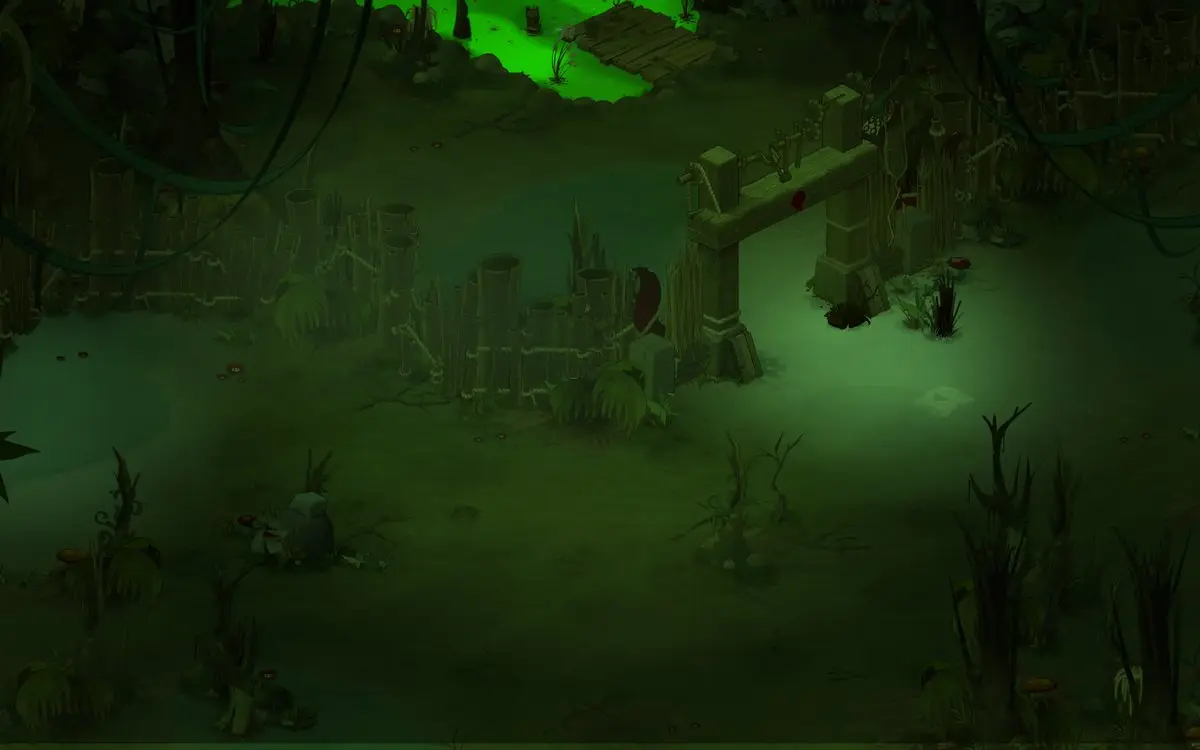
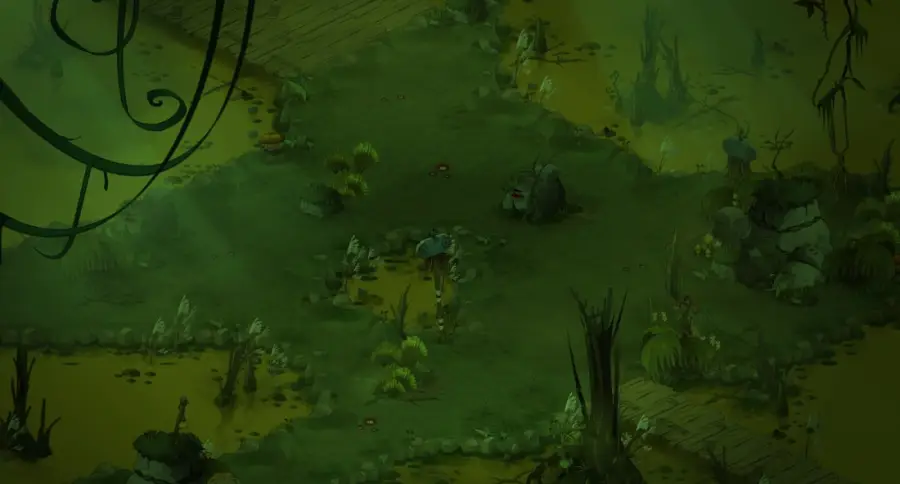
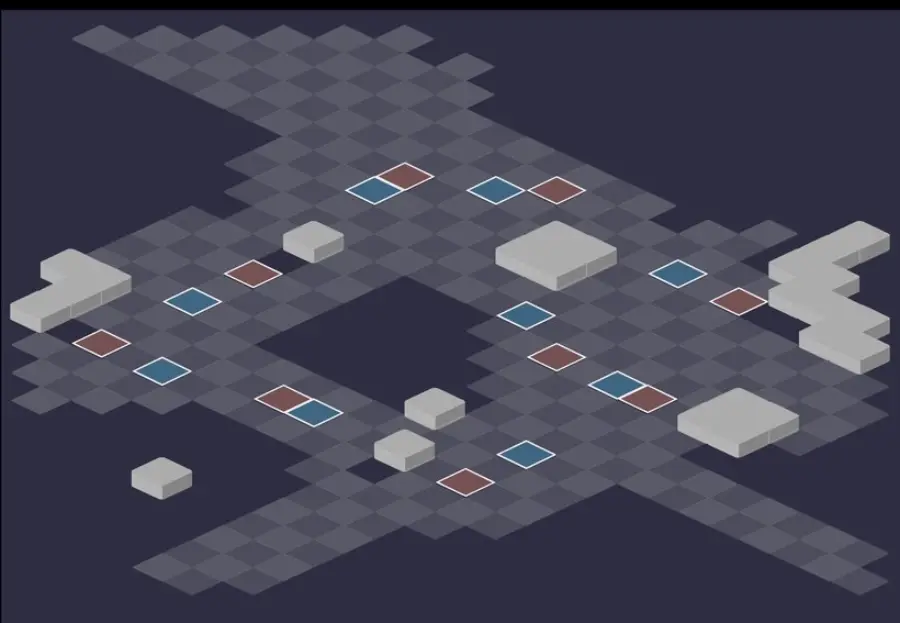
Three rooms behind a grid that only opens with 49 players: the method is detailed in the preparation. For each room: the scenery, then the tactical view with the starting cells (blue: you, red: the monsters). Tap an image to enlarge it.
Room 1
Room 2
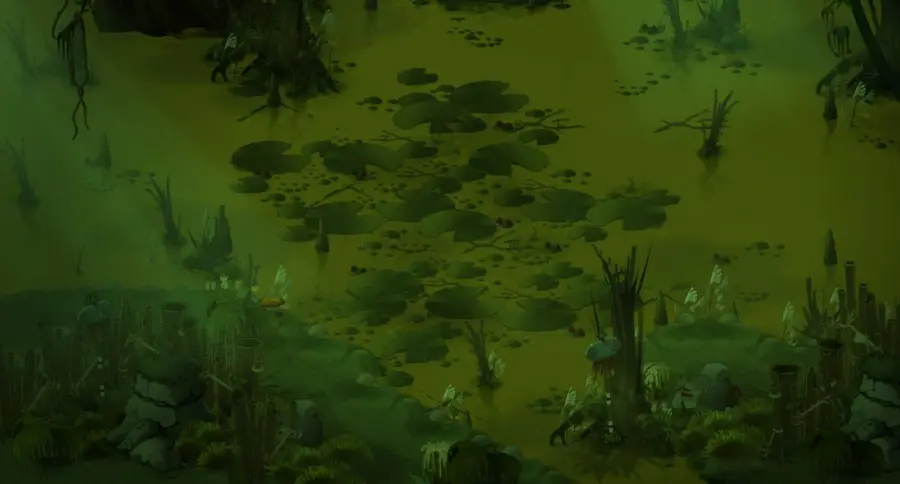
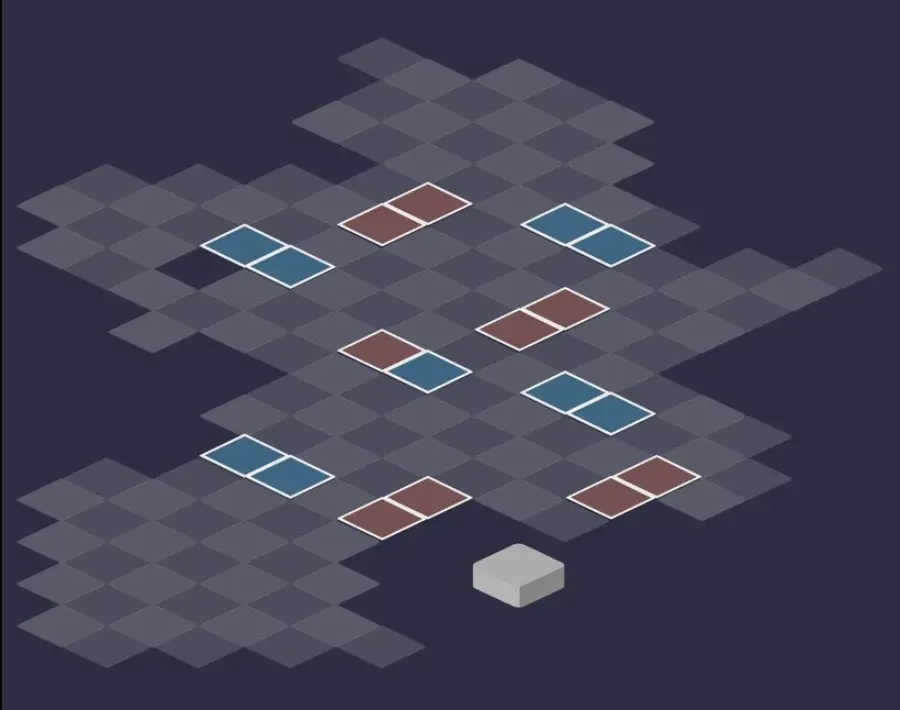
Room 3 — the Giant Kralove
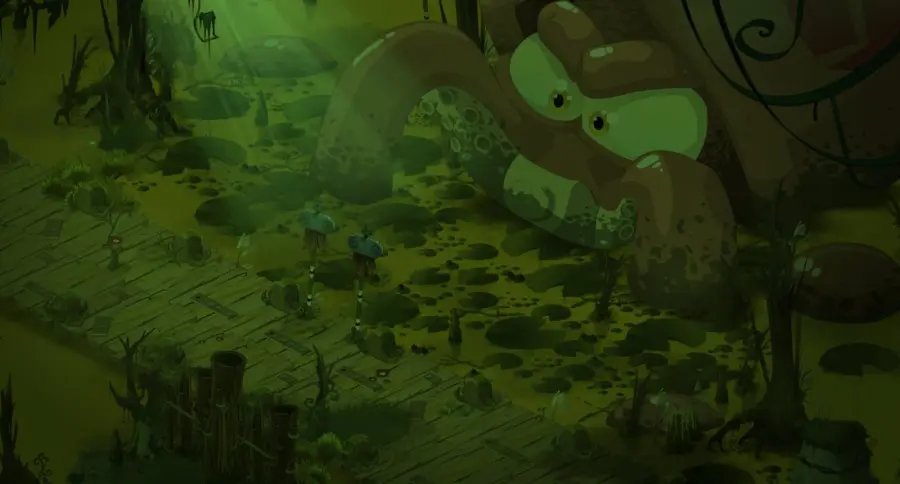
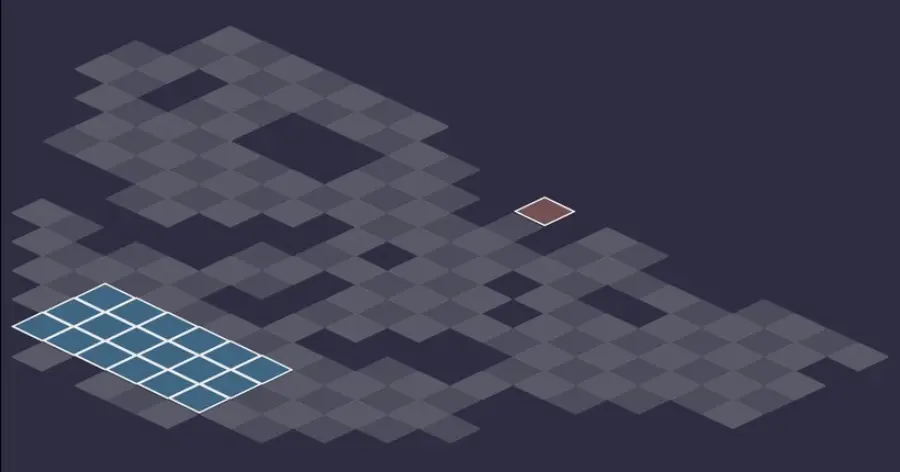
Defeat the Giant Kralove
The vulnerability turn
When it loses its resistances, Kralove gains enormous damage and infinite range for one turn, and its tentacles become able to kill on contact. It can kill two characters at once: finish it off within that turn, or put the First Tentacle back in front of it to cut its line of sight.
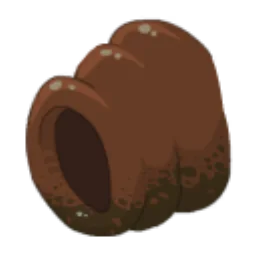
Level 640
 3,700 HP
 18 AP
 Immobile
- Resistances (%)
 Earth 900%
 Fire 900%
 Water 900%
 Air 900%
 Neutral 900%
900% resistance in all elements, immobile, and its adjacent cells are inaccessible to you. It only hits if it has line of sight. Each element you hit it with makes it summon, on the next turn, the tentacle of that element: they are what makes it vulnerable.
 Immobilising Speetwateir3 AP · 22 range · Dispels magic effects ·-6 MP · 26 to 35 Fire steal
Dispels its target and deprives it of MP if it is healed: dispel a hit ally before healing them.
 Crushing Peat
Puts all your characters in Gravity until the end of the fight: no teleportation possible.
 Summoning of Second Tentacle
Triggered if you hit it with Earth.
-
Summoning of First Tentacle
Triggered if you hit it with Air. To be called last, then placed in front of it.
-
Summoning of Fourth Tentacle
Triggered if you hit it with Water: the first one to call.
-
Summoning of Third Tentacle
Triggered if you hit it with Fire.
 Peat Vulnerability1 AP · on self · -900% Resistance · 8000 Damage · 63 Range · 1000 Vitality ·2 MP
The decisive turn: no more resistances, but enormous bonuses for it and its tentacles. Kill it or block its line of sight.
 Kraken
Gives it vitality for 2 turns.
The five-step strategy against the Giant Kralove
Turn 1: two lines, then Water. Place your sturdiest characters in front, the others behind, on two lines: only the first two take the hits. Hit it with Water to call the Fourth Tentacle.
Turns 2 to 4: the tentacles. Fire on turn 2 (Third), Earth on turn 3 (Second), Air on turn 4 (First): the First always last. Trap the Fourth, the Third and the Second in the left corner around a sturdy summon, a Pandawasta for example, to protect at all costs; place the Fourth so as to hide it from Kralove.
Turn 5: the First as a plug. The First arrives: place it right in front of Kralove to block its line of sight. Place a summon, a Chafer for example, in contact with it and behind it, where Kralove cannot see it.
Turn 6: feed the tentacles. The First kills the summon and advances, the other three tentacles hit the Pandawasta without killing it. Put the First back in front of Kralove, place a summon in contact with it again and remove as much MP as possible from the tentacles.
Turn 7: attack. Kralove loses its 900% for one turn: kill it within the turn, without letting a tentacle reach you in contact. If it survives, put the First back in front of it, move the other three away, put them back in place and redo turns 5 and 6.
The mechanic in brief
For Kralove to become vulnerable, the First Tentacle must devour a summon while the other three tentacles all hit that same summon, without killing it. On the next turn, the First must again kill a summon: Kralove then loses its resistances for one turn.
If the summon hit by the three tentacles dies too early, or if the First has nothing to devour, the cycle has to be restarted. Hence the importance of a sturdy summon, healed or protected by shields.
The four tentacles
The First, called by Air, kills on contact except on its first turn. The Second, called by Earth, reduces your heals. The Third, called by Fire, removes 6 dodgeable MP. The Fourth, called by Water, makes characters caught in its area skip their turn.
During the vulnerability turn, everyone gains vitality and 2 MP: a tentacle that reaches you in contact kills. Remove their MP on turn 6.
The monsters of the Lair of the Giant Kralove
Four Peat Bog monsters, level 92 to 181. Healers and protectors first: they prolong every fight. Resistances in red are their weaknesses.
In which order to kill the monsters
- Mopeat — it heals everything around it and gives critical to its allies.
- Boggedown Ouassingue — it absorbs its allies' damage with Selflessness and heals enormously with Reformation.
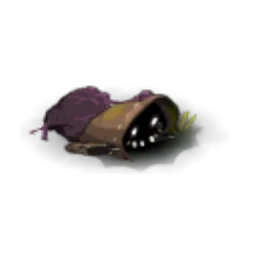
Level 101
- 1,800 HP
- 9 AP
- 4 MP
- Resistances (%)
- Earth 15%
- Fire 33%
- Water -27%
- Air -11%
- Neutral 20%
Conditioning Peat heals within a radius of 2 cells and gives 25% critical to itself and its allies, every other turn. Malicious Peat removes range in an area. Weak to Water and Air.
 Conditioning Peat3 AP · on self ·26 to 30 Fire heals · 25% Critical
Area heal and critical for its allies, every other turn.
 Malicious Peat5 AP · 7 Range ·21 to 30 Air damage · -3 Range
Range reduction in an area for 2 turns.
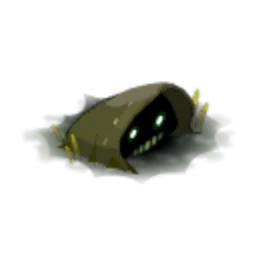
Level 92
- 1,600 HP
- 12 AP
- 4 MP
- Resistances (%)
- Earth 36%
- Fire 51%
- Water 56%
- Air 51%
- Neutral 56%
Selflessness protects its nearby allies for two turns: hitting them amounts to hitting it. Reformation heals an ally or itself massively, then makes it unhealable; Permutation swaps its place with an ally. It resists everywhere.
 Quartering3 AP · melee ·22 to 26 Air damage
 Selflessness
The Ouassingue's nearby allies transfer their damage to it for 2 turns.
 Permutation
The Ouassingue swaps places with an ally.
 Reformation4 AP · 4 Range ·261 to 280 Fire heals · Unhealable State
A very big heal, followed by 3 turns of Unhealable for its target.
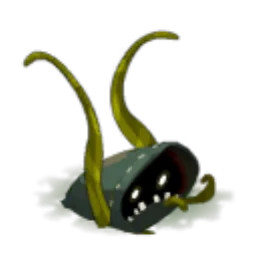
Level 95
- 1,600 HP
- 10 AP
- 3 MP
- Resistances (%)
- Earth 35%
- Fire -31%
- Water 15%
- Air 9%
- Neutral 13%
It pulls you into contact with Muddy Attraction, removes 3 MP in an area with Quagmire and poisons with life steal using Syrupy Mud, which stacks. Weak to Fire: hit it from afar.
-
Muddy Attraction
Pulls you into contact with the Miremop, in a line.
 Syrupy Mud4 AP · melee ·16 to 25 Water steal
-
Quagmire3 AP · melee ·-3 MP
3 MP reduction in an area: keep your distance.
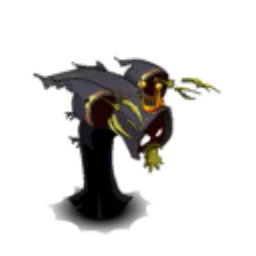
Level 181
- 5,500 HP
- 12 AP
- 6 MP
- Resistances (%)
- Earth 12%
- Fire -30%
- Water 41%
- Air 5%
- Neutral 22%
Uprooting removes 7 dodgeable MP in an area, in a line. Return of the King boosts an ally and removes power from you if you are in contact with it; Stripping removes heals and Agility. Weak to Fire.
-
Return of the King
Boosts a monster and removes power from you if you are in contact with it.
 Stripping
Removes heals and a lot of Agility for 2 turns, in a cross.
-
Uprooting5 AP · 5 Range ·41 to 60 Earth damage · -7 MP
Big dodgeable MP removal in an area, in a line: do not line up with the Mopy King.
Preparing your run through the Lair of the Giant Kralove
A very hard level 170 dungeon at 180: you first need 49 players to open the grid, then a team well-practiced in the tentacle mechanic. People come for Around About Done, the achievements and Kralove's Soul, the last step of the Ochre Dofus.
How to enter the Lair of the Giant Kralove
The entrance is in the Putrid Peat Bog, on Otomai Island, at ; nearest zaap, Dopple Village . Neither key nor keyring: place twelve characters on the tiles of each of the four rooms of the island, , , and , then one last on the entrance tile . For the Hakam tree room, go up to the upper floor from the canopy and turn right. The grid stays open for about 40 minutes; in each room, the Slab Room Assistant teleports you in front of the lair while it is open, and a fast group can even redo the dungeon.
Which team to bring against the Giant Kralove
Summons. A sturdy summon, like a Pandawasta, holds back the three tentacles; it must be healed or covered with shields. Other summons, a Chafer for example, serve as meals for the First Tentacle on each cycle.
The four elements. You have to hit Kralove with Water, Fire, Earth then Air, even without dealing damage to it: spread these elements across the team.
MP removal. On turn 6, removing MP from the tentacles keeps them from reaching you on the vulnerability turn, when they kill in one hit.
Classes that are comfortable here. The Pandawa brings the Pandawasta that serves as a target for the three tentacles. Any summoning class provides prey for the First, and any MP-removal class secures turn 7.
The six achievements of the Lair of the Giant Kralove
Each achievement gives 36,604,000 XP and 2 Giant Kralove Sucker, Duo doubles the XP; Sidekick gives 54,906,000 XP.
| Achievements | Condition | Points | XP |
|---|---|---|---|
 Giant Kralove (Sidekick) |
Defeat the Giant Kralove in its dungeon while validating the “The Heroes” challenge | 5 | 54 906 000 |
| Giant Kralove (Nomad) |
Defeat the Giant Kralove in its dungeon while validating the “Nomad” challenge. | 10 | 36 604 000 |
| Giant Kralove (Special) |
Defeat the Giant Kralove in its dungeon while validating the “Tentacles Off” challenge. | 10 | 36 604 000 |
| Giant Kralove (Blitzkrieg) |
Defeat the Giant Kralove in its dungeon while validating the “Blitzkrieg” challenge. | 10 | 36 604 000 |
| Lair of the Giant Kralove |
Defeat the Giant Kralove in this boss's dungeon. | 10 | 36 604 000 |
| Giant Kralove (Duo) |
Defeat the Giant Kralove in its dungeon while validating the “Duo” challenge. | 20 | 73 208 000 |
Special: Tentacles Off
Fighters must not end their turn in line with an ally. The map is narrow, and you have to stay out of Kralove's line of sight on the vulnerability turn: easier with four characters, though not mandatory. Placement spells help free up lines; for the rest, it is a standard Kralove.
Drops and loot of the Lair of the Giant Kralove
Base in-game rates, before Prospecting bonuses.
On the Giant Kralove
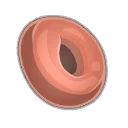 Giant Kralove SuckerMiscellaneous Resource22 %
 Nougat Rabmarac BarTreat6 %
- Giant Kralove InkMiscellaneous Resource3,64 %
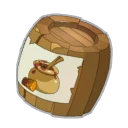 Barrel of Tasty JuiceContainer3 %
 Fresh CarrionMeat1,09 %
 Al Howin GobtubbyCeremonial pet0,65 %
On the henchmen of the Giant Kralove
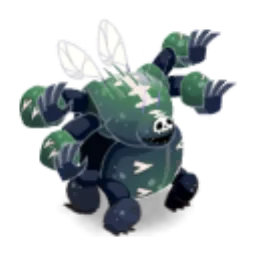
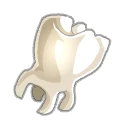 Miremop ToothBone · Miremop35 %
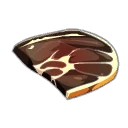 Dried MeatMeat · Miremop35 %
 Ouassingue SlobberLiquid · Boggedown Ouassingue35 %
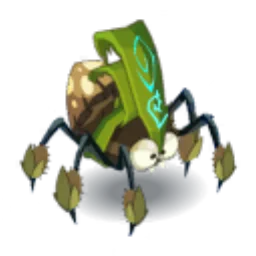
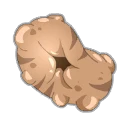 Old Kralove SuckerMiscellaneous Resource · Mopeat33 %
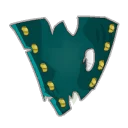 Mopy King FabricFabric · Mopy King12 %
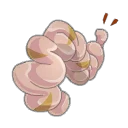 Midnight MeatMeat · Mopy King12 %
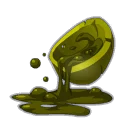 Ouassingue JuiceLiquid · Boggedown Ouassingue5,88 %
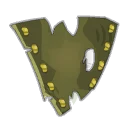 Ouassingue FabricFabric · Boggedown Ouassingue5,8 %
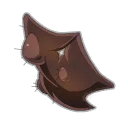 Miremop Double ChinMiscellaneous Resource · Miremop5,76 %
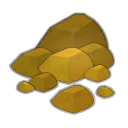 Dried Mopeat PeatMiscellaneous Resource · Mopeat5,56 %
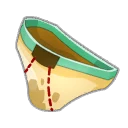 Mopy King Inside Out ShortsGarment · Mopy King2 %
 Map fragment of Ali Grothor 2/5Map fragment · Miremop1 %
- Barrel of Tasty JuiceContainer · Miremop1 %
 Map fragment of Nenufor 2/5Map fragment · Miremop1 %
 Map fragment of Nenufor 4/5Map fragment · Mopy King1 %
 Map fragment of Nenufor 5/5Map fragment · Mopy King1 %
 Map fragment of Ali Grothor 4/5Map fragment · Mopy King1 %
 Map fragment of Nenufor 1/5Map fragment · Boggedown Ouassingue1 %
 Map fragment of Ali Grothor 1/5Map fragment · Boggedown Ouassingue1 %
 Map fragment of Nenufor 3/5Map fragment · Mopeat1 %
 Map fragment of Ali Grothor 3/5Map fragment · Mopeat1 %
 Map fragment of Ali Grothor 5/5Map fragment · Miremop0,5 %
Kralove's soul
For the Ochre Dofus
The last step of An Eternal Harvest requires the Kralove Soul. Equip the special soul stone received during the quest: the capture happens by itself on victory, without casting the Soul Capture spell. Then bring the soul back to Otomai .
Where is the Giant Kralove's Lair?
In the Putrid Peat Bog of Otomai Island, at . The nearest zaap is the one at Dopple Village .
How do you open the Giant Kralove's Lair?
With 49 people, no key. Twelve characters on the tiles of each of the four rooms of the island, then one last on the entrance tile: the grid opens for about 40 minutes.
Which quests are needed to access the area?
The Death Bridge Keeper and Miss Lousy Piggy's Revenge, both on Otomai Island. Without them, no access to the dungeon area.
At what level should you do the Giant Kralove's Lair?
Level 170 minimum, 180 recommended. The dungeon is rated very hard: a placement mistake on the vulnerability turn is unforgiving.
Why does Kralove take no damage?
It has 900% resistance in all elements. Only the tentacle mechanic removes its resistances, for a single turn.
In what order should you summon the tentacles?
Water, Fire, Earth, then Air, on turns 1 to 4: Fourth, Third, Second, then the First last, to place in front of Kralove.
What should you do if Kralove survives its vulnerability?
Immediately put the First Tentacle back in front of it, move the other three away, put them back in place and redo turns 5 and 6.
How do you get Kralove's soul for the Ochre Dofus?
Equip the special soul stone from the Ochre Dofus quest: the capture is automatic on victory, without casting Soul Capture.
Comments
No comments yet. A tip, or a detail about this page? Be the first.