 2 × Skt-Zo Leg
Dungeon Dark Vlad's Labyrinth
Long Slumber's Barrow
Level 150 dungeon in Dark Vlad's Labyrinth, at [-3,19]: five rooms of Malters that summon their double, and a boss who is invulnerable as long as you don't follow her elemental Rage, Hell Mina. Quests to start, map of each room, strategy, monsters, achievements and loot.
Quests linked to Long Slumber's Barrow
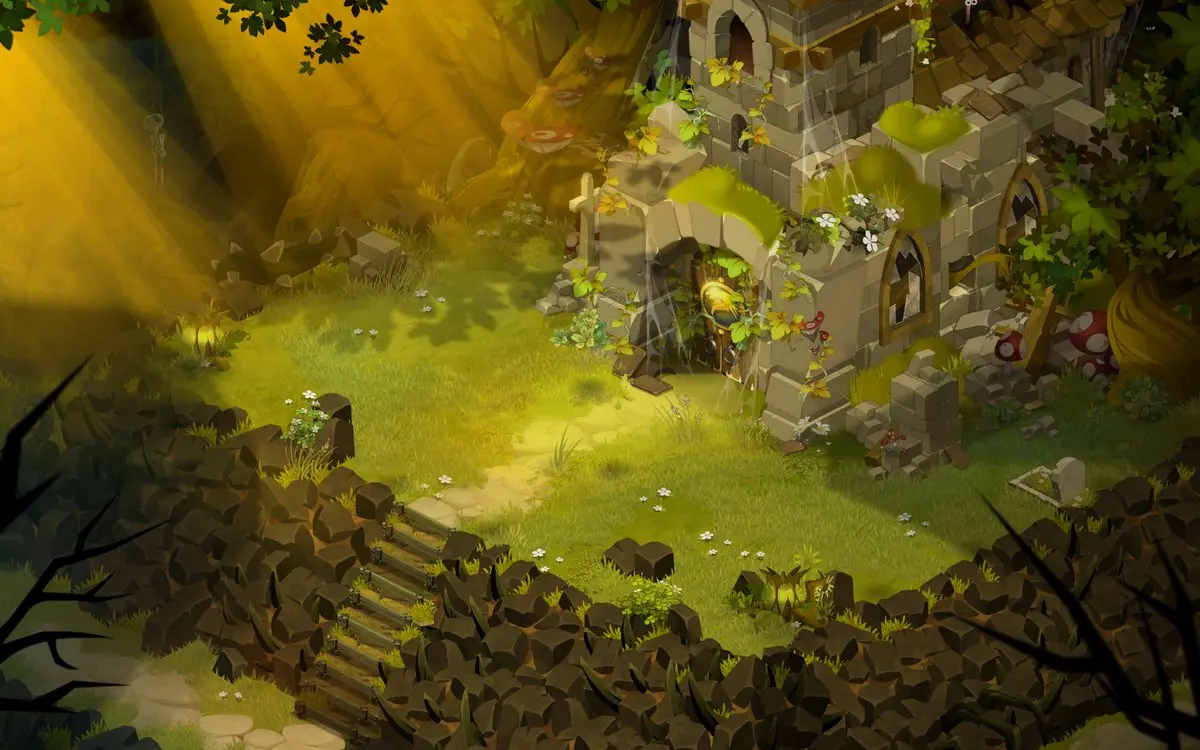
The dungeon quest, Catch Her If You Can, is entrusted to you by Hell Mina herself, in the Evil Forest: find her karne, then follow her into the barrow to face her. Accept it before entering: a fight won without the quest in progress doesn't count.
The dungeon quest. Follow the trail of berries in the Labyrinth to find Karnhell, tame her with 20 Evil Berry and bring her back to Hell Mina. Then follow Hell Mina into the barrow and defeat her in a single fight.
- Start
- Hell Mina, Evil Forest
 Malwood Horn3 horns and 16,457,000 XP
For later
Hell Mina's soul is requested. The Ochre Dofus quest asks for the souls of many dungeon guardians: capture this one while you're passing through, with a Soul Stone for Big Souls.
- Start
- Otomai, Otomai Island
- Prerequisites
- Level 40
 Ochre Dofusat the end of the 19 steps
The seal is in Hell Mina's room. The Serene Spirit lets you outwit the barrow guardian's watch, reveal Terrakourial's seal and place three purified ambers on it. Catch Her If You Can must be completed.
- Start
- Serene Spirit, Pandala island
- Prerequisites
- Level 130 and Take Root
 D'vine Tingy3 D'vine Tingy and 19,748,400 XP
During events
- Tiwagrum Simulation
Tiwagrum can point out Hell Mina as the guardian to defeat. Amakna Village, .
The 5 rooms of Long Slumber's Barrow
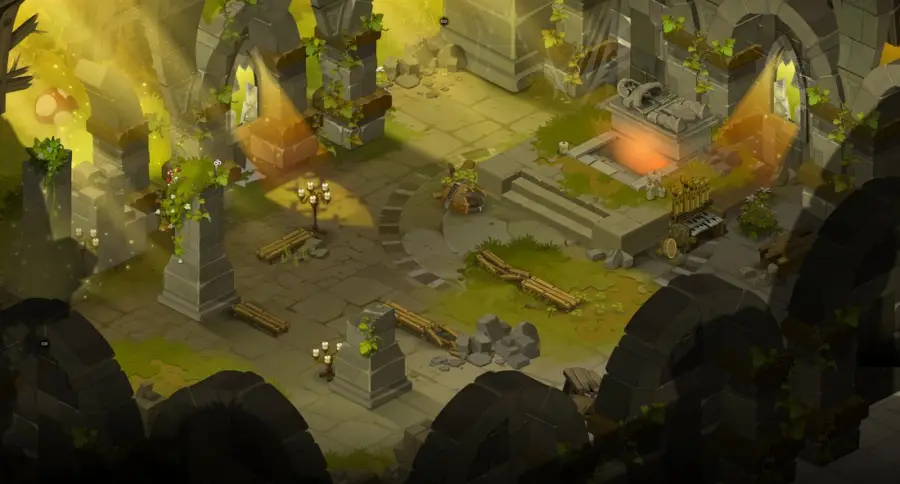
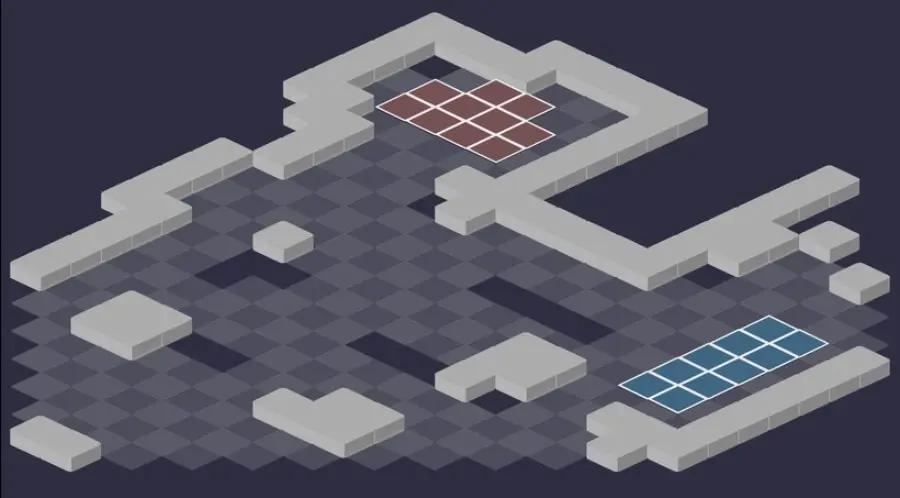
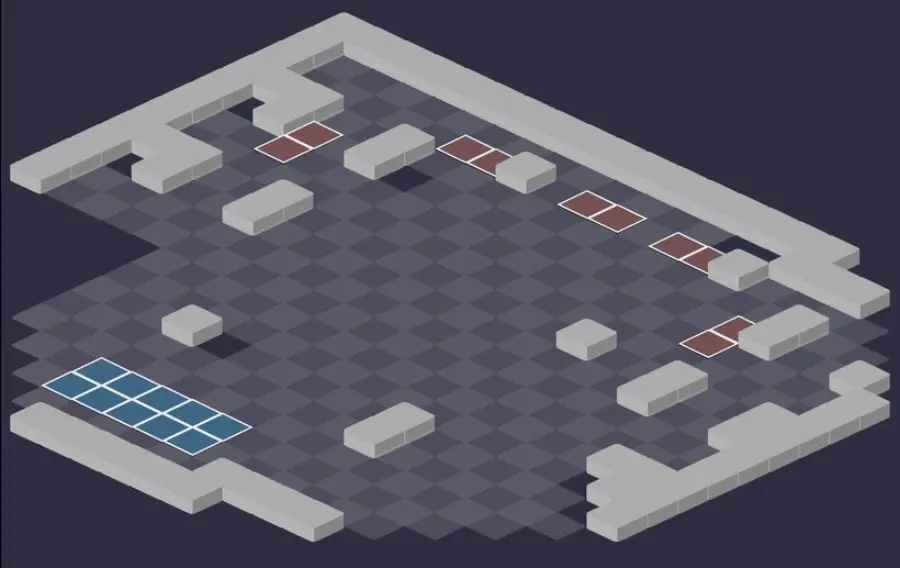
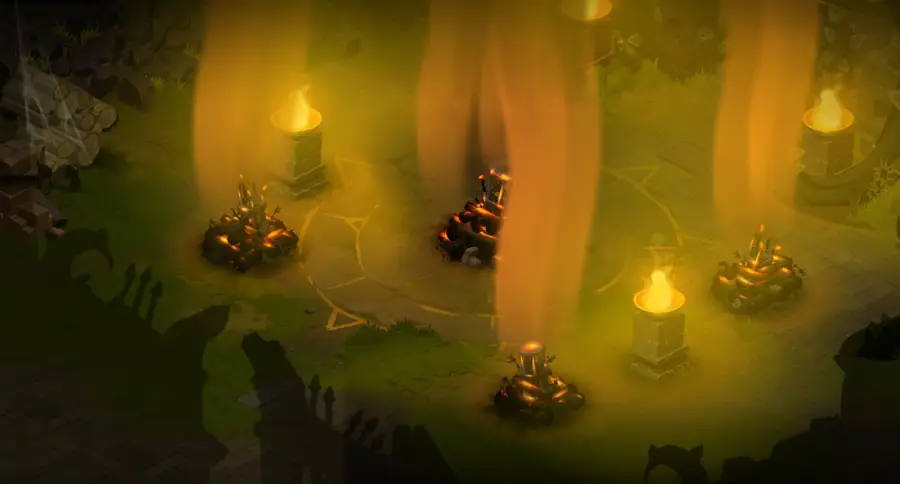
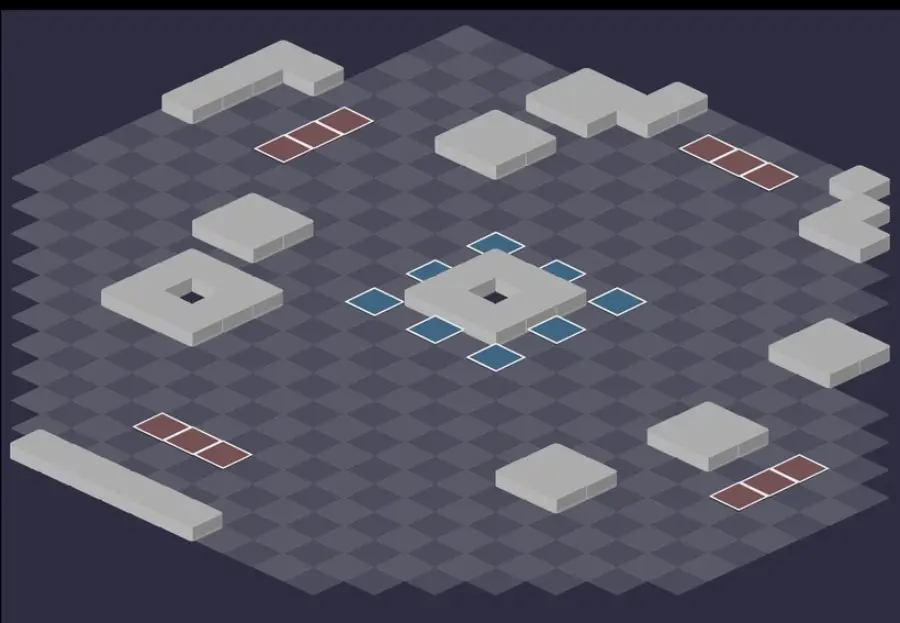
Five fights against the Malters. Throughout the area, each Malter becomes invisible on its first turn and summons its Malterego, a double with different spells: kill the last ones to play before their turn, or trap them in a corner. For each room: the scenery, then the tactical view with the starting cells (blue: you, red: the monsters). Tap an image to enlarge it.
Room 1
Room 2

Room 3
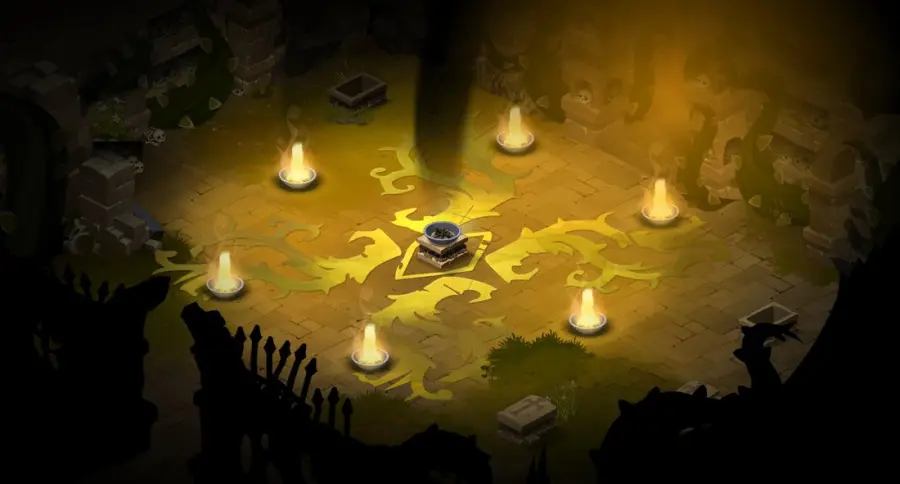
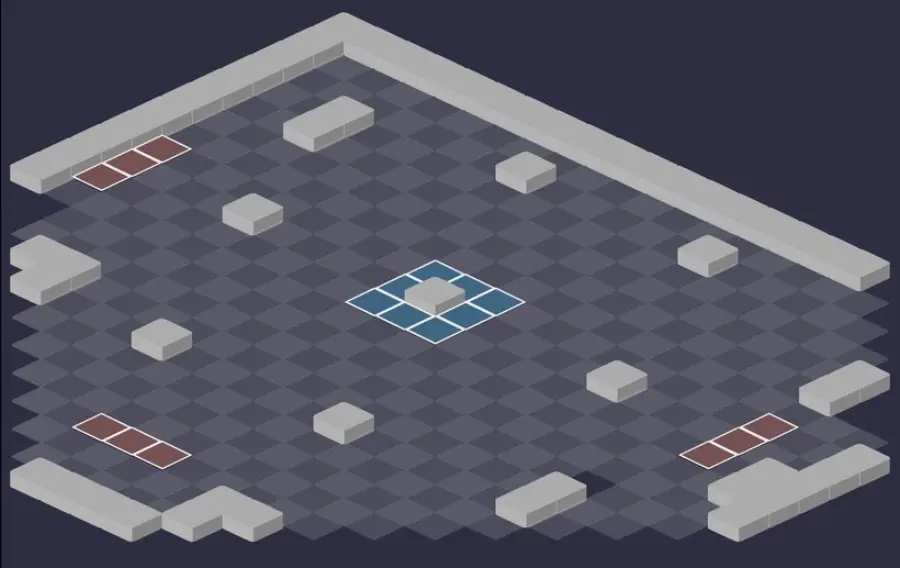
Room 4
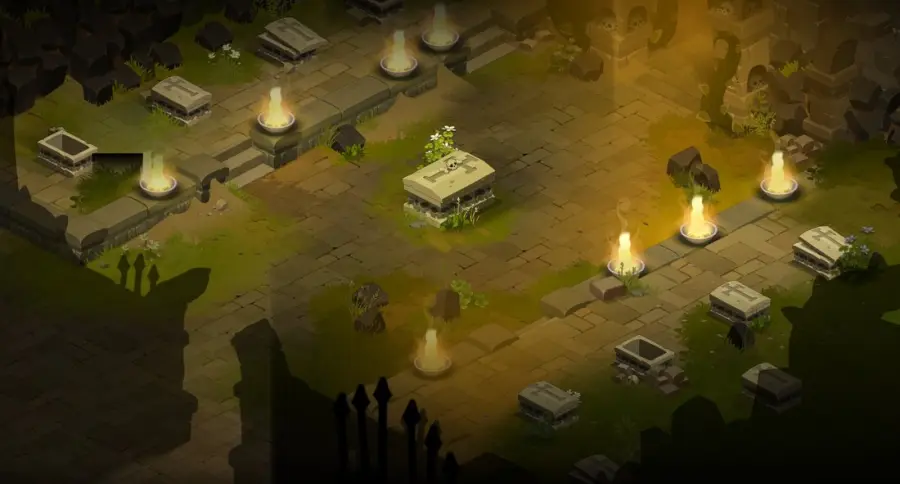
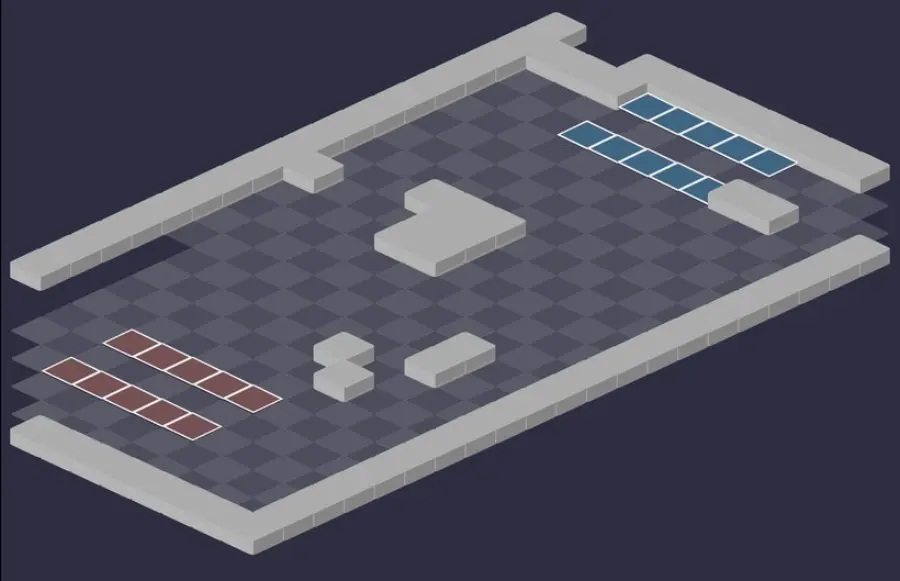
Room 5 — Hell Mina
Hell Mina's room, invulnerable from the start of the fight. The Malters summon their doubles here just like elsewhere: the strategy is detailed just below.
Defeat Hell Mina
Never miss your Rage
At the start of each of her turns, Hell Mina assigns an element to each character. Cast a spell of that element, even into empty space: otherwise, you take 500 damage of that element and her counter doesn't advance.

Level 150
 7,200 HP
 12 AP
 6 MP
- Resistances (%)
 Earth 12%
 Fire 31%
 Water -9%
 Air -7%
 Neutral -17%
Heavy and invulnerable from the start, she only becomes vulnerable after six attacks in the elements she assigns. She then gains 3 MP, 40% final damage and 50% critical. Her damage mostly comes from pushes. Weak to Neutral, Water and Air, she has 31% Fire resistance.
 Evil Leap4 AP · 6 Range · Teleports to the targeted cell · Pushes back 3 cells · 20% Erosion ·42 to 48 Fire damage
Without line of sight up to 6 cells: she teleports, strikes, erodes and pushes back everything around her by 3 cells. Impossible to keep at a distance.
 Fatality4 AP · 5 RNG ·48 to 56 Fire damage · Pulls 4 cells
In a line from 2 to 5 cells: pulls you 4 cells toward her.
 Ioppish Extermination3 AP · melee ·25 to 29 Earth damage · Pushes back 6 cells
In melee, twice per turn: pushes back 6 cells. Against an obstacle, pushback damage is heavy.
 Prejudice
From turn 2: she gains pushback damage for 3 turns. Move away from walls.
The four-step strategy against Hell Mina
First turn: the last ones to play. A Malter must start its turn to summon its double: kill one or two monsters before they play. With four characters, aim for the Malzerb, last in initiative, then the Malalfa if your damage is enough. Otherwise, trap them in a corner with a character in melee.
The monsters, following the Rage. Kill all the Malters before dealing with Hell Mina, casting a spell of the imposed element with each character every turn. If a Maltrio is there, from six characters, it goes first. Her damage remains manageable as long as she's invulnerable.
Save the last Rages. Once vulnerable, Hell Mina becomes much more dangerous. Wait until all the monsters are dead before completing the fifth and sixth elemental attacks.
Finish her quickly. Prepare your boosts, then trigger the sixth attack and hit her with all your damage, in Water, Air or Neutral. With Evil Leap, it's impossible to keep her at a distance: never end a turn against a wall or an obstacle, her pushes hurt a lot there.
Hell Mina's Rage
At the start of the fight, Hell Mina's Wrath makes her Heavy and Invulnerable. On each of her turns, every character receives an Earth, Water, Fire or Air Rage state: the first spell of that element raises Hell Mina's Rage by one notch, and the state disappears. You don't need to hit anyone; a damage spell cast into empty space is enough.
At the sixth notch, she loses Heavy and Invulnerable for the rest of the fight. With four characters, you need at least a turn and a half; with two, three full turns. At the fifth notch, no state is displayed anymore: all that's left is an elemental attack to cast.
The Malteregos
At the start of its first turn, before any other action, each Malter becomes invisible and summons a double, recognizable by a gray laughing head above it. This Malterego has less HP and 40% fewer resistances, but more dodge and flight. Kill it: its summoner becomes visible again, loses 3 MP, 40% resistances and half of its damage. Each Malter summons only one per fight.
The invisible Malter can still be attacked without killing its double, and reveal spells work on it. To trap it, a character in melee with it in a corner forces it to summon on the only free cell; the Maltrio must also be under Gravity or rooted, otherwise it swaps places.
The doubles' booby-trapped gifts
Several Malteregos boost your characters: 100% critical, 30% final damage, MP and vitality. Take advantage of it to kill quickly, but each bonus disappears when the double that gave it dies, and almost all of them come with a drawback: damage on each critical hit or each spell, loss of vitality on the next turn.
The most treacherous one comes from the Maltrio's double: Mallergy gives you 3 AP, but every AP used that turn poisons you. Use few AP, or kill that Malterego before the end of your turn.
The monsters of Long Slumber's Barrow
Five level 142 Malters, each with its double. Kill them before they play when possible, starting with the last ones in initiative. The resistances in red are their weaknesses.
In which order to kill the monsters
- Maltrio — present from six characters: its double's AP poison is very dangerous, and it swaps places.
- Malzerb — last in initiative, it can be killed before it summons; it heals and gives vitality to all monsters.
- Malalfa — if your damage allows it, before it plays: it pulls and erodes more and more as it loses HP.
Level 142
- 3,300 HP
- 11 AP
- 5 MP
- Resistances (%)
- Earth 14%
- Fire 7%
- Water -2%
- Air -11%
- Neutral 2%
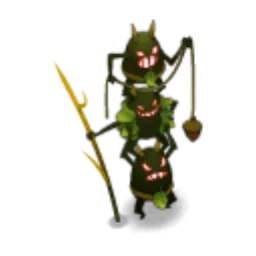
Malteration swaps places with you and removes 1 AP, Malaize removes 2 MP in a line, Malinger makes you unhealable and poisons you. Only appears from six characters. Weak to Air.
 Malinger
Unhealable and Air poison for 2 turns, up to 10 cells.
 Malteration3 AP · 6 Range ·28 to 32 Water damage · -1 AP
It swaps places with you before striking. Under Gravity or rooted, it can no longer do so.
 Malaize3 AP · 8 range ·32 to 38 Air damage · -2 MP
In a line up to 8 cells, twice per turn: removes 2 dodgeable MP.

Level 142
- 2,800 HP
- 11 AP
- 5 MP
- Resistances (%)
- Earth -3%
- Fire -14%
- Water 2%
- Air 22%
- Neutral 3%
Group support: Maltruism heals in an area, more with each cast, and Malveolus gives 500 vitality to all monsters. Fleeing AI: it's easier to kill before its first turn. Weak to Fire and Earth.
 Maltruism3 AP · 8 Range ·23 to 27 Fire heals · Maltruism: +10 Heals
Area heal that increases with each cast: kill the Malzerb early.
-
Malveolus
Vitality for all monsters for 2 turns; the Malzerb also gains 2 MP and becomes Unlockable.
 Maltease3 AP · 6 Range · Steals 20 Intelligence ·46 to 54 Fire damage
Steals Intelligence with no time limit.

Level 142
- 3,800 HP
- 10 AP
- 6 MP
- Resistances (%)
- Earth 5%
- Fire 6%
- Water 21%
- Air 6%
- Neutral -28%
Malcoholise pulls and erodes more the more wounded it is, up to 6 cells and 20%. Malleluia steals life all around it, and Malarmist protects its double with a shield and lock. Weak to Neutral.
-
Malleluia4 AP · on self ·51 to 59 Earth steal
Earth life steal all around it, twice per turn: don't stay grouped in melee range.
 Malarmist
Shield and lock for its double for 2 turns.
-
Malcoholise
In a line from 2 to 7 cells: the pull and erosion grow as the Malalfa loses HP.

Level 142
- 3,300 HP
- 11 AP
- 5 MP
- Resistances (%)
- Earth 12%
- Fire 31%
- Water -9%
- Air -7%
- Neutral -17%
It places a cross-shaped Water trap without line of sight and, from turn 2, a glyph that removes 6 Range and burns those who start their turn on it. Don't end your turn in its zones. Weak to Neutral, Water and Air.
-
Mappetising Trap
Cross-shaped Trap placed without line of sight: the central cell deals no damage.
 Malarid Glyph
From turn 2: removes 6 Range while you stand on it, and burns you if you start your turn there.
-
Malchemy4 AP · 6 Range ·21 to 25 Water damage · 21 to 25 Fire damage
Without line of sight, up to 6 cells: Water and Fire at once.
Level 142
- 3,100 HP
- 11 AP
- 5 MP
- Resistances (%)
- Earth -8%
- Fire 21%
- Water -7%
- Air 4%
- Neutral 0%
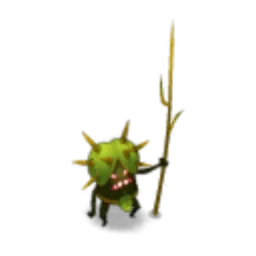
It strikes with Air and Earth, gains critical with Malagile, steals Strength with Maltitude and weighs you down with Malibi. Weak to Earth and Water.
-
Malagile3 AP · 4 Range ·27 to 31 Air damage · 5% Critical
Without line of sight, up to 4 cells: each cast increases its critical.
 Maltitude4 AP · 7 Range · Steals 25 Strength ·44 to 52 Earth damage
Steals Strength until the end of the fight.
 Malibi4 AP · 3 Range ·32 to 38 Earth damage · Gravity State
Up to 3 cells, recast every 2 turns: puts you under Gravity for one turn.
Preparing your run through Long Slumber's Barrow
A very hard dungeon for groups of level 140 to 150, which requires playing every element and handling invisibility. You come here for Catch Her If You Can, the achievements and Hell Mina's soul for the Ochre Dofus, with a Soul Stone for Big Souls (captures up to level 150).
How to enter Long Slumber's Barrow
The entrance is in Dark Vlad's Labyrinth, in the Evil Forest, at ; the nearest zaap is the one at Scaraleaf Plain . To enter the Labyrinth, you must have completed Pendulum Swinger's Guide, from Lanseuft of Troille . Three ways to open it: a Key to Long Slumber's Barrow (consumed), the keyring, or the automatic group search.
Crafting the Key to Long Slumber's Barrow
It's crafted at a handyman's workshop. Sprout, Bola, Lucky Charm, Barb and Biltong Meat drop at 24% from the Malters. Sickle-Hammerhead Shark (fishing), Ginseng and Hemp (harvesting) complete the recipe.
| Ingredient | Quantity | Level |
|---|---|---|
 Malzerb Sprout |
2 | 150 |
 Maltrio Bola |
2 | 150 |
 Malalfa Lucky Charm |
2 | 150 |
 Malterbarb Barb |
2 | 150 |
 Biltong Meat |
2 | 150 |
 Sickle-Hammerhead Shark |
2 | 150 |
 Ginseng |
3 | 140 |
 Hemp |
3 | 140 |
Which team to bring against Hell Mina
One spell of each element. Hell Mina imposes a different element on each character, every turn. Everyone must be able to cast an Earth, Fire, Water and Air spell, even outside their main element and even into empty space.
Little Fire. Hell Mina has 31% Fire resistance, but negative resistances to Water, Air and Neutral. Favor Water and Air for your big damage, and keep Fire to complete the Rage.
Something to block and reveal. A character able to trap a Malter in a corner, a Gravity or rooting spell against the Maltrio, spells that reveal invisible units: anything that neutralizes the Malteregos shortens the fight.
The classes that are comfortable. The Pandawa easily traps a Malter in a corner, and any reveal spell finds the invisible Malters. Classes capable of big damage in one turn, in Water or Air, finish Hell Mina before she benefits from her bonuses. Fire-focused classes are the least comfortable.
The six achievements of Long Slumber's Barrow
Each achievement gives 16,457,000 XP and 2 Hell Mina's Unruly Lock, Duo doubles the XP; Sidekick gives 24,685,500 XP. Last and Hellemental are completed with the basic strategy.
| Achievements | Condition | Points | XP |
|---|---|---|---|
 Hell Mina (Special) |
Defeat Hell Mina in her dungeon while completing the “Hellemental” challenge. | 10 | 16 457 000 |
| Hell Mina (Sidekick) |
Defeat Hell Mina in her dungeon while completing the “The Heroes” challenge | 5 | 24 685 500 |
| Hell Mina (Last) |
Defeat Hell Mina in her dungeon while completing the “Last” challenge. | 10 | 16 457 000 |
| Hell Mina (Statue) |
Defeat Hell Mina in her dungeon while completing the “Statue” challenge. | 10 | 16 457 000 |
| Hell Mina (Duo) |
Defeat Hell Mina in her dungeon while completing the “Duo” challenge. | 20 | 32 914 000 |
| Long Slumber's Barrow |
Defeat Hell Mina in this boss's dungeon. | 10 | 16 457 000 |
Last
Hell Mina must be finished off last. It comes naturally with the basic strategy. With six or more characters, she's vulnerable from the end of turn 2: if you struggle to withstand her boosted attacks, finish the monsters first.
Statue
Each ally must end their turn on the cell where they started it. No particular difficulty, as long as everyone returns to their cell. Kill the Malzerb before its first turn, from the starting cells closest to it: with its fleeing AI, it becomes hard to reach without moving. You'll have to take hits from Hell Mina, so kill her very quickly once she's vulnerable.
Special: Hellemental
Each ally must deal Hell Mina damage of the element she assigns them. The fight stays the same, but the Rage can no longer be completed in empty space: each character must hit Hell Mina in their element, every turn, until she becomes vulnerable. The achievement is completed at that moment.
Duo
Two characters maximum, fewer than 20 turns. Any team composition can succeed. With two characters, it takes three full turns to remove Hell Mina's invulnerability: complete your Rages right from the start. Everything must be finished by the end of turn 19.
Sidekick: The Heroes
Four characters minimum, including Krosmoglob, Krobax, Trank or Astrub Knight. The basic strategy applies. Eliminate the troublesome Malters first, so the sidekick doesn't suffer their glyphs and poisons.
Drops and loot of Long Slumber's Barrow
Base in-game rates, before Prospecting bonuses.
On Hell Mina
 Hell Mina's Unruly LockHair24 %
 Nougat Rabmarac BarTreat6 %
 Malter PetalPlant4,04 %
 Biltong CarrionMeat1,21 %
 Bag of Temporal PowderContainer1 %
 Al Howin GobtubbyCeremonial pet0,55 %
On the henchmen of Hell Mina
- Biltong MeatMeat · Malalfa24 %
- Malalfa Lucky CharmMiscellaneous Resource · Malalfa24 %
- Malwood HornBone · Malwood24 %
- Maltrio BolaCombat Resource · Maltrio24 %
- Malzerb SproutPlant · Malzerb24 %
- Malterbarb BarbMiscellaneous Resource · Malterbarb24 %
- Malter PetalPlant · Malalfa4,04 %
- Bag of Temporal PowderContainer · Malalfa1 %
Capturing the soul of Hell Mina and the Ochre Dofus
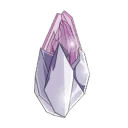 One Soul Stone for Big Souls (captures up to level 150) is enough for Hell Mina, who is level 150. The soul is used for the quest An Eternal Harvest of the Ochre Dofus, which asks for that of every dungeon guardian.
| Stone ingredient | Quantity |
|---|---|
 Superior Soul Splinter |
10 |
 Mineral Potion |
1 |
Where is Long Slumber's Barrow?
In Dark Vlad's Labyrinth, in the Evil Forest, at . The nearest zaap is the one at Scaraleaf Plain .
How do you get into Dark Vlad's Labyrinth?
By completing the quest Pendulum Swinger's Guide, from Lanseuft of Troille . It can be done from level 40.
What level should you be to do Long Slumber's Barrow?
Level 140 minimum, 150 recommended. Hell Mina is level 150, with 7,200 HP, and the dungeon is rated very hard.
Which quest should you do in Long Slumber's Barrow?
Catch Her If You Can, entrusted by Hell Mina . Bring her her Karnhell karne, then defeat her in a single fight in the barrow.
How do you make Hell Mina vulnerable?
By casting six spells in the elements she assigns you. Each turn, every character receives a Rage state: a spell of that element, even into empty space, advances her counter.
What happens if I miss my Rage?
You take 500 damage of the imposed element, and Hell Mina's counter doesn't advance. Always keep a spell of each element.
Which monster should you target first in Long Slumber's Barrow?
The Maltrio if it's there, otherwise the Malzerb before its first turn. Killing a Malter before it plays prevents it from summoning its Malterego.
How do you handle the Malteregos?
Kill the double to weaken its summoner. It becomes visible again, loses 3 MP, 40% resistances and half of its damage. The invisible summoner can also still be attacked directly.
Which stone should you use to capture Hell Mina?
One Soul Stone for Big Souls (captures up to level 150). The soul is used for the Ochre Dofus quest.
Can Long Slumber's Barrow be done with two characters?
Yes, it's even an achievement: Duo, in fewer than 20 turns. Count on three full turns to make Hell Mina vulnerable.



Comments
No comments yet. A tip, or a detail about this page? Be the first.