 2 × Skt-Zo Leg
Dungeon Moon Island
Moon's Tree
Level 100 dungeon on Moon Island, at [29,6]: five rooms and a boss with 200% resistance everywhere, which has to be opened element by element with the totems of Darkli Moon, Moon. Quests to start, map of each room, strategy, monsters, achievements and loot.
Quests linked to Moon's Tree
Moon Island is reached through Leave and Not Come Back. Two quests are then validated on Moon, Moon Meeting and Snooping Around: accept them before entering, a fight won without the quest in progress does not count.
It opens Moon island to you. The Charlie's Agents Rep sends you to the island by cannon; then go see the agency's Employee there.
- Start
- Charlie's Agents Rep, Amakna
- Prerequisites
- Level 30
Prepare the offering before entering. Bury the ginsengoku sprout and 5 Moon Fertiliser at the foot of a totem at , talk to Moon's Servant, defeat Moon in a single fight, then talk to her.
- Start
- Mama Vaudou, Moon island
- Prerequisites
- Skeletons and Amulets
 Greedovore Flower2 copies, 2 Ambusher Leaf, 2 Dead Glukoko and 3,937,000 XP
Roxy Ring wants to check the Kanniballs rumor. Defeat Moon in a single fight, discover the exit map of Moon's Tree, then go back to see her.
- Start
- Roxy Ring, Coastal Village
- Prerequisites
- Level 80 and Puppet Tour
 Magic Moon Fabricand 4,724,400 XP
For later
Moon's soul is requested. The Ochre Dofus quest requires the souls of many dungeon guardians: capture this one during your visit, with a Soul Stone for Average Souls.
- Start
- Otomai, Otomai Island
- Prerequisites
- Level 40
 Ochre Dofusat the end of the 19 steps
During events
- Tiwaapi Simulation
Tiwaapi may assign you Moon as a guardian to defeat. Incarnam, .
The 5 rooms of Moon's Tree
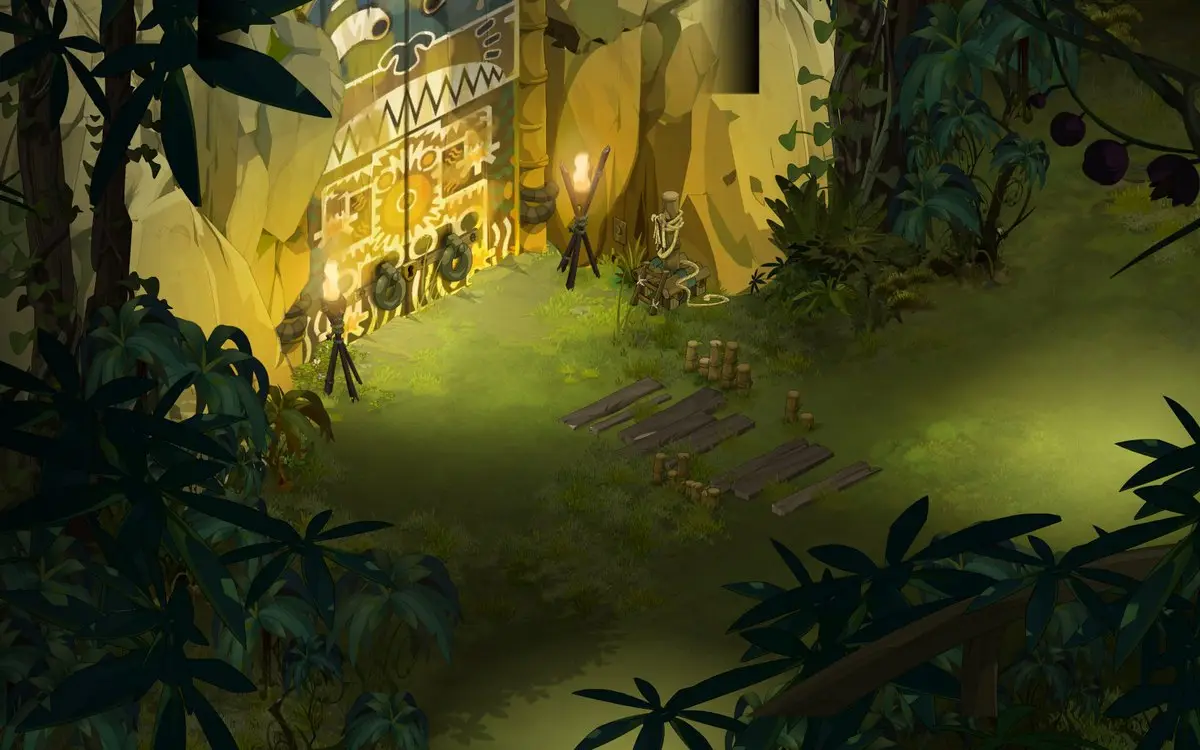
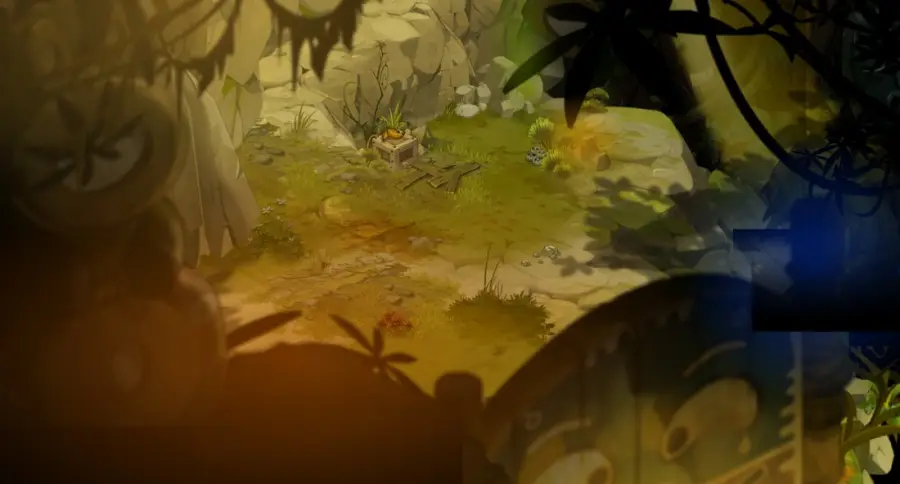
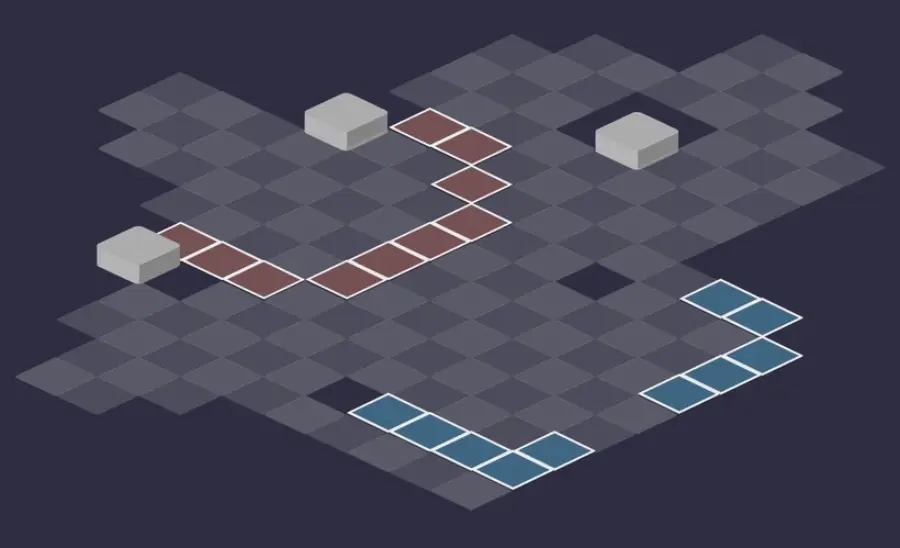
Four fights against monsters from The Forbidden Jungle, then Moon. Save your resources for the boss. For each room: the scenery, then the tactical view with the starting cells (blue: you, red: the monsters). Tap an image to enlarge it.
Room 1
Room 2
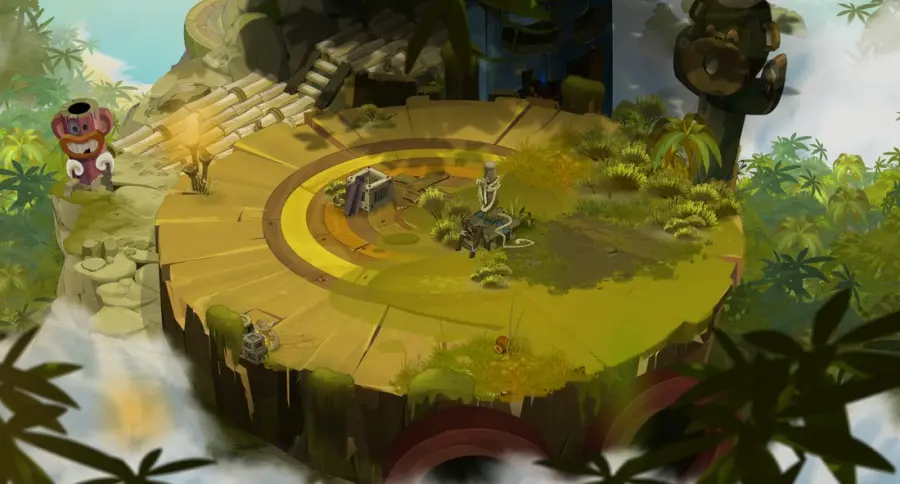
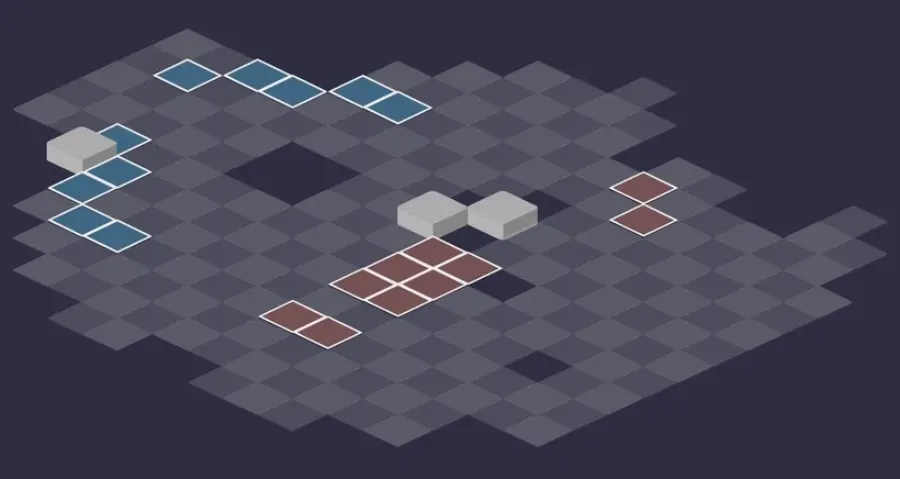
Room 3
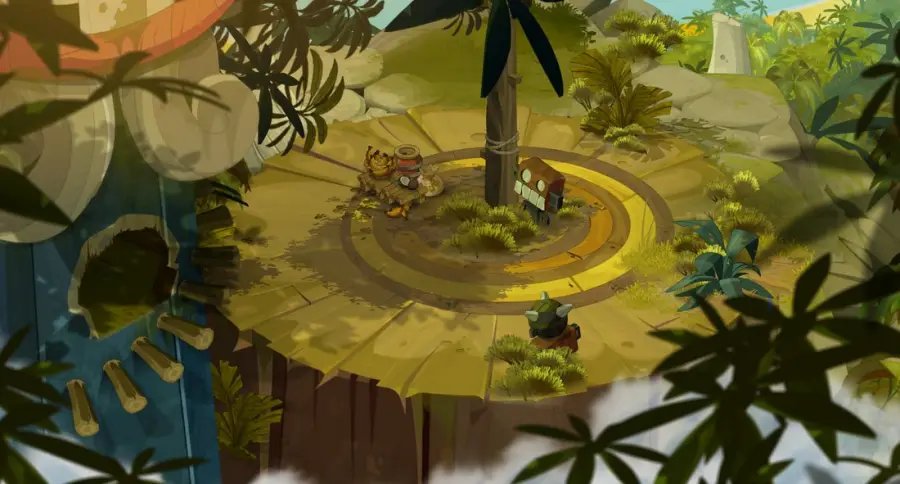
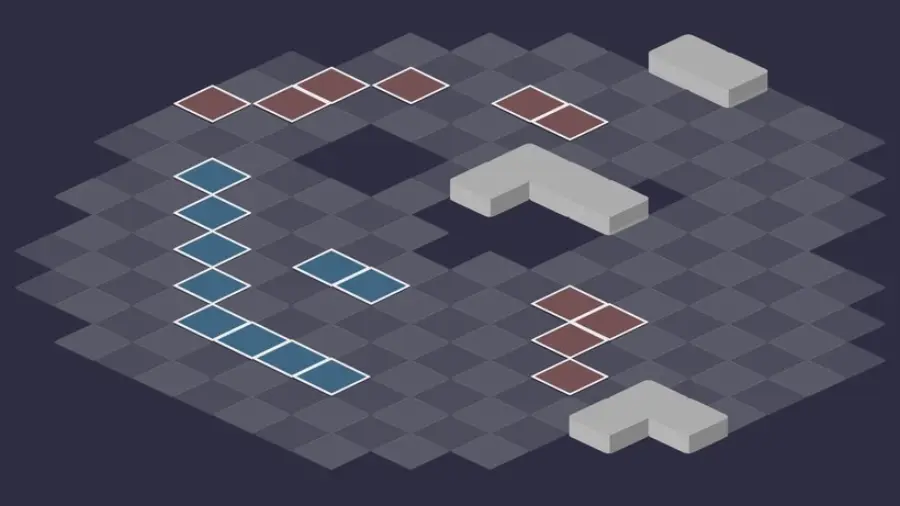
Room 4
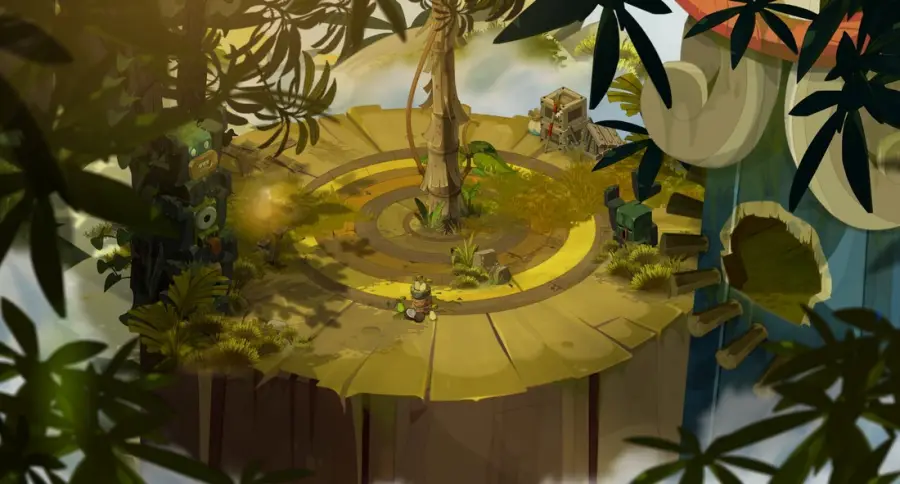

Room 5 — Moon
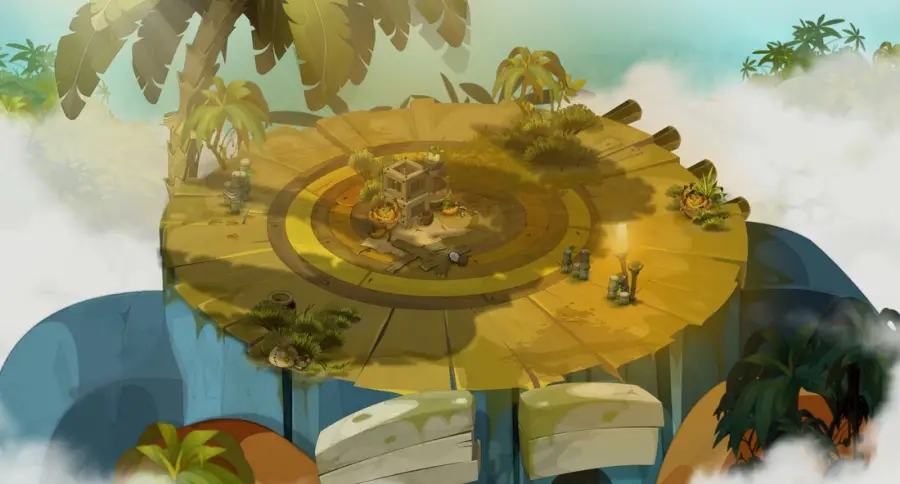
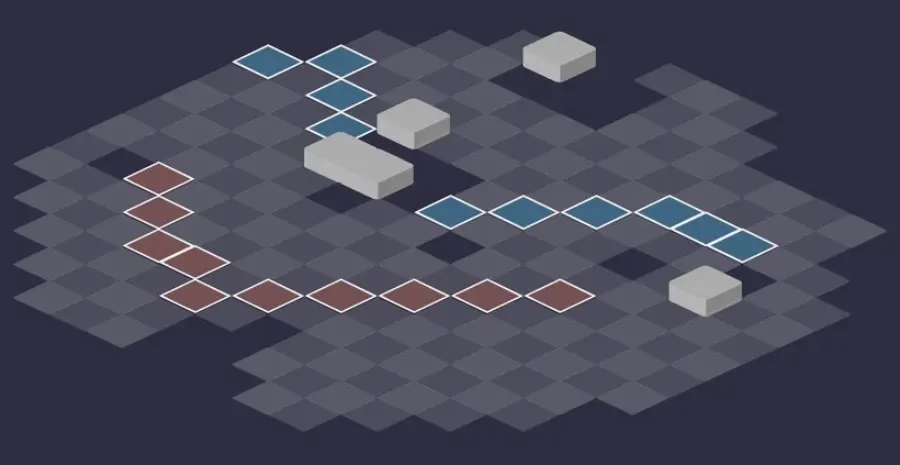
Defeat Moon
Do not push a totem
Push or placement spells do not move the totems. You have to hit a totem with a spell of its element, in line with it: it is then pulled to your contact, and stops at the first obstacle.
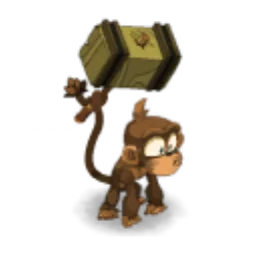
Level 100
 3,700 HP
 12 AP
 5 MP
- Resistances (%)
 Earth 200%
 Fire 200%
 Water 200%
 Air 200%
 Neutral 200%
It starts with 200% resistance in all elements: you have to place Darkli Moon's totems on their glyphs to open it. Moon Hammer removes AP, MP and range up to 8 range, Seismic Shock teleports you symmetrically on contact, and Face Down summons Darkli Moon.
 Moon Hammer3 AP · 8 range ·31 to 35 Neutral damage · -3 AP · -3 MP · -1 Range
Removes 3 AP, 3 MP and 1 range for one turn, up to 8 range. The most troublesome one for placing a totem on the next turn.
 Seismic Shock3 AP · melee ·26 to 30 Neutral damage · Symmetric teleportation
On contact: teleports you symmetrically to the other side of Moon.
-
Face Down
Summons Darkli Moon, who places the totems and their glyphs. Hitting him makes you swap places with him and strengthens Moon.
The four-step strategy against Moon
The Greedovore first. Before playing with the totems, clear the map. Swallowing kills on contact and fully heals the Greedovore, and Crass Piration pulls you to it from very far: it dies first.
Spot the totems and glyphs. Darkli Moon summons totems of four colors and each time places a glyph of the same color: red for Fire, green for Air, blue for Water, yellow for Earth. He often swaps places with Moon right after.
Pull each totem onto its glyph. Line up with the totem and hit it in its element: it comes to your contact. Stand just behind its glyph, on the axis, so that it stops on it. It resists its element at 100%: it does not die, but you sometimes have to hit it several times.
Hit in the open element. A totem placed on its glyph drops Moon's resistances in its element. Then hit Moon in that element, at range, out of Seismic Shock's reach. Avoid hitting Darkli Moon: you would swap places with him, and Moon would gain power.
When a glyph is impossible
Sometimes Darkli Moon places two glyphs on the same cell, or a glyph at the edge of the map while its totem is on the other side, with no cells to bring it there. That totem cannot be placed: rely on the other elements and adapt who hits Moon.
Moon Hammer and Seismic Shock
Moon Hammer removes 3 AP, 3 MP and 1 range for one turn, up to 8 range: a hit character may miss their totem placement. Keep a backup plan for each color. On contact, Seismic Shock teleports you to the other side of Moon: do not stay stuck to him.
The monsters of Moon's Tree
Five level 92 monsters, each with a different weakness and lots of pushbacks and pulls: watch your ends of turn. Resistances in red are their weaknesses.
In which order to kill the monsters
- Greedovore — its Swallowing kills a character on contact, and Crass Piration brings them to it from across the map.
- Ambusher — it removes lots of AP at range from the characters it has marked.
- Domoizelle — it adds summons and strengthens its allies' pushbacks.
- Glukoko — its glyph removes all your MP.
- Dostrogo — it pushes back 4 cells on contact: annoying, but not very dangerous.
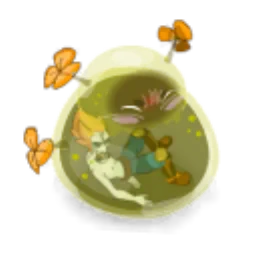
Level 92
- 1,600 HP
- 10 AP
- 4 MP
- Resistances (%)
- Earth 6%
- Fire -20%
- Water 0%
- Air 0%
- Neutral 20%
Swallowing kills its target on contact, whatever its HP, and restores all of its own. Crass Piration pulls 3 cells in a line, at near-unlimited range, while stealing life. Weak to Fire.
-
Crass Piration3 AP · 63 range · Pulls 3 cells ·26 to 30 Neutral steal
Pulls 3 cells in a line, from any distance: get out of its lines.
 Swallowing3 AP · melee · Kills the target · Heals: 100% of max HP ·1 MP
Kills the target on contact and fully heals the Greedovore. Nobody ends their turn next to it.
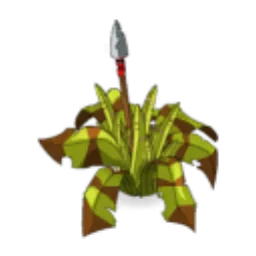
Level 92
- 1,600 HP
- 10 AP
- 4 MP
- Resistances (%)
- Earth 10%
- Fire 0%
- Water 6%
- Air 4%
- Neutral -14%
Attack of the Hunter removes a huge amount of range and puts you in the Hunted state; Ambushing Shot then removes 6 AP instead of 2. Weak to Neutral.
-
Ambushing Shot3 AP · 8 range ·26 to 30 Neutral damage · 76 to 80 Neutral damage · -2 AP · -6 AP
Removes 2 AP at range, 6 AP from a character in the Hunted state.
 Attack of the Hunter3 AP · 3 range ·26 to 30 Neutral damage · Places a glyph aura
Removes range and applies the Hunted state: get out of its area before suffering Ambushing Shot.
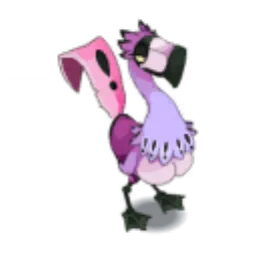
Level 92
- 1,600 HP
- 9 AP
- 5 MP
- Resistances (%)
- Earth 0%
- Fire 10%
- Water -16%
- Air 22%
- Neutral 0%
Summoning of Dough-Dough adds a summon: the Dokachu leaves you Weakened, the Dolbinos pushes back and reduces your power. Ormone Push strengthens the pushbacks of its nearby allies. Weak to Water.
-
Summoning of Dough-Dough
Summons a Dokachu or a Dolbinos, which weaken or push back.
-
Maternal Protection2 AP · 2 Range ·26 to 30 Neutral damage · Pushes back 2 cells
 Ormone Push4 AP · on self · 100 Pushback Damage ·2 MP
The Domoizelle and its nearby allies gain pushback damage and MP.

Level 92
- 1,600 HP
- 10 AP
- 4 MP
- Resistances (%)
- Earth -18%
- Fire 0%
- Water 18%
- Air 16%
- Neutral 0%
Tight Pirouette places a glyph that removes all your MP and glues you in place. Electromagnetism hits in an area around it. Weak to Earth.
 Tight Pirouette4 AP · 5 RNG ·36 to 40 Neutral damage
Glyph that removes all MP from those standing on it and glues them in place.
 Electromagnetism4 AP · on self ·36 to 40 Earth damage
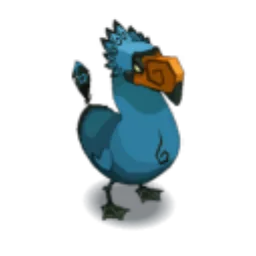
Level 92
- 1,600 HP
- 9 AP
- 5 MP
- Resistances (%)
- Earth 12%
- Fire 0%
- Water -14%
- Air 18%
- Neutral 0%
Dominating Peck pushes back 4 cells, with pushback damage, and Dostroy removes MP on contact. Do not stay lined up with it in front of an obstacle. Weak to Water.
-
Dominating Peck3 AP · 2 Range ·26 to 30 Neutral damage · Pushes back 4 cells
Push Away 4 cells with pushback damage.
-
Dostroy2 AP · melee ·26 to 30 Neutral damage
On contact, removes dodgeable MP.
Preparing your run through Moon's Tree
A level 90 dungeon at 100 that mostly requires mobility and several elements. People come for the island quests, the achievements, the Moon Skins and Moon's soul, requested by the Ochre Dofus: bring a Soul Stone for Average Souls (captures up to level 100).
How to enter Moon's Tree
The entrance is in The Forbidden Jungle, on Moon Island, at : talk to Moon's Servant. The nearest zaap is the one at Kartonpath Island , and the island itself opens with Leave and Not Come Back. You need a Moon's Tree Key (consumed), the keyring, or the automatic group search. To leave, talk to Moon.
Crafting the Moon's Tree Key
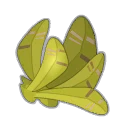
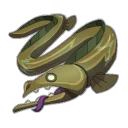
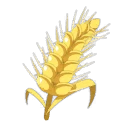
It is crafted at a handyman. Five ingredients drop from the dungeon's monsters, at 36%: Ambusher Leaf, Greedovore Flower, Dead Glukoko, Dostrogo Feather and Oozing Meat. Eel (fishing), Edelweiss and Rye (harvesting) complete the recipe.
| Ingredient | Quantity | Level |
|---|---|---|
 Ambusher Leaf |
2 | 100 |
| Greedovore Flower |
2 | 100 |
 Dead Glukoko |
2 | 100 |
 Dostrogo Feather |
2 | 100 |
 Oozing Meat |
2 | 100 |
 Eel |
2 | 100 |
 Edelweiss |
2 | 100 |
 Rye |
2 | 100 |
Which team to bring against Moon
The four elements. Each totem only moves when hit in its element, and Moon only opens in the elements of the placed totems. The more elements your team covers, the faster the fight goes.
Mobility. The glyphs can be far from their totems. Placement, teleportation or MP-gain spells make all the difference.
Classes that are comfortable here. Multi-element and mobile classes are the most comfortable: they can pull several totems and hit Moon whichever element is open.
The six achievements of Moon's Tree
Each achievement gives 3,937,000 XP and 2 Moon Skin, Duo doubles the XP; Sidekick gives 5,905,500 XP. The Special is played with the normal totem method, with no area effect hitting them.
| Achievements | Condition | Points | XP |
|---|---|---|---|
 Moon (Versatile) |
Defeat Moon in its dungeon while validating the “Versatile” challenge. | 10 | 3 937 000 |
| Moon (Duo) |
Defeat Moon in its dungeon while validating the “Duo” challenge. | 20 | 7 874 000 |
| Moon (Statue) |
Defeat Moon in its dungeon while validating the “Statue” challenge. | 10 | 3 937 000 |
| Moon (Sidekick) |
Defeat Moon in its dungeon while validating the “The Pandalans” challenge | 5 | 5 905 500 |
| Moon's Tree |
Defeat Moon in this boss's dungeon. | 10 | 3 937 000 |
| Moon (Special) |
Defeat Moon in its dungeon while validating the “Animal Totem” challenge. | 10 | 3 937 000 |
Special: Animal Totem
Darkli Moon's totems must never lose health. Only hit a totem with its own element, to which it resists at 100%: it is pulled without losing HP. Watch out for area spells that would hit a totem with another element.
Statue
End each turn on the cell where you started it. Cast spells without moving, and anticipate the pushbacks from the Dostrogo, the Domoizelle and Seismic Shock before ending your turn. Pulling a totem does not move you: the method remains valid.
Versatile
Never use the same action twice during a turn. Plan your turns: a different spell per action, alternating attack, placement and support. Pulling a totem in two steps requires two different spells of the same element.
Duo
Two characters maximum, fewer than 20 turns. Two mobile characters, able to hit at range in several elements. Kill the Greedovore first, then handle the totems.
Sidekick: The Pandalans
At least four characters, including one allowed sidekick: Mirh, Stroy Zemol, Tracon or Logram. The basic strategy applies. Keep the sidekick away from pushbacks and from the Greedovore.
Drops and loot of Moon's Tree
Base game rates, before Prospecting bonuses. Moon Skin drops at 36% from the boss, Moon Fertiliser, requested by Moon Meeting, at 30% from three of the monsters.
On Moon
 Moon SkinSkin36 %
- Magic Moon FabricFabric6,04 %
 GluLiquid6,04 %
 Nougat Rabmarac BarTreat6 %
 Dripping MeatMeat1,81 %
 Al Howin GobtubbyCeremonial pet0,35 %
On the henchmen of Moon
- Oozing MeatMeat · Domoizelle36 %
 Domoizelle FeatherFeather · Domoizelle36 %
- Dostrogo FeatherFeather · Dostrogo36 %
- Ambusher LeafPlant · Ambusher36 %
- Greedovore FlowerFlower · Greedovore36 %
- Dead GlukokoMiscellaneous Resource · Glukoko36 %
 Moon FertiliserMoon Island · Ambusher30 %
 Lear's AmuletAlignment · Greedovore12 %
- GluLiquid · Domoizelle6,04 %
 Ambusher BudBud · Ambusher6 %
 Greedo RumLiquid · Greedovore6 %
 Bag of ResinContainer · Domoizelle1 %
 Map fragment of Spykting 1/5Map fragment · Dostrogo1 %
 Map fragment of Spykting 2/5Map fragment · Ambusher1 %
 Map fragment of Spykting 3/5Map fragment · Greedovore1 %
 Map fragment of Spykting 4/5Map fragment · Glukoko1 %
 Map fragment of Spykting 5/5Map fragment · Dostrogo0,5 %
Capturing the soul of Moon
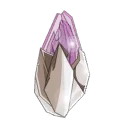 One Soul Stone for Average Souls (captures up to level 100) is enough. The soul is used for the An Eternal Harvest quest for the Ochre Dofus, which requires the soul of every dungeon guardian.
| Stone ingredient | Quantity |
|---|---|
 Ordinary Soul Splinter |
10 |
 Fish Juice |
1 |
Moon's Tree as a guild Expedition
Moon's Tree exists as a guild Expedition. Moon keeps 200% resistance everywhere there, and the totems become a real headache:
- on the first turn, it summons four totems on fixed cells, four one-cell glyphs at random, and an invulnerable Darkli Moon that swaps places once per turn; the four totems must be placed for Moon to lose its resistances;
- at the end of its turn, each character swaps places with the nearest totem, and a moved totem leaves a black glyph that kills the character who starts their turn on it;
- the totems only have 500 HP: kill them all on turn 1. No more swaps or black glyphs until turn 6, giving time to kill the monsters, Greedovore first;
- Moon resummons its totems every five turns (turns 6, 11…): pull a totem so that it is the closest to its glyph, then put a character on the glyph, and the end-of-turn swap does the rest;
- a placed totem becomes unmovable and no longer swaps places; hitting Darkli Moon swaps you with him, handy for mobility;
- avoid Air, which all the enemies resist, and beware of Moon's teleportations and of pushbacks that send you onto a black glyph.
Where is Moon's Tree?
In The Forbidden Jungle, on Moon Island, at . Talk to Moon's Servant to enter; the nearest zaap is the one at Kartonpath Island .
How do you get to Moon Island?
With the quest Leave and Not Come Back, at the Charlie's Agents Rep in : the cannon sends you to the island.
At what level should you do Moon's Tree?
From level 90, comfortably at 100. Moon is level 100, but the fight mostly requires mobility.
How do you move Moon's totems?
By hitting them in their element, in line with them. They are pulled to your contact; push spells do not move them.
Which element should you use against Moon?
That of a totem placed on its glyph. Red for Fire, green for Air, blue for Water, yellow for Earth; elsewhere, Moon keeps its 200% resistance.
Which monster should you kill first in Moon's Tree?
The Greedovore, whose Swallowing kills a character on contact and fully heals itself.
Which stone should you use to capture Moon?
One Soul Stone for Average Souls (captures up to level 100). Its soul is required by the Ochre Dofus quest.
Can Moon's Tree be done with two players?
Yes, it is the Duo achievement, in fewer than 20 turns. Two mobile, multi-element characters make the totems much easier.



Comments
No comments yet. A tip, or a detail about this page? Be the first.