 2 × Skt-Zo Leg
Dungeon Otomai Island
Tynril Lab
Level 140 dungeon in the Dark Jungle of Otomai Island, at [-53,20]: five rooms and four bosses, the Tynrils, each untouchable except in a single element. Quests to start, map of each room, strategy, monsters, achievements and loot.
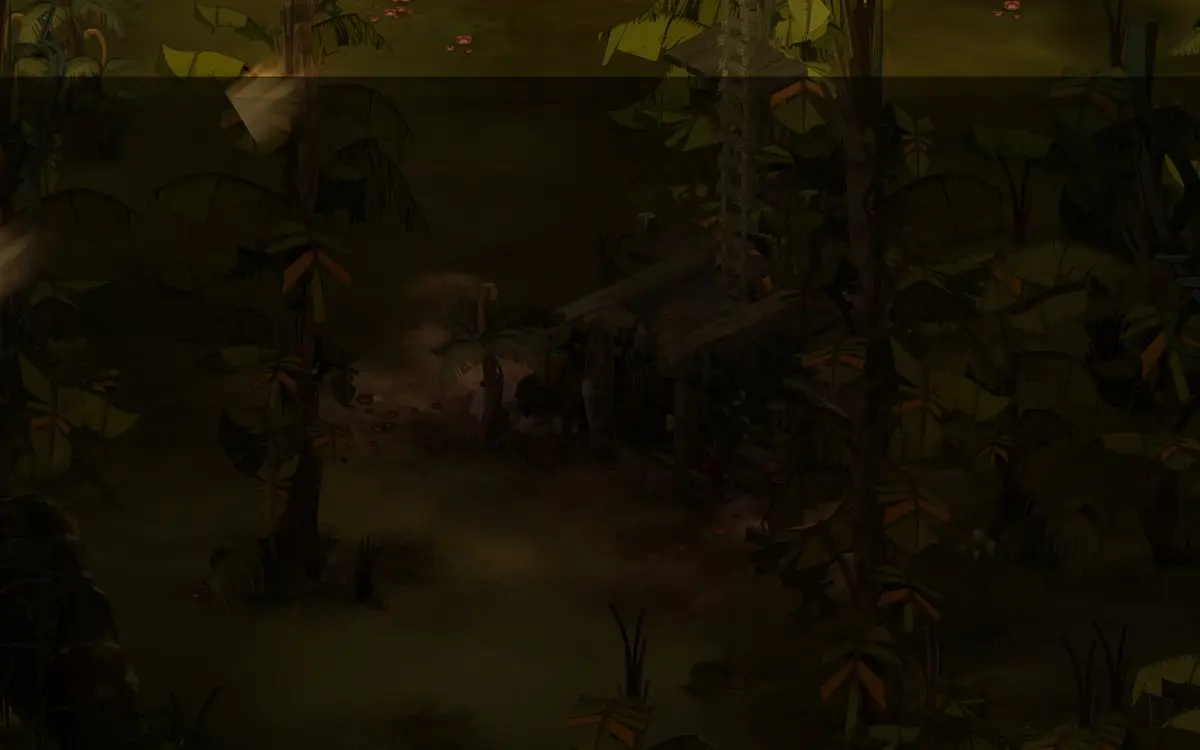
Quests linked to the Tynril Lab
Two quests are completed by beating the Perfidious Tynril in a single fight: Around Your Little Finger and Vini's Blessing. Accept them before entering: a fight won without the quest in progress doesn't count.
Lil Pinkie wants to know whether the Tynril is hiding a Dofus. Beat the Perfidious Tynril in a single fight, discover the Laboratory exit, then go back to see her.
- Start
- Lil Pinkie, Sufokia Bay
- Prerequisites
- Level 120 and Around and About
 Tynril Amberand 15,048,000 XP
The Perfidious Tynril is one of the three guardians. The Disciple of Vini has you beat Founoroshi, the Perfidious Tynril and the Royal Pingwin, each with the requested idol alteration active.
- Start
- Disciple of Vini, Pandala Island
- Prerequisites
- None
 Fire Pandawushu Artefact10, with 19,748,400 XP
For later
All four souls are requested. The Ochre Dofus quest asks for the soul of each Tynril: Stunned, Dismayed, Disconcerted and Perfidious. A Soul Stone for Big Souls is enough.
- Start
- Otomai, Otomai Island
- Prerequisites
- Level 40
During events
- Merry Kwismas
Defeating the Perfidious Tynril in a single fight is part of the Kwismas quest. Harry Kwismas, . - Tiwotokar Simulation
Tiwotokar can designate the Stunned Tynril as the guardian to defeat. Astrub, .
The 5 rooms of the Tynril Lab
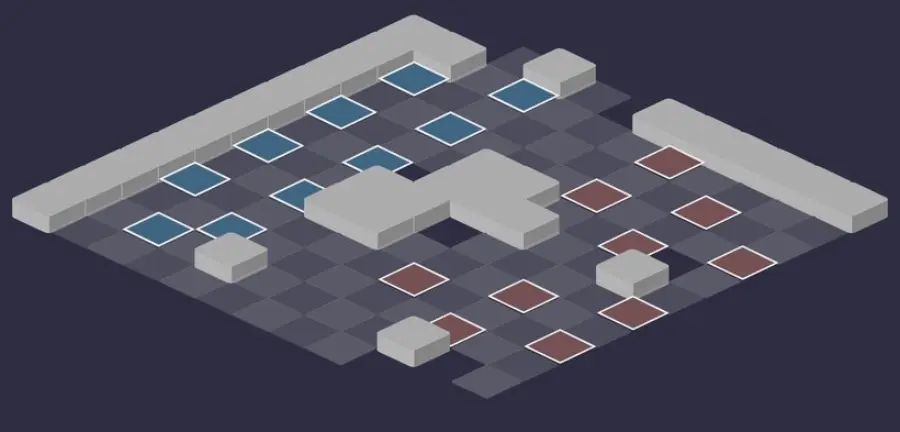
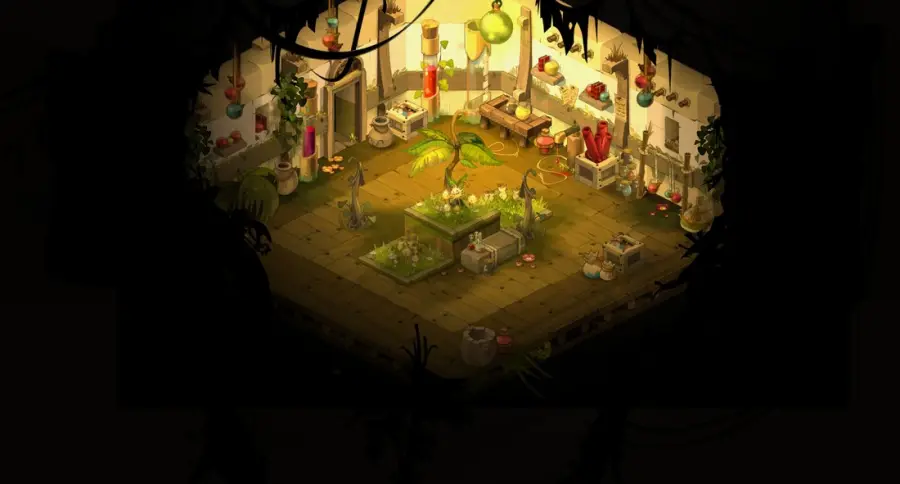
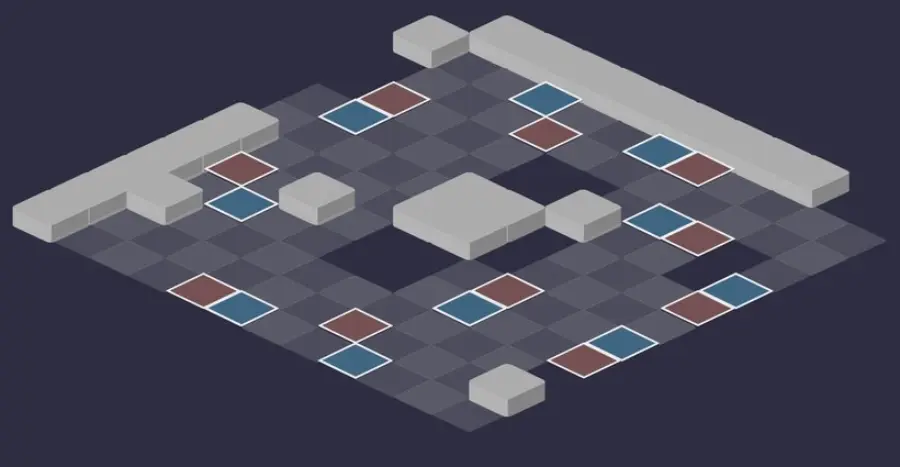
Five fights. The first four introduce the monsters one by one: Barkritter, Rotaflor, Gwass and Warguerite first, then the Floramor, the Dark Pikoko and finally the Dark Treeckler. The Tynrils' fight is played with no other monsters. For each room: the scenery, then the tactical view with the starting cells (blue: you, red: the monsters). Tap an image to enlarge it.
Room 1
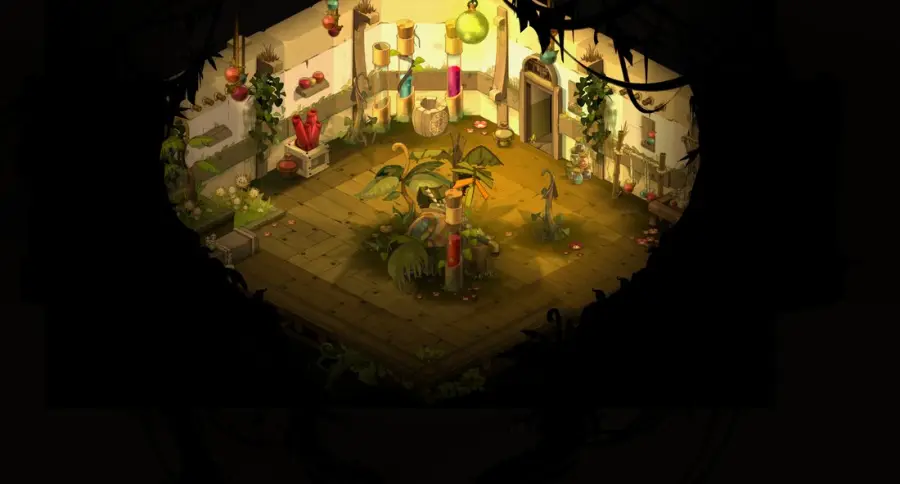
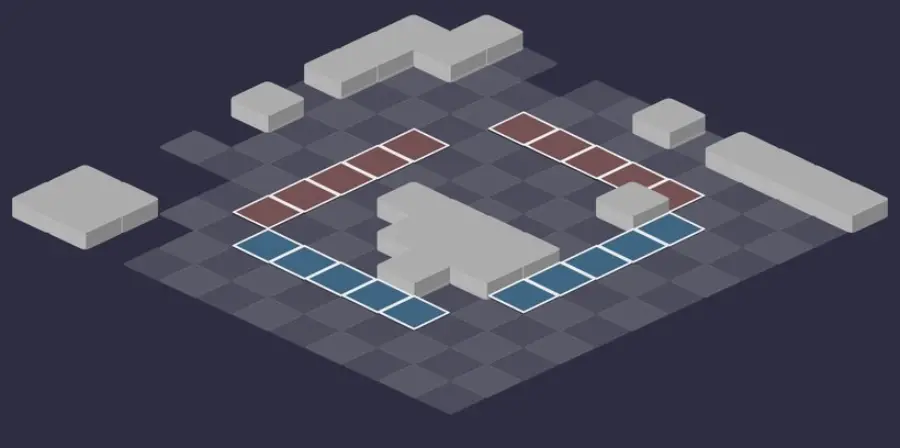
Room 2
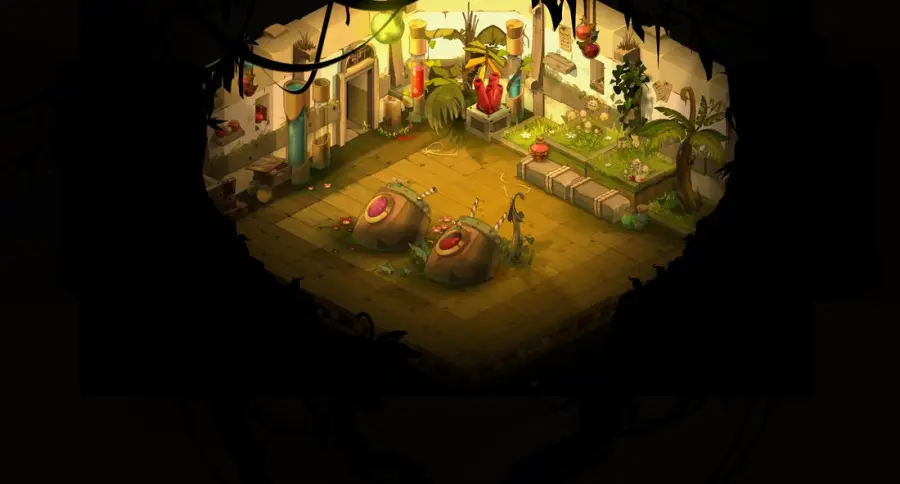
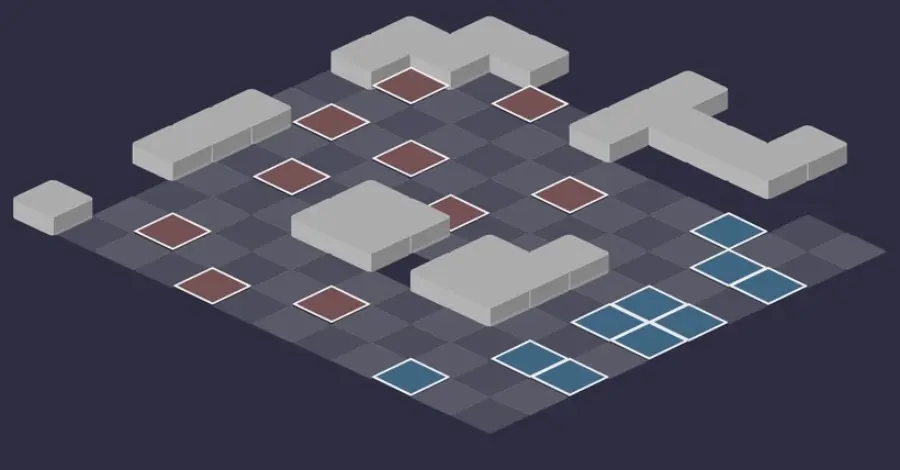
Room 3 — the four Tynrils
The four Tynrils, alone. Place your important characters as far from them as possible: the strategy is detailed just below.
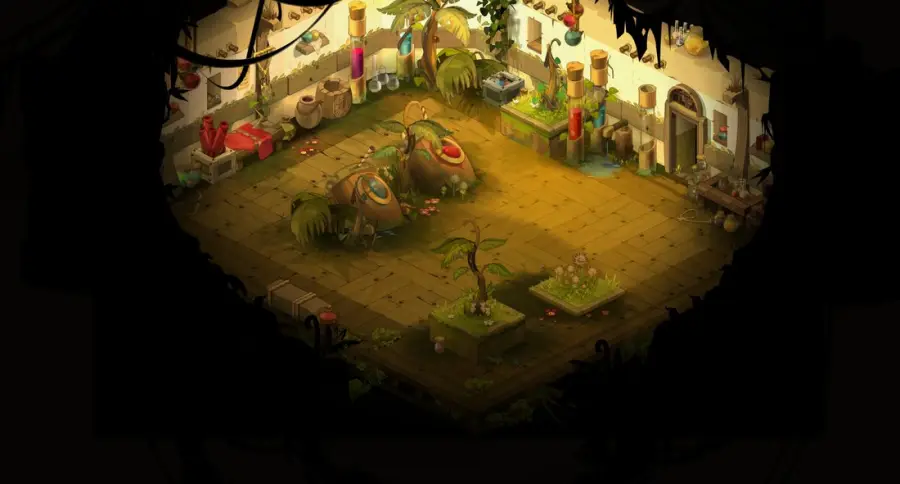
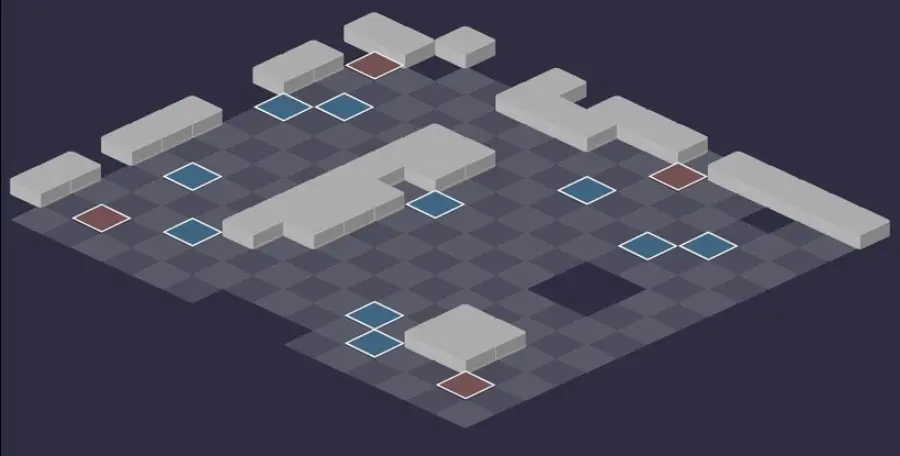
Room 4
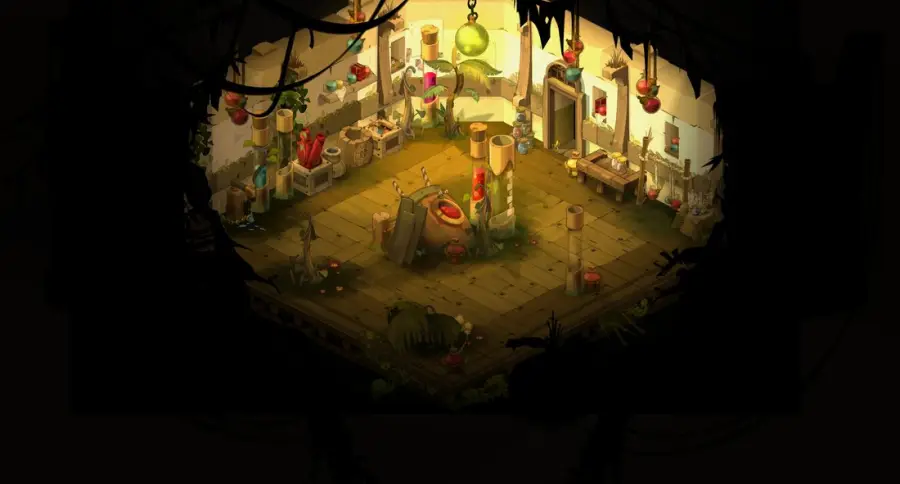
Room 5
Defeat the four Tynrils
Hiff, then Helse: the nearest character dies
Each Tynril casts Hiff on the nearest character: -2000% resistance in its element. If it then comes to hit that character in melee with Helse, they die on the spot. Remove their MP before they arrive, and keep everyone at a distance.
Level 140
 3,800 HP
 10 AP
 2 MP
- Resistances (%)
 Earth 0%
 Fire 200%
 Water 200%
 Air 200%
 Neutral 200%
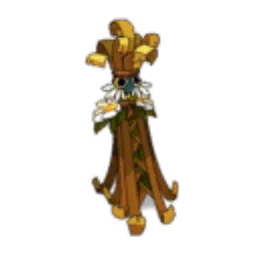
200% resistance everywhere, except Earth, at 0%. Like the other three, it only hits on contact, in its element, and has only 2 MP.
 Kikiss5 AP · melee ·10000 Fire heals
A Tynril in contact with another one heals it completely. Separate them.
 Hiff1 AP · 63 RNG ·-2000% Earth Resistance
Infinite range, on the nearest character: -2000% resistance in the Tynril's element. Keep this character out of Helse's range.
 Helse5 AP · melee ·31 to 50 Earth damage
On contact, in the Tynril's element: deadly after Hiff. A Tynril at 0 MP can't cast it on you.
 Fowrk
Place swap with another Tynril, at infinite range: an immobilized Tynril can still move this way.
Level 140
- 3,800 HP
- 10 AP
- 2 MP
- Resistances (%)
- Earth 200%
- Fire 200%
- Water 200%
- Air 0%
- Neutral 200%
200% resistance everywhere, except Air, at 0%. It swaps places with another Tynril on each of its turns.
-
Kikiss5 AP · melee ·10000 Fire heals
A Tynril in contact with another one heals it completely. Separate them.
-
Hiff1 AP · 63 RNG ·-2000% Air Resistance
Infinite range, on the nearest character: -2000% resistance in the Tynril's element. Keep this character out of Helse's range.
-
Helse5 AP · melee ·31 to 50 Air damage
On contact, in the Tynril's element: deadly after Hiff. A Tynril at 0 MP can't cast it on you.
-
Fowrk
Place swap with another Tynril, at infinite range: an immobilized Tynril can still move this way.
Level 140
- 3,800 HP
- 10 AP
- 2 MP
- Resistances (%)
- Earth 200%
- Fire 200%
- Water 0%
- Air 200%
- Neutral 200%
200% resistance everywhere, except Water, at 0%. In contact with another Tynril, it can reconstitute it with Kikiss.
-
Kikiss5 AP · melee ·10000 Fire heals
A Tynril in contact with another one heals it completely. Separate them.
-
Hiff1 AP · 63 RNG ·-2000% Water Resistance
Infinite range, on the nearest character: -2000% resistance in the Tynril's element. Keep this character out of Helse's range.
-
Helse5 AP · melee ·31 to 50 Water damage
On contact, in the Tynril's element: deadly after Hiff. A Tynril at 0 MP can't cast it on you.
-
Fowrk
Place swap with another Tynril, at infinite range: an immobilized Tynril can still move this way.
Level 140
- 3,800 HP
- 10 AP
- 2 MP
- Resistances (%)
- Earth 200%
- Fire 0%
- Water 200%
- Air 200%
- Neutral 200%
200% resistance everywhere, except Fire, at 0%. It is the one requested by Around Your Little Finger, Vini's Blessing and the Kwismas quest.
-
Kikiss5 AP · melee ·10000 Fire heals
A Tynril in contact with another one heals it completely. Separate them.
-
Hiff1 AP · 63 RNG ·-2000% Fire Resistance
Infinite range, on the nearest character: -2000% resistance in the Tynril's element. Keep this character out of Helse's range.
-
Helse5 AP · melee ·31 to 50 Fire damage
On contact, in the Tynril's element: deadly after Hiff. A Tynril at 0 MP can't cast it on you.
-
Fowrk
Place swap with another Tynril, at infinite range: an immobilized Tynril can still move this way.
The four-step strategy
Positioning and initiative. Given the starting positioning, with eight players, some characters can die before even playing. Place important characters as far as possible from the Tynrils, and have those who remove MP play first.
All Tynrils at 0 MP. They only have 2 MP and little MP dodge: put them all at 0 MP, it's very simple. Those you can't manage to immobilize, push back. They only hit on contact: immobile and far away, they can't do anything to you.
Keep them apart. Two Tynrils in contact with each other can reconstitute themselves with Kikiss. Never group them together, and watch Fowrk's place swaps, which sometimes bring them closer.
One Tynril, one element. Once they are under control, hit each one in its only vulnerable element: Earth for the Stunned, Air for the Dismayed, Water for the Disconcerted, Fire for the Perfidious. Only one Tynril at a time, with the character who plays the right element. Healing is useless in this room.
The monsters of the Tynril Lab
Seven monsters of the dark flora and fauna, level 125 to 131, who appear as you progress through the rooms. None of them backs up the Tynrils. The resistances in red are their weaknesses.
In which order to kill the monsters
- Floramor — it lowers your resistances and gives AP and MP to its allies.
- Rotaflor, then Warguerite — one heals and gives AP, the other modifies AP and MP.
- Dark Treeckler — before it stacks Crash on contact.
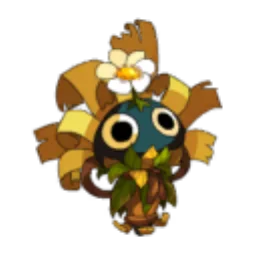
Level 129
- 2,700 HP
- 10 AP
- 4 MP
- Resistances (%)
- Earth 25%
- Fire 10%
- Water -30%
- Air -5%
- Neutral 10%
Cursed Pistil removes 50% resistance from you in four elements, Libertine Stamen gives 2 AP and 2 MP to an ally, Floral Flagellation removes 3 RNG. Weak to Water.
 Cursed Pistil5 AP · 7 Range ·-50% Air Resistance · -50% Water Resistance · -50% Fire Resistance · -50% Earth Resistance
-50% resistance in four elements: your whole group takes more damage.
 Libertine Stamen5 AP · 6 RNG ·2 AP · 2 MP
2 AP and 2 MP to an ally: kill the Floramor before it boosts the room.
 Floral Flagellation5 AP · on self · -3 Range ·41 to 80 Earth damage
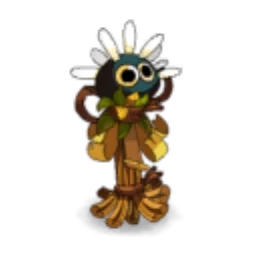
Level 127
- 2,600 HP
- 10 AP
- 4 MP
- Resistances (%)
- Earth -34%
- Fire 9%
- Water 36%
- Air 10%
- Neutral -10%
Push Away heals an ally and gives it range, Nutritious Sap gives it an AP, Gall hits with Air from a distance. Weak to Earth and Neutral.
-
Push Away5 AP · 5 RNG ·31 to 50 Fire heals · 1 Range
-
Nutritious Sap5 AP · 5 Range ·1 AP
-
Gall5 AP · 6 Range ·31 to 50 Air damage
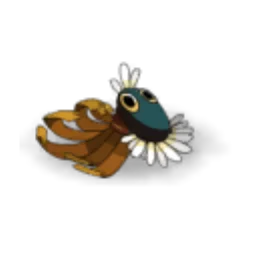
Level 125
- 2,600 HP
- 10 AP
- 5 MP
- Resistances (%)
- Earth 35%
- Fire -20%
- Water 9%
- Air -10%
- Neutral 10%
Dark Sniff varies AP and MP, yours as well as its allies', and Critical Bite hits with Fire on contact. Weak to Fire and Air.
 Critical Bite4 AP · melee ·51 to 70 Fire damage
 Dark Sniff6 AP · on self ·-1 to -2 AP · 2 to 3 AP · -1 to -2 MP · 2 to 3 MP · 1 AP · 1 MP
Varies AP and MP: watch your resources at the start of the turn.
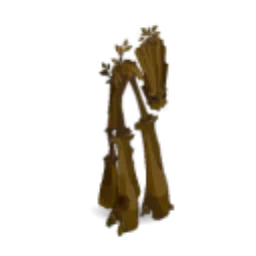
Level 131
- 2,800 HP
- 10 AP
- 4 MP
- Resistances (%)
- Earth 1%
- Fire 1%
- Water -19%
- Air 19%
- Neutral 1%
Nervure steals life with Earth, Crash gives it 100 power, and Putrid Bark hits based on its own HP: a Treeckler in top shape hurts a lot. Weak to Water.
 Nervure6 AP · 6 RNG ·31 to 50 Earth damage · 16 to 25 Earth steal
-
Putrid Bark4 AP · on self ·Neutral Damage: 20% of the caster's HP · 1 AP
Hits based on the Dark Treeckler's HP and gives it an AP: don't stay in contact with it.
 Crash
Level 126
- 2,600 HP
- 7 AP
- 4 MP
- Resistances (%)
- Earth 5%
- Fire -22%
- Water 3%
- Air 25%
- Neutral 30%
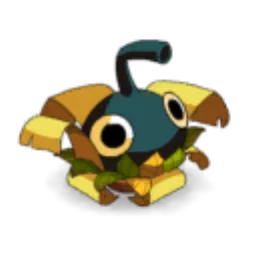
Katmint gives it 100 power, then Weed hits with Fire based on its own HP. Kill it before it powers up. Weak to Fire.
-
Katmint
100 power for the Gwass: dispel it or kill it quickly.
 Weed4 AP · 3 RNG ·Fire Damage: 11 to 15% of the caster's HP

Level 128
- 2,700 HP
- 10 AP
- 5 MP
- Resistances (%)
- Earth 8%
- Fire 30%
- Water 40%
- Air -7%
- Neutral 15%
Nasty Bark poisons every AP you spend and reduces your lock; Explosive Bark pushes back 3 cells. Hit it from a distance, on a turn where you spend little. Weak to Air.
 Explosive Bark4 AP · 8 Range ·61 to 80 Water damage · Push Away 3 cells
Pushes back 3 cells up to 8 RNG.
 Nasty Bark4 AP · 8 RNG ·10 Neutral damage for 1 AP used · -10 Lock
Poison on every AP spent and -10 lock: play a short turn or dispel.
Level 130
- 2,700 HP
- 8 AP
- 8 MP
- Resistances (%)
- Earth 13%
- Fire 13%
- Water -33%
- Air 25%
- Neutral 13%
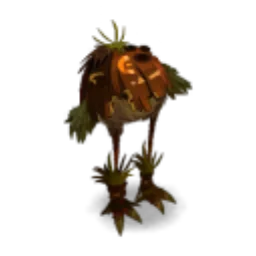
8 MP, and Dark Crush removes 2 AP on contact. Dusterette reduces your AP and MP dodge, Gleaning hits hard with Air. Keep it at a distance. Weak to Water.
 Dusterette4 AP · 8 Range ·-30 AP Parry · -30 MP Parry
-30 AP and MP dodge, up to 8 RNG: the following removals go through more easily.
-
Gleaning4 AP · on self ·51 to 70 Air damage · 1 AP
-
Dark Crush4 AP · melee ·-2 AP · 51 to 70 Earth damage
On contact: -2 AP and big Earth damage.
Preparing your run through the Tynril Lab
A hard dungeon for teams of level 130 to 140, which requires MP removal and the four elements for the last room. You come here for the Perfidious Tynril's quests, the achievements and the four souls for the Ochre Dofus, with a Soul Stone for Big Souls (captures up to level 150).
How to enter the Tynril Lab
The entrance is in the Dark Jungle of Otomai Island, at ; the nearest zaap is the one at Zoth Village . Talk to Muleze to enter, and again to leave. Three ways to open it: a Tynril Lab Key (consumed), the key ring if it is registered there, or the automatic group search.
Crafting the Tynril Lab Key
It is crafted at a handyman. Six ingredients drop from the dungeon's monsters: Gwass Sepal, Barkritter Calyx, Warguerite Bract, Floramor Stamen, Rotaflor Carpel and Macerated Meat. Monkfish and Hemp complete the recipe.
| Ingredient | Quantity | Level |
|---|---|---|
 Gwass Sepal |
2 | 132 |
 Barkritter Calyx |
2 | 134 |
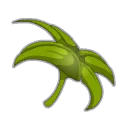 Warguerite Bract |
2 | 131 |
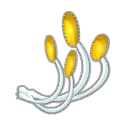 Floramor Stamen |
2 | 135 |
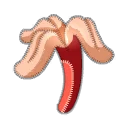 Rotaflor Carpel |
2 | 133 |
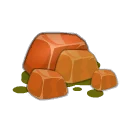 Macerated Meat |
2 | 140 |
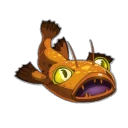 Monkfish |
2 | 140 |
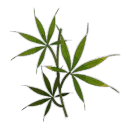 Hemp |
3 | 140 |
The right team for the Tynril Lab
MP removal. The key to the final fight: Tynrils at 0 MP can no longer hit you. Give initiative to the characters who remove MP.
The four elements. Each Tynril is only vulnerable in one element: Earth, Air, Water and Fire. Without these four elements on the team, one of them will remain untouchable.
Pushing rather than healing. Healing is useless against the Tynrils, who kill in one hit. Classes that push back, like the Cra or the Iop, catch up with a poorly immobilized Tynril.
Classes that are comfortable here. Classes with MP removal handle the final fight; the Cra and the Iop push back a Tynril that approaches. The Pandawa can carry and throw the Tynrils without making Putting Down Roots fail.
The five achievements of the Tynril Lab
Each achievement gives 12,540,000 XP and 2 Tynril Pistil; Duo doubles the XP. With the Tynrils at 0 MP, Untouchable comes almost on its own; Putting Down Roots precisely forbids this removal.
| Achievements | Condition | Points | XP |
|---|---|---|---|
 Tynril Lab |
Defeat the Tynrils in their dungeon. | 10 | 12 540 000 |
| Tynrils (Duo) |
Defeat the Tynrils in their dungeon while completing the “Duo” challenge. | 20 | 25 080 000 |
| Tynrils (Special) |
Defeat the Tynrils in their dungeon while completing the “Putting Down Roots” challenge. | 10 | 12 540 000 |
| Tynrils (Untouchable) |
Defeat the Tynrils in their dungeon while completing the “Untouchable” challenge. | 10 | 12 540 000 |
| Tynrils (Zombie) |
Defeat the Tynrils in their dungeon while completing the “Zombie” challenge. | 10 | 12 540 000 |
Special: Putting Down Roots
Enemies must not be moved (teleportation, pull, push) nor be subject to an MP removal attempt. Without MP removal or pushing, hit as hard as possible to kill them quickly. The Pandawa's carry and throw don't count as a move: it can move a Tynril away without making the achievement fail.
Untouchable
No ally may lose HP. The Tynrils only hit on contact: at 0 MP and far from you, they can't touch you. Hiff deals no damage. The real risk is the first turn, before you have removed all the MP.
Zombie
Use exactly one MP per turn. You will only move one cell per turn: choose your starting cells far from the Tynrils, then immobilize them from the first turn. Decide on your cell before casting your spells.
Duo
Two characters maximum, under 20 turns. With two, you need to cover the four elements and keep MP removal. Kill the Tynril that matches your best element first, then chain on without losing turns.
Drops and loot of the Tynril Lab
Base game rate, before Prospecting bonuses. The Tynril Pistil and the Tynril Amber drop from the Perfidious Tynril.
On the bosses
 Tynril PistilPlant · Perfidious Tynril27 %
 Nougat Rabmarac BarTreat · Perfidious Tynril6 %
- Tynril AmberPrecious stone · Perfidious Tynril4,44 %
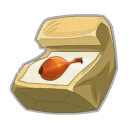 Bag of OnionsContainer · Perfidious Tynril3 %
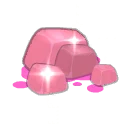 Macerated CarrionMeat · Perfidious Tynril1,33 %
 Al Howin GobtubbyCeremonial pet · Disconcerted Tynril0,55 %
On the henchmen
- Macerated MeatMeat · Rotaflor27 %
- Rotaflor CarpelPlant · Rotaflor27 %
- Warguerite BractPlant · Warguerite27 %
- Barkritter CalyxPlant · Barkritter27 %
- Gwass SepalPlant · Gwass27 %
 Dark Treeckler SeedSeed · Dark Treeckler26 %
 Dark Pikoko TonsilsMiscellaneous Resource · Dark Pikoko26 %
- Floramor StamenPlant · Floramor26 %
 Warguerite BarkBark · Warguerite4,56 %
 Gwass BarkBark · Gwass4,52 %
 Rotaflor BarkBark · Rotaflor4,48 %
 Barkritter BarkBark · Barkritter4,44 %
 Floramor BarkBark · Floramor4,4 %
 Dark Pikoko NutShell · Dark Pikoko4,36 %
 Dark Treeckler's Achilles' HeelMiscellaneous Resource · Dark Treeckler4,32 %
- Bag of OnionsContainer · Dark Treeckler1 %
Soul capture, Ochre Dofus and exit
Soul capture and Ochre Dofus
 A Soul Stone for Big Souls (captures up to level 150) is enough. The Ochre Dofus quest An Eternal Harvest asks for the souls of the four Tynrils.
| Stone ingredient | Quantity |
|---|---|
 Superior Soul Splinter |
10 |
 Mineral Potion |
1 |
The key to Kimbo's Canopy
 Talk to Muleze again to leave the Laboratory: he gives you a Kimbo's Canopy Key and a Tynril relic.
Where is the Tynril Lab?
In the Dark Jungle of Otomai Island, at . The nearest zaap is the one at Zoth Village ; talk to Muleze to enter.
What level should you be for the Tynril Lab?
From level 130, comfortably at 140. The four Tynrils are level 140.
Which element against which Tynril?
Earth for the Ahuri, Air for the Consterné, Water for the Déconcerté, Fire for the Perfide. Each one resists 200% in all the other elements.
How do you beat the Tynrils?
Put them all at 0 MP, separate them, then kill them one by one in their element. They only have 2 MP and only hit on contact.
Why do my characters die all at once?
Because of Hiff, which removes 2000% resistance in the Tynril's element. Helse, cast next on contact, kills on the spot: don't let any Tynril reach you.
Which quest should you do at the Tynril Lab?
Around Your Little Finger, started by Lil Pinkie , and Vini's Blessing: both are completed on the Perfidious Tynril.
Which stone should you use to capture the Tynrils?
A Soul Stone for Big Souls (captures up to level 150). The Ochre Dofus quest asks for the souls of the four Tynrils.
Should you heal against the Tynrils?
No, healing is useless in this room. Bet on MP removal and pushing.

Comments
No comments yet. A tip, or a detail about this page? Be the first.