 2 × Skt-Zo Leg
Quest Aerdala
A Tormented Heritage
Level 200 Eliocalypse quest, with Draconiros in front of the Dofus receptacle at [21,-33]: find a way to master the Dofus created by Kabaal in the nightmare. All the steps, the dialogue choices, the crafts and the fights.
What to prepare
The biggest preparation is the Rune of Harmony: you need a miner profession of level 10 or higher, a Harmony amulet (jeweler level 47 or higher) and the Totem of Balance, the reward for Maimane's Totems.
 200 × Nuggetfor the Rune of Harmony
 10 × Rock Pandawushu Artefactfor the 5 Virtue of Harmony
 5 × Wind Pandawushu Artefactfor the 5 Virtue of Harmony
 5 × Wood Pandawushu Artefactfor the 5 Virtue of Harmony
 5 × Fire Pandawushu Artefactfor the 5 Virtue of Harmony
 5 × Water Pandawushu Artefactfor the 5 Virtue of Harmony
 4 × Yellow Mage Metariafor the Rune of Harmony
 4 × Red Mage Metariafor the Rune of Harmony
 4 × Green Mage Metariafor the Rune of Harmony
 4 × Blue Mage Metariafor the Rune of Harmony
 2 × Greater Astral Runefor the Rune of Harmony
 1 × Harmonyamulet, crafted by a Jeweler at level 47 or higher
Quest Resources, obtained along the way
 1 × Totem of Balancereward from the quest Maimane's Totems
 5 × Virtue of Harmonyto craft in the Terrdala miners' workshop
 1 × Virtue of Supreme Harmonygiven by the Paper Qilin in exchange for the 5 Virtue of Harmony
 1 × Page from Rewona's Spellbookfrom the Demonic Spellbook
 5 × Exhilarating Influencefrom the manifestations of the nightmare
 5 × Destructive Influencefrom the manifestations of the nightmare
The 29 quest steps
-
1Talk to Draconiros
Dialogue · Draconiros
The quest starts after Ashes to Ashes, Dust to Descendre, with Draconiros, in front of the Dofus receptacle. He wants you to find a way to recover the Dofus created by Kabaal in the nightmare, with the help of Rimanda and Kro'Ly, who had revealed to you the name of the nightmare spirit.
Dofus Receptacle · [21,-33] -
2Go back to see Rimanda
Dialogue · Rimanda
On Rok Islet, Rimanda confirms that the Dofus threatens the island. Destroying it or reversing the ritual would not be enough: you must oppose Harmony to the Dofus's Dissonance, using the prismatic pyramids of Bonta and the original rune of the first Huppermage. Only Prosperus Elementor knows how to create it: she gives you a ring to show to his messenger.
Two leads then open up, in whatever order you like: the first Huppermage (as far as the pyramids of Bonta) and Kro'Ly the demonologist, in Brakmar.
 Rimanda's Ringreceived
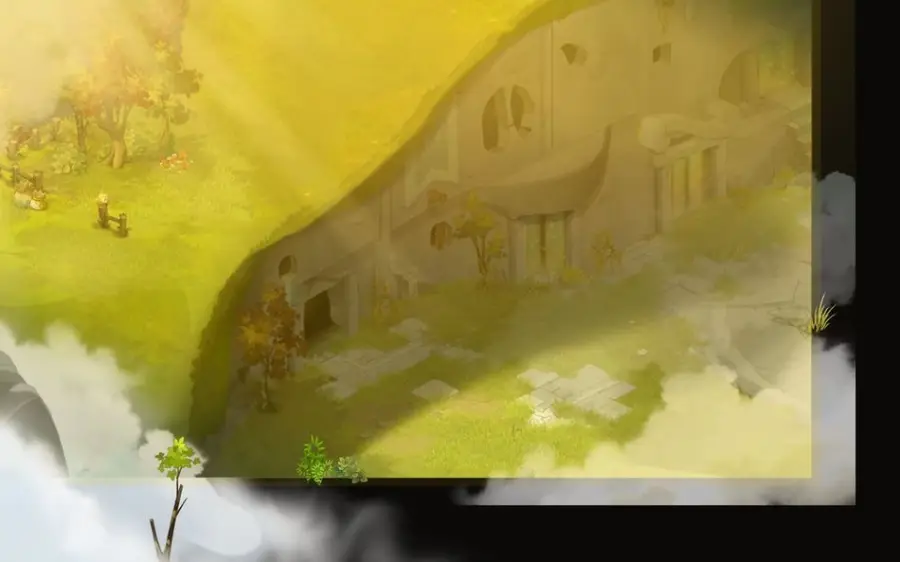
Rok Islet · [38,-21] -
3Join the vagabonds' tree
Movement · Magus Ax
In the Astrub alchemists' workshop, talk to Magus Ax: he leads you to the vagabonds' tree, where Prosperus Elementor's messenger passes by.
Dialogue
- “Ask him to guide you to the vagabonds' tree”
-
4Talk to the Wandering Whisperer
Dialogue · Wandering Whisperer
In the tree, the Wandering Whisperer says he comes from the pyramid. Ask him whether his master is Prosperus Elementor and explain that you need to talk to him. He pretends not to know the Huppermage: show him Rimanda's ring.
-
5Get the rune's pattern
Items · Wandering Whisperer
Talk to the Wandering Whisperer again: he has established the link with his master, and it is Prosperus Elementor who answers you. After your explanation, the messenger anchors the pattern of the Rune of Harmony in your head. You will have to craft it at the Rok workshop, with a Totem of Balance equipped.
-
6Obtain the Totem of Balance
Items · Maimane
Start and complete the quest Maimane's Totems, with Maimane in the nightmare of the Destroyers at . You receive 1 Totem of Balance when you complete it.
- Totem of Balancereceived
-
7Craft 5 Virtue of Harmony
Crafting
In the Terrdala Miners' Workshop, the only place where it can be crafted, craft 5 Virtue of Harmony with the Miner profession at level 10 or higher. One Virtue of Harmony requires 2 Rock Pandawushu Artefact and 1 each of Wind, Wood, Fire and Water Pandawushu Artefact.
Cooperative crafting is impossible: you must be a level 10 or higher miner yourself.
- 10 × Rock Pandawushu Artefactto hand over
- 5 × Wind Pandawushu Artefactto hand over
- 5 × Wood Pandawushu Artefactto give
- 5 × Fire Pandawushu Artefactto hand over
- 5 × Water Pandawushu Artefactto hand over
- Virtue of Harmonyreceived
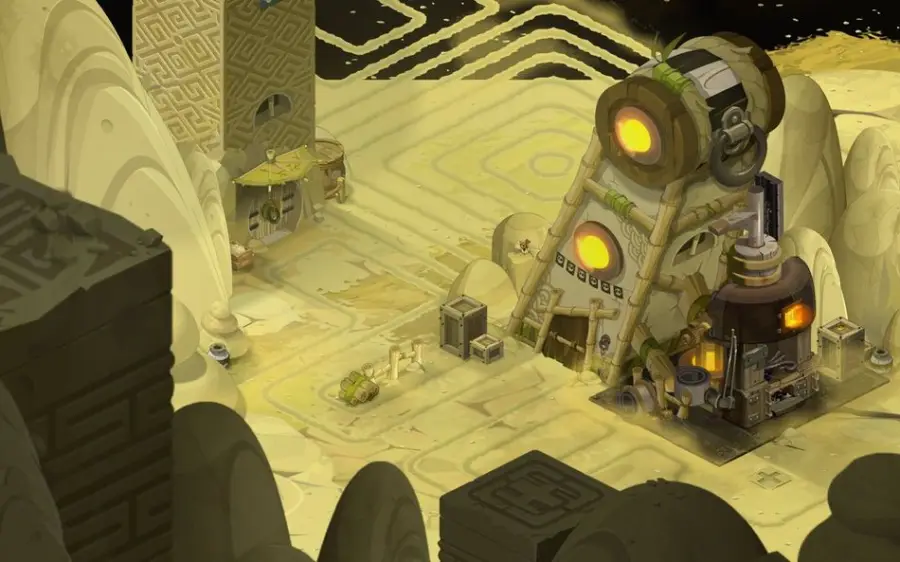
Terrdala Miners' Workshop · [24,-22] -
8Join Urazawi the Sage
Movement[0,0] · Urazawi
Head to the Wukin and Wukang area, for example through the passage at . Then go to [0,0], climb the stairs and talk to Urazawi the Sage, in the center.
Dialogue
- “Follow the path of the stars to see the first calligrapher again”
-
9Obtain the Virtue of Supreme Harmony
Items · Paper Qilin
You are teleported into the starry dream. Talk to the Paper Qilin and give it the 5 Virtue of Harmony: in exchange, it hands you the Virtue of Supreme Harmony.
Dialogue
- “Say that you are looking for a supreme virtue of harmony”
- 5 × Virtue of Harmonyto hand over
- Virtue of Supreme Harmonyreceived
-
10Craft the Harmony amulet
Crafting
Craft the Harmony amulet, or get it, with a Jeweler at level 47 or higher. Recipe: 1 Tofoone Fluff, 1 Boostache Moustache, 6 Kwoan Eye and 2 Farmland Substrate.
 1 × Tofoone Fluffto hand over
 1 × Boostache Moustacheto give
 6 × Kwoan Eyeto give
 2 × Farmland Substrateto give
- Harmonyreceived
-
11Craft the Rune of Harmony
Crafting
Go back to Rok Islet and enter the smithmagic workshop. Equip the Totem of Balance in place of your weapon, click the crusher and choose “create a rune of harmony”. Then craft 1 Rune of Harmony.
- 4 × Yellow Mage Metariato give
- 4 × Red Mage Metariato give
- 4 × Green Mage Metariato hand over
- 4 × Blue Mage Metariato hand over
- 1 × Virtue of Supreme Harmonyto hand over
- 200 × Nuggetto give
- 2 × Greater Astral Runeto hand over
- 1 × Harmonyto hand over
 Rune of Harmonyreceived
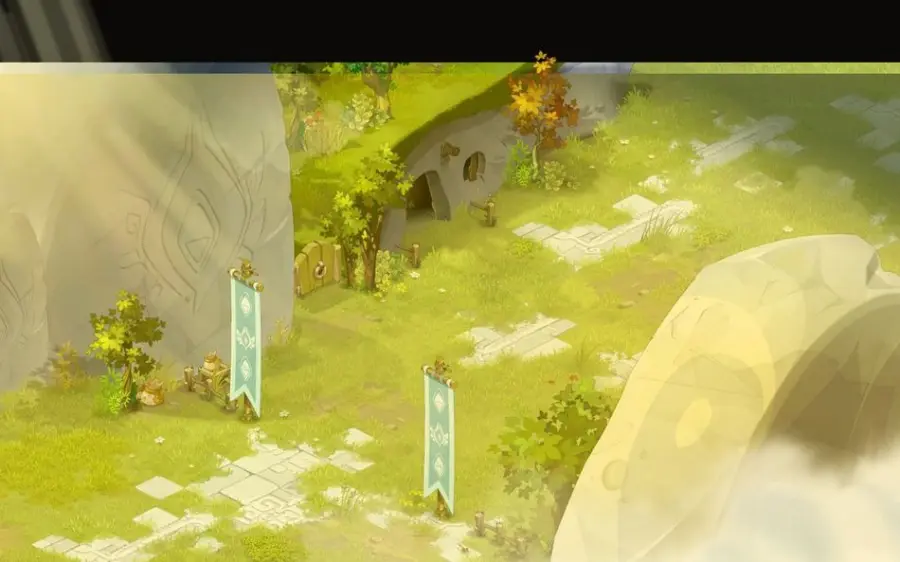
Rok Islet Smithmagic Workshop · [38,-20] -
12Use the rune on the pyramids
Dialogue · Prismatic Pyramids
Go to the little tower at the very back of the Bonta palace and go up to the upper floor. Stand on a cell adjacent to the Prismatic Pyramids and talk to them. The harmony of the pyramids is rebalanced and the rune is destroyed.
Dialogue
- “Approach the symbol of harmony of the two pyramids”
- “Stay still”
- 1 × Rune of Harmonyto give
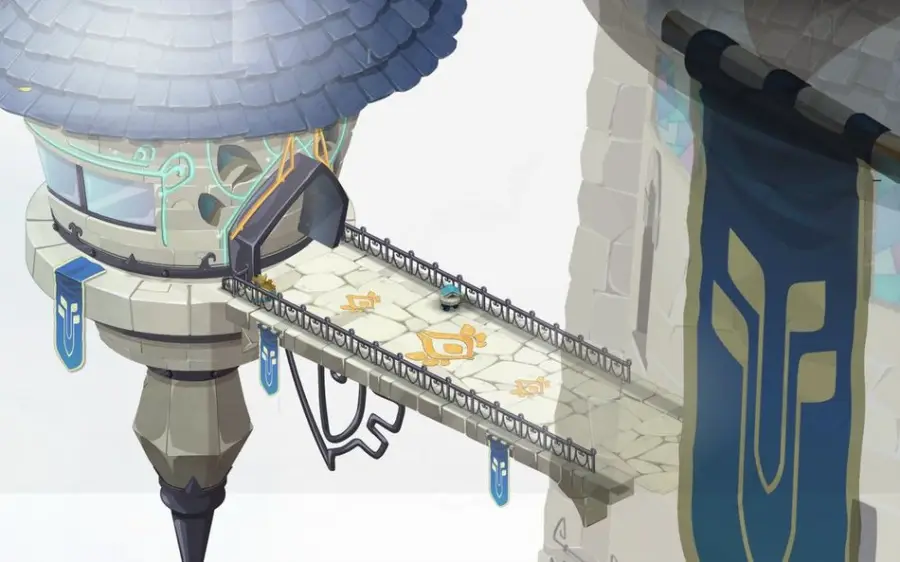
Bonta Palace · [-37,-61] -
13Find Ilaster Kro'Ly again
Dialogue · Ilaster Kro'Ly
Go up to the second floor of the Brakmar library. Talk to Ilaster Kro'Ly about the nightmarish Dofus: he agrees to help you if you owe him a favor. His spell could master the Dofus, but its formula is only transcribed in the spellbook of the witch Rewona, which has disappeared somewhere in Brakmar. While you look for it, he protects the library's old books, coveted by a rodent.
Dialogue
- “Think about the stakes and accept”
Three tasks follow, in whatever order you like: the spellbook page, 5 Exhilarating Influence and 5 Destructive Influence.
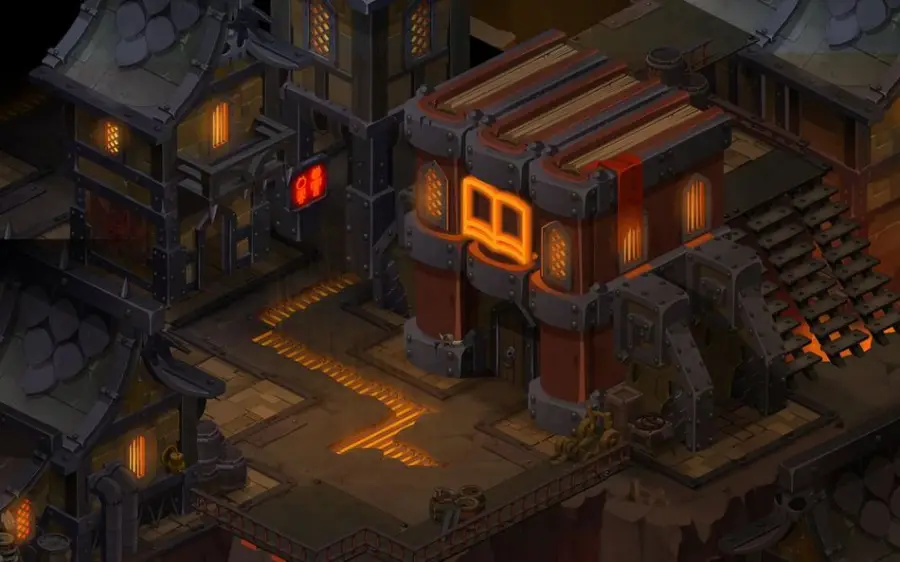
Brakmar Library · [-24,39] -
14Follow the Librarivore Rat
Movement · Librarivore Rat
The rodent Kro'Ly talked about is the lead. Go down into the Brakmar sewers at , then go down one map at : the Librarivore Rat is reading a book, with an old parchment glowing red as a bookmark. It jumps into the crevice: follow it by carefully climbing down the big chain.
Only characters at this step of the quest, or who have completed it, can go down into the crevice.
-
15Defeat the Demonic Spellbook
Combat
Down below, approach the Demonic Spellbook: it judges you unworthy of reading its pages written in Amakna script. Convince it, and a fight starts, which can be done with several players. The spellbook runs away, but you have wrested the spell's formula from it.
Dialogue
- “Approach the spellbook”
- “Convince him to share his knowledge”
You only have 10 turns to kill it: on turn 11, the whole team dies. Hit it in the order Air, Water, Fire, Earth, Neutral to strip its resistances.
 Demonic Spellbookfight · level 200 · 5,500 HP · 12 AP · 4 MP
- Page from Rewona's Spellbookreceived
-
16Fight the manifestations in Brakmar
Combat
The influences drop from nightmare manifestations taken from the militiamen. In Brakmar, talk to one of the Bontarians on each of these four maps: each fight can be done in a group and yields one influence, whose type depends on the alignment fought. The captain's fight yields two.
- talk to one of the Bontarians
- talk to one of the Bontarians
- talk to one of the Bontarians
- talk to one of the Bontarians: this fight includes the Bontarian Captain, invulnerable until her allies die
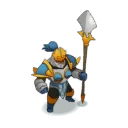 Bontarian Captainfight · level 200 · 5,500 to 6,000 HP · 12 AP · 5 MP
-
17Fight the manifestations in Bonta
Combat
Same thing in Bonta: talk to one of the Brakmarians on each of these four maps. Each fight can be done in a group; the captain's fight yields two influences.
- talk to one of the Brakmarians
- talk to one of the Brakmarians
- talk to one of the Brakmarians
- talk to one of the Brakmarians: this fight includes the Brakmarian Captain, invulnerable until his allies die
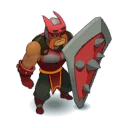 Brakmarian Captainfight · level 200 · 6,000 HP · 12 AP · 4 MP
-
18Bring the page and the influences back to Kro'Ly
Items · Ilaster Kro'Ly
On the second floor of the Brakmar library, hand everything over to Ilaster Kro'Ly. Disappointed that you didn't bring back the whole manuscript, he crumples the page into a ball and swallows it, then translates the spell onto a blank sheet of paper, to be read aloud in the right place.
- 1 × Page from Rewona's Spellbookto hand over
- 5 × Exhilarating Influenceto hand over
- 5 × Destructive Influenceto hand over
 Kro'Ly's Spellreceived
-
19Chant the spell in the nightmare's maw
· Destroyers' Nightmare
Go back into the Destroyers' nightmare at and click the big jaw to go down into it. Talk to the Destroyers' Nightmare and read the spell: it grows. Talk to it again and keep reciting: the light of Harmony spreads, but it calls the Banes to its aid and you are teleported far from here.
-
20Talk to the Horsemen
Dialogue[0,0] · Entropix
Talk to Servitude, who threatens to kill you: continue your incantation, in vain, because you are too far from the Dofus. Then talk to Entropix, who came to help you and who transforms, then talk to him again to start the fight.
Dialogue
- “Face the Horsemen of the Eliocalypse”
Tip: first start Meanwhile, a Rebirth and advance it to the same fight. The two fights are separate, but it gives you the Relic Chest, which brings you back to the fight location if you lose. Otherwise, you probably have to go back through the nightmare's maw at .
-
21Face the four Horsemen
Combat[0,0]
You fight Misery, Corruption, Servitude and War, who have enormous HP, with Entropix and a double of yourself at your side. Your main character is sacrificed by the double, which absorbs its damage, and is Unlockable. The Horsemen are not killed: they are neutralized, and the fight ends when all four are.
Your main character deals no damage with its damage spells: the double is the one that hits.
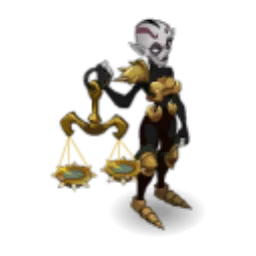 Miseryfight · level 220 · 18,000 to 26,000 HP · 20 AP · 6 MP
-
22Strike with your double
The double carries the effect Relic of the Dead God: 60,015 Vitality, +400% final damage and 3 MP. Each MP it uses hits and pushes adjacent enemies back one cell: move it into melee range of the targeted Horseman as many times as you have MP. At the end of its turn, it also hits the target in the Strategic Support state, with whom it swaps places at the start of its turn.
The double hits in your best element: preferably switch to Water, especially against Misery. Push or pull it often, as this heals it and its allies within 2 cells or less.
-
23Apply the Strategic Support state
Only your main character applies the Strategic Support state, by hitting the desired target, even without dealing it damage. Only one character has it at a time: a Horseman or Entropix, recognizable by the small gray 1 above it. Always place it on the Horseman you are targeting, or on Entropix to benefit from the place swap: it deals no damage to it.
-
24Neutralize each Horseman
Bring the Horseman down to 10% of its max HP: it enters the Weakened Horseman state. Then perform its own action three times (see the fights below): a colored number rises from 1 to 3 above it, then it summons a cross-shaped glyph of size 1. Place it at the center of this glyph: it loses 100 AP and 100 MP and becomes Unmovable and Rooted.
The numbers and the glyph disappear after 3 turns: you then have to start over. Recommended order: Misery, Corruption, Servitude, then War.
-
25Finish the ritual
· Destroyers' Nightmare
After the victory, talk to Entropix again: he teleports you in front of the nightmarish Dofus. Talk to the Destroyers' Nightmare to continue the ritual. It tries to resist with the power of the Dofus, then chains break and the spirit disappears.
-
26Break the barrier
Dialogue · Helzbeth, Mother of the Destroyers
Helzbeth, Mother of the Destroyers appears, furious that you stand against her. While she rages, you detect the barrier that is blocking Draconiros and master the energy of the Dofus, which now flows within you. It's a success.
Dialogue
- “Try to break the barrier with the Dofus's energy”
-
27Listen to Draconiros's sentence
Dialogue · Draconiros
Talk to Draconiros, who accuses Helzbeth of breaking many rules, listen to Helzbeth's defense, then Draconiros's reply: he condemns her to a dreamless sleep. Talk to him again: Entropix is a paradox born when the tormented stone was entrusted to the Banes, and it must disappear.
Dialogue
- “Reluctantly approach the chronomorph”
-
28Return Entropix to the dream time
Combat · Entropix
Talk to Entropix and apologize. Scared, he draws on the Dofus, which cracks: you are now in front of a temporal rift. Talk to him again to send him back where he came from. This fight is done alone.
Dialogue
- “Face Entropix before it's too late”
 Entropixfight · level 200 · 5,500 HP · 12 AP · 5 MP
-
29Go back to see Draconiros
Dialogue · Draconiros
Tell Draconiros that Entropix is no more. He combines the tormented stone with the Dofus created by Kabaal, then hands that Dofus to you, made of the essence of your nightmare, whose dream you will now have to watch over. The quest ends, and with it the Eliocalypse chapter.
The fights
Level 200
In the crevice of the Brakmar sewers, with a group if you like. 5,500 HP and 99% resistances across the board. At the start of each turn, it places a glyph of the element that last hit it: hit it in Air, Water, Fire, Earth, then Neutral, and the number above its head rises up to 5. After one turn played in the 5 state, it loses 200% resistances: kill it before turn 11, when the team dies. It summons a Pumalevolent each turn; its glyphs hit allies and enemies alike and can finish off the Pumalevolent.
-
Sinister Bite
Strikes 400 in Fire. Melee only.
-
Occult Tempest
Hits for 200 Air and removes 2 range for 1 turn. Up to 6 range.
-
Black Magic
Gives itself 1 MP and swaps places with the target. Up to 5 range.
Level 200
Fights against the Bontarians, in Brakmar. The captain, at , is Invulnerable as long as its allies live. Once alone, it gains 3 MP and 10% final damage each turn, with no limit: eliminate it as quickly as possible. Spells of the Bontarians in these fights, in the order of the guide:
-
Bontarian Earthly Blow
Hits 550 in Earth, in a cross of size 1. In a line, up to 2 range.
-
Bontarian Watery Blow
Hits for 550 Water. In a line, up to 2 range.
-
Targe
Gives 550 AP-boost to all its allies for 1 turn. From turn 3, then every 3 turns.
-
Impalement
Hits 400 in Air, in a cross of size 1, and poisons the target for 30 to 34 Neutral damage for 2 turns. In a line, up to 2 range.
-
Neutralising Blow
Hits for 550 Water and removes 100 MP for 1 turn. Melee, cooldown of 2 turns.
-
Zealous Glyph
Square glyph of size 2 around it for 2 turns: 100 in Water and 2 MP removed as long as you are inside. Cooldown of 3 turns.
-
Bulking Up
From his first turn, +50% resistances, then -25% per turn for the following 3 turns, before regaining 50%, and so on.
-
Ravages
Hits for 150 Water, in a cross of size 1, and steals 80 Chance from the target for 2 turns. From 2 to 7 range.
-
Sword Blow
Hits 200 in Air as life steal and steals 80 Agility for 2 turns. In melee.
-
Inflexible Double
Summons a double with the same spells: +15% final damage, -30% resistances. When it dies, its allies lose 2 MP and 15% resistances, and their damage drops by 7%. In melee, cooldown of 5 turns.
-
Cratearth
Hits for 400 Earth, in a circle of radius 2. From 3 to 7 range.
-
Corrosword
Hits 500 in Air and applies 10% erosion for 1 turn. In melee.
-
Boiling Attraction
Hits 350 in Earth, applies the Gravity state for 2 turns and pulls 2 cells. In a line, at exactly 2 range.
-
Boosted Blow
Hits for 450 Air and increases his final damage by 7%, with no duration limit. Melee.
-
Invigorating Vengeance
For 2 turns, heals with each line of damage received and spreads 40% of the damage taken around it. From turn 3, then every 5 turns.
-
Tenacity Glyph
Glyph of radius 3 for 2 turns: its allies inside gain 10% final damage, and your characters who pass through it take 300 in Fire.
-
Invigorating Attraction
Pulls all characters 3 cells in a cross of size 3 around him and heals himself for 350 HP. Cooldown of 3 turns.
Level 200
Fights against the Brakmarians, in Bonta. The captain, at , works like the Bontarian captain: Invulnerable as long as its allies live, then 3 extra MP and 10% extra final damage each turn. Spells of the Brakmarians in these fights, in the order of the guide:
-
Brakmarian Frenzy
Hits 550 in Fire, applies the Gravity state for 2 turns and pushes back 2 cells. In melee.
-
Impalement
Hits for 400 Fire, in a cross of size 1, and makes the target Unhealable for 2 turns. In a line, up to 2 range.
-
Neutralising Blow
Hits for 550 Fire and removes 100 MP for 1 turn. Melee, cooldown of 2 turns.
-
Enragement
Gives all his allies 1 MP and 5% final damage for 2 turns. From turn 2, then every 3 turns.
-
Bulking Up
From his first turn, +50% resistances, then -25% per turn for the following 3 turns, before regaining 50%, and so on.
-
Brutal Throw
Hits 400 in Air, in a line of size 2, and removes 1 MP for 2 turns. In a line, from 2 to 7 range.
-
Jabbed
Hits for 500 Air and poisons for 30 to 34 Neutral damage for 2 turns. Melee.
-
Cruel Double
Summons a double with the same spells: +15% final damage, -30% resistances. When it dies, its allies lose 2 MP and 15% resistances, and their damage drops by 7%. In melee, cooldown of 5 turns.
-
Club Throw
Hits 350 in Earth and removes 1 AP for 1 turn. From 2 to 7 range.
-
Club Blow
Hits for 400 Earth and applies 10% erosion for 1 turn. Melee.
-
Bloody Attraction
Hits for 400 Fire and pulls 2 cells. In a line, at exactly 2 range.
-
Critical Blow
Hits 500 in Earth and gains 5% critical and 2% melee damage, with no duration limit. In melee.
-
Invigorating Vengeance
For 2 turns, heals with each line of damage received and spreads 40% of the damage taken around it. From turn 3, then every 5 turns.
Level 220
Neutralize first: she gains 200 Power with each Bane Balance. In phase 1, she can remove 100 AP and 100 MP for 1 turn, at only 2 range; around half of her HP, she mounts her steed and becomes Invulnerable for 1 turn. Here, her allies' constant attraction is removed, and she loses her attraction once neutralized.
-
Abundance
To neutralize it: give yourself three times AP-boosts in melee with it. With no AP-boost spell, equip an Emerald.
-
Recommended walkthrough
Turn 1: boost the double's MP, put Strategic Support on Misery (a Leek Pie is enough), let her approach and move the double forward in melee with each MP. Turn 2: same thing until her 10%, then yellow glyph and positioning in the center.

Level 220
It applies the Kissiphrot Sipike effect to itself, which only it has: it hits you back if you strike it while it has it, and healing yourself in melee with it removes the effect. It passes on one disease out of 9 when it hits or when you walk into its glyph. Once neutralized, it keeps its glyph, but the diseases disappear from the fight.
-
Cure
Neutralizing him: heal yourself three times in melee with him. Life steal has counted since version 2.71, and pushing the double in melee heals it.

Level 220
He reflects damage if you do not have the Traitor state: you get it by ending your turn on one of his one-cell glyphs (one glyph, one state, a single attack without reflection). Here, there is no healing or rewind in the last phase, and no Armiscreant. This is the longest phase.
-
Freedom
To neutralize it: dodge-lock it three times, normally over three turns. The escape the double gains helps. Keep an obstacle behind it, otherwise you push it back one cell.
-
Recommended walkthrough
When it places its glyphs, put Strategic Support on it and end the double's turn on a glyph: it gets hit once. On the next turn, with no glyph, switch the state back to War to avoid the reflect.

Level 220
Invulnerable until the other three are neutralized. At every 20% HP threshold, she summons a weapon that hits hard in an area: kill it. Her Fearless state makes anyone who deals the first line of damage to her Pacifist for 1 turn. Push Entropix into her to make her Pacifist for 1 turn.
-
Peace
To neutralize her: she must deal no damage for three turns. Since she only hits your double, her numbers rise on their own each turn.
-
Positioner
Place your double and your character on the cells adjacent to the center of its glyph: it moves there on its own.
Level 200
The final fight, alone. Entropix has 5,500 HP, 90% resistances everywhere and Misery's spells. He is accompanied by 7 Paradoxical Chronomorphs of 1,100 HP: each one that dies removes 10% resistances from him, but gives the others 1,100 Vitality and 100 Agility, cumulative.
-
Scale-Mace
Hits for 80 Air, Water, Fire and Earth, about 320 in total, and steals 200 Power for 1 turn. In a line, up to 6 range.
-
Subjugation
Pulls the target 9 cells and gains 100 Lock for 1 turn, less depending on the target's distance. In a line, from 2 to 10 range.
-
Liquefaction
Hits 400 in Water and swaps places with the target. From 2 to 14 range, without line of sight.
-
Martyr
Hits for 200 Earth. Melee.
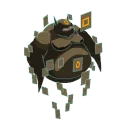
Level 200
Entropix's 7 allies. The more of them die, the sturdier the survivors become, but the more resistances Entropix loses.
-
Cytokinesis
When a Chronomorph dies, the others grow and gain 1,100 Vitality and 100 Agility; Entropix loses 10% resistances. Stackable.
-
Punch
Hits for 100 Air and pulls himself one cell toward the target. Up to 10 range.
-
Mitochondrion
Hits 150 in Air and steals 50 Agility for 2 turns. In melee.
-
Cytokine
Gives 1 MP for 1 turn to its allies in a circle of radius 3 around it. Cooldown of 2 turns.
The rewards
- XP6,300,000 experience points
 105,552 kamas
 2 × Destroyer Spike
Related quests
The quest follows Ashes to Ashes, Dust to Descendre and closes the Eliocalypse chapter: no quest follows it for now. It is part of the achievement Eliocalypse: Reminiscence, along with Dance of Dissonance and Maimane's Totems.
- Start
- Kabaal

Achievements · Eliocalypse
Eliocalypse: Reminiscence
Complete the following quests:
Gives the Nightmare Dofus
- Dance of DissonanceLvl. 200
- Ashes to Ashes, Dust to DescendreLvl. 200
- A Tormented HeritageLvl. 200
- Maimane's TotemsLvl. 200
Ashes to Ashes, Dust to DescendreNext quest: Maimane's Totems
Where does the quest A Tormented Heritage begin?
With Draconiros, in front of the Dofus receptacle at . You must have completed Ashes to Ashes, Dust to Descendre and The Wokening; Death and Renewal and Maimane's Totems each block one step.
How do you craft the Rune of Harmony?
In the Rok Islet smithmagic workshop, at . Equip the Totem of Balance in place of your weapon, then gather the Virtue of Supreme Harmony, the Harmony amulet, 200 Nugget, 2 Astral Rune and 4 Metaria of each Mage color.
Where do you get the Virtue of Supreme Harmony?
From the Paper Qilin, in exchange for 5 Virtue of Harmony. Craft them as a level 10 Miner in Terrdala at , then stop by Urazawi the Sage at [0,0], in the Wukin and Wukang area.
How do you beat the Demonic Spellbook?
Hit it in Air, Water, Fire, Earth, then Neutral. After one turn played in the 5 state, it loses its resistances: kill it before turn 11, or the whole team dies.
Where do you get the Exhilarating and Destructive Influences?
On the nightmare manifestations, in Brakmar and Bonta. Four fights per city, in a group if you like; the captains are invulnerable as long as their allies live.
How do you beat the Horsemen?
By neutralizing them, not by killing them. Bring each one down to 10% of its HP, perform its own action three times, then place it in the center of the glyph it summons. Your double deals the damage.
What does A Tormented Heritage reward?
6,300,000 XP, 105,552 kamas and 2 Destroyer Spike. Draconiros also gives you the Dofus created by Kabaal.
Does A Tormented Heritage have a sequel?
Not yet. It ends the Eliocalypse chapter; a new arc, about who you really are, has been announced.

Comments
No comments yet. A tip, or a detail about this page? Be the first.