 2 × Skt-Zo Leg
Quest Brakmar
Apprenticeship: Apocalypse Hero
Fifth order quest, level 200, with Kaffra Keeper in the Brakmar Tower of Orders at [-22,33]: drain the three wells of power before the Bontarians. All the steps, dialogue choices, the gates to open with three players and the fights.
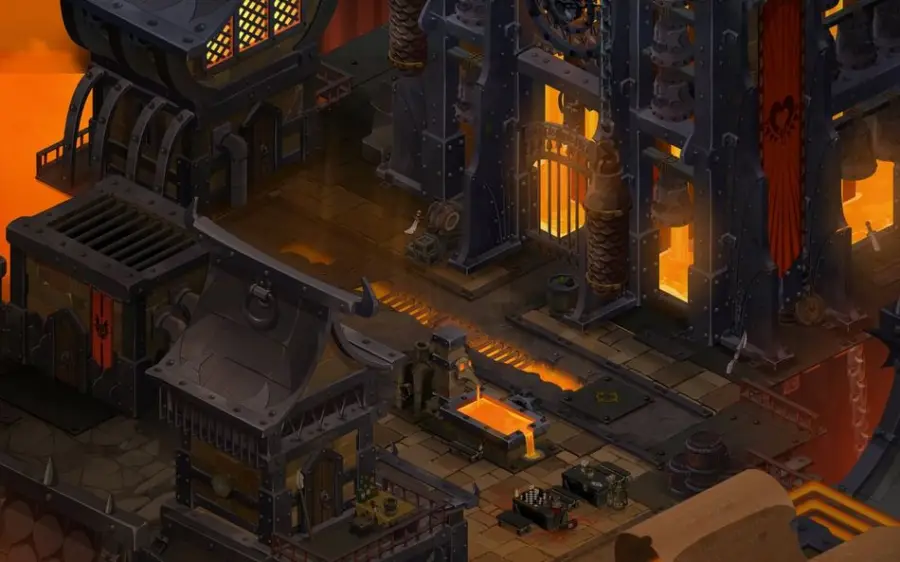
What to prepare
Plan for the Merkator's Aquadome dungeon and above all for allies: one character from each order, Bontarian or Brakmarian, at the same stage of the quest or having completed it, to open the well gates. The last fight requires a group of about 8 characters.
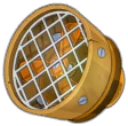 1 × Propulsion Acceleratorfrom the resource auction house, or crafted by a level 200 tailor
The 11 quest steps
-
1Talk to Kaffra Keeper
Dialogue · Kaffra Keeper
The quest starts in the Tower of Orders, on the first floor on the right: from the main entrance, go up the stairs and enter the right room.
Dialogue
- “Become an Apocalypse Hero”
Brakmar Tower of Orders · [-22,33] -
2Talk to Djaul
Dialogue · Djaul
Climb all the way up the tower, to the Protectors' Hall. Djaul tasks you with destroying the three wells of power so that the Bontarians don't benefit from them. Two locations are known; the third, the sunken well, will be pointed out to you by Merkator. The order of the wells is up to you.
-
3Question Merkator
Combat
Do the Merkator's Aquadome dungeon, whose entrance is at . At the end, question the boss so that he helps you locate the sunken well.
Dialogue
- “Ask for his help to locate the sunken well of power”
 Merkatorfight · level 220 · 13,000 to 19,000 HP · 20 AP · 6 MP
-
4Open the gate of the sunken well
Combat
The well is in the Abysses of Sufokia: enter the room, then take the rift on the left. Each order starts its fight there, to be done alone, then the three orders activate the lever at the same time to open the gate of the main room.
You need one character from each order, three in all. Even if the gate is already open, you must have won this fight to progress.
 Pooratefight · level 200 · 5,500 HP · 10 AP · 6 MP
-
5Drain the sunken well
· Droon
Once the gate is open, take the passage and talk to Droon to drain the well.
-
6Open the gate of the Heroes' Cemetery
Combat
The well of the Heroes' Cemetery is in the crypt. Each order has access to one of the three graves: go down into yours, where a fight awaits you, to be done alone. Then the three orders activate the lever in their room almost at the same time to open the gate.
Here too you need one character from each order, at the same stage of the quest or having completed it.
 Denisovafight · level 200 · 2,700 HP · 12 AP · 4 MP
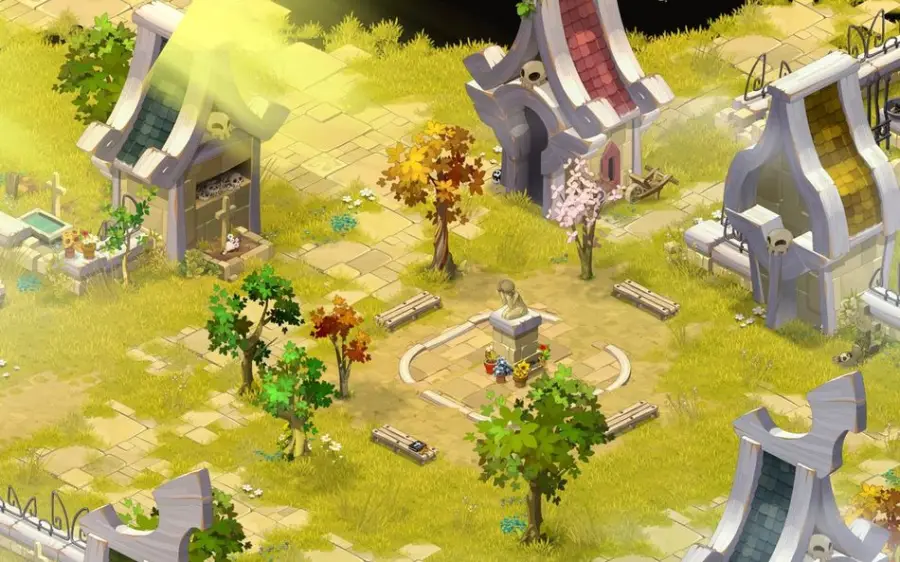
Heroes' Cemetery · [-21,-60] -
7Defeat Captain Chafer
Combat · Captain Chafer
Go back up and take the now-open passage. Talk to Captain Chafer: a fight starts, to be done alone. After the victory, talk to him again to drain the well.
Dialogue
- “Defend yourself to try to break the enchantment”
 Captain Chaferfight · level 200 · 8,200 HP · 12 AP · 6 MP
-
8Open the gate of the Cemetery of the Tortured
Combat
Enter through the crypt door. Each order has access to one of the three graves: go down into yours and talk to Evullash to start the fight, to be done alone. Then the three orders activate the lever in their room almost at the same time.
You need one character from each order, and the fight against Evullash is mandatory even if the gate is already open.
 Evullashfight · level 200 · 11,000 HP · 10 AP · 6 MP
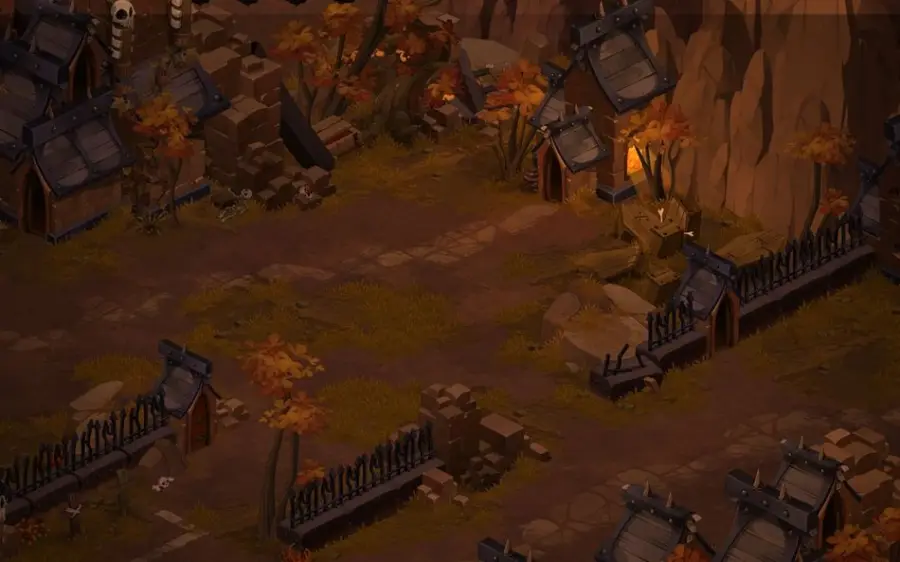
Cemetery of the Tortured · [-14,35] -
9Defeat the heroes of old
Combat · Lord de Seashore
Go back up, take the open passage and talk to Lord de Seashore with a group of about 8 characters. The fight pits you against 7 monsters and can be done with 8. Once you win, talk to Lord de Seashore again: the well is drained.
Dialogue
- “Attack”
For the quest to update for every character in the fight, those who don't start the fight must answer “Go look for reinforcements” to Lord de Seashore.
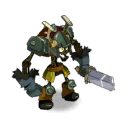 Lord de Seashorefight · level 200 · 16,000 HP · 14 AP · 8 MP
-
10Go back to see Djaul
Dialogue · Djaul
With the three wells drained, go back to the Protectors' Hall, at the top of the tower, and announce your success to Djaul.
-
11Go back to see Kaffra Keeper
Dialogue · Kaffra Keeper
Go back down to the first floor on the right, to your order master. The quest ends.
Dialogue
- “Announce the success of your mission”
The fights
Level 220
Boss of the Merkator's Aquadome dungeon, entrance at . Question him after the victory.
Level 200
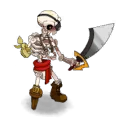
Guardian of the Well (sunken), at , with Poorate. Fight to be done alone.
-
Boneplate
Casts a shield of 1,100 shield points (1,650 on a critical hit) for 1 turn. He casts it twice per turn, on himself and on his ally.
Level 200
Guardian of the Well (sunken), at , with Peerate. Aquatic Powder strengthens him every turn.
-
Aquatic Powder
Gives itself 20 Power per turn, with no duration limit.
-
Wet Firecracker
Gives itself 40% critical hits for 1 turn.
-
Trumpble
Removes 3 dodgeable MP for 2 turns.
-
Handcrafted Bomb
Hits for 700 Fire damage.
Level 200
Grave fight of the Heroes' Cemetery, at , to be done alone, with Toumai, Orrorrin and Lucy.
-
Hel
Each MP used makes it lose 6 HP (Air), for 1 turn.
-
Mjollnir
Hits for 100 in Air.
-
Do Fus Rah!
Steals 10 push resistance for 6 turns and pushes.

Level 200
One of the opponents of the grave fight at the Heroes' Cemetery.
-
Knife Spearit
Removes 10 dodge and 10 Water resistance for 2 turns.
-
Curare
Hits for 100 Water.
Level 200
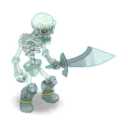
One of the opponents of the grave fight at the Heroes' Cemetery.
-
Camouflage
Makes itself invisible.
-
Pant Volley
Strikes for 120 Earth damage.
-
Chafer Slash
Strikes for 200 Earth damage.
Level 200
Solo combat, at . When hit at range, it becomes invulnerable to ranged attacks for the rest of the turn, and vice versa in melee: alternate range and melee within a single turn. The counter restarts every turn: you can also hit it only once per turn. Favor range.
-
Harassment
Hits for 140 Fire on two lines, so twice, and removes 3 MP for 1 turn, at range. Poisons for 21 to 26 Fire for 2 turns.
-
Infernal Waltz
Hits for 600 Fire at close range and steals 100 Intelligence and Strength for 1 turn.
-
Panty Party
Hits for 370 Earth at close range.
-
Captain's Ruse
Summons 4 invisible chafers that hit at close range and die after one turn. It becomes invisible during that turn.
Level 200
Solo combat, in a grave of the Cemetery of the Tortured at . You start it by talking to him.
-
Deadsight
Gives itself 200 Power with no duration limit and casts a poison that seems to hit hard if it has no line of sight to you.
-
Tireless Pursuit
Hits for 500 Air, gives itself 2 MP and the Unmovable state for 1 turn.
-
Slicing Blade
Applies 20% erosion for 2 turns and hits for 470 Earth.
-
Disabling Unbewitchment
Reduces the duration of the target's effects by 2 turns and removes 6 dodgeable AP for 2 turns.
Level 200
Group combat against 7 monsters, up to 8 characters, at . Warning: healing your allies also heals the monsters for a few HP.
-
Lord de Seashore
Mostly hits at close range; when it hits one character, it hits them all at once.
-
Count Ess
Mostly hits at close range. When one of its allies dies, it becomes invulnerable for 1 turn.
-
Krakbone
Mostly hits at close range and casts a shield of about 1,500 shield points on itself.
-
Bone Head
Hits at range.
-
Ashbone
Hits at medium range and makes several characters unhealable.
-
Kremashun
Hits at close range.
-
Dogfoul
Hits at close range, has a lot of MP and swaps places with your characters at medium range: it will almost always be in the middle of your team. It makes several characters pacifist. While in the Gravity state, it becomes invulnerable for 1 turn.
The rewards
- XP6,300,000 experience points
Related quests
Fifth Brakmar order quest, it follows Apprenticeship: Champion of Chaos and unlocks Passing Test.
- Start
- Kaffra Keeper
- Start
- Oto Mustam
- Start
- Dardondakal
Where does the quest Apprenticeship: Apocalypse Hero start?
With Kaffra Keeper, on the first floor on the right of the Brakmar Tower of Orders, at . You must have completed Apprenticeship: Champion of Chaos and Dance of Death.
Where are the three wells of power?
In the Abysses of Sufokia at , at the Heroes' Cemetery at and at the Cemetery of the Tortured at . The sunken well is revealed to you by Merkator, at the end of his dungeon.
Can you do the quest alone?
No. Each gate requires one character from each order, Bontarian or Brakmarian, and the fight against Lord de Seashore is prepared for with about 8 characters.
How do you beat Captain Chafer?
By alternating range and melee. When hit at range, it becomes invulnerable at range for the turn, and vice versa; favor range.
Why doesn't the quest update after the Lord de Seashore fight?
Characters who don't start the fight must answer “Go look for reinforcements”. Only the one who starts it chooses “Attack”.
Which quest follows Apprenticeship: Apocalypse Hero?
Passing Test, which extends the series of order quests.

Comments
No comments yet. A tip, or a detail about this page? Be the first.