 2 × Skt-Zo Leg
Dungeon Sufokia Bay
Merkator's Aquadome
Level 200 dungeon at the bottom of Sufokia's abyssal base, at [22,30]: five rooms of Merkaptans and a boss that handles melee poorly and pulls in a line, Merkator. Quests to start, map of each room, strategy, monsters, achievements and loot.
Quests linked to Merkator's Aquadome
Two quests are validated on Merkator: Spinning Around and Don't Drink the Water. Accept them before entering: a fight won without the quest in progress does not count. Gathering Information is done in the dungeon, without fighting the boss.
Lil Pinkie gives you a key when starting the quest. Defeat Merkator in a single fight, discover the Aquadome's exit map, then go back to talk to her. With the keyring, keep the key for later.
- Start
- Lil Pinkie, Sufokia
- Prerequisites
- Level 180 and Every Time You Look Around
 Merkator's Heartand 60,000,000 XP
Merkator is the suspect behind the pollution of the Kawaii. After the investigation along the river, go through Theo Dolite at the entrance , defeat Merkator in a single fight and talk to him again right away: he points you to Dee Pwater.
- Start
- Captain Amakna, Amakna Village
- Prerequisites
- Level 180 and Like A Puppet on a String
 Old Hammer Headand 50,000,000 XP
One note to pick up in each room, the boss is optional. Theo Dolite wants the Cartographer's calculations: click the quest object in each of the five rooms, from the Bathyscaphe Room to the Treasure Room.
- Start
- Theo Dolite, Aquadome entrance
- Prerequisites
- Raising the Grade
 Merkator's Beard5 copies, 5 Harpo Blood and 50,000,000 XP
For later
Merkator guards one of the wells of power. The level 5 order quests have you defeat Merkator on a specific map, then talk to him: Apprenticeship: Legendary Hero, Apprenticeship: Guardian of Knowledge or Apprenticeship: Master of Illusions, depending on your order.
- Start
- Bonta's Tower of Orders
- Prerequisites
- Your order's previous apprenticeship quest
The same mission on the Brakmar side. Defeat Merkator on the requested map, then talk to him: Apprenticeship: Apocalypse Hero, Apprenticeship: Guardian of Torture or Apprenticeship: Master of Shadows, depending on your order.
- Start
- Brakmar's Tower of Orders
- Prerequisites
- Your order's previous apprenticeship quest
Merkator can give you the totem of joy. Maimane asks for six emotion totems, each from a boss of your choice: for joy, Klime, Merkator, King Imagami, King Nidas or Servitude.
- Start
- Maimane, Destroyers' Nightmare
- Prerequisites
- Level 180
 Totem of Balanceonce the six totems are handed in
During events
- Tiwagrum Simulation
Tiwagrum may assign you Merkator as a guardian to defeat. Amakna Village, .
The 5 rooms of Merkator's Aquadome
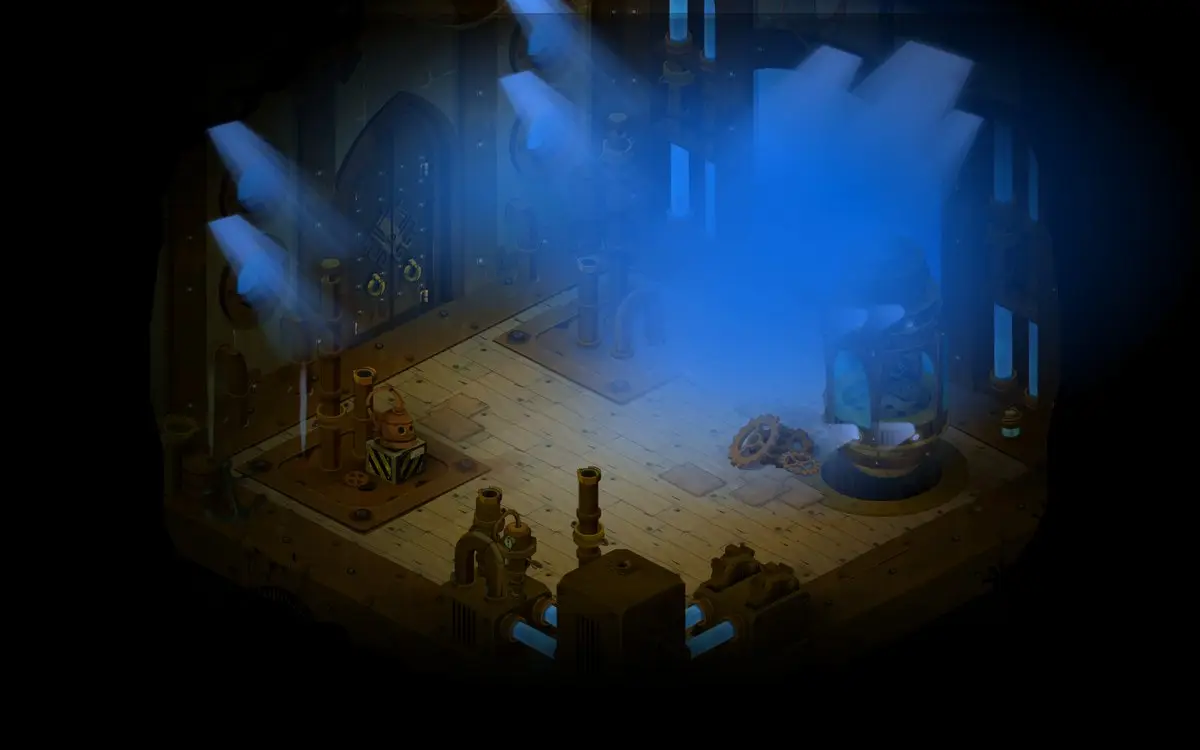
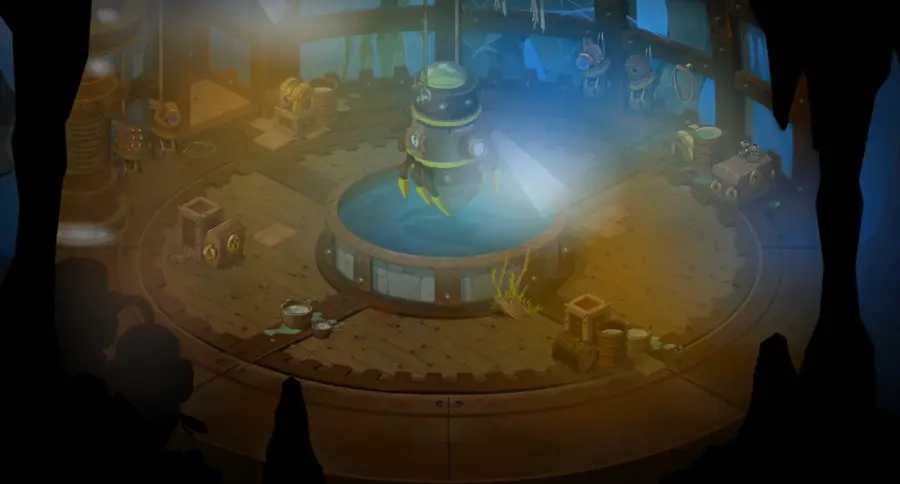
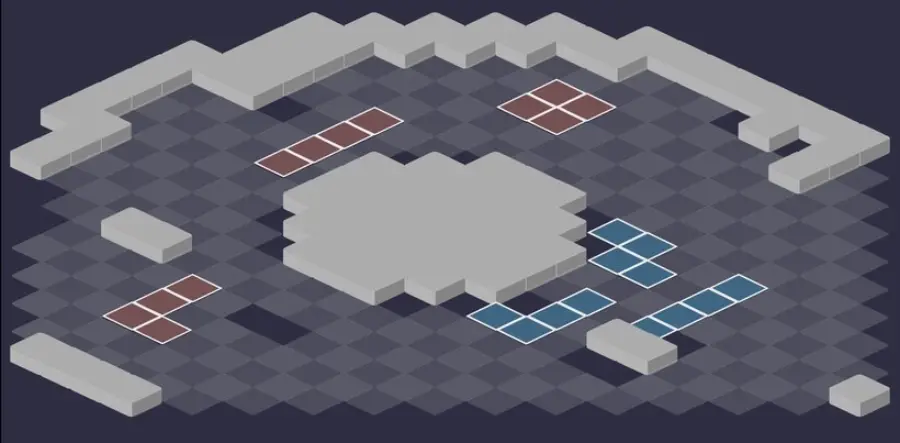
Five fights against the Merkaptans. Each room hides a note from Merkator for the Gathering Information quest. For each room: the scenery, then the tactical view with the starting cells (blue: you, red: the monsters). Tap an image to enlarge it.
Room 1
Room 2

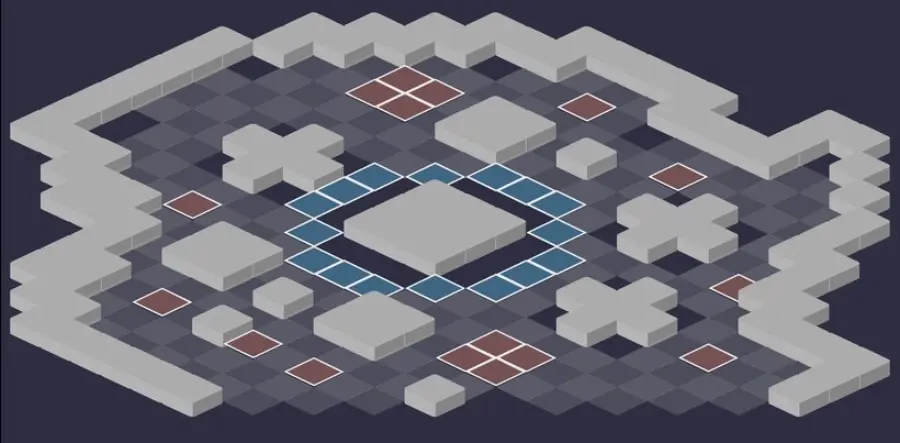
Room 3
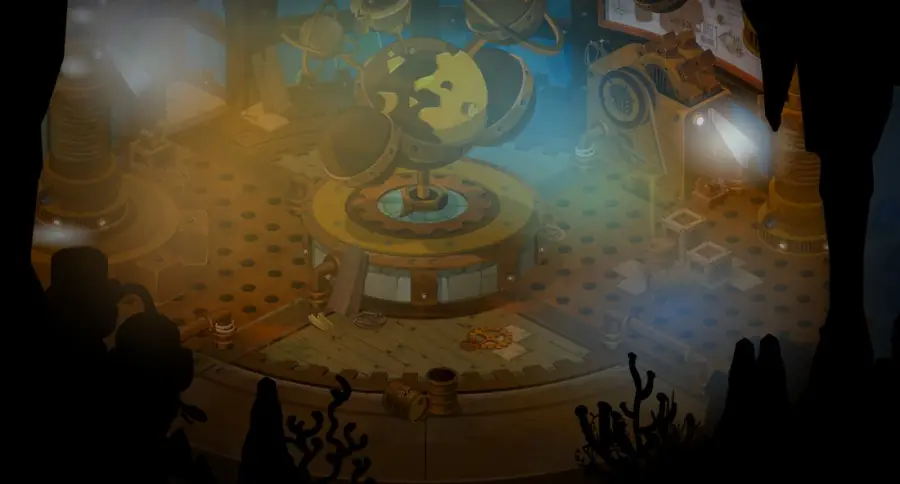
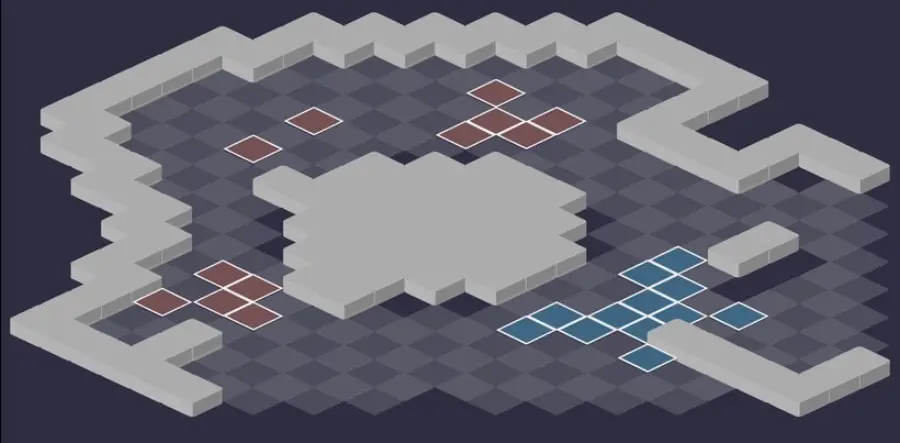
Room 4
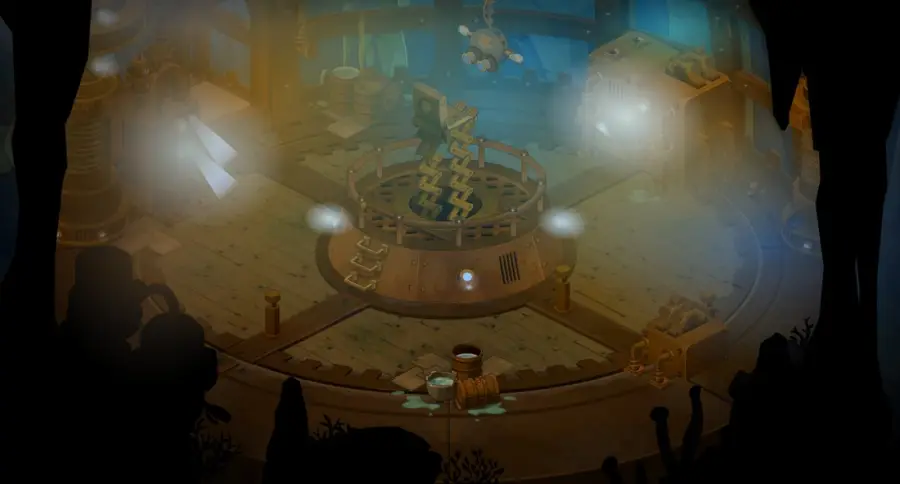
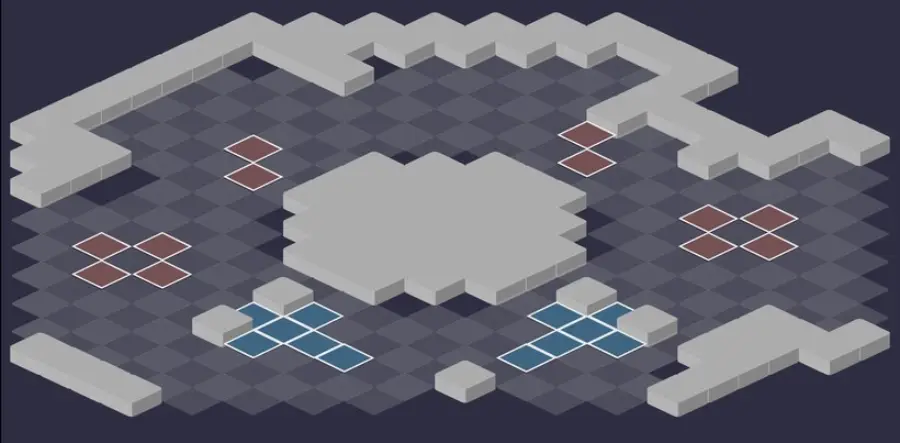
Room 5 — Merkator
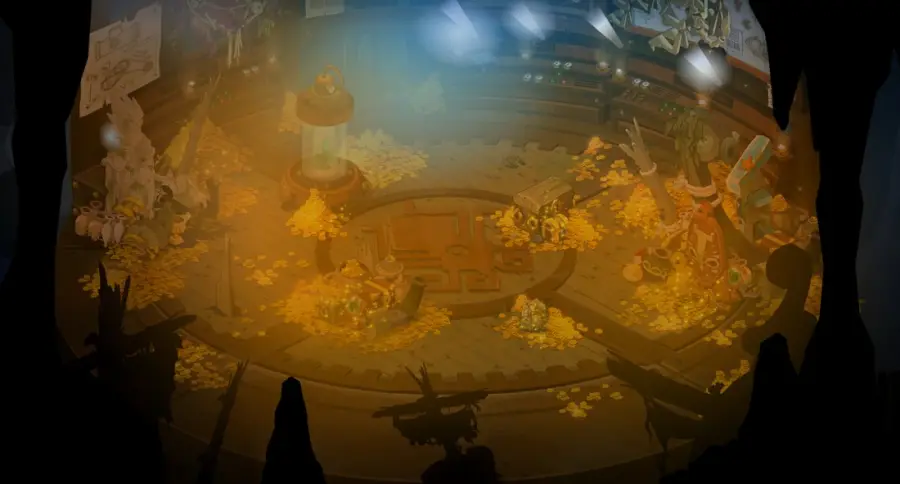
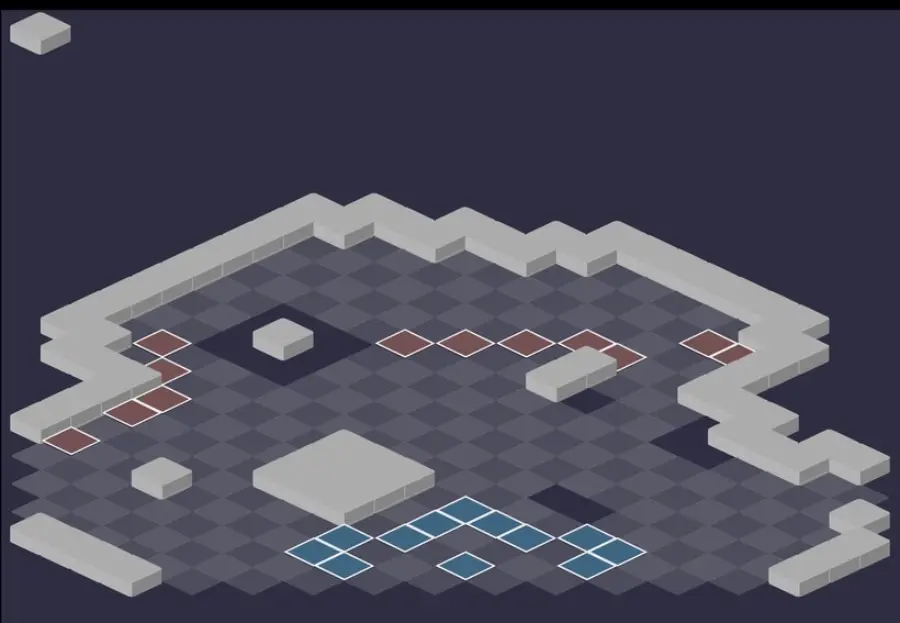
Defeat Merkator
The odd turns of Low Tide
On turns 3, 5, 7 and following, Merkator pulls, at the start of its turn, all characters in line with it up to its contact, up to 12 range, and removes 4 MP from them. On contact, Ice Ageing removes half of your vitality for one turn: never end these turns in its line.

Level 220
 13,000 HP
 20 AP
 6 MP
- Resistances (%)
 Earth 27%
 Fire 16%
 Water 22%
 Air 12%
 Neutral 14%
His spells have very little range: at range, he is almost harmless. But he reduces damage taken at range by 50% and gains 2% final damage with each hit received from afar, and all enemies are unmovable. Air is the element he handles worst.
 Ice Ageing5 AP · melee ·121 to 140 Water damage · -50% HP · Gravity State
On contact, twice per turn: the target loses half its vitality for one turn and goes into Gravity.
 Bronze Agent5 AP · 3 RNG ·101 to 120 Earth damage
Line of 5 cells, in a line up to 3 range, once per turn. Reinforced with each hit you deal him under Bathyscaff.
 Bathyscaff
From turn 2, recast every 2 turns: it strengthens Bronze Agent and prepares Low Tide, the pull of the next turn.
 Mouth to Mouth
From turn 7, recast every 5 turns, without line of sight: it revives the last dead ally with half its HP.
The four-step strategy against Merkator
As far as possible from Merkator. While you kill the monsters, move as far as possible from the boss and get out of his line before every odd turn. A summon placed near him keeps him busy: he often prefers to hit it rather than come to you.
The Bartyclank first. When hit at range under Glory Hunter, it gives MP and damage to its allies placed far from it. Kill it first and fast, in one turn if possible, or hit it when the boost is absent or its allies are near it.
The Harpo next. From turn 2, Happy Camper strengthens its Drip-Dropshot of the following turn. On that turn, stay out of its sight or within 5 range of it: the spell only reaches from 5 to 12 range. The Barbakle dies in one go once it is chipped, the Psychlo last.
Merkator alone. Two options: wear him down at range, slowly because of his 50% reduction, or hit him in melee to finish fast. Either way, beware of the turns when he is under Bathyscaff, the only time he becomes truly dangerous.
Sea Worthy and Sea Legs
From the start, Sea Worthy makes Merkator and all his monsters unmovable for the whole fight, and reduces the damage Merkator takes at range by 50%. Each hit received from afar also gives him 2% final damage.
Sea Legs punishes every attempt to remove MP from a monster: the caster takes about 500 Fire life-steal damage. The fight goes very well without MP removal; otherwise, a Feca protection (Ataraxia, Bastion, Aegis) avoids this damage.
Bathyscaff
From turn 2 and every two turns after, each damage he takes increases Bronze Agent's base damage by 30, up to five times, for one turn. Do not hit him under this effect if you risk being hit afterwards. The following turn, Low Tide pulls the whole line.
Move the unmovable with Sea An Enemy
Hitting a monster in melee pushes back 3 cells its allies placed in a cross around it, despite the unmovable state, and your characters placed diagonally. Hitting an ally with a weapon pushes back 3 cells the monsters diagonally around it and your characters in a cross.
Handy for moving Merkator away, but never essential: the dungeon is very accessible without moving anyone.
The monsters of Merkator's Aquadome
Five level 200 Merkaptans, each with a -29% weakness in a different element. Several hit based on their missing HP: a chipped monster is finished off within the turn. Resistances in red are their weaknesses.
In which order to kill the monsters
- Bartyclank — when hit at range, it gives MP and damage to distant monsters, and its glyph kills.
- Harpo — its strengthened Drip-Dropshot from turn 3 deals enormous damage at long range.
- Barbakle — it pulls the whole team and hits almost the entire map depending on its missing HP.
- Steamcrab — it pulls in a line and punishes ranged attacks under Pinception.
- Psychlo — the least dangerous, kept for last.
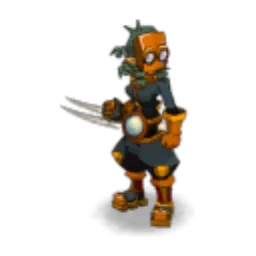
Level 200
- 6,000 HP
- 12 AP
- 5 MP
- Resistances (%)
- Earth 2%
- Fire 36%
- Water -29%
- Air 11%
- Neutral 16%
Tomfuelery hits in a cross around itself and leaves a glyph for three turns: a character who ends their turn on it dies. Glory Hunter gives it 2 MP and, when hit at range, it boosts its allies beyond 8 range. Weak to Water.
 Joyless Marauder4 AP · 3 range ·71 to 90 Air steal · Earth Damage: 10% erosion of the caster's missing HP
 Tomfuelery4 AP · on self · Places an end-of-turn glyph ·51 to 70 Fire steal
Cross of size 6 around the Bartyclank, and a three-turn glyph that kills characters who end their turn on it.
 Glory Hunter4 AP · on self ·2 MP · Triggers: Knaveriposte
+2 MP and, for two turns, every ranged hit on the Bartyclank boosts its allies beyond 8 range. Recast every 3 turns.
Level 200
- 6,000 HP
- 12 AP
- 5 MP
- Resistances (%)
- Earth 11%
- Fire -29%
- Water 36%
- Air 16%
- Neutral 2%
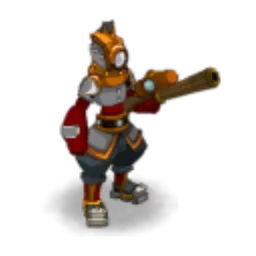
Drip-Dropshot hits from 5 to 12 range and removes 3 range. On the turn after Happy Camper, this spell hurts a lot: hide or stick to within 5 range. Under Cessez le feu, it heals when it takes pushback damage. Weak to Fire.
 Drip-Dropshot4 AP · 12 range ·71 to 90 Water damage · -3 Range
From 5 to 12 range, -3 range for two turns. He cannot target you within 5 range.
 Marksman4 AP · 6 range ·71 to 90 Earth steal · Push Away 1 cell
 Happy Camper4 AP · on self · Drip-Dropshot: +210 base damage · 1000 Pushback Damage ·-10 MP · Push Away 4 cells · Triggers: Ceasefire
From turn 2: pushes back 4 cells the characters around the Harpo, then strongly boosts its next Drip-Dropshot.

Level 200
- 6,000 HP
- 12 AP
- 3 MP
- Resistances (%)
- Earth 36%
- Fire 2%
- Water 11%
- Air -29%
- Neutral 16%
Over Ear swaps places with its target, pulls all your characters in a cross, puts them in Gravity and removes 4 MP from them, then hits hard in an area around it on the next turn. Escadrill hits far depending on its missing HP. Weak to Air.
 Over Ear5 AP · 6 range · Switches places (forced) · Pulls 9 cells · Gravity State ·-4 MP · Unmovable State · Triggers: Colonel Flame
From turn 2: swaps places, pulls the whole team in a cross, -4 MP and Gravity. On the next turn, a big explosion around the Barbakle.
 Escadrill6 AP · on self ·Air Damage: 30% erosion of the caster's missing HP
Whack hits far around the Barbakle, harder the more HP it is missing. Do not leave it alive and chipped.

Level 200
- 6,000 HP
- 12 AP
- 5 MP
- Resistances (%)
- Earth 2%
- Fire 11%
- Water 16%
- Air 36%
- Neutral -29%
Incindiclaw pulls 3 cells in a line, Golden Claw puts you in Gravity. Under Pinception, hitting it at range sends you back to your turn-start cell, and any entity at exactly 4 range from it takes the same damage. Weak to Neutral.
 Golden Claw4 AP · 3 range ·71 to 90 Earth steal · Gravity State
 Incindiclaw4 AP · 5 range · Pulls 3 cells ·71 to 90 Fire damage
Pulls 3 cells, in a line from 2 to 5 range.
 Ocean Haze
Pinception state for two turns: a ranged hit sends the attacker back to their starting cell, and entities at exactly 4 range from the Steamcrab share its damage.
Level 200
- 6,000 HP
- 12 AP
- 5 MP
- Resistances (%)
- Earth -29%
- Fire 16%
- Water 11%
- Air 2%
- Neutral 36%
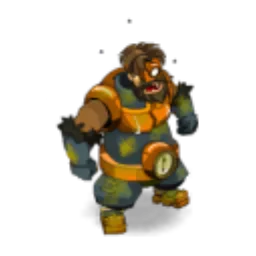
Frydal Wave pulls then pushes back 4 cells in a line, Ook Nos erodes on contact. Under Salty Dawg, hitting it in melee gives a shield to it and nearby monsters. Weak to Earth.
 Ook Nos4 AP · melee · 30% Erosion ·101 to 120 Water damage
 Frydal Wave4 AP · 6 range ·Fire Damage: 20% erosion of the caster's missing HP · Pulls 4 cells · Push Away 4 cells
In a line up to 6 range: pulls then pushes back 4 cells, with Fire damage that increases with the Psychlo's missing HP.
 Salty Dawg
1,000 pushback damage for two turns, and shields for it and its nearby allies if it is hit in melee.
Preparing your run through Merkator's Aquadome
An easy dungeon for teams of level 190 to 200, as long as you handle the lines and the ends of turn. People come for Spinning Around, Don't Drink the Water and the order quests, the achievements, and for the capture with a Soul Stone for Gigantic Souls (captures up to level 220).
How to enter Merkator's Aquadome
The entrance is in the Abyss Rooms, at the bottom of the abyssal base of Sufokia Bay, at ; the nearest zaap is the one at Sufokia . To go down there, you must have defeated Armagudgeon, then Quartermaster Biscotti, who unlock their elevators, and Foggernaut Batteries open some passages. Then: a Merkator's Aquadome Key (consumed), the keyring, or the automatic group search.
Crafting the Merkator's Aquadome Key
It is crafted at a handyman. Five ingredients drop from the dungeon's monsters, at 12%: Bartyclank Leather, Steamcrab Carapace, Barbakle Barb, Psychlo Beard and Tasty Meat. Icefish (fishing), Snowdrop and Frosteez (harvesting) complete the recipe. Spinning Around also gives one.
| Ingredient | Quantity | Level |
|---|---|---|
 Bartyclank Leather |
2 | 200 |
 Steamcrab Carapace |
2 | 200 |
 Barbakle Barb |
2 | 200 |
 Psychlo Beard |
2 | 200 |
 Tasty Meat |
2 | 200 |
 Icefish |
1 | 200 |
 Snowdrop |
1 | 200 |
 Frosteez |
1 | 200 |
Which team to bring against Merkator
No MP removal without protection. Each removal attempt costs the caster about 500 HP. The fight is won very well without removal; otherwise, protect yourself first with a Feca spell.
Something to hit in melee. Merkator halves ranged damage. One or two characters able to hit him hard on contact shorten the end of the fight a lot; plan some healing or protection then.
Summons. A summon placed near Merkator pulls it away from your team while you clear the monsters.
Classes that are comfortable here. The Feca removes MP without suffering Sea Legs thanks to Ataraxia, Bastion or Aegis. For the rest, any composition gets through: it is an easy dungeon, where melee hitters finish Merkator faster.
The six achievements of Merkator's Aquadome
Each achievement gives 200,000,000 XP and 2 Merkator's Beard, Duo doubles the XP; Sidekick gives 75,000,000 XP. Last and Mystique do not complicate the fight: do them together with the Special on the first run.
| Achievements | Condition | Points | XP |
|---|---|---|---|
 Merkator (Duo) |
Defeat Merkator in his dungeon while validating the “Duo” challenge. | 20 | 400 000 000 |
| Merkator (Sidekick) |
Defeat Merkator in his dungeon while validating the “Garbage Pail Sidekicks” challenge | 5 | 75 000 000 |
| Merkator (Mystique) |
Defeat Merkator in its dungeon while validating the “Mystique” challenge. | 10 | 200 000 000 |
| Merkator's Aquadome |
Defeat Merkator in this boss's dungeon. | 10 | 200 000 000 |
| Merkator (Last) |
Defeat Merkator in its dungeon while validating the “Last” challenge. | 10 | 200 000 000 |
| Merkator (Special) |
Defeat Merkator in his dungeon while validating the “Always Someone There to Align Me” challenge. | 10 | 200 000 000 |
Last
Merkator must be finished last. That is already the basic strategy: the fight is even simpler if you respect it. Just watch out for indirect damage that could finish him too early.
Mystique
Deal only spell damage and spell heals during your turns. No weapons. You lose one of the ways to move enemies with Sea An Enemy, but it is not needed to win.
Special: Always Someone There to Align Me
Each ally must start or end their turn in line with an enemy. End each turn in line with a monster, but not with Merkator while his monsters are alive: Low Tide would pull you. Once he is alone, you will be forced to end in line with him and he will pull you sooner or later: hit him in melee, which is more effective and does not strengthen him.
Duo
Two characters maximum, fewer than 40 turns. Any composition can do it. Bring enough damage to take down the monsters quickly, then circle around the map hitting Merkator until he dies.
Sidekick: Garbage Pail Sidekicks
At least four characters, including one allowed sidekick: Grute, Goboff, Rint or Piggy Paupe. The sidekick can play it safe: it just has to be in the group that wins the fight.
Drops and loot of Merkator's Aquadome
Base in-game rates, before Prospecting bonuses.
On Merkator
- Merkator's BeardHair12 %
 Nougat Rabmarac BarTreat6 %
 Bag of SaltContainer3 %
- Merkator's HeartMiscellaneous Resource2 %
 Al Howin GobtubbyCeremonial pet1 %
 Paragon of PowerMain quests0,7 %
 Tasty CarrionMeat0,6 %
On the henchmen of Merkator
 Abyssal MetalMiscellaneous Resource · Psychlo25 %
 Merkaptan ToolboxSufokia · Psychlo12 %
- Psychlo BeardHair · Psychlo12 %
- Tasty MeatMeat · Psychlo12 %
 Foggernaut BatteryMiscellaneous Resource · Psychlo12 %
- Bartyclank LeatherLeather · Bartyclank12 %
 Harpo BloodLiquid · Harpo12 %
- Steamcrab CarapaceCarapace · Steamcrab12 %
- Barbakle BarbBone · Barbakle12 %
 Psychlo SockGarment · Psychlo2 %
 Bartyclank EmbroideryGarment · Bartyclank2 %
 Harpo EyeEye · Harpo2 %
 Steamcrab ClawBone · Steamcrab2 %
 Barbakle OilOil · Barbakle2 %
- Bag of SaltContainer · Psychlo1 %
 Map fragment of Hyperscampe 8/8Map fragment · Psychlo0,8 %
 Map fragment of Hyperscampe 4/8Map fragment · Psychlo0,8 %
 Map fragment of Kongoku 8/8Map fragment · Psychlo0,8 %
 Map fragment of Kongoku 4/8Map fragment · Psychlo0,8 %
 Map fragment of Kongoku 3/8Map fragment · Bartyclank0,8 %
 Map fragment of Hyperscampe 3/8Map fragment · Bartyclank0,8 %
 Map fragment of Kongoku 7/8Map fragment · Bartyclank0,8 %
 Map fragment of Hyperscampe 7/8Map fragment · Bartyclank0,8 %
 Map fragment of Kongoku 6/8Map fragment · Steamcrab0,8 %
 Map fragment of Hyperscampe 2/8Map fragment · Steamcrab0,8 %
 Map fragment of Hyperscampe 6/8Map fragment · Steamcrab0,8 %
 Map fragment of Kongoku 2/8Map fragment · Steamcrab0,8 %
 Map fragment of Hyperscampe 5/8Map fragment · Barbakle0,8 %
 Map fragment of Hyperscampe 1/8Map fragment · Barbakle0,8 %
 Map fragment of Kongoku 1/8Map fragment · Barbakle0,8 %
 Map fragment of Kongoku 5/8Map fragment · Barbakle0,8 %
Capturing the soul of Merkator
 Merkator is level 220: you need a Soul Stone for Gigantic Souls (captures up to level 220). Throw it when he is alone and weakened.
| Stone ingredient | Quantity |
|---|---|
 Pandawushu Artefact |
2 |
 Supreme Soul Splinter |
10 |
 Drawing Board |
2 |
Merkator's Aquadome as a guild Expedition
The Aquadome exists as two guild Expeditions, Audacious and Valour, each with its modifier:
- Audacious: the monsters share their damage, Merkator excluded, and each hit gives 2% final damage, for the whole fight, to the monster hit and its attacker;
- kill the monsters first by hitting in an area and target the one that fears your element: its resistances guide the split. The bonus is only triggered by the direct target;
- you keep your acquired final damage: Merkator afterwards is simpler than usual;
- Valour: Merkator is invulnerable for the whole fight. Moving him with Sea An Enemy makes him vulnerable until the start of his next turn, but gives him 1 MP until the end of the fight;
- kill the monsters first. Then, place your first character in initiative diagonally from Merkator at 3 range or less, and hit him with a weapon with the next one to move the boss early in the turn;
- each additional turn adds one MP to him: finish him quickly, preferably in melee.
Where is Merkator's Aquadome?
In the Abyss Rooms, at the bottom of Sufokia's abyssal base, at . The nearest zaap is the one at Sufokia .
How do you access Merkator's Aquadome?
By crossing the abyssal base, whose elevators require having defeated Armagudgeon and then Quartermaster Biscotti. Levers and Foggernaut Batteries open some passages.
At what level should you do Merkator's Aquadome?
Level 190 minimum, 200 recommended. The dungeon is rated easy: Merkator, level 220, is almost harmless at range.
Which quest should you do in Merkator's Aquadome?
Spinning Around, at Lil Pinkie's in Sufokia , who also gives you a key. Don't Drink the Water and the level 5 order quests also go through Merkator.
Which monster should you kill first in Merkator's Aquadome?
The Bartyclank, then the Harpo. The first boosts distant monsters when you hit it at range, the second hits very hard on turn 3. The Psychlo is kept for last.
How do you avoid Merkator's pull?
Never end an odd turn in its line. From turn 3, it pulls all aligned characters to its contact and removes 4 MP from them.
Can you remove MP from the monsters?
Yes, but each attempt costs you about 500 HP. A Feca protection avoids this damage; the fight goes very well without removal.
Which stone should you use to capture Merkator?
A Soul Stone for Gigantic Souls (captures up to level 220). Merkator is level 220.
Can Merkator's Aquadome be done with two players?
Yes, it is the Duo achievement, in fewer than 40 turns. Any composition can do it, with enough damage for the monsters.


Comments
No comments yet. A tip, or a detail about this page? Be the first.