 2 × Skt-Zo Leg
Dungeon Frigost Island
Bearbarian Antichamber
Level 190 dungeon on Frigost Island, at Mount Scauldron, at [-63,-75]: six rooms of Bearbarians where the slightest push damage can kill, and an invulnerable boss who revives his allies. Quests to start, layout of each room, strategy, monsters, achievements and loot.
Quests linked to the Bearbarian Antichamber
The dungeon quest, The Frozen Peak, starts with Willi Biene, at the entrance: beat the Celestial Bearbarian in a single fight, then leave the hive. Accept it before entering: a fight won without the quest in progress doesn't count. It unlocks two others for a second run.
The dungeon quest. Willi Biene sends you to the top of the hive: find the Celestial Bearbarian's room, beat him in a single fight, then find the exit. Defeating the Celestial Bearbarian also opens access to Frigost III.
- Start
- Willi Biene, Mount Scauldron
- Prerequisites
- Level 50
For later
Go back and beat the Celestial Bearbarian. Michele Seyroth sends you back to the Antichamber: beat him in a single fight, reach the end of the dungeon, then report to your city's agent.
- Start
- Michele Seyroth, Frigost Village
- Prerequisites
- Level 170 and The Frozen Peak
 Ice Kama4, with 137,711,000 XP
You just need to reach the last room. Once The Frozen Peak is complete, find the last room of the Antichamber again to validate the quest.
- Prerequisites
- The Frozen Peak
You must complete the Bearbarian Antichamber. Otomai is looking for a cure for Kaliste's curse: between Silouate, Rosal and Razarbok, the quest goes through this dungeon and also requires a Royal Gobball Leather.
- Start
- Otomai, Otomai Island
- Prerequisites
- A Painted Shadow
 Celestial Bearbarian Hamateand 165,253,200 XP
During events
- Tiwotokar Simulation
Tiwotokar can designate the Celestial Bearbarian as the guardian to defeat. Astrub, .
Other Frigost quests go through here: Snow Business takes you through the first three rooms, Dungeons and Dragrunts asks you to brave the dangers of the Antichamber, and Castlefield calls for Pops Seeds, which drop from the dungeon's monsters.
The 6 rooms of the Bearbarian Antichamber
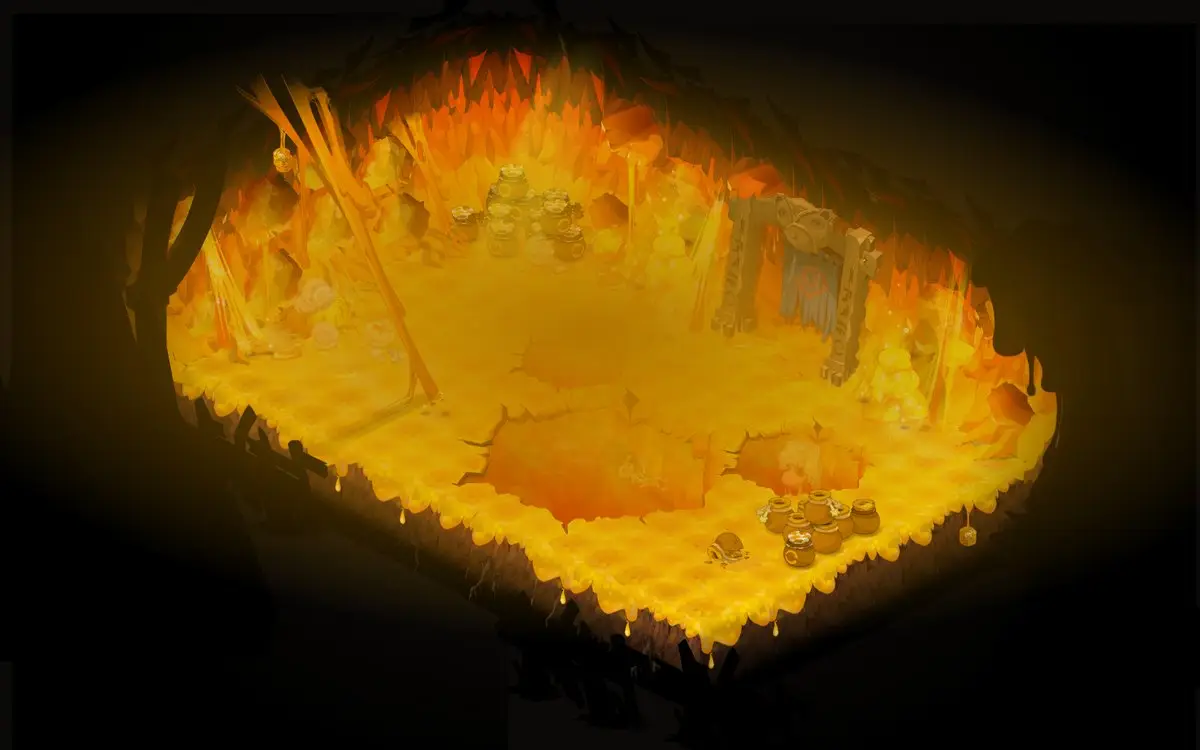
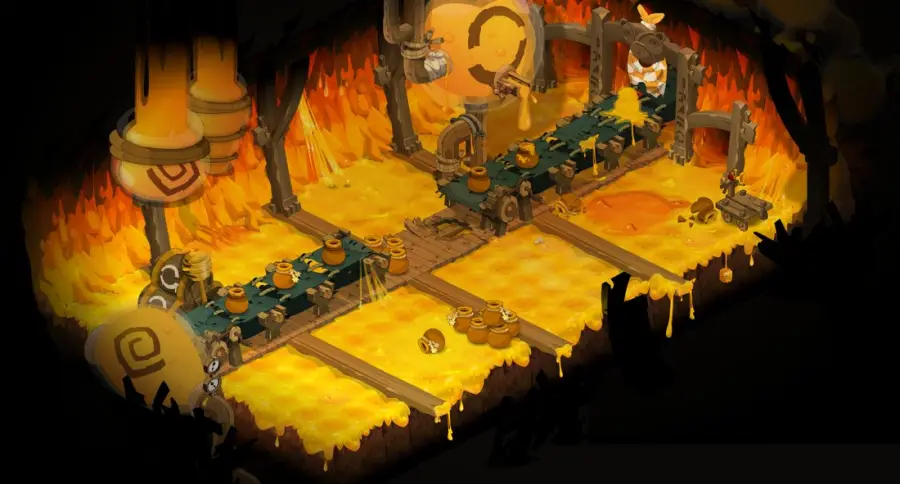
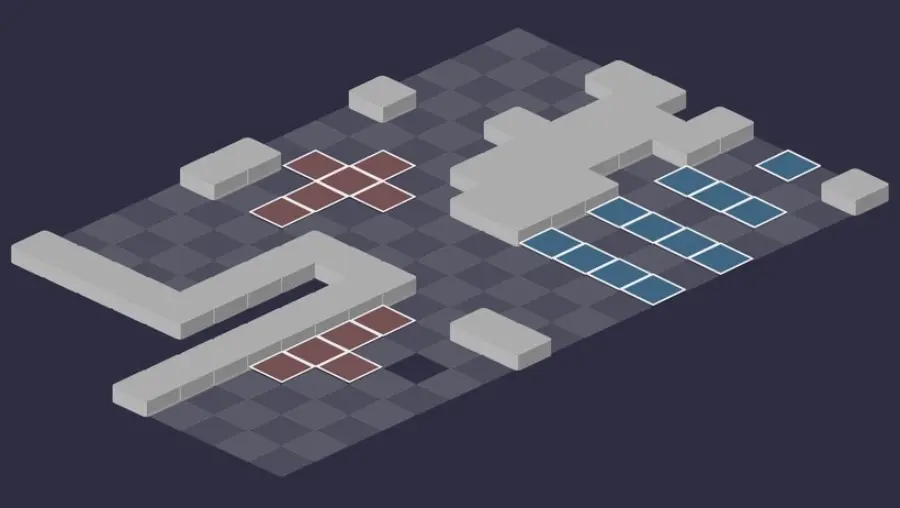
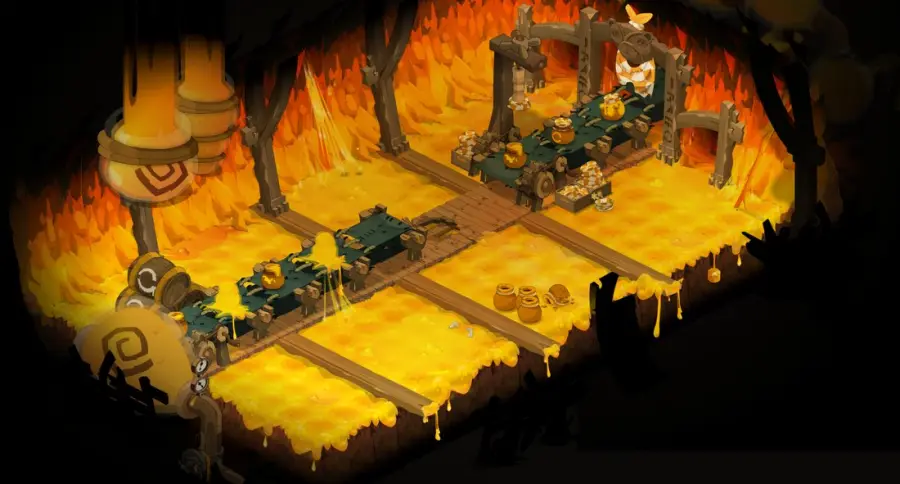
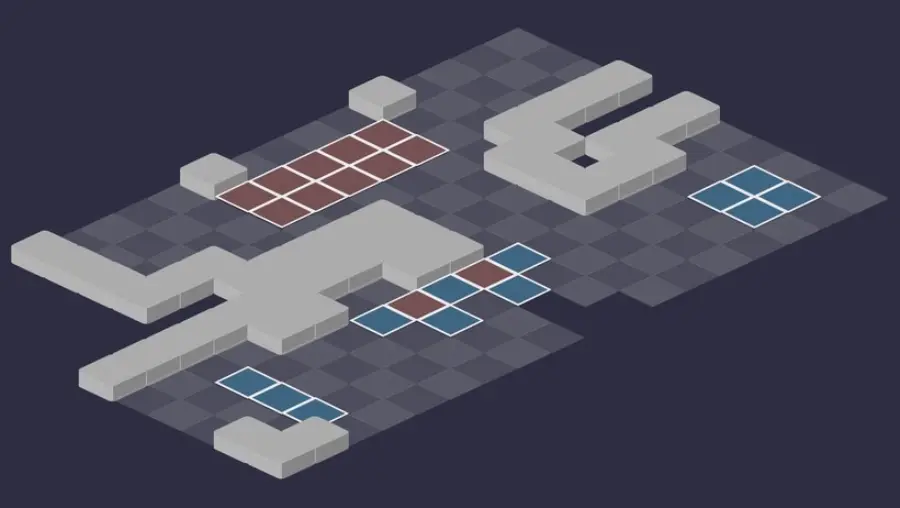
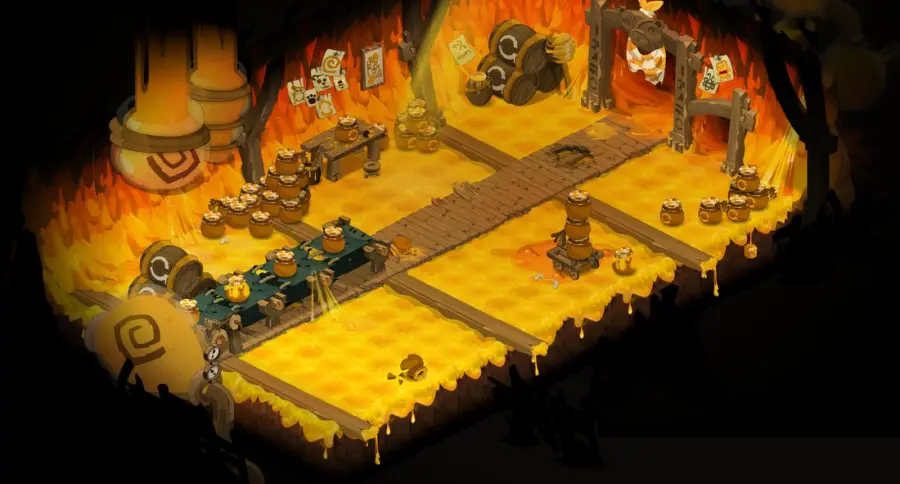
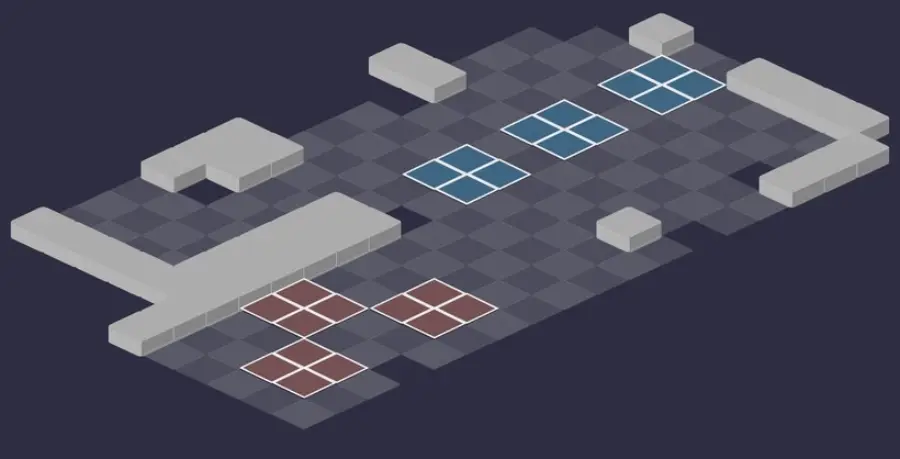
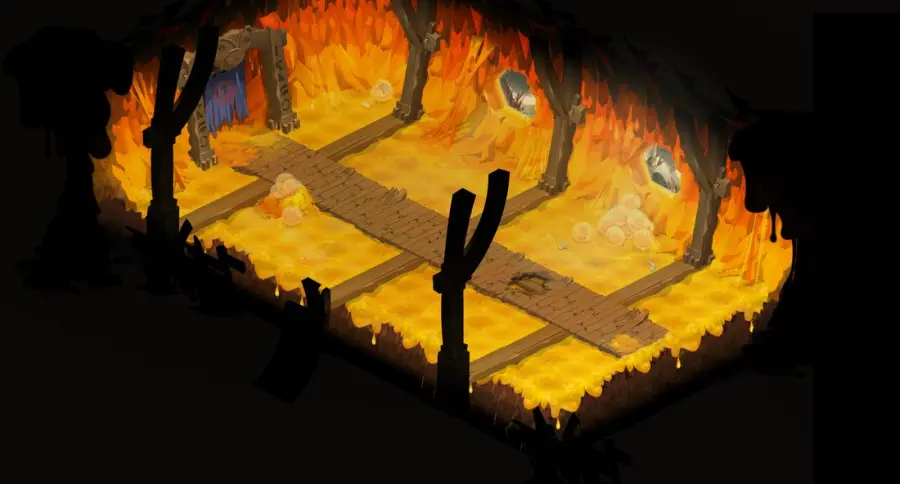
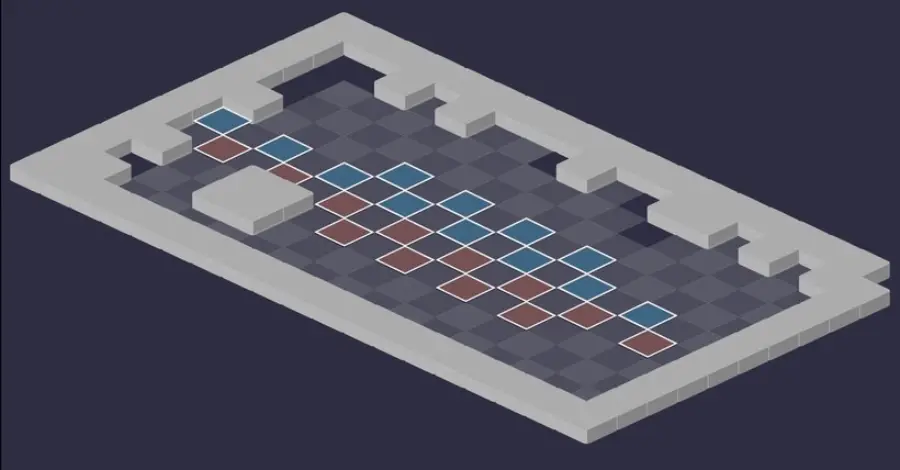
Six fights. Throughout, the slightest push damage against an obstacle can kill: always keep some space behind your characters. For each room: the scenery, then the tactical view with the starting cells (blue: you, red: the monsters). Tap an image to enlarge it.
Room 1
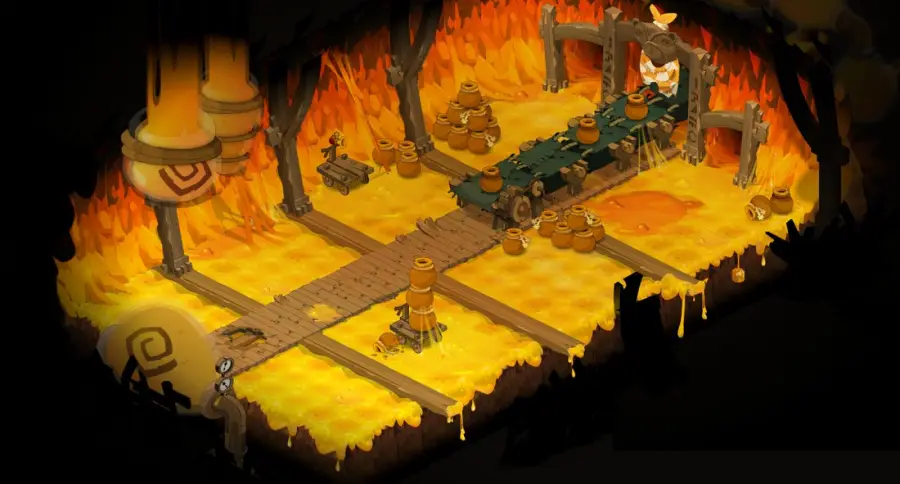
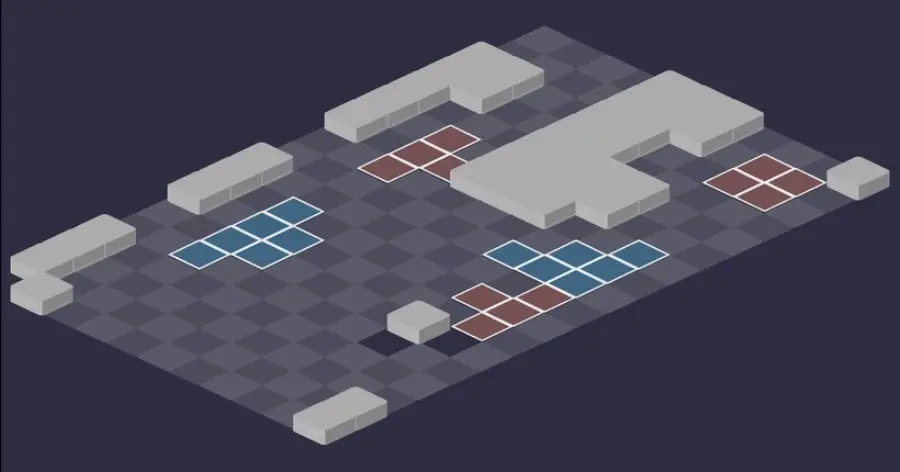
Room 2
Esurient Bearbarian, Torpid Bearbarian, Apewicubic Bearbarian and Vespal Bearbarian. Don't hit the Esurient Bearbarian without unbewitching him: each hit received gives him 1,000 push damage. Don't remove MP from the Torpid Bearbarian, and avoid contact with the Apewicubic Bearbarian.
Room 3
Nothing new, but lots of Apewicubic Bearbarians: hit with Air first.
Room 4
The Rampant Bearbarian appears: when hit, it pulls everything in line with it. Don't hit it when an ally is in its axis.
Room 5
Probably the hardest room: several Esurient Bearbarians and Mellifluous Bearbarians. Play Earth, boost yourself from afar, then hit into the pack: the Mellifluous Bearbarians take the damage in place of the Esurient Bearbarians and die first. Then unbewitch the boosted Esurient Bearbarians before hitting them.
Room 6 — the Celestial Bearbarian
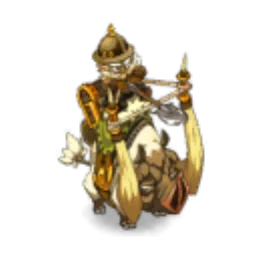
The Celestial Bearbarian and his Bearbarians. Don't move him and don't remove his MP or range: the strategy is detailed just below.
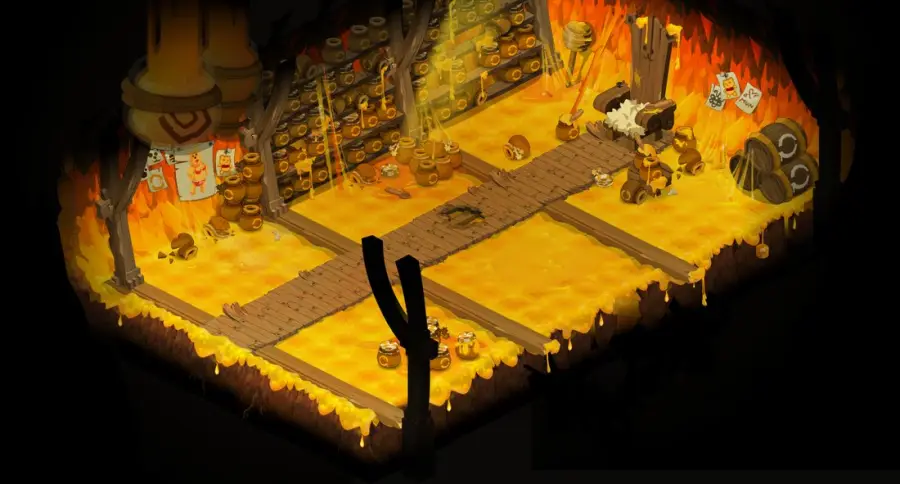
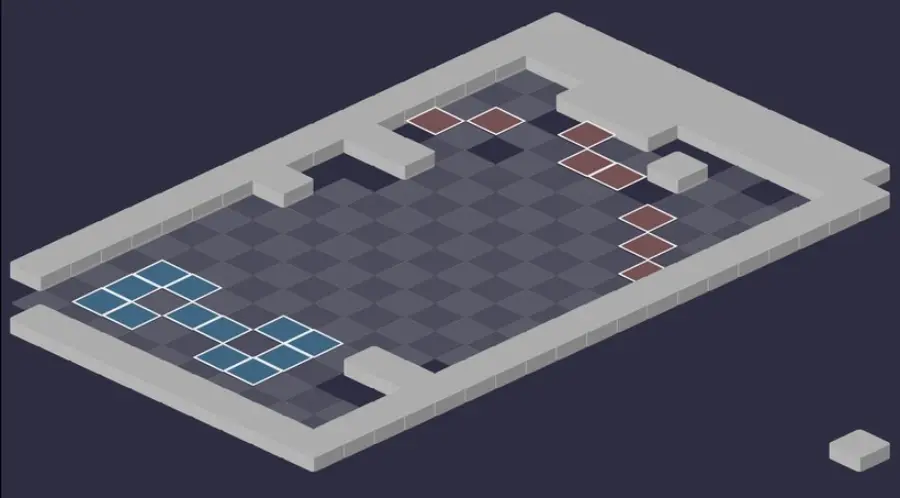
Beat the Celestial Bearbarian
The push that kills
Hitting the Celestial Bearbarian in melee makes him vulnerable, but pushes back everything in line with him 4 cells, up to 4 range. A character who hits an obstacle during this push dies instantly. Before each attack, check the four cells behind your lined-up allies.
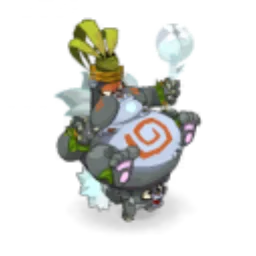
Level 190
 11,000 HP
 20 AP
 8 MP
- Resistances (%)
 Earth 21%
 Fire 16%
 Water 24%
 Air 23%
 Neutral 25%
Invulnerable, he only becomes vulnerable to the character who hits him in melee, for the duration of that character's turn. If moved, or deprived of MP or range, he revives the last dead ally with Little Brown Bearbarian, with all its HP. Bearbarrow hits harder the lower his HP get: once he is wounded, kill him in one or two turns.
 Bearbargain5 AP · 5 Range ·91 to 100 Air steal · Switches places (forced)
Air life steal and forced position swap, up to 5 range: it pulls you into the middle of his monsters.
-
Bearbarrow5 AP · melee ·Water damage: 10% erosion of the caster's missing HP
In melee, with a bonus based on his missing HP: the lower he is, the more it hurts.
 Catch-up
Heavy State and 100 tackle: don't expect to escape his reach easily.
-
Little Brown Bearbarian
Revives the last dead ally with all its HP. Never move the Celestial Bearbarian and don't touch his MP or range.
The four-step strategy against the Celestial Bearbarian
Prepare from a distance. Boost yourself far from the monsters, keeping them busy with a summon cast at the back of the map, and put on your armors. Never touch the Celestial Bearbarian's MP, range or position throughout the whole fight.
Esurient Bearbarian and Mellifluous Bearbarian. Kill the Esurient Bearbarian first, or the Mellifluous Bearbarian if it intercepts his damage. Push the Esurient Bearbarian back or remove his MP if he approaches: boosted, he can kill several characters in one blow.
Rampant Bearbarian, Torpid Bearbarian, Apewicubic Bearbarian. Then kill the Rampant Bearbarian, never hitting him when he is lined up with the boss: he would pull him, and the Celestial Bearbarian would revive an ally. Then the Torpid Bearbarian and the Apewicubic Bearbarians. The Vespal Bearbarian, a runaway, can wait until the end: useful for preparing the capture.
The Celestial Bearbarian. Boost yourself again and protect the team with shields. Each attacker first hits him in melee: this first hit deals nothing, so take a small spell or a multi-line weapon. Aim to kill him in one or two turns; beyond that he becomes unmanageable.
One vulnerability per character
Once hit in melee, the Celestial Bearbarian is only vulnerable during the turn of the character who hit him: each attacker must repeat the operation on their own turn. This first hit does no damage.
Each time, everything in line with him up to 4 range is pushed back 4 cells. Place your allies out of his lines, or with four free cells behind them.
Little Brown Bearbarian
This spell summons the last dead ally, with all its HP. It triggers when you move the Celestial Bearbarian or remove his MP or range, including when a hit Rampant Bearbarian pulls him. As long as no monster has died, he has no one to revive: it is the only time you can move him safely.
The monsters of the Bearbarian Antichamber
Six level 182 Bearbarians, each with a pronounced weakness, from -30 to -46%, and very high resistances elsewhere. Resistances in red are their weaknesses.
In which order to kill the monsters
- Esurient Bearbarian, then Mellifluous Bearbarian — the Esurient Bearbarian can kill several characters at once; start with the Mellifluous Bearbarian if it is protecting him.
- Rampant Bearbarian — it pulls everything in line, boss included, when hit.
- Torpid Bearbarian, then Apewicubic Bearbarian — one hits hard up close and from afar, the other heals his allies.
- Vespal Bearbarian — a runaway: it can wait until the end of the fight.
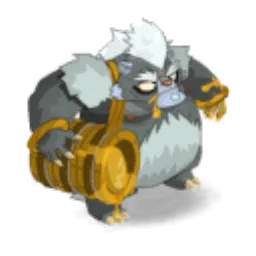
Level 182
- 4,700 HP
- 12 AP
- 5 MP
- Resistances (%)
- Earth 5%
- Fire 15%
- Water 45%
- Air 10%
- Neutral -46%
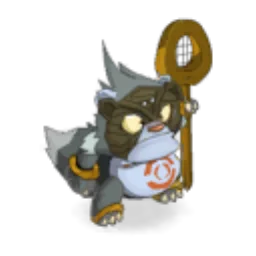
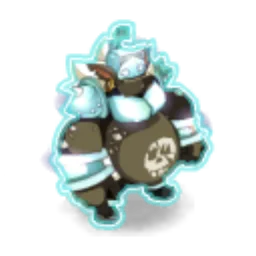
Each hit received gives him 1,000 push damage with Bearbaroness: unbewitch him or don't hit him. Bearbarograph hits in melee and pushes back 2 cells, deadly against an obstacle. Bearbarbarity teleports him up to 3 range and pushes back one cell. Weak to Neutral.
-
Bearbarograph4 AP · melee ·86 to 95 Fire damage · Push Away 2 cells
Pushes back 2 cells in melee: with your back to an obstacle, it means death.
-
Bearbarbarity4 AP · 3 Range ·56 to 65 Water steal · Pushes back 1 cell · Teleports to the targeted cell
The Esurient Bearbarian teleports and pushes back one cell, up to 3 range.
-
Bearbaroness
1,000 push damage per hit received. Unbewitch the Esurient Bearbarian before hitting him.
Level 182
- 5,200 HP
- 12 AP
- 7 MP
- Resistances (%)
- Earth -41%
- Fire 11%
- Water 68%
- Air 15%
- Neutral 22%
Bearbarking makes him intercept an ally's damage, to whom he gives 1,000 vitality: he often dies before his target. Bearbarmaid steals life in Water. Weak to Earth.
-
Bearbarmaid4 AP · on himself ·76 to 85 Water steal
 Bearbarking
The Mellifluous Bearbarian intercepts an ally's damage and gives him 1,000 vitality.
 Bearbarleycorn
Level 182
- 4,700 HP
- 12 AP
- 6 MP
- Resistances (%)
- Earth 7%
- Fire 10%
- Water -39%
- Air 51%
- Neutral 20%
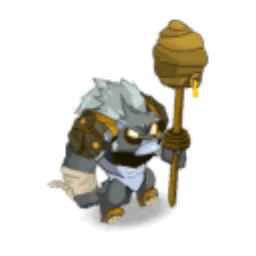
When hit, he pulls everything in line with him. Bearbarnstorm hits in an area, his allies included, and heals him; Bearbarbut adds damage based on your HP. Weak to Water.
 Bearbarbut4 AP · melee ·86 to 95 Neutral damage · 2 MP · Neutral damage: 5% of the target's HP
-
Bearbarnstorm4 AP · 4 Range ·56 to 65 Earth damage · Earth damage: 3% of the target's HP · 16 to 25 Fire heals
Area that also hits his allies and heals the Rampant Bearbarian.
-
Bearbarhop
When hit, the Rampant Bearbarian pulls everything in line: don't hit it while it is lined up with the boss.
Level 182
- 4,700 HP
- 12 AP
- 3 MP
- Resistances (%)
- Earth 64%
- Fire 11%
- Water -33%
- Air 21%
- Neutral 18%
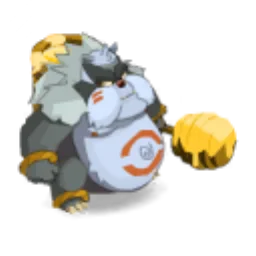
He hits hard in melee with Fructose, which removes 4 AP, and at range with A Lost Glucause. Removing MP from him gives MP to his allies. Weak to Water.
-
Fructose4 AP · melee ·86 to 95 Earth steal · -4 AP
In melee: Earth life steal and -4 AP.
-
A Lost Glucause4 AP · 7 Range ·66 to 75 Water steal
-
Saccharose
Removing MP from the Torpid Bearbarian gives MP to his allies.
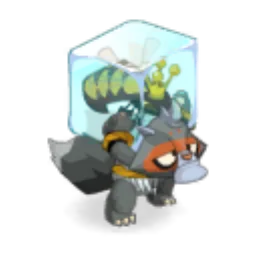
Level 182
- 4,700 HP
- 12 AP
- 5 MP
- Resistances (%)
- Earth 17%
- Fire 70%
- Water 10%
- Air -44%
- Neutral 5%
When attacked in melee, he heals all the monsters around him. Nectar heals his neighbors, Honeydew erodes and sharply reduces your heals. Weak to Air, which you should favor.
-
Honeydew4 AP · melee · 10% Erosion ·71 to 80 Fire damage · -500 Heals
In melee: erosion and a big heal penalty.
-
Nectar4 AP · on self ·36 to 45 Fire heals
-
Pollen
Attacking the Apewicubic Bearbarian in melee heals all the monsters around him. Hit him from a distance.
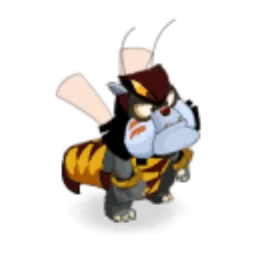
Level 182
- 4,700 HP
- 12 AP
- 4 MP
- Resistances (%)
- Earth 20%
- Fire -30%
- Water 7%
- Air 55%
- Neutral 12%
Fleeing AI. Trophallaxis steals 4 MP at range, Gathering Nectar steals life in melee under Gravity, and each hit received gives him 100 damage. Weak to Fire.
-
Gathering Nectar4 AP · melee ·66 to 75 Air steal · Gravity State
-
Trophallaxis4 AP · 6 Range ·Steals 4 MP
Steals 4 MP up to 6 range.
-
Propolis
The Vespal Bearbarian gains 100 damage per hit received: don't start on him if you won't finish him.
Preparing your run through the Bearbarian Antichamber
A hard dungeon for teams of level 180 to 190, which punishes pushes, poorly chosen removals and tight positioning. You come here for The Frozen Peak, which opens Frigost III, and for the achievements. The Celestial Bearbarian is captured with a Soul Stone for Huge Souls (captures up to level 200).
How to enter the Bearbarian Antichamber
The entrance is at Mount Scauldron, at ; the nearest zaap is the one at the Harebourg Castle Entrance . Talk to Willi Biene to enter. Three ways to open it: a Bearbarian Antichamber Key (consumed), the key ring if it is registered there, or the automatic group finder.
Crafting the Bearbarian Antichamber Key
It is crafted by a handyman. Six ingredients drop from the Bearbarians, at 15%: Apewicubic Bearbarian Ear, Torpid Bearbarian Hair, Rampant Bearbarian Leather, Vespal Bearbarian Antenna, Mellifluous Bearbarian Tail and Midnight Meat. Swordfish and Mandrake complete the recipe.
| Ingredient | Quantity | Level |
|---|---|---|
 Apewicubic Bearbarian Ear |
2 | 180 |
 Torpid Bearbarian Hair |
2 | 190 |
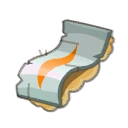 Rampant Bearbarian Leather |
2 | 190 |
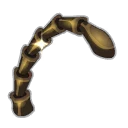 Vespal Bearbarian Antenna |
2 | 190 |
 Mellifluous Bearbarian Tail |
2 | 190 |
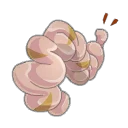 Midnight Meat |
2 | 190 |
 Swordfish |
2 | 190 |
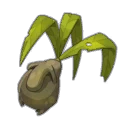 Mandrake |
3 | 180 |
Which team to bring against the Celestial Bearbarian
Several elements. Each Bearbarian has one strong weakness and huge resistances elsewhere: Air against the Apewicubic Bearbarians, Earth against the Mellifluous Bearbarians, Water against the Rampant and Torpid Bearbarians, Neutral against the Esurient Bearbarian.
Some unbewitching. The Esurient Bearbarian boosted in push damage is the number one cause of death in the dungeon. Unbewitch him before hitting him, or leave him untouched until you can kill him in one blow.
Protections for the end. Shields and armor before attacking the Celestial Bearbarian, who hits harder and harder: you need to kill him in one or two turns.
The six achievements of the Bearbarian Antichamber
Each achievement gives 137,711,000 XP and 2 Celestial Bearbarian Tail, Duo doubles the XP; Sidekick gives 206,566,500 XP. Bearbaric Complacency extends a rule you already follow: don't touch the boss's MP.
| Achievements | Condition | Points | XP |
|---|---|---|---|
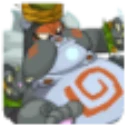 Celestial Bearbarian (Duo) |
Defeat the Celestial Bearbarian in his dungeon while completing the “Duo” challenge. | 20 | 275 422 000 |
| Celestial Bearbarian (Sidekick) |
Defeat the Celestial Bearbarian in his dungeon while completing the “Mini Inuits” challenge | 5 | 206 566 500 |
| Bearbarian Antichamber |
Defeat the Celestial Bearbarian in this boss's dungeon. | 10 | 137 711 000 |
| Celestial Bearbarian (Special) |
Defeat the Celestial Bearbarian in his dungeon while completing the “Bearbaric Complacency” challenge. | 10 | 137 711 000 |
| Celestial Bearbarian (First) |
Defeat the Celestial Bearbarian in his dungeon while completing the “First” challenge. | 10 | 137 711 000 |
| Celestial Bearbarian (Tight) |
Defeat the Celestial Bearbarian as a team in his dungeon while completing the “Tight” challenge. | 10 | 137 711 000 |
Special: Bearbaric Complacency
Enemies must not suffer any AP, MP or range removal, nor any attempt at displacement. Watch out for damage spells that add AP or range removal, or a push. Kill the Celestial Bearbarian last: you are already used to not moving him or removing his MP, all that remains is not removing his AP.
First
The Celestial Bearbarian must be finished off first. He has to be killed before any monster, so under the pressure of the whole room. As long as no monster has died, moving him has no consequence: Little Brown Bearbarian has no one to revive. Each attacker must still hit him in melee to make him vulnerable.
Tight
Each ally must end their turn on a cell adjacent to another ally's. Play in pairs, but never lined up with the Celestial Bearbarian when someone hits him: the 4-cell push would carry the pair into an obstacle. Beware of the swaps from Bearbargain, which break up pairs.
Duo
Two characters maximum, fewer than 20 turns. Bring two characters able to hit the boss in melee, and kill the Mellifluous Bearbarian and then the Esurient Bearbarian first to keep up the pace.
Sidekick: Mini Inuits
At least four characters, including a companion: Inferno, Styx, Mandrin or Will Killson. The fight plays out as usual: keep the companion out of the push lines of the Esurient Bearbarian and the Celestial Bearbarian.
Drops and loot of the Bearbarian Antichamber
Base in-game rates, before Prospecting bonuses.
On the Celestial Bearbarian
 Still WaterLiquid15 %
 Celestial Bearbarian TailTail15 %
 The SarapoxCurse6 %
 Nougat Rabmarac BarTreat6 %
 Bag of ResinContainer3 %
- Celestial Bearbarian HamateBone2,44 %
 Wa Odanowth's CloakCeremonial cape0,8 %
 Wa Odanowth's CwownCeremonial hat0,8 %
 Queen Odasouth CrownCeremonial hat0,8 %
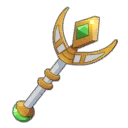 Queen Odasouth WandCeremonial weapon0,8 %
 Wa Odanowth ShieldCeremonial shield0,8 %
 Al Howin GobtubbyCeremonial pet0,8 %
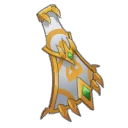 Queen Odasouth CloakCeremonial cape0,8 %
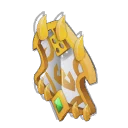 Queen Odasouth ShieldCeremonial shield0,8 %
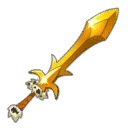 Wa Odanowth's SwordCeremonial weapon0,8 %
 Midnight CarrionMeat0,73 %
On the henchmen of the Celestial Bearbarian
- Midnight MeatMeat · Apewicubic Bearbarian15 %
- Apewicubic Bearbarian EarEar · Apewicubic Bearbarian15 %
- Torpid Bearbarian HairHair · Torpid Bearbarian15 %
- Rampant Bearbarian LeatherLeather · Rampant Bearbarian15 %
 Esurient Bearbarian IncisorBone · Esurient Bearbarian15 %
- Vespal Bearbarian AntennaMiscellaneous Resource · Vespal Bearbarian15 %
- Mellifluous Bearbarian TailTail · Mellifluous Bearbarian15 %
 The LurgiCurse · Apewicubic Bearbarian12 %
 Apewicubic Bearbarian VomerBone · Apewicubic Bearbarian2,44 %
- Still WaterLiquid · Apewicubic Bearbarian2,44 %
 Torpid Bearbarian IrisEye · Torpid Bearbarian2,44 %
 Rampant Bearbarian WoolWool · Rampant Bearbarian2,44 %
 Esurient Bearbarian FabricFabric · Esurient Bearbarian2,44 %
 Vespal Bearbarian WingsWing · Vespal Bearbarian2,44 %
 Mellifluous Bearbarian CalcaneusBone · Mellifluous Bearbarian2,44 %
 Larva EggFrigost Island · Apewicubic Bearbarian1,2 %
 Vinnie the Bearbarian Map Fragment 5/5Map fragment · Apewicubic Bearbarian1 %
 Warrior of KOs Map Fragment 5/5Map fragment · Apewicubic Bearbarian1 %
- Bag of ResinContainer · Apewicubic Bearbarian1 %
 Vinnie the Bearbarian Map Fragment 1/5Map fragment · Torpid Bearbarian1 %
 Warrior of KOs Map Fragment 1/5Map fragment · Torpid Bearbarian1 %
 Warrior of KOs Map Fragment 3/5Map fragment · Rampant Bearbarian1 %
 Vinnie the Bearbarian Map Fragment 3/5Map fragment · Rampant Bearbarian1 %
 Vinnie the Bearbarian Map Fragment 2/5Map fragment · Vespal Bearbarian1 %
 Warrior of KOs Map Fragment 2/5Map fragment · Vespal Bearbarian1 %
 Vinnie the Bearbarian Map Fragment 4/5Map fragment · Mellifluous Bearbarian1 %
 Warrior of KOs Map Fragment 4/5Map fragment · Mellifluous Bearbarian1 %
Capturing the soul of the Celestial Bearbarian
 A Soul Stone for Huge Souls (captures up to level 200) is enough. Leave the Vespal Bearbarian, a runaway, alive until the end: it gives you time to start the capture calmly.
| Stone ingredient | Quantity |
|---|---|
 Majestic Soul Splinter |
10 |
 Alteration Potion |
2 |
Where is the Bearbarian Antichamber?
At Mount Scauldron, on Frigost Island, at . Talk to Willi Biene to enter; the nearest zaap is the one at the Harebourg Castle Entrance .
At what level should you do the Bearbarian Antichamber?
From level 180, comfortably at 190. The Celestial Bearbarian is level 190, his Bearbarians level 182.
Which quest should you do in the Bearbarian Antichamber?
The Frozen Peak, with Willi Biene at the entrance. Beating the Celestial Bearbarian also opens access to Frigost III.
How do you make the Celestial Bearbarian vulnerable?
Hit him in melee. He is only vulnerable for that character's turn, and everything lined up with him up to 4 range is pushed back 4 cells.
Why does the Celestial Bearbarian resurrect his monsters?
Because he was moved or had MP or range removed. Little Brown Bearbarian then revives the last dead ally, with all its HP. Also beware of the Rampant Bearbarian, who pulls him when hit.
Which monster should you kill first in the Bearbarian Antichamber?
The Esurient Bearbarian, or the Mellifluous Bearbarian if it protects him. Next come the Rampant Bearbarian, the Torpid Bearbarian and the Apewicubic Bearbarians; the Vespal Bearbarian can wait.
Why do you die in one hit in this dungeon?
Because of push damage against an obstacle. The Esurient Bearbarian gains 1,000 per hit received, and the boss's vulnerability pushes back 4 cells: keep some space behind you.
Which stone should you use to capture the Celestial Bearbarian?
A Soul Stone for Huge Souls (captures up to level 200). Keep the Vespal Bearbarian alive to start the capture in peace.
Comments
No comments yet. A tip, or a detail about this page? Be the first.