 2 × Skt-Zo Leg
Dungeon Frigost Island
Count Harebourg's Dungeon
Level 200 dungeon at the top of the Water Clock Tower, on Frigost Island, at [-59,-89]: four rooms of Sinistros and then Count Harebourg, who scrambles your spells and only becomes vulnerable on even turns. Quests to start, confusions, strategy, monsters, achievements and loot.
Quests linked to Count Harebourg's Dungeon
The Count can only be fought after defeating Nileza, Missiz Freezz, Klime and Sylargh once: Mind Over Masters sends you there and opens the dungeon quest, Guilty On All Counts. Accept your quests before entering: a fight won without the quest in progress does not count.
The dungeon quest. Dorlean sends you to settle his scores with the Count: cross the dungeon to the Great Needle, then defeat Count Harebourg in a single fight. Victory completes the quest.
- Start
- Dorlean, Water Clock Tower
- Prerequisites
- Mind Over Masters
Keep the Frozen Pocketwatch until the Count. After the Tower's readings, the Block of Taroudium and the three Norrai, defeat the Count in a single fight, show him the watch, then fill the vial at the base of the Ice Dofus.
- Start
- Nileza, Winter Gardens
- Prerequisites
- Level 100 and Hot 'n' Cold
 Count Harebourg's Scapula60,000,000 XP and 10 Ice Kama
A bounty on the Count's head. Beat him in a single fight, reach the dungeon exit map, then talk to Wes of Tubsterville . No quest-giver NPC is listed for this notice.
- Prerequisites
- Level 190 and The Frozen Peak
 Wantoken2,040 Wantoken and 5 Ice Kama
For later
This time, leave through the dungeon exit. The sequel to Guilty On All Counts: beat the Count again, then follow the exit to the map , which completes the quest.
- Start
- Dorlean, Water Clock Tower
- Prerequisites
- Guilty On All Counts
The Count's soul is wanted. Wes of Tubsterville asks for six captures around the castle, including Count Harebourg's: keep a Soul Stone for Gigantic Souls on you.
- Start
- Wes of Tubsterville, entrance to Harebourg's Castle
- Prerequisites
- Level 180 and The Frozen Peak
Djaul hands you Harebourg's Broken Destiny. Once the Third Eye is created, complete the whole dungeon, then talk to Djaul there before moving on to the Vortex Eye.
- Start
- Rimanda, Huppermage temple on Rok Island
- Prerequisites
- In the Dragon's Mouth
 Count Harebourg's Bandages60,000,000 XP and 3 Miniature Sandglass
The Count can give you the Totem of Surprise. Maimane asks for six emotion totems, each from a boss of your choice: for surprise, Count Harebourg, Catseye, Kabaal, the Chokao Priestess or the Queen of Thieves.
- Start
- Maimane, Destroyers' Nightmare
- Prerequisites
- Level 180
 Totem of Balanceonce the six totems are handed in
During events
- Tiwotokar Simulation
Tiwotokar can assign you Count Harebourg as a guardian to defeat. Astrub, .
The victory opens the end of the Frigost story, with Jiva in the Water Clock Tower: The 1001-Day Countdown, then The Ice Dofus, which leads to the Ice Dofus.
The 15 rooms of Count Harebourg's Dungeon
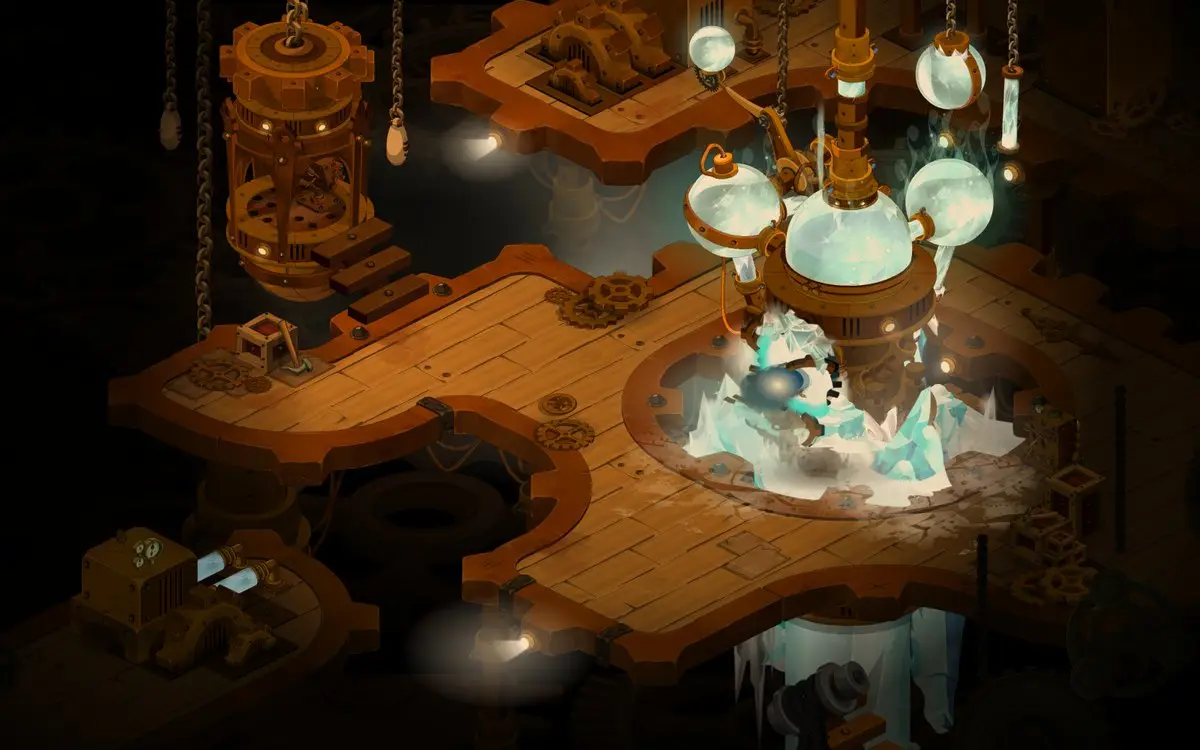
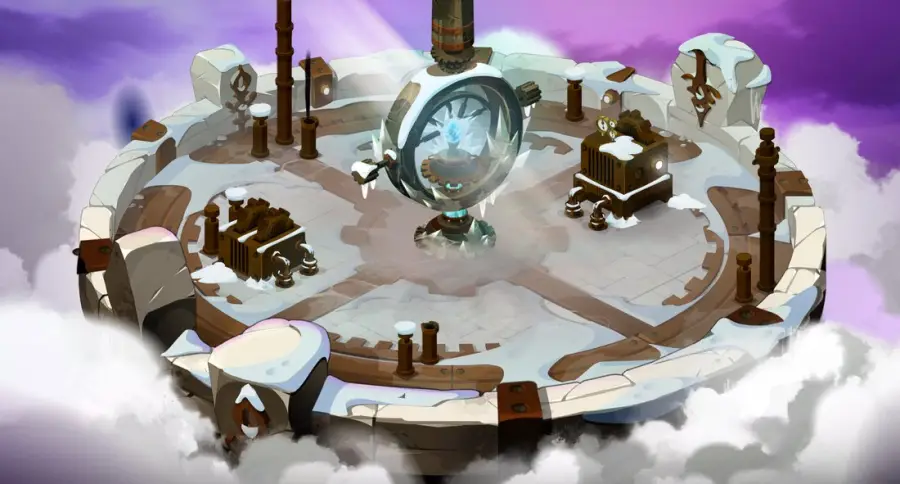
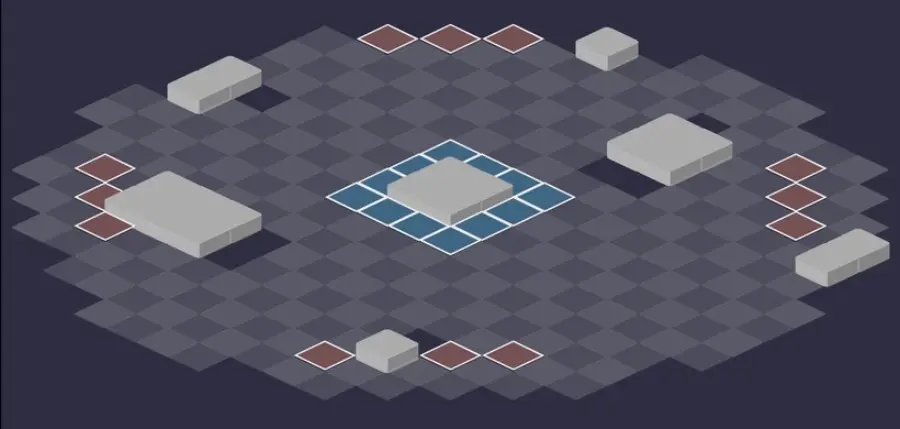
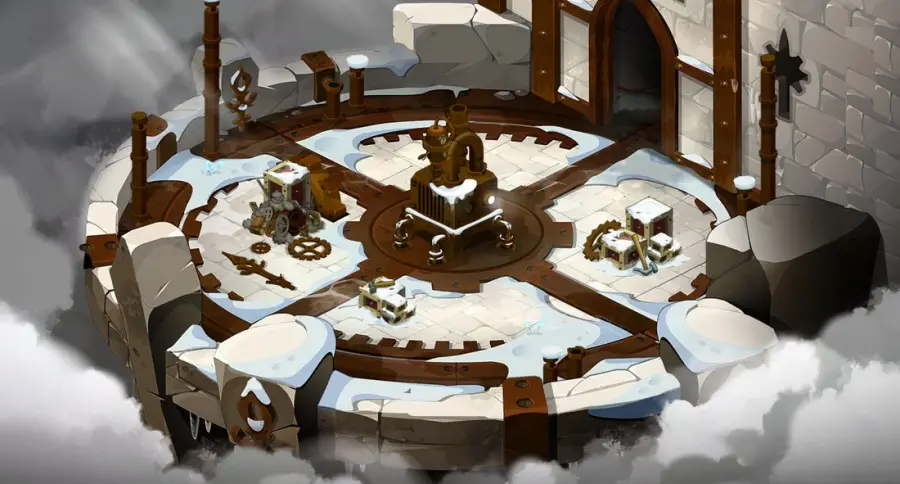
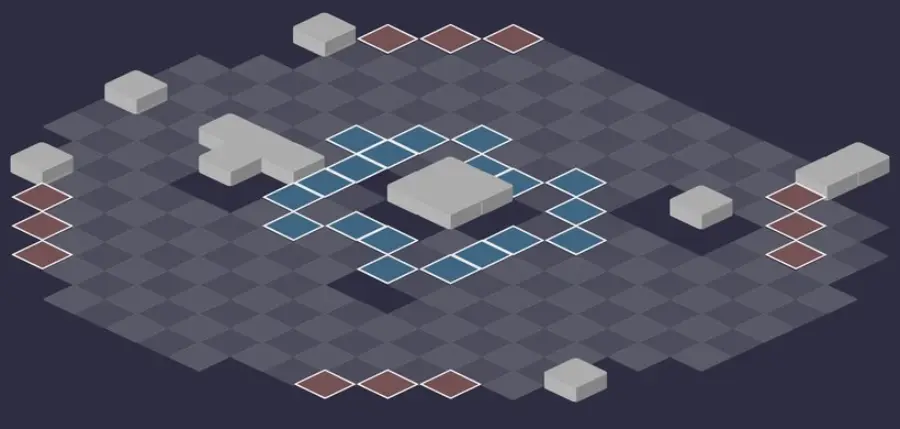
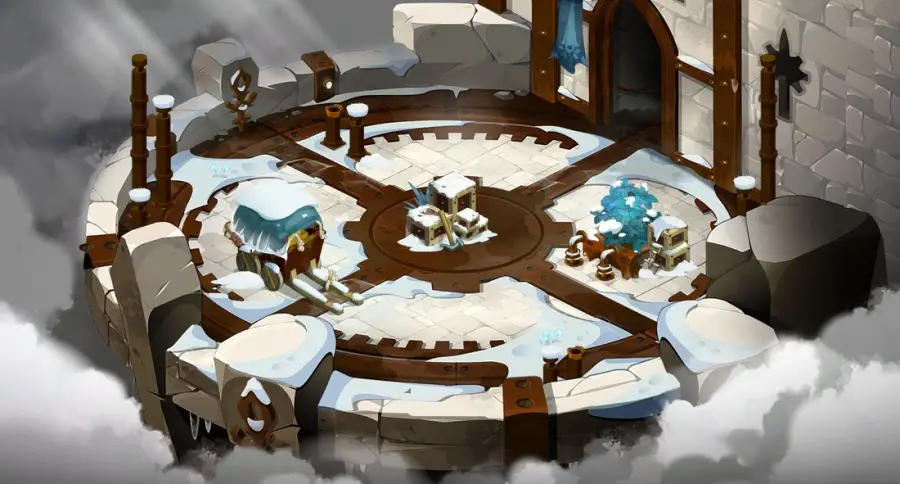
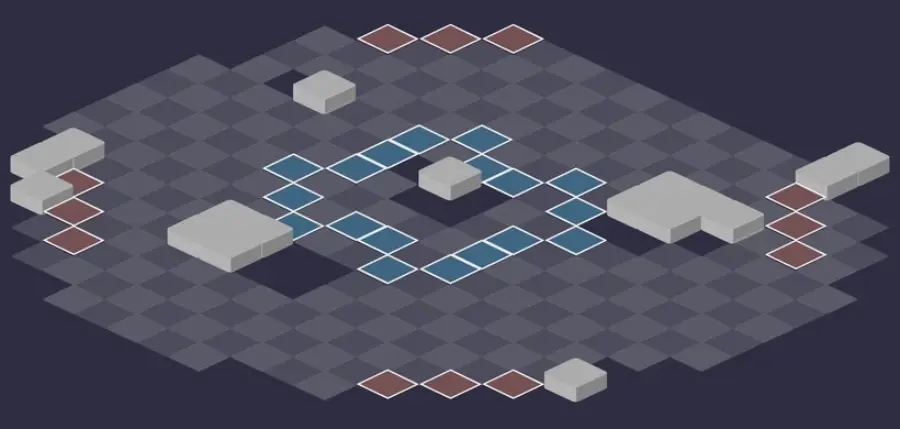
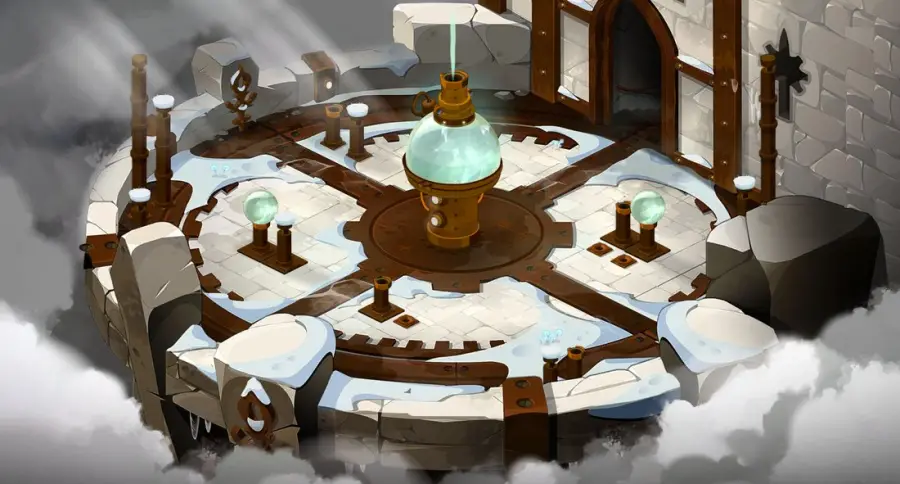
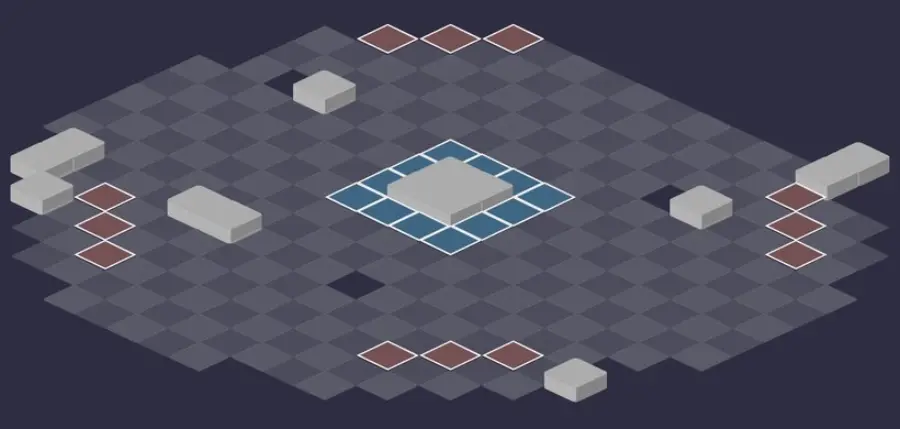
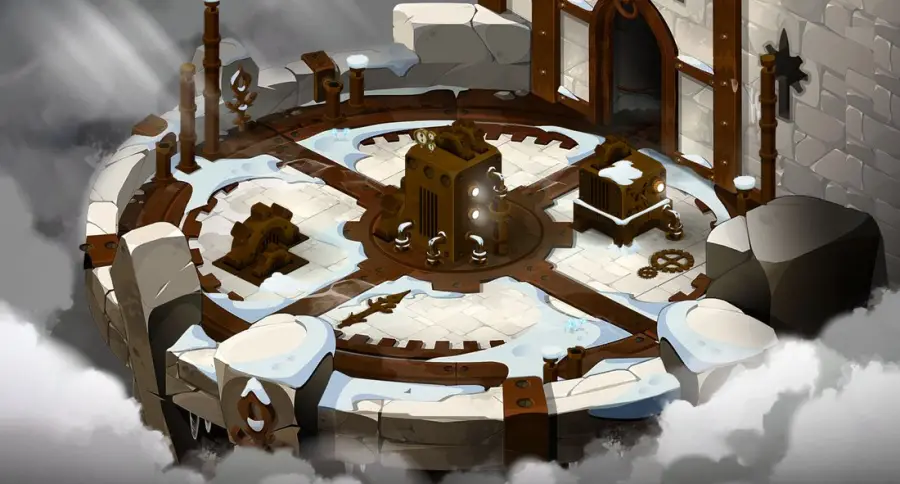
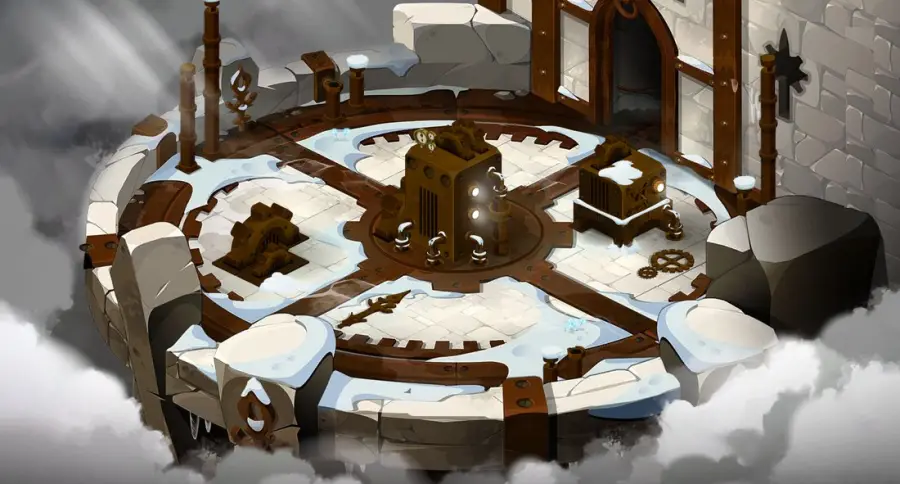
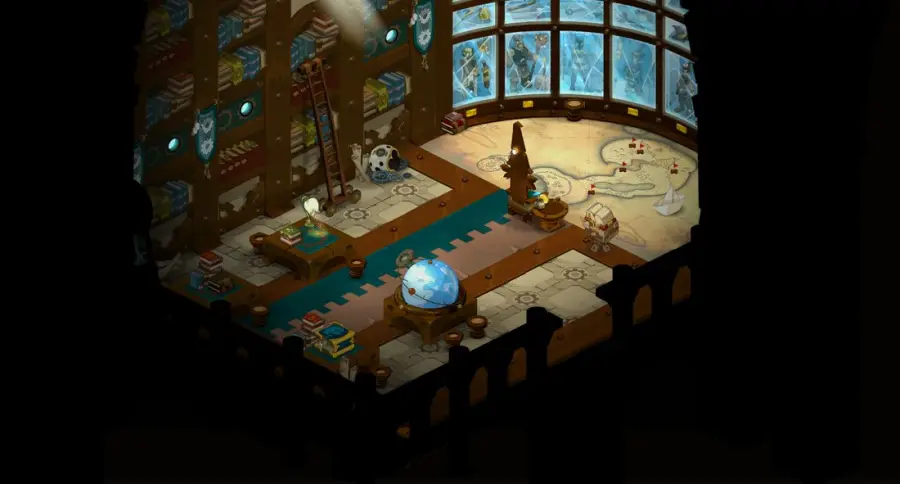
The game lists fifteen maps for this dungeon, but a run is made up of five fights: four Sinistros rooms, with a Cycloid in each, then the Count. From five characters on, each fight gains one monster per extra player. At the end of the fourth room, talk to Dorlean to start the Count's fight. For each room: the scenery, then the tactical view with the starting cells (blue: you, red: the monsters). Tap an image to enlarge it.
Room 1
Room 2
Room 3
Room 4
Room 5
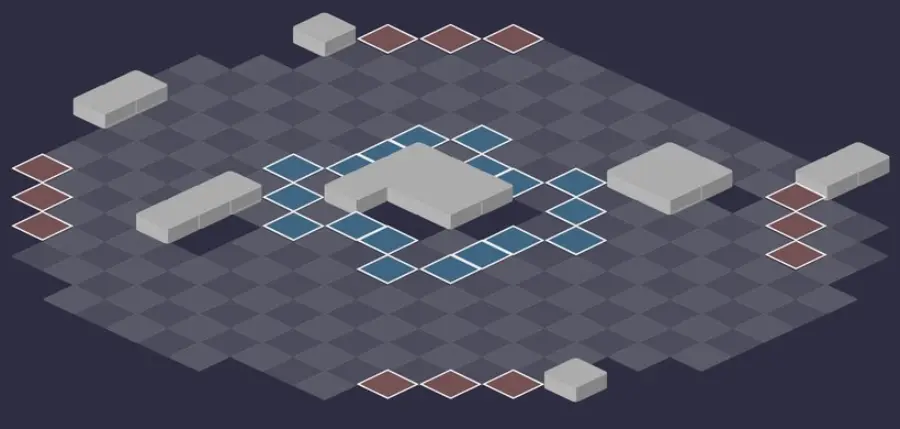
Room 6
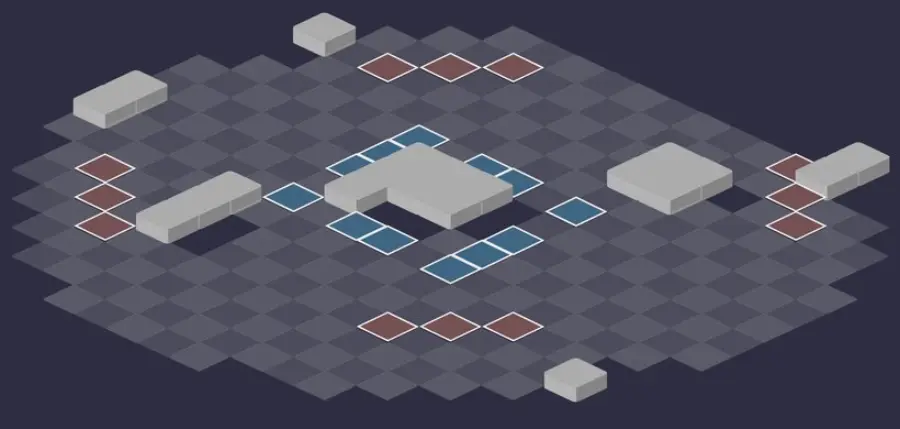
Room 7
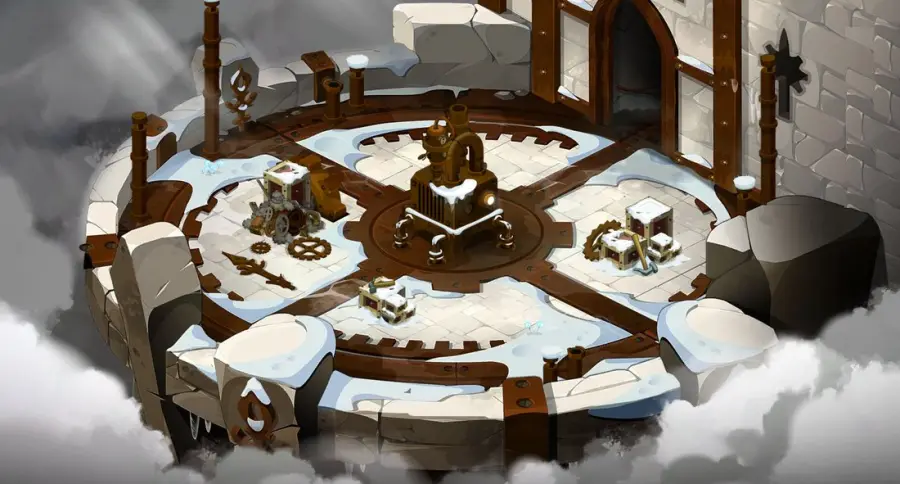
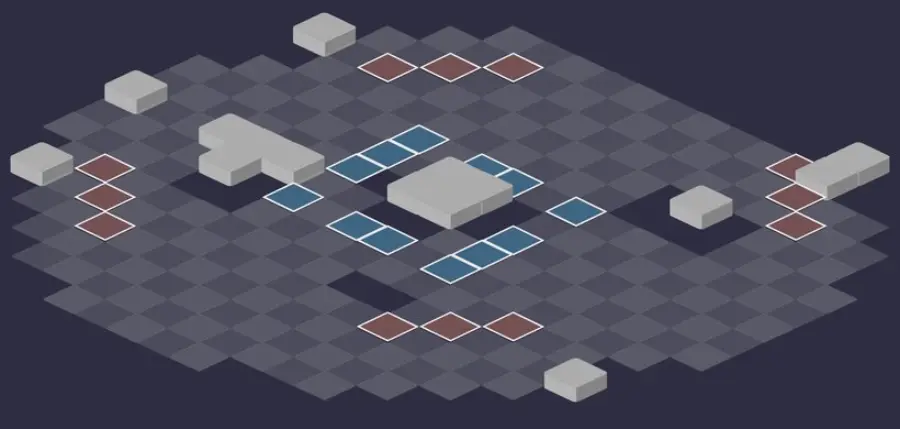
Room 8
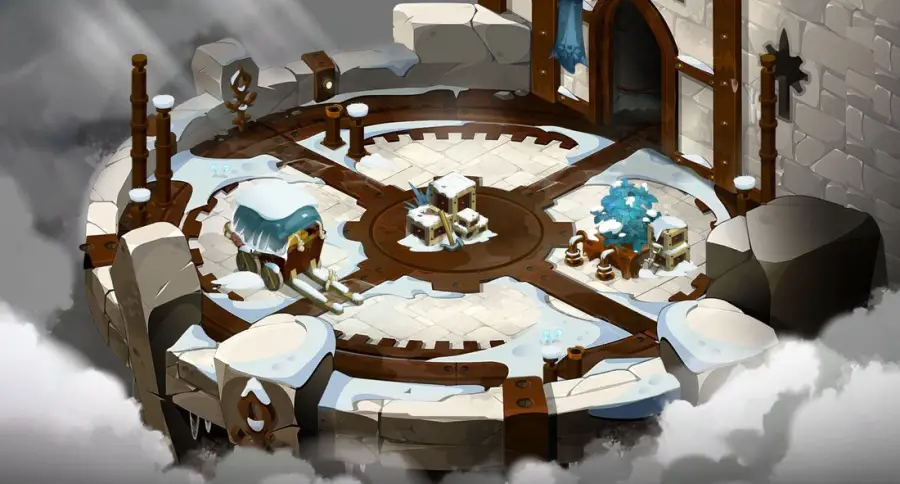
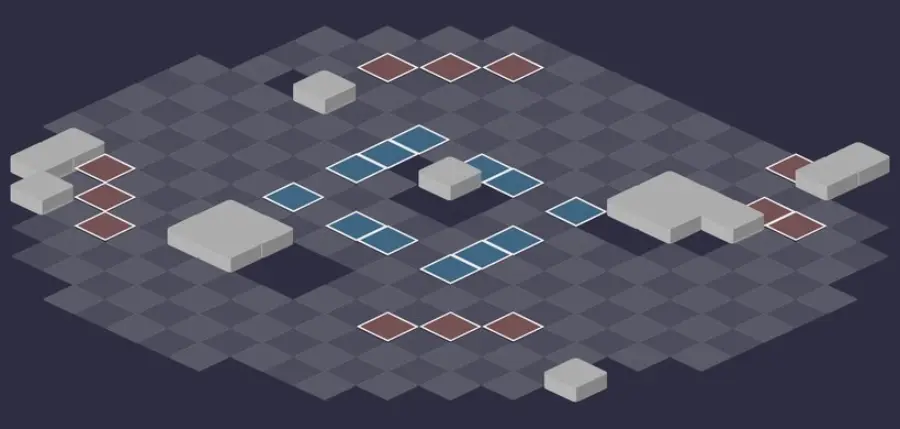
Room 9
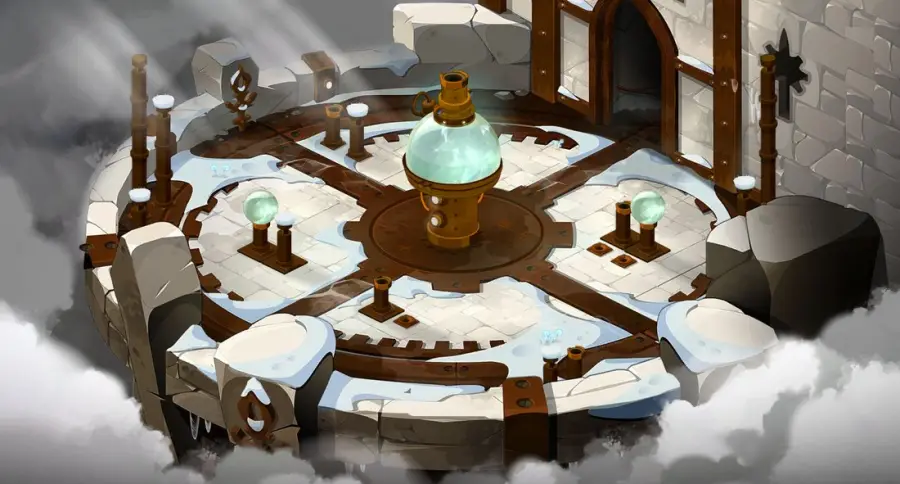
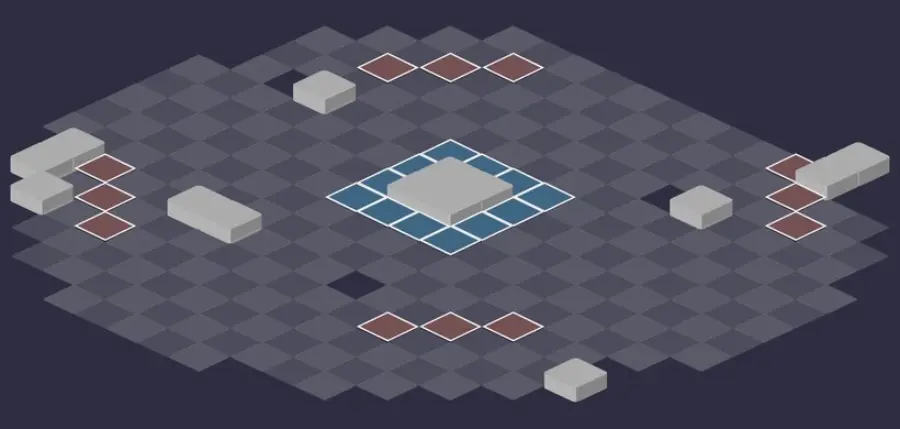
Room 10
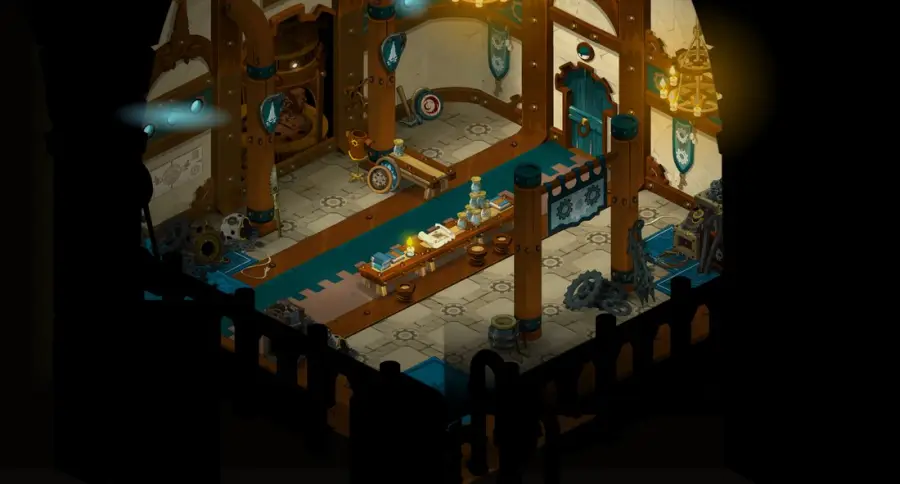
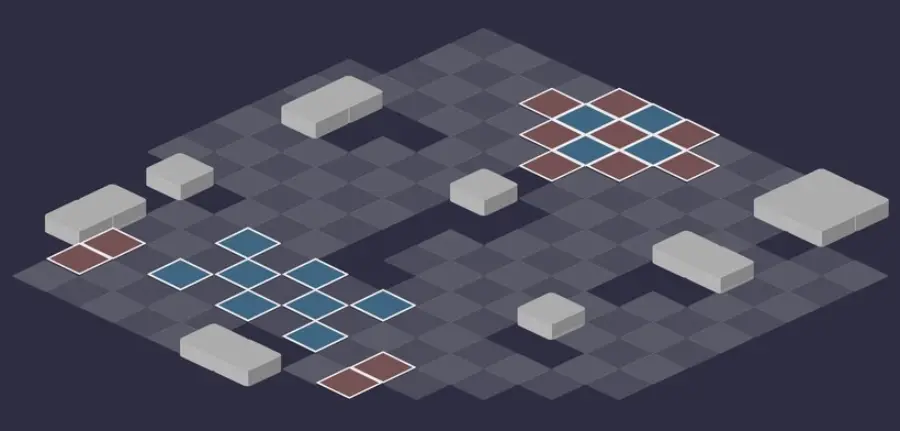
Room 11
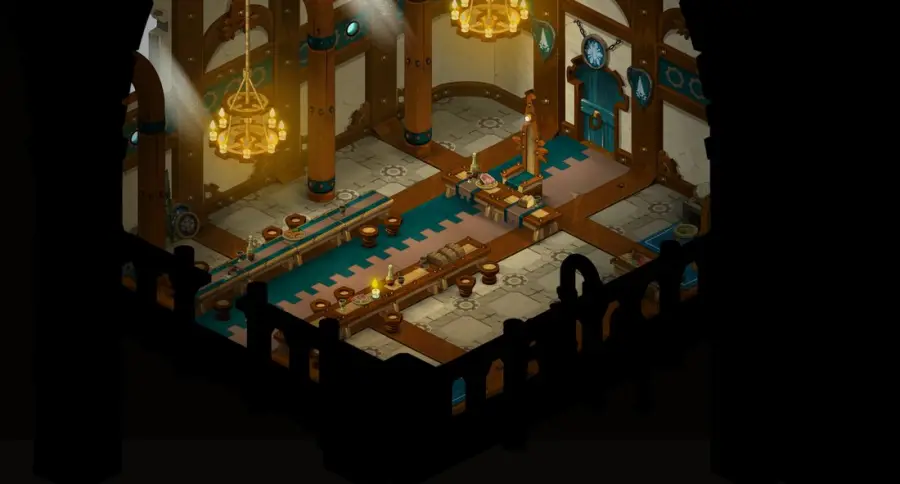
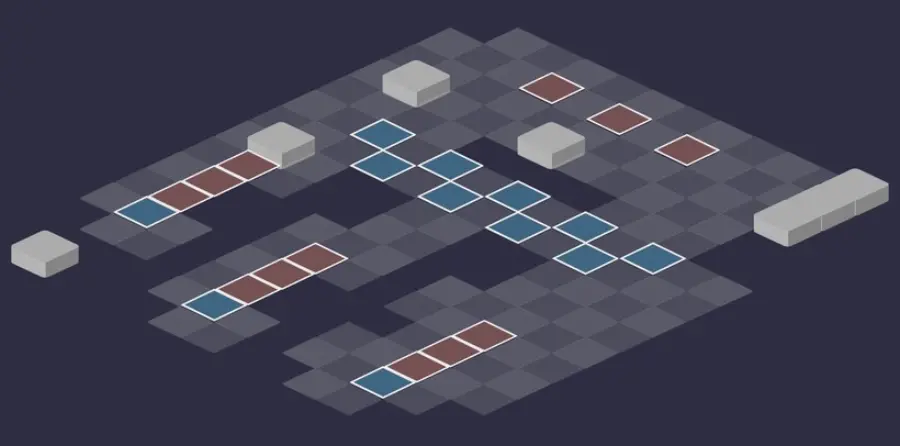
Room 12
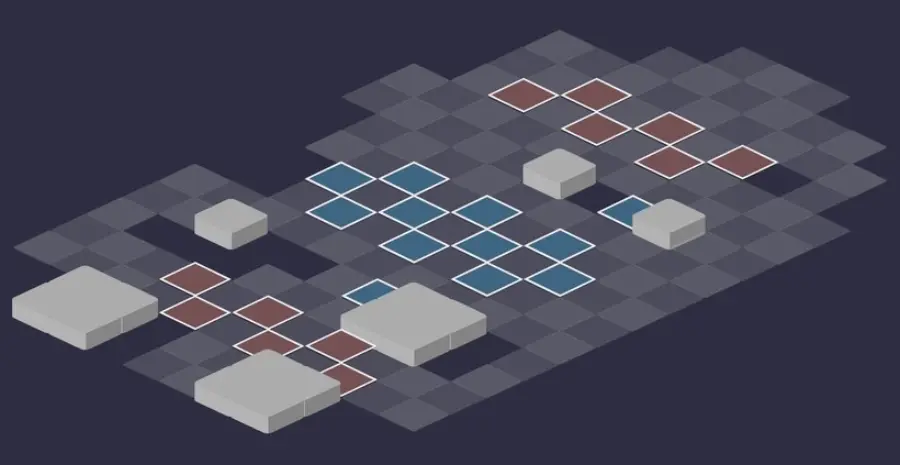
Room 13
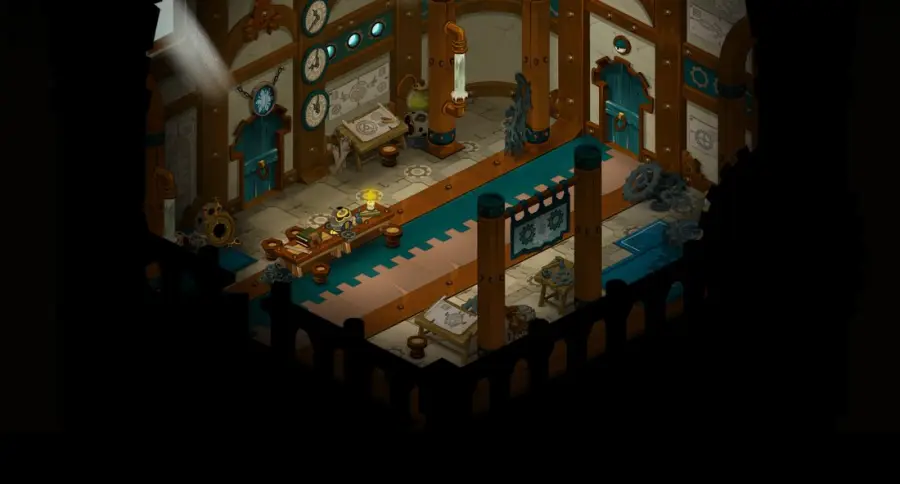
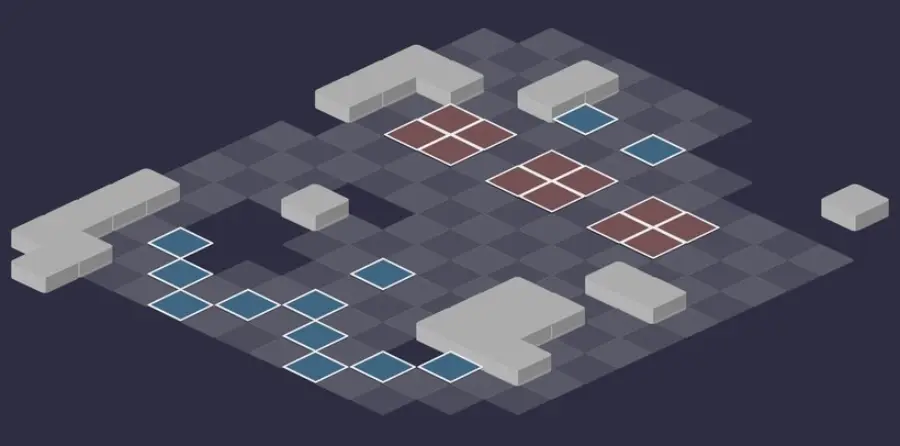
Room 14

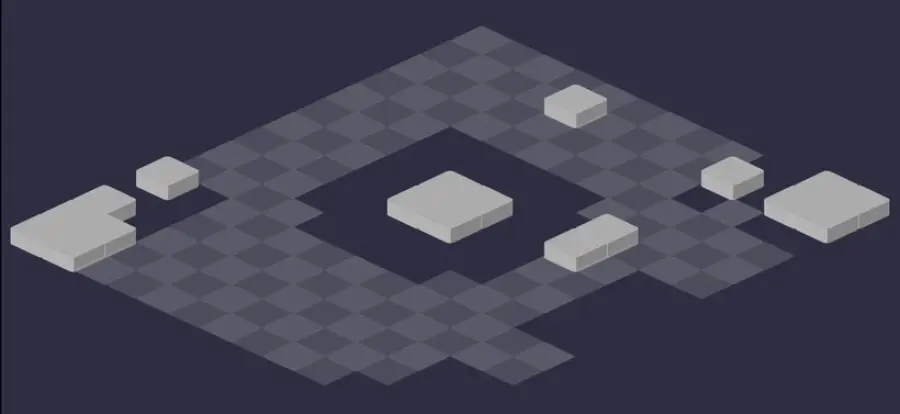
Room 15 — Count Harebourg
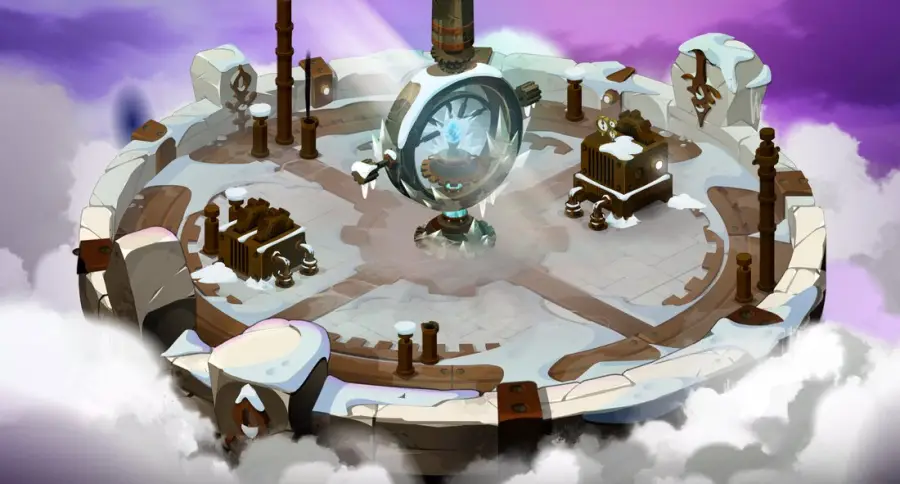
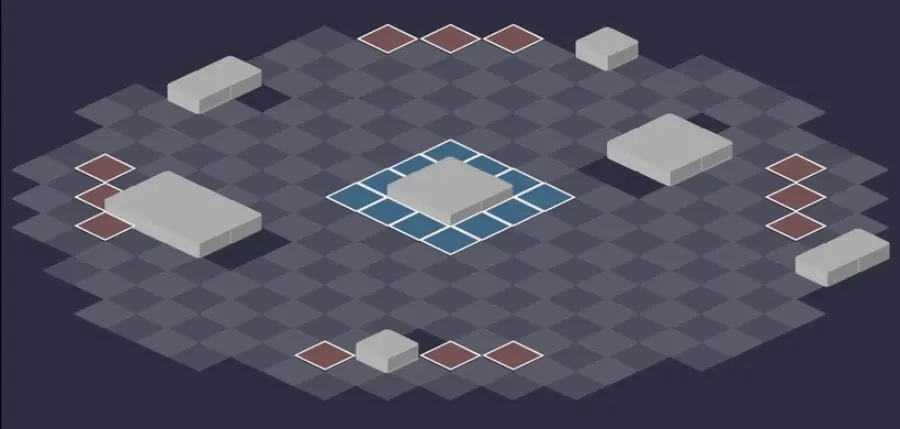
Beat Count Harebourg
The Half-Time glyph
At the start of each of his turns, the Count places a cross-shaped glyph of size 3 around himself, center cell included, for one turn. Any character who starts their turn inside it dies. Since the center cell is glyphed, carrying the Count with a Pandawa no longer protects you.
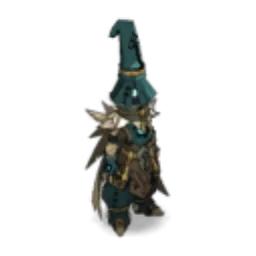
Level 220
 13,000 HP
 20 AP
 5 MP
- Resistances (%)
 Earth 17%
 Fire 16%
 Water 29%
 Air 25%
 Neutral 14%
Invulnerable for the whole fight, he can only lose this state on even turns, through a place swap. He has only 5 MP and mostly hits in straight lines, Bad Timing extending to 14 RNG without line of sight. His resistances are balanced, with Neutral the weakest.
-
Bad Timing5 AP · 14 RNG ·71 to 90 Earth damage · Water Damage: 7% erosion of the caster's missing HP · Teleports the target to the cell where they started their turn
Up to 14 RNG in a straight line, without line of sight. The turn after he loses his invulnerability, he sends his target back to its turn-start cell: be careful if it lands in the glyph.
-
Multicount5 AP · 6 RNG ·61 to 80 Fire damage · Creates illusions · Ends turn
Unlocked the turn after he loses his invulnerability: hits in an area and creates illusions, like the Rogue's Roguery.
 Jacquemart5 AP · 4 RNG ·71 to 90 Water steal · -3 AP
Cast only while he is invulnerable: life steal and 3 AP removed, dodgeable, without line of sight.
The four-step strategy against Count Harebourg
The Sinistros first. Kill the Cycloid first, or the Sinistrofu with six players or more, then the rest. On a first run, save the Count for last: you'll be comfortable with your confusions by the time he becomes vulnerable. Cast your spells in a line or diagonally, aiming is much quicker.
Keep him at a distance. With 5 MP and line spells, he is easy to handle. Place a summon at 5 Range: he spends all his MP to hit it. On the next turn, another summon 5 Range further makes him leave again. Start every turn outside Half-Time's cross.
An even turn: lifting the invulnerability. When hit on an even turn, the Count teleports symmetrically relative to you. Make him land on an entity: he swaps places with it and loses his invulnerability. The swapped ally gains 100 damage for one turn, to be exploited right away.
The vulnerable turn. Hit with your most reliable damage. Stabilisation or another gravity spell keeps him from changing places with every hit, which simplifies aiming. Choose the cell where he will end up: his next glyph is placed there, and Bad Timing will send your target back to its turn-start cell.
Reading his confusion
Throughout the fight, your spells are redirected by 90°, 180° or 270°: you never aim directly at your target. The confusion depends on your vitality percentage at the start of your turn, and is shown in your effects and in the fight channel. Summons you control are not affected.
A spell redirected to a nonexistent cell or one out of line of sight becomes a critical failure: in melee, it makes you skip your turn. Each damage line dealt in contact with a monster shifts the confusion by 90° counterclockwise, up to 10 hits received by that monster. With 30 seconds per turn, stay in a straight line or a diagonal.
Rotations and invulnerability
Odd turn: each hit on the Count teleports you symmetrically relative to him. Even turn: he is the one who teleports symmetrically relative to you. A state shown above him indicates which of the two will move. Only the place swap on an even turn makes him vulnerable.
Two mistakes kill the whole team. If the swapped entity is an allied summon, all allies within 3 cells of the Count's starting position die. And if the arrival cell of a rotation is impossible, the fight ends and all your characters are killed.
Its spells depending on its state
Invulnerable, he strikes with Jacquemart, which steals life and removes 3 AP up to 4 RNG. The turn after he loses his invulnerability, he unlocks Multicount, an area spell, with illusions, and Bad Timing sends his target back to its turn-start cell. Check that this cell will stay outside the next glyph.
The monsters of Count Harebourg's Dungeon
Five level 200 Sinistros with 6,000 HP, each very weak to one element. Facing the Count with four players or fewer: a Bubotron, a Cycloid and a Nocturnowl. Nileza, Missiz Freezz, Klime and Sylargh only come if you pick them with Dorlean. Resistances in red are their weaknesses.
In which order to kill the monsters
- Cycloid — it pulls from 6 cells away, removes 4 MP and locks hard: the most annoying one, weak to Air.
- Sinistrofu — with six or more players, it goes first: 4 MP steal without line of sight, weak to Neutral.
- Bubotron — it joins the team faster than the Nocturnowl.
- Nocturnowl, then Treadfast — the first has only 3 MP, the second is neutralized by removing its range.

Level 200
- 6,000 HP
- 12 AP
- 5 MP
- Resistances (%)
- Earth 5%
- Fire 13%
- Water 40%
- Air -31%
- Neutral 19%
Cyclobber pulls him to your side while removing 4 MP from you, and Cyclopath swaps places before making him unmovable. In melee, his lock makes things painful. Under Cyclostrophobe, hit your own heavy hitter in melee, a Rogue for example: it gains 100 damage per teleport, up to three times.
-
Cyclobber4 AP · 7 RNG ·71 to 90 Neutral damage · -4 MP · Pulls 6 cells
Pulls 6 cells, in a straight line with line of sight, and removes 4 MP, which can be dodged. Do not stay lined up with him.
 Cyclopath4 AP · melee ·81 to 100 Air steal · Switches positions · Unmovable State
 Cyclostrophobe4 AP · on self · Teleports the target to the cell where they started their turn · 100 Damage ·81 to 100 Fire damage
On turn 1, then every 3 turns, on everything within 6 cells: each melee hit sends the target back to its turn-start cell, with 100 more damage, stacking up to three times.

Level 200
- 6,000 HP
- 12 AP
- 6 MP
- Resistances (%)
- Earth 9%
- Fire 5%
- Water 20%
- Air 45%
- Neutral -50%
Stagecoach steals 4 MP up to 6 RNG without line of sight, Stunbeam removes 4 RNG in melee. Under Beaklipse, each hit received is inflicted again on everything around him, himself included: kill him right after this spell, hitting his neighbors in passing. Otherwise, plan for MP dodge.
 Stunbeam4 AP · melee ·61 to 80 Water damage · -4 Range
-
Stagecoach4 AP · 6 RNG ·61 to 80 Air steal · Steals 4 MP
Steals 4 MP, which can be dodged, up to 6 RNG, without line of sight: MP dodge is the only counter.
 Beaklipse
Heathaze state for one turn, recast every 2 turns: each hit received makes him invisible and inflicts the same damage again on 3 cells around him. The right moment to kill him.

Level 200
- 6,000 HP
- 12 AP
- 5 MP
- Resistances (%)
- Earth -31%
- Fire 45%
- Water 8%
- Air 15%
- Neutral 11%
Bubotorch hits according to its missing HP: only start on it if you can finish it, or reduce its max HP through erosion. Do not give it free areas, as Bubotrance grows with each Intelligence steal. Weak to Earth.
 Bubotrance4 AP · melee ·61 to 80 Fire steal · Steals 200 Intelligence
Hits in a line in melee, with no need for a target, and steals Intelligence: each previous steal increases its damage.
 Bubotorch4 AP · 10 RNG ·Neutral Damage: 30% erosion of the caster's missing HP
Hits according to the HP he has lost. He doesn't cast it while he is at full health: a small nick makes him hit from a distance and then flee, instead of coming into melee.
 Bubotwirl
On the first turn, then every 3 turns, on himself and his neighbors: each ranged hit received swaps him with the attacker and hits the cells around your arrival point, allies included.

Level 200
- 6,000 HP
- 12 AP
- 3 MP
- Resistances (%)
- Earth 17%
- Fire -33%
- Water 12%
- Air 6%
- Neutral 40%
Only 3 MP, but a lot of Lock, and he locks himself easily. Don't hit him in melee: Tiki-taka reflects melee damage within a radius of 6 cells. An entity with 0 Lock, a chafer or a Pandawa barrel, is enough to block him. Weak to Fire.
 Mechanical Burst4 AP · 5 RNG · Advances 4 cells ·81 to 100 Fire damage · Unhealable State
The Nocturnowl leaps 4 cells toward its target, in a straight line, and makes it unhealable for one turn. Get out of its lines.
 Overheating4 AP · melee ·81 to 100 Earth steal · -100 Flight · Weakened State

Level 200
- 6,000 HP
- 12 AP
- 5 MP
- Resistances (%)
- Earth 40%
- Fire 10%
- Water -40%
- Air 5%
- Neutral 20%
Treddit gives it 6 Range, and Treadmendous then swaps places with you up to 8 Range. Under the Treadchery state, each ranged hit it takes costs HP to characters far from its target: remove its range and hit it in melee, or wait for the state to end. Weak to Water.
 Hatread4 AP · on self ·61 to 80 Water damage · -100 Flight
-
Treadmendous4 AP · 2 RNG ·71 to 90 Earth damage · Switches positions
Swaps places with its target, up to 8 RNG thanks to Treddit. Removing its range cancels the spell.
 Treddit
Cast on turn 1, then on the 4th: 6 more RNG and the Treadchery state for 2 turns. Do not hit it from a distance during that time.

Level 220
- 13,000 HP
- 20 AP
- 6 MP
- Resistances (%)
- Earth 27%
- Fire 16%
- Water 9%
- Air 25%
- Neutral 14%
Only present if you pick him with Dorlean. Moustache Trimmer pulls him in up to 7 RNG, then Simmer removes 6 MP and gives 100 lock: remove his MP before he reaches melee.
 Simmer5 AP · on self · Teleports the target to the cell where they started their turn · 100 Lock · 300 Damage ·-6 MP
 Moustache Trimmer5 AP · 7 range · Pulls 6 cells ·21 to 30 Fire damage
-
Moustachio5 AP · melee ·Neutral Damage: 10% erosion of the caster's missing HP · 21 to 30 Fire damage · 21 to 30 Air steal
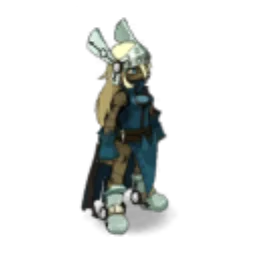
Level 220
- 13,000 HP
- 20 AP
- 6 MP
- Resistances (%)
- Earth 27%
- Fire 16%
- Water 21%
- Air 25%
- Neutral 14%
Only present if you pick it with Dorlean. Icetrophysics erodes by 20% and hits according to the already-eroded HP of its target: don't let erosion set in, break its lines of sight.
 Crystallisation1 AP · on self ·3 MP · Unable to Lock State
 Cold Blood5 AP · 4 RNG ·81 to 100 Fire damage · 91 to 110 Water steal · Unable to Lock State
 Icetrophysics5 AP · 8 Range · 20% Erosion ·51 to 70 Fire damage · Air Damage: 35% erosion of the target's eroded HP · State Unlockable

Level 220
- 13,000 HP
- 20 AP
- 7 MP
- Resistances (%)
- Earth 15%
- Fire 16%
- Water 32%
- Air 25%
- Neutral 14%
Only present if you pick him with Dorlean. Molar Fraction pushes back 3 cells, Dry Ice swaps places, and Failing Solution heals him. Watch his swaps, which wreck your positioning.
-
Molar Fraction5 AP · 12 RNG ·51 to 70 Water damage · Earth Damage: 10% erosion of the caster's missing HP · Pushes 3 cells
-
Dry Ice5 AP · 2 RNG · Switches positions ·71 to 90 Fire steal
 Failing Solution

Level 220
- 13,000 HP
- 20 AP
- 6 MP
- Resistances (%)
- Earth 27%
- Fire 16%
- Water 22%
- Air 12%
- Neutral 14%
Only present if you pick it with Dorlean. Puncheon dispels and removes 100 Flight, Impulsh hits hard in melee: fight outside its melee range.
 Puncheon5 AP · melee ·101 to 140 Air steal · Dispels magic effects · -100 Flight
 Mortar5 AP · 10 RNG ·71 to 80 Earth damage · 71 to 80 Water damage
 Impulsh
Preparing your run through Count Harebourg's Dungeon
The last dungeon of Frigost 3, for teams of level 190 to 200 who have already defeated the four master craftsmen of the castle. People come here for the Frigost quests, the achievements and the Count's soul, to be captured with a Soul Stone for Gigantic Souls (captures up to level 220).
How to enter Count Harebourg's Dungeon
The entrance is at the top of the Water Clock Tower, at , on Frigost Island; the nearest zaap is the one at Alma's Cradle . You must have defeated Nileza, Missiz Freezz, Klime and Sylargh once. There are three ways to open it: a Count Harebourg's Dungeon Key (consumed), the key ring if it is registered there, or the automatic group finder.
Crafting the Count Harebourg's Dungeon Key
It is crafted at a handyman's workshop. Five ingredients drop from the dungeon's Sinistros, at 12%: Bubotron Feather, Cycloid Eye, Sinistrofu Wing, Nocturnowl Wing and Tasty Meat. Icefish (fishing), Snowdrop and Frosteez (harvesting) complete the recipe.
| Ingredient | Quantity | Level |
|---|---|---|
 Bubotron Feather |
2 | 200 |
 Cycloid Eye |
2 | 200 |
 Sinistrofu Wing |
2 | 200 |
 Nocturnowl Wing |
2 | 200 |
 Tasty Meat |
2 | 200 |
 Icefish |
1 | 200 |
 Snowdrop |
1 | 200 |
 Frosteez |
1 | 200 |
Which team to bring against Count Harebourg
Room for error. For a first Count, the guide recommends Pandawa, Masqueraider, Iop and Eniripsa: shields and heals to afford several wrong guesses on the confusion, the Pandawa for positioning, the Iop to kill the monsters quickly.
Summons and gravity. Summons you control ignore the confusion and serve as bait for the Count. Stabilisation or gravity on the vulnerable Count keeps him from changing places with every hit, and makes aiming much simpler.
MP Parry. The Cycloid and the Sinistrofu remove or steal 4 MP each turn. MP removal, dispelling and distance control make the rooms considerably more comfortable.
The classes that are comfortable here. The Pandawa positions and stabilizes the Count, the Eniripsa and the Masqueraider give you room for error, the Iop kills monsters fast. Osamodas, Sadida and Rogue play summons that ignore confusion; the Rogue also benefits from Cyclostrophobe's 100 damage for his bombs.
The six achievements of Count Harebourg's Dungeon
Each achievement gives 200,000,000 XP and 2 Count Harebourg's Scapula, Duo doubles the XP; Sidekick gives 75,000,000 XP. Special and Versatile are played with the basic strategy, Statue requires more preparation.
| Achievements | Condition | Points | XP |
|---|---|---|---|
 Count Harebourg (Sidekick) |
Defeat Count Harebourg in his dungeon while completing the “Mini Inuits” challenge | 5 | 75 000 000 |
| Count Harebourg (Special) |
Defeat Count Harebourg in his dungeon while completing the “Failure Is Not an Option” challenge. | 10 | 200 000 000 |
| The Count's Dungeon |
Defeat Count Harebourg in this boss's dungeon. | 10 | 200 000 000 |
| Count Harebourg (Versatile) |
Defeat Count Harebourg in his dungeon while completing the “Versatile” challenge. | 10 | 200 000 000 |
| Count Harebourg (Statue) |
Defeat Count Harebourg in his dungeon while completing the “Statue” challenge. | 10 | 200 000 000 |
| Count Harebourg (Duo) |
Defeat Count Harebourg in his dungeon while completing the “Duo” challenge. | 20 | 400 000 000 |
Special: Failure Is Not an Option
Enemies must take no melee damage. No particular difficulty: play everything at range. Watch out for damage counted as melee, such as a summon that hits in contact or a Rogue bomb that explodes in melee.
Versatile
Each ally may only use the same action once during their turn. Nothing special, but you have to manage both your confusions and only one cast of each spell per turn. The Pandawa, usually so useful, is quickly handicapped: carrying and throwing have been a single spell since the variants.
Statue
Each ally must end their turn on the cell where they started it, throughout the fight. More technical. Two difficulties: the Cycloid, which separates your characters with its pull, and the Count's Half-Time glyph. Kill the Cycloid first, and also beware of the Treadfast's place swaps.
Duo
Two characters maximum, fewer than 40 turns. It used to be done with an Air Sram who locked the Count with his Double and stalled while invisible; other players' invisibility no longer exists, but Mist, a variant of invisibility, still lets you play the Sram. Simple compositions: Iop and Pandawa, with the Pandawa carrying the Iop almost permanently, Iop and Masqueraider, a hitter with an Eniripsa or with MP removal (Enutrof, Cra, even Sadida). Another option: a lock character, Air to kill the Cycloid quickly, with a Fire hitter armed with a healing weapon (Archetypal Bow, Mallefisk Wand, Thanos).
Sidekick: Mini Inuits
Four characters minimum, including one eligible Sidekick: Inferno, Styx, Mandrin or Will Killson. The basic strategy applies. Keep the Sidekick alive and out of the Half-Time cross at the start of each of his turns, especially on the vulnerable turn.
Drops and loot of Count Harebourg's Dungeon
Base in-game rates, before Prospecting bonuses.
On Count Harebourg
- Count Harebourg's ScapulaBone12 %
 Nougat Rabmarac BarTreat6 %
 Bag of Eternal AshesContainer3 %
- Count Harebourg's BandagesMiscellaneous Resource2 %
 Al Howin GobtubbyCeremonial pet1 %
 Paragon of PowerMain quests0,7 %
 Tasty CarrionMeat0,6 %
On the henchmen of Count Harebourg
- Tasty MeatMeat · Cycloid12 %
 Golden CogFrigost Island · Cycloid12 %
- Cycloid EyeEye · Cycloid12 %
- Bubotron FeatherFeather · Bubotron12 %
 Klime's MoustacheHair · Klime12 %
 Missiz Freezz's Armpit HairHair · Missiz Freezz12 %
 Nileza's EmbroideryGarment · Nileza12 %
- Nocturnowl WingWing · Nocturnowl12 %
- Sinistrofu WingWing · Sinistrofu12 %
 Treadfast ClawBone · Treadfast12 %
 Sylargh's WoolWool · Sylargh12 %
- Nougat Rabmarac BarTreat · Klime6 %
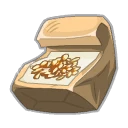 Bag of SpicesContainer · Klime3 %
 Barrel of Frying OilContainer · Missiz Freezz3 %
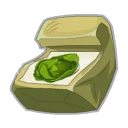 Bag of Babbage LeavesContainer · Nileza3 %
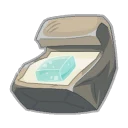 Bag of Jelly BlubberContainer · Sylargh3 %
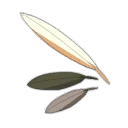 Cycloid FeatherFeather · Cycloid2 %
 Bubotron BeakBone · Bubotron2 %
 Klime's ScalpMiscellaneous Resource · Klime2 %
 Missiz Freezz's UnderpantsGarment · Missiz Freezz2 %
 Nileza's ButtonholeGarment · Nileza2 %
 Nocturnowl SpikeBone · Nocturnowl2 %
 Sinistrofu TailTail · Sinistrofu2 %
 Treadfast BeakBone · Treadfast2 %
 Sylargh's IncisorBone · Sylargh2 %
 Patent of NobilityDocument · Cycloid1,2 %
- Bag of Eternal AshesContainer · Cycloid1 %
- Al Howin GobtubbyCeremonial pet · Klime1 %
 Erotegg Map fragment 3/8Map fragment · Cycloid0,8 %
 Erotegg Map fragment 7/8Map fragment · Cycloid0,8 %
 Erotegg Map fragment 8/8Map fragment · Bubotron0,8 %
 Erotegg Map fragment 4/8Map fragment · Bubotron0,8 %
 Erotegg Map fragment 1/8Map fragment · Nocturnowl0,8 %
 Erotegg Map fragment 5/8Map fragment · Nocturnowl0,8 %
 Erotegg map fragment 2/8Map fragment · Sinistrofu0,8 %
 Erotegg map fragment 6/8Map fragment · Sinistrofu0,8 %
- Paragon of PowerMain quests · Klime0,7 %
- Tasty CarrionMeat · Klime0,6 %
 Water SeemyoolCeremonial Mount · Klime0,00475 %
 LagoonurkeyCeremonial Mount · Klime0,00475 %
 MinowangCeremonial pet · Klime0,00475 %
Soul capture, Dorlean fights and Water Clock emote
Capturing the soul of Count Harebourg
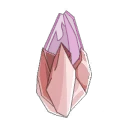 A Soul Stone for Gigantic Souls (captures up to level 220) is required for this level 220 boss. The soul is used for The Whitewalkers, Wes of Tubsterville's mission.
| Stone ingredient | Quantity |
|---|---|
 Pandawushu Artefact |
2 |
 Supreme Soul Splinter |
10 |
 Drawing Board |
2 |
The Count, alone or accompanied
At the end of the fourth room, Dorlean starts the fight. After a first victory, he offers to face the Count alone or with one of his lieutenants: Nileza, Klime, Missiz Freezz or Sylargh. There is also a harder fight against the Count and his four lieutenants, and a just-for-fun fight where you play the Count against his double from the Wakfu series.
The Water Clock emote
If you have already defeated the Count at least once, the Water Clock emote is obtained in Dorlean's room. You need the help of friends who stayed outside the dungeon.
Count Harebourg's Dungeon as a guild Expedition
The dungeon exists in two guild Expeditions, Audacity and Valour, each with its own modifier:
- Audacious: when an enemy takes damage, the enemy closest to the attacker is teleported symmetrically relative to them. Kill the monsters first, and use the effect to position them;
- to keep a monster from moving, put it in Gravity, Unmovable or Rooted, or hit with an even number of damage lines: it returns to its cell if you have not moved in the meantime. An arrival cell inside an obstacle cancels the teleport;
- facing the Count alone, the effect adds to his even-turn rotation: when hit, he returns to his place;
- Valour: the monsters are invulnerable as long as the Count is alive, and each monster that gets moved heals the Count for 20% of his life and gives him 20% final damage. Only one strategy: kill the Count first;
- the ideal is to finish him on turn 2 after buffing on turn 1, with a Pandawa who has initiative taking care of removing his invulnerability. An Iop can charge a Wrath on turn 1 to finish him on turn 4; otherwise, start on him on turn 2 and finish him on turn 4, without moving any monster on turns 3 and 4;
- the swaps of the Treadfast, the Cycloid and the Bubotron and the leap of the Nocturnowl also heal and boost the Count. Block the Cycloid with a summon or remove its MP, and offer the Treadfast fragile summons like the Arachnee: if its target dies, the swap does not happen;
- making the Count unhealable on the kill turn, with the Pandawa's Prohibition for example, neutralizes these heals. With five players or more, a Treadfast hit at range under Treddit removes HP from its allies, Count included, but also from your characters in the area.
Where is Count Harebourg's Dungeon?
At the top of the Water Clock Tower, at , on Frigost Island. The nearest zaap is the one at Alma's Cradle .
What level should you be to do Count Harebourg's Dungeon?
Level 190 minimum, 200 recommended. The Count is level 220, his Sinistros level 200.
Do you have to defeat the master artisans before the Count?
Yes: Nileza, Missiz Freezz, Klime and Sylargh must each have been defeated once. The quest Mind Over Masters sends you there and unlocks Guilty On All Counts.
Which quest should you do in Count Harebourg's Dungeon?
Guilty On All Counts, at Dorlean's in the Water Clock Tower : it is completed by beating the Count in a single fight. Its sequel, A Count Harebourg Hack and Slash, requires leaving through the dungeon exit.
How do you make Count Harebourg vulnerable?
On an even turn, make him land on an entity by hitting him. He teleports symmetrically relative to you; if he lands on an ally or an enemy, he swaps places with them and loses his invulnerability.
Why do my spells go in the wrong direction?
The Count's confusion redirects them by 90°, 180° or 270°. It depends on your vitality at the start of your turn and is shown in your effects and in the fight channel. Summons you control are not affected.
How do you avoid dying to Half-Time?
Never start your turn in its cross of size 3, center cell included. The glyph is placed at the start of each of the Count's turns, and carrying by a Pandawa no longer protects you.
Which monster should you target first in Count Harebourg's Dungeon?
The Cycloid, or the Sinistrofu with six or more players. They remove MP, pull or lock. On a first run, save the Count for last.
Which stone should you use to capture Count Harebourg?
One Soul Stone for Gigantic Souls (captures up to level 220). Its capture is requested by The Whitewalkers, Wes of Tubsterville's mission.
Can Count Harebourg be done with two players?
Yes, it is even an achievement: Duo, in under 40 turns. Iop and Pandawa, Iop and Masqueraider, a hitter with an Eniripsa or with MP removal: there is no shortage of simple compositions.

Comments
No comments yet. A tip, or a detail about this page? Be the first.