 2 × Skt-Zo Leg
Dungeon Stontusk Desert
Kanigrula's Cave
Level 160 dungeon in the Stontusk Desert, at [-5,-54]: five rooms and a fleeing queen whose every death, hers and her Kanigs', complicates what follows, Kanigrula. Quests to start, strategy, monsters, achievements and loot.
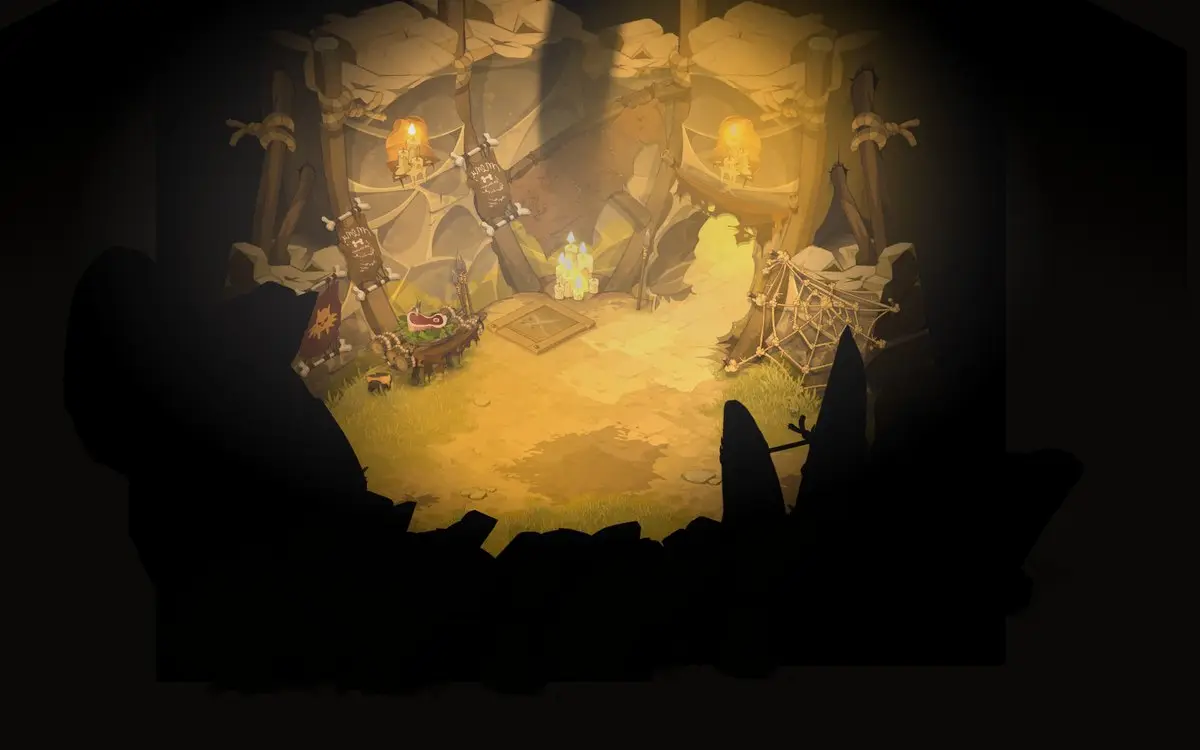
Quests linked to Kanigrula's Cave
The dungeon quest, Ixnay on the Idnappingkay, grants the Bowzai pet. Bontarians and Brakmarians each have their own, which goes through Kanigrula. Accept them before entering: a fight won without the quest in progress does not count.
It gives you the Bowzai pet. Chief Krokuto sends you to find Brhedd the baker: search the Kanigs' quarry, enter the rocky palace, beat Kanigrula in a single fight, then talk to him and to Brhedd Butter.
- Start
- Chief Krokuto, Cania Moors
- Prerequisites
- Axle Woes
 Bowzaipet, and 21,521,000 XP
Teach the Kanig chief a lesson. After the guard posts and the investigation into Petra, Oto Mustam sends you to beat Kanigrula in the last room of the cave.
- Start
- Oto Mustam, Brakmar militia
- Prerequisites
- Level 150 and Confrontation!
Kanig Mammary Blubber drops from Kanigrula herself, automatically, and not from the monsters of the Stontusk Desert. Plan for the dungeon in addition to the fights against the Alyeenas.
- Start
- Amayiro, Bonta militia
- Prerequisites
- Level 150 and A Dark Power
 Kanig Mammary Blubberobtained from Kanigrula
For later
Kanigrula is one of Foluk's three guardians. The Disciple of Foluk asks you to beat the Drhossil, Kanigrula and Korriander under the alterations of his idols, to be activated in the boss room.
- Start
- Disciple of Foluk, Otomai Island
 Tengu Snowfoux Leatherand 43,924,800 XP
During events
- Tiwotokar Simulation
Tiwotokar can name Kanigrula as a guardian to defeat. Astrub, .
The 5 rooms of Kanigrula's Cave
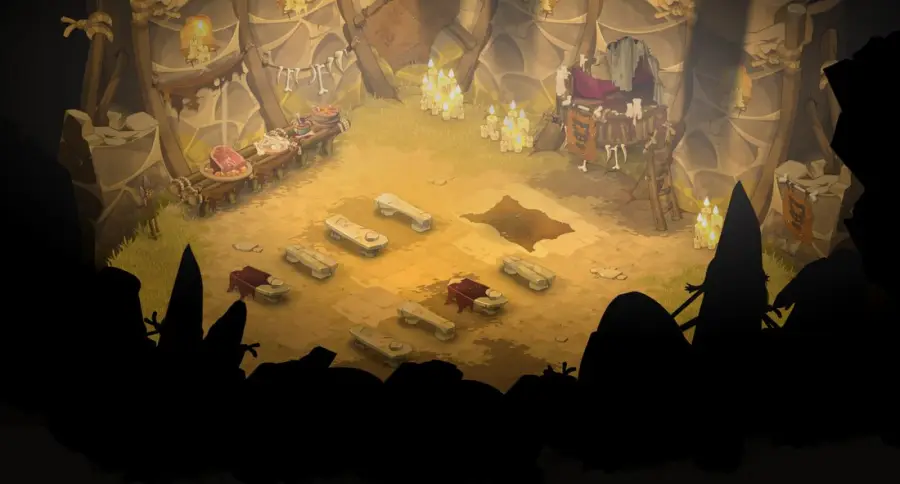
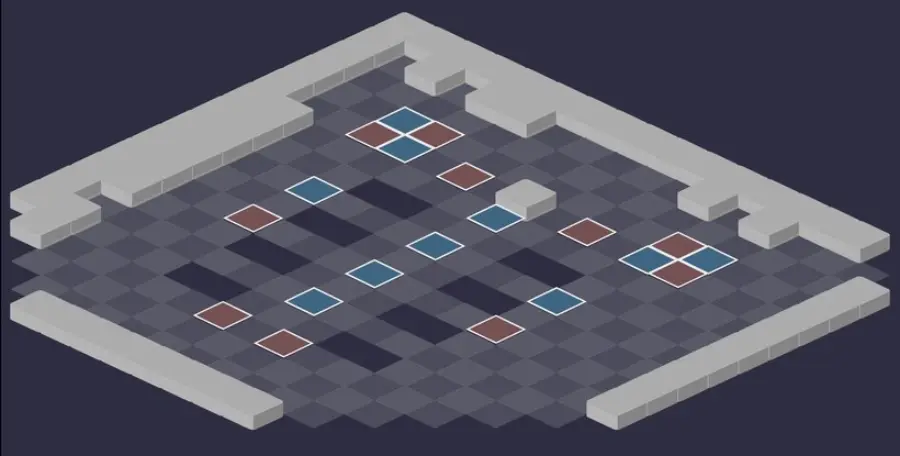
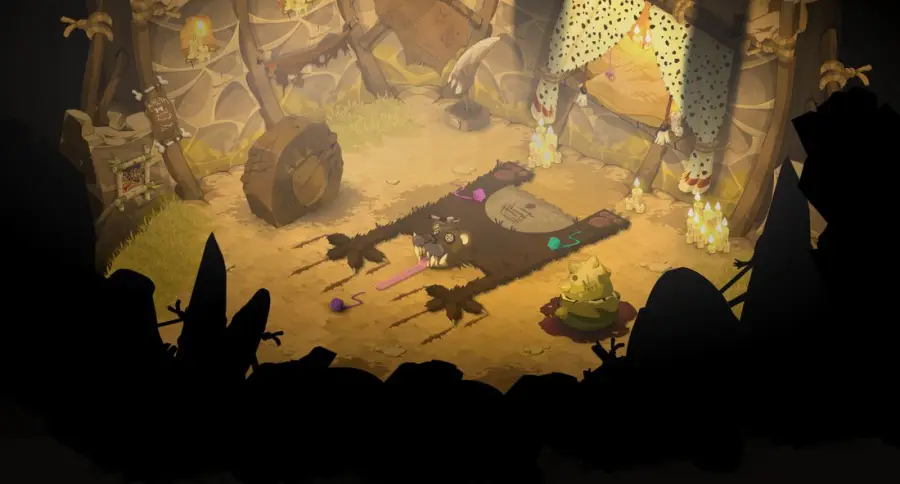
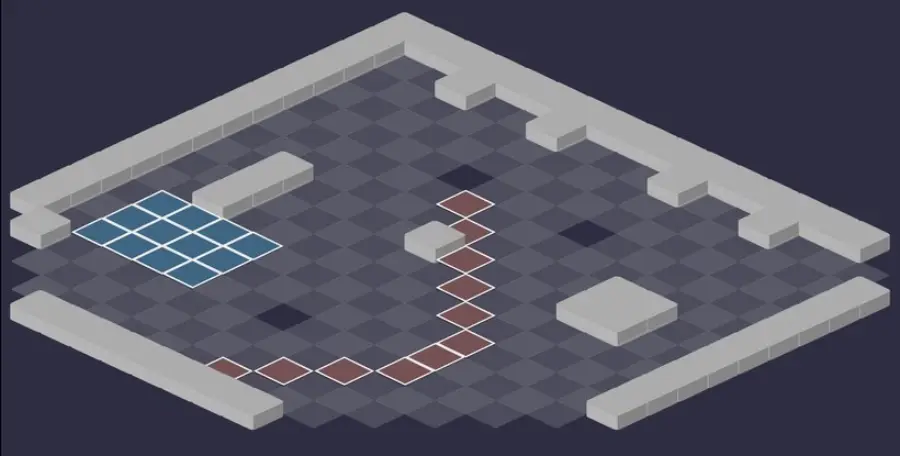
Five fights, Kanigrula in the last room. The rooms are cluttered: use the obstacles to cut the lines of sight of the Kanigs, who hit up to 12 Range. For each room: the scenery, then the tactical view with the starting cells (blue: you, red: the monsters). Tap an image to enlarge it.
Room 1
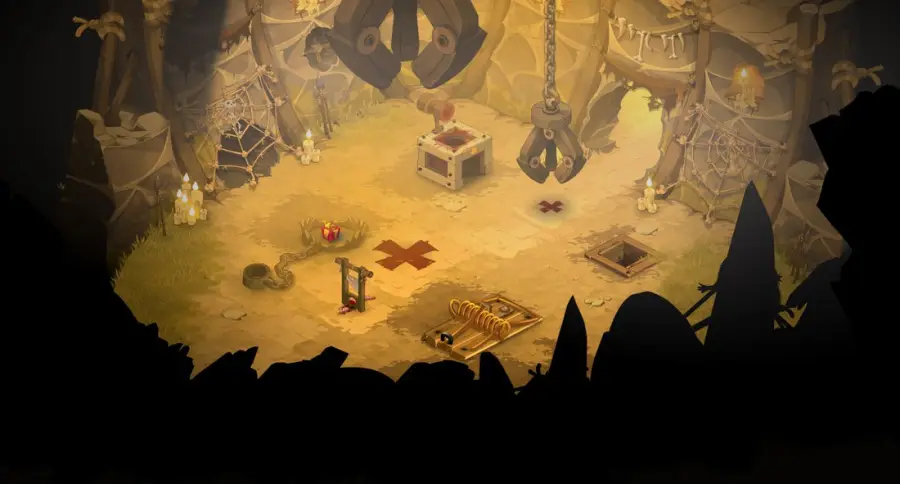
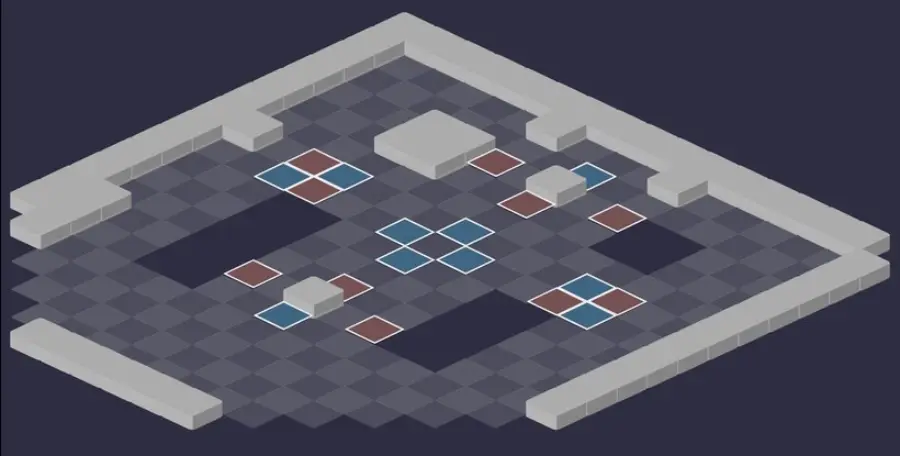
Room 2
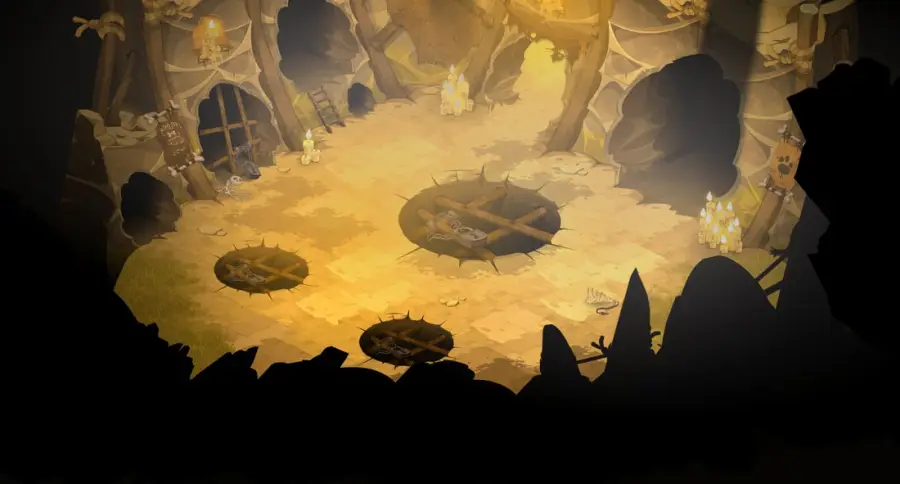
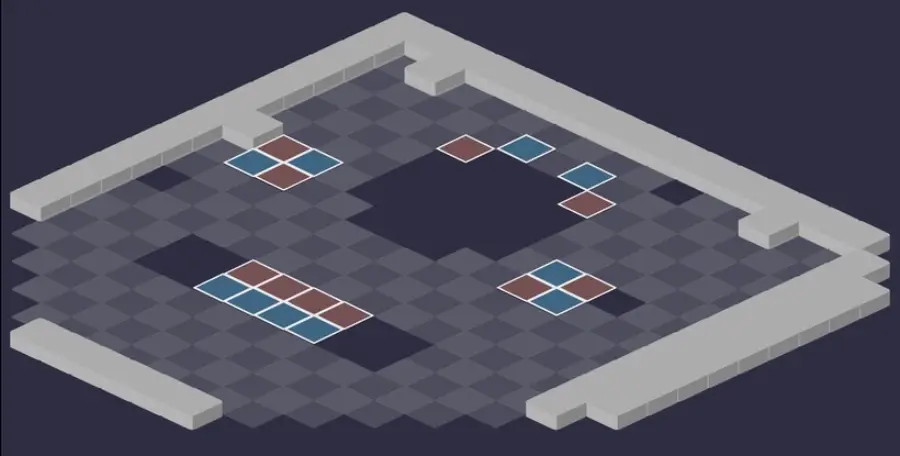
Room 3
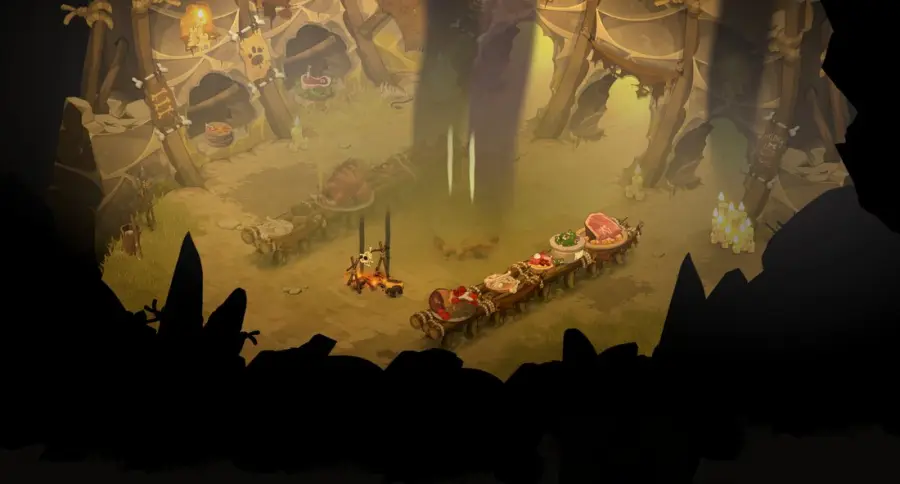
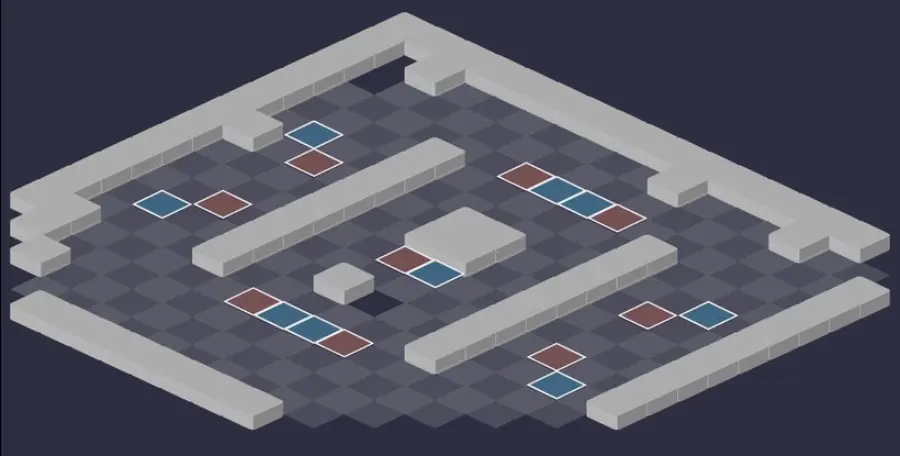
Room 4
Room 5 — Kanigrula
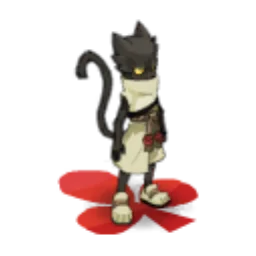
Kanigrula and her Kanigs. Let her flee and kill the monsters first: the strategy is detailed just below.
Defeat Kanigrula
Every death has a price
Each monster killed removes 10% resistances and 50 power from your characters, for the whole fight. But if Kanigrula dies first, all surviving monsters gain 2 MP, 200 power and 10% resistances. Choose your order, then stick to it.
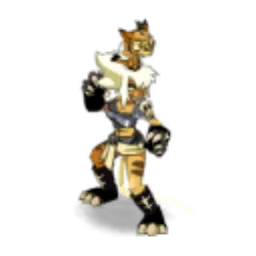
Level 160
 8,400 HP
 10 AP
 5 MP
- Resistances (%)
 Earth 20%
 Fire 15%
 Water 25%
 Air 15%
 Neutral 40%
No invulnerability, but a fleeing AI and effects that last the whole fight. Banzaiii hits up to 8 Range, Matriarchal Roar hits everything around her and strengthens her allies. Weak Point: Air and Fire; Neutral is what she takes best.
 Banzaiii3 AP · 8 Range ·61 to 70 Water damage · -20% Water Resistance
Hits in a cross up to 8 Range and removes 20% Water resistance for 2 turns. Don't stay grouped.
 Matriarchal Roar3 AP · on self ·2 MP · 20 Lock · -2 MP · -20 Flight · Neutral Damage: 5% of the caster's HP
Hits within 3 cells around her, according to her current HP: -2 MP and -20 Flight for you, +2 MP and +20 lock for her allies.
 Captivating Motivation4 AP · on self ·3 AP · Shoulder Slam: -1 AP · Boulder Buster: +20% Critical · Grrr: -1 cooldown · Blazing Lance: +1 cast(s) per turn · Blazing Claws: line of sight disabled · Kaniblues: +20 Heals · Spinning Top: +1 cast(s) per turn · Sliceblade: +1 cast(s) per target · Cover-Up: -1 cooldown
+3 AP to all her allies and boosted spells for one turn, starting on turn 2 and every other turn.
-
Alpha Bowzai
Kills the targeted summon, up to 8 Range, from turn 3.
The five-step strategy against Kanigrula
Let Kanigrula move away. The safest strategy: kill the monsters first. Kanigrula flees: let her go and ignore her as long as a monster is alive.
The Kanazure. Start with it: it hits hard at range and heals its allies. Weak to Fire and Neutral, it goes down fast.
The Orfan, at range. Very dangerous in melee, it is killed second, always at range: Cover-Up greatly reduces the damage it takes in melee. Keep it away while you kill the Kanazure.
The Kannihilator. It charges at you with Shoulder Slam, but it's no disaster if it reaches melee. Finish it third, keeping an eye on Grrr: hit in melee, it doesn't reflect your spells.
Kanigrula to finish. Once the monsters are dead, hit her preferably at range: Matriarchal Roar hits harder around her the more HP she has. Stay spread out.
Kanigrula's effects
At the start of the fight, she casts four permanent effects. Bestial Smell reveals your invisible characters on each of her turns. Savagery strengthens the surviving monsters when she dies, Stinking Death weakens you with each monster killed, cumulatively.
Finally, Wild Pheromones: at the start and end of each character's turn, monsters within 2 cells of them gain 10% critical and 100 power for one turn, cumulatively. Ending your turn in the middle of the monsters makes them far more dangerous.
Captivating Motivation
From turn 2, every other turn, Kanigrula gives 3 AP to all her allies and boosts their spells for one turn: the Kanazure casts Blazing Lance one more time and heals better, the Orfan chains Spinning Top and recasts Cover-Up faster, the Kannihilator recasts Grrr sooner. On those turns, back away. From turn 3, Alpha Bowzai kills a summon every other turn: don't count on summons to hold out.
The monsters of Kanigrula's Cave
Five Kanigs of level 150 to 152, who hit hard, at range and in melee. Resistances in red are their weaknesses.
In which order to kill the monsters
- Kanazure — it hits hard at range and heals its allies.
- Orfan — very dangerous in melee; hit it at range because of Cover-Up.
- Kannihilator — it charges at you and reflects ranged spells under Grrr.
- Bigheera, then Felygiene — depending on their position: one hits in melee, the other harasses up to 12 Range.

Level 151
- 3,500 HP
- 10 AP
- 6 MP
- Resistances (%)
- Earth 16%
- Fire -19%
- Water 26%
- Air 21%
- Neutral -24%
Blazing Lance hits up to 10 Range and steals Intelligence; after Blazing Claws, a push makes you skip your turn. Kaniblues heals its allies up to 6 Range. Weak to Fire and Neutral.
 Blazing Lance3 AP · 10 RNG ·41 to 50 Fire damage · Steals 50 Intelligence
Hits up to 10 Range and steals 50 Intelligence.
 Blazing Claws4 AP · 12 Range ·Fire Damage: 10% of the caster's HP · Turn cancelled
Hits according to the Kanazure's HP; if you are pushed afterward, you skip your turn. Avoid getting bumped by your allies.
 Kaniblues3 AP · 6 Range ·81 to 100 Fire heals
Heals an ally up to 6 Range: the reason to kill the Kanazure first.

Level 151
- 3,500 HP
- 10 AP
- 5 MP
- Resistances (%)
- Earth 11%
- Fire 26%
- Water -19%
- Air 16%
- Neutral 6%
Spinning Top and Sliceblade steal Strength and erode your HP in melee. Cover-Up greatly reduces the damage it takes in melee for 2 turns, every 3 turns: hit it at range. Weak to Water.
 Spinning Top3 AP · on self ·41 to 50 Earth damage · Steals 50 Strength
 Sliceblade2 AP · melee · 20% Erosion ·61 to 70 Earth steal
Life steal in melee and 20% erosion.
 Cover-Up
Greatly reduces the damage taken in melee for 2 turns: switch to a ranged attack.
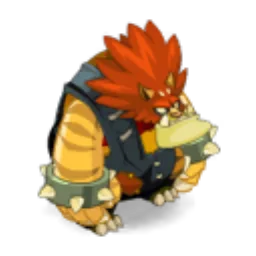
Level 152
- 3,500 HP
- 10 AP
- 5 MP
- Resistances (%)
- Earth -9%
- Fire 6%
- Water 11%
- Air -14%
- Neutral 46%
Shoulder Slam makes it charge 5 cells, Boulder Buster removes 2 MP in melee. Grrr reflects your ranged spells for one turn, but not those cast in melee. Weak to Air and Earth.
 Shoulder Slam3 AP · 6 Range · Advances 5 cells ·51 to 60 Air damage
The Kannihilator charges 5 cells toward its target and strikes in Air.
 Boulder Buster3 AP · on self ·61 to 70 Neutral damage (% of remaining MP) · -2 MP
Hits around it according to its remaining MP and removes 2 MP.
 Grrr
Reflects spells cast at range for one turn, 3-turn cooldown. Hit it in melee or wait.

Level 150
- 3,400 HP
- 10 AP
- 5 MP
- Resistances (%)
- Earth 26%
- Fire 1%
- Water 6%
- Air -19%
- Neutral 26%
It hits almost only in melee, in Water, and steals Chance. Leaping Balls kills all summons around it, and Electric Shock minimises your random effects. Weak to Air.
-
Biggest Balls3 AP · melee ·51 to 60 Water steal · Steals 100 Chance
-
Leaping Balls2 AP · on self ·61 to 70 Water damage · Kills the target
Kills the summons around the Bigheera: don't leave them near it.
 Electric Shock
Spell and weapon effects minimised on one character for one turn.
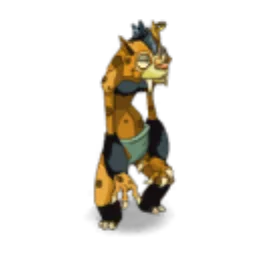
Level 150
- 3,400 HP
- 10 AP
- 4 MP
- Resistances (%)
- Earth -24%
- Fire 21%
- Water 6%
- Air 16%
- Neutral 6%
It harasses up to 12 Range in Air, steals Agility and removes 4 Range with Blinding Claws; Dubious Hygiene reduces lock and resistances. Weak to Earth.
-
Clawhook3 AP · 12 Range ·51 to 60 Air damage · Steals 50 Agility
 Blinding Claws3 AP · 12 Range ·41 to 50 Air damage · -4 Range
Removes 4 Range up to 12 Range: your ranged characters lose their advantage.
 Dubious Hygiene
-20 lock and -10% resistances, up to 12 Range.
Preparing your run through Kanigrula's Cave
A dungeon for level 150 to 160 teams able to hit at range and vary their elements. People come for Ixnay on the Idnappingkay and its pet, the alignment quests, the achievements and Kanigrula's soul, with a Soul Stone for Huge Souls (captures up to level 200).
How to enter Kanigrula's Cave
The entrance is in the Stontusk Desert, at ; the nearest zaap is the one in Kanig Village . Three ways to open it: a Kanigrula's Cave Key (consumed), the key ring if it is registered there, or automatic group search.
Crafting the Kanigrula's Cave Key
It is crafted at a handyman's workshop. Five ingredients drop from the dungeon's Kanigs, at 22%: Felygiene Claw, Bigheera Chain, Kanazure Ear, Orfan Mane and Fresh Meat. Lard Bass (fishing), Belladonna and Corn (harvesting) complete the recipe.
| Ingredient | Quantity | Level |
|---|---|---|
 Felygiene Claw |
2 | 154 |
 Bigheera Chain |
2 | 154 |
 Kanazure Ear |
2 | 155 |
 Orfan Mane |
2 | 155 |
 Fresh Meat |
2 | 160 |
 Lard Bass |
2 | 160 |
 Belladonna |
2 | 160 |
 Corn |
2 | 160 |
Which team to bring against Kanigrula
Ranged damage. The Orfan and Kanigrula hit from afar, and the Kanazure heals up to 6 Range. A team that plays at range also keeps the monsters away, which limits Wild Pheromones.
Several elements. Each Kanig has its own weakness: Fire and Neutral for the Kanazure, Water for the Orfan, Air for the Bigheera, Earth for the Felygiene. Vary your elements to kill each one quickly.
Few summons. Alpha Bowzai and Leaping Balls kill summons, and Bestial Smell reveals invisible characters: don't build your strategy on them.
Classes that are comfortable with it. Classes that hit hard at range and in several elements are the most comfortable. Invisibility and summoning classes lose some of their strengths against Bestial Smell and Alpha Bowzai.
The six achievements of Kanigrula's Cave
Each achievement gives 21,521,000 XP and 2 Kanigrula Fur, and Duo doubles the XP; Sidekick gives 32,281,500 XP. Impertinence and Special are both played in melee: they are prepared together.
| Achievements | Condition | Points | XP |
|---|---|---|---|
 Kanigrula (First) |
Defeat Kanigrula in her dungeon by completing the “First” challenge. | 10 | 21 521 000 |
| Kanigrula (Impertinence) |
Defeat Kanigrula in her dungeon by completing the “Impertinence” challenge. | 10 | 21 521 000 |
| Kanigrula (Duo) |
Defeat Kanigrula in its dungeon by completing the “Duo” challenge. | 20 | 43 042 000 |
| Kanigrula (Special) |
Defeat Kanigrula in her dungeon by completing the “Close Combite” challenge. | 10 | 21 521 000 |
| Kanigrula (Sidekick) |
Defeat Kanigrula in her dungeon by completing the “Magik Riktus Bandits” challenge | 5 | 32 281 500 |
| Kanigrula's Cave |
Defeat Kanigrula in this boss's dungeon. | 10 | 21 521 000 |
First
Kanigrula must be finished first. Focus Kanigrula quickly: the Kanazure heals her and the other monsters hit hard fast. Keep the Orfan at range, and the Kannihilator if possible. Once Kanigrula is dead, all her allies gain MP, power and resistances: finish the fight fast.
Impertinence
Allied fighters must end their turn on a cell adjacent to an enemy's. Kill the Orfan very quickly, ideally before it casts Cover-Up. Depending on your damage, then move on to Kanigrula or the Kanazure, who heals her: with low damage, the Kanazure first. Keep the Kannihilator for last: Kanigrula and the Kanazure flee, leaving it an available neighbor.
Special: Close Combite
Enemy fighters must not suffer any attempts to inflict ranged damage. In melee, Wild Pheromones boost the monsters' power and critical: they will hit a bit harder. Beware of the Orfan, whose Cover-Up greatly reduces damage in melee. Kill the monsters first, starting with the Kanazure who heals.
Duo
Two characters maximum, fewer than 20 turns. Follow the basic strategy with two characters: Kanazure, Orfan, Kannihilator, then Kanigrula.
Sidekick: Magik Riktus Bandits
Four characters minimum, including an eligible Riktus companion: fencer, archer, rover or enchantress. The fight plays out as usual: keep the companion away from the monsters, so as not to feed Wild Pheromones, and out of the Orfan's reach.
Drops and loot of Kanigrula's Cave
Base in-game rates, before Prospecting bonuses.
On Kanigrula
 Kanigrula FurHair22 %
 Nougat Rabmarac BarTreat6 %
 Fortunawa CookieTreat4,8 %
 Kanigrula TailTail3,64 %
 Bag of SpicesContainer3 %
 Fresh CarrionMeat1,09 %
 Al Howin GobtubbyCeremonial pet0,65 %
 FuyutoraCeremonial pet0,14 %
On the henchmen of Kanigrula
- Fresh MeatMeat · Felygiene22 %
- Felygiene ClawBone · Felygiene22 %
- Kanazure EarEar · Kanazure22 %
 Kannihilator ManeHair · Kannihilator22 %
- Orfan ManeHair · Orfan22 %
- Bigheera ChainMiscellaneous Resource · Bigheera22 %
 Felygiene CanineBone · Felygiene3,72 %
 Bigheera BallMiscellaneous Resource · Bigheera3,72 %
 Kanazure FabricFabric · Kanazure3,68 %
 Orfan BuckleGarment · Orfan3,68 %
 Kannihilator SkinSkin · Kannihilator3,64 %
- Fortunawa CookieTreat · Felygiene1,6 %
 Anatak Map Fragment 2/5Map fragment · Felygiene1 %
- Bag of SpicesContainer · Felygiene1 %
 Anatak Map Fragment 4/5Map fragment · Kanazure1 %
 Anatak Map Fragment 5/5Map fragment · Orfan1 %
 Anatak Map Fragment 3/5Map fragment · Bigheera1 %
Soul capture and pet
Capturing the soul of Kanigrula
 One Soul Stone for Huge Souls (captures up to level 200) is enough for Kanigrula, who is level 160. Throw it when she is alone and weakened.
| Stone ingredient | Quantity |
|---|---|
 Majestic Soul Splinter |
10 |
 Alteration Potion |
2 |
The Bowzai pet
It is the reward for Ixnay on the Idnappingkay: Brhedd Butter hands it to you after the victory over Kanigrula. It gives 2 summons and 1 MP.
Kanigrula's Cave as a guild Expedition
The Cave exists in two guild Expeditions, Audacious and Valour, each with its own modifier:
- Audacious: all monsters have 3 more MP, and at the start of her turn, Kanigrula gives 10% critical and 100 power to your characters within 2 cells of her. Place her near you before her turn to take advantage;
- Valour: all enemies gain 100 stats at the start of each character's turn, and Kanigrula gains 1 MP for each monster killed. You have to be fast: high-damage classes, or even a Cloudy Dofus to kill as many as possible on turn 1;
- in both, kill the monsters in this order: Orfan, Kanazure, Kannihilator, then Kanigrula.
Where is Kanigrula's Cave?
In the Stontusk Desert, at . The nearest zaap is the one in Kanig Village .
At what level should I do Kanigrula's Cave?
From level 150, comfortably at 160. The Kanigs hit hard for this level: the dungeon is rated very hard.
Which quest should I do in Kanigrula's Cave?
Ixnay on the Idnappingkay, at Chief Krokuto's : it grants the Bowzai pet. Aligned players add Defensive Preparation for Brakmar or The Subterfuge of the Horn for Bonta.
Which monster should you target first in Kanigrula's Cave?
The Kanazure, which hits at range and heals its allies. Next come the Orfan, at range, then the Kannihilator.
Should I kill Kanigrula first?
No, except for the First achievement. When she dies, the surviving monsters gain 2 MP, 200 power and 10% resistances for the whole fight.
How do I handle the Kannihilator's Grrr?
Hit it in melee, or wait for the effect to end. Grrr reflects spells cast at range for one turn, not those cast in melee.
Can I play with summons?
Bad: Alpha Bowzai kills a summon from turn 3, and the Bigheera kills the ones around it. Bestial Smell also reveals invisible characters.
Which stone should I use to capture Kanigrula?
One Soul Stone for Huge Souls (captures up to level 200). Kanigrula is level 160.
Do you need a key for every run of Kanigrula's Cave?
No, with the key ring: the registered key recharges over time. Automatic group search also lets you enter without a key.


Comments
No comments yet. A tip, or a detail about this page? Be the first.