 2 × Skt-Zo Leg
Dungeon Howling Heights
Moowolf Lair
Level 100 dungeon in the Sidimote Moors, at [-23,0]: eight rooms and a boss that grows stronger with every hit it takes, Moowolf. Quests to start, map of each room, strategy, monsters, achievements, and loot.
Quests linked to the Moowolf Lair
Several level 100 quests go through the Lair: two retrieve an item from Moowolf, two others are reserved for Brakmarians. Accept them before entering: a fight won without the quest in progress does not count.
Moowolf's Enchanted Ring drops from the final fight. Meriana also wants Rasuman the Green's Obsidian Pendant and a Flower of the Tormented. Check your inventory before leaving the Lair.
- Start
- Meriana, Nauseating Swamps
- Prerequisites
- Level 80 and The Cania Bandits
 Moowolf Scalpa Bwork Magus Book and 4,724,400 XP
The iron bone is obtained by defeating Moowolf. Hyrini asks for six sacred bones to rekindle the Merians' fire: five are found in the Sidimote Moors, the last one in the Lair. Then place them on the six graves.
- Start
- Canynan the Merian, Sidimote Moors
- Prerequisites
- The Inner Beast
 Boowoldlum Claw3 claws and 3,937,000 XP
Defeat Moowolf in its room, in a single fight. Oto Mustam wants fiercer soldiers: after finding the alchemist Miller Solo, bring him a Fresh Sample of Moowolf Mojo.
- Start
- Oto Mustam, Brakmar militia
- Prerequisites
- Level 90 and Rescuing a Useless Dude
Loot is hidden in the third room. To restore Brakmar's supplies, negotiate with Raymond Santho in Astrub, retrieve this loot in the Lair, then contaminate a well with 5 Scalding Poisons.
- Start
- Kaffra Keeper, Brakmar
- Prerequisites
- Apprenticeship: Disciple of Djaul
For later
Moowolf is the fourth step. Kris Tericks sends you to defeat six guardians, from the Ancestral Abraknyde to the Black Rat: for each one, win the fight and then find the dungeon exit before going back to see him.
- Start
- Kris Tericks, Cania Fields
- Prerequisites
- The Master's Henchmen
 Moowolf Magic Testiclesone resource from each boss and 30,420,000 XP
Moowolf's soul is required. The Ochre Dofus quest asks for the souls of many dungeon guardians: capture this one with a Soul Stone for Average Souls.
- Start
- Otomai, Otomai Island
- Prerequisites
- Level 40
 Ochre Dofusat the end of the 19 steps
During events
- Merry Kwismas
Defeating a Moowolf in a single fight is part of the quest. Harry Kwismas, . - Tiwaapi Simulation
Tiwaapi can designate Moowolf as the guardian to defeat. Incarnam, .
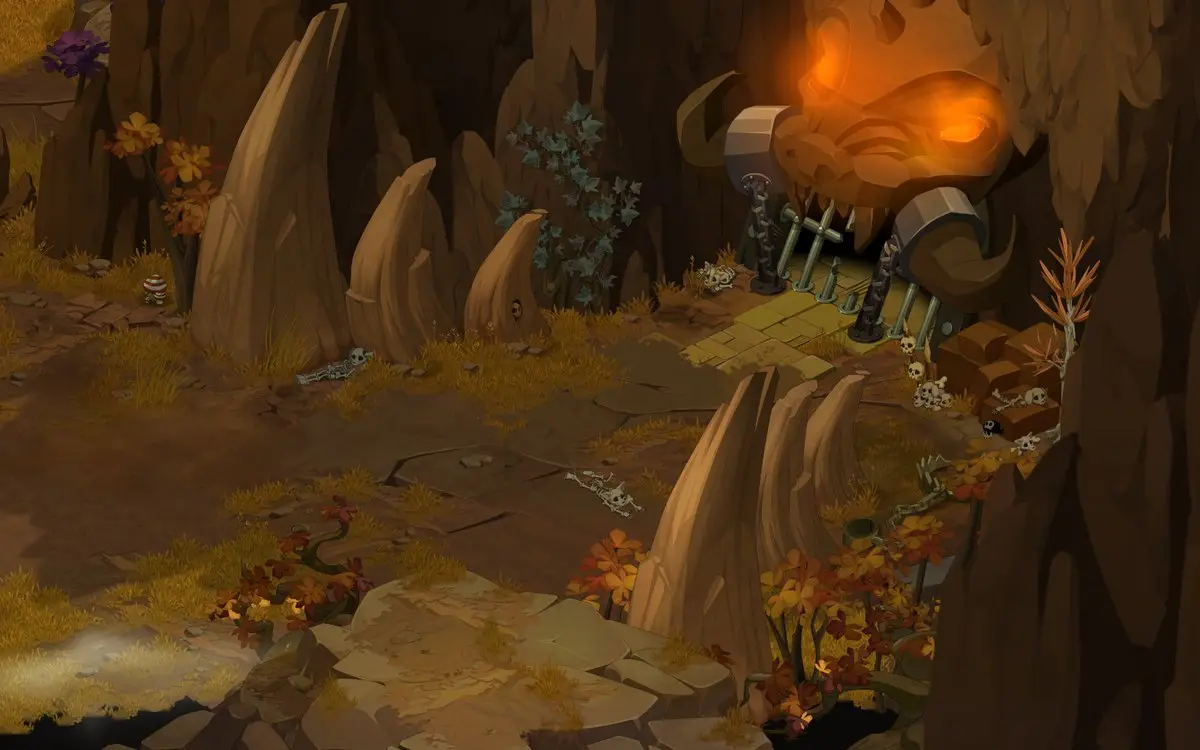
The 8 rooms of the Moowolf Lair
Eight rooms, Moowolf waits in the last one. For each room: the scenery, then the tactical view with the starting cells (blue: you, red: the monsters). Tap an image to enlarge it.
Room 1
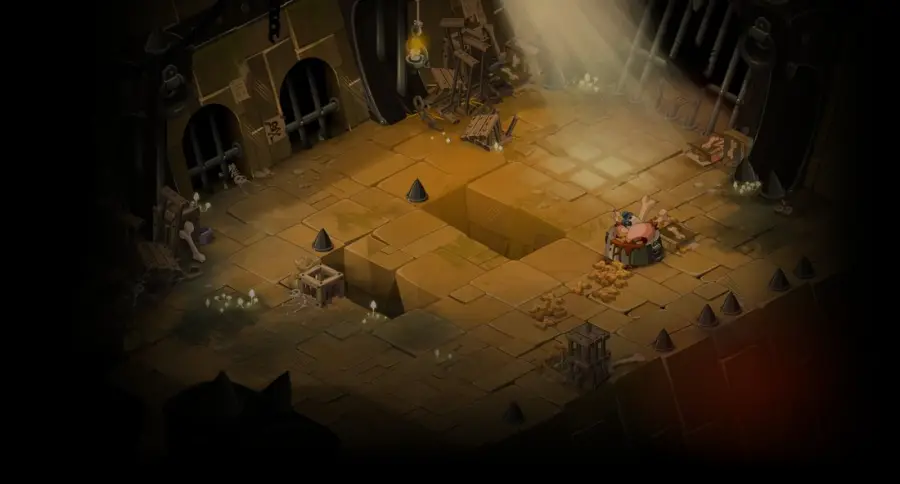
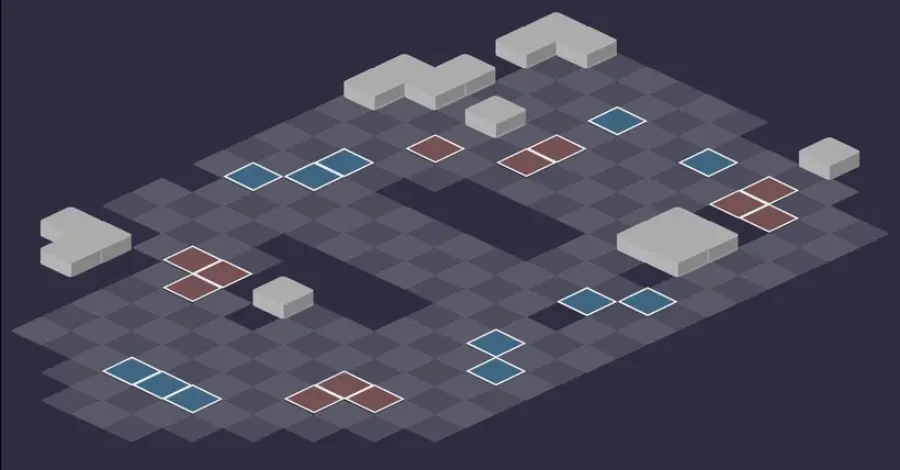
Room 2
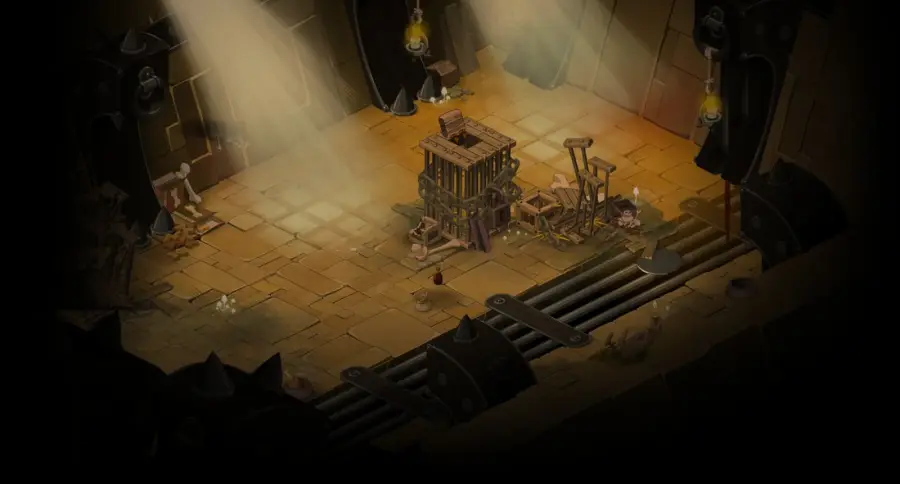
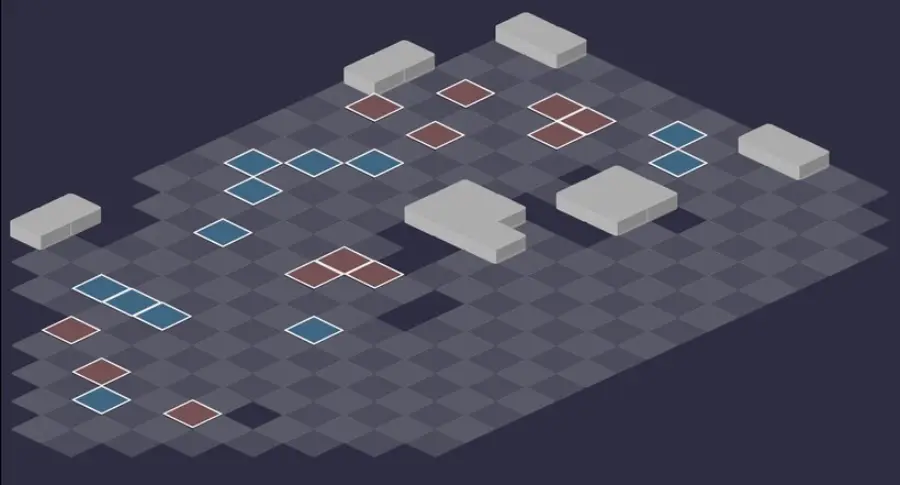
Room 3
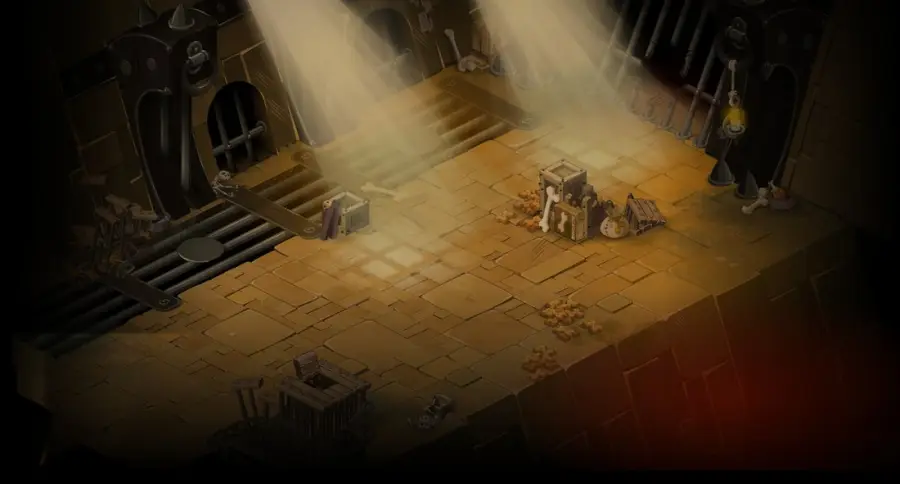
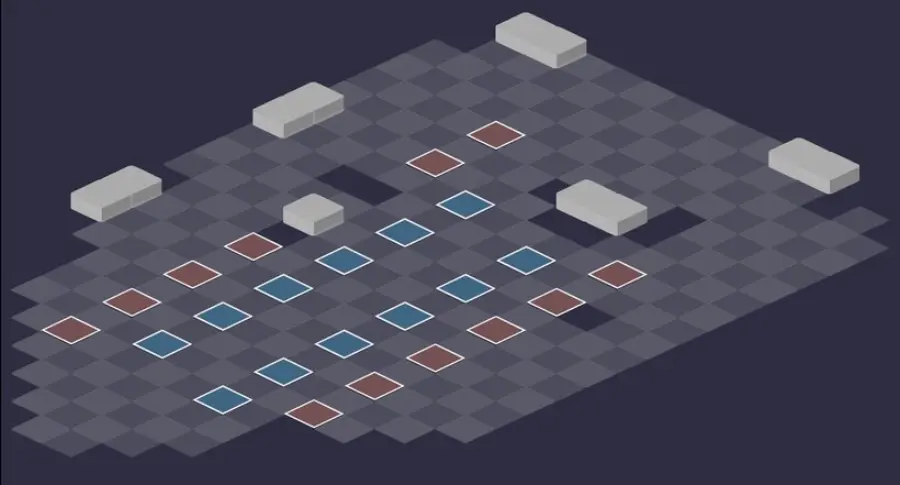
Room 4
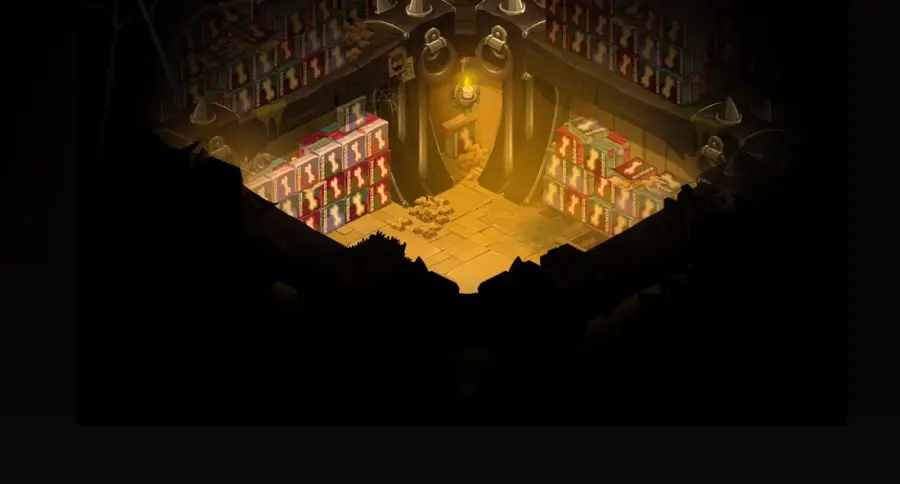
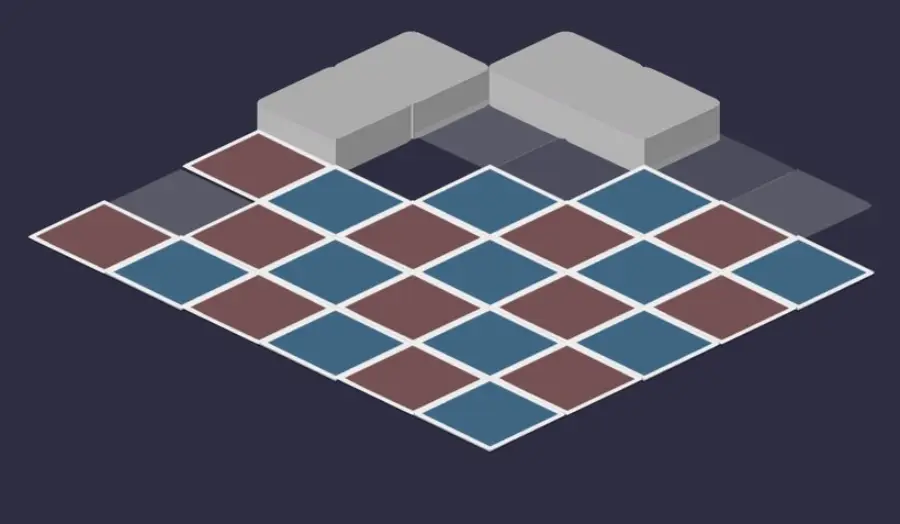
Room 5
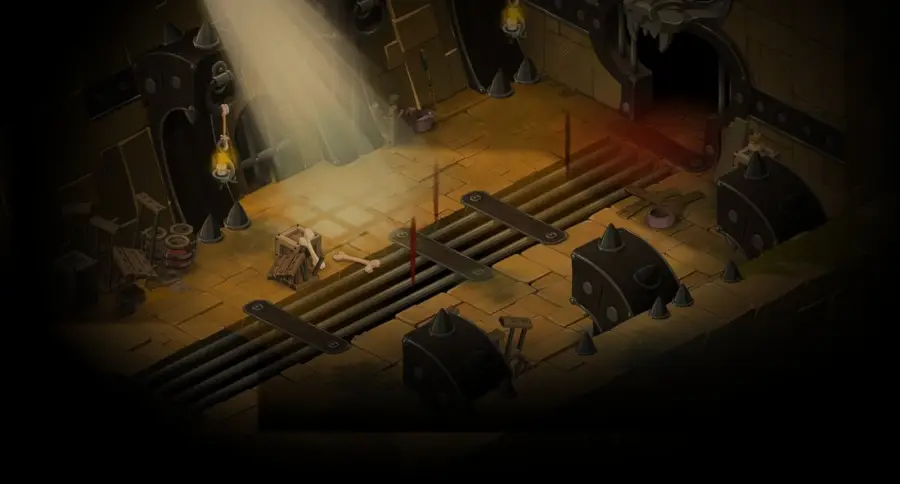
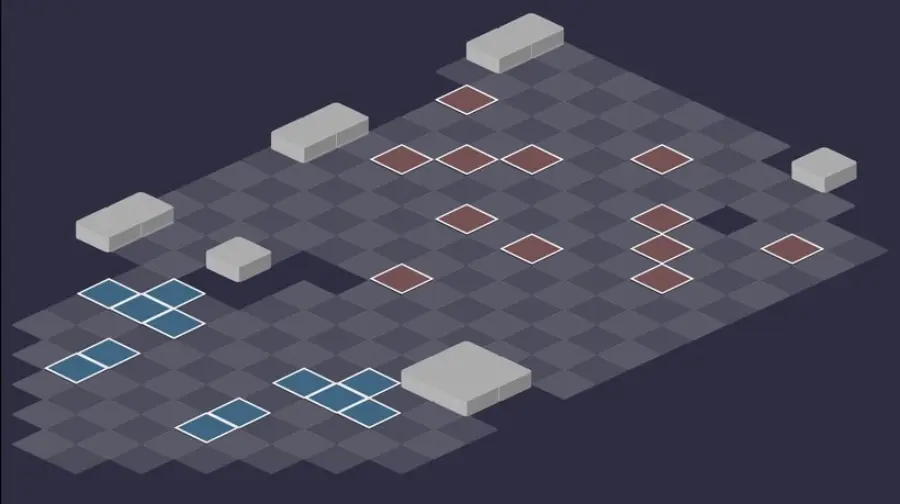
Room 6
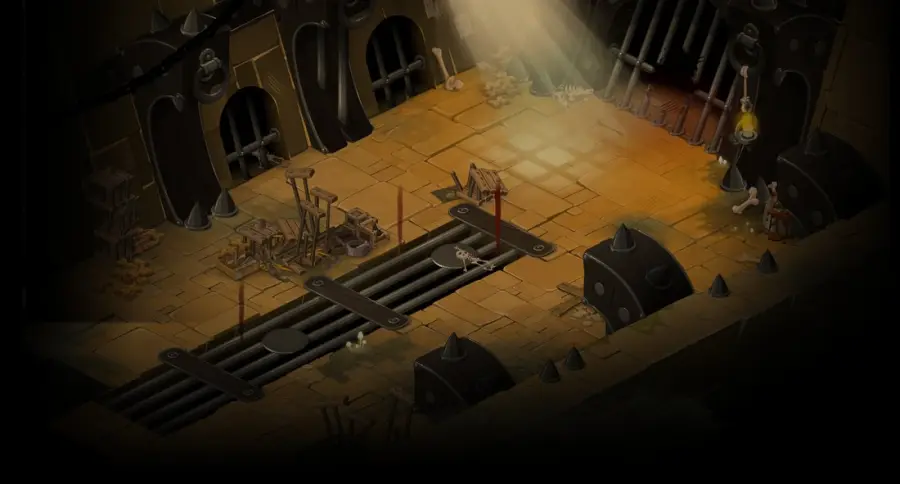
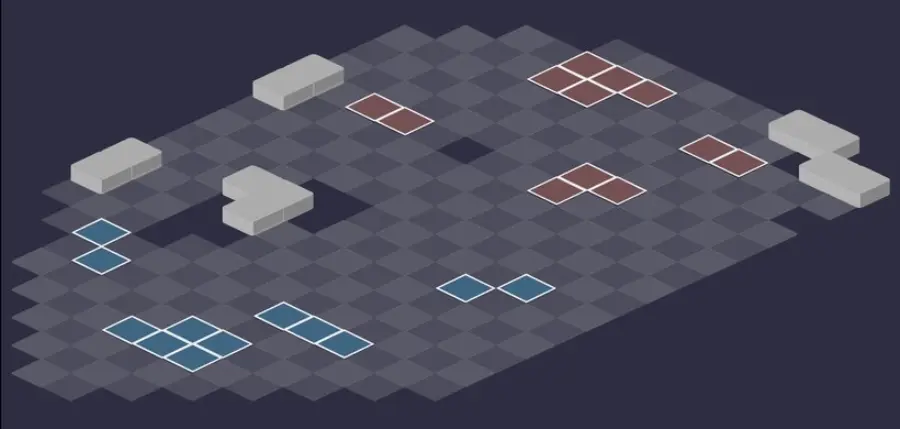
Room 7
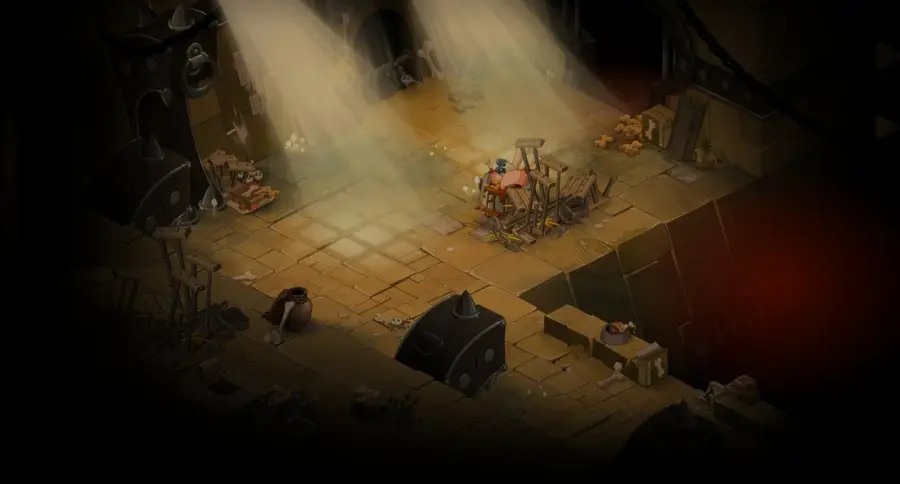
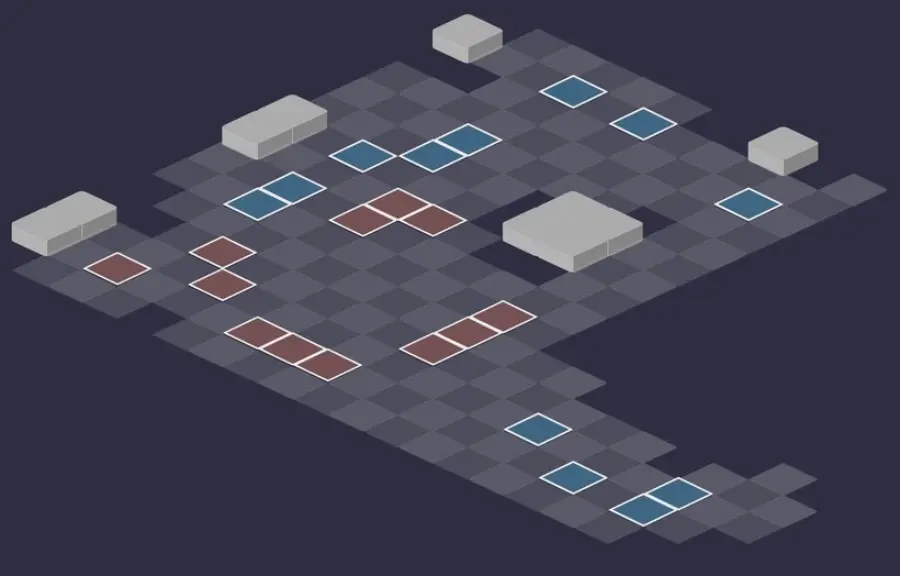
Room 8 — Moowolf
Moowolf and its pack. Start the fight as far from it as possible: the strategy is detailed just below.
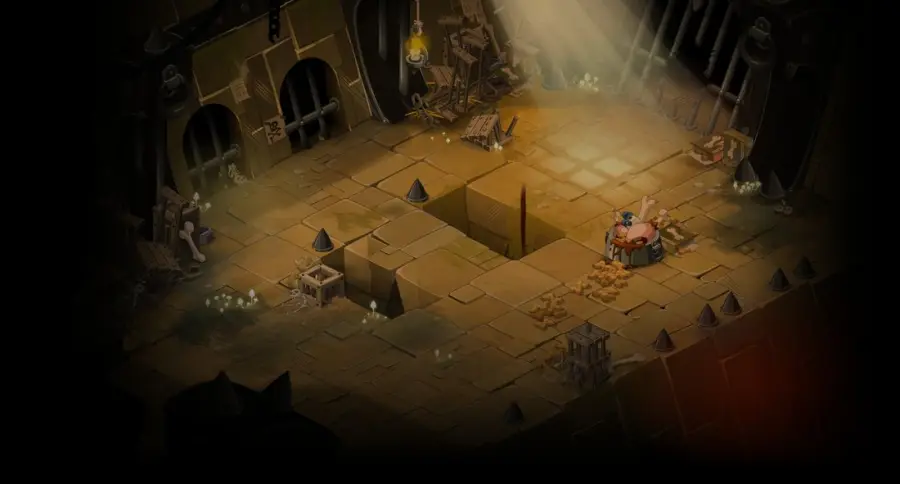
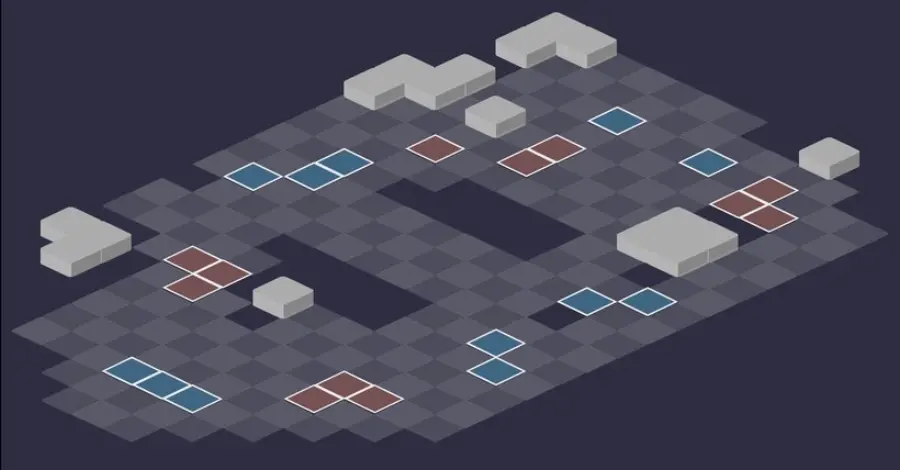
Defeat Moowolf
The Milimoowolf trap
Moowolf summons a Milimoowolf on turn 1, then every 8 turns. If it dies, all monsters gain 2 MP and 200 power for 2 turns. Only kill it if you really have no choice.

Level 100
 5,500 HP
 10 AP
 7 MP
- Resistances (%)
 Earth 30%
 Fire -5%
 Water 40%
 Air 40%
 Neutral 20%
One of the hardest dungeons in its bracket: 7 MP, big resistances everywhere except Fire (-5%), and a lot of HP for its level. It only hits on contact, with life steal, using Gutting. Its Rage halves the first attack it takes on each character turn.
 Summoning of Milimoowolf
On turn 1, then every 8 turns. Its death gives 2 MP and 200 power to all monsters for 2 turns: let it live.
 Gutting3 AP · melee · State Generic Moowolf State 01 ·51 to 60 Neutral steal · Removes the Generic Moowolf State 01
Life steal on contact, once per target, stronger the more power it has been boosted with. If it kills a character or a summon, a Boowolf takes its place.
 Restorative Rage5 AP · on self · 20 Lock ·2 MP · 400 Fire heals
Heals, lock, and MP for 2 turns, from turn 2 and then every 6 turns, but only below 80% HP. Between 81 and 84%, it casts it for nothing.
The five-step strategy against Moowolf
As far away as possible. Stand as far from Moowolf as possible: the more distance, the better. It only hits on contact, so push it back and remove its MP throughout the fight.
The pack first. Kill the monsters before it: Boopig, then Boowoldlum, then Boowonoké. Remove range from the Boopig to limit its actions. Under Unshakable, the Boowoldlum can no longer be pushed and takes less damage from a distance, two turns out of four.
Don't feed it. Every line of damage gives 30 power to the monster hit. Don't hit Moowolf unless it is your target, except to push it back or remove its MP, and leave the Milimoowolf alive.
Moowolf alone. Three options: keep it at a distance and wear it down slowly; tank it to hit hard, only with heals and protections; or trap it in a corner between two of its summons. Each character removes its reduction with a line of damage, then sends their biggest single-line spell, preferably in Fire.
Anticipate its Restorative Rage. It only works below 80% HP. Leave it at around 81 to 84% HP: it casts it with no effect. Otherwise, erode it, reduce its heals just before (Sacrier's Hemorrhage, Grunob's Lesson), make it unhealable, or keep two characters in contact with it: it will prefer to hit them.
Rage, Moowolf's passive
At the start of each character's turn, the first attack Moowolf takes is halved. Each character must therefore remove this reduction with a line of damage before really hitting; on a multi-line spell, only the first line is absorbed.
Above all, every line of damage taken by Moowolf or one of its monsters gives it 30 power, stackable: a four-line spell gives it 120. Even the line that removes its reduction boosts it. Favor big single-line attacks.
Milimoowolf, Boowolves, and Boolanthropy
The Milimoowolf hits on contact and removes flight. Every two turns, it can cast Boolanthropy on a character or summon, except static summons: if the target dies, a Boowolf appears next to Moowolf. The effect cannot be dispelled.
Likewise, a character or summon killed by Gutting is replaced by a Boowolf. So avoid summoning, except in an emergency. Moowolf can only have two summons at the same time: if it already has two, nothing happens, and you can summon without worry.
Trapping it in a corner
Trapped between its two summons, Moowolf can no longer hit. It must have summoned twice: wait for the second Milimoowolf on turn 9, or place a summon in contact with it, which it will replace with a Boowolf. The Boowolf is more dangerous: turn 9 is often better.
Then, an Agility character locks the Milimoowolves, or a positioner puts them back in contact with Moowolf every turn. Still keep its Restorative Rage in mind, which gives it 2 MP for 2 turns.
The monsters of the Moowolf Lair
Five level 92 Boowolves with 1,600 HP and a level 62 Whitish Fang. Many hit from afar, remove MP, or reduce your heals. The resistances in red are their weaknesses.
In which order to kill the monsters
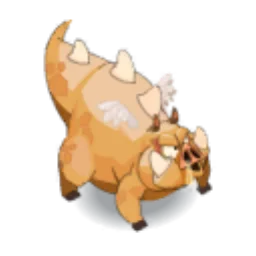
- Boopig — it hits from afar and increases your damage taken.
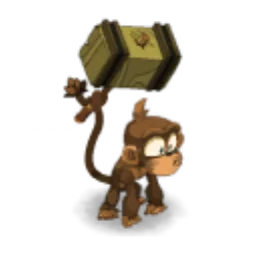
- Boowoldlum — it steals vitality and becomes unshakeable two turns out of four.
- Boowonoké — it leaps onto you in a line, erodes, and reduces heals received.
- Boogranny, then Boowolf — the first boosts its allies from afar, the second seeks melee.
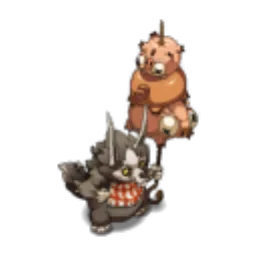
Level 92
- 1,600 HP
- 12 AP
- 4 MP
- Resistances (%)
- Earth 16%
- Fire 11%
- Water 1%
- Air 11%
- Neutral -9%
It hits from afar with Long Teeth, which increases your damage taken, and Boowolf Hunger removes 2 MP in an area while revealing invisible units. Big Bad reduces its damage taken. Weak to Neutral: remove its range, then take it down.
 Long Teeth4 AP · 9 RNG ·21 to 30 Air damage · Damage taken x115%
Increases the target's damage taken for 2 turns. The effect can be dispelled.
 Boowolf Hunger4 AP · 8 range ·21 to 30 Water damage · Reveals invisible entities · -2 MP
Removes 2 MP in a circle around the targeted cell and reveals invisible units, once per turn.
-
Big Bad
The Boopig reduces its damage taken and gains power with each line of damage received, for 2 turns. Cooldown 4 turns.
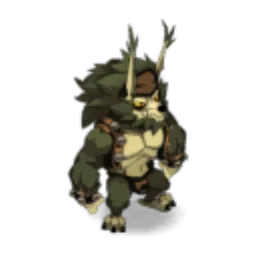
Level 92
- 1,600 HP
- 10 AP
- 5 MP
- Resistances (%)
- Earth 16%
- Fire 26%
- Water -14%
- Air -9%
- Neutral 11%
Ripriff steals vitality and traps your allies: at the end of the target's turn, its neighbors also lose HP. Byker makes it unshakable and reduces ranged damage, but halves its heals. Weak to Water.
 Ripriff3 AP · melee ·31 to 40 Water steal · -20% HP
Removes 20% vitality from the target for 2 turns; at the end of its turn, its neighbors also lose 20% HP. Move away from the affected ally.
 Burdensometal3 AP · melee ·17 to 20 Earth damage · 2 Earth damage per 1 AP spent · 2 AP
Gives the target 2 AP, but every AP spent costs them Earth HP at the end of the turn, for 2 turns. Dispel yourself.
-
Byker4 AP · on self · Unshakable State ·2 MP · -0 damage received · Heals Received x50%
Unshakable, +2 MP and less damage taken from a distance for 2 turns, but its heals are halved. Wait for the effect to end before pushing it.
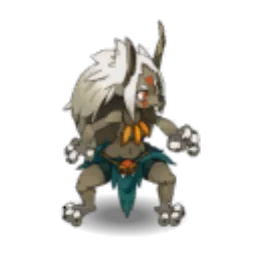
Level 92
- 1,600 HP
- 10 AP
- 5 MP
- Resistances (%)
- Earth -14%
- Fire 0%
- Water 21%
- Air 11%
- Neutral 16%
Animal Rush throws it at you in a line, then Boowolf Cold erodes and removes lock, flight, and range from all its neighbors. Vengeful Spirits reduces heals received. Weak to Earth: don't stay in its lines.
 Animal Rush3 AP · 6 Range · Advances 5 cells ·21 to 30 Air damage
The Boowonoké advances 5 cells toward its target, in a line, from 2 to 6 range. Don't stay lined up with it.
 Vengeful Spirits4 AP · melee ·21 to 30 Fire damage · Heals Received x70% · Reveals invisible entities
 Boowolf Cold
Erosion and a penalty to lock, flight, and range for 2 turns to everyone in contact with it.
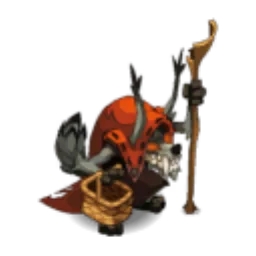
Level 92
- 1,600 HP
- 9 AP
- 4 MP
- Resistances (%)
- Earth 26%
- Fire 11%
- Water 6%
- Air 16%
- Neutral -29%
Magrand hits up to 10 range and reduces your AP and MP removal. Ridinghood heals an ally and gives them power and AP, at the cost of flight and resistances. Very weak to Neutral (-29%).
 Magrand4 AP · 10 range ·21 to 30 Fire damage · -20 AP Reduction · -20 MP Reduction
 Boowolf Fear
Pushes back one cell all characters in contact with it and reduces their lock for one turn.
-
Ridinghood4 AP · 8 range ·21 to 30 Fire heals · 200 Power · 4 AP · -20 Flight · -10% Resistance
Heals an ally, gives them power and AP for 2 turns, but reduces their flight and resistances. Dispel the target.
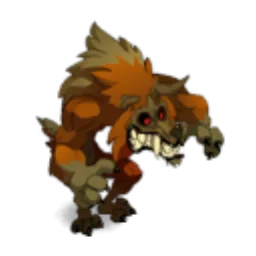
Level 92
- 1,600 HP
- 10 AP
- 6 MP
- Resistances (%)
- Earth -14%
- Fire 21%
- Water 6%
- Air -9%
- Neutral 26%
It seeks melee with Caesarean, which puts you in Gravity, and Boowolf Cry hits the summons around it while revealing invisible units. Accelerated Heal heals it over several turns. Weak to Earth and Air.
 Boowolf Cry2 AP · on self ·41 to 50 Neutral damage · Reveals invisible entities
 Caesarean3 AP · melee ·41 to 50 Earth damage · Gravity State
On contact only, once per target: the Gravity it applies cannot be dispelled. Keep the Boowolf at a distance.
 Accelerated Heal5 AP · on self ·17 to 24 Fire heals
The Boowolf heals itself at the end of each turn for 4 turns. Dispel it.

Level 62
- 820 HP
- 7 AP
- 5 MP
- Resistances (%)
- Earth -9%
- Fire -9%
- Water 1%
- Air 31%
- Neutral 21%
Intestinal Tearing removes 2 AP for just 1 AP, and Canine Unbewitchment removes your spell effects from afar. Its Earth and Fire resistances are negative: it quickly goes down to either of these elements.
 Intestinal Tearing1 AP · melee ·9 to 12 Neutral damage · -2 AP
 Testicular Removal5 AP · melee ·21 to 30 Air steal
 Canine Unbewitchment
Removes your spell effects up to 9 range: your boosts and your penalties on monsters disappear.
Preparing your run through the Moowolf Lair
One of the hardest dungeons in its bracket, tougher than some level 140 dungeons. People come for the quests of Meriana and the Merians, for Brakmar, and for the Ochre Dofus soul, with a Soul Stone for Average Souls (captures up to level 100).
How to enter the Moowolf Lair
The entrance is in the Howling Heights, in the Sidimote Moors, at ; the nearest zaap is the Breeder Village's . There are three ways to open it: a Moowolf Lair Key (consumed), the key ring if it is registered there, or the automatic group search.
Crafting the Moowolf Lair Key
It is crafted at a handyman. Five ingredients drop from the dungeon's Boowolves: Boowolf Tail, Boopig Eye, Boowonoké Hairs, Boogranny Canine, and Oozing Meat. Eel (fishing), Edelweiss, and Rye (harvesting) complete the recipe.
| Ingredient | Quantity | Level |
|---|---|---|
 Boowolf Tail |
2 | 96 |
 Boopig Eye |
2 | 96 |
 Boowonoké Hairs |
2 | 96 |
 Boogranny Canine |
2 | 96 |
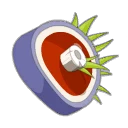 Oozing Meat |
2 | 100 |
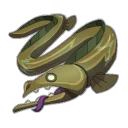 Eel |
2 | 100 |
 Edelweiss |
2 | 100 |
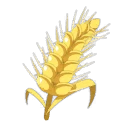 Rye |
2 | 100 |
Which team to bring against Moowolf
Fire, in big hits. Fire is Moowolf's only weakness. Fire characters with big single-line spells hurt it without boosting it too much, and finish it faster.
Control from a distance. Push it back and remove its MP: with 7 base MP, it reaches you quickly. Boopig and Boogranny hit from afar, so reduced range and MP removal are useful against them too.
An answer to its regeneration. Erosion, a heals-received penalty, or the Unhealable state: bring at least one of the three before its first Restorative Rage. Not needed if you remove more from it than its heal in 6 turns, but the fight will be longer.
The classes that are comfortable here. Classes that push back, remove MP, and reduce range keep Moowolf and its pack at a good distance. The Sacrier (Hemorrhage) and the Masqueraider (Ardour) counter its Restorative Rage. To tank it in melee, you need solid heals and protections; to trap it in a corner, an Agility character who locks the Milimoowolves.
The six achievements of the Moowolf Lair
Each achievement gives 3,937,000 XP and 2 Moowolf Scalp, and Duo doubles the XP; Sidekick gives 5,905,500 XP. Stay humble: the dungeon remains hard even at level 150, do it normally first and come back later for the achievements.
| Achievements | Condition | Points | XP |
|---|---|---|---|
 Moowolf (Duo) |
Defeat Moowolf in its dungeon by completing the “Duo” challenge. | 20 | 7 874 000 |
| Moowolf (Special) |
Defeat Moowolf in its dungeon by completing the “What's the Time, Mr Moowolf?” challenge. | 10 | 3 937 000 |
| Moowolf Lair |
Defeat the Moowolf in this boss's dungeon. | 10 | 3 937 000 |
| Moowolf (Sidekick) |
Defeat Moowolf in its dungeon by completing the “Mini Inuits” challenge | 5 | 5 905 500 |
| Moowolf (First) |
Defeat Moowolf in its dungeon by completing the “First” challenge. | 10 | 3 937 000 |
| Moowolf (Impertinence) |
Defeat Moowolf in its dungeon by completing the “Impertinence” challenge. | 10 | 3 937 000 |
Special: What's the Time, Mr Moowolf?
No enemy may take more than three attacks per turn from the same ally. A state above each enemy counts the attacks received: at “3”, that character must no longer hit it. Each line counts as one attack, and the first one is already used to remove Moowolf's reduction: you have two left. A four-line spell makes the achievement fail. Bet on big single-line spells, in Fire if possible. Poisons and glyphs remain allowed, as long as the character who plays before Moowolf removes its reduction.
Impertinence
Every ally must end their turn next to an enemy. Advance in small groups and prepare a cell in contact before each end of turn. Beware of Ripriff, which makes the neighbors of its target lose HP, and of Caesarean, which locks you in Gravity. Two characters in contact with Moowolf encourage it to hit rather than heal itself.
Duo
Two characters maximum, fewer than 20 turns. Two characters that remove MP and hit from a distance. Kill the Boopig and then the Boowoldlum, keep Moowolf away from you, and keep a steady rhythm: everything must be finished by the end of turn 19.
Sidekick: Mini Inuits
Four characters minimum, including a companion among Inferno, Styx, Mandrin, and Will Killson. The basic strategy doesn't change. Watch the companion's hits: it must not kill the Milimoowolf by accident.
Drops and loot of the Moowolf Lair
Base in-game rates, before Prospecting bonuses.
On Moowolf
- Moowolf ScalpMiscellaneous Resource36 %
 Boowolf TeethBone6,04 %
- Moowolf Magic TesticlesMiscellaneous Resource6,04 %
 Nougat Rabmarac BarTreat6 %
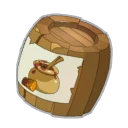 Barrel of Tasty JuiceContainer3 %
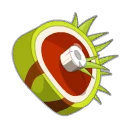 Dripping MeatMeat1,81 %
 Al Howin GobtubbyCeremonial pet0,35 %
On the henchmen of Moowolf
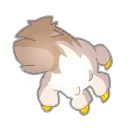 Whitish Fang PawLeg · Whitish Fang43 %
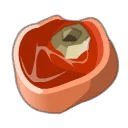 Rancid MeatMeat · Whitish Fang43 %
- Boopig EyeEye · Boopig36 %
- Oozing MeatMeat · Boopig36 %
- Boogranny CanineBone · Boogranny36 %
- Boowolf TailTail · Boowolf36 %
- Boowoldlum ClawMiscellaneous Resource · Boowoldlum36 %
- Boowonoké HairsHair · Boowonoké36 %
 Infected SlobberSidimote · Boopig12 %
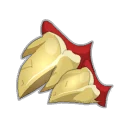 Infected FangSidimote · Boogranny12 %
 BallMiscellaneous Resource · Whitish Fang7,24 %
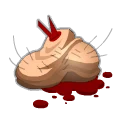 Boopig TesticlesMiscellaneous Resource · Boopig6,04 %
 Boogranny MojoMiscellaneous Resource · Boogranny6,04 %
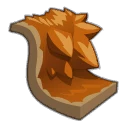 Boowolf FabricFabric · Boowolf6,04 %
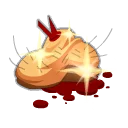 Boowoldlum Magic TesticlesMiscellaneous Resource · Boowoldlum6,04 %
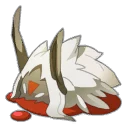 Boowonoké ScalpMiscellaneous Resource · Boowonoké6,04 %
- Boowolf TeethBone · Boopig6 %
 Stolen DocumentsAlignment · Whitish Fang6 %
- Barrel of Tasty JuiceContainer · Boopig1 %
 Carlita Map fragment 3/5Map fragment · Boopig1 %
 Brumen's Map fragment 2/4Map fragment · Whitish Fang1 %
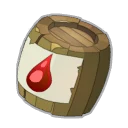 Barrel of Scurvion BloodContainer · Whitish Fang1 %
 Carlita Map fragment 1/5Map fragment · Boogranny1 %
 Carlita Map fragment 4/5Map fragment · Boowolf1 %
 Carlita Map fragment 2/5Map fragment · Boowonoké1 %
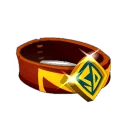 Suspicious NecklaceSidimote · Whitish Fang0,6 %
 Carlita Map fragment 5/5Map fragment · Boopig0,5 %
Capturing the soul of Moowolf and the Ochre Dofus
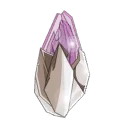 One Soul Stone for Average Souls (captures up to level 100) is enough for Moowolf. The soul is used for the Ochre Dofus quest An Eternal Harvest, which requires the soul of every dungeon guardian.
| Stone ingredient | Quantity |
|---|---|
 Ordinary Soul Splinter |
10 |
 Fish Juice |
1 |
The Moowolf Lair as a guild Expedition
The Lair also exists as a Guild Expedition. There are no rooms: you come straight to Moowolf, alone, with 30,000 HP, 10 MP, about 200 MP dodge, the same resistances, and no damage reduction.
- at the start of its turn, it kills the characters and summons in contact with it and turns them into Boowolves; it can also summon two Boowolves per turn;
- from turn 3, then every 3 turns, it kills its Boowolves to heal 1,000 HP and gain 10% damage each; with no Boowolf, it loses 30% resistances for 2 turns;
- at 30% HP, it permanently gains 2 MP and 30% damage, and each living Boowolf gives it 500 shield at the end of its turns;
- the guaranteed win: as against Misery, trap it in a corner with two summons in contact with it. It turns them into Boowolves and stays stuck; kill the Boowolves, place two summons again, and hit it, turn after turn;
- otherwise, kill the Boowolves every turn (weak to Earth and Air), play Fire, spread out, and stay at a distance: it no longer summons if you are about 10 range from it. With six or more, it's simpler.
Where is the Moowolf Lair?
In the Sidimote Moors, in , in the Howling Heights. The nearest zaap is the Breeder Village's .
What level should I be for the Moowolf Lair?
Level 90 minimum, 100 recommended, and more if possible. It is one of the hardest dungeons in its bracket: many level 140 teams struggle with it.
Which monster should you target first in the Moowolf Lair?
The Boopig, then the Boowoldlum and the Boowonoké. Moowolf goes last: don't hit it before, except to push it back or remove its MP.
Should I kill the Milimoowolf?
No, unless you have no choice. Its death gives 2 MP and 200 power to all monsters for 2 turns.
Which element should I play against Moowolf?
Fire, its only weakness (-5%). Prefer single-line spells: every line of damage gives it 30 power.
How do I prevent Moowolf's Restorative Rage?
Leave it at around 81 to 84% HP: it casts it with no effect. Erosion, a heal penalty, the Unhealable state, or two characters in contact with it also work.
Which stone should I use to capture Moowolf?
A Soul Stone for Average Souls (captures up to level 100). The soul is used for the Ochre Dofus quest.
Which quest should I do in the Moowolf Lair?
Draconthropy and Start the Fire, which retrieve the Enchanted Ring and the iron bone from Moowolf. Brakmarians add Boolanthropy and Apprenticeship: Knife Fighter.
Can the Moowolf Lair be done with two characters?
Yes, it is an achievement: two characters, fewer than 20 turns. Take two characters that remove MP and hit from a distance.

Comments
No comments yet. A tip, or a detail about this page? Be the first.