 2 × Skt-Zo Leg
Dungeon Lost Dimension
Shadow's Pyramid
Level 190 dungeon at the far end of the Lost Dimension, at [5,9]: six rooms and a boss who is invulnerable unless his Silhouette is in the Globilum's glyph, Shadow. Quests to start, map of each room, strategy, monsters, achievements and loot.
Quests linked to Shadow's Pyramid
Two major level 190 quests end facing Shadow: The Army of Shadows with the Vigilantes, and A Painted Shadow with the Huppermage. Prepare their items before entering: the Chains of Life for the first, an Elemental Soul Stone for the second.
Keep the Chains of Life on you. At the end of Lumino's investigation, which goes through Frigost and the Sakai Mine, defeat Shadow in a single fight, then talk to him and chain him up on the spot before leaving.
- Start
- Lumino, Vigilante Base
- Prerequisites
- Level 170
 Obscurantus Globilum9 Mysterious Fabric and 137,711,000 XP
Nabrisa is waiting for you in the exit room. Cross the dungeon, then face Shadow alone at her side, with Rimanda's blessing and an Elemental Soul Stone equipped: Elemental Capture, at 6 RNG at most, makes him vulnerable for 3 turns.
- Start
- Rimanda, Huppermage Temple
- Prerequisites
- Level 170 and The Costs of Fate
 Obscurati Symbola Shadow Horn and 165,253,200 XP
During events
- Tiwotokar Simulation
Tiwotokar may assign you Shadow as a guardian to defeat. Astrub, .
The Army of Shadows also has you bring back two copies of each mask, of Void, Vivacity, Revenge and Violence: they drop from the dungeon's monsters.
The 6 rooms of Shadow's Pyramid
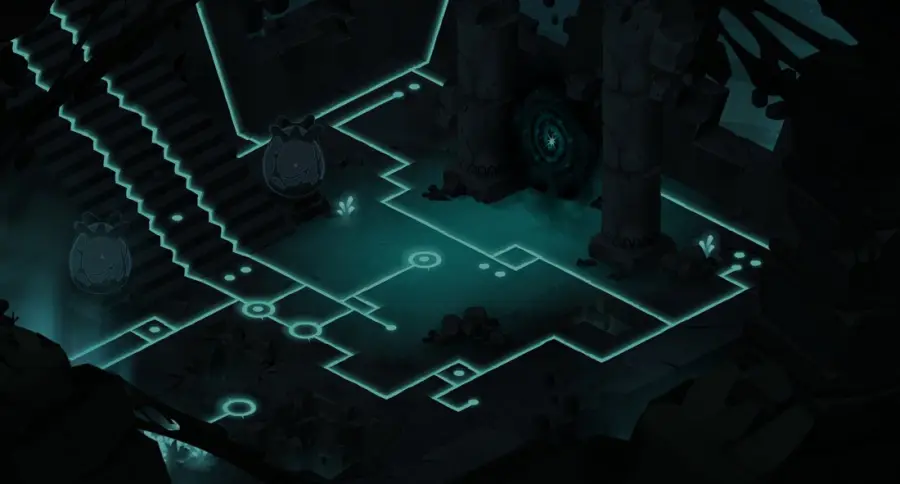
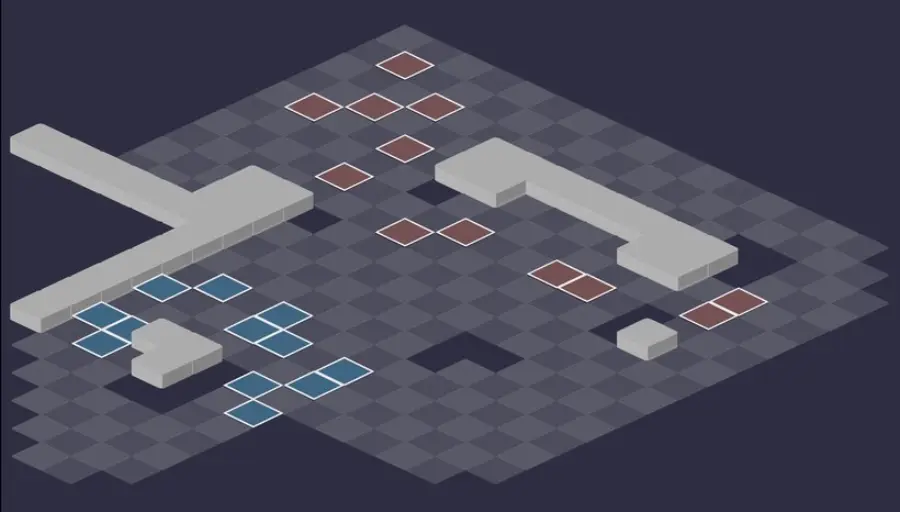
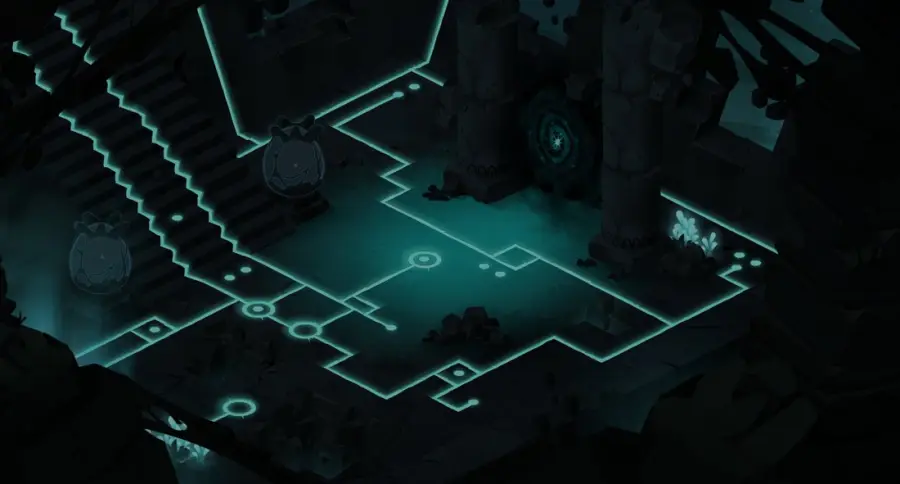
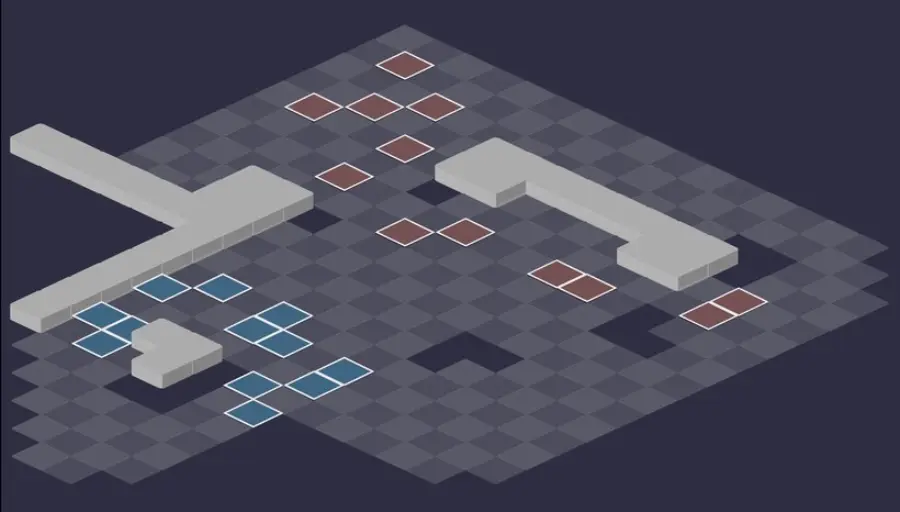
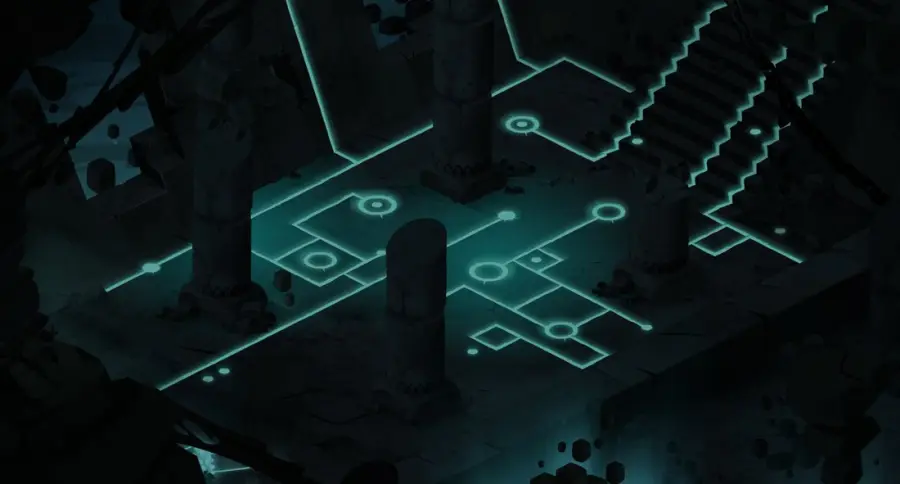
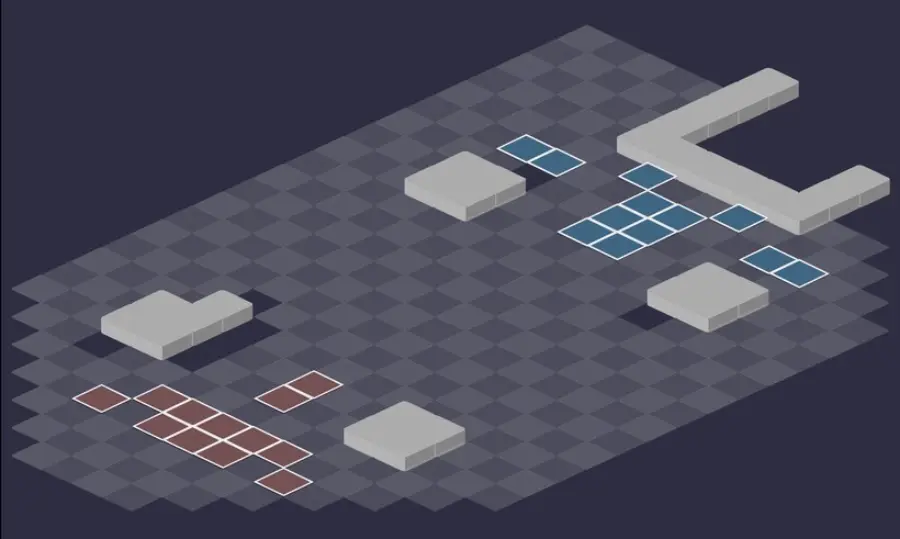
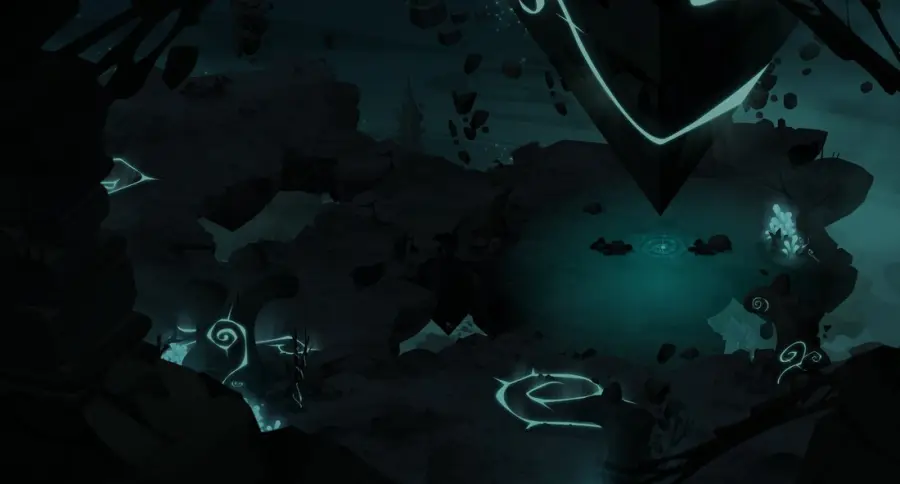
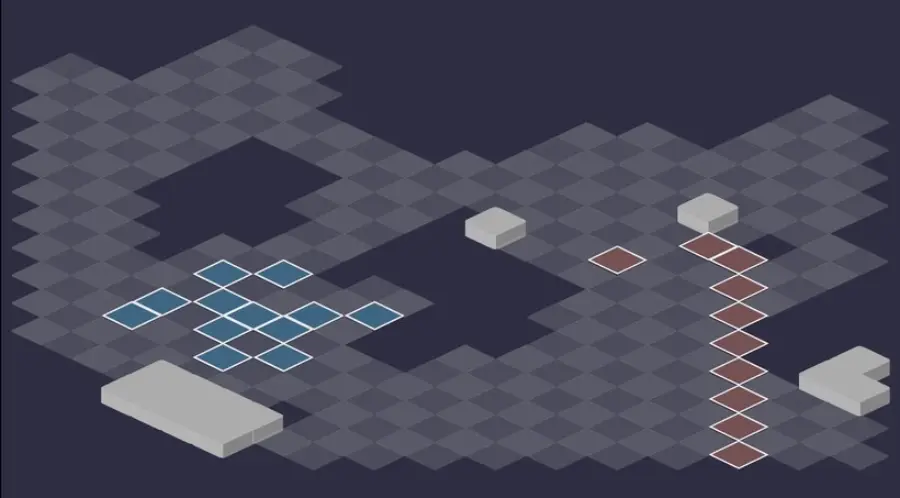
Six rooms, with Shadow in the last one. The maps have many obstacles: use them to break lines of sight, while watching out for the monsters' swaps, pushes and pulls. For each room: the scenery, then the tactical view with the starting cells (blue: you, red: the monsters). Tap an image to enlarge it.
Room 1
Room 2
Room 3
Room 4
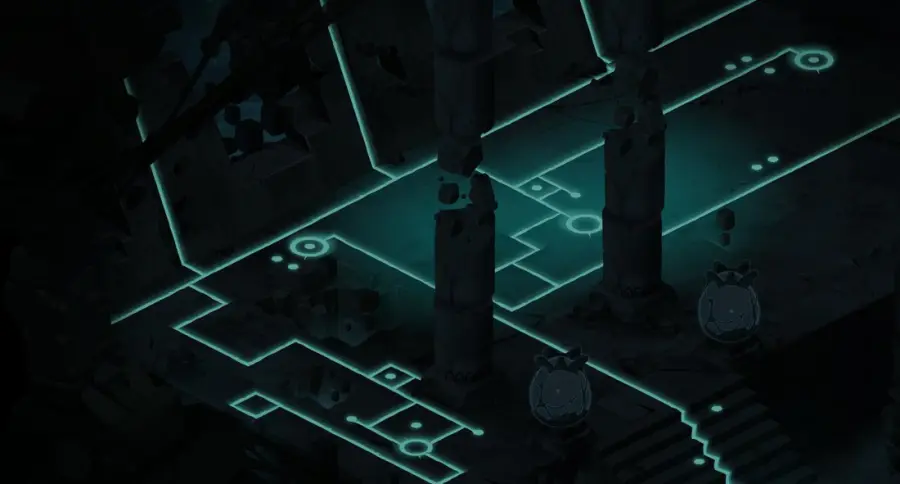
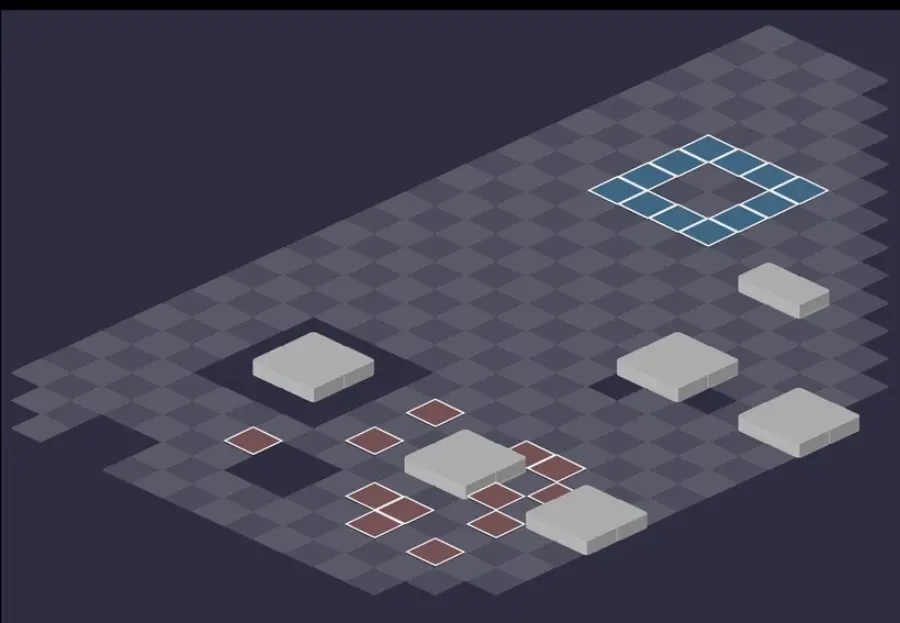
Room 5
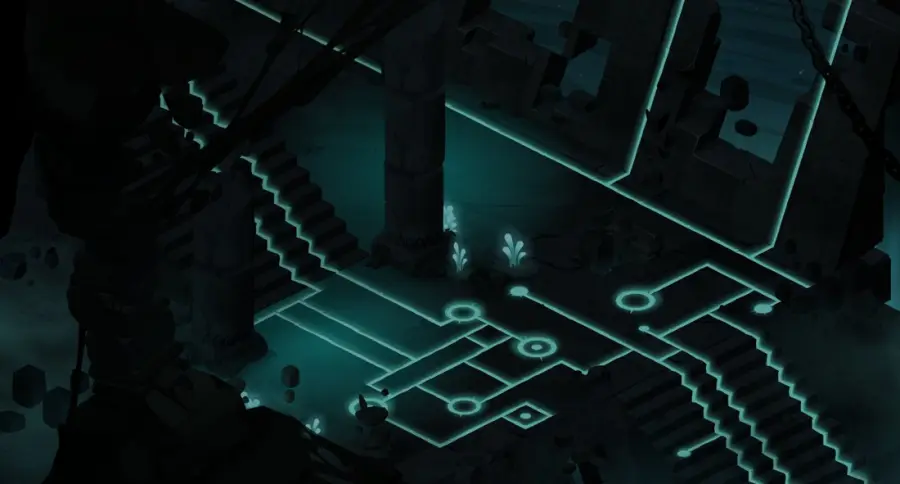
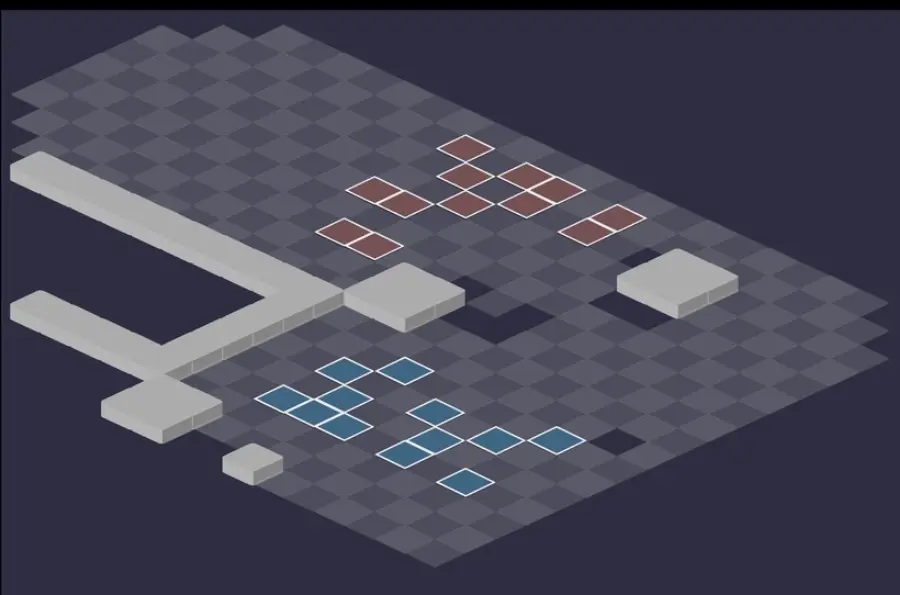
Room 6 — Shadow
The arena of Shadow, his Globilum and his Silhouette. For The Army of Shadows, talk to Shadow after the victory and chain him up with the Chains of Life.
Defeat Shadow
Only one displacement per turn
When Displaced, both Shadow and his Silhouette become Unmovable for a turn and gain 100 power. So you only get one positioning spell on each per turn: choose it well, taking into account the Globilum, which advances one cell each turn.
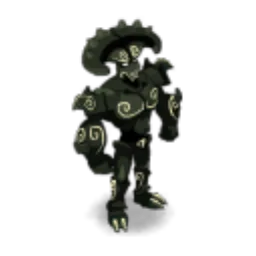
Level 190
 11,000 HP
 20 AP
 6 MP
- Resistances (%)
 Earth 0%
 Fire 0%
 Water 0%
 Air 0%
 Neutral 0%
Invulnerable at the start and Heavy throughout the fight. He becomes vulnerable as long as the Silhouette is in the Globilum's glyph, and he is outside it. No resistances. Link pulls you in a line up to 7 RNG, Distortion strikes everything around him, and once he is vulnerable, Paranoia teleports him next to you.
 Paranoia4 AP · 5 RNG ·1 MP · Teleports to the targeted cell · Places a glyph-aura
Only when he is vulnerable: he teleports next to his target, without line of sight, and places a cross that removes all flight and all lock.
 Link5 AP · 7 RNG · Pulls 3 cells · Advances 3 cells ·51 to 70 Neutral damage · Link: +30 base damage
Pulls you 3 cells and brings Shadow closer by the same amount, in a line of 2 to 7 RNG, twice per turn. Stronger on the next turn.
 Distortion5 AP · on itself ·100 Water damage
Heavy Water damage in a circle of 3 cells around Shadow: do not stay grouped near him.
 Penumbra5 AP · self · Distortion: +20 base damage ·2 MP
From turn 2: 2 MP for Shadow and his nearby allies, and Distortion rises with each ranged damage he takes that turn.
The four-step strategy against Shadow
Monsters first. The simplest strategy: the Brocktis first, which strengthens its allies and strikes from a distance, then the Nightfoul, which removes AP and reaches melee quickly, and the Mirefly last. Stay 6 cells or less from the Globilum to avoid Lighting.
The Silhouette in the glyph. Once it has struck, the Silhouette flees: with 7 MP and spells of 5 RNG, it needs to have enough left to step back into the glyph. Position yourself so that it goes there on its own, and remove MP from it if it has too many.
Shadow out of the glyph. Keep Shadow away from the Globilum by removing his MP. Only one displacement per turn on him, one on the Silhouette: do not waste them before seeing where the Globilum has advanced.
Strike, reposition, strike. With the Silhouette in and Shadow out, he is vulnerable: focus everything on him. As soon as the Silhouette leaves or Shadow enters, he becomes invulnerable again: reposition them before resuming your damage.
The Globilum and its glyph
Summoned by Shadow at the start of the fight, the Globilum is invulnerable and unmovable. At the end of its turn, it places a white glyph of radius 3 around itself, where your characters gain 20% final damage. It gains 1 MP each turn, so it moves one cell, and pushes back characters in contact with it by one cell.
At the start of each turn, Lighting deals Neutral damage to your characters more than 6 cells away from the Globilum, and gives 50 damage to monsters in the same area. Stay close to it.
The Silhouette
Summoned by the Globilum, it is Heavy like Shadow. It strikes with Fire based on your eroded HP and can remove 10 MP from you for one turn with 20% erosion. This removal disappears if the affected character is moved: an ally can free them with a push.
The Brocktis's boosts
Every 3 turns, Vagary strengthens its allies' spells for one turn: invulnerability for the Dominous, range and AP removal for the Nightfoul's Foul Play, range and MP removal for the Mirefly's Balligan, 200 power for the Panterror. Hence the value of killing it first.
The monsters of Shadow's Pyramid
Five level 182 Obscurati, each weak to a different element (-23%). The Brocktis first, then the Nightfoul, and the Mirefly last. The resistances in red are their weaknesses.
In which order to kill the monsters
- Brocktis — it strengthens its allies every 3 turns and strikes from a distance.
- Nightfoul — it removes AP and reaches melee quickly.
- Mirefly — the least dangerous of the three, but its aura heals its neighbors.
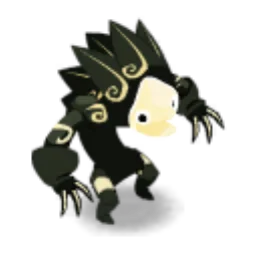
Level 182
- 4,700 HP
- 12 AP
- 4 MP
- Resistances (%)
- Earth -23%
- Fire 21%
- Water 16%
- Air 2%
- Neutral 1%
Every 3 turns, Vagary strengthens its allies. Resonance strikes around each monster within 10 RNG of it, and Rift removes 10% resistance up to 7 RNG. Weak to Earth.
 Vagary4 AP · self · Balligan: +3 Maximum Range ·30 MP Reduction · 200 Power · Invulnerable State · 30 AP Reduction · Foul Play: +2 Maximum Range
Every 3 turns: invulnerability, range, removals or power for its allies' spells.
 Resonance
Neutral damage in a circle of 2 cells around each monster within 10 RNG of the Brocktis: do not bunch up the monsters.
 Rift4 AP · 7 RNG · -10% Resistance ·51 to 70 Air damage
-10% resistance for 2 turns, up to 7 RNG.
Level 182
- 4,700 HP
- 12 AP
- 6 MP
- Resistances (%)
- Earth 21%
- Fire -23%
- Water 2%
- Air 1%
- Neutral 16%
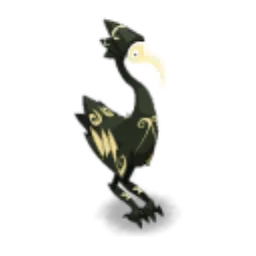
Beaklipse removes 3 AP and pushes back 3 cells at short range; in melee, Foul Play hits hard and shortens your effects by one turn. Footrest gives it flight and MP, and it removes AP from whoever hits it from a distance. Weak to Fire.
 Footrest4 AP · self · 50 Flight ·2 MP
Flight and 2 MP for the Nightfoul; when hit from a distance, it removes AP from its attacker.
 Beaklipse4 AP · 3 RNG · Pushes back 3 cells ·-3 AP · 51 to 70 Water damage
-3 AP and a push of 3 cells, at 3 RNG at most.
 Foul Play4 AP · melee ·51 to 70 Neutral damage · 101 to 120 Neutral damage · Effect duration: -1
Heavy Neutral damage in melee and -1 turn over the duration of your effects.
Level 182
- 4,700 HP
- 12 AP
- 4 MP
- Resistances (%)
- Earth 21%
- Fire 1%
- Water 16%
- Air 2%
- Neutral -23%
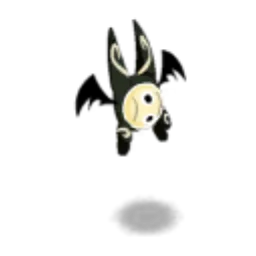
At the start of its turn, it heals nearby allies for 10% of their HP and erodes your characters within a radius of 2 cells: isolate it. Direfly pulls and then pushes back, Balligan steals 2 MP at 4 RNG. Weak to Neutral.
 Direfly4 AP · self ·51 to 70 Air damage · Pulls 2 cells · Pushes back 2 cells
Pulls and then pushes back 2 cells around the Mirefly.
 Balligan4 AP · 4 Range ·51 to 70 Neutral damage · Steals 2 MP
Steals 2 MP up to 4 RNG, with more range when the Brocktis has boosted it.
Level 182
- 4,700 HP
- 12 AP
- 6 MP
- Resistances (%)
- Earth 16%
- Fire 2%
- Water -23%
- Air 21%
- Neutral 1%
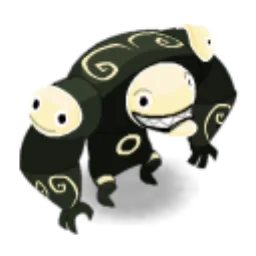
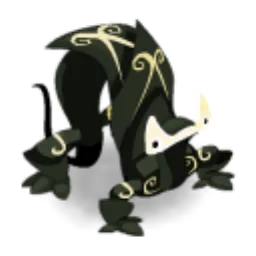
Plot puts you in Gravity and makes it Unmovable. Brutality swaps places with you up to 4 RNG, and Petty Pact strikes in melee while reducing your pushback resistances. Boosted by the Brocktis, it becomes invulnerable for a turn. Weak to Water.
 Plot
Gravity on your characters and Unmovable for the Dominous, for one turn.
 Brutality4 AP · 4 range · Switches positions ·41 to 60 Air steal
Swaps places up to 4 RNG, with Air life steal.
 Petty Pact4 AP · melee ·61 to 80 Earth damage · 51 to 70 Earth steal · -300 Pushback Resistance · -500 Pushback Resistance
In melee: Earth life steal and a sharp drop in your pushback resistances.
Level 182
- 4,700 HP
- 12 AP
- 5 MP
- Resistances (%)
- Earth 1%
- Fire 16%
- Water 21%
- Air -23%
- Neutral 2%
Hideaway makes it invisible and reflects 200 damage; when pushed, it becomes invisible again along with its nearby allies. Vend Hetter removes 10 MP in melee, and Pettiness strikes in a cross while pulling you in. Weak to Air.
 Hideaway
Invisibility and 200 reflected damage; pushing the Panterror reapplies invisibility, on it and its neighbors.
 Vend Hetter4 AP · melee ·81 to 100 Neutral damage · -10 MP
In melee: heavy Neutral damage and -10 MP.
 Pettiness4 AP · 3 RNG ·61 to 80 Fire damage · Pulls 3 cells · Charged state
Strikes in a cross at 3 RNG and pulls toward the center of the area.
Preparing your run through Shadow's Pyramid
A level 180 to 190 dungeon of average difficulty, where positioning matters more than damage: Shadow only becomes vulnerable if his Silhouette and he are in the right place. People come here for The Army of Shadows, A Painted Shadow, the achievements and Shadow's soul, which can be captured with a Soul Stone for Huge Souls (captures up to level 200).
How to enter Shadow's Pyramid
The entrance is at the far end of the Lost Dimension, at ; the nearest zaap is the one in Gobball Corner . There are three ways to open it: a Shadow's Pyramid Key (consumed), the key ring if it is registered there, or the automatic group search.
Crafting the Shadow's Pyramid Key
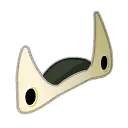
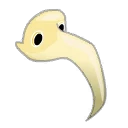
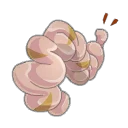
It is crafted by a handyman. Five ingredients drop from the dungeon's monsters, at 13%: Vengeance Mask (Panterror), Violence Mask (Dominous), Vivacity Mask (Nightfoul), Void Mask (Mirefly) and Midnight Meat. Swordfish (fishing), Mandrake and Millet (harvesting) complete the recipe.
| Ingredient | Quantity | Level |
|---|---|---|
 Vengeance Mask |
2 | 190 |
 Violence Mask |
2 | 190 |
 Vivacity Mask |
2 | 190 |
 Void Mask |
2 | 190 |
 Midnight Meat |
2 | 190 |
 Swordfish |
2 | 190 |
 Mandrake |
3 | 180 |
 Millet |
3 | 180 |
Which team to bring against Shadow
MP removal. It is used twice: to limit the Silhouette so that it ends up in the glyph, and to keep Shadow away from the Globilum. It is the central tool of the fight.
A good positioner. Only one displacement per turn on Shadow and only one on the Silhouette: you need someone who places accurately the first time, anticipating the Globilum's advance.
Something to see the invisible. The Panterror turns itself invisible, and becomes so again along with its neighbors when pushed. Plan a solution against invisibility, and beware of the Nightfoul's AP removal.
The six achievements of Shadow's Pyramid
Each achievement gives 137,711,000 XP and 2 Shadow Horn; Duo doubles the XP; Sidekick gives 206,566,500 XP. Since the dungeon overhaul, First, Tight and Duo are done with the basic strategy.
| Achievements | Condition | Points | XP |
|---|---|---|---|
 Shadow's Pyramid |
Defeat Shadow in this boss's dungeon. | 10 | 137 711 000 |
| Shadow (First) |
Defeat Shadow in his dungeon while completing the “First” challenge. | 10 | 137 711 000 |
| Shadow (Tight) |
Defeat Shadow as a team in his dungeon while completing the “Tight” challenge. | 10 | 137 711 000 |
| Shadow (Duo) |
Defeat Shadow in his dungeon while completing the “Duo” challenge. | 20 | 275 422 000 |
| Shadow (Sidekick) |
Defeat Shadow in his dungeon while completing the “Tormented Knights” challenge. | 5 | 206 566 500 |
| Shadow (Special) |
Defeat Shadow in his dungeon while completing the “Shadow Play” challenge. | 10 | 137 711 000 |
First
Shadow must be finished off first. Fairly easy since the overhaul: place the Silhouette in the Globilum's glyph while keeping Shadow and the monsters at a distance, then focus on Shadow.
Tight
Each ally must end their turn on a cell adjacent to another ally. No particular difficulty: end each turn in contact with an allied entity, without forgetting to position the Silhouette.
Special: Shadow Play
Enemies must not suffer any ranged damage attempt. Everything is played in melee: characters able to take hits are recommended. Killing Shadow first is preferable, though not mandatory: Silhouette in the glyph, Shadow out.
Duo
Two characters at most, in fewer than 26 turns. No particular difficulty: use the basic strategy, monsters first, then the Silhouette in the glyph.
Sidekick: Tormented Knights
At least four characters, including one eligible companion (Flame, Drop, Cloud, Paper or Darkness). The fight stays the same. Protect the companion from pulls and pushes while the Silhouette is being set up.
Drops and loot of Shadow's Pyramid
Base in-game rates, before Prospecting bonuses.
On Shadow
 Shadow HornBone15 %
 Nougat Rabmarac BarTreat6 %
 Bag of Magical CureContainer3 %
- Obscurati SymbolMiscellaneous Resource2,44 %
 Al Howin GobtubbyCeremonial pet0,8 %
 Midnight CarrionMeat0,73 %
On the henchmen of Shadow
- Midnight MeatMeat · Dominous13 %
- Violence MaskGarment · Dominous13 %
- Vivacity MaskGarment · Nightfoul13 %
- Void MaskGarment · Mirefly13 %
- Vengeance MaskGarment · Panterror13 %
 Vice MaskGarment · Brocktis13 %
 Obscure ShardMiscellaneous Resource · Dominous6 %
- Obscurati SymbolMiscellaneous Resource · Dominous2,16 %
- Bag of Magical CureContainer · Dominous1 %
Capturing the soul of Shadow
 A Soul Stone for Huge Souls (captures up to level 200) covers Shadow, who is level 190.
| Stone ingredient | Quantity |
|---|---|
 Majestic Soul Splinter |
10 |
 Alteration Potion |
2 |
Shadow's Pyramid as a guild Expedition
The pyramid exists in two Guild Expeditions, Audacious and Valour, each with its own modifier:
- Audacious: a character who ends their turn in line with the Silhouette swaps places with it, several times per turn if needed. Place a character in the white glyph and end in line with it: it ends up teleported there;
- Valour: as long as Shadow is invulnerable, he removes 3 AP and applies 40% erosion to your characters on each of his turns; when vulnerable, he gives 4 MP and 400 power to himself, his Silhouette and the Globilum;
- in Valour, make him vulnerable as quickly as possible and kill him in one turn, ideally on the first or second. Otherwise, if he has not yet been moved that turn, send him back into the glyph to avoid the MP and power bonus;
- you can also kill him last, after the monsters, but the accumulated erosion makes the fight harder.
Where is Shadow's Pyramid?
At the far end of the Lost Dimension, at . The nearest zaap is the one in Gobball Corner .
At what level should you do Shadow's Pyramid?
Minimum level 180, 190 recommended. Shadow is level 190, with 11,000 HP and no resistances, and his monsters are level 182.
Which quest should you do in Shadow's Pyramid?
The Army of Shadows, with Lumino at the Vigilante Base , and A Painted Shadow, with Rimanda at the Huppermage Temple . Both end facing Shadow.
How do you make Shadow vulnerable?
Place the Silhouette in the Globilum's white glyph, and keep Shadow out. As long as both conditions hold, he stays vulnerable.
Why does Shadow become invulnerable again?
The Silhouette has left the glyph, or Shadow has entered it. The Globilum advances one cell each turn: reposition them, one displacement each per turn.
Which monster should you target first in Shadow's Pyramid?
The Brocktis, which strengthens its allies every 3 turns and strikes from a distance. Then the Nightfoul, and the Mirefly last.
Which stone should you use to capture Shadow?
A Soul Stone for Huge Souls (captures up to level 200). It covers Shadow's level 190.
Can Shadow's Pyramid be done with two players?
Yes, it is even an achievement, in fewer than 26 turns. The basic strategy is enough: monsters first, then the Silhouette in the glyph.

Comments
No comments yet. A tip, or a detail about this page? Be the first.