 2 × Skt-Zo Leg
Dungeon Sidimote Moors
Solar's Tower
Level 200 dungeon in the Magmatic Steps, at [-31,15]: five rooms, monsters that resurrect each other and a boss that is vulnerable only one phase out of four, Solar. Quests to start, map of each room, strategy, monsters, achievements and loot.
Quests linked to Solar's Tower
Two quests to do before your first run, both after Anger of the Gods, which opens access to the Magmatic Steps. The first gives the Necronyx spell, without which the dungeon is impossible. The second is completed at the top of the tower: accept it before entering.
Without the Necronyx spell, victory is impossible. Gobannus the Smith has you fetch a block of raw necronyx, the Sadida Priestess asks for resources, then you have to feed her doll with Armutins, Ghouls, Cursed and Soul-Blazes. God Sadida then gives you Necronyx for good.
- Start
- Gobannus the Smith, Realm of the Gods
- Prerequisites
- Level 180 and Anger of the Gods
Climb to the top of the tower before leaving. After the three priests' missions, defeat Solar in a single fight, discover the Top of Solar's Tower, focus on the heartbeats of the Charred Ones and talk to God Sram. The quest then continues in Bethel's Tower.
- Start
- Voice of the Twelve, Realm of the Gods
- Prerequisites
- Level 180 and Anger of the Gods
 Charred Ones' Bloodone Submerged Ones' Shell and 50,000,000 XP
For later
Crocobur must taste Solar's soul. Collect 20 Charred One Soul from monsters in the Magmatic Steps, outside the dungeon, use them from your inventory, then complete Solar's Tower to calm its hunger.
- Start
- Meriana, Nauseating Swamps
- Prerequisites
- Crocabulia's Egg
Charred Ones' Blood3 bloods and 60,000,000 XP
Solar can give you the Totem of Anger. Maimane asks for six emotion totems, each from a boss of your choice: for anger, Solar, Dazahk Freezammer, War, Missiz Freezz or Tal Kasha.
- Start
- Maimane, Destroyers' Nightmare
- Prerequisites
- Level 180
 Totem of Balanceonce the six totems are handed in
During events
- Tiwaapi Simulation
Tiwaapi can designate Solar as the guardian to defeat. Incarnam, .
The 5 rooms of Solar's Tower
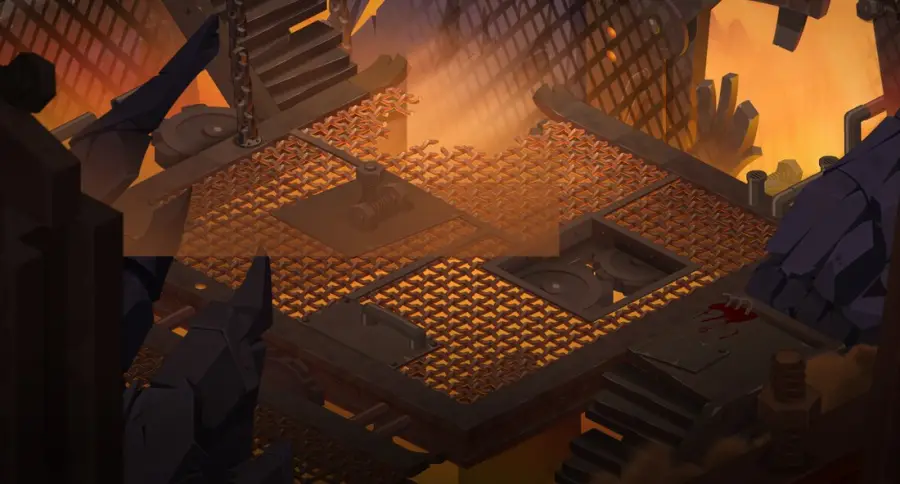
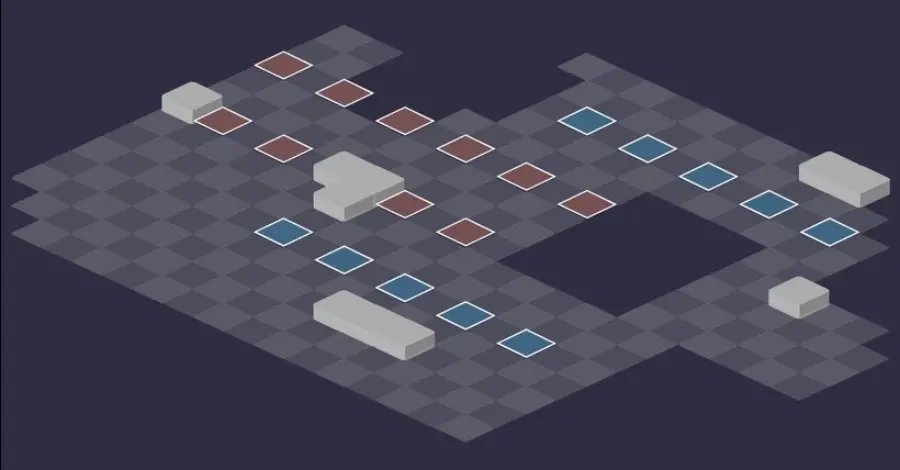
Five rooms. In each fight, the monsters resurrect each other thanks to Pyrozomb: apply Necronyx to a monster before finishing it off, so that it won't hit if it comes back. The mechanic is detailed in the next section. For each room: the scenery, then the tactical view with the starting cells (blue: you, red: the monsters). Tap an image to enlarge it.
Room 1
Room 2
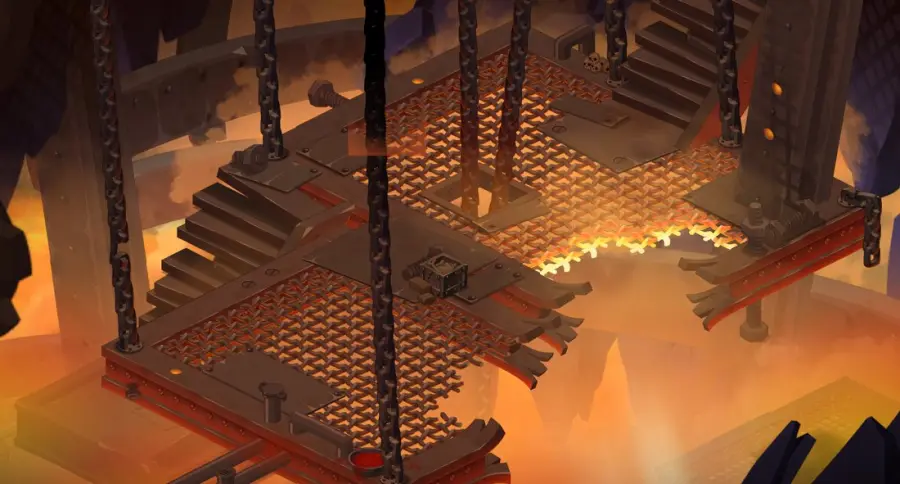
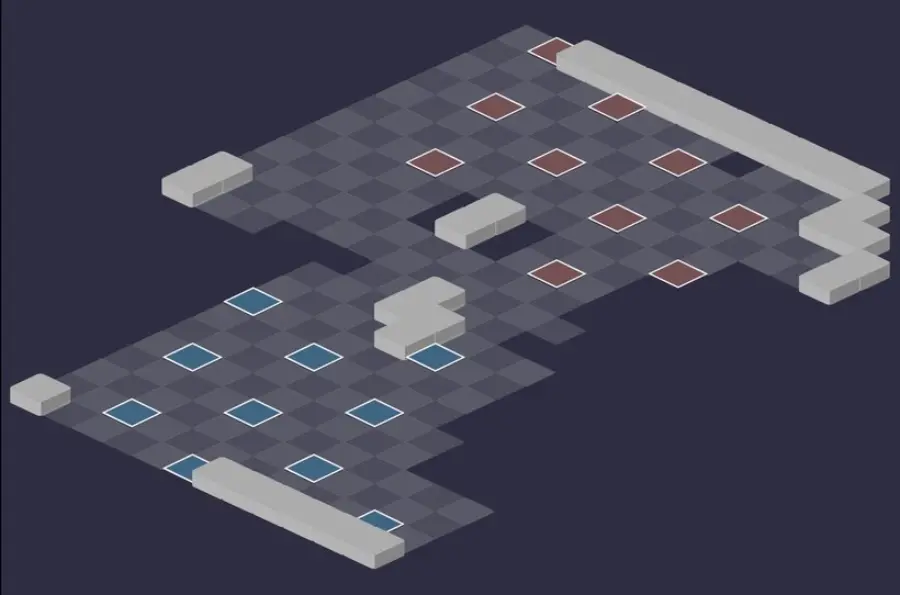
Room 3
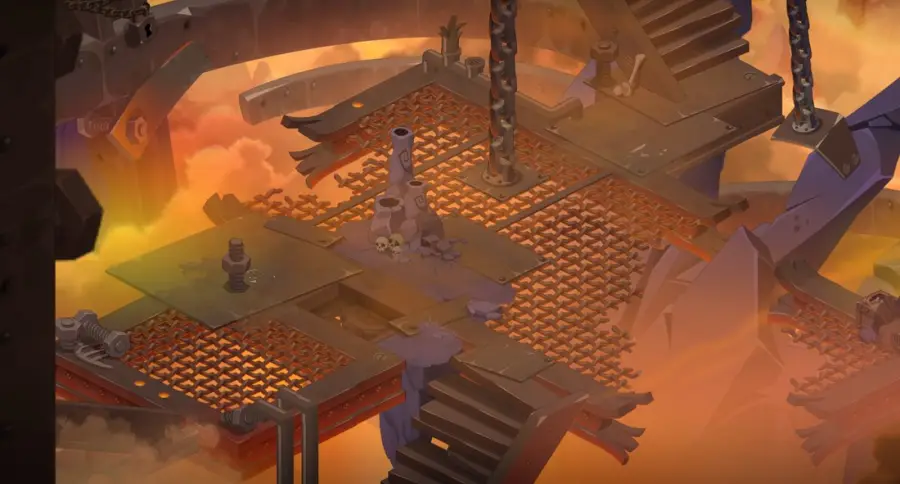
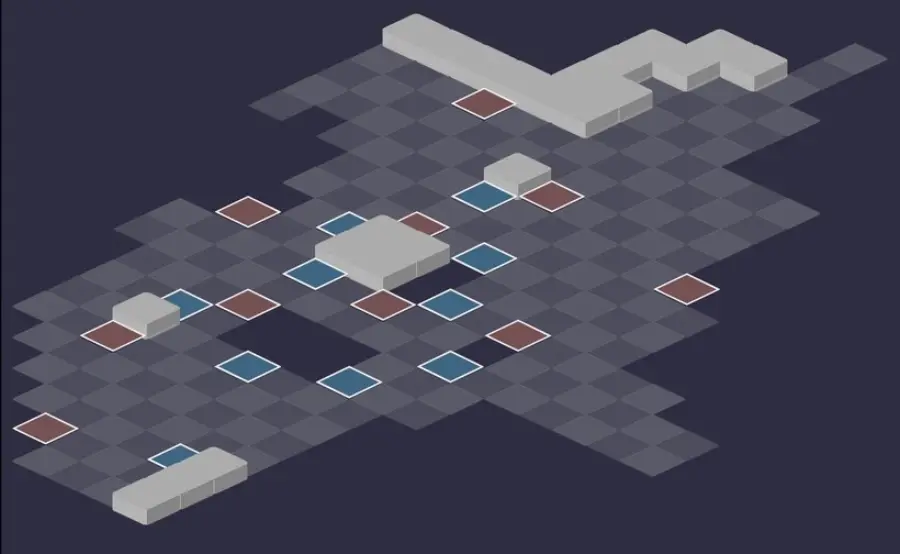
Room 4
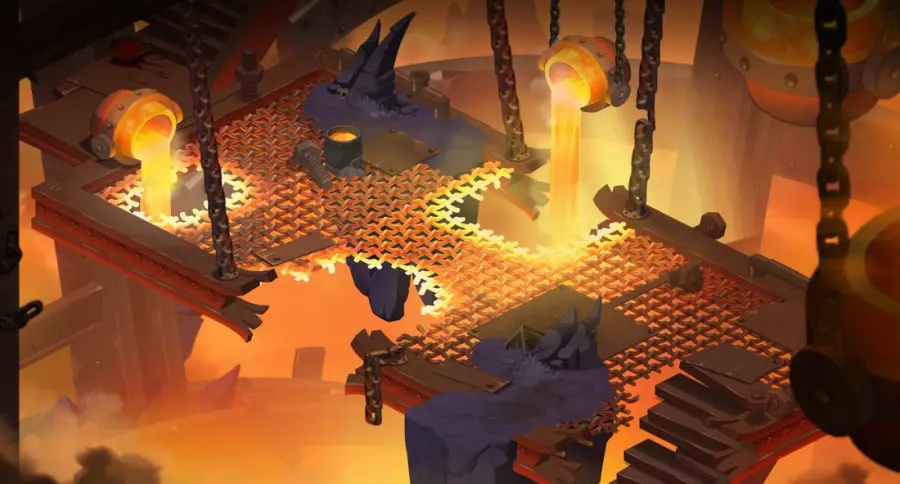
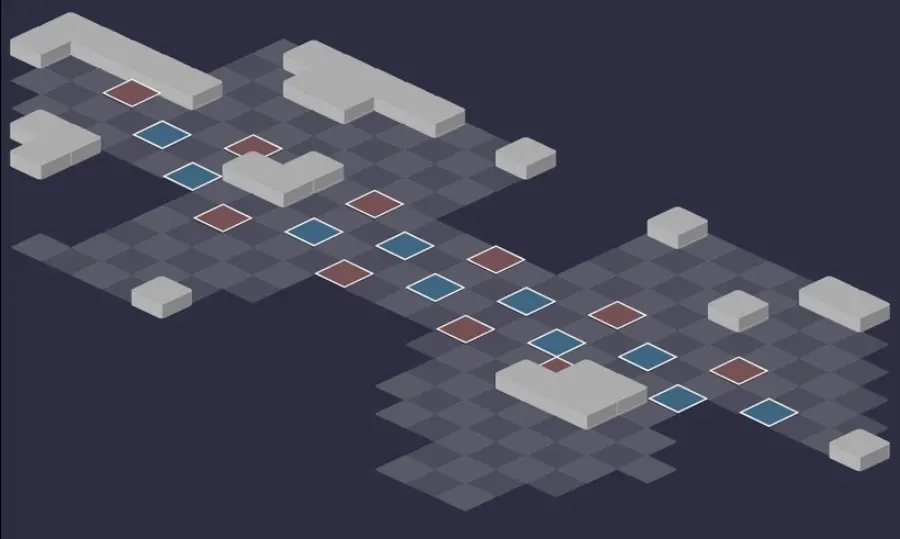
Room 5 — Solar
Solar's arena. For The Livid Hearts, don't leave the dungeon after the victory: go up to the Top of Solar's Tower and talk to God Sram.
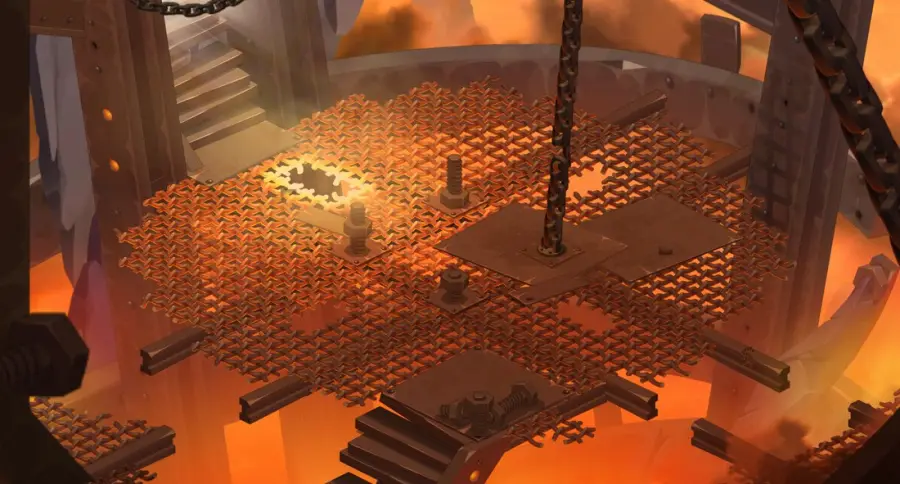
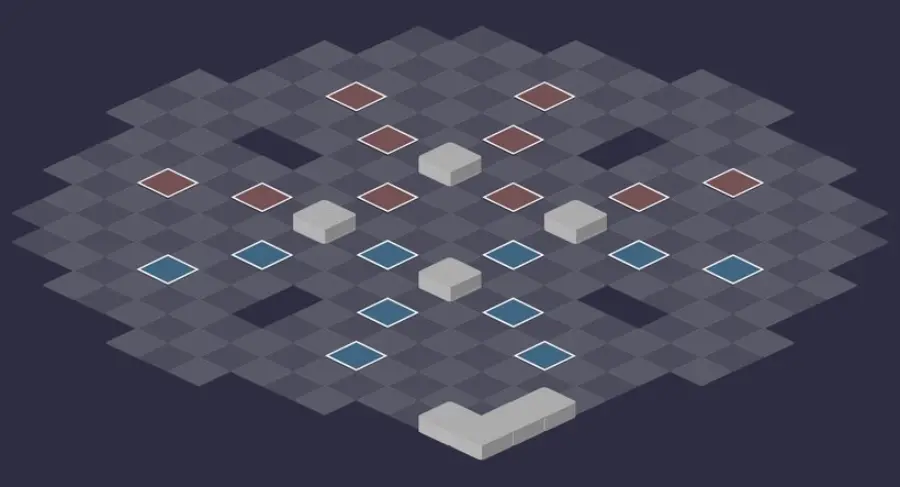
Defeat Solar
Never without Necronyx
If Solar dies without being under Necronyx, he kills the whole team. Apply Necronyx to him before the final blow, even if he is the last enemy, and reapply it every time he is resurrected.

Level 220
 13,000 HP
 15 AP
 6 MP
- Resistances (%)
 Earth 20%
 Fire 5%
 Water 20%
 Air 5%
 Neutral 40%
Four states that change every 3 turns: Aurora, Zenith, Twilight, then Nadir from turn 10. He is only vulnerable in Nadir, and each state gives him different spells. He reflects the damage he takes around him and must die under Necronyx. Lowest resistances: Air and Fire, at 5%.
 Obseen4 AP · 6 range · Advances 5 cells ·101 to 120 Fire damage · -2 MP
Aurora: Solar throws himself into melee with his target and hits in a line, and his allies gain MP and Lock.
 Early Bird4 AP · on self ·81 to 100 Earth damage · Reveals invisible entities
Aurora: shield for his allies lined up with him and heavy Earth damage on your characters.
 Morning Bashing3 AP · 4 range ·Water Damage: 20% erosion of the target's eroded HP
Aurora: damage proportional to your eroded HP, up to 4 range.
 Midday Demon3 AP · 6 range · Teleports to the targeted cell ·101 to 120 Air damage · -40 Flight · Midday Demon: +20 base damage
Zenith: he teleports without line of sight up to 6 range, hits in a cross and removes 40 Flight.
 Sunburn3 AP · melee · Maximises random effects on the target ·121 to 140 Earth damage · 151 to 170 Earth damage · Sunburn: +30 base damage
Zenith, in melee: very heavy Earth damage, even stronger on a target under Gravity. Never stay stuck to him.
 Solar Eruption5 AP · on self ·81 to 100 Fire damage · 121 to 140 Fire damage · Reveals invisible entities · -6 Range
Zenith: hits all your characters and removes 6 range from them for one turn. The main reason to skip this Zenith.
-
Sundown4 AP · 3 range ·-4 MP · Gravity State · Unmovable State · Heavy State
Twilight: -4 MP and Gravity, Unmovable and Heavy states in a line, up to 3 range. The states cannot be dispelled.
 Evening Class4 AP · 6 range ·71 to 80 Air damage · Weakened State
Twilight: hits up to 6 range and applies the Weakened state.
-
The Big Night4 AP · melee ·61 to 80 Earth damage · -80 Lock · Reveals invisible entities
Twilight: hits in a perpendicular line and removes 80 Lock.
 Midnight Demons4 AP · 12 range ·31 to 40 Air damage · 6 Air damage per 1 AP used · Damage taken x120% · Reveals invisible entities
Nadir: poison for each AP used and +20% damage taken at range, up to 12 range.
-
All-Nighter3 AP · 6 range ·31 to 40 Water damage · 41 to 50 Water damage · -20% HP
Nadir: Water poison for 2 turns and -20% of HP, up to 6 range.
 Protector of Thrills4 AP · 12 range ·31 to 40 Fire damage · 10 Fire damage per 1 MP used · -60 AP Reduction · -60 MP Reduction
Nadir: cross-shaped area up to 12 range, AP and MP reduction penalty, poison for each MP used.
The four-step strategy against Solar
Necronyx before every kill. Every monster killed is resurrected by the next one to play. Apply Necronyx to a monster before finishing it off: once back in play, it will no longer hit. The spell skips your turn and can only be cast every other turn, so spread it among your characters.
The Dedbomb first. Its Sticky Grenade makes you take 50% more damage, and Old stove protects its neighbors. Kill it first, then the others according to your elements. A Dead Key under Magmagic is hit with a melee weapon, or after dispelling.
Skip Zenith. Necronyx on Solar makes him change state on his next turn. Use it to cut Zenith short, the state where he is most dangerous, and bring Nadir closer: you need at least three Necronyx to get there from Aurora.
Prepare in Twilight, finish in Nadir. Buff yourself during Twilight. In Nadir, if you can't kill him in one turn, hit him for one turn without Necronyx, taking care not to hurt your allies with the reflect. The next turn, Necronyx with the first character in initiative, then finish him without reflect.
Pyrozomb and Necronyx
From the start of the fight, all monsters cast Pyrozomb: a killed monster is resurrected by the next of its allies to play, and hitting a monster from an adjacent cell triggers a damage reflect.
Necronyx, obtained with Fatal Weapon, can be cast on an enemy every other turn and immediately ends your turn. On a monster, it removes the melee reflect and stops it from hitting once resurrected. On Solar, it is mandatory at the moment of his death.
The solar cycle
Aurora, turns 1 to 3: Solar heals his allies and gains 1,000 AP and MP dodge, you gain 1 AP. Zenith, turns 4 to 6: his allies gain 200 power, you lose 6 range, he becomes Heavy and Unlockable, you gain 2 AP. Twilight, turns 7 to 9: you lose 1 AP. Nadir, from turn 10: he becomes vulnerable, and you lose 2 AP.
A glyph covers the entire edge of the map and hits anyone who starts their turn on it, depending on the state: -300 power in Aurora, 20% erosion in Zenith, -2 AP in Twilight, -4 range in Nadir. Don't end your turns at the edge.
The reflect and the Nadir window
Solar reflects the damage he takes in a square around him: don't hit when an ally is stuck to him. Necronyx in Nadir removes this reflect, but if he plays before dying, he goes back to Aurora and becomes invulnerable again.
In that case, wait for him to come back to Nadir or restart the cycle with Necronyx, one state per turn. Hence the value of preparing a big damage turn to finish him in one or two goes.
The monsters of Solar's Tower
Five level 200 Charred Ones, each weak to a different element, who resurrect each other. The Dedbomb first, then according to your elements. The resistances in red are their weaknesses.
In which order to kill the monsters
- Dedbomb — its Sticky Grenade makes you take 50% more damage, and Old stove protects its allies.
- Hintense — its Heat-and-Run gives it 3 MP and 200 power, and Geoassault erodes heavily at 2 range.
- Dead Key, then Reallinotseen, then Relentliss — according to your elements, hitting the Dead Key with a melee weapon when it is under Magmagic.

Level 200
- 6,000 HP
- 12 AP
- 5 MP
- Resistances (%)
- Earth 16%
- Fire 31%
- Water -24%
- Air 21%
- Neutral 6%
The priority: Sticky Grenade makes you take 50% more damage. Old stove puts a shield on him and his nearby allies, and Thunder Crash Bomb hits an area from very far away while pushing back. Weak to Water.
-
Thunder Crash Bomb4 AP · 12 range ·51 to 60 Air damage · Reveals invisible entities · Pushes back 1 cell
-
Sticky Grenade3 AP · 12 range ·51 to 60 Water damage · Damage taken x150%
Makes you take 50% more damage. Kill the Dedbomb before it sets up the others' hits.
 Old stove
Shield for the Dedbomb and its nearby allies for 2 turns.
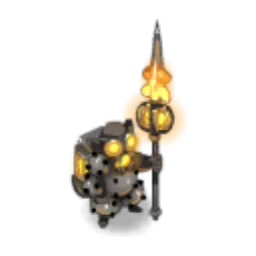
Level 200
- 6,000 HP
- 12 AP
- 5 MP
- Resistances (%)
- Earth 26%
- Fire 21%
- Water 16%
- Air -14%
- Neutral 1%
Heat-and-Run gives him 200 power and 3 MP for a turn, and Geoassault, at 2 range, erodes by 30%. Flamethrower hits in a line up to 5 range. Weak to Air.
-
Geoassault3 AP · 2 range ·51 to 60 Earth damage · 30% Erosion
30% erosion for 2 turns, up to 2 range.
-
Flamethrower4 AP · 5 range ·31 to 40 Fire damage
 Heat-and-Run4 AP · on self · 200 Power ·3 MP
200 power and 3 MP for the Hintense for one turn.

Level 200
- 6,000 HP
- 12 AP
- 6 MP
- Resistances (%)
- Earth 21%
- Fire 16%
- Water 26%
- Air 11%
- Neutral -24%
Volcanic Conjuration hits distant characters and pulls them in by 2 cells. Magmagic halves the damage it takes: hit it with a melee weapon then, or dispel it. Swordburst removes 2 MP in melee. Weak to Neutral.
-
Swordburst4 AP · melee ·61 to 70 Earth damage · -2 MP
-
Volcanic Conjuration4 AP · on self ·51 to 60 Fire damage · Reveals invisible entities · Pulls in 2 cells
Hits characters more than 4 range away and pulls them 2 cells toward the Dead Key.
 Magmagic
The Dead Key and its neighbors lose Lock, but it halves the damage it takes for 2 turns.

Level 200
- 6,000 HP
- 12 AP
- 5 MP
- Resistances (%)
- Earth 11%
- Fire -19%
- Water 31%
- Air 16%
- Neutral 11%
Inexorable Advance makes it invulnerable at range and unmovable for 2 turns: hit it in melee or wait for the effect to end. Shield Charge makes it advance 4 cells and removes Flight from you. Weak to Fire.
-
Semmersword3 AP · melee ·61 to 70 Water damage
 Shield Charge4 AP · 5 range · Advances 4 cells ·51 to 60 Earth damage · -20 Flight
-
Inexorable Advance
Invulnerable at Range and unmovable for 2 turns: hit the Reallinotseen in melee or wait.

Level 200
- 6,000 HP
- 12 AP
- 6 MP
- Resistances (%)
- Earth -19%
- Fire 21%
- Water 6%
- Air 36%
- Neutral 6%
In melee, Blazing Breath halves your heals received, and Magmaxe hits in a line. At range, Sulphision removes 6 range and 200 power up to 12 range. Weak to Earth.
-
Magmaxe4 AP · melee ·61 to 70 Air damage
 Blazing Breath4 AP · melee ·51 to 60 Fire damage · Heals Received x50%
-
Sulphision
Removes 6 range and 200 power up to 12 range.
Preparing your run through Solar's Tower
A level 190 dungeon at 200, very hard, impossible without the Necronyx spell: it stops resurrected monsters from hitting, and Solar must die under its effect. You come here for The Livid Hearts, New Heir, the Totem of Anger and the achievements.
How to enter Solar's Tower
The entrance is in the Sidimote Moors, at the Magmatic Steps, at ; the nearest zaap is the one at Caravan Alley . Access to the Magmatic Steps requires having completed Anger of the Gods. There are three ways to open it: a Key to Solar's Tower (consumed), the keyring if it is registered there, or the automatic group finder.
Crafting the Key to Solar's Tower
It is crafted at a handyman's workshop. Five ingredients drop from the dungeon monsters, at 12%: Reallinotseen Vertebra, Relentliss Tongue, Dedbomb Grenade, Hintense Eye and Tasty Meat. Limpet (fishing), Salikronia and Quisnoa (harvesting) complete the recipe.
| Ingredient | Quantity | Level |
|---|---|---|
 Reallinotseen Vertebra |
2 | 200 |
 Relentliss Tongue |
2 | 200 |
 Dedbomb Grenade |
2 | 200 |
 Hintense Eye |
2 | 200 |
 Tasty Meat |
2 | 200 |
 Limpet |
1 | 200 |
 Salikronia |
1 | 200 |
 Quisnoa |
1 | 200 |
Which team to bring against Solar
Necronyx on several characters. The spell ends your turn and can only be cast every other turn. Having it on several characters avoids being stuck when it's time to kill a monster or Solar, or to push a state change.
A big damage turn. Solar is only vulnerable in Nadir: you need enough to finish him in one or two turns. An Iop Wrath or a Sram network can be prepared during Twilight.
Several elements. Each monster has a different weakness: Water against the Dedbomb, Air against the Hintense, Neutral against the Dead Key, Fire against the Reallinotseen, Earth against the Relentliss. At least two elements noticeably shorten the fight.
The classes that fit well. The Iop and the Sram set up the big Nadir turn, with Wrath and the network. A tank who locks the monsters while you deal with Solar helps for the Special achievement.
The six achievements of Solar's Tower
Each achievement gives 200,000,000 XP and 2 Solar's Brain, Duo doubles the XP; Sidekick gives 75,000,000 XP. Special amounts to killing Solar first, on turn 4 or 5.
| Achievements | Condition | Points | XP |
|---|---|---|---|
 Solar's Tower |
Defeat Solar in this boss's dungeon. | 10 | 200 000 000 |
| Solar (Versatile) |
Defeat Solar in his dungeon by completing the “Versatile” challenge. | 10 | 200 000 000 |
| Solar (Focus) |
Defeat Solar in his dungeon by completing the “Focus” challenge. | 10 | 200 000 000 |
| Solar (Duo) |
Defeat Solar in his dungeon by completing the “Duo” challenge. | 20 | 400 000 000 |
| Solar (Special) |
Defeat Solar in his dungeon by completing the “Death Is Patient” challenge. | 10 | 200 000 000 |
| Solar (Sidekick) |
Defeat Solar in his dungeon by completing the “From Beyond the Grave” challenge | 5 | 75 000 000 |
Special: Death Is Patient
No enemy, except Solar, may enter the Necronyx state before Solar's death. Necronyx on Solar on turns 1, 2 and 3: he is in Nadir, and therefore vulnerable, from turn 4. Lock the monsters with a tank, leave Solar free, and wear the monsters down in the meantime. On turn 4, Necronyx and kill if your damage is enough; otherwise, wear him down as much as possible and finish him on turn 5 under Necronyx. A resurrected Solar loses his Necronyx: reapply it before killing the monster that raised him, kill that one first, then go through the others.
Focus
An enemy you have attacked must be finished off before another one is attacked. Pick a target right from the start, the Dedbomb for example, and deal nothing to the others: no area effect may hit a second enemy before the target dies. Remember its Necronyx before finishing it off.
Versatile
Each ally must use the same action only once during their turn. Give each character a clear role and plan your turns: never the same spell or weapon twice in a turn, positioning spells included.
Duo
Two characters maximum, fewer than 40 turns. Two characters who control the distance and concentrate their damage, with a big turn ready for Nadir: resurrections and the solar cycle make every lost turn costly.
Sidekick: From Beyond the Grave
At least four characters, including an eligible Sidekick (Koksiks, Kubitus, Kalkaneus, Ektope or Hichete). Keep the Sidekick alive, then apply the usual strategy on Solar and the Dedbomb.
Drops and loot of Solar's Tower
Base in-game rates, before Prospecting bonuses.
On Solar
 Solar's BrainMiscellaneous Resource12 %
 Nougat Rabmarac BarTreat6 %
 Bag of LemonsContainer3 %
- Charred Ones' BloodLiquid2 %
 Al Howin GobtubbyCeremonial pet1 %
 Paragon of PowerMain quests0,7 %
 Tasty CarrionMeat0,6 %
On the henchmen of Solar
- Tasty MeatMeat · Relentliss12 %
- Relentliss TongueMiscellaneous Resource · Relentliss12 %
- Hintense EyeEye · Hintense12 %
 Dead Key ToothBone · Dead Key12 %
- Dedbomb GrenadeCombat Resource · Dedbomb12 %
- Reallinotseen VertebraBone · Reallinotseen12 %
- Charred Ones' BloodLiquid · Relentliss2 %
- Bag of LemonsContainer · Relentliss1 %
Solar's Tower as a guild Expedition
The tower exists in two guild Expeditions, Audacious and Valour, each with its own modifier:
- Audacious: at the start of each of his turns, Solar gives all fighters a bonus depending on his state, which cannot be dispelled: 1,000 shield in Aurora, 300 power in Zenith, 3 AP in Twilight, 3 MP in Nadir. When the state changes, the bonus of the previous state applies;
- in Audacious, kill all the monsters first, Dedbomb first, skip Zenith with Necronyx, then apply Necronyx in Twilight and finish Solar on the following turn to take advantage of the 3 AP;
- Valour: on each of his turns, Solar places a glyph around each character and summon, whose shape and effect change with his state: -300 power in Aurora, erosion in Zenith, -2 AP in Twilight, -4 range in Nadir, and damage if you start your turn there;
- these glyphs stack and disappear at each state change: use Necronyx a lot to keep the cycle turning, play with few characters, summon little and get your allies out of the glyphs before their turn;
- in both, never forget Necronyx on Solar before finishing him, preferably early in the turn so you can hit in melee without reflect.
Where is Solar's Tower?
At the Magmatic Steps, in the Sidimote Moors, at . The nearest zaap is the one at Caravan Alley ; access to the area requires Anger of the Gods.
At what level should you do Solar's Tower?
Level 190 minimum, 200 recommended. Solar is level 220, with 13,000 HP, and his monsters are level 200.
Is the Necronyx spell mandatory?
Yes, it is essential. You get it with the quest Fatal Weapon; without it, resurrected monsters keep hitting, and Solar kills the whole team when he dies.
Why does Solar take no damage?
He is invulnerable in Aurora, Zenith and Twilight. He only becomes vulnerable in Nadir, from turn 10, or earlier if you make him cycle through his states with Necronyx.
How do you beat Solar?
Kill the monsters under Necronyx, Dedbomb first, then finish Solar in Nadir. Apply Necronyx to him before the final blow, with the first character in initiative.
Which monster should you target first in Solar's Tower?
The Dedbomb, whose Sticky Grenade makes you take 50% more damage. Apply Necronyx to it before finishing it off.
Which quest should I do in Solar's Tower?
The Livid Hearts, with Voice of the Twelve in the Realm of the Gods. After the victory, go up to the top of the tower and talk to God Sram before leaving.
Can Solar's Tower be done with two characters?
Yes, it is even an achievement, in under 40 turns. You need two characters who control the distance and a big damage turn ready for Nadir.




Comments
No comments yet. A tip, or a detail about this page? Be the first.