 2 × Skt-Zo Leg
Dungeon Nolifis Island
Spirit Abode
Level 170 dungeon on Nolifis Island, at [39,-44]: five rooms and a boss, Koumiho, who is invulnerable as long as her two flames live. Quests to start, Slayspirit Lantern, strategy, monsters, achievements and loot.
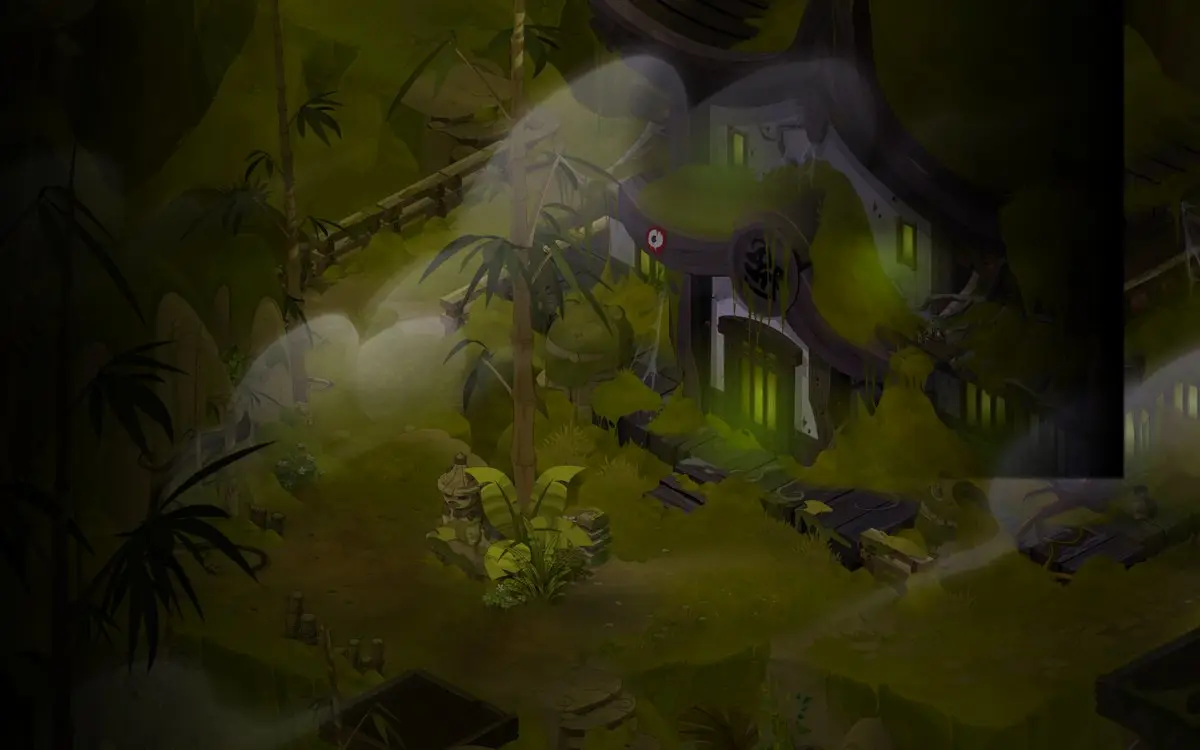
Quests linked to the Spirit Abode
Two level 170 quests involve Koumiho: Requiem for a Yokai and Feisty Spirits. Both require you to defeat her, then talk to her in the dungeon: accept them before entering, a fight won without the quest in progress doesn't count.
Make sure to enter the first room, otherwise the dungeon discovery isn't validated. Then defeat Koumiho in a single fight, show her Inali's Brooch and take a flame from her Kitsounebi to the Shogun.
- Start
- Shogun Tofugawa, Nolifis Cemetery
- Prerequisites
- Level 150 and Cursed Disappearance
 Broken Mask3 masks and 28,081,000 XP
Prepare 12 Kitsous' Delight before entering. Defeat Koumiho to get her attention, strike a deal with her, then hand the dishes to Jibakurei at and keep Inali's Will until you return.
- Start
- Firebrand Spirit, Dark Vlad's Labyrinth
- Prerequisites
- Level 150 and Where There's Smoke...
 D'vine Tingy6 D'vine Tingy and 33,697,200 XP
During events
- Tiwaapi Simulation
Tiwaapi may designate Koumiho as the guardian to defeat. Incarnam, .
The loot is useful elsewhere too: So Far, So Close (level 170) rewards 5 Madura Eye and 5 Kapokaza, two ingredients of the key.
The 5 rooms of the Spirit Abode
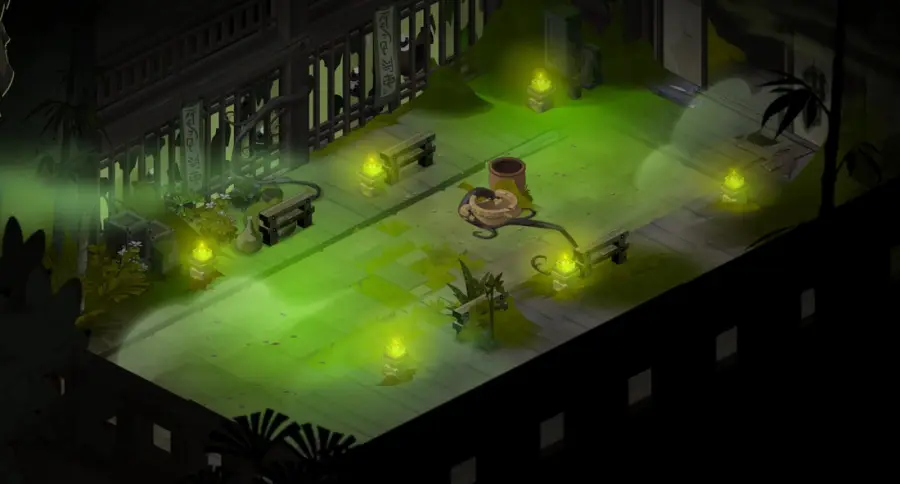
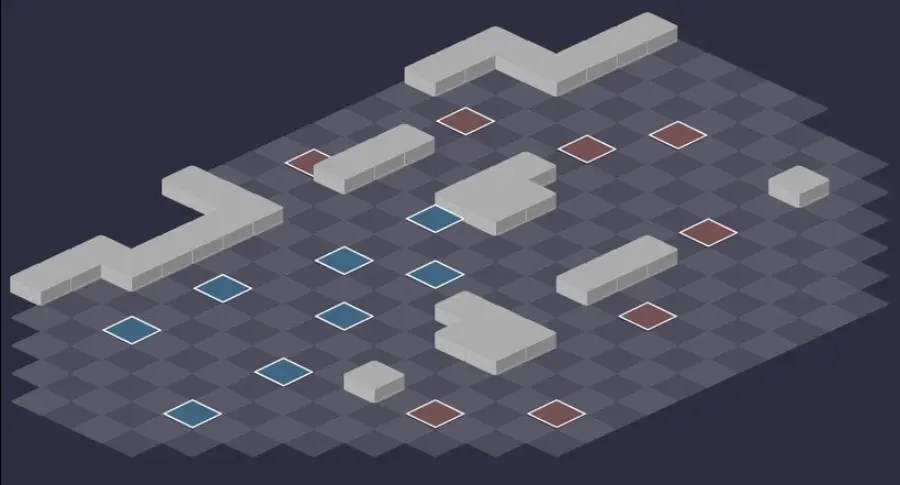
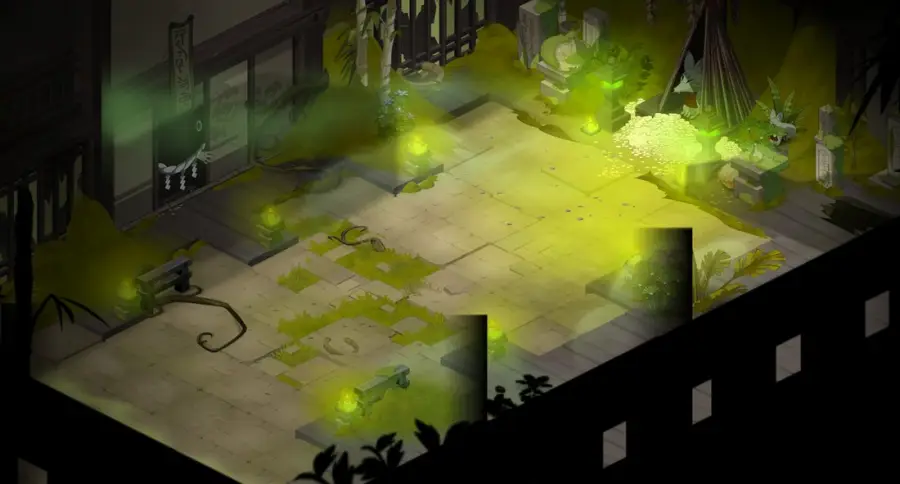
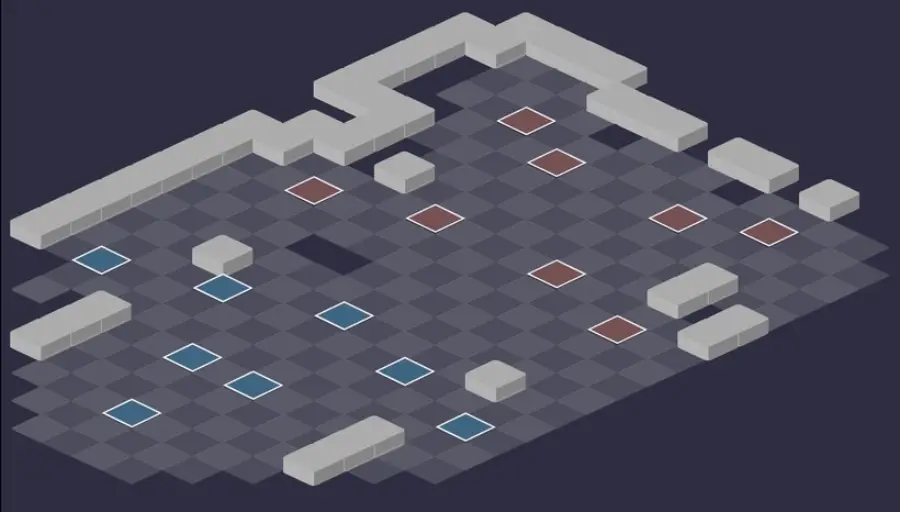
Five fights in a row, Koumiho in the last room. The Slayspirit Lantern is useful from the first one: it removes the monsters' troublesome states. For each room: the scenery, then the tactical view with the starting cells (blue: you, red: the monsters). Tap an image to enlarge it.
Room 1
Room 2
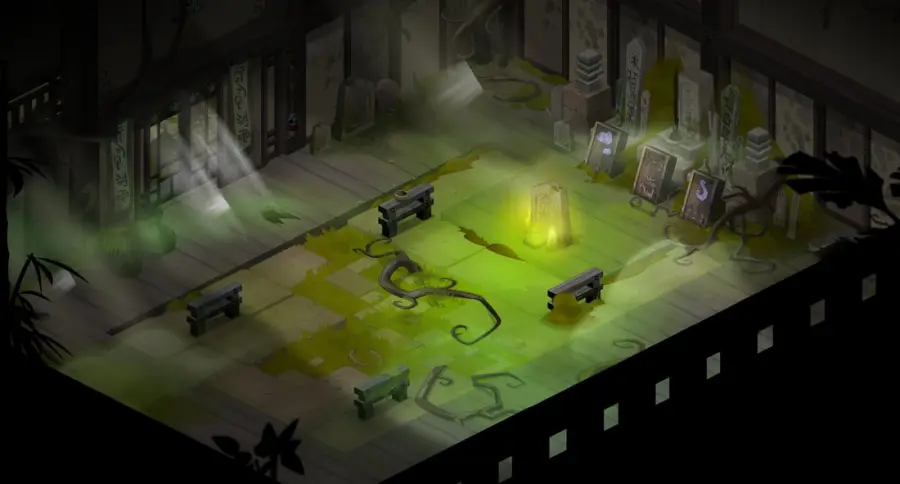
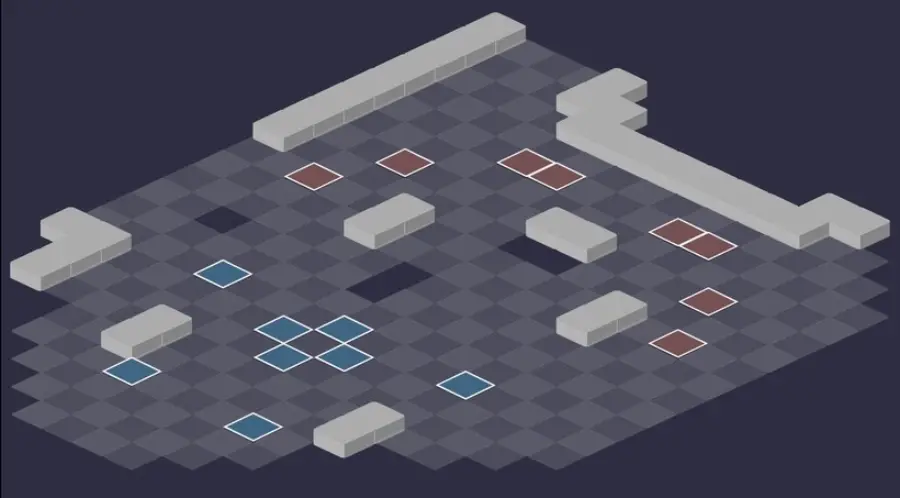
Room 3
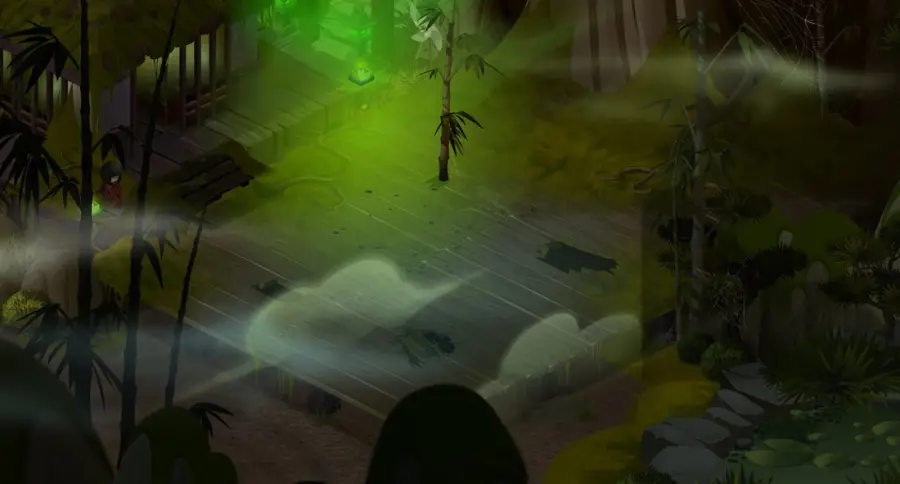
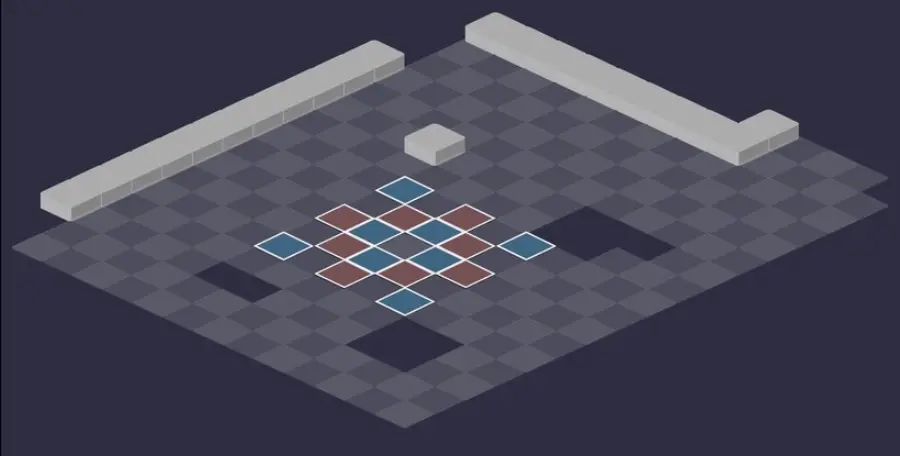
Room 4
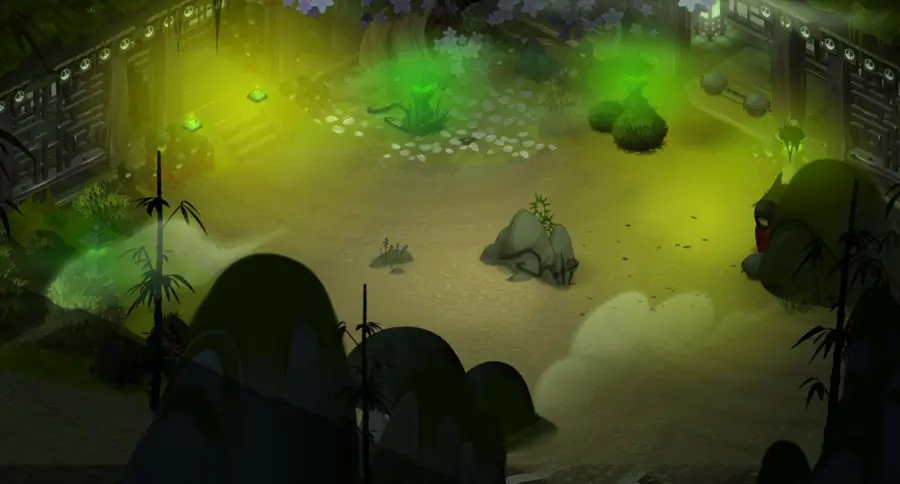
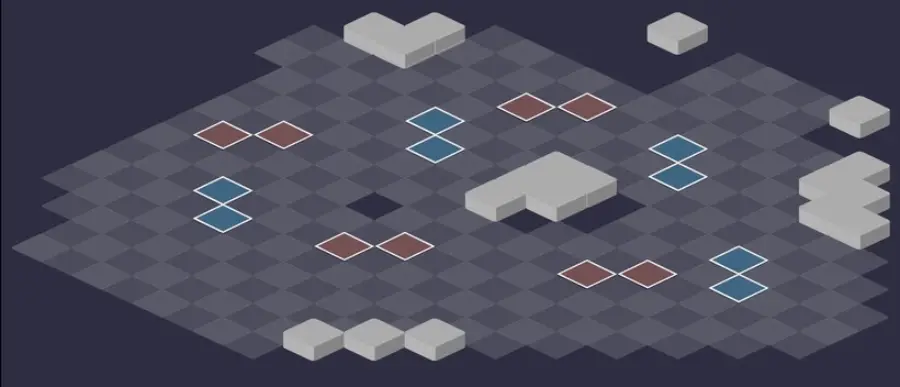
Room 5 — Koumiho
Koumiho, her two Kitsounebi and her acolytes. She is invulnerable at the start of the fight: the strategy is detailed just below.
Defeat Koumiho
Only one Kitsounebi killed
If you kill one Kitsounebi without the other before Koumiho's turn, she deals a very powerful Air hit to whoever killed it, recognizable by the skull above their head, and the dead flame is summoned again. Only start finishing them off if both will fall in the same turn.

Level 170
 8,800 HP
 14 AP
 7 MP
- Resistances (%)
 Earth -11%
 Fire 23%
 Water -6%
 Air 12%
 Neutral 19%
Invulnerable at the start of the fight, she only gets in the way: No Rahge removes RNG, MP and Intelligence, Hoshi No Tama heals her allies. Once Vulnerable, she gains 20% melee damage but all her spells have a short range. Weak Point: Earth; Fire is what she withstands best.
 Hoshi No Tama
Heals an ally for 20% of their HP: quickly kill the acolytes you wear down.
 No Rahge4 AP · 10 RNG · -3 Range ·-4 MP · -200 Intelligence · 200 Intelligence
Removes 3 RNG, 4 dodgeable MP and 200 Intelligence for one turn, in a line or diagonal up to 10 RNG.
 Kitsounebi Aura4 AP · 8 RNG ·15 to 17 Fire damage · 15 to 17 Air damage · 15 to 17 Earth damage
Whacks the target and its neighbors within a radius of 2, in three elements, twice per turn: don't stay grouped.
 Koumiho No Kaze
Summons a monster from the area, invulnerable and skipping its first turn. Recast as soon as the summon dies.
 Supāku3 AP · 4 RNG ·10 to 11 Air damage · Summons: Kitsounebi
 Norok3 AP · 4 RNG ·27 to 31 Fire damage · 27 to 31 Water damage · 30 to 35 Fire damage · 30 to 35 Water damage · Symmetric teleportation
Two elements, then Koumiho teleports symmetrically relative to her target.
-
Kaiyo4 AP · 2 RNG ·50 to 58 Earth damage · Earth Damage: 15% of the target's HP
Whacks twice in melee or nearly so: stay at a distance.
 Retreat4 AP · on self · Makes the target invisible ·3 MP · Pacifist State · Heals: 15% of max HP · Shield: 30% of max HP · 250 Power
At 50% HP or less at the start of the turn: invisible and pacifist, then heal, shield and 250 Power that can't be dispelled. An Unhealable state blocks the heal, not the shield.
The four-step strategy against Koumiho
Monsters first. As long as she is invulnerable, Koumiho is no threat, but her Kitsounebi poison you from afar. Kill her acolytes first, in the order given below, removing their states with the Slayspirit Lantern.
Both flames in the same turn. With the acolytes dead, prepare the unlock: both Kitsounebi must die in the same turn, before Koumiho plays again. You can wear them down over several turns, then finish them off together. The Lantern removes 20% of their current HP.
Vulnerable Koumiho. She stays that way until the end of the fight. Hit her while staying at a distance: Kaiyo, Norok and Supāku don't reach far. Kill her summon only if it gets in your way; Koumiho No Kaze replaces it right away.
Counter Retreat. If she starts her turn at 50% HP or less, she disappears then comes back healed, with a shield and 250 Power. Stop at 55 or 60% of her HP, let her play, then kill her on the next turn. Otherwise, surround her on the turn she drops below 50% so she can't flee, and finish her off before she plays again.
Locate the Kitsounebi
Visible on the first turn, the flames then become invisible. Each turn, a Kitsounebi places a blue glyph on its starting cell: walk into it, and Koumiho switches places with it. The flame is then on the cell Koumiho was occupying.
The Slayspirit Lantern, for its part, makes visible until their next turn the Kitsounebi caught in its area of radius 3, and deals them 20% of their current HP as Water damage. Also anticipate their movements to know where they will end their turn.
The Slayspirit Lantern
This special spell can be cast in two ways. On yourself, it applies its effects in a radius of 3 around you. On a cell adjacent to you, it summons a lantern that places a glyph of radius 3 as long as it lives; nobody else can recast the spell until then. Hit the lantern in melee to pick it up and recast right away; if it is killed at range or by a monster, you have to wait a full turn.
On monsters: it kills the Bakazako's copies, makes the Kaonashi visible and stops it from casting Noroi, removes the Hitomi state from the Madura once it has cast Nozomi, changes the orientation of the Onigori's glyph and removes two Imposing Gaze boosts from the Tsume-Bozu per effect.
The monsters of the Spirit Abode
Five level 162 Yokai, each with a state that the Slayspirit Lantern can remove. Resistances in red are their weaknesses. With more than four characters, start with the Tsume-Bozu, which grow stronger every turn.
In which order to kill the monsters
- Madura — it heals and protects its allies; if its damage reflection costs you too much, wait for its Nozomi and remove it with the Lantern.
- Onigori, then Bakazako — take it first if the Madura reflects too much, while it casts Nozomi.
- Tsume-Bozu — it grows stronger every turn it sees you, and moves to the front with more than four characters.
- Kaonashi — not very dangerous as long as you don't kill its piles of gold.

Level 162
- 4,700 HP
- 10 AP
- 5 MP
- Resistances (%)
- Earth -16%
- Fire 18%
- Water -10%
- Air 9%
- Neutral 13%
From the start of the fight, Hitomi reduces its damage taken and reflects part of the damage received. Nozomi passes this state to an ally, with whom it switches places on every hit: place the Lantern on both to remove it. Furue symmetrically teleports everything around it. Weak to Earth and Water.
 Nozomi
Passes Hitomi to an ally; the Madura and that ally switch places each time they take damage. The Lantern on both removes the state.
 Zudzuki Bozu
 Furue4 AP · on self ·54 to 62 Earth damage · Symmetric teleportation
Teleports all characters in the area symmetrically relative to the Madura.
 Nozomi O Kanaeru4 AP · 5 RNG · Heal: 12% of max HP ·2 MP
Heals an ally and gives them 2 MP for one turn.

Level 162
- 5,300 HP
- 10 AP
- 5 MP
- Resistances (%)
- Earth 17%
- Fire -7%
- Water 24%
- Air 15%
- Neutral -15%
At the end of its turn, Kimon places a glyph along the entire length of the map; depending on its color and direction, it buffs everyone, heals itself, shields itself or gains 3 MP. The Lantern changes its orientation. At-oni makes its target unhealable. Weak to Neutral.
 Gulosity4 AP · on self ·21 to 24 Water steal · 21 to 24 Earth steal
 Onnichiwa4 AP · 2 RNG ·18 to 21 Air damage · 18 to 21 Fire damage · Triggers: Onichiwa
 At-oni
Makes the target unhealable for one turn, and the Onigori unmovable.
 Kanabō-Jutsu3 AP · 3 RNG ·12 to 14 Fire damage · 12 to 14 Earth damage
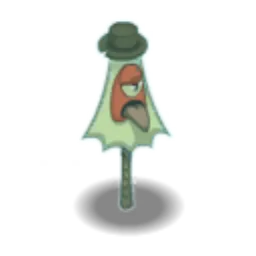
Level 162
- 4,300 HP
- 10 AP
- 4 MP
- Resistances (%)
- Earth 11%
- Fire 16%
- Water 21%
- Air -18%
- Neutral -12%
Each turn, it summons a copy that shares its damage: the Lantern kills them all at once if they are in its area. Hogo places a glyph that reduces ranged damage by 60%, canceled if you push or pull it. Weak to Air and Neutral.
 Hogo4 AP · on self · 4 Range ·-100 MP · Hogo State · Changes appearance
Square glyph that reduces ranged damage by 60% for all monsters inside, 2 turns. Pushing or pulling the Bakazako cancels it.
 Kabā
The Bakazako teleports and gives a shield to the monsters around its arrival cell.
 Suimin Mahi3 AP · 4 RNG ·51 to 60 Earth damage · Gravity State · -3 AP
Removes 3 dodgeable AP and applies Gravity for one turn.
 Kazapetuous4 AP · 4 RNG ·39 to 45 Water damage

Level 162
- 4,300 HP
- 10 AP
- 4 MP
- Resistances (%)
- Earth -12%
- Fire 22%
- Water 11%
- Air -16%
- Neutral 13%
From turn 2, Imposing Gaze gives it RNG, damage and HP for each character in its line of sight, up to three times, then makes it heavy and unmovable. Slurp pulls 5 cells, Yokaspiration brings you into contact. Cut off its line of sight. Weak to Air and Earth.
 Slurp
Pulls 5 cells, in a line, twice per turn.
 Yokaspiration3 AP · 3 RNG ·46 to 54 Water damage
Whack the target and pulls it into contact with the Tsume-Bozu.
 Heavy Tongue4 AP · 3 Range ·32 to 38 Earth damage · -2 MP
Whacks in a square and removes 2 dodgeable MP.
-
Bozeye
Level 162
- 5,500 HP
- 10 AP
- 5 MP
- Resistances (%)
- Earth 15%
- Fire 12%
- Water -5%
- Air -10%
- Neutral 19%
It summons a pile of gold next to a character. Don't kill it: it would become invisible with 4 more MP, and Noroi could steal a big share of your HP. Left alone, it hits for little. The Lantern reveals it. Weak to Air.
 Noroi5 AP · melee · Living Target No Noroi State ·Neutral Damage: 75% of the target's HP · Target No Noroi State · Triggers: Kaonashi
Huge Neutral life steal, only possible if the target has killed a pile of gold and the Kaonashi is invisible.
 Kaonashi No Numa4 AP · 2 RNG ·47 to 57 Air damage · 65 to 75 Air damage · Triggers: Kaonashi
 Kara No3 AP · 2 RNG · -20% Vitality ·28 to 32 Water damage
Removes 20% vitality from the target for 2 turns, up to three times per turn.
-
Shunshin No Shisui
The Kaonashi switches places with a pile of gold, which dies, up to 12 RNG with line of sight.
Preparing your run through the Spirit Abode
A dungeon for level 160 to 170 teams that can handle forced placements and invisible enemies. People come for Requiem for a Yokai and Feisty Spirits, the achievements and Koumiho's soul, using a Soul Stone for Huge Souls (captures up to level 200).
How to enter the Spirit Abode
The entrance is in Mount Tombs, on Nolifis Island, at , right next to the Mount Tombs zaap . Nolifis is reached by boat from . You need a Spirit Abode Key (consumed), the key ring if it is registered there, or the automatic group search.
Crafting the Spirit Abode Key
It is crafted at a handyman. Five ingredients drop from the dungeon's Yokai, at 19%: Madura Eye, Kapokaza, Kaokurimono, Worn Lantern and Lean Meat. Cod (fishing), Belladonna and Corn (harvesting) complete the recipe.
| Ingredient | Quantity | Level |
|---|---|---|
 Madura Eye |
2 | 170 |
 Kapokaza |
2 | 170 |
 Kaokurimono |
2 | 170 |
 Worn Lantern |
2 | 170 |
 Lean Meat |
2 | 170 |
 Cod |
2 | 170 |
 Belladonna |
3 | 160 |
 Corn |
3 | 160 |
Which team to bring against Koumiho
The Slayspirit Lantern. Not mandatory, but strongly recommended: without it, the Madura's reflections, the Bakazako's copies and the Tsume-Bozu's boosts stay in place. At least one character must have it.
A mobile team. The Madura's swaps, the Tsume-Bozu's pulls and the Bakazako's teleports punish tight groups. MP removal and positioning keep the monsters away from you.
Damage in a single turn. You need to kill two flames in the same turn, then take Koumiho from 55% to death without letting her cast Retreat. A spell that makes her unhealable helps if your damage falls short.
The comfortable classes. The Pandawa places vulnerabilities on the Kitsounebi and carries the monsters, the Rogue waits for them with its wall of bombs: the most comfortable duo in the dungeon. Summoners can surround Koumiho when she drops below 50%.
The six achievements of the Spirit Abode
Each achievement rewards 28,081,000 XP and 2 Blue Embers, Duo doubles the XP; Sidekick rewards 42,121,500 XP. First and Focus can be completed in the same fight, using the First method.
| Achievements | Condition | Points | XP |
|---|---|---|---|
 Koumiho (Sidekick) |
Defeat Koumiho in her dungeon while completing the “From Beyond the Grave” challenge | 5 | 42 121 500 |
| Koumiho (Special) |
Defeat Koumiho in her dungeon while completing the “Don't Let There Be Light” challenge. | 10 | 28 081 000 |
| Spirit Abode |
Defeat Koumiho in this boss's dungeon. | 10 | 28 081 000 |
| Koumiho (Focus) |
Defeat Koumiho in her dungeon while completing the “Focus” challenge. | 10 | 28 081 000 |
| Koumiho (First) |
Defeat Koumiho in her dungeon while completing the “First” challenge. | 10 | 28 081 000 |
| Koumiho (Duo) |
Defeat Koumiho in her dungeon while completing the “Duo” challenge. | 20 | 56 162 000 |
First
Koumiho must be finished off first. Kill both Kitsounebi on turn 2. Buff yourselves on turn 1, apply a Pandawa's vulnerabilities, wear down the flames and keep the monsters at a distance. The Lantern does most of the work: as soon as it is summoned, another character hits it in melee to pick it up and recast it right away. Koumiho becomes vulnerable on her turn 3: kill her in one go, or leave her at 55 or 60% to finish her off on the next turn.
Focus
When an enemy is attacked by an ally, it must be finished off before another enemy is attacked. The Lantern's damage doesn't make Focus fail. Kill the Bakazako's copies with it before striking: their shared damage would make the achievement fail. For the Kitsounebi, lower both with the Lantern, then focus all your hits on one before touching the other, in the same turn. In the beta, hitting another entity after killing a first Kitsounebi made Focus fail; the problem may have been fixed.
Special: Don't Let There Be Light
No ally may use the Slayspirit Lantern spell. Without the Lantern, it's impossible to reveal the flames or remove the monsters' states. Kill both Kitsounebi on turn 1, while they are visible, then Koumiho on turn 2. The remaining monsters can then be killed without much trouble, but plan for enough HP to withstand the Madura's reflection.
Duo
Two characters maximum, fewer than 20 turns. A tank Pandawa and Rogue duo makes it easy: wall of bombs, and the Pandawa throws the monsters into it, the Madura included once its Nozomi is removed. If the Rogue lacks damage, save Koumiho for last: throw both Kitsounebi into the wall on the same turn, then her on the next turn. With another team composition, stay at a distance, kill the monsters then the two flames, and save Koumiho for last.
Sidekick: From Beyond the Grave
Four characters minimum, including an eligible companion: Koksiks, Kubitus, Kalkaneus, Ektope or Hichete. The fight plays as usual: keep the companion away from the Tsume-Bozu's pulls and the Madura's swaps, and keep them within healing range.
Drops and loot of the Spirit Abode
Base in-game rates, before Prospecting bonuses.
On Koumiho
 Blue EmbersMiscellaneous Resource19 %
 Nougat Rabmarac BarTreat6 %
 Fortunawa CookieTreat5,1 %
 RockaiStone3,24 %
 Bag of ResinContainer3 %
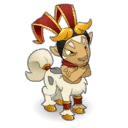 LilcentorCeremonial pet1,55 %
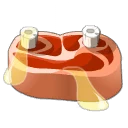 Lean CarrionMeat0,97 %
 Al Howin GobtubbyCeremonial pet0,7 %
 FuyutoraCeremonial pet0,155 %
 MoonotaurCeremonial pet0,155 %
 RataldaCeremonial pet0,155 %
 WingepigCeremonial pet0,155 %
 TutuyutuCeremonial pet0,155 %
 SerporCeremonial pet0,155 %
 KinryuCeremonial pet0,155 %
On the henchmen of Koumiho
- Lean MeatMeat · Bakazako19 %
- KapokazaGarment · Bakazako19 %
- KaokurimonoPrecious stone · Kaonashi19 %
- Madura EyeEye · Madura19 %
- Broken MaskGarment · Onigori19 %
- Worn LanternMiscellaneous Resource · Tsume-Bozu19 %
- RockaiStone · Bakazako3,24 %
- Fortunawa CookieTreat · Bakazako1,7 %
- Bag of ResinContainer · Bakazako1 %
Soul capture and Slayspirit Lantern
Capturing the soul of Koumiho
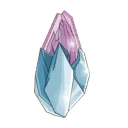 One Soul Stone for Huge Souls (captures up to level 200) is enough for Koumiho, who is level 170. Throw it when she is vulnerable, alone and weakened.
| Stone ingredient | Quantity |
|---|---|
 Majestic Soul Splinter |
10 |
 Alteration Potion |
2 |
Obtain the Slayspirit Lantern
 Head to Danaba Retzu, the Spirit Slayer, at . Say you want to join the battle against the ghosts, then give it 4 Samurai Ghost Fabric, which drops from the monsters of Nolifis Cemetery. The spell, optional here, is essential for Shogun Tofugawa's Tomb.
Where is the Spirit Abode?
In Mount Tombs, on Nolifis Island, at , next to the zaap . Nolifis is reached by boat from .
What level should you be to do the Spirit Abode?
Level 160 minimum, 170 recommended. Koumiho is level 170, her Yokai level 162.
Which quest should you do in the Spirit Abode?
Requiem for a Yokai and Feisty Spirits. The first starts with Shogun Tofugawa , the second of the Firebrand Spirit ; both involve Koumiho.
How do you make Koumiho vulnerable?
Kill its two Kitsounebi in the same turn, before she plays again. She then stays vulnerable until the end of the fight.
How do you find the invisible Kitsounebi?
Walk into a Kitsounebi's blue glyph: Koumiho switches places with it and reveals its cell. The Slayspirit Lantern also makes them visible within its area.
Is the Slayspirit Lantern mandatory?
No, but it simplifies the dungeon a lot. Danaba Retzu teaches it to you in exchange for 4 Samurai Ghost Fabric.
Which monster should you target first in the Spirit Abode?
The Madura, if its damage reflection doesn't bother you. Otherwise, start with the Onigori or the Bakazako; with more than four characters, start with the Tsume-Bozu.
What to do when Koumiho casts Retreat?
It's better to prevent it: stop at 55 or 60% of her HP, then kill her on the next turn. An Unhealable state blocks her heal, but not her shield.
Which stone should you use to capture Koumiho?
One Soul Stone for Huge Souls (captures up to level 200). Koumiho is level 170.
Can the Spirit Abode be done with two characters?
Yes, it's the Duo achievement, in fewer than 20 turns. A tank Pandawa and a Rogue preparing a wall of bombs make it easy.



Comments
No comments yet. A tip, or a detail about this page? Be the first.