 2 × Skt-Zo Leg
Quest Old Albuera
By the Heritage that Unites You
Level 200 quest on the Archipelago of Valonia, with Nascherite at [33,-84]: find Gidrud, Godferry of Hobkettle and Edgard Dragon Heart, three guardians of the Oath spears. All the steps, dialogue choices, resources and fights.
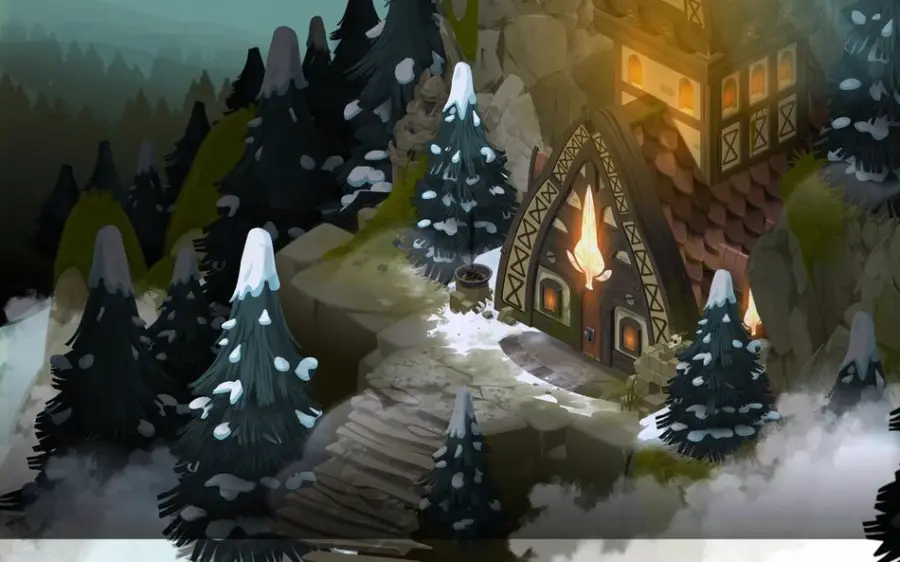
What to prepare
Two resources to gather for the apothecary Rapacelsus, and three quest ingredients to win in combat. Mainly plan for the fight against Godferry of Hobkettle, to be done solo and very difficult.
 10 × Hempharvestable resource
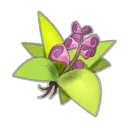 10 × Sageharvestable resource
Quest Resources, obtained along the way
 1 × Enchanted Belladonnaon Ephedrya at [24,-81], after a fight
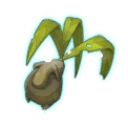 1 × Enchanted Mandrakeon Ephedrya at [24,-83], after a fight
 1 × Pure Ereboria Waterin the Ereboria galleries at [34,-72], after a fight
The 30 quest steps
-
1Talk to Nascherite
Dialogue · Nascherite
In the Oath room, Nascherite asks you to gather the seven Oath spears. You take charge of three of them: Muspel, guarded by the Jarl Gidrud; Sigel, that of Godferry of Hobkettle, who no longer sends word; Elding, that of the old Bontarian Edgard Dragon Heart. She herself brings in Ashura and her spear Ydra, looks for Namuna and her spear Jormun, who have disappeared, and Noa, Ilyzalle's spear, will be retrieved last. She places her own spear, Mani, on the receptacle.
Nascherite · [33,-84] -
2Go see Gidrud
Dialogue · Gidrud
Explain to Gidrud that Nascherite needs her and her spear. She can't leave: Raccooper accuses the colony of poisoning the forest water, the colony threatens to remove her, and her right-hand man Thorbjarn has disappeared. She entrusts Ofsi to you so you can pick up his trail.
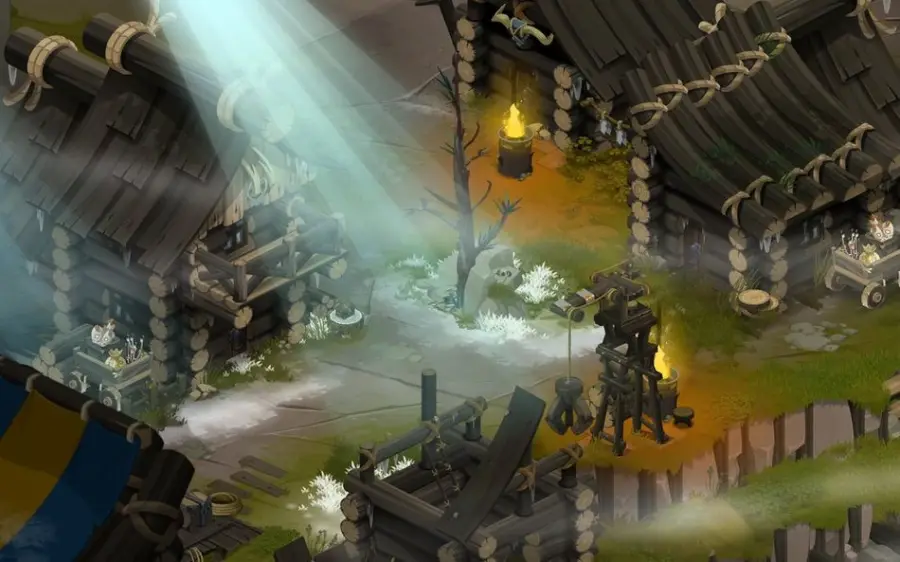
Gidrud · [36,-77] -
3Follow Ofsi
Movement
Leave the hut and listen to Ofsi, who has picked up a trail. Then follow him from map to map and listen to him at each stop. At , he discovers a passage to the heart of the forest: you are teleported there.
- listen to Ofsi at the exit of the hut
- listen to Ofsi, who keeps following the trail
- listen to Ofsi again: he finds the passage
Dialogue
- “Watch the trankilouve head north of the colony”
- “Watch the trankilouve head into the forest to the north”
Follow Ofsi · [36,-77] 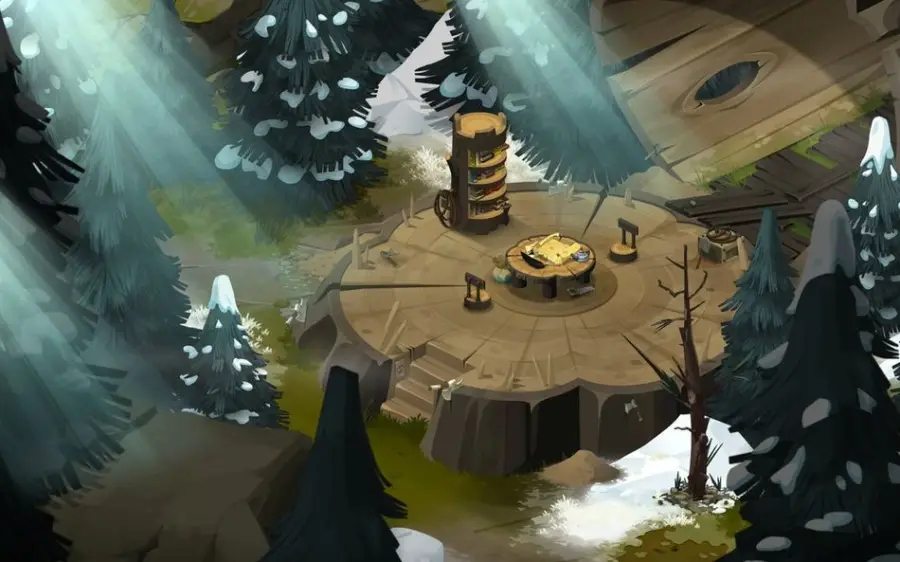
Follow Ofsi · [40,-84] -
4Defeat the servants of Corruption
Combat · Canker of Corruption
In the heart of the forest, Thorbjarn fights monsters of corruption, then collapses, exhausted or poisoned. Talk to the Canker of Corruption to take over: the fight pits 1 Scourge of Corruption, 1 Canker of Corruption and 2 Bearer of Corruption against you.
Dialogue
- “Attack these unholy creatures”
The fight is done solo, with a companion if you wish.
 Canker of Corruptionfight · level 200 · 8,200 HP · 12 AP · 6 MP
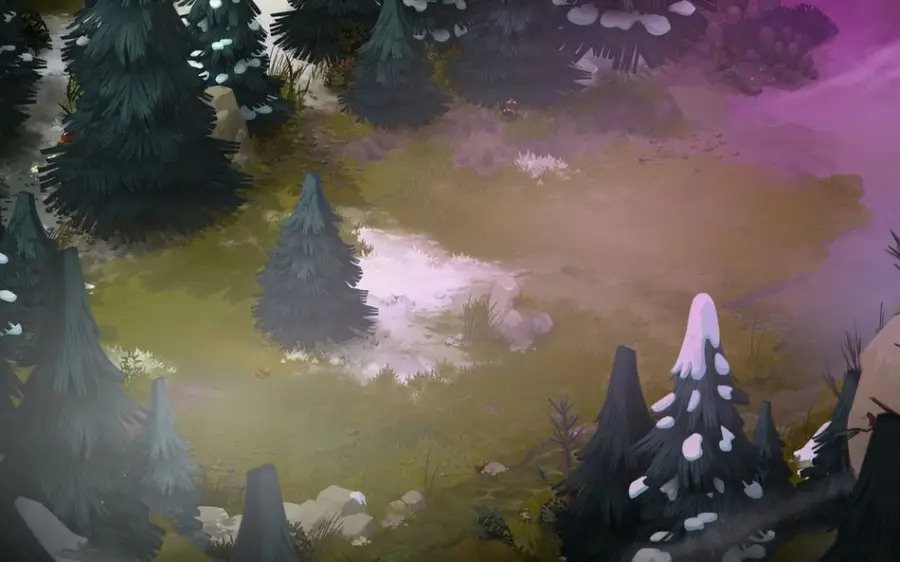
Canker of Corruption · [38,-84] -
5Check in with Gidrud and Thorbjarn
· Gidrud
Talk to the Canker of Corruption, still standing: Gidrud bursts in and splits its skull with Muspel. Talk to Gidrud, then listen to Thorbjarn and Gidrud in turn. When Thorbjarn wakes up and thanks you, point at Gidrud: she is the one he should thank. He admits feeling responsible for the corruption: 17 years ago, he got in the way of Magni, the former bearer of Muspel, who had to cut down the infected great tree.
-
6Listen to the argument in the Ginth hut
· Gidrud
Go back to the hut and talk to Gidrud: she explains to the assembly that the common enemy is the corruption of the forest, not the animals. Thorbjarn restores silence and backs her up. Listen to Gidrud: she entrusts her role as Jarl to Thorbjarn for the time of her absence and gives you advice for finding Godferry.
-
7Go see Yvain Dyktev
Dialogue · Yvain Dyktev
Go up to the floor of the Astrub council tower, into the room on the left. Yvain Dyktev feigns ignorance and advises you to give up your search, then points you to his brother in arms Fallanster.
Dialogue
- “Ask if he knows where to find the Sun Knight”
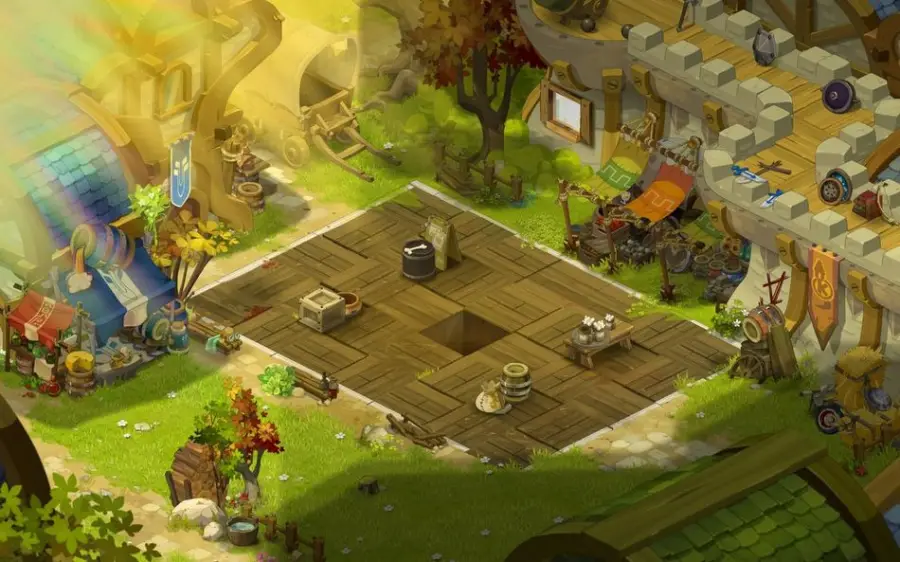
Astrub council tower · [4,-19] -
8Go see Fallanster
Dialogue · Fallanster
Go into the room on the right and talk to Fallanster. He can't tell you anything: the whole order seems sworn to secrecy about Godferry of Hobkettle.
-
9Question the Astrub Knights
Dialogue
Talk to the three knights in the rooms: Preoccupied Astrub Knight, Simple-Minded Astrub Knight and Exemplary Astrub Knight. After the third, someone slips a crumpled paper into your pocket.
 Crumpled Notereceived
-
10Read the crumpled note
Open the Crumpled Note by clicking on it. Someone agrees to talk to you about Godferry, but far from Astrub, and arranges to meet you.
-
11Go to the rendez-vous spot
Movement · Fallanster
Meet at and click on the boat. Fallanster appears: Godferry is imprisoned by the kingdom of Amakna for fomenting a coup, urged on by the nobleman Ari Stoker. Fallanster believes he was manipulated and lets you go talk to him, because Godferry refuses to speak to him.
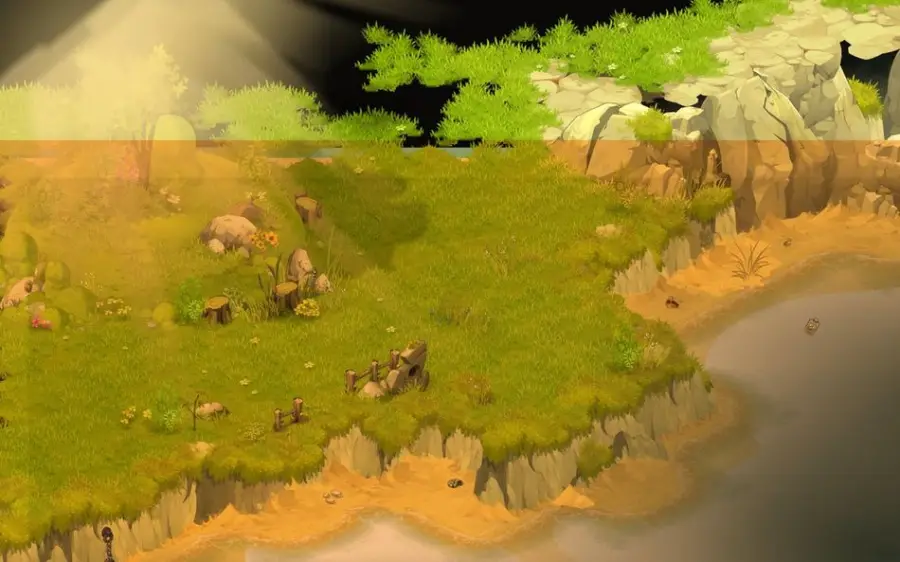
Boat at the rendez-vous spot · [10,-10] -
12Meet Godferry in the abandoned fort
Dialogue · Godferry of Hobkettle
Click on the boat again to reach the abandoned fort, which is unguarded. Enter through the door in front of you, then go through the gate on the right. Godferry is tied to the floor, his spear Sigel chained to a pedestal. Vouch for him: he reveals that Ari Stoker's letters are hidden in the globe in the order's room.
-
13Find the hidden documents
Movement
Go back to the room of the Astrub Knights' order and click on the globe, on the left, to pick up the letters.
 Dusty Lettersreceived
Astrub council tower · [4,-19] -
14Warn Fallanster
Dialogue · Fallanster
Leave the room and go to the council room, on the right, to hand the letters over to Fallanster. He arranges to meet you at the prison to have Godferry freed.
- 1 × Dusty Lettersto hand over
-
15Free the Sun Knight
Go back to and take the boat again to the fort. Cross the yard and pass the gate. Fallanster has gathered Emmy Nens-Grize, adviser to the king of Amakna, and Ari Stoker: listen to Emmy. The letters incriminate Ari Stoker, and Godferry is freed, but forbidden to set foot on Amakna's soil.
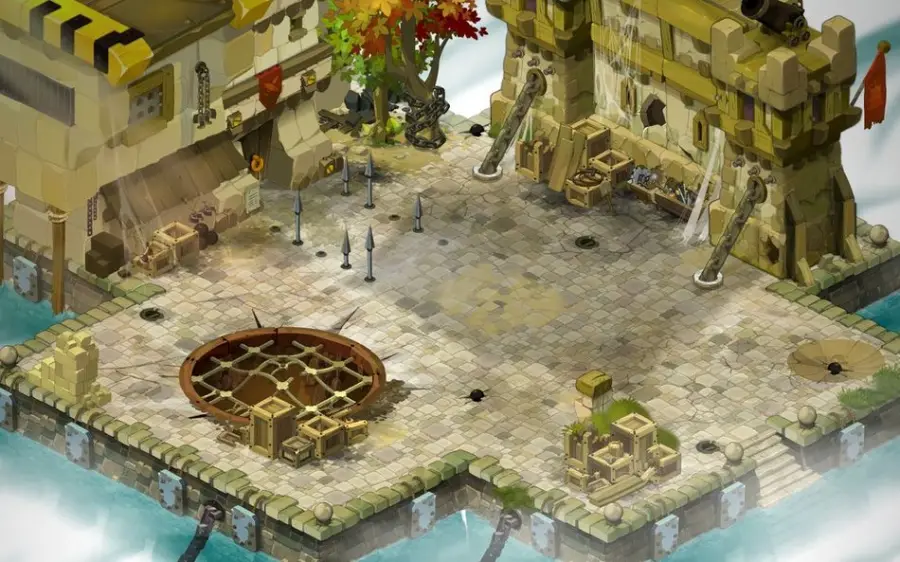
Free the Sun Knight · [13,-10] -
16Defeat Godferry of Hobkettle
Combat · Godferry of Hobkettle
In the prison yard, talk to Godferry again: now free, he wants to make sure you can stop him from taking the wrong path again, and challenges you to a duel.
Dialogue
- “Get ready for a harsh fight”
Fight solo and very difficult, possibly impossible for some classes. Godferry kills on the slightest pushback damage: read his page below before starting.
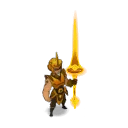 Godferry of Hobkettlefight · level 200 · 8,000 HP · 14 AP · 6 MP
-
17Talk with the defeated Forgelance
Dialogue · Godferry of Hobkettle
Talk to Godferry, ready to resume his role as guardian of the spear Sigel. Before leaving for Albuera, he tells you that Edgard is a very good friend of Amayiro.
-
18Go see Amayiro
Dialogue · Amayiro
At the Bonta militia, Amayiro refuses to talk about his mission (he may talk more readily to a Bontarian than to a Brakmarian). Show him the badge given by Nascherite: a demon attacked the Bontarian fleet, and Edgard went out to sea to look for a passage to the Destroyed.
Dialogue
- “Assure him that you come in peace and are only looking for Edgard Dragon Heart”
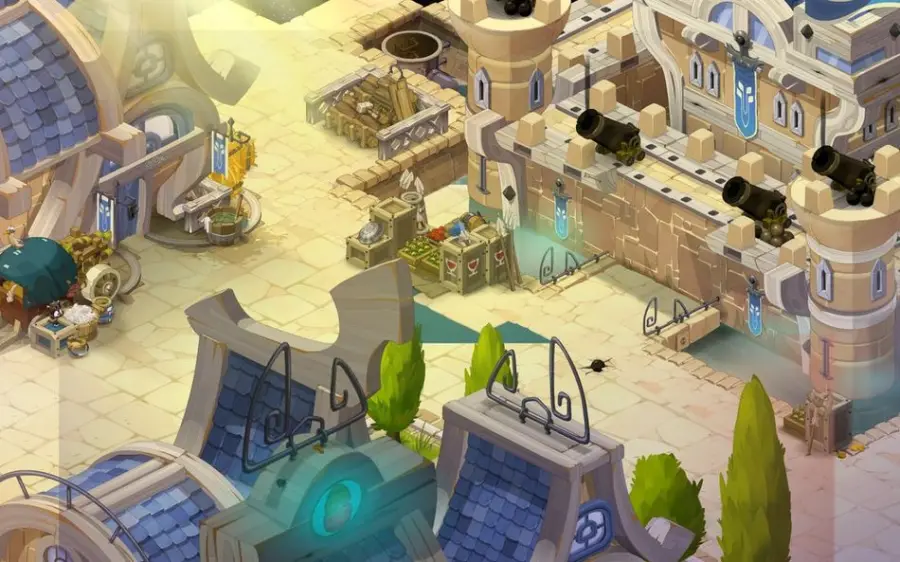
Bonta Militia · [-32,-57] -
19Commandeer a ship
Dialogue · Harbour Guard
Talk to the Harbour Guard to access the ravaged port. On the dock, talk to the other Harbour Guard: she offers to let you board to follow Edgard Dragon Heart's route.
Dialogue
- “Board to cross the demonic mist”
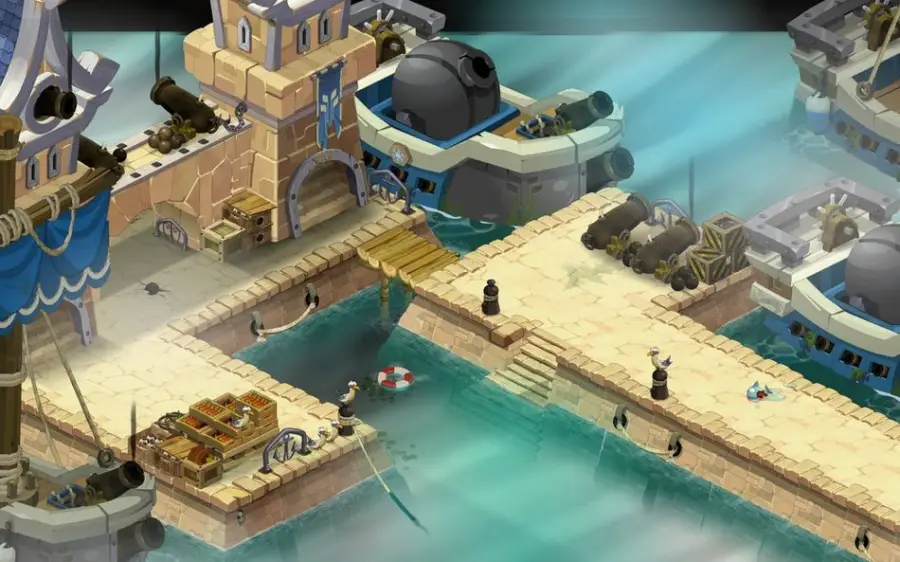
Harbour Guard · [-37,-55] -
20Interrupt the Possessed ritual
Combat · Kraradia Ritualist
On the Atoll of the Possessed, go up the stairs to find Edgard Dragon Heart and help him. Talk to the Kraradia Ritualist protecting the black sentinel: a wave fight starts.
Dialogue
- “Get ready for the fight”
Wave fight to be done solo.
 Kraradia Ritualistfight · level 200 · 3,300 HP · 12 AP · 5 MP
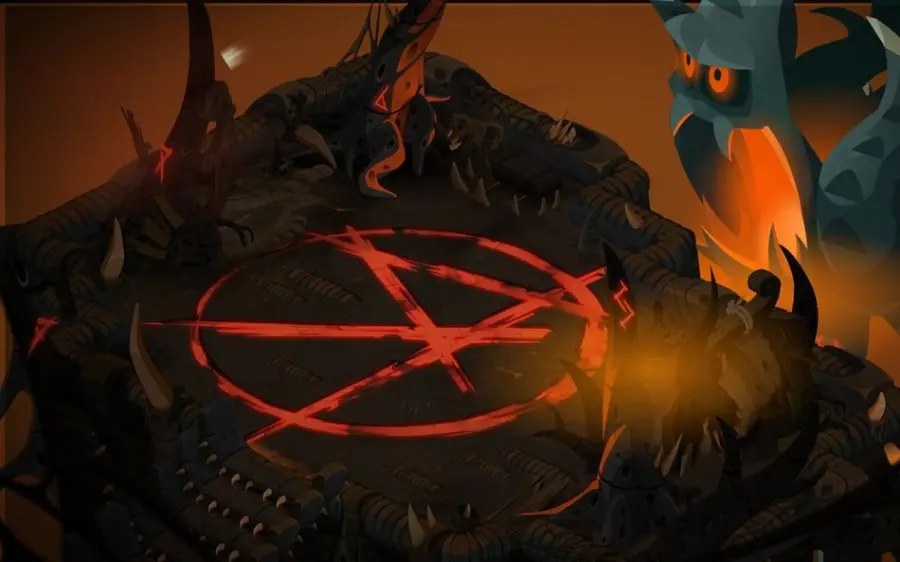
Kraradia Ritualist · [-32,-70] -
21Defeat the Weakened Black Sentinel
Combat · Black Sentinel
Talk to Edgard Dragon Heart again: he congratulates you and shows you the next opponent. Talk to the Black Sentinel to attack it.
Dialogue
- “Eradicate the sentinel”
Fight to be done solo.
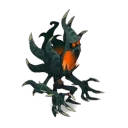 Weakened Black Sentinelfight · level 200 · 8,800 HP · 12 AP · 6 MP
-
22Take Edgard back to Bonta
Items · Edgard Dragon Heart
Talk to Edgard and explain that Nascherite sent you. He collapses from exhaustion: carry him and take him back to Bonta. There, talk to him again: weakened by the power of his spear Elding, he tells you about an Albueran apothecary who can prepare a tonic.
-
23Find the apothecary Rapacelsus
Movement · Rapacelsus
Rapacelsus is at the Bonta alchemists' workshop. He has no remedy left in stock, because his ingredients come from Ereboria and Ephedrya: offer to go get them. He gives you his list: 10 Hemp and 10 Sage to gather, plus three quest items.
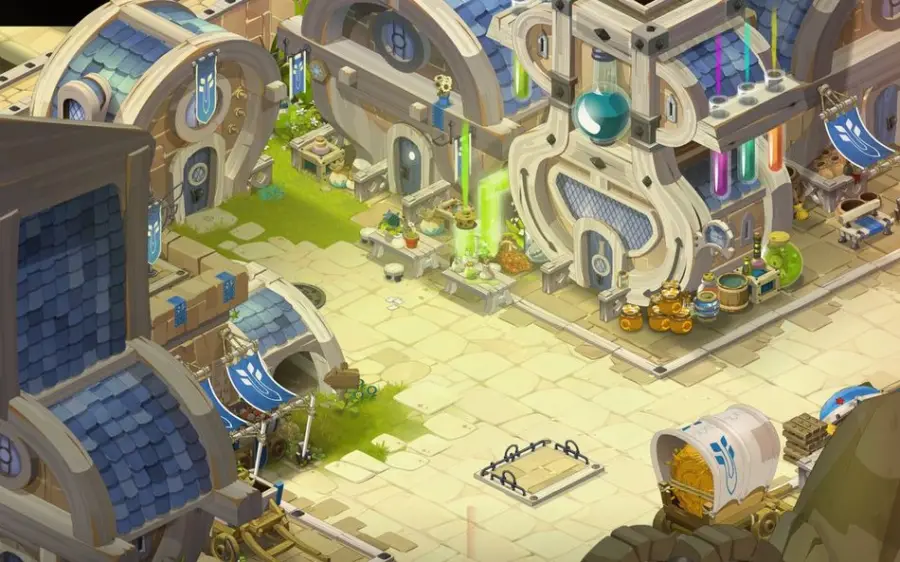
Alchemists' Workshop in Bonta · [-29,-54] -
24Gather the Enchanted Belladonna
Collect
On Ephedrya, click on the Enchanted Belladonna, at the top right of the map. A fight starts, and can be done in a group: the quest advances for everyone. It features the spells Helixir (hits for 280 Water, up to 4 RNG) and Helicit (hits for 250 Fire in a cross of size 1, up to 7 RNG); those of the protectors are on the Chamber of Evils page.
- Enchanted Belladonnareceived
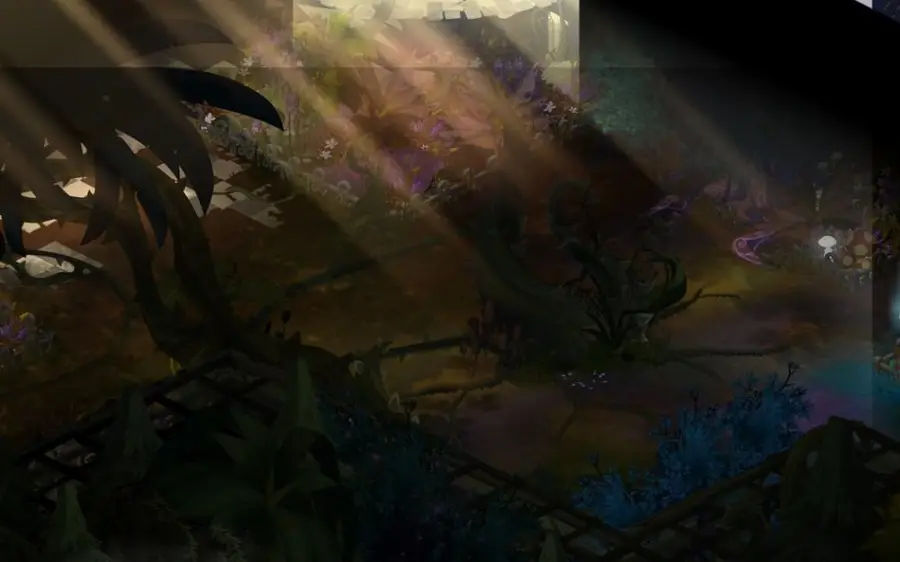
Gather the Enchanted Belladonna · [24,-81] -
25Gather the Enchanted Mandrake
Collect
Still on Ephedrya, click on the Enchanted Mandrake, in the pot on the table in the center. A fight starts, and can be done in a group. It features Epiphyte (400 shield points for 1 turn on itself or an ally), Tearing Out (hits for 200 Air, up to 3 RNG) and Alkaloid (hits for 250 Earth and reduces the duration of effects by 1, up to 3 RNG); the protectors are on the Chamber of Evils page.
- Enchanted Mandrakereceived
-
26Draw the Pure Ereboria Water
In the Ereboria galleries, click on the bucket at the foot of the waterfall. A fight starts, and can be done in a group: its monsters are those of the Bitter-Hammers' Stronghold dungeon.
- Pure Ereboria Waterreceived
-
27Hand over the ingredients to Rapacelsus
Items · Rapacelsus
Go back to the Bonta alchemists' workshop and give everything to Rapacelsus. He prepares the tonic and hands it over to you for free.
- 1 × Enchanted Belladonnato hand over
- 1 × Enchanted Mandraketo hand over
- 1 × Pure Ereboria Waterto hand over
- 10 × Hempto give
- 10 × Sageto hand over
 Valonian Tonicreceived
Alchemists' Workshop in Bonta · [-29,-54] -
28Report to Amayiro
Dialogue · Amayiro
Go back to the militia. Amayiro thanks you for helping Edgard and destroying an outpost of the Destroyed, then tells you where to find Edgard.
Dialogue
- “Make your report”
Bonta Militia · [-32,-57] -
29Give the Valonian Tonic to Edgard
Items · Edgard Dragon Heart
Go back to and talk to the Harbour Guard again to reach Edgard. He is in such bad shape that you help him drink the tonic: now he's fit as a fiddle. He will talk with Amayiro, then join you at the sanctuary.
- 1 × Valonian Tonicto hand over
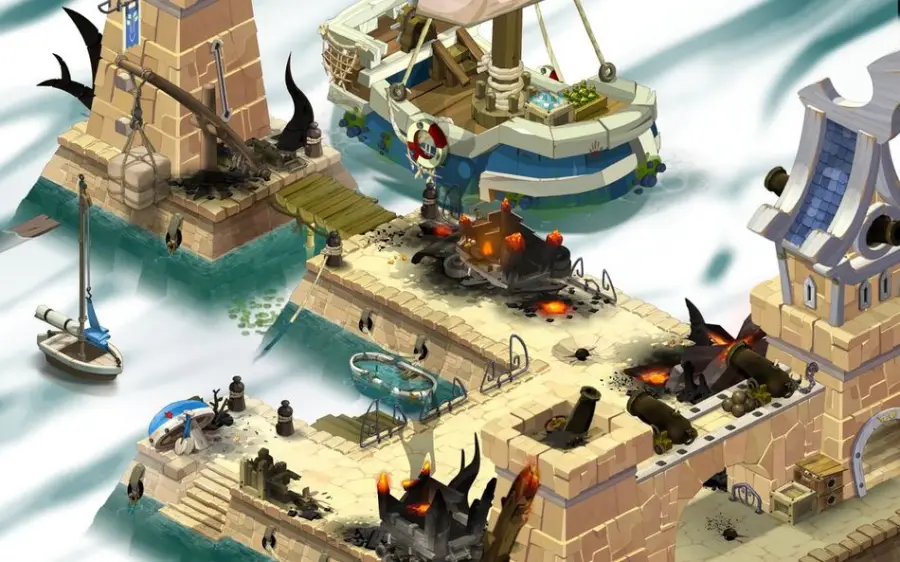
Edgard Dragon Heart · [-38,-56] -
30Check in with Nascherite
· Nascherite
Go back to the Oath room. Five Oath Forgelances are gathered: Nascherite, the three you brought back and Ashura. The quest ends; talk to Nascherite again to start the next one.
Nascherite · [33,-84]
The fights
Level 200
In the heart of the forest, at . Fight solo, companion allowed, against 4 monsters: 1 Scourge of Corruption, 1 Canker of Corruption and 2 Bearer of Corruption. Their spells are on the Tree of Death page.
Level 200
Solo fight in the prison yard, at . Godferry has 8,800 HP and 6 MP but the fight is very tough: until turn 5, he grows stronger and weakens you at the start of each turn. He kills on the slightest pushback damage and can still push you even if you are Unmovable. You need about 3,200 Initiative to play first. As a Sadida, play in the center of the map with as many summons and MP removal as possible, so that he hits the summons. As an Iop, take the initiative, wear full Strength gear with plenty of Earth and Fire resistance, stay in melee while getting pushed in the right direction, and aim to kill him on turn 4. Full MP or AP removal remains to be tested. Godferry has been weakened since the beta: he gains less Vitality, his Power only lasts one turn and he pushes back fewer cells, so the values below may be lower in game.
-
Flamboyance
Cast from the start of the fight. At the start of each turn, up to turn 5, it gives itself Vitality for 5 turns and removes your resistances for 1 turn, increasingly: 240 Vitality and 3% on turn 1, 480 and 6% on turn 2, 720 and 9% on turn 3, 960 and 12% on turn 4, 1,200 and 15% on turn 5. After that, the Vitality gained gradually fades and the resistance penalty ends.
-
Firmament
Teleports to your melee position (first free cell clockwise), hits for 450 Earth and removes 1 RNG for 1 turn. Cast only if you are more than 11 RNG away at the start of its turn, twice per turn, once per target.
-
Magnitude
Melee only, once per turn: teleports you to the opposite side of him, hits for 150 Fire and gives him Power for 1 turn: 50 on turn 1, 100 on turn 2, 150 on turn 3, 200 on turn 4, 250 on turn 5, nothing after that.
-
Cruelty Star
In a line at infinite range, once per turn: hits for 500 Fire and pushes back 2 cells on turn 1, 4 on turn 2, 6 on turn 3, 8 on turn 4, then 10 cells from turn 5 onward. Against an obstacle, the pushback damage kills you.
Level 200
Solo wave fight on the Atoll of the Possessed, at . Wave 1: 1 Bellilith Ritualist, 1 Bwarioch Ritualist and 1 Kraradia Ritualist. Wave 2, two turns later: 1 Bellilith Ritualist, 1 Pigzebub Ritualist and 1 Kraradia Ritualist. Wave 3, two more turns later: 1 Pigzebub Ritualist, 1 Bwarioch Ritualist and 1 Kraradia Ritualist. The ritualists' spells are on the Kabaal Ritual page. These three spells are also seen in this fight and the next one:
-
Wrinklespeed
Teleports onto the target and hits for 600 Air in a cross of size 1 around the arrival cell. Up to 15 RNG without line of sight, once per turn.
-
Descendance
Hits for 700 Water and steals 100 Power for 2 turns. Up to 5 RNG without line of sight, twice per turn.
-
Ancestral Lance
Hits for 300 Water and 300 Air, and gives a shield of 10% of HP for 1 turn. In a line up to 2 RNG, twice per turn.
Level 200
Solo fight, right after the waves, at . It features Wrinklespeed, Descendance and Ancestral Lance, plus the following spells.
-
Surveillance
Hits for 200 Fire in a cross of size 1 around itself.
-
Shreds
Hits for 200 Fire damage.
-
Purification
Hits for 300 Fire as life steal, in an area.
-
Flame
Hits for 450 Fire in an area.
The rewards
- XP2,625,000 experience points
 43,980 kamas
 3 × Demonic Appendix
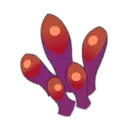 3 × Corrupted Sprouts
Related quests
The quest follows The Seeds of Rebellion and unlocks A Last Wish, where you have to find the two missing Oath Forgelances. It is part of the achievement Wealth Adviser, which covers these three quests.
- Start
- Nascherite
- Start
- Nascherite

Achievements · Archipelago of Valonia
Wealth Adviser
Complete the following quests:
- The Seeds of RebellionLvl. 200
- By the Heritage that Unites YouLvl. 200
- A Last WishLvl. 200
Where does the quest By the Heritage that Unites You start?
With Nascherite, in the Oath room at . You must have completed The Seeds of Rebellion; the recommended level is 200.
How do you find Thorbjarn?
By following Ofsi from Gidrud's hut at . Listen to him at the exit of the hut, then at and at , where he finds the passage to the heart of the forest.
Where do you find Godferry of Hobkettle?
In the abandoned fort, reached by the boat at . You first have to question the Astrub Knights in the council tower at and read the Crumpled Note.
How do you beat Godferry of Hobkettle?
Solo, avoiding at all costs being pushed against an obstacle. It kills on the slightest pushback damage and grows stronger until turn 5: you need about 3,200 Initiative to play first.
Where do you find the Belladonna, the Mandrake and the Pure Ereboria Water?
In and on Ephedrya, and at in the Ereboria galleries. Each one is taken by clicking on it, which starts a fight that can be done in a group.
Which fights can be done in a group?
The three fights for Rapacelsus's ingredients. The fights against the envoys of Corruption, Godferry, the ritualists and the Black Sentinel are done solo.
Which quest follows By the Heritage that Unites You?
A Last Wish, started by talking to Nascherite again at . You have to find the last two Oath Forgelances there.

Comments
No comments yet. A tip, or a detail about this page? Be the first.