 2 × Skt-Zo Leg
Quest Nolifis Island
To the Last Sigh
Level 170 quest on Nolifis Island, from Koumiho at [39,-44]: rekindle the fire of her Kitsounebi by finding the rōnin nicknamed the errant guide, all the way along the road of the dead. All the steps, dialogue choices, resources, crafts and fights.
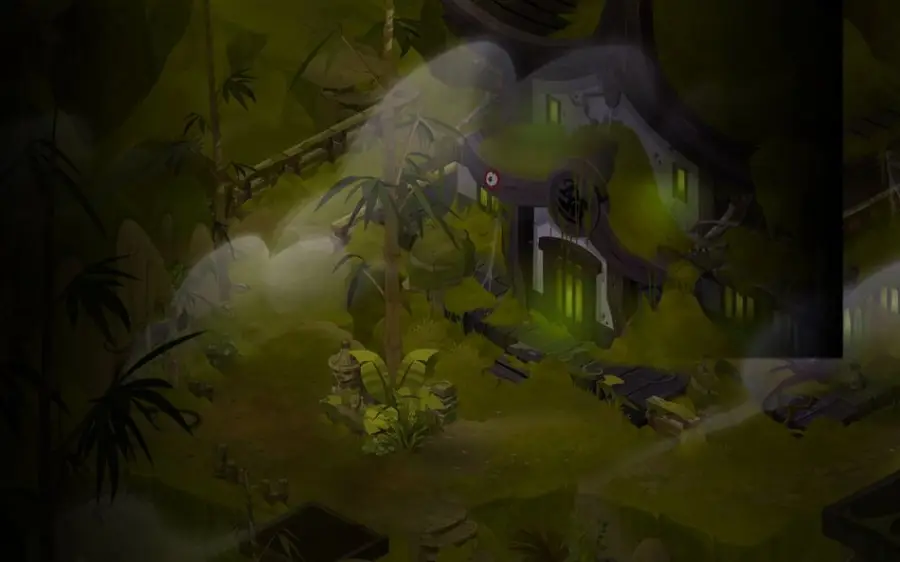
What to prepare
Two crafts mark the quest: the Offering to the Wind Spirit, which you make yourself with the Farmer profession at level 1 or higher (cooperative craft not possible), and the Ferrier's Elixir, which requires an Alchemist of level 140 or higher. Also plan for 6,444 kamas.
 2,000 kamasOne for the Road, for the Namabiru road, if you do not already have it
- 4,444 kamasKaron the Ferrier's price
 12 × Ginsengfor the Ferrier's Elixir
 8 × Citronanafor the Offering to the Wind Spirit
 4 × Samurai Ghost Fabricfor the Ferrier's Elixir
 3 × Strawberryfor the Offering to the Wind spirit
 3 × Scaraleaf Entrailsfor the Offering to the Wind Spirit
 2 × Maltfor the Ferrier's Elixir
Quest Resources, obtained along the way
 1 × One for the Roadbought for 2,000 kamas from Namabiru, on Nolifis at [36,-43]
 5 × Pandala Rainin the Rain Jars of Akwadala, with the Rain Eye blessing
 4 × Selenite Stonefrom the ghost Tanukis, at 25%, or at the auction house
The 35 quest steps
-
1Listen to Koumiho
Dialogue · Koumiho
The quest starts at the end of your conversation with Koumiho, during Requiem for a Yokai. The Kitsoune asks you to help her find the lost fire of her Kitsounebi. You must first learn more about the nine-tailed Kitsoune.
Koumiho · [39,-44] -
2Question Dick Kerboo Brandtawa
Dialogue · Dick Kerboo Brandtawa
Meet in the Pandala library. Dick Kerboo Brandtawa tells you that one of his books, upstairs, is about a Kitsoune.
-
3Read The Tale of the Errant Guide
Go up the library stairs and click the red book on top of the pile, to the left of the table. It's The Tale of the Errant Guide: the last moments of a samurai on Nolifis. All his life, a Kitsoune had followed him out of admiration, but when his soul left this world, she stayed hidden.
-
4Question Samurai Khou
Dialogue · Samurai Khou
In the bamboo palace, in the room where the Daimya is, talk to Samurai Khou about the rōnin nicknamed the errant guide. According to him, the book tells the true story of a samurai who betrayed a probably cruel master, fought many battles and ended his life in Aerdala before going to Nolifis to take his own life. He advises you to go to the Wind temple in Aerdala.
-
5Craft the Offering to the Wind Spirit
Crafting
Craft 1 Offering to the Wind Spirit yourself with the Farmer profession, level 1 or higher, in a “Grind” workshop. Cooperative craft is not possible.
- 3 × Scaraleaf Entrailsto hand over
- 3 × Strawberryto give
- 8 × Citronanato give
 Offering to the Wind Spiritreceived
-
6Leave the offering at the Wind temple
Items
In front of the Wind temple, click the basket of citronanas to leave the offering there. You can then enter the temple without any trouble.
- 1 × Offering to the Wind Spiritto give
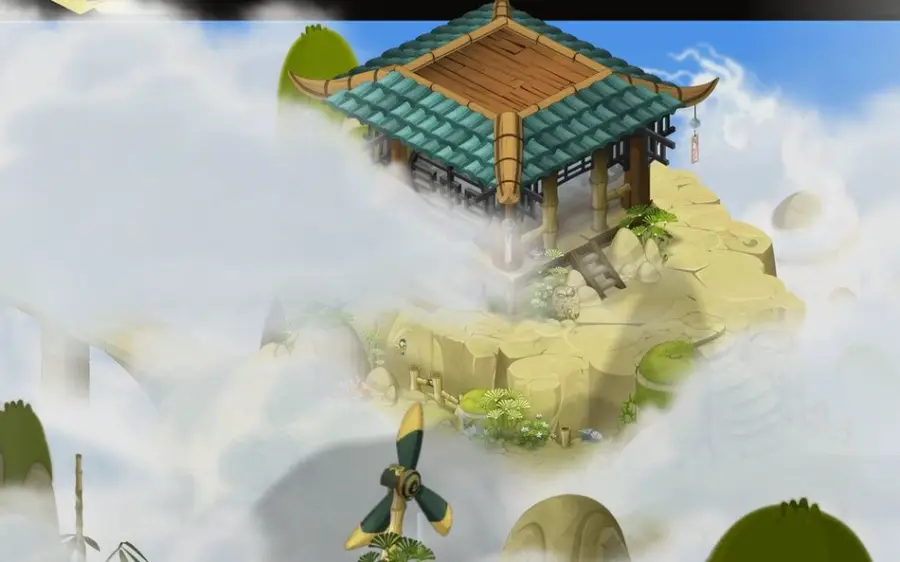
Wind Temple · [23,-36] -
7Talk to Old Kozaru
Dialogue · Old Kozaru
Old Kozaru knew the rōnin, dead for a century. The samurai helped simple folk lost in the mountains of Aerdala: the descendant of a traveler he saved surely knows more.
-
8Defend the Aerdala Highlander
Combat · Aerdala Highlander
The Aerdala Highlander is being attacked by a group of Kozaru. Step in between: a fight starts, and it can be done with several players.
Dialogue
- “Step in between the Pandawa and her attackers”
 Xenophobic Kurookinfight · level 170 · 4,600 HP · 10 AP · 4 MP
-
9Receive the Araknawa lily
Dialogue · Aerdala Highlander
Talk to the Aerdala Highlander again. The errant guide saved her grandmother, lost in the mountains: without him, she would probably never have been born. The samurai had given her grandmother an araknawa lily, a symbol of farewell. Since you saved her life, she entrusts it to you.
 Araknawa Lily Bloomreceived
-
10Talk to the Nolifis Ferryman
Dialogue · Nolifis Ferryman
Reach Nolifis by boat at . According to the Ferryman, the easiest way to follow the path of souls would be to die. Failing that, a vial of Ferrier's Elixir will let you see the road of souls, and an Externam lantern will keep the specters away.
Dialogue
- “Ask how to follow the path of souls”
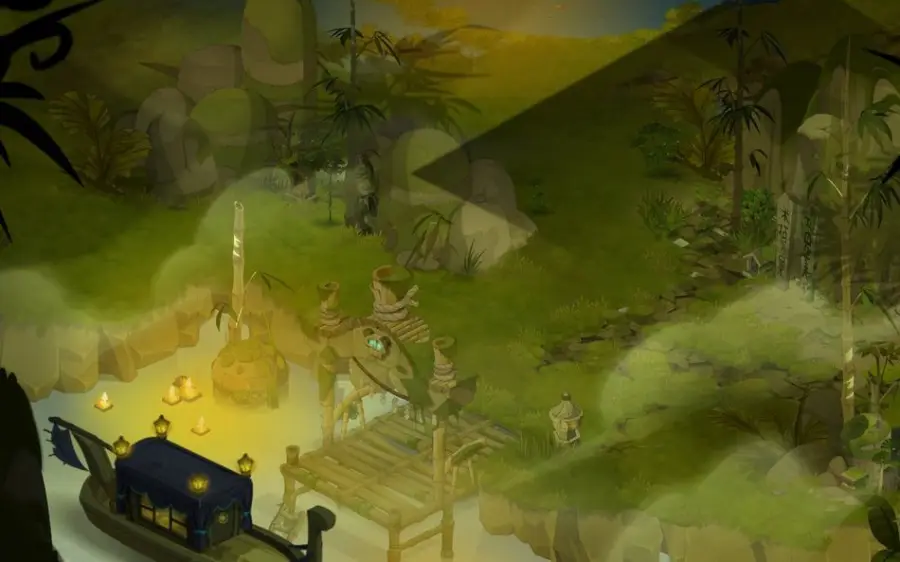
Nolifis Ferryman · [34,-40] -
11Buy One for the Road
Items · Namabiru
The elixir requires three special resources. The first is a beer: on Nolifis, buy One for the Road from Namabiru, for 2,000 kamas.
- 2,000 kamasto pay
- One for the Roadreceived
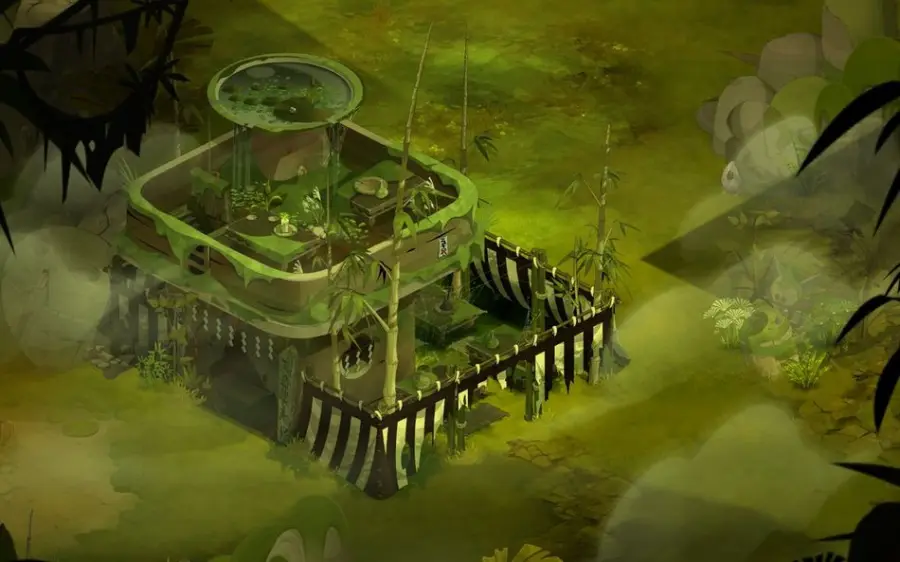
Namabiru · [36,-43] -
12Obtain the Rain Eye blessing
Items · Anonymous Akwaholic
In the Osakwa tavern, talk to the Akwalique anonyme, one of the few Pandawas who drink water rather than alcohol. His formula cancels the spell that hides his fellows' rain jars: you get the Rain Eye blessing, which makes them visible in Akwadala.
Starting a fight makes you lose the blessing. You then have to go back to the Akwalique anonyme to get it again.
 Rain Eyereceived
-
13Collect 5 Pandala Rain
Items
With the Rain Eye, talk to the five Rain Jars in Akwadala to collect their water.
- talk to the Rain Jar to collect its water
- talk to the Rain Jar to collect its water
- talk to the Rain Jar to collect its water
- talk to the Rain Jar to collect its water
- talk to the Rain Jar to collect its water
- Pandala Rainreceived
-
14Obtain the Breath of Airgil
Items
Click the rope to go down into the crevice. In the Breath of Airgil cavern, click the big fumarole: you get the Breath of Airgil blessing for 4 fights. It makes visible the dead Tanukis who keep working on their life's work.
During the beta, no climbing rope was needed. If you can't get down, keep a climbing rope on you.
 Breath of Airgilreceived
-
15Collect 4 Selenite Stone
Combat
Start four fights against the ghost Tanukis, solo, talking to the Tanuki who Died from Exhaustion each time. Each fight can drop 1 Selenite Stone, at a base rate of 25%.
- enter the mine: on the first map, talk to the Tanuki who Died from Exhaustion (1 Tanuki who Died from Exhaustion and 1 Tanuki who Died on the Job)
- head into the second room of the mine and go straight left to talk to the Tanuki who Died from Exhaustion (1 Tanuki who Died from Exhaustion and 1 Tanuki who Died on the Job)
- talk to the Tanuki who Died from Exhaustion (1 Tanuki who Died from Exhaustion and 2 Tanuki who Died on the Job)
- talk to the Tanuki who Died from Exhaustion (1 Tanuki who Died from Exhaustion and 2 Tanuki who Died on the Job)
Dialogue
- “Approach”
The blessing only lasts 4 fights: a lost fight has to be redone. If you're short of stones when it ends, take the Breath of Airgil again, but the Tanukis only reappear after about 1 hour. Selenite Stones are tradable: buy them at the auction house or do the fights with another character.
 Tanuki who Died from Exhaustionfight · level 170 · 4,600 to 5,500 HP · 10 AP · 5 MP
- Selenite Stonereceived
-
16Craft the Ferrier's Elixir
Crafting
With all the special resources, have 1 Ferrier's Elixir crafted by an Alchemist of level 140 or higher.
- 1 × One for the Roadto hand over
- 4 × Selenite Stoneto hand over
- 2 × Maltto hand over
- 4 × Samurai Ghost Fabricto give
- 5 × Pandala Rainto hand over
- 12 × Ginsengto give
 Ferrier's Elixirreceived
-
17Drink the Ferrier's Elixir
Go back to Nolifis, by boat at , then use the Ferrier's Elixir. You get the I See Dead People blessing for 44 fights: the road of the dead becomes visible.
No other blessing must be active, the Breath of Airgil for example: otherwise the potion is refused (incompatible item).
 I See Dead Peoplereceived
-
18Take the Externam Lantern
On the phoenix map, take the Externam Lantern.
 Externam Lanternreceived
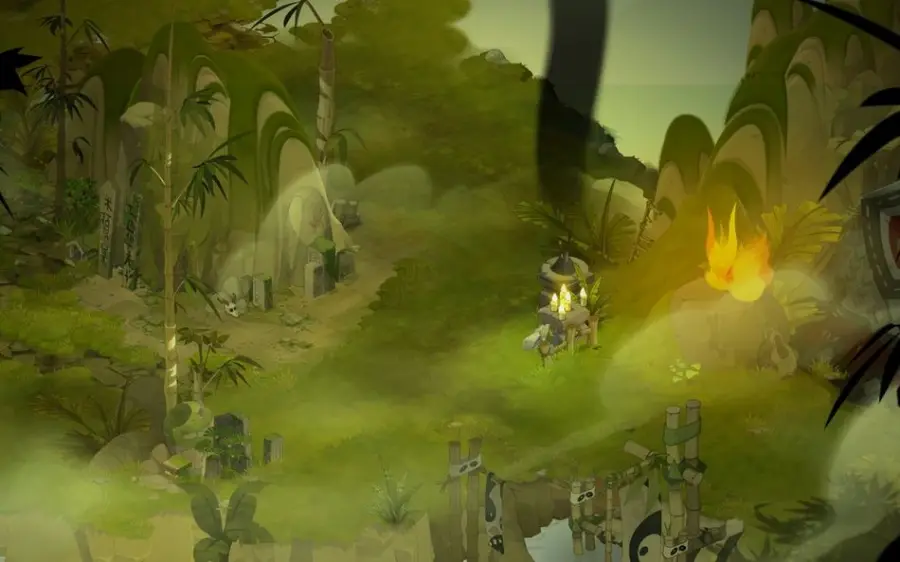
Take the Externam Lantern · [35,-40] -
19Go to the cemetery tavern
Movement
Follow the path of souls: you just need to go to the cemetery tavern map.
Cemetery Inn · [36,-43] -
20Fight at the foot of Mount Tombs
Combat
Continue to the foot of Mount Tombs: a fight starts, and it can be done with several players. The spells of these monsters are described on the Shogun Tofugawa's Tomb dungeon page.
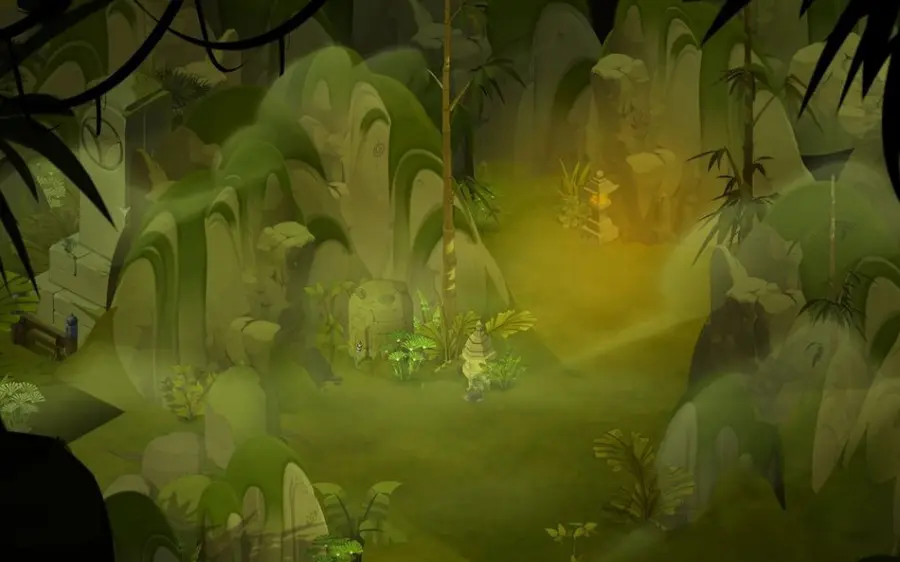
Foot of Mount Tombs · [37,-44] -
21Start Road Safety (optional)
As long as the I See Dead People blessing is active, you can start another quest. If you haven't already, start Road Safety here: you'll avoid having to craft another Ferrier's Elixir later.
-
22Pay Karon the Ferrier
Items · Karon the Ferrier
At the misty pier, Karon the Ferrier asks for 4,444 kamas to take you along the road to Externam.
Dialogue
- “Pay the sum without hesitation and board the junk”
Don't haggle: if you argue about the price, Karon kills you.
- 4,444 kamasto pay
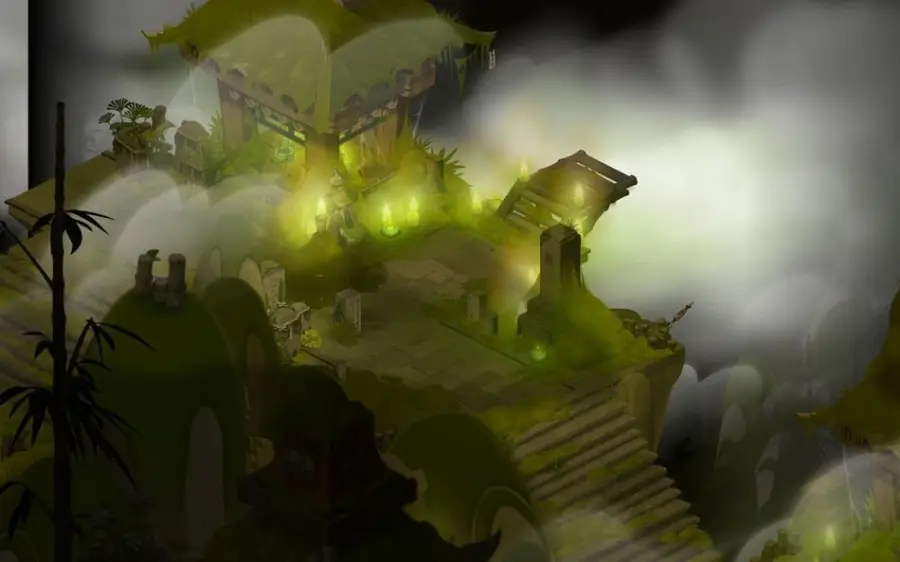
Misty Pier · [37,-47] -
23Sail along the Akeranzu River
Dialogue · Karon the Ferrier
On the ghostly boat, talk to Karon again. The milky river you are crossing rises in the Material Plane and flows to the Ether: you often come across lumes there.
Dialogue
- “Continue the crossing”
-
24Defeat the Lemures in the Ether
Combat · Karon the Ferrier
Talk to Karon again: Lemures attack you to go after your spiritual fluid. A fight starts, and it can be done with several players.
Dialogue
- “Face the Lemures”
 Voracious Lemurefight · level 170 · 4,600 HP · 10 AP · 5 MP
-
25Resume the journey
Dialogue · Karon the Ferrier
After the fight, Karon offers to continue toward the Astral Plane. At the next stop, he explains that you are in the dream of the dead, on a part of old Nolifis: a peaceful place where the Pandawas used to pay tribute to their ancestors.
Dialogue
- “Sail downstream”
- “Continue the crossing”
-
26Greet the Passing Visitor
Dialogue · Passing Visitor
Another stop, in the ruins of lost dreams. The Passing Visitor explores the dreamlike lands and notices your six Dofus: they think this place is a creation of your mind and that you want to become a deity. Answer that the place reminds you of the Gods' Domain: they admit that this place may house a forgotten god.
-
27Sail to the Sea of Dust
Dialogue · Karon the Ferrier
Talk to Karon again: the Akeranzu runs through dreams forgotten by all, except those who want to unravel ancient mysteries.
Dialogue
- “Continue the journey”
-
28Help the Errant Guide
Combat · Errant Guide
On the shore of the Sea of Dust, you finally find the Errant Guide, in a tight spot: he tells you to flee. A fight starts at his side, and it can be done with several players.
 Large Lemurefight · level 170 · 21,000 HP · 12 AP · 5 MP
-
29Talk to the Errant Guide
Dialogue · Errant Guide
Show him the flower he had given to the Pandawa and tell him about Koumiho. He served Shogun Tofugawa, who had captured the Kitsoune with the help of the chanam Tonam Etamwa to escape death. Having fallen in love with her, he freed her with the help of a Bakeneko, then wandered alone until his death on Nolifis. Having become the guardian of the great crossing, he saw Koumiho again, killed by Tofugawa's ghost, and helped her flee a horde of Lemures. She chose to remain bound to her former life rather than be reincarnated. He entrusts you with the Hoshinotama globe, which holds Koumiho's Kitsounebi.
 Hoshinotama Globereceived
-
30Go back to see Old Kozaru
Dialogue · Old Kozaru
Old Kozaru is meditating at the Wind temple. The Kitsounebi's fire has been scattered to the four corners of Aerdala: to rekindle it, you must find the secrets of the four winds, guarded by Kitsous.
Dialogue
- “Wait...”
Wind Temple · [23,-36] -
31Collect the secrets of the four winds
Items
Talk to each Kitsou to collect its secret, in any order you like. Each time, a fight starts, and it can be done with several players.
- talk to the Cloud Kitsou for the North Wind's secret
- talk to the Sand Kitsou for the East Wind's secret
- talk to the Rain Kitsou for the South Wind's secret
- talk to the Fire Kitsou for the West Wind's secret
 North Wind's Secretreceived
 East Wind's Secretreceived
 South Wind's Secretreceived
 West Wind's Secretreceived
-
32Entrust the four secrets to Old Kozaru
Items · Old Kozaru
Thanks to the four secrets, the globe and the lily, Old Kozaru rekindles the Kitsounebi's flames. He asks you to return the Hoshinotama to Koumiho: this globe is none other than her memory.
- 1 × North Wind's Secretto hand over
- 1 × East Wind's Secretto hand over
- 1 × South Wind's Secretto hand over
- 1 × West Wind's Secretto hand over
-
33Talk to Jibakurei
Dialogue · Jibakurei
Go back to Nolifis, by boat at , and talk first to Jibakurei, near Koumiho.
Dialogue
- “Say you have something important to give to Koumiho”
Jibakurei · [39,-44] -
34Return the Hoshinotama to Koumiho
Dialogue · Koumiho
Talk to Koumiho and give her back her Hoshinotama: she finally regains her memories.
Dialogue
- “Give her back her Hoshinotama”
-
35Receive a flame from the Kitsounebi
Dialogue · Koumiho
Talk to Koumiho again: the Hoshinotama warms her soul once more and she has changed appearance. She agrees to entrust you with one of the flames born from her Kitsounebi. The quest ends.
Dialogue
- “Thank her and approach the Kitsounebi”
 Koumiho's Kitsounebi Flamereceived
The fights
Level 170
In the group attacking the Aerdala Highlander at . Combat possible with several characters.
-
Wind Armour
Applies a 250 shield for 2 turns, in a circle area of radius 3 around an ally. Range up to 9.
-
Atmospheric Low
Two lines of 130 Fire damage each, and pushes back 2 cells. In a straight line only, up to 2 range, 2 times per turn.
-
Kozaru No Kotsu
Teleports, deals 100 Air damage and removes 1 dodgeable AP in a circle area of radius 2 around itself, then returns to its position. Up to 8 range, 1 times per turn.
-
Rinku
As long as the Kurookin is alive, the target gains 15% final damage, 510 Vitality and 3 MP, with no duration limit. If the target is still alive at the start of its next turn, the Kurookin becomes invisible for 2 turns; the invisibility ends if the target dies. Up to 8 range, from turn 2.

Level 170
In the same group, at .
-
Nun-Shakrang
100 Air damage. In a straight line only, from 2 to 8 range, without line of sight, 3 times per turn.
-
Stratus
Places a trap dealing 160 Water damage. One of its allies within 2 range of the trap when it triggers becomes invisible for 1 turn. Up to 8 range (range to be confirmed), 2 turns cooldown.
-
Zephyr
Gives an ally 3 MP and 25 MP dodge for 2 turns. Up to 10 range, 4 turns cooldown.

Level 170
In the same group, at .
-
Altocumulus
180 Air damage in a circle area of radius 2 around itself. 1 times per turn.
-
Raijin Yari
Effect not detailed, in a cross area of size 1.
-
Shinatobe
130 Earth damage in a line area of 3 cells. In a straight line only, up to 4 range, 3 times per turn.

Level 170
In the same group, at .
-
Fujin Tsuinburedo
Two lines of 70 Air damage each, in melee.
-
Monsooang
Teleports and deals 150 Water damage in a cross area of size 1 around itself. Up to 2 range, 2 times per turn.
-
Headwind
Makes an ally invulnerable at range for 2 turns. Up to 12 range, from turn 2.
Tanuki who Died from Exhaustion
Level 170
One per fight, visible with the Breath of Airgil, at (two fights), and . Solo fights.
-
Tanushishi
Air 200 Whack that removes 2 AP that can be dodged.
-
Tanukikick
Hits for 300 Earth in melee.

Level 170
One or two per fight with the Tanuki who Died from Exhaustion.
-
Tanukisskiss
Gives an ally 90 Neutral resistance (180 on a critical hit) for 1 turn and heals them for 400 HP.
-
Jinrikisha
Hits for 170 Neutral and pushes back.
Level 170
Fight against the Lemures in the Ether, on Karon's junk. The fight can be done with several players.
-
Sharp Slap
Hits for 230 Water, as life steal, in melee.
-
Deadly Impalement
Hits for 160 Water in a circle area of radius 2 around itself.
-
Lemure Carapace
Reduces damage it takes to 75% (50% on a critical hit) for 2 turns.

Level 170
Same fight, in the Ether.
-
Lemure Perfidy
Hits for 150 Fire; on a critical hit, adds a poison of 11 to 15 Fire damage for 3 turns. Up to 5 range.

Level 170
Same fight, in the Ether.
-
Clawarc
Hits for 130 Air in a semicircle area of radius 2. From 3 to 8 range.
-
Earth to Earth
Hits for 200 Earth in a cross area of size 1; on a critical hit, removes 20 Power for 3 turns. In a straight line only, from 2 to 6 range.
-
Lemure Doggedness
Gives 2 MP and 30% critical to itself and its allies in a circle area of radius 2 around itself, for 2 turns.
Level 170
Fight on the shore of the Sea of Dust, alongside the Errant Guide. The fight can be done with several players.
-
Externavation
Hits for 200 Fire and makes the target unhealable for 2 turns. In a straight line only, up to 6 range.
-
Lemure Surge
Gives 2 AP to itself and to allies in contact with it for 2 turns. On a critical hit: 2 AP for 3 turns and the Decisive Action state, which gives it 2 AP with no duration limit each time a spell is cast.
-
Deadly Laceration
Hits for 200 Neutral in a cross area of size 1. Up to 3 range.
-
Outpouring of Wrath
Cast when it reaches 20 AP, thanks to the critical hits of Élan Lémure: hits every enemy on the map for 500 Water and heals itself and its allies in contact with it for 5,000 HP. It then loses the Decisive Action state.

Level 170
He fights alongside you on the shore of the Sea of Dust. His spells:
-
Errant Shield
Gives 3,000 shield points for 2 turns to itself and to everyone, allies and monsters alike, in a circle area of radius 2 around itself.
-
Errant Propulsion
Pushes back 2 cells and gives it 20 pushback damage for 2 turns. Up to 4 range.
-
Strategic Proximity
Pulls itself into contact with the target, pushes it back 3 cells and hits for 200 Water. In a straight line only, from 3 to 10 range.

Level 170
Guardian of the North Wind's Secret, at . Combat possible with several characters.
-
Cloud Spirillusion
Turns invisible and summons a double.
-
Kitsou Trick
Gives 2 MP to its allies for 3 turns.
-
Kitsignition
Hits for 500 in Air.

Level 170
Guardian of the East Wind's Secret, at . The fight can be done with several players.
-
Sand Spirillusion
Turns invisible and summons a double.
-
Kitsou Trick
Gives 1 AP to its allies for 3 turns.
-
Kitsignition
Strikes for 500 Earth damage.

Level 170
Guardian of the South Wind's Secret, at . The fight can be done with several players.
-
Rain Spirillusion
Turns invisible and summons a double.
-
Kitsou Trick
Gives 1 AP to its allies for 3 turns.
-
Kitsignition
Hits for 500 Water.

Level 170
Guardian of the West Wind's Secret, at . The fight can be done with several players.
-
Lightning Spirillusion
Turns invisible and summons a double.
-
Kitsou Trick
Gives 1 AP to its allies for 3 turns.
-
Kitsignition
Hits for 500 Fire damage.
The rewards
- XP4,711,728 experience points
- 64,560 kamas
 3 × Rockai
- 3 × Samurai Ghost Fabric
Related quests
The quest starts during Requiem for a Yokai, and sends you back there once it's done. It is part of the achievement Guardian of the Immaculate, along with Cursed Disappearance and Requiem for a Yokai, and of the achievement Eliocalypse: Resilience, which groups eighteen Pandala quests.
- Start
- Shogun Tofugawa

Achievements · Pandala Island
Guardian of the Immaculate
Complete the following quests:
Gives the Dorigami
- Cursed DisappearanceLvl. 160
- To the Last SighLvl. 170
- Requiem for a YokaiLvl. 170
Achievements · Eliocalypse
Eliocalypse: Resilience
Complete the following quests:
- Pandala AwakensLvl. 30
- Under the Northern LightsLvl. 100
- Caught in a Thicket of WrathLvl. 110
- In the Name of ArtLvl. 130
- The Jetty of Lost ChildrenLvl. 130
- Lantern FestivalLvl. 140
- The Balance of PowerLvl. 140
- Bleeding InkLvl. 140
- Cursed DisappearanceLvl. 160
- To the Last SighLvl. 170
- Requiem for a YokaiLvl. 170
- Hand in HandLvl. 200
- Two Breaths, One InhalationLvl. 200
- In this Garden that Unites UsLvl. 200
- When Waking Is Just a DreamLvl. 200
- The Last RampartLvl. 200
- By This Oath the World Is WrittenLvl. 200
- A Very Strange ProphecyLvl. 200
Where does the quest To the Last Sigh start?
With Koumiho, on Nolifis Island at . It starts during Requiem for a Yokai, when you talk to Koumiho at the end of the Spirit Abode dungeon.
How many kamas should I plan for?
6,444 kamas: 2,000 for Namabiru's One for the Road at , and 4,444 for Karon the Ferrier at the misty pier at .
Which professions are needed for this quest?
Farmer of level 1 or higher, and an Alchemist of level 140 or higher. The Offering to the Wind Spirit is crafted by yourself, with no cooperative craft; the Ferrier's Elixir can be crafted by another player.
Where do you find Pandala Rain?
In the five Rain Jars of Akwadala, at , , , and . You first need the Rain Eye blessing from the Akwalique anonyme, at the Osakwa tavern at , and don't start any fight in the meantime.
How do you get Selenite Stones?
From the ghost Tanukis, at 25% per fight. Take the Breath of Airgil at , then fight alone at , and . The stones are also on sale at the auction house.
I can't drink the Ferrier's Elixir, why?
Another blessing is still active, often the Breath of Airgil. The elixir is then refused as an incompatible item.
Can the fights be done in a group?
Yes, except for the four fights against the ghost Tanukis, which are done solo. The other eight fights of the quest can be done in a group.
Which quest follows To the Last Sigh?
Requiem for a Yokai, which the quest interrupts: pick it back up once you have the Kitsounebi's flame.

Comments
No comments yet. A tip, or a detail about this page? Be the first.