 2 × Skt-Zo Leg
Dungeon Amakna
Crocabulia's Lair
Level 120 dungeon in the Dreggons' Sanctuary, at [-2,25]: five rooms of Protective Dreggons that summon shells, and a boss with no mechanic of her own, Crocabulia. Quests to start, layout of each room, strategy, monsters, achievements and loot.
Quests linked to Crocabulia's Lair
Two quests, level 110 and 120, are validated on Crocabulia: accept them before entering, as a fight won without the quest in progress doesn't count. For Legendary Smith, stay in the dungeon after the victory: you still need to talk to Crocabulia.
The last of Colm O' Ver's five dungeons. After Lord Crow, the Royal Mastogob, the Minotoror and the Royal Tofu, beat Crocabulia in a single fight, find the exit of the Dreggons' Sanctuary, then go back to see Colm O' Ver.
- Start
- Colm O' Ver, Desecrated Highlands
- Prerequisites
- A Hysterical Judge
 Crocabulia's Broken Hornwith four other boss resources, 40,779,600 XP
Crocabulia's blood for the sword Crocobur. Beat Crocabulia in a single fight then, without leaving the dungeon, talk to her to dip Crocobur in her blood. Then go back to see Volkaragnar.
- Start
- Meriana, Nauseating Swamps
- Prerequisites
- Sword from the Stone
Crocabulia's Broken Hornand 8,592,000 XP
For later
Crocabulia's soul is wanted. The Ochre Dofus quest calls for the souls of many dungeon guardians: capture this one while you are here, with a Soul Stone for Big Souls.
- Start
- Otomai, Otomai Island
- Prerequisites
- Level 40
 Ochre Dofusat the end of the 19 steps
During events
- Merry Kwismas
Defeating Crocabulia in a single fight is part of the quest, which gives a Kwismas Cavern Key. Harry Kwismas, . - Tiwaapi Simulation
The Tiwabbit can designate Crocabulia as the guardian to defeat. Tiwaapi, Incarnam, .
The Crocabulia's Broken Horn, dropped by the boss, is also required by A Time for Secrets (level 200).
The 5 rooms of Crocabulia's Lair
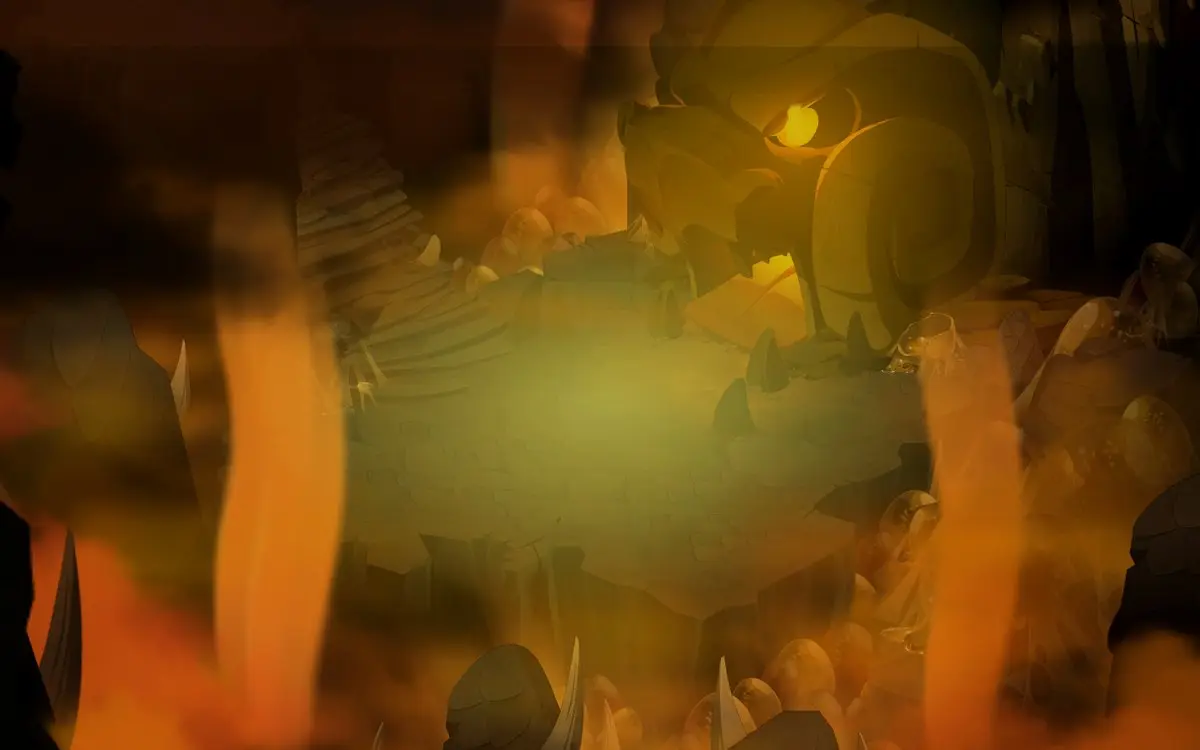
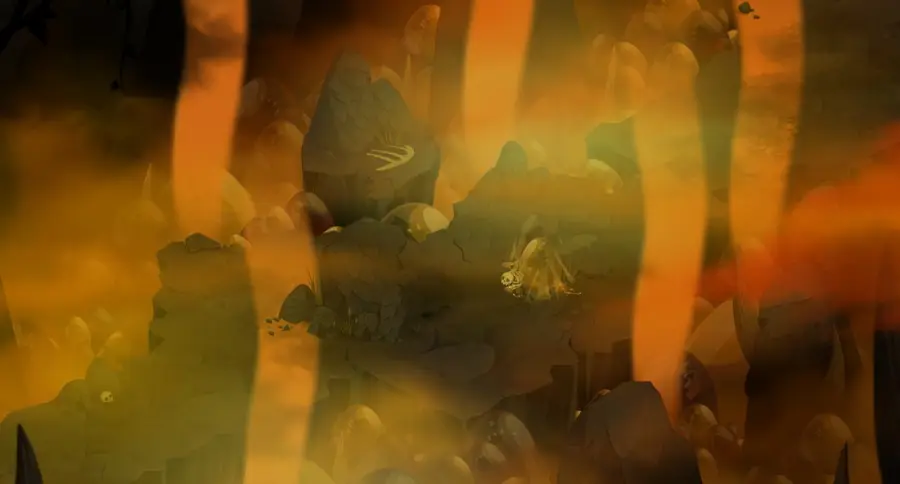
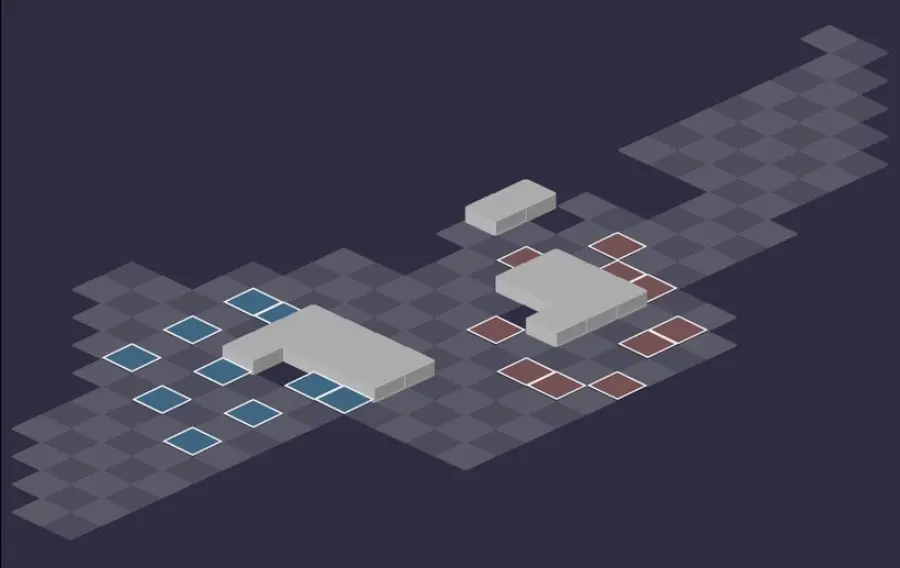
Five fights. All the monsters can summon a shell at the start of a turn, and the Dragmatic triggers an eruption around him at the end of his turn: these two effects make up the whole difficulty of the dungeon, detailed in the boss section. For each room: the scenery, then the tactical view with the starting cells (blue: you, red: the monsters). Tap an image to enlarge it.
Room 1
Room 2
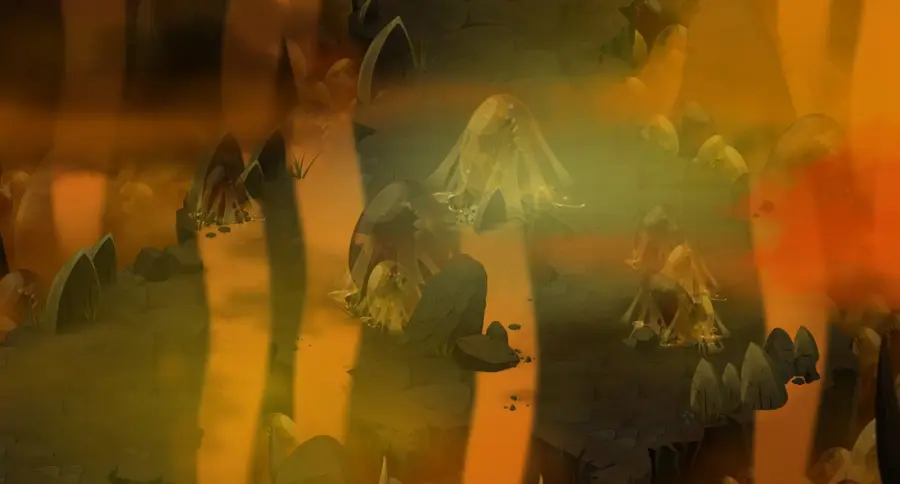
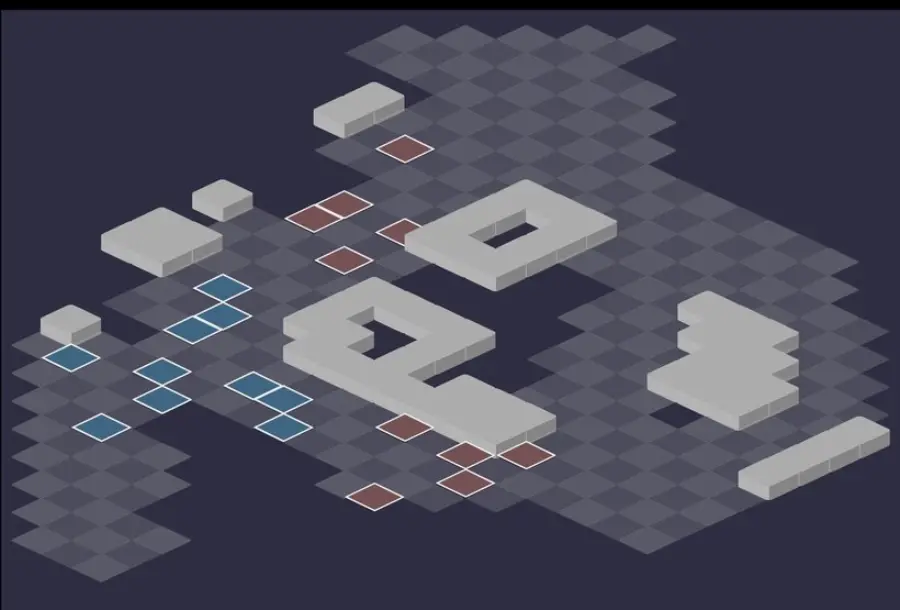
Room 3
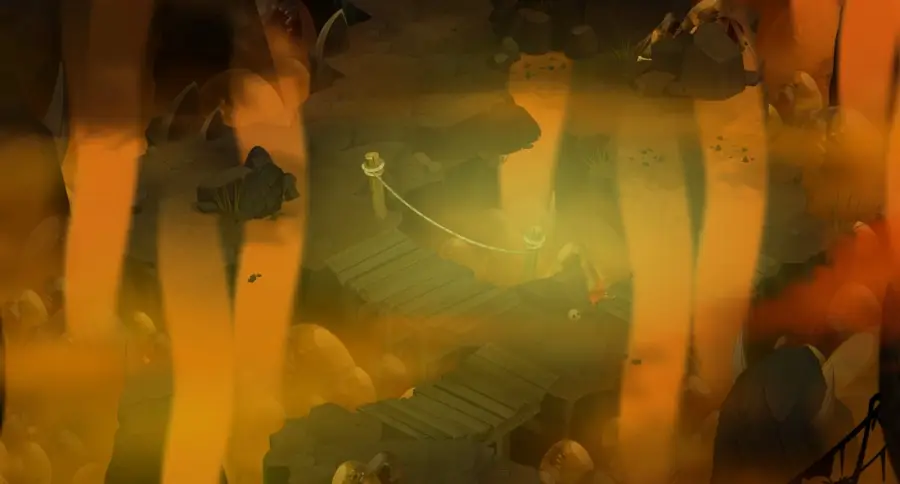
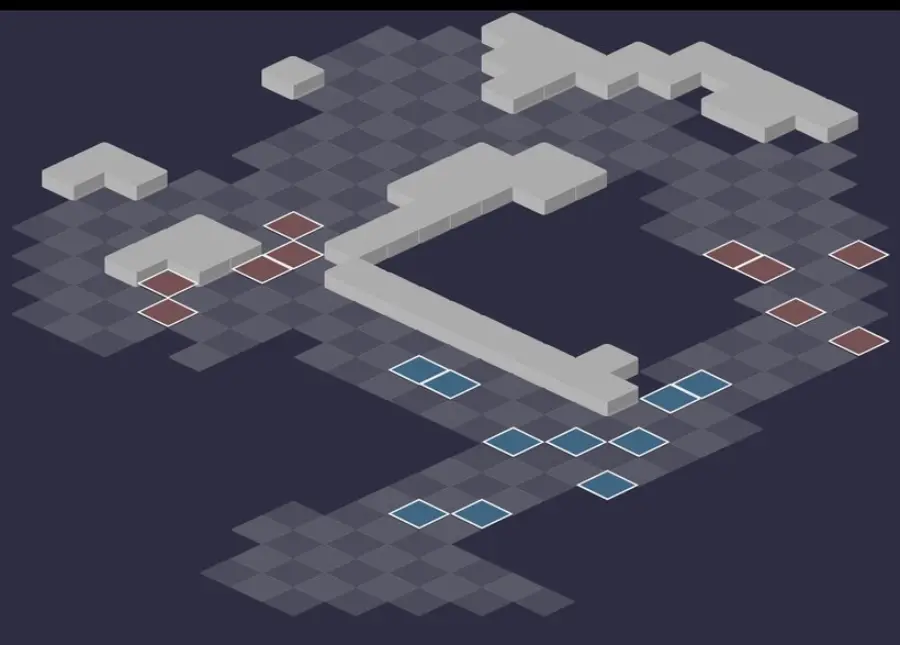
Room 4
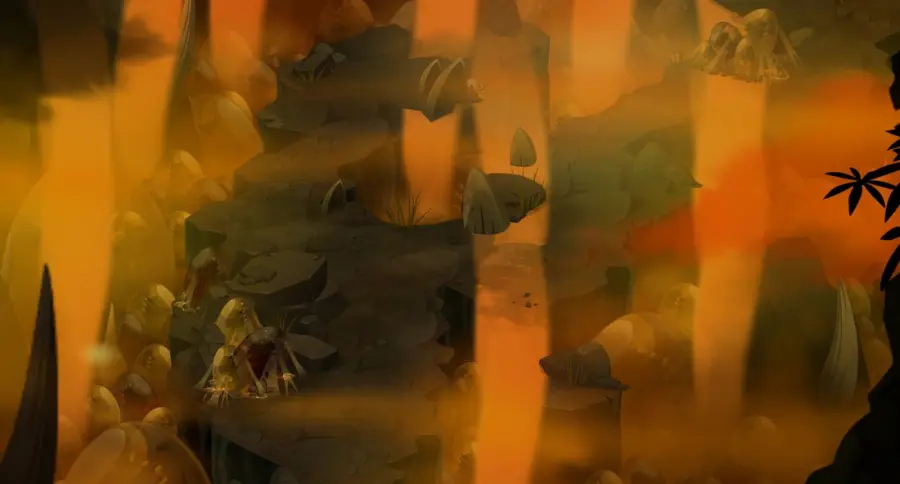
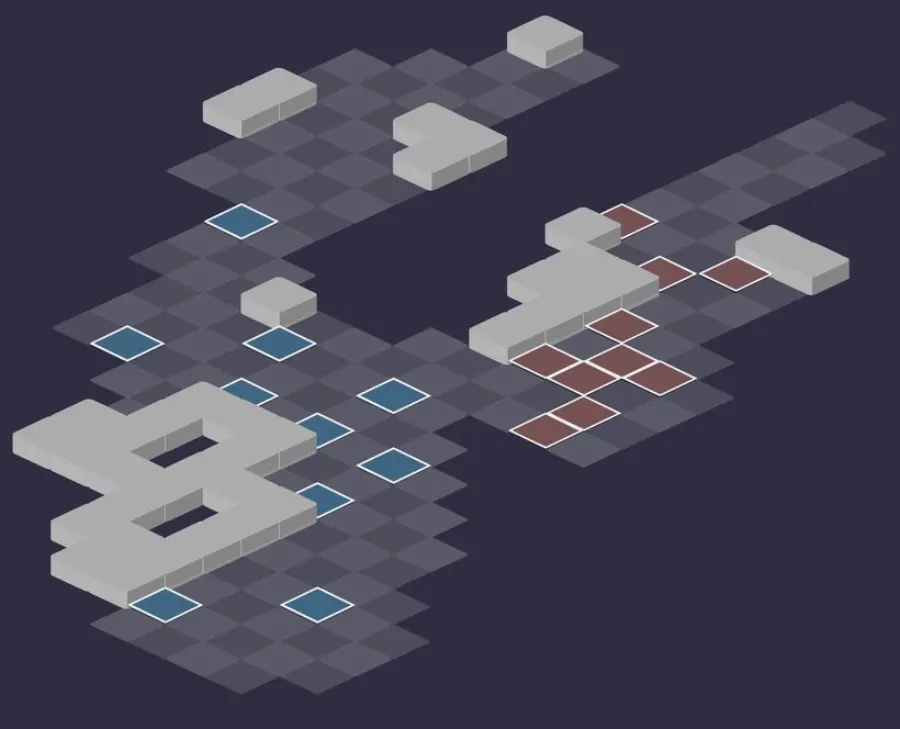
Room 5 — Crocabulia
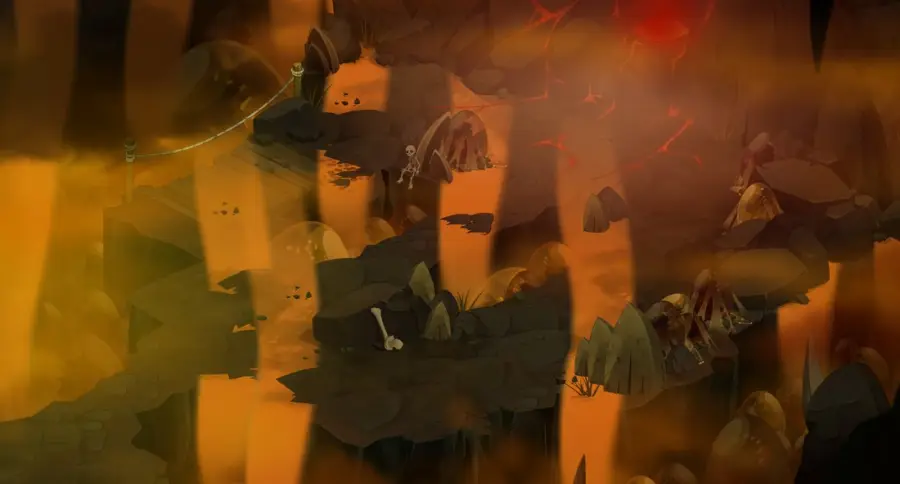
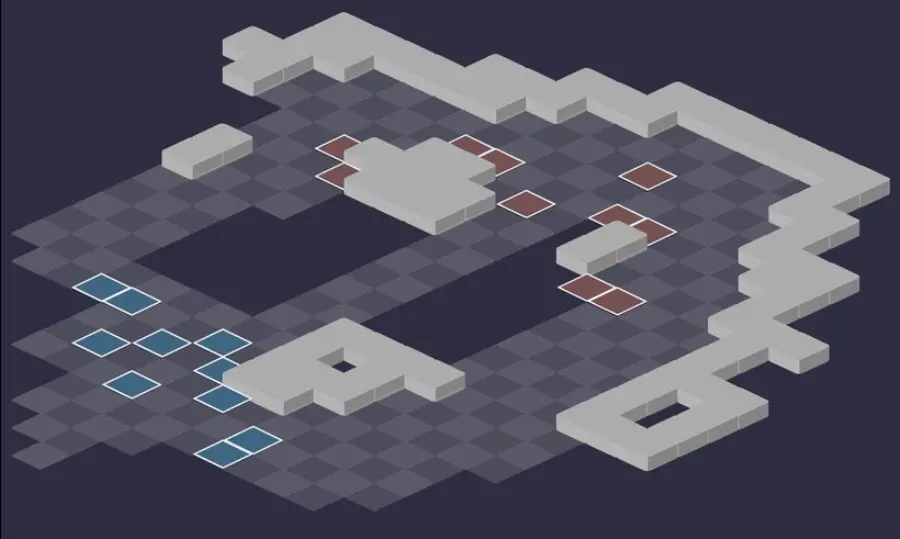
Beat Crocabulia
The shells' explosion
A shell finished off before its natural death, or whose summoner dies, explodes in a radius of 8 cells: damage and penalties for up to 4 turns. Be more than 8 cells away when you finish it off. Left alive, it dies on its own after 4 turns, with no effect.

Level 120
 7,000 HP
 12 AP
 5 MP
- Resistances (%)
 Earth 15%
 Fire 21%
 Water 18%
 Air 9%
 Neutral 13%
No invulnerability or mechanic of her own: she hits in Fire, Earth and Air, pushes back 3 cells with Tripup and swaps places with Crocabopya. All her danger comes from the shells, which she summons like her Dreggons. No real weakness: Air, at 9%, is what she resists least.
-
Breath5 AP · 10 Range ·41 to 60 Fire damage · Triggers: Ardent Propagation
Hits the target, then a cone behind it where it takes damage again, and leaves a red glyph there for 2 turns. In a line only, recast every 3 turns.
 Tram Pling4 AP · on himself ·26 to 35 Earth damage · 2 AP
Area of radius 5 around her: damage, 2 AP for her allies, and power for each character or summon hit. Recast every 2 turns.
 Tripup4 AP · 6 Range · Pushes back 3 cells ·31 to 40 Air damage · 100 Power
Pushes back 3 cells, up to three times per turn; cast on an ally, it gives them power.
-
Crocabopya4 AP · 4 Range · Switches positions ·56 to 65 Earth damage
Swaps places with the target, without line of sight: she can throw you into the middle of the monsters. Recast every 2 turns.
The four-step strategy against Crocabulia
Read the first shell. Crocabulia plays first and immediately summons a shell. Healer or Protector: kill it right away, from more than 8 cells away. Brute or Swift: ignore it, it will die on its own after 4 turns.
The Dreggons first. Then kill all the monsters, starting with those that fall fastest: they aren't very dangerous. Dragostess and Dragandrop move your characters, and the Dragmatic explodes at the end of its turn: keep 3 cells between you and it.
One shell every 4 turns. The shell recast is shared by all the monsters: a new one arrives on turns 1, 5, 9 and onward, never two at once. Same rule every time: kill the Healer and the Protector, ignore the other two.
Crocabulia last. On her own, she is easy to focus: get out of the Breath's line and don't end up in her red glyph if you can avoid it. Spread your characters out: Tram Pling gives her power for each character or summon within 5 cells.
The four shells
At the start of each turn, a monster has a one in four chance of summoning a shell, if none has appeared in 4 turns. Each has 1,400 HP and 8 MP, and strengthens the monsters at the start of its turn, Crocabulia twice as much: the Brute gives final damage, the Protector a shield, the Healer healing, the Swift MP.
When finished off, it explodes in a radius of 8: the Brute reduces your final damage, the Protector increases the damage you take, the Healer makes you unhealable, the Swift removes 4 MP. The earlier it dies, the harder and longer the explosion hits. Its Passe Khal state, from 4 to 1, shows its remaining turns.
The Dragmatic's eruption
The Dragmatic starts each turn with a Magmatic Pressure of 3, which drops by 1 with each spell cast. At the end of its turn, it triggers a Fire eruption in a radius of 2 cells: the more spells it has cast, the weaker it is, down to doing nothing at 0. Don't stay in melee with it when it has played little.
The monsters of Crocabulia's Lair
Five level 112 Protective Dreggons, not very dangerous: order matters less than speed, so aim first for the ones you kill fastest. None has a fleeing AI, and all of them can summon a shell. Resistances in red are their weaknesses.
In which order to kill the monsters
- Dragostess, then Dragandrop — they move your characters: pulling and MP removal for one, swaps and teleportation for the other.
- Dragmatic — his glyphs and eruption make the ground dangerous around him.
- Dragnarok, then Dragnnoyed — the first protects his allies with a shield, the second pushes back and hits from afar.

Level 112
- 2,100 HP
- 10 AP
- 4 MP
- Resistances (%)
- Earth -13%
- Fire 14%
- Water -6%
- Air 24%
- Neutral 10%
Flirt pulls 3 cells in a line and removes 2 MP, Love at First Sight removes 3 range in an area, Hurly-Burly gives 2 MP to the monsters around her. Weak to Earth and Water.
 Flirt3 AP · 6 Range · Pulls 3 cells ·-2 MP
Pulls 3 cells and removes 2 MP for 2 turns, in a line only.
 Love at First Sight4 AP · 6 RNG ·36 to 45 Fire damage · -3 Range
Removes 3 range in an area for one turn, with no unbewitching possible.
 Hurly-Burly3 AP · self ·2 MP
2 MP for the Dragostess and the monsters around her, from turn 2 then every 3 turns.

Level 112
- 2,100 HP
- 10 AP
- 4 MP
- Resistances (%)
- Earth 9%
- Fire 16%
- Water 24%
- Air -18%
- Neutral -8%
He swaps places with you using Swapp, and Chinnewk gives 3 MP to nearby monsters before teleporting him and hitting in an area. Weak to Air and Neutral.
-
Coopay-Daykalay3 AP · 4 Range ·31 to 40 Air damage
-
Swapp
Swaps places with you, in a line. Recast every 3 turns.
 Chinnewk4 AP · 5 RNG ·24 to 33 Air damage · Teleports to the targeted cell
3 MP for the monsters around the Dragandrop, then teleportation and a strike in an area. Recast every 4 turns.

Level 112
- 3,000 HP
- 10 AP
- 4 MP
- Resistances (%)
- Earth -7%
- Fire 24%
- Water 15%
- Air -17%
- Neutral 17%
More HP than the others and an eruption at the end of its turn, stronger the less it has played. Lav-A-Matik leaves a black glyph that removes 2 MP. Weak to Air and Earth.
-
Lav-A-Matik4 AP · 2 Range ·36 to 45 Fire damage · Places an end-of-turn glyph · Triggers: Magmatic Evolution
Leaves a black glyph for 2 turns: stepping on it costs HP and 2 MP.
 Magbite3 AP · melee ·26 to 35 Fire damage · 11 to 15 Fire damage · Triggers: Magmatic Evolution

Level 112
- 2,600 HP
- 10 AP
- 4 MP
- Resistances (%)
- Earth 18%
- Fire 12%
- Water -5%
- Air -10%
- Neutral 24%
Clad Ding protects the Dragnarok and his nearby allies with a shield and MP parry, stackable twice. In melee, Stunn steals power from you. Weak to Air and Water.
 Stunn3 AP · melee · -100 Power · 100 Power ·41 to 50 Water damage
Steals power in melee, for one turn.
 Dreggowcut3 AP · 2 RNG ·26 to 35 Earth damage
 Clad Ding4 AP · on himself · Shield: 300% of level ·20 MP Parry
Shield and MP parry for the Dragnarok and his nearby allies, 2 turns, stackable twice. Recast every 3 turns.

Level 112
- 2,100 HP
- 10 AP
- 4 MP
- Resistances (%)
- Earth 24%
- Fire -18%
- Water 9%
- Air 18%
- Neutral -10%
Bustgust pushes back 3 cells in a line, even without line of sight, and Passivagressive teleports him onto his target before bringing him back. Weak to Fire and Neutral.
-
Deathbite3 AP · melee ·31 to 45 Neutral damage
-
Bustgust3 AP · 8 Range · Pushes back 3 cells ·21 to 40 Air damage
Pushes back 3 cells in a line, without line of sight.
-
Passivagressive
The Dragnnoyed teleports onto its target, strikes and returns to its place.
Preparing your run through Crocabulia's Lair
A medium-difficulty dungeon for teams of level 110 to 120. You come here for the quests, for the Ochre Dofus with a Soul Stone for Big Souls (captures up to level 150), and for the Crocabulia Skins.
How to enter Crocabulia's Lair
The entrance is in the Dreggons' Sanctuary, at ; the nearest zaap is the one at Scaraleaf Plain . To go down into the sanctuary, enter the Kanojedo and talk to Ziho at . You then need a Key to Crocabulia's Lair (consumed), the key ring, or the automatic group finder.
Crafting the Key to Crocabulia's Lair
It is crafted by a handyman. The four skins and horns in the recipe drop from the dungeon's Dreggons, at 31%, like the Bloody Meat. Perch, Pandkin Seed and Malt complete the recipe.
| Ingredient | Quantity | Level |
|---|---|---|
 Dragostess Skin |
2 | 120 |
 Dragnarok Hide |
2 | 120 |
 Dragnnoyed Horn |
2 | 120 |
 Dragandrop Hide |
2 | 120 |
 Bloody Meat |
2 | 120 |
 Perch |
2 | 120 |
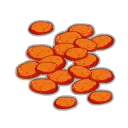 Pandkin Seed |
2 | 120 |
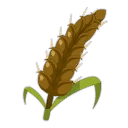 Malt |
2 | 120 |
Which team to bring against Crocabulia
Damage above all. No mechanic to work around: a team that kills fast shortens the fight and limits the number of shells. Ranged damage also helps against the Breath, in a line.
MP and range removal. MP removal hinders Dragostess, Dragnarok and Dragandrop, without solving everything. Keep something that can kill a shell from more than 8 cells away, so you never suffer its explosion.
The five achievements of Crocabulia's Lair
Each achievement gives 7,160,000 XP and 2 Crocabulia Skin, Duo doubles the XP. Versatile and Statue mostly call for attention, and Duo works with any pair that hits.
| Achievements | Condition | Points | XP |
|---|---|---|---|
 Crocabulia (Duo) |
Defeat Crocabulia in her dungeon while completing the “Duo” challenge. | 20 | 14 320 000 |
| Crocabulia's Lair |
Defeat Crocabulia in this boss's dungeon. | 10 | 7 160 000 |
| Crocabulia (Statue) |
Defeat Crocabulia in her dungeon while completing the “Statue” challenge. | 10 | 7 160 000 |
| Crocabulia (Special) |
Defeat Crocabulia in her dungeon while completing the “By Breaking a Few Eggs” challenge. | 10 | 7 160 000 |
| Crocabulia (Versatile) |
Defeat Crocabulia in her dungeon while completing the “Versatile” challenge. | 10 | 7 160 000 |
Versatile
Never use the same action twice in a single turn. Nothing in the fight can make you fail: it all comes down to your vigilance. Beware of spells you recast by reflex, such as Boozer and Karcham for the Pandawa, or Portal and Flexible Portal for the Eliotrope.
Statue
End each turn on the cell where you started it. More annoying than difficult. Take care over your starting placement: neither behind an obstacle nor out of range, but with an angle of attack on the monsters. None has a fleeing AI, they all come to you. The Breath's glyph will be hard to avoid, but its damage stays reasonable.
Special: By Breaking a Few Eggs
The shells must be finished off before the start of their third turn, without an ally suffering their explosion. Crocabulia plays first and summons the first shell: focus it right away. At Passe Khal state 4 or 3, there is still time; at 2 or 1, it's too late. All your characters must be more than 8 cells away at the final blow. Then kill the monsters and the boss as fast as possible, even if it means repeating the maneuver on the next shell.
Duo
Two characters maximum, fewer than 20 turns. With no specific mechanic, any duo can finish it, ideally two characters that hit hard. Get rid of the Healer and Protector shells, then the monsters and Crocabulia.
Drops and loot of Crocabulia's Lair
Base in-game rates, before Prospecting bonuses.
On Crocabulia
 Crocabulia SkinSkin31 %
 Nougat Rabmarac BarTreat6 %
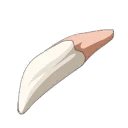 Protective Dreggon ToothBone5,24 %
- Crocabulia's Broken HornBone5,24 %
 Fortunawa CookieTreat3,6 %
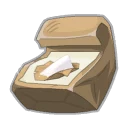 Bag of Magical CureContainer3 %
 Bloody CarrionMeat1,57 %
 Al Howin GobtubbyCeremonial pet0,45 %
In addition, 1 rare item at 0.08% each: Kinryu.
On the henchmen of Crocabulia
- Bloody MeatMeat · Dragnnoyed31 %
- Dragnnoyed HornBone · Dragnnoyed31 %
 Dragmatic HornBone · Dragmatic31 %
- Dragnarok HideSkin · Dragnarok31 %
- Dragandrop HideSkin · Dragandrop31 %
- Dragostess SkinSkin · Dragostess31 %
- Protective Dreggon ToothBone · Dragnnoyed5,24 %
 Dragandrop WingWing · Dragandrop5,24 %
- Fortunawa CookieTreat · Dragnnoyed1,2 %
- Bag of Magical CureContainer · Dragnnoyed1 %
Capturing the soul of Crocabulia and the Ochre Dofus
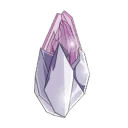 A Soul Stone for Big Souls (captures up to level 150) is needed for Crocabulia, who is level 120. The soul is used for the An Eternal Harvest quest of the Ochre Dofus.
| Stone ingredient | Quantity |
|---|---|
 Superior Soul Splinter |
10 |
 Mineral Potion |
1 |
Crocabulia's Lair as a guild Expedition
The Lair exists as a Guild Expedition, with an entirely different mechanic:
- Crocabulia is invulnerable and summons a 55,000-HP shell at the start of each turn, up to 10 range: no point killing it;
- at the start of her turn, Crocabulia blows up all the shells in line or diagonal with her, at infinite range, and a shell within 3 range of another also explodes;
- the explosion kills any character or summon within 3 cells and fully heals the monsters in the area: stay 4 range or more from the shells, and keep them away from the monsters;
- her invulnerability drops once she has herself blown up three shells, not necessarily in the same turn; chain explosions don't count;
- it takes at least 3 turns: kill the monsters accompanying her in the meantime.
Where is Crocabulia's Lair?
In the Dreggons' Sanctuary, at , in Amakna. Enter the Kanojedo and talk to Ziho at to go down there; the nearest zaap is the one at Scaraleaf Plain .
At what level should you do Crocabulia's Lair?
From level 110, comfortably at 120. The dungeon is rated medium difficulty: its only real constraint is the shells.
Which quest should you do in Crocabulia's Lair?
Dungeons and Yet More Dungeons and Legendary Smith, which are validated on Crocabulia. For the second, talk to Crocabulia without leaving the dungeon after the victory.
Do you have to kill the shells?
Only the Healer and the Protector. Kill them from more than 8 cells away to avoid their explosion, and let the Brute and the Swift die on their own after 4 turns.
Which monster should you target first in Crocabulia's Lair?
The ones you kill fastest, starting with Dragostess and Dragandrop. The Dreggons are not very dangerous, and Crocabulia is saved for last.
Which stone should you use to capture Crocabulia?
A Soul Stone for Big Souls (captures up to level 150). Crocabulia's soul is wanted by the Ochre Dofus quest.
Can Crocabulia's Lair be done with two characters?
Yes, it is even an achievement: Duo, in fewer than 20 turns. Two characters that hit hard are enough, killing the Healer and Protector shells first.
Do you need a key for every run of Crocabulia's Lair?
No, with the key ring or the group finder. Otherwise, the Key to Crocabulia's Lair is crafted with resources dropped by the dungeon's Dreggons.



Comments
No comments yet. A tip, or a detail about this page? Be the first.