 2 × Skt-Zo Leg
Dungeon Snowy Forest
Sakai Mine Dungeon
Level 190 dungeon in the Snowy Forest on Sakai Island, at [-52,-45]: five rooms of goblins and an invulnerable boss, Grohlum, whom a Zombie killed in contact with him exposes for one turn. Quests to start, map of each room, strategy, monsters, achievements and loot.
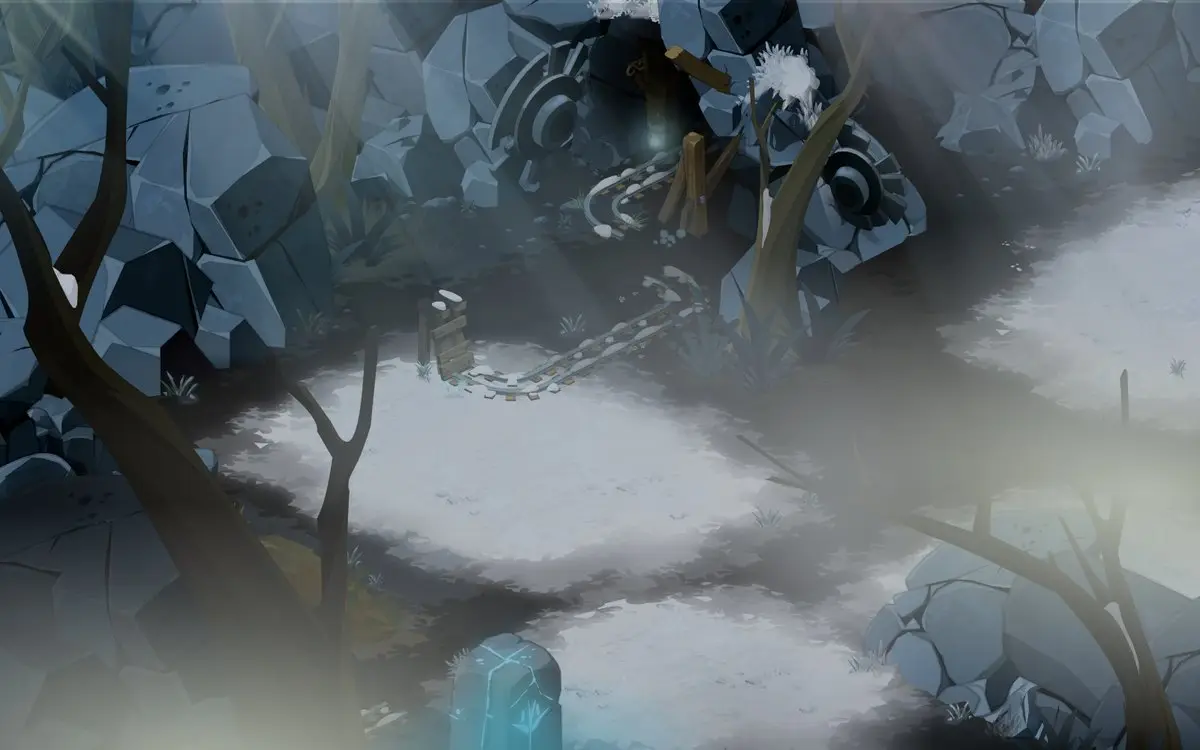
Quests linked to the Sakai Mine Dungeon
Several quests are completed on Grohlum: A Mine of Information for Frigost, your alignment's, and Hywan Kenoby's, started in front of the entrance. Accept them before entering, and stay in the final room after the boss long enough to talk to Hywan Kenoby.
Find out what the Count's goblins are preparing at the bottom of the mine. Defeat Grohlum in a single fight, discover the dungeon exit, then go back to see Lou Bricante and Juss Tafinger.
- Start
- Lou Bricante, Frigost Village
- Prerequisites
- Level 170 and Dungeons and Dragrunts
 All-Singing, All-Dancing Creamand one Synthetic Leather
Hywan Kenoby's quest starts on your first entry. Defeat Grohlum, then talk to Hywan Kenoby in the final room, before leaving. It rewards neither an item nor kamas.
- Start
- Hywan Kenoby, Snowy Forest
Ereziah Melkewel sends you against Grohlum. After the investigation into Gisgoul's items and the Sakai Tavern, defeat Grohlum in a single fight, talk to him, then go back to see King Beldarion.
- Start
- Amayiro, Bonta
- Prerequisites
- Level 180 and All's well that ends badly
A fake burglary to stage among the ice goblins. Defeat Grohlum in a single fight, use Dayvid Blayne's Talisman on the cold flames, then continue to Ereziah's secret laboratory.
- Start
- Esra'Ruoy'Dnim, Sidimote Moors
- Prerequisites
- Level 180 and Mind your backs!
For later
Grohlum drops the Stone of Yesteryear. Henual needs it, along with 12 Golden Cogs and 2 Eternal Metal, to craft the Temporal Stabiliser for the Water Clock Tower.
- Start
- Hazieff Taroun, Water Clock Tower
- Prerequisites
- Level 190 and Hot 'n' Cold
 Cycloid Eye10 eyes, 5 Ice Kamas and 60,000,000 XP
No need to defeat Grohlum. To find the alchemical chains forged by Ereziah, talk to Hywan Kenoby and advance to the second room of the mine.
- Start
- Lumino, Vigilante Base
- Prerequisites
- Level 170
 Obscurantus Globilumand 9 Mysterious Fabric
During events
- Merry Kwismas
Defeating Grohlum in a single fight is part of the quest. Harry Kwismas, . - Tiwaapi Simulation
Tiwaapi may designate Grohlum as the guardian to defeat. Incarnam, .
The 5 rooms of the Sakai Mine Dungeon
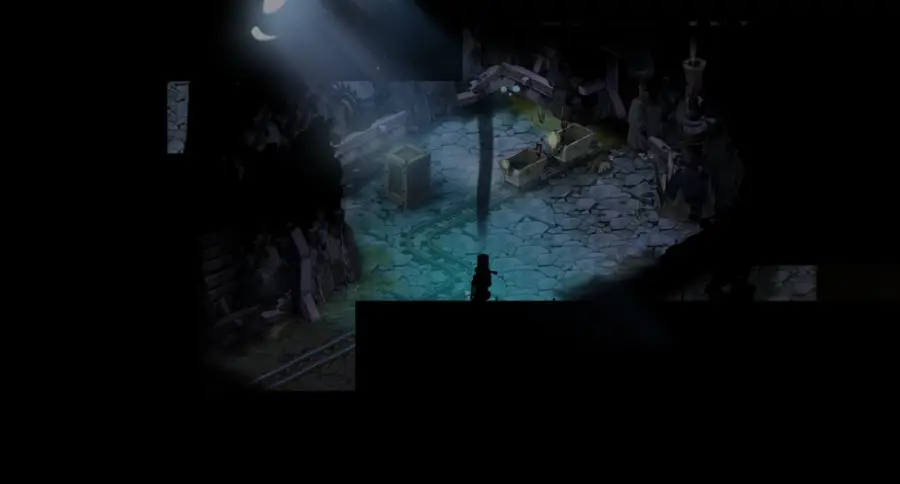
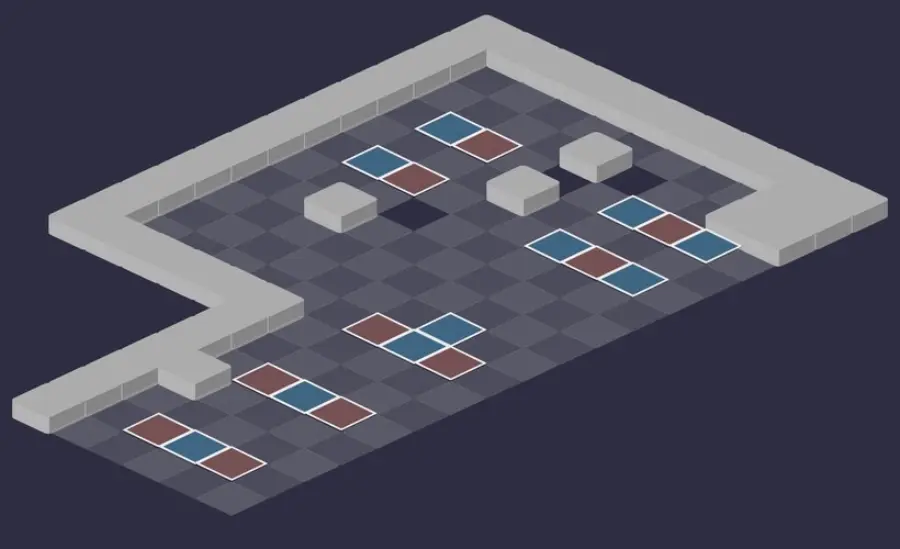
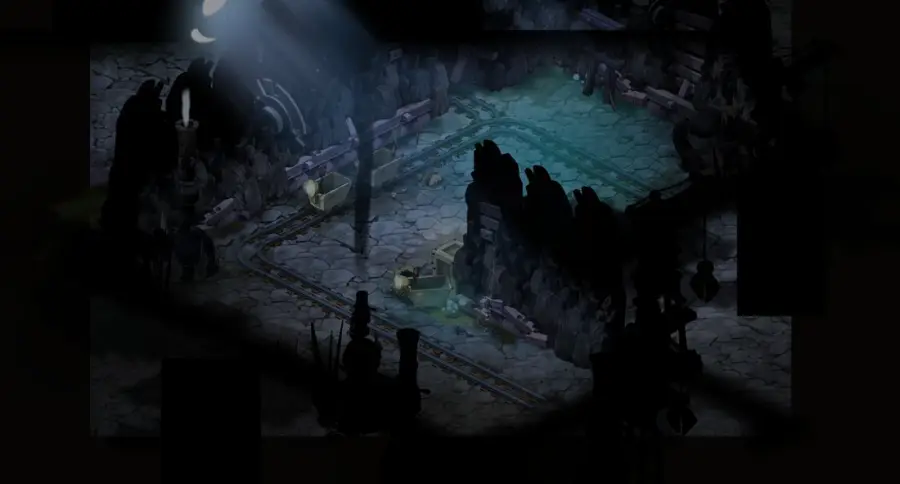
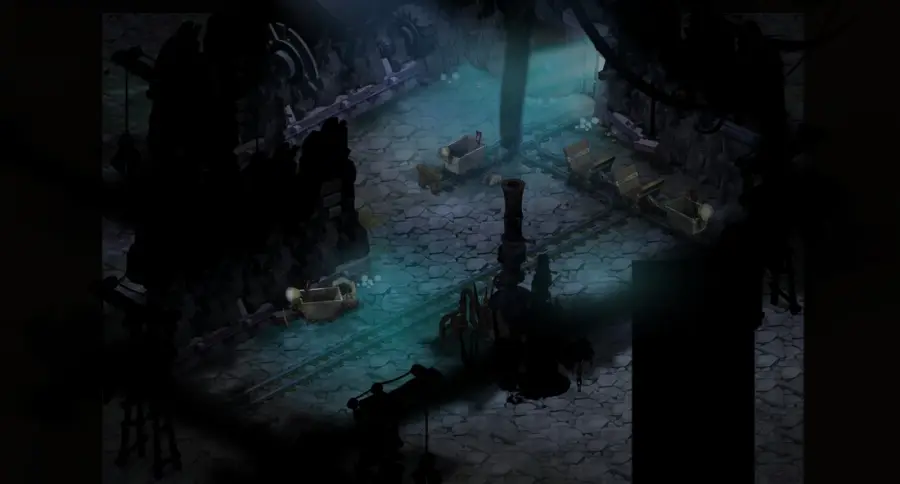
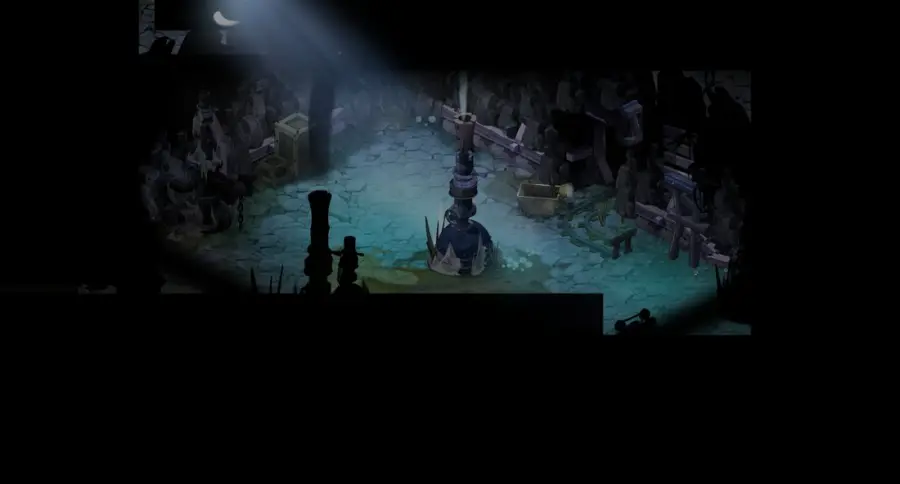
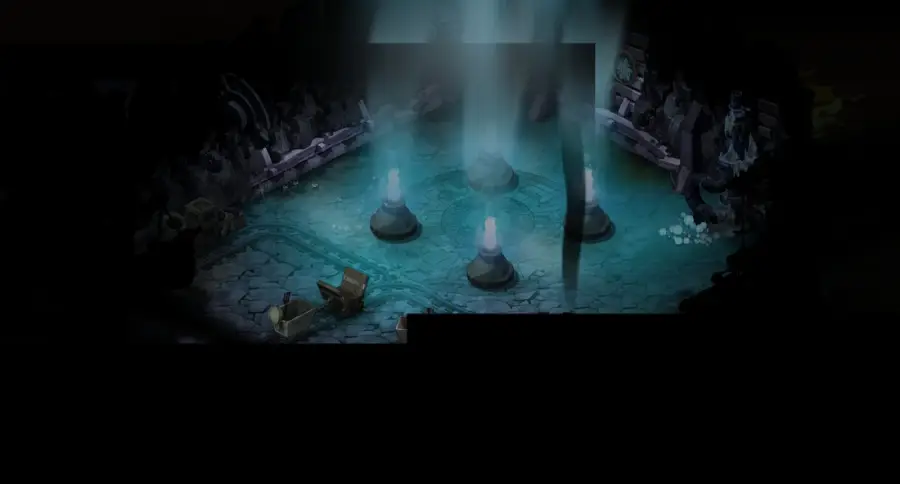
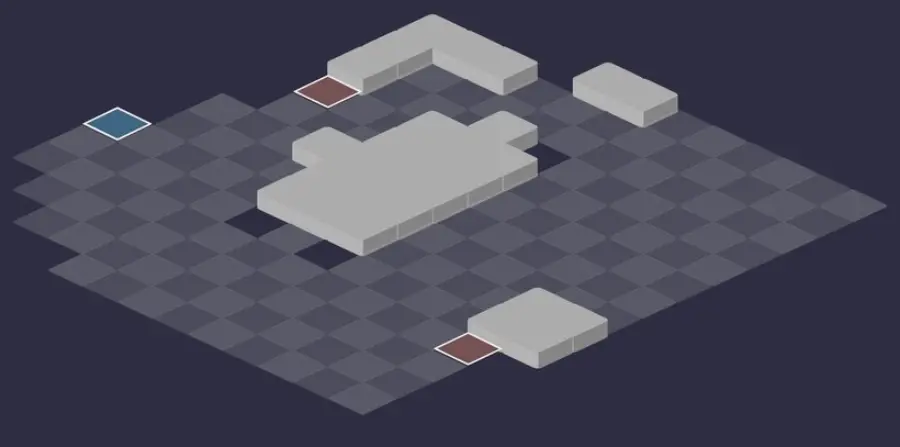
Five fights. Almost all the goblins mainly hit in melee: playing at range defuses half of their spells. For each room: the scenery, then the tactical view with the starting cells (blue: you, red: the monsters). Tap an image to enlarge it.
Room 1
Room 2
For The Army of Shadows, you just need to reach this room: no need to go all the way to Grohlum.
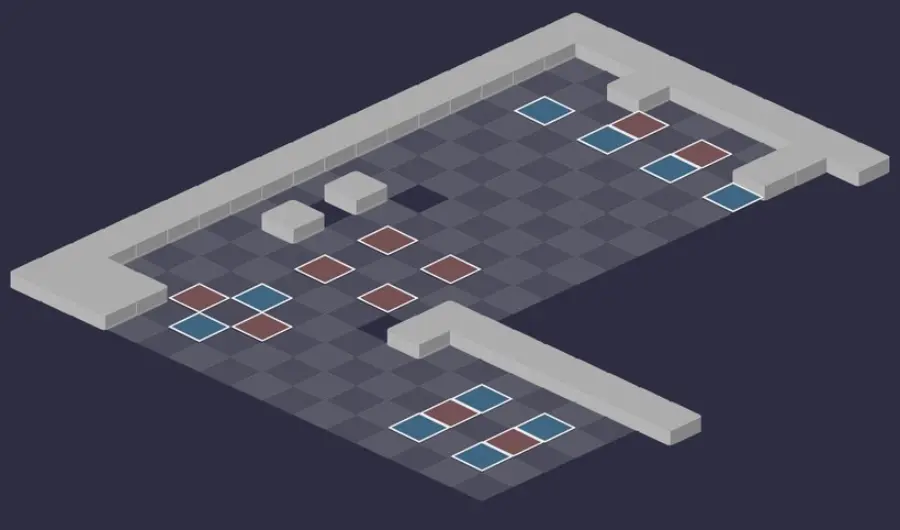
Room 3
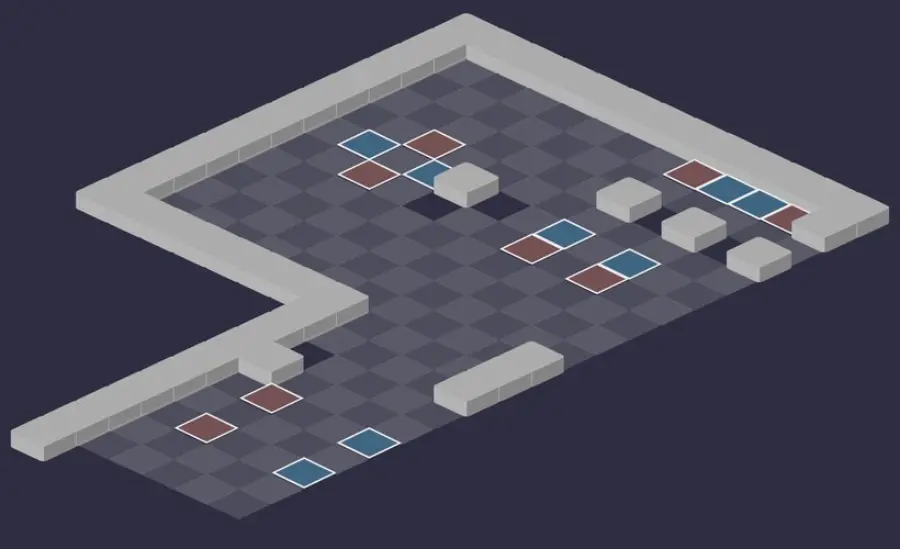
Room 4
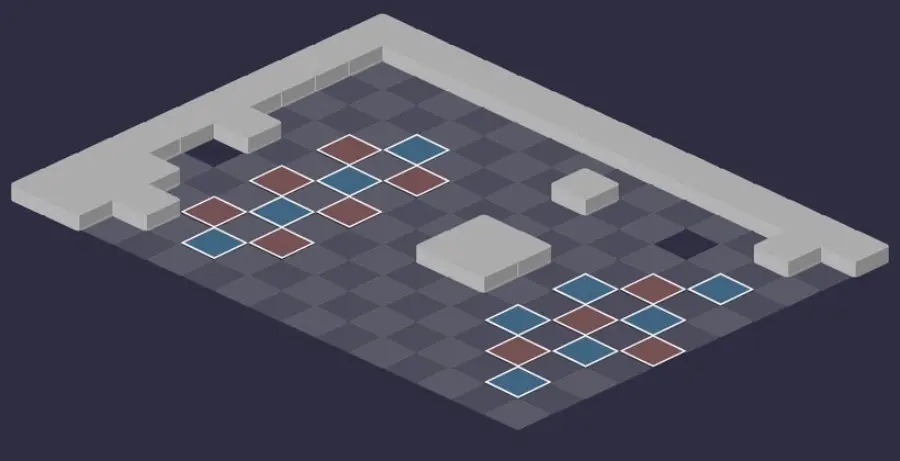
Room 5 — Grohlum
Defeat Grohlum
The Zombie must die in contact with him
Grohlum is invulnerable for the whole fight, except for one turn: the one that follows the death of a Zombie monster under Hoarfrost, killed while in contact with Grohlum. Killed elsewhere, the Zombie is useless. And never remove MP from him: he would become untouchable.
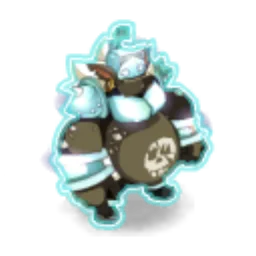
Level 190
 11,000 HP
 20 AP
 6 MP
- Resistances (%)
 Earth 21%
 Fire 31%
 Water -5%
 Air 24%
 Neutral 34%
Invulnerable, he resurrects the last dead monster every 2 turns, in Zombie state: this Zombie, killed in contact with him, exposes him for one turn. Invulnerable, he hits with Icefield and heals himself; vulnerable, he switches places with Eternal Winter. Weak Point: Water, his only negative resistance; Neutral is what he withstands best.
 Eternal Winter5 AP · 4 RNG ·21 to 30 Fire damage · Fire Damage: 10% erosion of the caster's missing HP · Switches positions
Only when he is vulnerable: switches places in a line up to 4 RNG, with a second hit according to his missing HP.
 Hoarfrost
On a Zombie: +200 damage and the Instant effect. That's the signal: this Zombie, killed in contact with him, makes him vulnerable.
 Icefield5 AP · melee ·51 to 70 Water steal · -4 Range · 101 to 150 Fire heals
In contact, in a line of 5 cells: life steal, -4 RNG, and he heals for each character hit. Never line up several characters in front of him.
 Cycle
Every 2 turns, from 5 to 10 RNG without line of sight: resurrects the last dead monster in contact with one of your characters.
The four-step strategy against Grohlum
The monsters, the Gobshell last. Kill all the monsters, finishing with the Gobshell, just before Grohlum's turn: Cycle resurrects the last dead monster, and the Gobshell is the least troublesome Zombie. If he resurrects another one, kill it and wait. With a Zombie Gobshell, never end up in line with it.
Prepare the Zombie. Bring the Zombie into contact with Grohlum and bring his HP down to the minimum. Buff yourselves, apply your debuffs on Grohlum, and check that the Zombie carries Hoarfrost's Instant effect. No rush: he recasts Hoarfrost every turn.
Open the window. Finish off the Zombie in contact with Grohlum using as few AP as possible. He stays vulnerable until the start of that character's next turn: ideally, the one who plays right after Grohlum, so the whole team hits before he plays again.
Kill him in one turn. Hit in Water. If he survives, Eternal Winter hits according to his missing HP, then Icefield heals him as soon as he becomes invulnerable again: he recovers quickly. If you can't kill him in one turn, play erosion, detailed below.
Cycle and Hoarfrost
Every 2 turns, Cycle resurrects the last dead monster in Zombie state, with part of its HP, more the more of you there are. Cast from 5 to 10 RNG without line of sight, it places the Zombie in contact with one of your characters: if none is in the area, nothing comes back.
Hoarfrost then gives the Zombie 200 damage and the Instant effect for one turn. If this Zombie dies in contact with Grohlum, he loses his invulnerability for one turn.
The MP removal trap
Any attempt to remove MP from Grohlum gives him 8,000 resistance in each element for one turn: even vulnerable, he no longer takes damage. Leave MP removal to the monsters, especially on the turn before the window.
The erosion technique
If the team can't kill him in one turn, turn this trap around: make him vulnerable while he has his 8,000 resistances, and erode his max HP without removing any HP from him. Left at full health, he gains nothing from Eternal Winter and heals nothing with Icefield. Repeat on each window.
The monsters of the Sakai Mine Dungeon
Six level 182 Sakai goblins, plus the Gobshell summoned by the Bomma. Almost all hit in melee: avoid their melee range and several of their spells will never touch you. Resistances in red are their weaknesses.
In which order to kill the monsters
- Grabba — it heals its allies and grows stronger with each hit received under Tanning.
- Bomma — each Gobshell it summons kills the characters lined up with it; several Bommas quickly become unmanageable.
- Buzta — the least dangerous in the dungeon: only its mid-range MP removal is a nuisance.
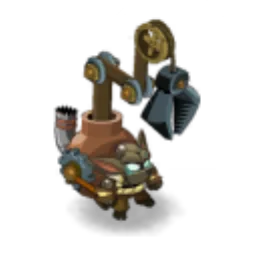
Level 182
- 4,700 HP
- 12 AP
- 5 MP
- Resistances (%)
- Earth -24%
- Fire 5%
- Water 31%
- Air 10%
- Neutral 15%
Morta heals an ally, and heals them again with each hit received. Under Tanning, each line of damage gives him a random bonus: MP, AP, damage, critical or heal. Outside his melee range, he can't touch you. Weak to Earth.
-
Skinning6 AP · melee · 20% Erosion ·46 to 60 Earth steal
In melee: life steal and 20% erosion for one turn.
 Tanning6 AP · on self ·50 Fire heals · 2 MP · 50 Damage · 6 AP · 50% Critical
One turn, a random bonus per line of damage received: hit him in a single line or wait for the effect to end.
 Morta6 AP · 4 Range ·21 to 30 Fire heals · 41 to 60 Fire heals
Heals an ally, then heals them on each line of damage they receive for one turn.
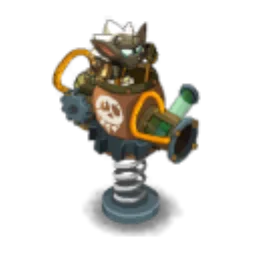
Level 182
- 4,700 HP
- 12 AP
- 4 MP
- Resistances (%)
- Earth 10%
- Fire 17%
- Water 19%
- Air 35%
- Neutral -26%
Watch his Gobshells: summoned in a line up to 10 RNG, they kill all the characters lined up with them at the end of their second turn. A summon in their line makes them explode harmlessly. Crippla poisons on each heal received. Weak to Neutral.
 Crippla6 AP · 10 RNG ·46 to 65 Water damage · 21 to 30 Water damage
In a line from 2 to 10 RNG: poison that triggers when the target is healed. Wait before healing the affected character.
-
Boosta
He and his allies within a radius of 4 cells roll their maximum for 2 turns.
 Gerrova 'Ere!
Summons a Gobshell, in a line up to 10 RNG, every 3 turns.
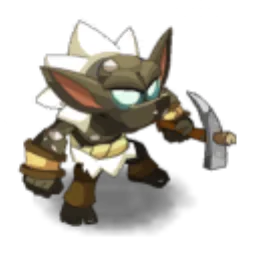
Level 182
- 4,700 HP
- 12 AP
- 5 MP
- Resistances (%)
- Earth 35%
- Fire 10%
- Water 12%
- Air -23%
- Neutral 5%
The least dangerous in the dungeon. Ice Axe removes AP in contact, Morphallaxe boosts its neighbors, Banjaxe removes MP in a line from 4 to 6 RNG. Weak to Air.
 Ice Axe6 AP · melee ·31 to 40 Air damage · -2 AP
Removes 2 AP in contact (4 on a critical hit).
 Morphallaxe
 Banjaxe6 AP · 6 Range ·21 to 30 Earth damage · -1 MP
In a line from 4 to 6 RNG: removes 1 MP (2 on a critical hit).
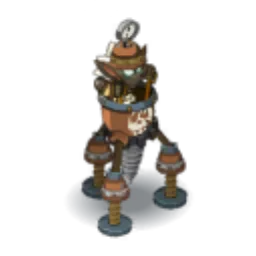
Level 182
- 4,700 HP
- 12 AP
- 5 MP
- Resistances (%)
- Earth 12%
- Fire 20%
- Water 22%
- Air -15%
- Neutral 27%
Mining poisons in contact, Routing applies Weakened; Pinching pulls 4 cells, in a line from 3 to 5 RNG, and hits according to his missing HP. Stay out of his line and finish him in one turn. Weak to Air.
 Mining6 AP · melee ·51 to 70 Earth damage · 26 to 35 Earth damage
One-turn poison that triggers on each line of damage you take.
-
Routing6 AP · on self · Weakened State ·26 to 35 Water steal
Around him: life steal and Weakened state for 2 turns. Cooldown 3 turns.
-
Pinching6 AP · 5 RNG ·Air Damage: 10% erosion of the caster's missing HP · Pulls 4 cells
Pulls 4 cells, in a line from 3 to 5 RNG; the more wounded the Drilla is, the harder it hits.
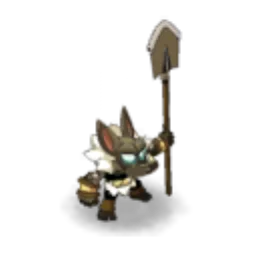
Level 182
- 4,700 HP
- 12 AP
- 5 MP
- Resistances (%)
- Earth 15%
- Fire -30%
- Water 18%
- Air 36%
- Neutral 24%
Pilfering pushes back, then Filching steals MP in a line: a short-range combo. Under Retraction, don't hit him in melee: he parries by retreating and gains damage with each hit. Weak to Fire.
-
Pilfering6 AP · 2 RNG ·41 to 60 Water steal · Push Away 2 cells
In a line up to 2 RNG, area effect: life steal and push of 2 cells.
-
Retraction
One turn: he and his neighbors parry hits in contact by retreating one cell, and gain damage with each hit received.
-
Filching6 AP · 5 Range ·21 to 30 Water steal · Steals 1 MP
In a line from 3 to 5 RNG, area effect: life steal and 1 MP steal (2 on a critical hit).

Level 182
- 4,700 HP
- 12 AP
- 3 MP
- Resistances (%)
- Earth 21%
- Fire 32%
- Water -30%
- Air 14%
- Neutral 10%
Your Head A Splode hits around him, Kill It With Water switches places at exactly 5 RNG. Under Kwismas, each hit received hits his neighbors, your allies included: don't hit him if one of them is in contact with him. Weak to Water.
-
Your Head A Splode6 AP · on self ·31 to 50 Fire damage · 25 Damage
Whacks around him and boosts him by 25 damage for 4 turns.
 Kwismas
For one turn, each line of damage received boosts him and hits everything in contact with him.
-
Kill It With Water6 AP · 5 Range · Switches positions ·16 to 25 Water damage
At exactly 5 RNG: switches places and hits around his arrival cell.
Preparing your run through the Sakai Mine Dungeon
An accessible level 180 to 190 dungeon, whose entire difficulty comes down to one mechanic: making Grohlum vulnerable, then killing him in one turn. People come for the alignment and Frigost quests, the Stone of Yesteryear, the achievements and the capture with a Soul Stone for Huge Souls.
How to enter the Sakai Mine Dungeon
The entrance is in the Snowy Forest on Sakai Island, at ; the nearest zaap is the one at Sakai Plain . To reach the island, take the boat to Sakai at Madrestam or by the Frigostian transporter. Three ways to open it: a Sakai Mine Key (consumed), the key ring if it is registered there, or the automatic group search.
Crafting the Sakai Mine Key
It is crafted at a handyman. Four ingredients drop from the dungeon's goblins: Buzta Ear, Stabba Fibula, Grabba Skin and Asploda Eye, as does the Midnight Meat. Swordfish (fishing), Mandrake and Millet (harvesting) complete the recipe.
| Ingredient | Quantity | Level |
|---|---|---|
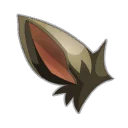 Buzta Ear |
2 | 180 |
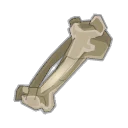 Stabba Fibula |
2 | 184 |
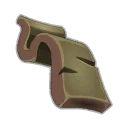 Grabba Skin |
2 | 183 |
 Asploda Eye |
2 | 181 |
 Midnight Meat |
2 | 190 |
 Swordfish |
2 | 190 |
 Mandrake |
3 | 180 |
 Millet |
3 | 180 |
Which team to bring against Grohlum
Water, grouped into one turn. Grohlum has only one weakness, Water, and only a one-turn window at a time: plan for concentrated Water damage, with boosts and vulnerabilities applied before opening the window.
Erosion as a backup. If your team can't kill him in one turn, characters that erode let you beat him over several windows, by reducing his max HP without wounding him.
No MP removal on the boss. Any MP removal on Grohlum gives him 8,000 resistance for one turn. Save your removal spells for the goblins.
The six achievements of the Sakai Mine Dungeon
Each achievement rewards 137,711,000 XP and 2 Ice Powder, Duo (fewer than 28 turns) doubles the XP; Sidekick, with Grute, Goboff, Rint or Piggy Paupe in a team of four, rewards 206,566,500 XP. Special changes how you bring the Zombie.
| Achievements | Condition | Points | XP |
|---|---|---|---|
 Grohlum (Duo) |
Defeat Grohlum in his dungeon while completing the “Duo” challenge. | 20 | 275 422 000 |
| Sakai Mine |
Defeat Grohlum in this boss's dungeon. | 10 | 137 711 000 |
| Grohlum (Sidekick) |
Defeat Grohlum in his dungeon while completing the “Garbage Pail Sidekicks” challenge | 5 | 206 566 500 |
| Grohlum (Special) |
Defeat Grohlum in his dungeon while completing the “No, the Other One” challenge. | 10 | 137 711 000 |
| Grohlum (Versatile) |
Defeat Grohlum in his dungeon while completing the “Versatile” challenge. | 10 | 137 711 000 |
| Grohlum (Blitzkrieg) |
Defeat Grohlum in his dungeon while completing the “Blitzkrieg” challenge. | 10 | 137 711 000 |
Special: No, the Other One
Enemies in the Zombie state may not be moved by allies. No more pushing or pulling the Zombie toward the boss: move Grohlum to the Zombie, not the other way around. The Zombie under Hoarfrost must always die in contact with him to lift the invulnerability.
Drops and loot of the Sakai Mine Dungeon
Base in-game rates, before Prospecting bonuses.
On Grohlum
 Ice PowderPowder15 %
 Nougat Rabmarac BarTreat6 %
 Bag of LemonsContainer3 %
 Temporal ShardPrecious stone2,44 %
 Sakai Nugget FragmentStone2,4 %
 Al Howin GobtubbyCeremonial pet0,8 %
 Midnight CarrionMeat0,73 %
On the henchmen of Grohlum
- Midnight MeatMeat · Buzta15 %
- Buzta EarEar · Buzta15 %
- Stabba FibulaBone · Stabba14 %
- Grabba SkinSkin · Grabba14 %
- Asploda EyeEye · Asploda14 %
 Drilla StoneStone · Drilla13 %
 Gobshell EggEgg · Bomma13 %
- Sakai Nugget FragmentStone · Buzta2,44 %
- Bag of LemonsContainer · Drilla1 %
 Doctor Gobotnegg Map Fragment 5/5Map fragment · Buzta1 %
 Doctor Gobotnegg Map Fragment 2/5Map fragment · Stabba1 %
 Doctor Gobotnegg Map Fragment 3/5Map fragment · Grabba1 %
 Doctor Gobotnegg Map Fragment 1/5Map fragment · Bomma1 %
 Doctor Gobotnegg Map Fragment 4/5Map fragment · Asploda1 %
Soul capture and the boss's story
Capturing the soul of Grohlum
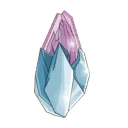 One Soul Stone for Huge Souls (captures up to level 200) is enough for Grohlum, who is level 190.
| Stone ingredient | Quantity |
|---|---|
 Majestic Soul Splinter |
10 |
 Alteration Potion |
2 |
A boss with three names
Grohlum was first called N, with an alchemist's look, in blue. In update 2.16, he becomes The Exile, same silhouette but mostly red, before taking his current name and appearance.
The Sakai Mine Dungeon as a guild Expedition
The mine exists in two guild Expeditions, Audacious and Valour, each with its own modifier:
- Audacious: at the start of each character's turn, a trapped, unmovable Gobshell appears in a line at exactly 2 RNG from them, clockwise. It plays right after and explodes if anyone is in its line: it kills a character, removes 20% resistances from a monster;
- the character who plays after you must not be on your Gobshell's line, and neither must you. A monster in its line makes it explode to your benefit; killing it also triggers its effects. The Queen of Thieves's placements help, and it's better to play with four at most;
- with Grohlum dead, no more Gobshells appear: killing him as early as turn 2 may be worth it;
- Valour: each monster finished off, Zombie included, gives Grohlum 50% vitality, 20% final damage and 2 MP, cumulative, and kills any character lined up with him;
- so you must kill Grohlum on the very first window, with 100% more vitality: a Pandawa with initiative is strongly recommended. Kill a monster on turn 3 so it comes back under Hoarfrost, then on turn 4 finish the Zombie in contact with him, lined up with no character, and finish Grohlum before his turn.
Where is the Sakai Mine Dungeon?
In the Snowy Forest on Sakai Island, at . The nearest zaap is the one at Sakai Plain ; the island is reached by boat from Madrestam or by the Frigostian transporter.
What level should you be to do the Sakai Mine?
Level 180 minimum, 190 recommended. Grohlum is level 190 and his goblins level 182.
Which quest should you do in the Sakai Mine?
A Mine of Information, at Lou Bricante's , and your alignment's quest. Sends Shivers Down Your Spine for Bonta, Revenge is a Dish Best Served Cold for Brakmar.
How do you make Grohlum vulnerable?
Kill a Zombie monster under Hoarfrost in contact with him. Grohlum resurrects the last dead monster every 2 turns; this Zombie, finished off in contact, exposes him for one turn.
Why does Grohlum take no damage while he is vulnerable?
Someone removed MP from him: he then gains 8,000 resistance in each element for one turn. Never remove MP from him.
Which monster should you save for last?
The Gobshell, summoned by the Bomma. Killed last, just before Grohlum's turn, it comes back as a Zombie, the least troublesome of all; just never stay in line with it.
What should you do if the team can't kill Grohlum in one turn?
Play erosion. Make him vulnerable while he has his 8,000 resistances and erode his max HP, window after window, without letting him heal.
Which stone should you use to capture Grohlum?
One Soul Stone for Huge Souls (captures up to level 200). Grohlum is level 190.
Do you need a key for every run of the Sakai Mine Dungeon?
No, with the key ring or the automatic group search. The key is crafted at a handyman with resources from the dungeon's goblins.

Comments
No comments yet. A tip, or a detail about this page? Be the first.