 2 × Skt-Zo Leg
Dungeon Koalak Mountain
Skeunk's Hideout
Level 120 dungeon in Agony V'Helley, at [-20,10]: one room per doll, then Skeunk surrounded by all four and the Famished Doll, who heals everything as long as she has not exploded. Quests to start, map of each room, strategy, monsters, achievements, Kaliptus Dofus and loot.
Quests linked to Skeunk's Hideout
The Warrior's Path is completed on Skeunk, Sword from the Stone requires a detour through his makeup box. Accept them before entering: a fight won without the quest in progress does not count. The Kaliptus Dofus, on the other hand, requires no quest.
Skeunk is the first of the six guardians. Defeat him in a single fight, discover the hideout's exit and go back to see The Key Master, before the Tanukouï San, Founoroshi, the Soft Oak, the Minotot and the Bworker.
- Start
- The Key Master, Cania Lake
- Prerequisites
- Dungeons and Yet More Dungeons
 Skeunk Skinand one resource from each of the six bosses
The sparkling powder is with Skeunk. To free the Crocobur sword, Meriana sends you to retrieve it from Skeunk's makeup box, before the Oubn-Ghazou powder and the Xelorium.
- Start
- Meriana, swamps
- Prerequisites
- Level 100 and The Sorceress from the Swamps
Skeunk Skinand 8,592,000 XP
For later
Skeunk's soul is required. The Ochre Dofus quest asks for the souls of many dungeon guardians: capture this one with a Soul Stone for Big Souls.
- Start
- Otomai, Otomai Island
- Prerequisites
- Level 40
 Ochre Dofusat the end of the 19 steps
Emerald wants to dress up as a Koalak. At the end of the dungeon, bring her a complete Koalak set: amulet, ring, bow, boots, cloak, belt and hat. In exchange, she gives you a Bloody Koalak pet.
- Start
- Emerald, end of Skeunk's Hideout
During events
- Merry Kwismas
Defeating Skeunk in a single fight is part of the quest. Harry Kwismas, . - Tiwagrum Simulation
Tiwagrum may assign you Skeunk as a guardian to defeat. Amakna Village, .
The Almanax Offering for Todeb requires an Emeralda's Skeunk Autograph, which drops from Emerald, the air doll.
The 8 rooms of Skeunk's Hideout
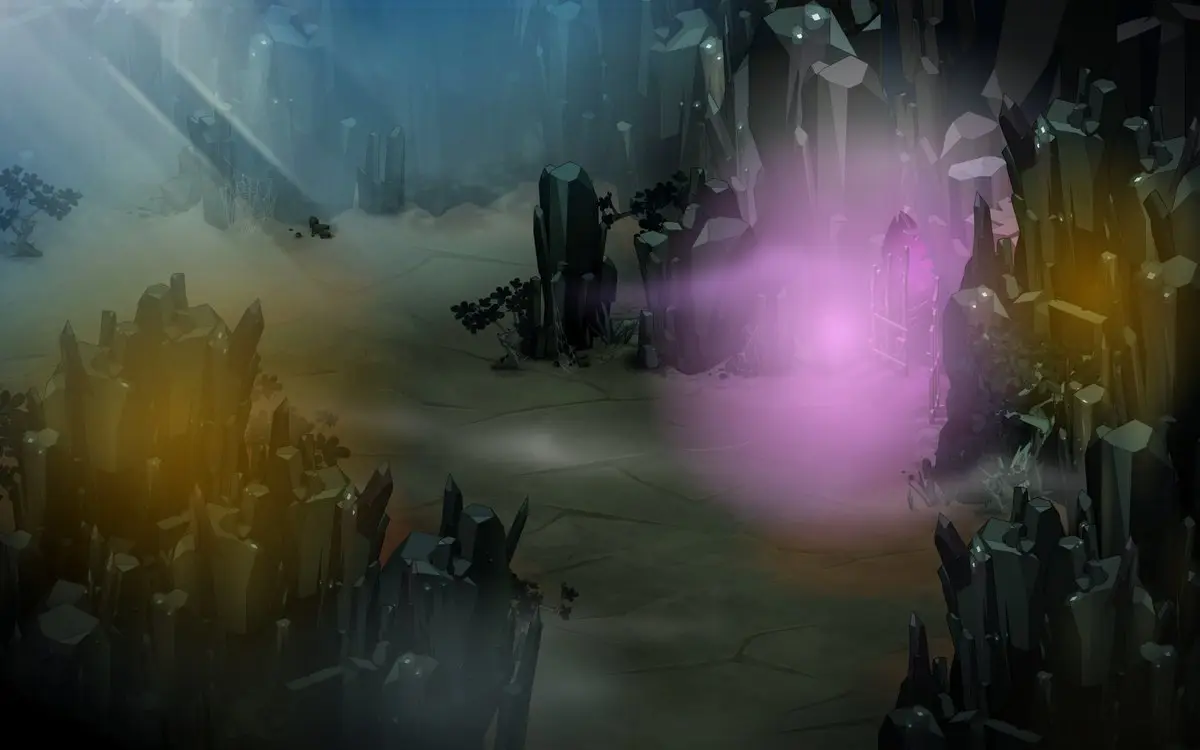
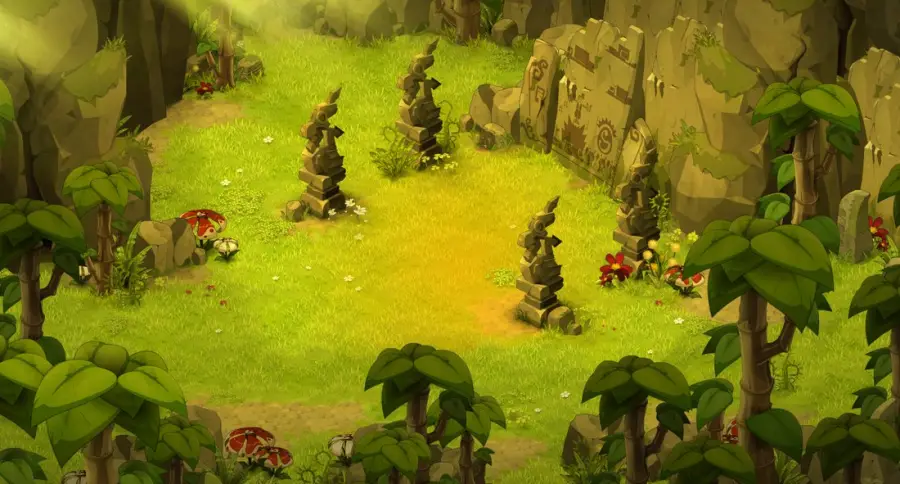
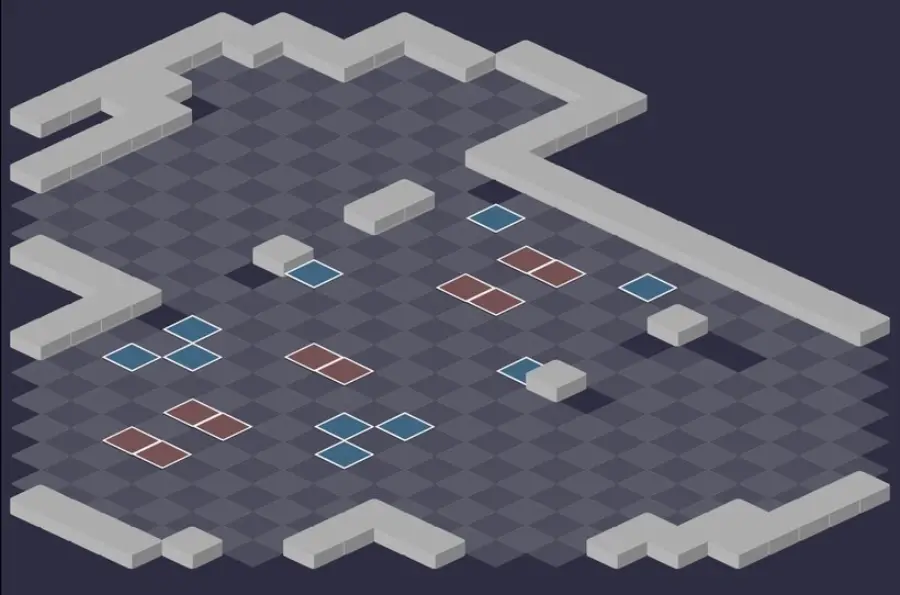
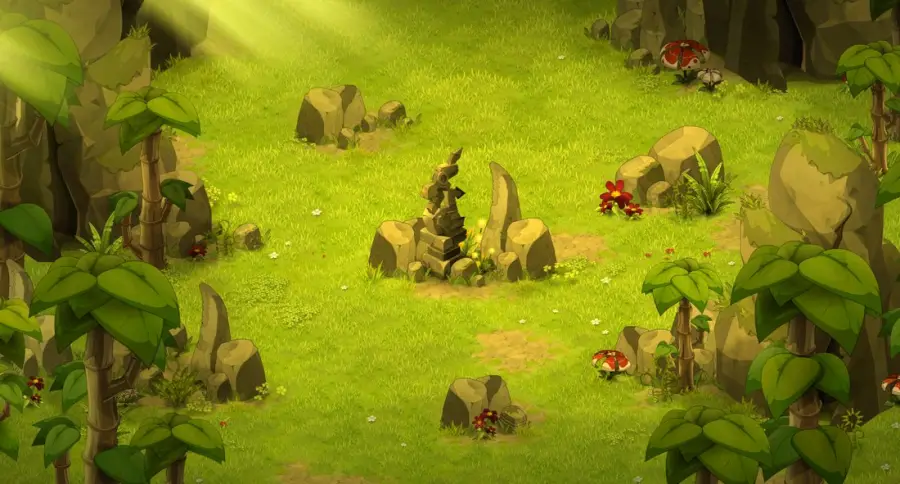
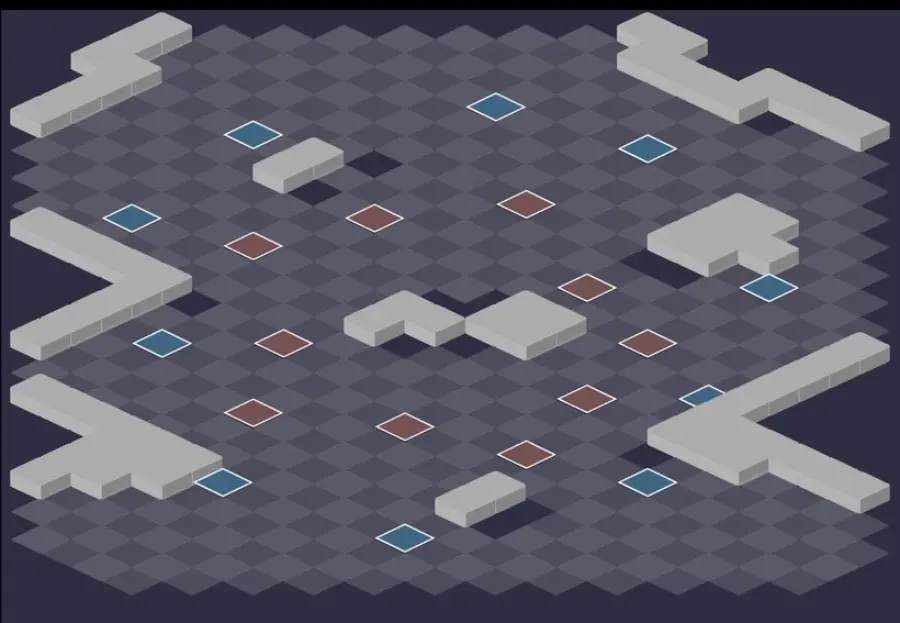
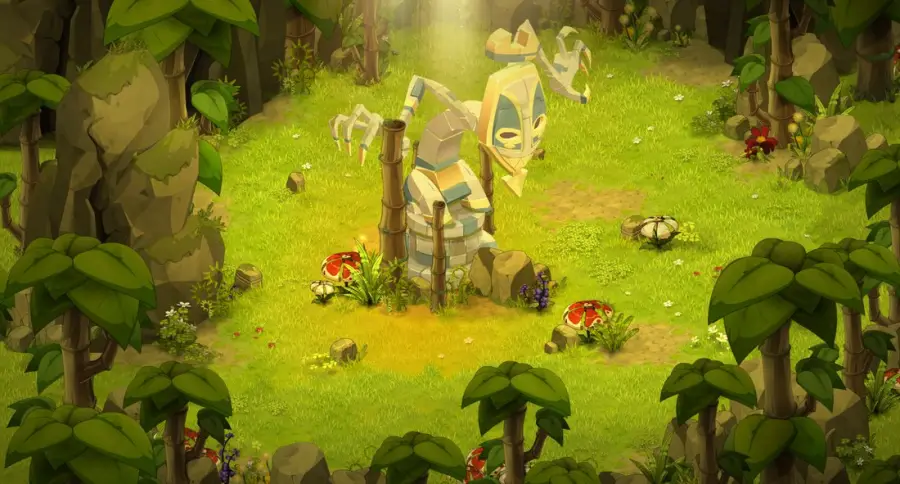
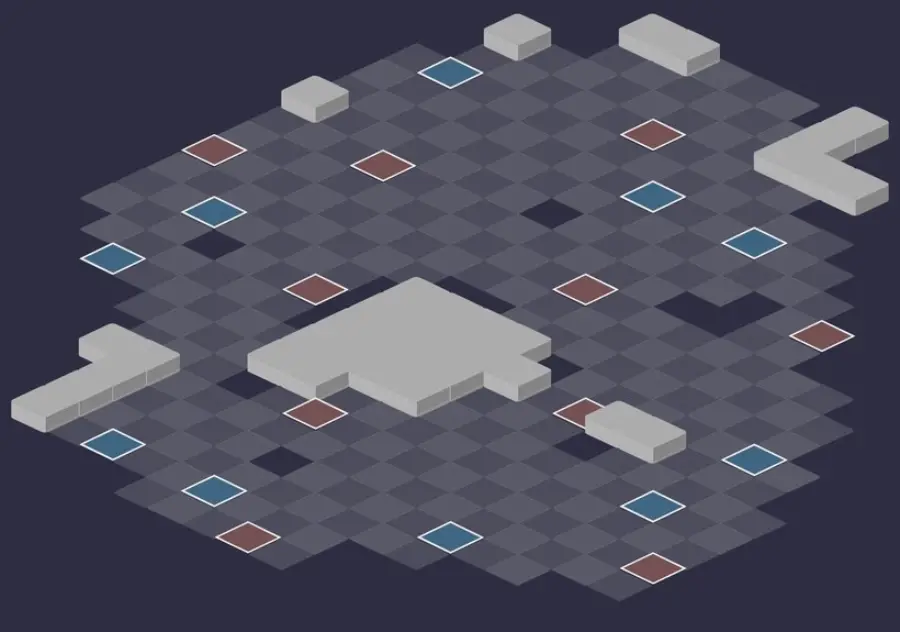
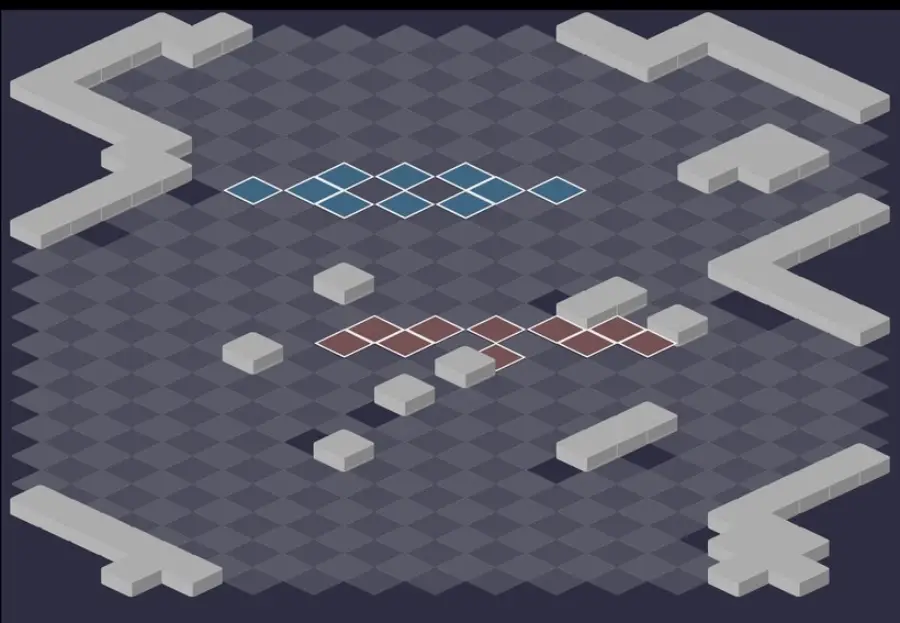
Talk to Kakolak to enter, then cross two rooms with no monsters. Each doll then waits for you in its room: Diamondine, Emerald, Ruby, then Sapphira with the Famished Doll, each leaving a brooch. Beyond four characters, Koalaks accompany them. The last room brings together Skeunk, the four dolls and the Famished Doll. For each room: the scenery, then the tactical view with the starting cells (blue: you, red: the monsters). Tap an image to enlarge it.
Room 1
Room 2
Room 3
Room 4

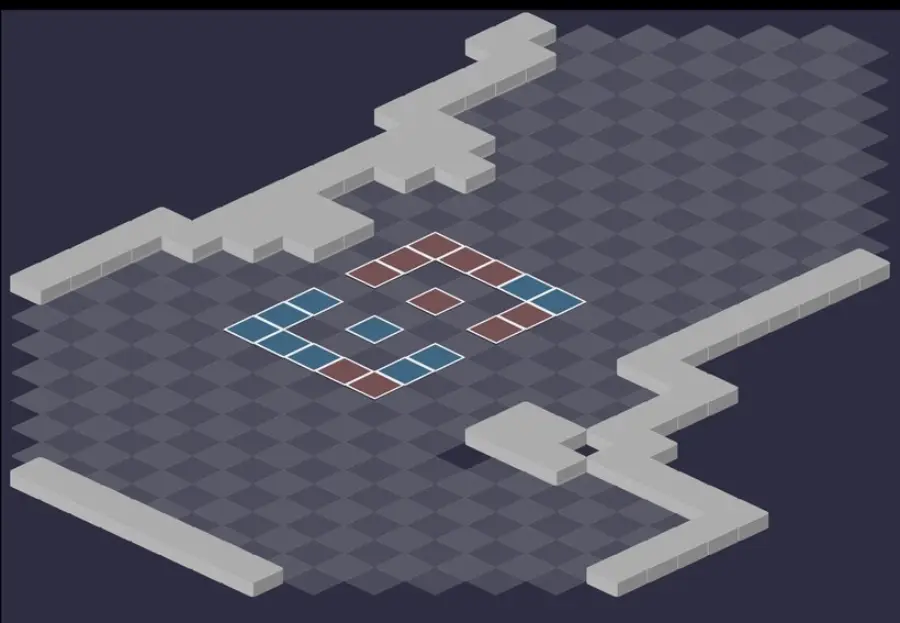
Room 5
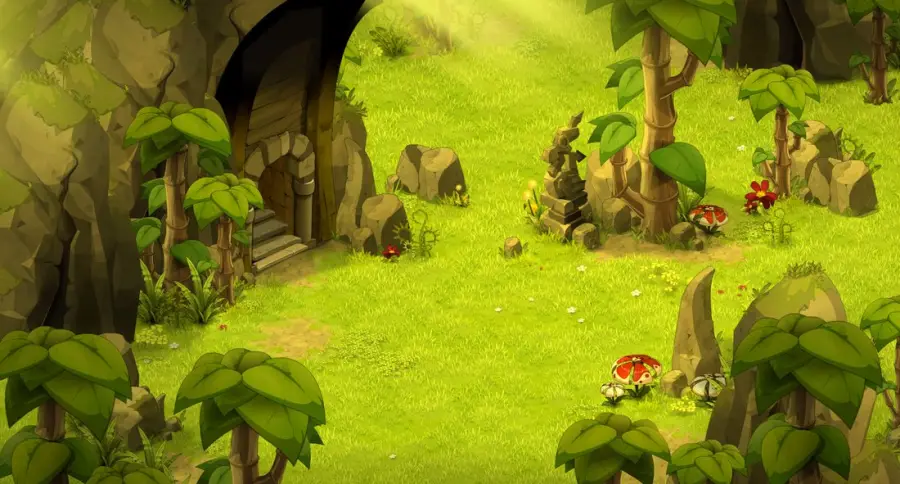
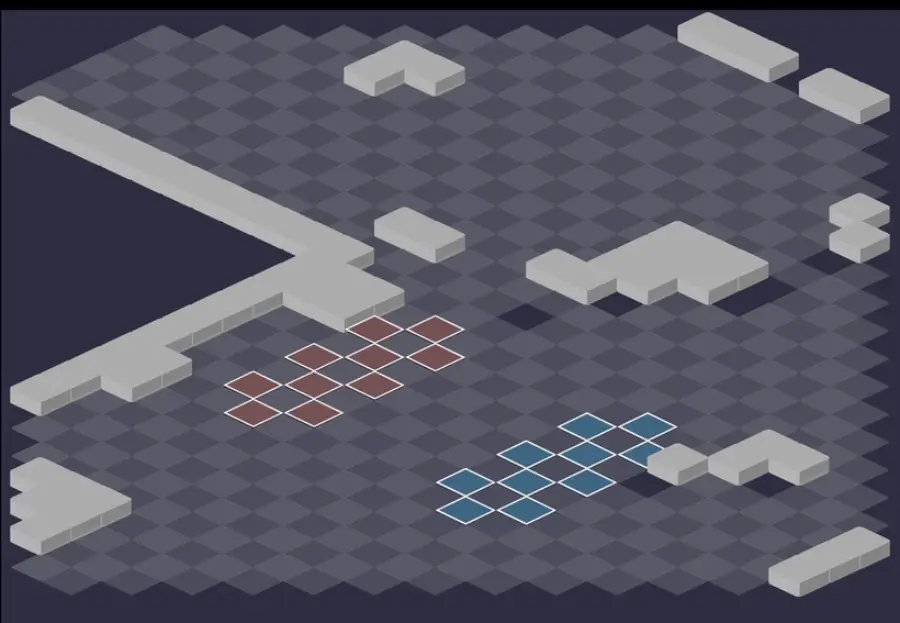
Room 6
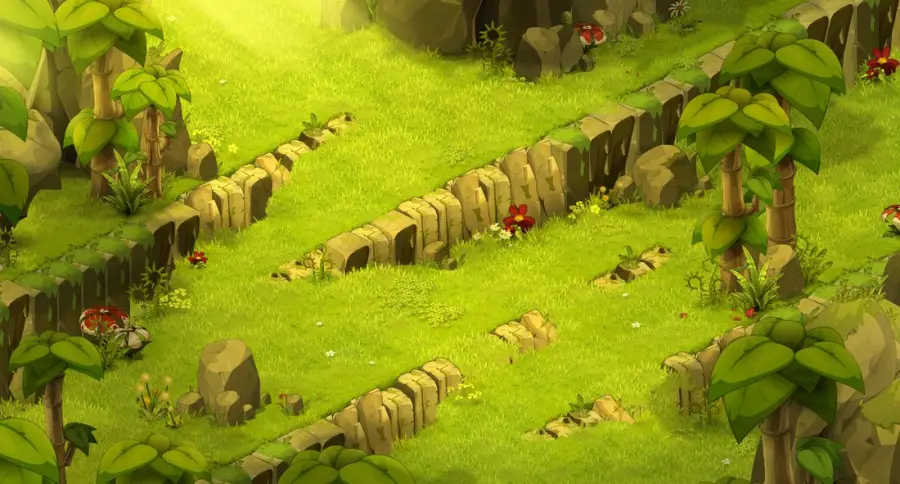
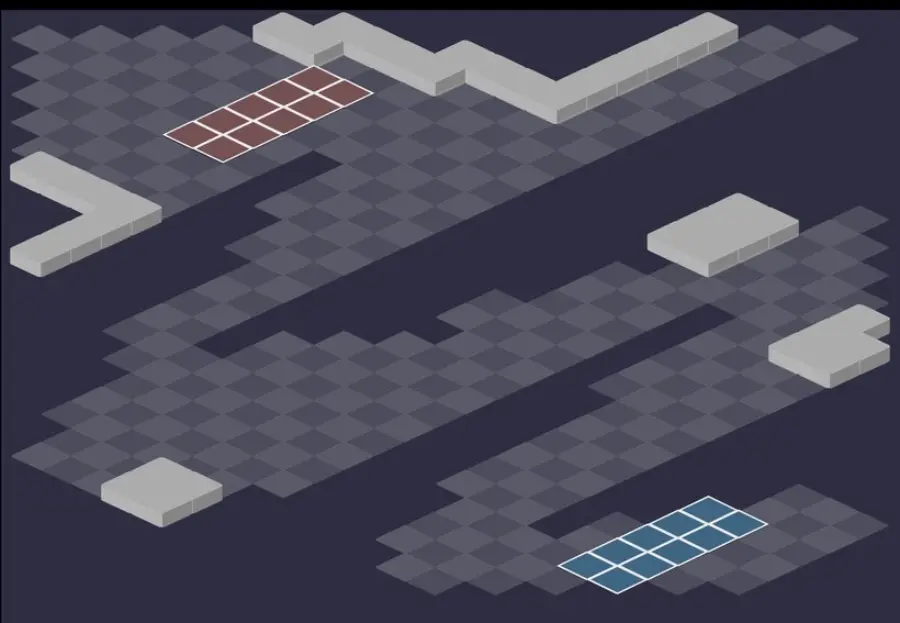
Room 7
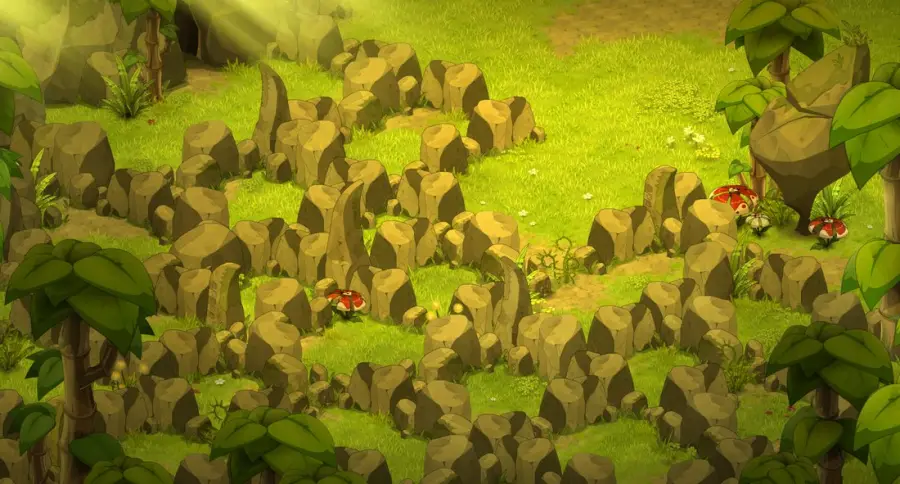
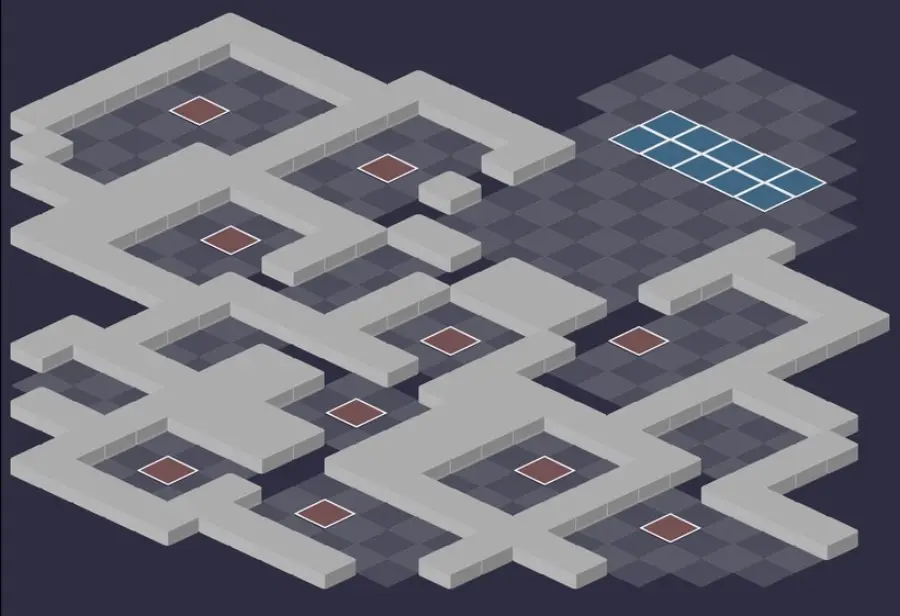
Room 8
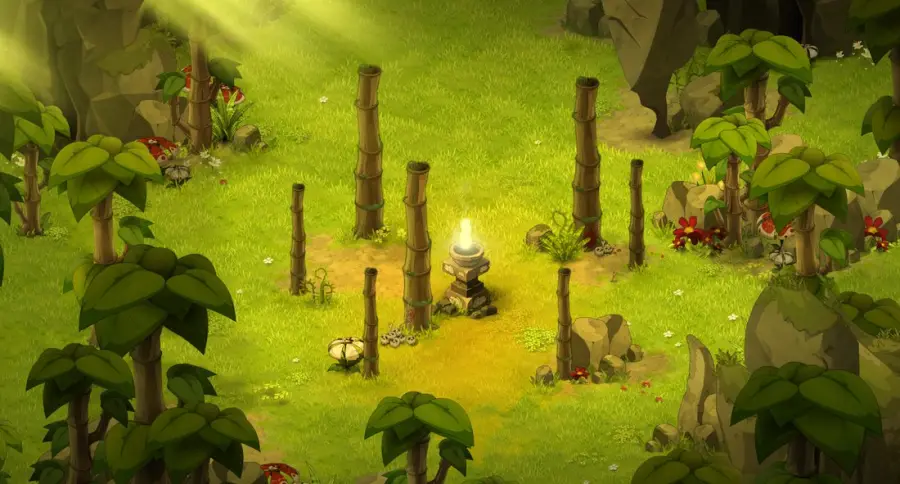
Defeat Skeunk
The Famished Doll heals everything
On each of her turns, she fully heals all the monsters in the fight. Make her explode before hitting your targets, unless you can kill them before she plays: otherwise, your damage for the turn is lost.
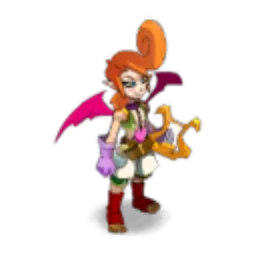
Level 120
 5,000 HP
 12 AP
 5 MP
- Resistances (%)
 Earth 28%
 Fire -5%
 Water -5%
 Air 38%
 Neutral 28%
A healer, in the manner of an Eniripsa: he heals an ally or himself, boosts AP, removes MP, unbewitches and strikes in Fire. He is worthless alone: save him for last. Weak points: Fire and Water; Air is what he withstands best.
 Regenerating Song3 AP · 10 Range ·31 to 40 Fire heals · 11 to 15 Fire heals
Heals an ally or Skeunk himself, up to 10 RNG.
 Stimulating Song2 AP · 10 RNG · Stimulated State ·2 AP · 150 Power
Gives 2 AP and 150 power to an ally: do not let a doll benefit from it.
 Youth Song
Reduces the duration of your effects by 2 turns: your boosts and the penalties you placed on him disappear faster.
 Paralysing Song3 AP · 10 RNG ·-4 MP · -30 Flight · 21 to 30 Air damage
Removes 4 MP and flight, up to 10 RNG.
 Lightning Song5 AP · 10 range ·41 to 60 Fire damage
The four-step strategy against Skeunk
The Famished Doll first. No point hitting her, she has 130% resistances everywhere. Feed her summons, two per turn at most, or give her AP: at 8 AP, she explodes on her own, striking your characters in Fire. Since update 3.6, she eats from turn 1.
Ruby, then Diamondine. Once the Famished Doll is gone, kill Ruby and Diamondine first. Ruby turns you into a totem, with no AP or MP, and Diamondine summons a Lethal Doll that kills in melee.
The last two dolls. The order between Sapphira and Emerald is free. Sapphira turns herself invisible and stacks penalties; Emerald swaps places at very long range: hit each one with her weaknesses, never with her element.
Skeunk last. Alone, he heals, debuffs and removes MP without much danger. Hit him in Fire or Water, then talk to him with your four brooches to leave with the Kaliptus Dofus.
Feed the Famished Doll
Anorexiant makes her eat a summon in contact with her and gives her 1 AP, twice per turn at most. At 8 AP, Explosive Digestion strikes all your characters in Fire and kills her. Any summon will do, and a spell that gives her AP speeds up the explosion.
Anorexiant kills its target: keep your characters out of her reach as long as she is alive. Soothing Sapphire is the heal she casts every turn.
The monsters of Skeunk's Hideout
Skeunk's four dolls, level 60 Sadida with 98% resistance in two elements, the Famished Doll, the Emerald Doll, and six Koalaks who can accompany them when you are more than four. Each doll is killed with her weaknesses, never with her two elements. The resistances in red are their weaknesses.
In which order to kill the monsters
- Famished Doll — she fully heals all the monsters on each of her turns: make her explode by feeding her.
- Ruby — she turns you into a totem, with no AP or MP, and summons totems.
- Diamondine — her Lethal Doll kills in melee.
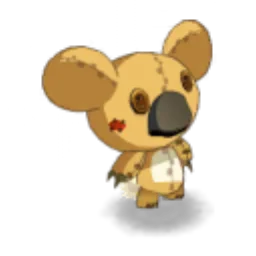
Level 120
- 2,200 HP
- 4 AP
- 4 MP
- Resistances (%)
- Earth 130%
- Fire 130%
- Water 130%
- Air 130%
- Neutral 130%
130% resistances everywhere: you do not kill her, you feed her. At 8 AP, she explodes and dies; until then, she heals everyone every turn.
 Anorexiant1 AP · melee · Kills the target ·1 AP
In melee: kills its target, preferably a summon, and gives 1 AP to the Famished Doll.
 Explosive Digestion8 AP · self ·101 to 150 Fire damage · Kills the target
At 8 AP: strikes your characters in Fire and kills the Famished Doll. That is what you are after.
 Soothing Sapphire1 AP · self ·1250 Fire heals
The Famished Doll's heal, every turn: the reason to make her explode first.
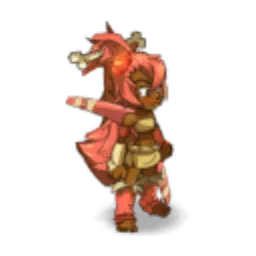
Level 60
- 3,200 HP
- 9 AP
- 4 MP
- Resistances (%)
- Earth -15%
- Fire 98%
- Water -15%
- Air -15%
- Neutral 98%
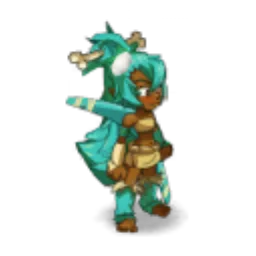
Totemization puts you at 0 AP and 0 MP in melee, Spanking pushes back 10 cells. She summons totems that boost or heal her. 98% in Fire and Neutral.
 Ruby Booh M'Rang6 AP · 6 range ·26 to 50 Fire steal
 Summoning of Motivating Totem
-
Summoning of Explosive Totem
-
Spanking1 AP · melee ·11 to 20 Fire damage · Push Away 10 cells
In melee: pushes back 10 cells.
-
Summoning of Healing Totem
-
Totemization1 AP · melee ·-100 AP · -100 MP · 11 to 15 Fire damage · Changes appearance
In melee: turns you into a totem, with 0 AP and 0 MP. Never end your turn next to Ruby.
-
Belting
In melee: removes your magic effects.
 Lively Leap
Level 60
- 3,200 HP
- 9 AP
- 4 MP
- Resistances (%)
- Earth 98%
- Fire -15%
- Water -15%
- Air -15%
- Neutral 98%
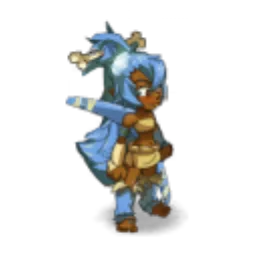
Heaviness puts you in Gravity from the start, no more leaps or cooperation. Summoning of Lethal Doll places a doll that kills in melee, weak to a random element; Blazing Leap leaves you Weakened. 98% in Earth and Neutral.
 Heaviness
Gravity from the start of the fight: no more leaps or place swaps on your side.
-
Diamond Booh M'Rang6 AP · 9 range ·51 to 100 Earth steal
-
Summoning of Lethal Doll1 AP · 4 RNG · Summons: Lethal Doll ·201 to 300 Fire healing
Places a Lethal Doll that kills in melee. It is weak to a randomly drawn element.
-
Belting
In melee: removes your magic effects.
-
Blazing Leap
Diamondine leaps, removes 20% resistances and leaves you Weakened.
Level 60
- 3,200 HP
- 9 AP
- 4 MP
- Resistances (%)
- Earth -15%
- Fire -15%
- Water 98%
- Air -15%
- Neutral 98%
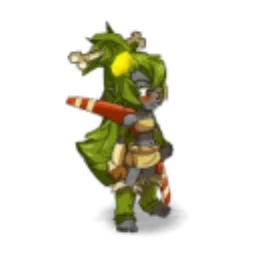
Sapphire Booh M'Rang steals life and stacks penalties; Sapphiresque Camouflage makes her invisible. Belting unbewitches in melee. 98% in Water and Neutral.
-
Sapphire Booh M'Rang6 AP · 9 RNG ·51 to 100 Water steal · -10 Heals · -25 Lock · -25 Flight · -25% Critical · -10 AP Reduction · -10 MP Reduction · 10% Erosion
Life steal and a stack of penalties: healing, lock, flight, critical, removals, erosion.
-
Belting
In melee: removes your magic effects.
-
Sapphiresque Camouflage2 AP · self · Makes the target invisible ·2 MP · 10% Critical · 20 Critical Damage · 20 Critical Resistance
Makes Sapphira invisible, with 2 extra MP and critical.
Level 60
- 3,200 HP
- 9 AP
- 4 MP
- Resistances (%)
- Earth -15%
- Fire -15%
- Water -15%
- Air 98%
- Neutral 98%
Friendly Transposition and Destructive Transposition swap places at any distance, healing or striking. Accompanied by the Emerald Dolls. 98% in Air and Neutral.
-
Friendly Transposition
 Destructive Transposition1 AP · 63 RNG ·41 to 60 Air damage · Switches positions
Swaps places at any distance, while striking.
-
Emerald Booh M'Rang6 AP · 9 RNG ·51 to 100 Air life steal
-
Belting
In melee: removes your magic effects.

Level 80
- 1,200 HP
- 6 AP
- 3 MP
- Resistances (%)
- Earth 70%
- Fire -20%
- Water -20%
- Air -20%
- Neutral 10%
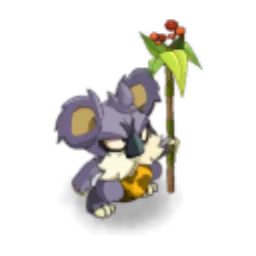
He summons a Pippin Blop and removes power with Pippin Weakness; Koalak Liberation pushes back 3 cells around him. 70% in Earth, weak to Air, Fire and Water.
-
Summoning of Pippin Blop
 Pippin Weakness3 AP · 8 RNG ·31 to 40 Earth damage · -41 to -60 Power
 Koalak Liberation
Pushes back everything around it by 3 cells.
Level 101
- 1,800 HP
- 8 AP
- 4 MP
- Resistances (%)
- Earth 10%
- Fire 10%
- Water -9%
- Air -19%
- Neutral 40%
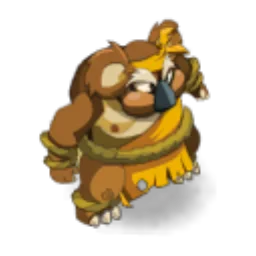
Joke pushes back 4 cells and removes MP, Club drains you of all your AP and MP in melee. Weak to Air.
 Joke5 AP · self ·31 to 40 Air damage · Pushes back 4 cells · -1 to -2 MP
Pushes back 4 cells and removes 1 to 2 MP.
 Club3 AP · melee ·21 to 35 Water damage · -100 AP · -100 MP
In melee: removes all your AP and MP for one turn.
 Warrior's Rage

Level 102
- 2,000 HP
- 9 AP
- 3 MP
- Resistances (%)
- Earth 15%
- Fire 10%
- Water -10%
- Air -20%
- Neutral 20%
Hothead gives AP to its allies, Bloodthirsty Life Transfer gives them its HP. Bloody Retribution strikes based on its own HP. Weak to Air.
-
Hothead2 AP · 3 RNG ·5 to 6 AP
Gives 5 to 6 AP to a nearby ally.
-
Bloody Retribution6 AP · 6 RNG ·Neutral damage: 10% of the caster's HP · 11 to 15 Fire steal
 Bloodthirsty Life Transfer
 Bloodthirsty Punishment

Level 104
- 1,500 HP
- 7 AP
- 5 MP
- Resistances (%)
- Earth 10%
- Fire -9%
- Water -9%
- Air 10%
- Neutral 20%
He turns himself invisible, or an ally, with his two Wild Invisibility spells. Blowpipe removes Agility from a distance.
 Blowpipe4 AP · 7 Range ·41 to 60 Air damage · -100 Agility
-
Kaliptus Puff3 AP · melee ·31 to 40 Air damage · -6 to -10% Critical
 Wild Invisibility2 AP · self · Makes the target invisible ·2 MP · 10% Critical
 Wild Invisibility of Others
Makes an ally invisible up to 6 RNG.
Level 106
- 2,200 HP
- 8 AP
- 5 MP
- Resistances (%)
- Earth -19%
- Fire 10%
- Water -19%
- Air 10%
- Neutral 30%
Short Sight removes 3 to 4 RNG, Farsight gives some to its allies, and it summons a Workette. Weak to Earth and Water.
-
Summoning of Workette
-
Short Sight2 AP · 8 RNG · -3 to -4 Range ·51 to 60 Air damage
Removes 3 to 4 RNG up to 8 RNG: a nuisance for your ranged characters.
 Farsight
-
Flick4 AP · melee ·31 to 50 Water steal

Level 108
- 2,000 HP
- 8 AP
- 2 MP
- Resistances (%)
- Earth 10%
- Fire -10%
- Water 20%
- Air -10%
- Neutral 30%
Reaping kills its target in melee and replaces it with a summon; Koalak Curse crushes your stats. Only 2 MP: do not let him reach an ally.
 Koalak Curse4 AP · self ·-3 to -4 MP · -3 to -4 AP · -100 AP Parry · -100 MP Parry · -400 Agility · -400 Intelligence · -400 Chance · -400 Strength · -50% Critical · -200 Damage · -200 Heals
Massive penalties to AP, MP, dodges, stats and damage.
-
Reaping
In melee: kills the target and replaces it with a summon.
-
Primitive Cemetery Backup
-
Koalak Liberation
Pushes back everything around it by 3 cells.
Level 120
- 650 HP
- 6 AP
- 3 MP
- Resistances (%)
- Earth 90%
- Fire 90%
- Water 90%
- Air -20%
- Neutral 90%
Like Emerald, she swaps places, but steals AP instead of striking. 90% resistance everywhere except Air: hit her with Air.
 Dollish Transposition2 AP · 9 RNG ·Steals 2 to 3 AP · 31 to 50 Air damage · Switches positions
Swaps places and steals 2 to 3 AP, up to 9 RNG.
-
Dolly Hug3 AP · melee ·26 to 50 Fire heals
-
Dolly Leap
Preparing your run through Skeunk's Hideout
A level 110 to 120 dungeon where people come for the Kaliptus Dofus, handed over at the exit, but also for Skeunk's soul for the Ochre Dofus, the Bloody Koalak pet, the Perfidious Boomerang spell and the achievements. You have to handle summons, very resistant dolls and area heals.
How to enter Skeunk's Hideout
The entrance is in Agony V'Helley, Koalak Mountain, at ; the nearest zaap is the one at Caravan Alley . Talk to Kakolak to enter, with a Skeunk's Hideout Key (consumed), the key ring if it is registered there, or the automatic group search.
Crafting the Skeunk's Hideout Key
It is crafted by a handyman. Five ingredients drop from the dungeon's Koalaks, at over 30%: Wild Koalak Scarf, Koalak Warrior Hair, Purple Warko Used Nappy, Bloody Koalak Tuft and Adventurer Skull (Reapalak). Perch (fishing), Pandkin Seed and Malt (harvesting) complete the recipe.
| Ingredient | Quantity | Level |
|---|---|---|
 Wild Koalak Scarf |
2 | 110 |
 Koalak Warrior Hair |
2 | 106 |
 Purple Warko Used Nappy |
2 | 112 |
 Bloody Koalak Tuft |
2 | 108 |
 Adventurer Skull |
2 | 114 |
 Perch |
2 | 120 |
 Pandkin Seed |
2 | 120 |
 Malt |
2 | 120 |
Which team to bring against Skeunk
Summons. The Famished Doll is killed by feeding her: a summoner solves the problem in one or two turns. Failing that, a spell that gives AP also helps.
Several elements. Each doll resists 98% in her element and in Neutral, the Emerald Doll everywhere except Air. At least two elements keep you from getting stuck on one of them.
The classes that have it easy. Summoners (Osamodas, Sadida) feed the Famished Doll effortlessly. Beware, however, of Diamondine's Gravity, which deprives classes of leaps and place swaps for their positioning.
The five achievements of Skeunk's Hideout
Each achievement gives 7,160,000 XP and 2 Skeunk Hair, Duo (in fewer than 26 turns) doubles the XP. Special imposes an order on the dolls, announced during the fight.
| Achievements | Condition | Points | XP |
|---|---|---|---|
 Skeunk's Hideout |
Defeat Skeunk in this boss's dungeon. | 10 | 7 160 000 |
| Skeunk (Duo) |
Defeat Skeunk in his dungeon while completing the “Duo” challenge. | 20 | 14 320 000 |
| Skeunk (Special) |
Defeat Skeunk in his dungeon while completing the “Fans and Children First” challenge. | 10 | 7 160 000 |
| Skeunk (Statue) |
Defeat Skeunk in his dungeon while completing the “Statue” challenge. | 10 | 7 160 000 |
| Skeunk (Blitzkrieg) |
Defeat Skeunk in his dungeon while completing the “Blitzkrieg” challenge. | 10 | 7 160 000 |
Special: Fans and Children First
The dolls must die in the designated order, all of them before Skeunk takes any damage. The dolls are the four Sadida: Ruby, Sapphira, Emerald and Diamondine. At the start of the fight, one of them carries a state above her: kill her first; when she dies, she designates the next one. The Famished Doll can be killed whenever you want: if you can kill the designated dolls before she plays, do it before her explosion, otherwise start with her. No area effect must hit Skeunk before the last doll.
Drops and loot of Skeunk's Hideout
Base in-game rates, before Prospecting bonuses.
On Skeunk
 Skeunk HairHair31 %
 Nougat Rabmarac BarTreat6 %
- Skeunk SkinSkin5,24 %
 Bloody CarrionMeat1,57 %
 Al Howin GobtubbyCeremonial pet0,45 %
On the henchmen of Skeunk
 Pippin Koalak HairHair · Pippin Koalak39 %
 Oozing MeatMeat · Pippin Koalak39 %
 Bloody MeatMeat · Koalak Warrior33 %
- Koalak Warrior HairHair · Koalak Warrior33 %
- Bloody Koalak TuftHair · Bloody Koalak33 %
- Wild Koalak ScarfGarment · Wild Koalak32 %
- Purple Warko Used NappyMiscellaneous Resource · Purple Warko32 %
 Diamondine's Damaged BoomerangCombat Resource · Diamondine31 %
- Adventurer SkullBone · Reapalak31 %
 Tuft of Ruby's HairHair · Ruby31 %
 Sapphira's HairpinMiscellaneous Resource · Sapphira31 %
 Emeralda's Skeunk AutographMiscellaneous Resource · Emerald31 %
 Kaliptus FlowerFlower · Pippin Koalak6,52 %
 Koalak Warrior BandageMiscellaneous Resource · Koalak Warrior5,56 %
 Bloody Koalak BoomerangCombat Resource · Bloody Koalak5,48 %
 Wild Koalak FemurBone · Wild Koalak5,4 %
 Purple Warko Beard HairHair · Purple Warko5,32 %
 Diamondine's Concert TicketMiscellaneous Resource · Diamondine5,24 %
 Reapalak FabricFabric · Reapalak5,24 %
 Ruby's ReminderMiscellaneous Resource · Ruby5,24 %
 Sapphira's Kaliptus ShampooLiquid · Sapphira5,24 %
 Emeralda's DiaryMiscellaneous Resource · Emerald5,24 %
 Bag of Babbage LeavesContainer · Reapalak1 %
Soul capture, Kaliptus Dofus, pet and spell
Capturing the soul of Skeunk and the Ochre Dofus
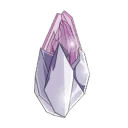 A Soul Stone for Big Souls (captures up to level 150) is enough for Skeunk, who is level 120. The soul is used for the An Eternal Harvest quest for the Ochre Dofus.
| Stone ingredient | Quantity |
|---|---|
 Superior Soul Splinter |
10 |
 Mineral Potion |
1 |
The Kaliptus Dofus
Each doll room gives you a brooch, stored in the quest inventory. After the victory, talk to Skeunk and give him the four brooches: he hands you the Kaliptus Dofus, a Prospecting Dofus, and takes you out.
The Bloody Koalak pet
At the end of the dungeon, Emerald offers The Koalak Costume: in exchange for a complete Koalak set, she gives you a Bloody Koalak pet.
The Perfidious Boomerang spell
Diamondine broke her boomerang during the fight. After the victory, bring her 10 boomerangs from each of the four Koalaks: Brown Warko, Dok Alako, Bloody Koalak and Koalak Master. She teaches you the Perfidious Boomerang spell.
Where is Skeunk's Hideout?
In Agony V'Helley, Koalak Mountain, at . The nearest zaap is the one at Caravan Alley ; talk to Kakolak to enter.
At what level should you do Skeunk's Hideout?
Minimum level 110, 120 recommended. Skeunk is level 120, his dolls are level 60 but very resistant, and the Koalaks are level 80 to 108.
How to get the Kaliptus Dofus?
Talk to Skeunk after his defeat, with the four brooches from the doll rooms. He gives you the Kaliptus Dofus as he takes you out, with no quest to start.
How do you kill the Famished Doll?
Feed her summons or give her AP up to 8 AP. She then explodes on her own; with 130% resistances everywhere, hitting her is pointless.
Which monster should you target first in Skeunk's Hideout?
The Famished Doll, then Ruby and Diamondine. As long as the Famished Doll is active, she fully heals all the monsters every turn.
Which quest should you do in Skeunk's Hideout?
The Warrior's Path, with The Key Master at Cania Lake . Meriana's Sword from the Stone also goes through Skeunk's makeup box.
How do you get the Bloody Koalak pet?
Give a complete Koalak set to Emerald, at the end of the dungeon, through the quest The Koalak Costume.
Which stone should you use to capture Skeunk?
A Soul Stone for Big Souls (captures up to level 150). Skeunk's soul is used for the Ochre Dofus quest.
Do you need a key for every run of Skeunk's Hideout?
No, with the key ring or the automatic group search. The key is crafted by a handyman using resources from the dungeon's Koalaks.


Comments
No comments yet. A tip, or a detail about this page? Be the first.