 2 × Skt-Zo Leg
Dungeon Cursed Pyramid
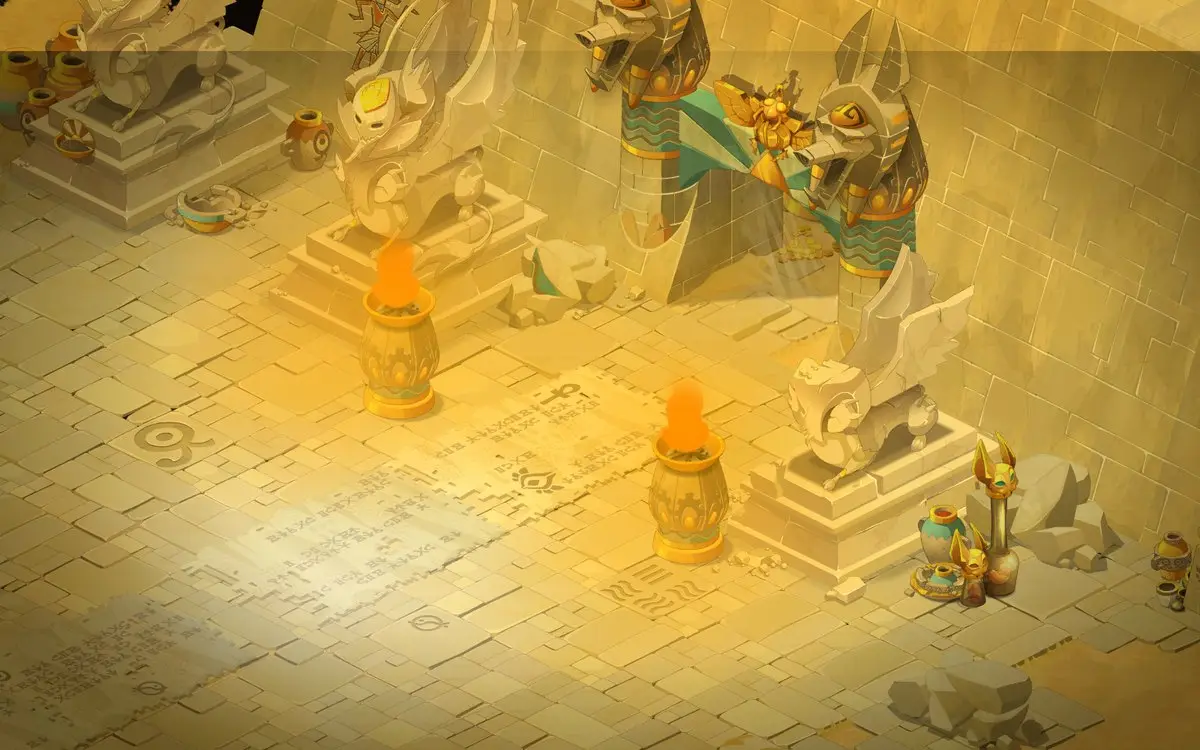
Chamber of Tal Kasha
Level 200 dungeon in Ohwymi's Cursed Pyramid, at [12,-77]: five rooms of Cursed that resurrect endlessly, and an invulnerable boss who hits from her allies' cells, Tal Kasha. Access, quests, strategy, monsters, achievements and loot.
Quests linked to the Chamber of Tal Kasha
The dungeon quest, Pyramid of Fear, gets you in with Chanisa: accept it before entering, as a fight won without the quest in progress doesn't count. Several quests then go through the Chamber, up to a level 80 quest that only asks you to reach room 4.
It is completed on Tal Kasha. Join Chanisa Yadina in the pyramid, enter the Chamber with her, defeat Tal Kasha in a single fight, then talk to Tal Kasha and Benedict Gesser in the exit room.
- Start
- Idarfen Madjika, Ohwymi
- Prerequisites
- Mummy Madness
 Scratchotep Ear3 ears and 50,000,000 XP
For later
Em the Cursed is waiting for you at the exit. On the trail of those who defied fate, follow Em to the Cursed Pyramid, defeat Tal Kasha in a single fight, then talk to Em the Cursed in the exit room. The dungeon can wait: the other two trails progress without it.
- Start
- Dardondakal, Catseye Challenge
- Prerequisites
- Break-In Enurado
 Tal Kasha Hairand 60,000,000 XP
The last clue is completed in room 4. Droopik has you look for his favorite places in Ohwymi, then the one he never goes to: advance through the Chamber to room 4, with no interaction needed.
- Start
- Droopik, Ohwymi
- Prerequisites
- Level 60
Tal Kasha can give you the Totem of Anger. Maimane asks for six emotion totems, each from a boss of your choice: for anger, Dazahk Freezammer, War, Missiz Freezz, Solar or Tal Kasha.
- Start
- Maimane, Destroyers' Nightmare
- Prerequisites
- Level 180
 Totem of Balanceonce the six totems are handed in
During events
- Tiwaapi Simulation
The Tiwabbit can designate Tal Kasha as the guardian to defeat. Tiwaapi, Incarnam, .
The 5 rooms of the Chamber of Tal Kasha
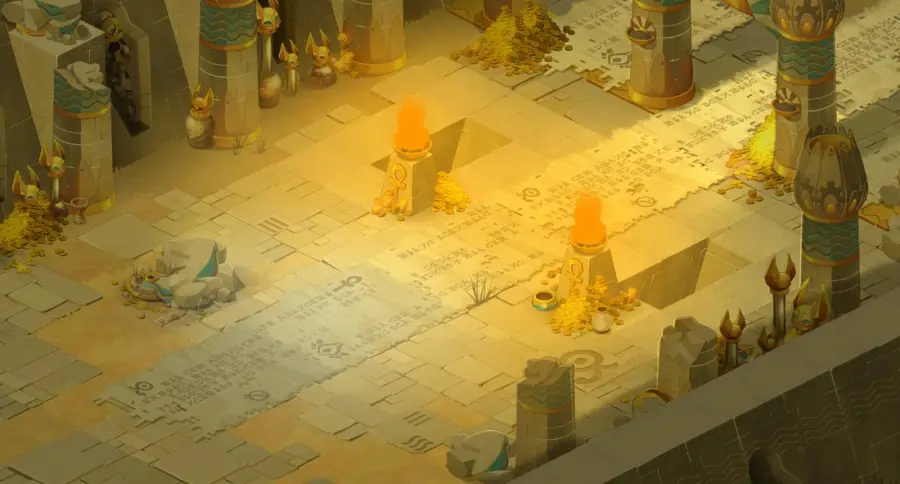
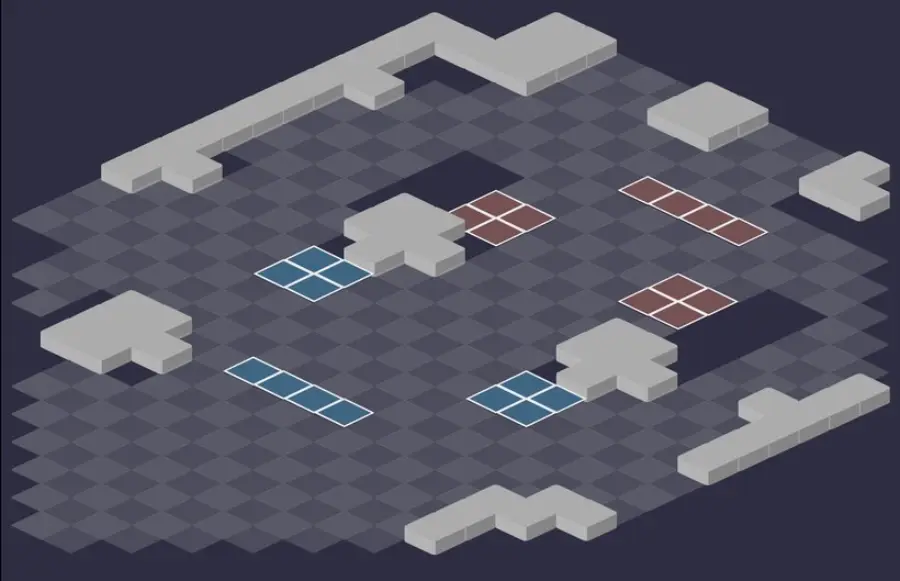
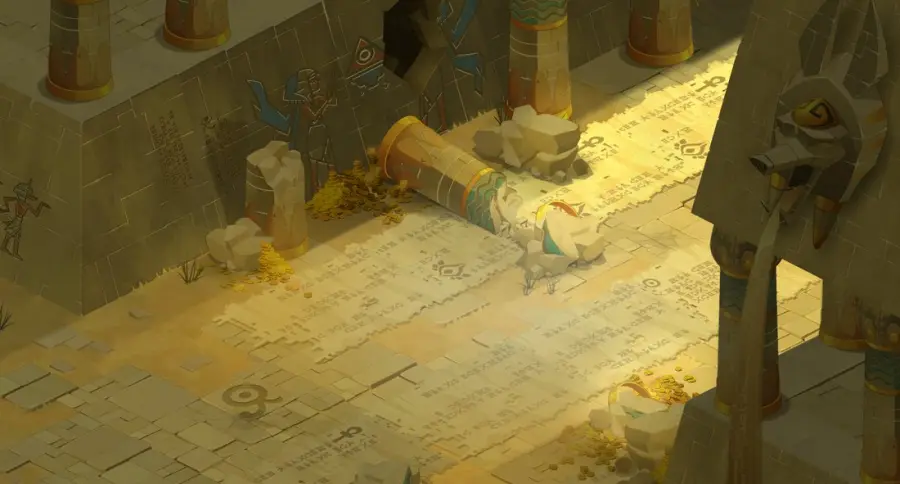
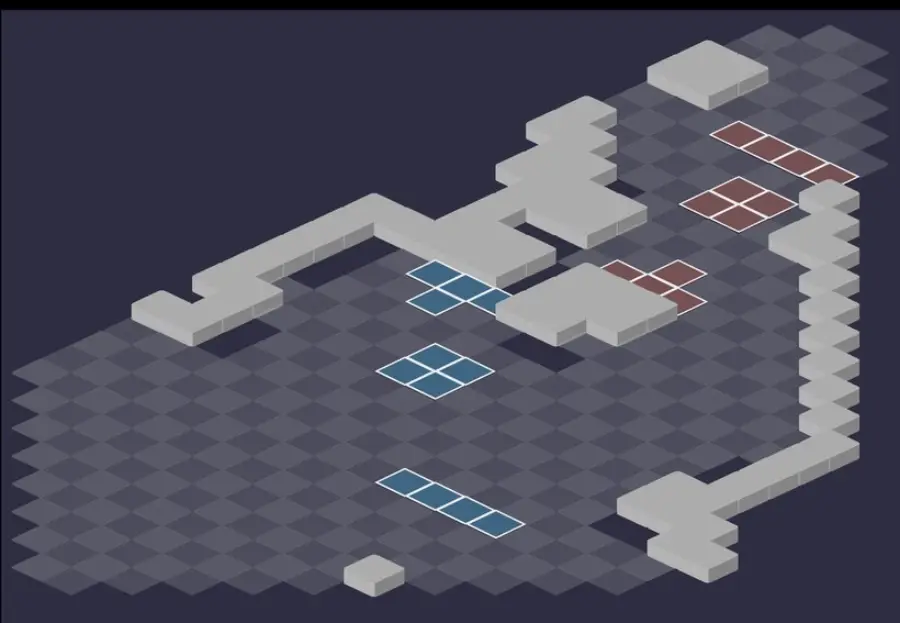
Five fights in rooms cluttered with obstacles. Everywhere, the monsters have Cursification and hitting one target protects the closest monster: the mechanic is detailed in the boss section. For each room: the scenery, then the tactical view with the starting cells (blue: you, red: the monsters). Tap an image to enlarge it.
Room 1
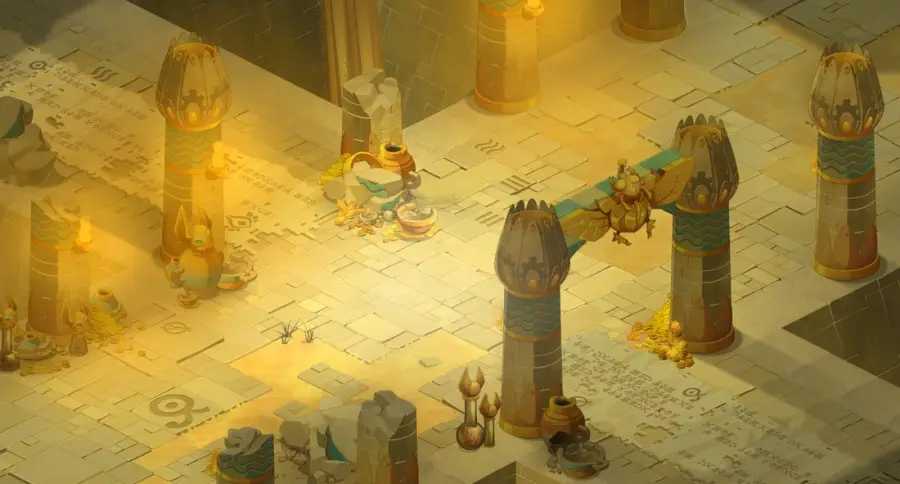
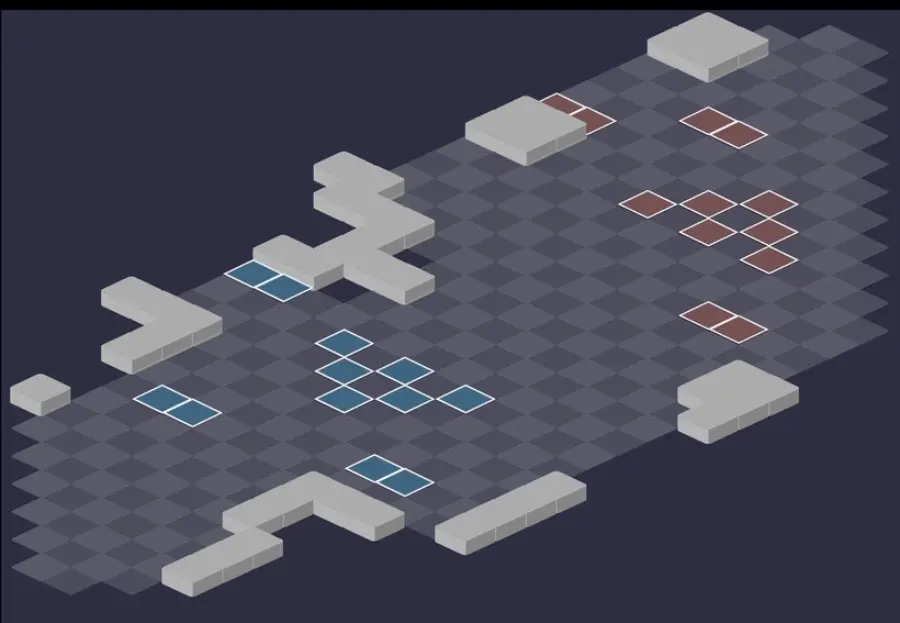
Room 2
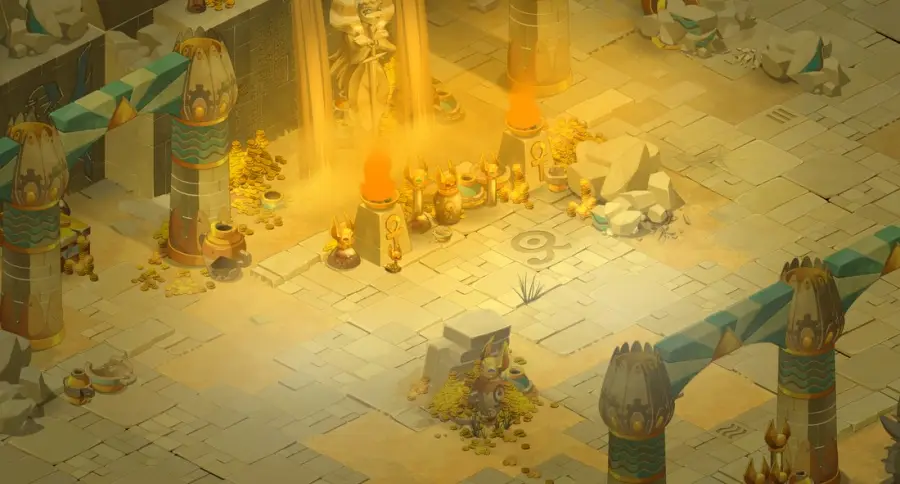
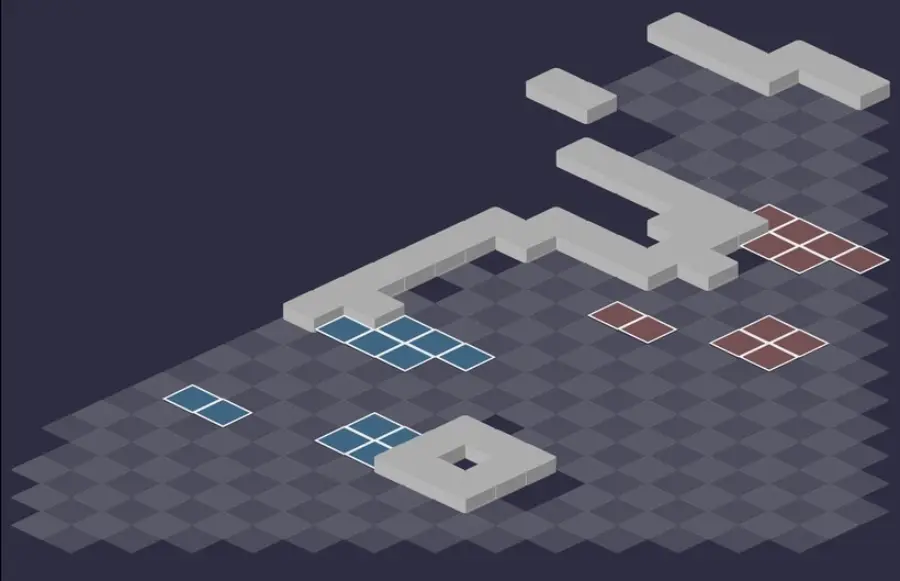
Room 3
Room 4
The most cluttered room, with 64 obstacles. Reaching this room is enough to complete the last clue of On Droopik's Trail.
Room 5 — Tal Kasha
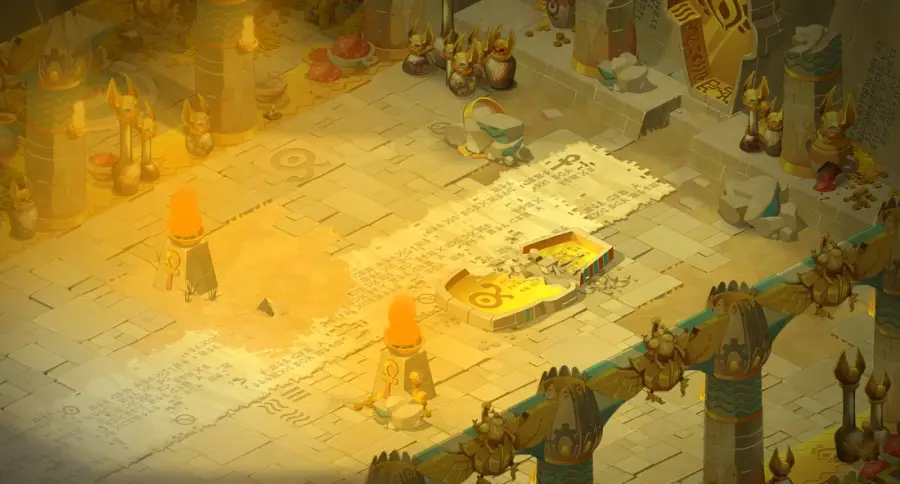
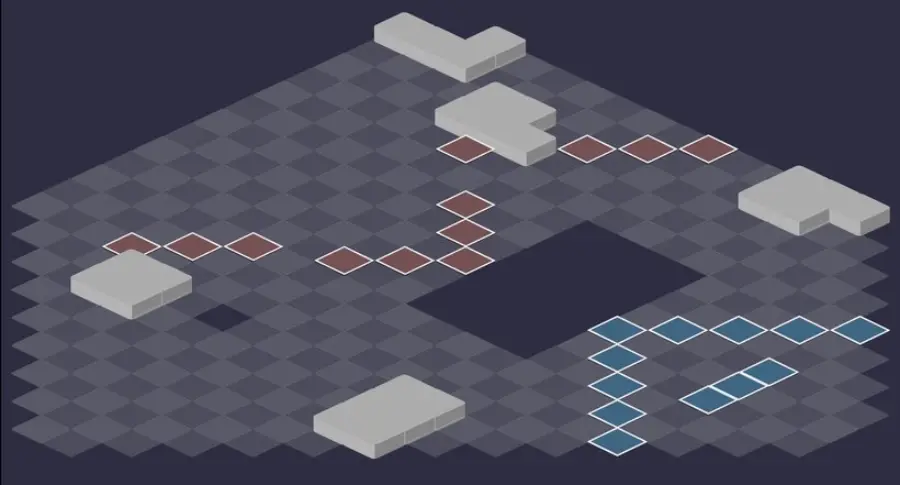
Defeat Tal Kasha
The Line That Condemns
Tal Kasha casts Spinning and Thrugo as if she were standing in the place of any of her allies. A character in line with a monster can be pulled in and then hit very hard, even far from her. If several are exposed, she targets the one closest to the monster.

Level 220
 18,000 HP
 20 AP
 6 MP
- Resistances (%)
 Earth 30%
 Fire 15%
 Water 20%
 Air 10%
 Neutral 20%
Invulnerable until she has passed over the glyphs of three different monsters, she resurrects every monster killed. In melee, Thrugo hurts a lot, and removing MP from her swaps her place with you. Weak point: Air, at 10%.
 Get the Hair out of Here
Teleportation in a line up to 4 range, recast every 2 turns, only once vulnerable.
 Spinning
Pulls in from 4 cells away in a line, cast from the cell of any monster: it sets up Thrugo.
-
Spinning
Pulls in from 4 cells away in a line, cast from the cell of any monster: it sets up Thrugo.
 Thrugo
Huge melee hit, also cast from any monster. No character stuck to a monster is safe.
-
Thrugo
Huge melee hit, also cast from any monster. No character stuck to a monster is safe.
The five-step strategy against Tal Kasha
No open line. From the placement phase on, never end a turn in line with her or with a monster: Spinning pulls you in from 4 cells away, then Thrugo hits in melee, from any monster. Play at range, behind obstacles.
Keep the monsters away. An Enutrof removes MP from monsters, a Cra pushes back Tal Kasha and anything that approaches. Don't remove MP from Tal Kasha yet: she would swap places with your character and land in the middle of the team.
Three monsters, three glyphs. Kill the Jackalnubis first, then two other monsters, always hitting the same target because of Cursification. Each death leaves a brown glyph, and the monster comes back the next turn on its cell, without playing its first turn. Erosion makes them come back with almost no HP.
Place Tal Kasha on the glyphs. Put your Enutrof on a glyph, then remove MP from Tal Kasha: the place swap drops her on the glyph. A counter from I to III appears above her; at the third glyph of a different monster, she loses her invulnerability for the whole fight.
Finish her at range. Once vulnerable, she gains Get the Hair out of Here, a 4-cell teleportation: keep your distance so she doesn't land in the middle of the team, and finish her like the rest of the fight, at range and out of the lines.
Cursification
All the monsters have this state from the start of the fight: each hit makes the monster closest to your target Cursified, which takes 50% less damage and loses 2 MP for one turn, under a yellow star. Avoid area spells, which would infect everyone, and stay on the same target.
Pushback damage removes the state: push the monster against a wall, another monster or an ally, or push someone against it. At equal distance, the first one clockwise is hit.
Resurrections and invulnerability
A killed monster comes back on Tal Kasha's turn, on the cell of its last death, where its glyph is. It skips its first turn and loses 1 MP, only once. Erode it as much as possible: it comes back with tiny vitality and gets killed again in one hit.
Tal Kasha stays invulnerable until she has been placed on the glyphs of three different monsters, even when you are more than four and there are more glyphs. Her Curse of the Pyramid lets her raise her monsters without limit.
Removing MP from Tal Kasha
Once per turn, MP removal swaps her place with its caster, even under Stabilisation or Gravity. Only a character carried by a Pandawa removes MP from her without swapping. The swap has its use, though: it is what lets you place her on a glyph.
The monsters of the Chamber of Tal Kasha
Five level 200 Cursed, each weak to a different element (-14%) and with a state of its own. With four characters, three of them accompany Tal Kasha. Every monster killed comes back the next turn: only kill what you need to. The resistances in red are their weaknesses.
In which order to kill the monsters
- Jackalnubis — its 4 AP and 3 MP removal hits the whole team, at infinite range.
- Mumystic, then Bandijd — the next two glyphs: one flees and protects itself element by element, the other punishes pushback.
- Sneerena, then Scratchotep — the first closes in by swapping places, the second pushes you against obstacles.
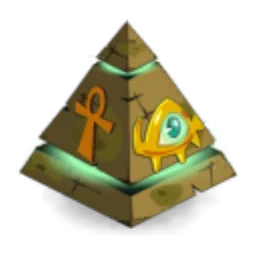
Level 200
- 6,000 HP
- 12 AP
- 0 MP
- Resistances (%)
- Earth -14%
- Fire 31%
- Water 1%
- Air 16%
- Neutral 21%
No MP, but 10 MP each time it is hit. Harassment of the Pyramid removes AP and MP from the whole team; when hit, it gives it up the next turn and instead seeks contact to cast Pyramid. Weak to Earth.
 Harassment of the Pyramid4 AP · 63 Range ·41 to 50 Air damage · -4 AP · -3 MP
Removes 4 AP and 3 MP, dodgeable, at infinite range, without line of sight, three times per turn. Hit the Jackalnubis every turn to stop it, or give it summons to target.
 Pyramid4 AP · melee ·151 to 170 Water damage · Pacifist State
Big melee hit that makes the target Pacifist for a turn. It only casts it on the turn after taking a hit, with its 10 bonus MP.

Level 200
- 6,000 HP
- 12 AP
- 6 MP
- Resistances (%)
- Earth 1%
- Fire 16%
- Water 21%
- Air -14%
- Neutral 31%
Fleeing AI. Each element received gives it 50% reduction in that element for one turn: open with your biggest spell of each element. With all four states at once, it loses the reduction but its spells hit everywhere and remove resistances. Weak to Air.
 Elemental Punch4 AP · 10 Range ·51 to 60 Neutral damage · 26 to 30 Fire damage · -20% Fire Resistance · 26 to 30 Air damage · -20% Air Resistance · 26 to 30 Earth damage · -20% Earth Resistance · 26 to 30 Water damage · -20% Water Resistance
Long-range hit; with all four elemental states, it hits in every element and removes 20% resistances.
-
Garnettrition4 AP · melee ·81 to 90 Neutral damage · 41 to 45 Fire damage · -20% Fire Resistance · 41 to 45 Air damage · -20% Air Resistance · 41 to 45 Earth damage · -20% Earth Resistance · 41 to 45 Water damage · -20% Water Resistance · Gravity State · Weakened State
In a line from contact: Gravity and Weakened for a turn. Avoid its contact.
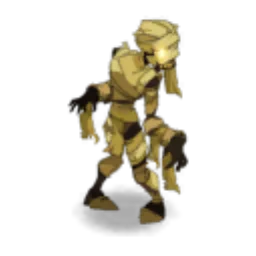
Level 200
- 6,000 HP
- 12 AP
- 5 MP
- Resistances (%)
- Earth 21%
- Fire -14%
- Water 31%
- Air 1%
- Neutral 16%
Don't push it: Erosive Snot inflicts 40% erosion and a strong poison for 2 turns on you. Carry it, pull it, swap it, or push it with a summon, which will take the poison. Hug throws it at you in a line. Weak to Fire.
-
Hug4 AP · 6 Range · Advances 5 cells ·71 to 80 Fire damage
The Bandijd pulls itself 5 cells toward you, in a line only.
 Mummy Dance4 AP · on self ·71 to 90 Earth damage
Area around it: steals 100 power from each character hit, and the steal stacks.

Level 200
- 6,000 HP
- 12 AP
- 6 MP
- Resistances (%)
- Earth 16%
- Fire 21%
- Water -14%
- Air 31%
- Neutral 1%
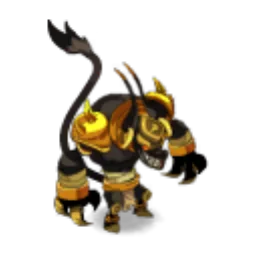
It doesn't hit from farther than 4 cells away, but closes in fast by swapping places with its allies. Cursed Replacement swaps with you, Sabrupt steals power. Unmovable on turn 1, it gains 2 MP every 3 turns. Weak to Water.
-
Cursed Replacement4 AP · 4 Range · Switches positions ·81 to 100 Water damage
Swaps places, with an ally to advance or with you to hit, twice per turn.
 Sabrupt4 AP · 2 Range · 100 Power ·61 to 80 Fire damage · -100 Power
Steals 100 power for 4 turns, up to 2 range.
Level 200
- 6,000 HP
- 12 AP
- 5 MP
- Resistances (%)
- Earth 31%
- Fire 1%
- Water 16%
- Air 21%
- Neutral -14%
Each spell increases its pushback damage: never stay between it and an obstacle. Sourclaws pushes back 6 cells in a line, Thunderous Arrival teleports it diagonally. Weak to Neutral.
 Sourclaws4 AP · 4 Range ·71 to 90 Earth damage · Push Away 6 cells · 100 Pushback Damage
Pushes back 6 cells in a line and increases its pushback damage for 4 turns, stackable.
-
Thunderous Arrival4 AP · 5 Range ·51 to 60 Air damage · 100 Pushback Damage
Diagonal teleportation, and even more pushback damage on top.
Preparing your run through the Chamber of Tal Kasha
A hard dungeon for teams of level 190 to 200 that play at range and remove MP. People come here for the Ohwymi quests, the achievements and Tal Kasha Hair; capturing it requires a Soul Stone for Gigantic Souls.
How to enter the Chamber of Tal Kasha
The entrance is in the Cursed Pyramid, at ; the nearest zaap is the one in the Forgotten City . To reach it, you need four characters: two on the tiles at , two at , and the one closest to the lever activates it without leaving their tile, which opens the doors at and . Then defeat Thrashtaba at to open the door at . A player already in front of the dungeon can also teleport you. You enter with the key, the keyring or the group search.
Crafting the Chamber of Tal Kasha Key
It is made at a Handyman's workshop. Four ingredients drop from the dungeon's monsters, at 12%: Jackalnubis Fragment, Bandijd Tooth, Mumystic Garnet and Sneerena Golden Eyelid, plus the Tasty Meat that all the Cursed drop. Limpet, Salikronia and Quisnoa complete the recipe.
| Ingredient | Quantity | Level |
|---|---|---|
 Jackalnubis Fragment |
2 | 200 |
 Bandijd Tooth |
2 | 200 |
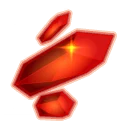 Mumystic Garnet |
2 | 200 |
 Sneerena Golden Eyelid |
2 | 200 |
 Tasty Meat |
2 | 200 |
 Limpet |
1 | 200 |
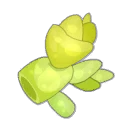 Salikronia |
1 | 200 |
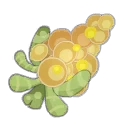 Quisnoa |
1 | 200 |
Which team to bring against Tal Kasha
MP removal and pushback. An Enutrof and a Cra are the foundation: the first removes MP from the monsters and is used to place Tal Kasha on the glyphs, the second pushes back the boss and the monsters that approach.
Erosion. Heavily eroded monsters come back with almost nothing and get killed again in one hit, without even having to remove their MP. Erosion simplifies the whole fight, and the Focus achievement depends on it.
The comfortable classes. Enutrof and Cra first. The Pandawa carries the character who removes MP from Tal Kasha to avoid the swap. Carrying, pulling or swapping, with a Pandawa, a Sacrier or a Xelor, moves the Bandijd without suffering Erosive Snot.
The five achievements of the Chamber of Tal Kasha
Each achievement gives 200,000,000 XP and 2 Tal Kasha Hair, and Duo doubles the XP. Focus works thanks to erosion, and Special is set up from the first monster killed.
| Achievements | Condition | Points | XP |
|---|---|---|---|
 Tal Kasha (Special) |
Defeat Tal Kasha in her dungeon by completing the “Pyramid Scheme” challenge. | 10 | 200 000 000 |
| Chamber of Tal Kasha |
Defeat Tal Kasha in this boss's dungeon. | 10 | 200 000 000 |
| Tal Kasha (Focus) |
Defeat Tal Kasha in her dungeon by completing the “Focus” challenge. | 10 | 200 000 000 |
| Tal Kasha (Statue) |
Defeat Tal Kasha in her dungeon by completing the “Statue” challenge. | 10 | 200 000 000 |
| Tal Kasha (Duo) |
Defeat Tal Kasha in her dungeon by completing the “Duo” challenge. | 20 | 400 000 000 |
Focus
An attacked enemy must be finished off before another one is attacked. Play erosion: eliminate the monsters one by one, eroding them as much as possible, so that they come back with so few HP that one hit is enough. Once Tal Kasha is vulnerable and damaged, don't touch the monsters anymore.
Statue
End each turn on the cell where you started it. Forget MP removal on Tal Kasha, unless carried by a Pandawa: the place swap would make you end elsewhere. Place her on the glyphs by pushing or pulling, and choose a starting placement at range, out of the monsters' lines.
Special: Pyramid Scheme
An enemy must not be revived more than twice. A counter above each monster counts its deaths: at 2, don't kill it anymore. Keep the monsters far away, so you are not within Tal Kasha's range when she is on their glyph. Kill the Jackalnubis, push it off its glyph and place Tal Kasha on it. Then hit it once per turn to block its removal, keeping it at a distance despite its 10 MP. Do the same with the Mumystic or the Bandijd, then the last one; once Tal Kasha is vulnerable, kill her quickly, ignoring the monsters.
Duo
Two characters at most, under 40 turns. The team plan, at range: MP removal and pushback to keep the monsters away, the Jackalnubis first, three monsters killed only for the glyphs, then Tal Kasha. A resurrected monster skips its first turn: a chance to catch your breath when it gets too close.
Drops and loot of the Chamber of Tal Kasha
Base in-game rates, before Prospecting bonuses.
On Tal Kasha
- Tal Kasha HairHair12 %
 Nougat Rabmarac BarTreat6 %
 Cursed SacrificeTowers of the Brotherhood of the Forgotten3,6 %
 Bag of Eternal AshesContainer3 %
 Chrysonefantine ScarabPrecious stone2 %
 Al Howin GobtubbyCeremonial pet1 %
 Paragon of PowerMain quests0,7 %
 Tasty CarrionMeat0,6 %
On the henchmen of Tal Kasha
- Tasty MeatMeat · Bandijd12 %
- Bandijd ToothBone · Bandijd12 %
- Jackalnubis FragmentMiscellaneous Resource · Jackalnubis12 %
- Scratchotep EarEar · Scratchotep12 %
- Mumystic GarnetPrecious stone · Mumystic12 %
- Sneerena Golden EyelidMiscellaneous Resource · Sneerena12 %
- Cursed SacrificeTowers of the Brotherhood of the Forgotten · Bandijd3,6 %
- Chrysonefantine ScarabPrecious stone · Bandijd2 %
- Bag of Eternal AshesContainer · Bandijd1 %
Capturing the soul of Tal Kasha
 Tal Kasha, level 220, is captured with a Soul Stone for Gigantic Souls. Throw it once the boss is vulnerable and weakened.
| Stone ingredient | Quantity |
|---|---|
 Pandawushu Artefact |
2 |
 Supreme Soul Splinter |
10 |
 Drawing Board |
2 |
Where is the Chamber of Tal Kasha?
In the Cursed Pyramid, in Ohwymi, at . The nearest zaap is the one in the Forgotten City ; you then need to open the pyramid doors.
How do I reach the dungeon entrance?
With four characters on the tiles, then by defeating Thrashtaba. Two at , two at , one activates the lever; Thrashtaba, at , opens the last door. A player already in front of the dungeon can also teleport you.
What level should I do the Chamber of Tal Kasha at?
Level 190 minimum, 200 recommended. Tal Kasha is level 220, with 18,000 HP.
How do I make Tal Kasha vulnerable?
By placing her on the glyphs of three different monsters. Each monster killed leaves a glyph and comes back the next turn; at the third glyph, Tal Kasha loses her invulnerability for the rest of the fight.
Why does my damage suddenly drop?
Cursification reduces the damage taken by 50% for the monster closest to your target. Always hit the same target, avoid area spells, or remove the state with pushback damage.
Can you remove MP from Tal Kasha?
Yes, but she then swaps places with you, even under Stabilisation or Gravity. Only a character carried by a Pandawa avoids it; the swap is also used to place her on a glyph.
Which monster should you target first in the Chamber of Tal Kasha?
The Jackalnubis. It removes 4 AP and 3 MP from the whole team at infinite range; when hit, it gives up that spell the next turn, but gains 10 MP.
Which stone should I use to capture Tal Kasha?
A Soul Stone for Gigantic Souls. Tal Kasha is level 220.




Comments
No comments yet. A tip, or a detail about this page? Be the first.