 2 × Skt-Zo Leg
Dungeon Fleaster Island
Chokao Temple
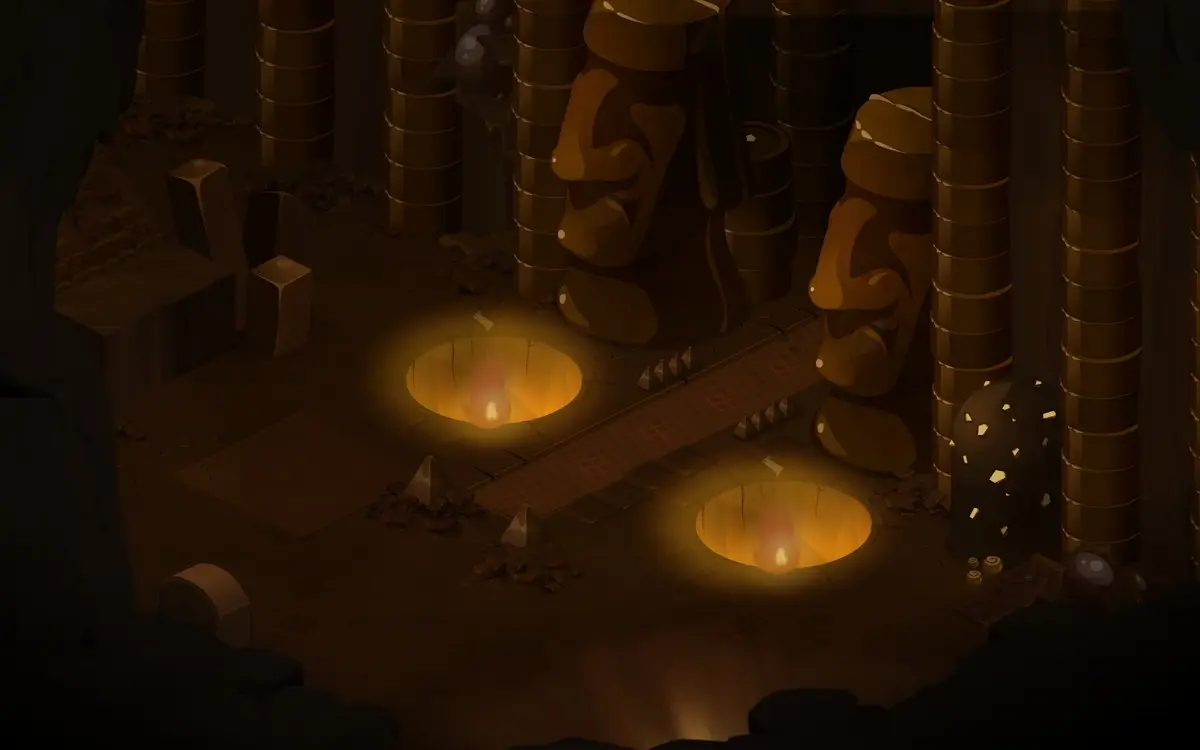
Level 200 dungeon on Fleaster Island, in [-1,-10]: five rooms of Chocomancers and a boss who is invulnerable until three Chokao Shards have fallen, the Chokao Priestess. Quests to start, map of each room, strategy, monsters, achievements and loot.
Quests linked to the Chokao Temple
Two of Fleaster's quests are completed on the Chokao Priestess, and can be done in the same run. Accept them before entering, and do not leave the dungeon right after the boss if Chocomagic vs Chocomancy is in progress.
Between levels 180 and 200, the dungeon step is played here. On Kadillak's trail, defeat the Chokao Priestess, then find the Fleaster Steward again before leaving, otherwise you will have to redo the dungeon.
- Start
- Ian Imp, Imp Village
- Prerequisites
- An Egg of One's Own
 Chocolate Coupon8 of each coupon: chocolate, hazelnut and praline
Repeatable once a week. Lilivonne Kah asks for three victories in a single fight, each on its own map: the Mawabouwaino , the Crunchler and the Chokao Priestess . Then come back to talk to them to wrap up.
- Start
- Lilivonne Kah, Fleaster Island
- Prerequisites
- Level 20 and Chocolate Floating Island
Chocolate Coupon5 of each coupon: chocolate, hazelnut and praline
For later
The Chokao Priestess can give you the Totem of Surprise. Maimane asks for six emotion totems, each from a boss of your choice: for surprise, Catseye, Count Harebourg, Kabaal, the Chokao Priestess or the Queen of Thieves.
- Start
- Maimane, Destroyers' Nightmare
- Prerequisites
- Level 180
 Totem of Balanceonce the six totems are handed in
The 5 rooms of the Chokao Temple
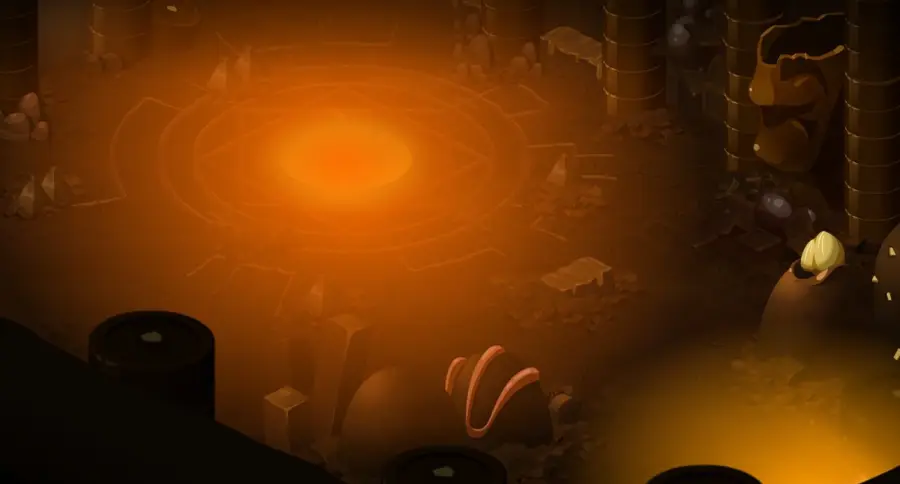
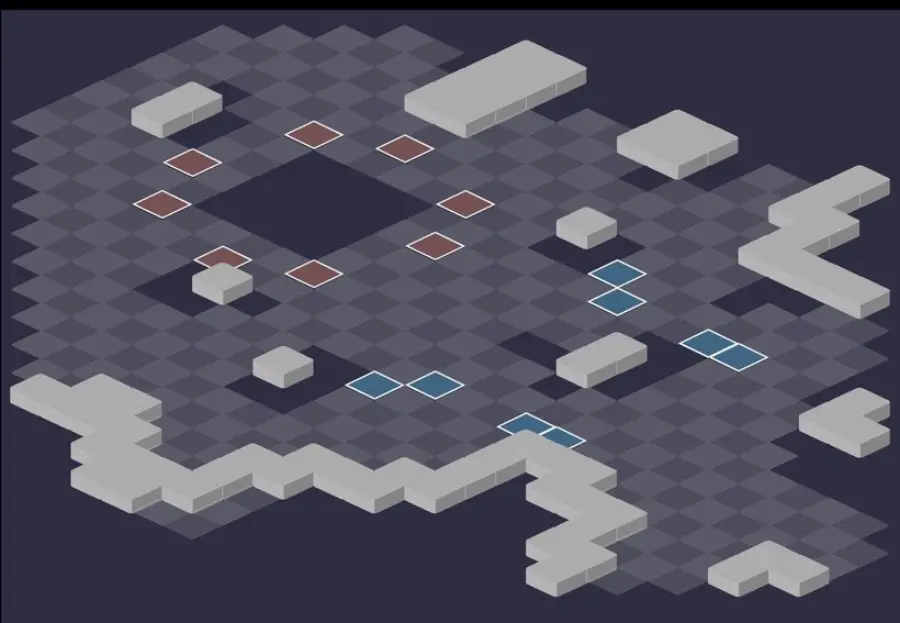
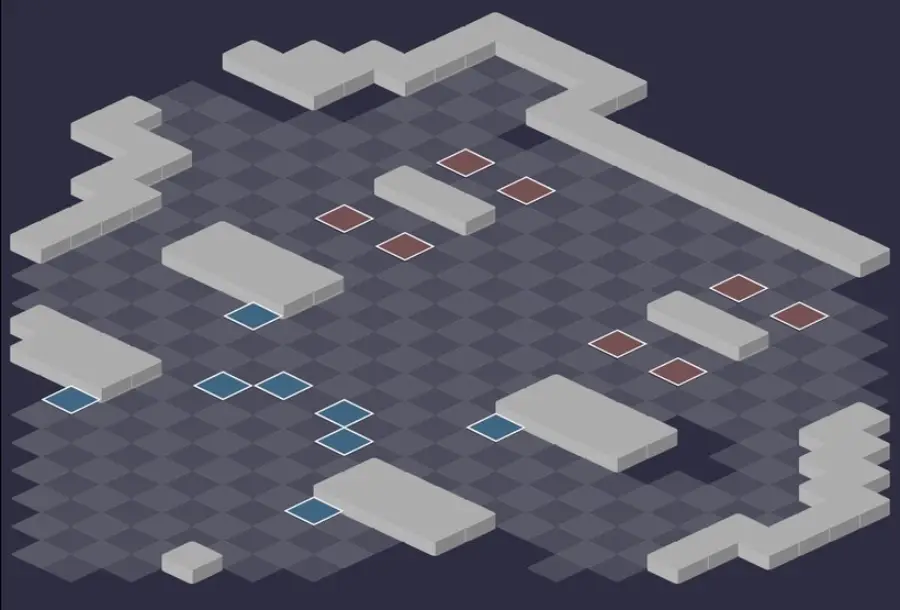
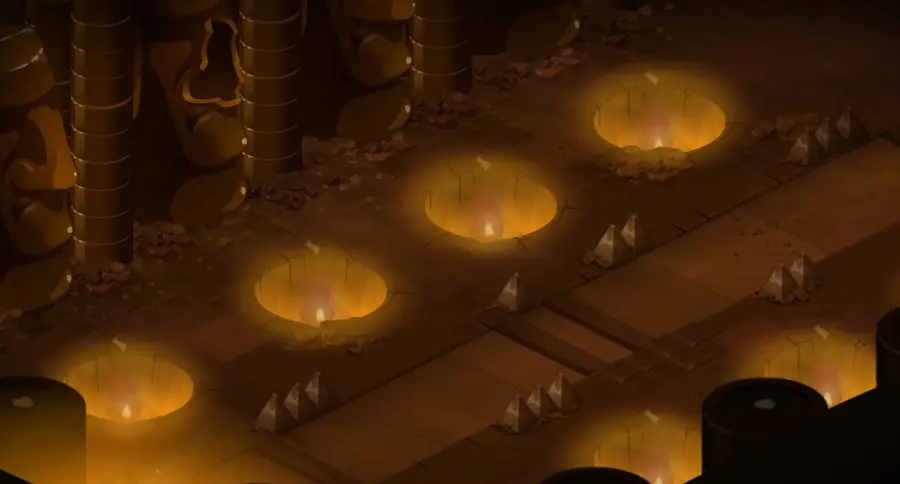
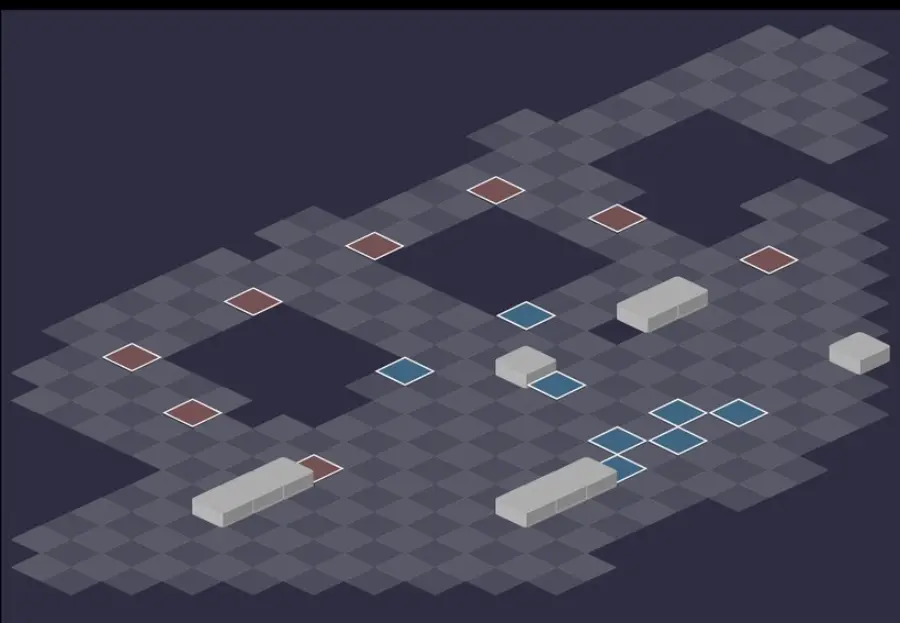
Five fights. In each, the monsters summon a Chokao Shard in turn, which reduces the damage they take and makes their summoner invulnerable: the mechanic is detailed in the boss section. For each room: the scenery, then the tactical view with the starting cells (blue: you, red: the monsters). Tap an image to enlarge it.
Room 1
Room 2

Room 3
Room 4
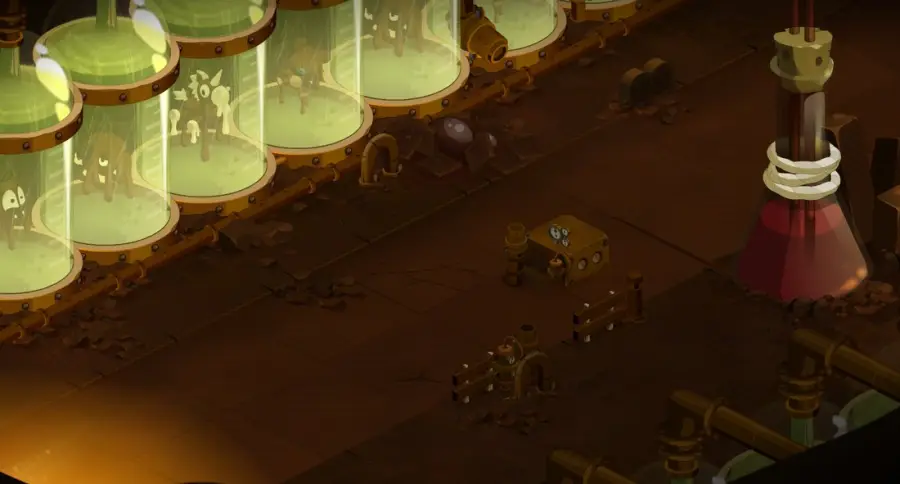
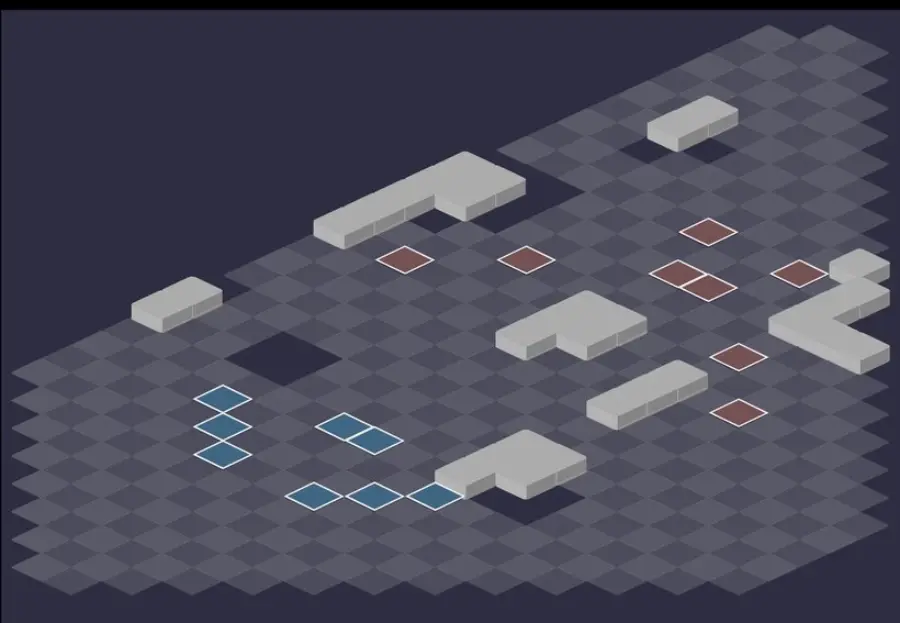
Room 5 — the Chokao Priestess
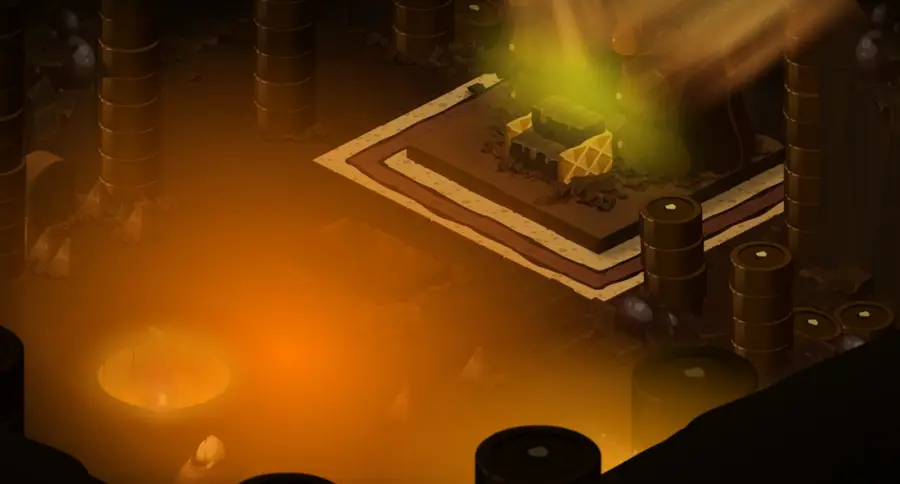
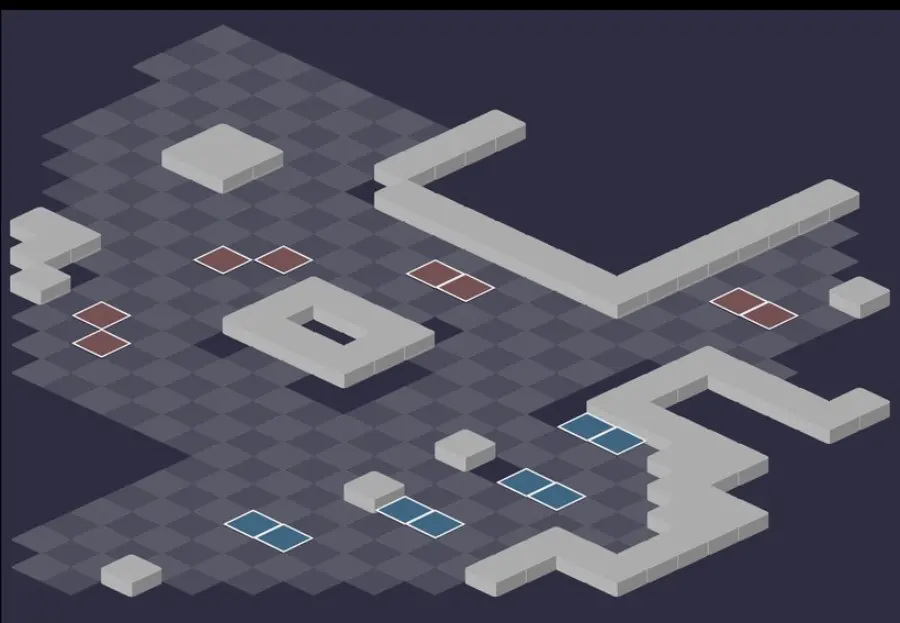
Defeat the Chokao Priestess
Chocolathiest's trap
Hitting a Chokao Shard without killing it gives you Chocolathiest for 3 turns, impossible to remove. On odd turns, Bells of Chokao hits the whole team, harder for each character under this state. Kill the Shard in one hit, with poison or with a summon, never with small hits.

Level 220
 18,000 HP
 20 AP
 6 MP
- Resistances (%)
 Earth -8%
 Fire 17%
 Water 15%
 Air 26%
 Neutral 34%
Invulnerable from the start of the fight, she stays so until three Chokao Shards die, and each one increases her damage. Bells of Chokao hits all your characters on odd turns. Weak point: Earth; Neutral is what she takes best.
 Bells of Chokao4 AP · on self ·31 to 40 Neutral damage · Bells of Chokao: +30 base damage
Every odd turn, on the whole team wherever it is. Its damage rises with each character under Chocolathiest: save your area protections for those turns.
 Ekuador
Gives damage for one turn to its allies and heals them: a damaged monster can bounce back.
 Foodie-Slicer Spatula4 AP · 4 Range ·51 to 70 Air damage · -50 Flight
In a line only, up to 4 range, with an area in a line: removes 50 Flight for one turn.
 Unfair Trade3 AP · 8 Range ·31 to 40 Neutral damage · Steals 1 MP
Steals 1 MP (2 on a critical hit), dodgeable, up to 8 range.
The four-step strategy against the Chokao Priestess
Leave the Shards alive. Without aiming for First or Chrono, do not kill the Shards while monsters remain: each Shard killed strengthens the Priestess. With no threshold and no Chocolathiest, she is not dangerous; the fight is just longer.
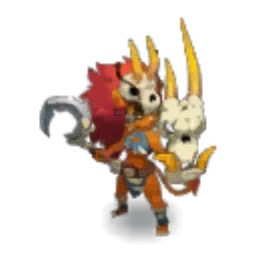
The monsters, with poison. Kill the monsters one by one despite their 50% reduction, starting with the Torreflayer. Poisons ignore this reduction: apply as many as possible. Put the Chocoligarch under Gravity to block Ganache, and keep your protections for the odd turns.
The three Shards. Only the Priestess remains: kill three Shards, in one hit or with poison. A Shard drops back to 1,000 HP after one turn, which makes the single hit easier. If that is impossible, let only one character take Chocolathiest.
The vulnerable Priestess. At the third Shard, focus her quickly, preferably in Earth: she summons a new one every 2 turns and becomes invulnerable again. In that case, kill the Shard and resume: she stays at threshold III.
The Chokao Shards
All the monsters cast Chocoholism, which summons a Chokao Shard: only one at a time, first by the first monster in initiative, then by the next one each turn. As long as it lives, all monsters take 50% less damage, its summoner is invulnerable and the Priestess cannot be tackled. A killed Shard cannot be resummoned before its summoner has played again.
Each monster also gains a bonus: 4 range for the Podploder, 2 MP for the Chocoligarch, 50 lock for the Milipraline, 50 damage for the Temperaumaturge, the Unmovable state for the Torreflayer. The Shard has 1,000 HP plus 500 per character for one turn, then 1,000, and dies on its own after 2 turns.
The Chocolathiest state
Each character who directly deals damage to a Shard without killing it takes Chocolathiest for 3 turns: the monsters' spells hit harder, and Bells of Chokao gains damage for each character under the state. A Shard killed in one hit, with poison, by a summon or a bomb gives nothing.
For lack of anything better, always hit the Shards with the same character: a single Chocolathiest limits the Bells on odd turns, which otherwise become very heavy for the whole team.
The three thresholds
Each Shard killed raises a counter above the Priestess, from I to III; at III, she is vulnerable for the rest of the fight. A Shard that dies at the end of its 2 turns does not count; one that dies by losing its HP bonus counts, if it has already been damaged down to 1,000 HP.
Each threshold increases her final damage for the whole fight: +52% with Forastero, +74% with Trinitario, +99% with Criollo. Hence the value of only reaching them once the monsters are dead.
The monsters of the Chokao Temple
Five level-200 Chocomancers, each weak in a different element. They take 50% less damage as long as a Chokao Shard is in play: poisons bypass this reduction. The resistances in red are their weaknesses.
In which order to kill the monsters
- Torreflayer — its erosion and its striking power, a bit higher than the other monsters'.

Level 200
- 6,000 HP
- 12 AP
- 6 MP
- Resistances (%)
- Earth 29%
- Fire 18%
- Water -6%
- Air 11%
- Neutral 36%
The first to kill: Torrefighter leaps into contact with you and erodes you, twice as much under Chocolathiest, and Chocoshock makes you unhealable. It hits in Neutral, like the Priestess. Weak to Water.
 Torrefighter4 AP · 5 Range · Removes the Unmovable state · Advances 4 cells · 15% Erosion ·41 to 60 Neutral damage · 30% Erosion · 81 to 120 Neutral damage · Unmovable State
In a line up to 5 range: it comes into contact with you, pushes you back one cell and erodes you, twice as much under Chocolathiest.
 Torrefaction3 AP · 7 Range ·31 to 40 Fire damage · 41 to 50 Fire damage · Torrefaction: +5 base damage
Its base damage rises with each cast for 3 turns, stackable.
 Chocoshock4 AP · melee · Unhealable State ·41 to 50 Earth damage
In melee: makes the target unhealable for one turn. Cooldown 2 turns.
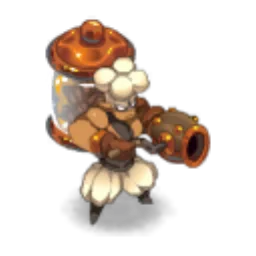
Level 200
- 6,000 HP
- 12 AP
- 5 MP
- Resistances (%)
- Earth 19%
- Fire 35%
- Water 23%
- Air -11%
- Neutral 16%
Greedy Gripper places an invisible glyph: walking on it hits in an area and removes MP dodge. Saturday Night Fava pulls, twice as far under Chocolathiest, and Spladent hits in a diagonal cross. Weak to Air.
 Spladent4 AP · 5 Range ·41 to 50 Water damage · Spladent: +30 base damage
 Saturday Night Fava3 AP · 7 Range ·31 to 40 Fire damage · Pulls 2 cells · 61 to 80 Fire damage · Pulls 4 cells
Pulls 2 cells; on a target under Chocolathiest, pulls 4 and hits twice as hard.
 Greedy Gripper
Invisible glyph placed from 2 to 7 range. Spot where the Podploder cast it before advancing.
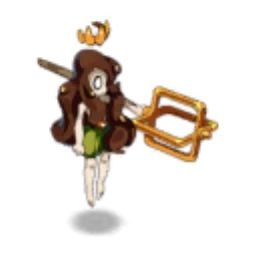
Level 200
- 6,000 HP
- 12 AP
- 4 MP
- Resistances (%)
- Earth 32%
- Fire 19%
- Water -12%
- Air 28%
- Neutral 9%
Put it under Gravity: Ganache makes it swap places with any entity. Cocoabstruction removes MP without line of sight, Chocolaspergers removes range while pushing back. Weak to Water.
 Chocolaspergers4 AP · 7 Range ·41 to 60 Air damage · -3 Range · Pushes back 2 cells
Removes 3 range and pushes back 2 cells: annoying for your ranged characters.
 Cocoabstruction3 AP · 9 Range ·31 to 40 Earth damage · -2 MP · 81 to 100 Earth damage · -4 MP
Removes 2 MP without line of sight, from 3 to 9 range; under Chocolathiest, 4 MP and triple damage.
 Ganache
Swaps places up to 7 range with an ally, whom it heals, or an enemy, whom it hits. Gravity prevents it.
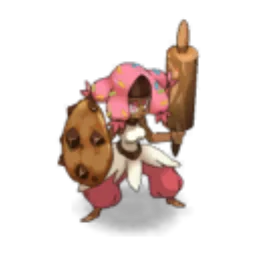
Level 200
- 6,000 HP
- 12 AP
- 6 MP
- Resistances (%)
- Earth 21%
- Fire -10%
- Water 37%
- Air 19%
- Neutral 13%
Hydrolysis steals life in melee and removes dodge, twice as much under Chocolathiest. Glazing reduces the damage taken by her and her nearby allies for 2 turns. Weak to Fire.
 Hydrolysis3 AP · melee ·31 to 40 Water steal · -30 Flight · 61 to 80 Water steal · -60 Flight
Life steal in melee and dodge penalty, doubled under Chocolathiest.
 Chocolashield4 AP · 5 Range · Shield: 100% of level ·41 to 60 Earth damage
 Glazing
Reduces by 20% the damage taken by the Milipraline and her nearby allies, 2 turns: move your target away from her.
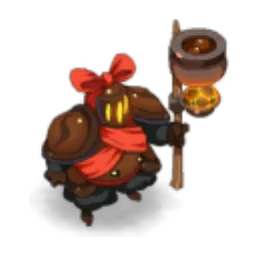
Level 200
- 6,000 HP
- 12 AP
- 4 MP
- Resistances (%)
- Earth 9%
- Fire 24%
- Water 18%
- Air 34%
- Neutral -15%
Never stack Cooling and Overheating: both states trigger Thermal Choco, which hits and makes you Pacifist for one turn. Get out of the Choco Cauldron's glyph quickly. Weak to Neutral.
 Cooling4 AP · 10 Range ·41 to 60 Air damage · 11 to 15 Air damage · Cooling state · Triggers: Thermal Choco
In a line from 2 to 10 range: poison and Cooling state. With Overheating, triggers Thermal Choco.
 Overheating3 AP · 7 Range ·11 to 15 Fire damage · 21 to 30 Fire damage · -2 AP · 41 to 60 Fire damage · -4 AP · Overheating state · Triggers: Thermal Choco
Removes 2 dodgeable AP (4 under Chocolathiest), with poison and Overheating state. With Cooling, triggers Thermal Choco.
 Choco Cauldron
Glyph of radius 3: damage, poison and Gravity as long as you stay in it. Get out, knowing that the poison still hits you as you leave.
Preparing your run through the Chokao Temple
A dungeon for teams of level 190 to 200 ready for a long fight, which is won by mastering the Chokao Shards more than by hitting hard. People come for Fleaster's quests, the six achievements and the Chokao Priestess's Embroidery.
How to enter the Chokao Temple
The entrance is on Fleaster Island, at the Chocomancers' Laboratories, in ; the nearest zaap is the Elevation Stones one . There are three ways to open it: a Chokao Temple Key (consumed), the key ring if it is registered on it, or the automatic group search.
Crafting the Chokao Temple Key
It is crafted at a handyman's workshop. Four ingredients drop from the dungeon's Chocomancers, at 12%: Podploder Hat, Torreflayer Skin, Milipraline Hair and Temperaumaturge Cauldron, like Tasty Meat. Limpet (fishing), Salikronia and Quisnoa (harvesting) complete the recipe.
| Ingredient | Quantity | Level |
|---|---|---|
 Podploder Hat |
2 | 200 |
 Torreflayer Skin |
2 | 200 |
 Milipraline Hair |
2 | 200 |
 Temperaumaturge Cauldron |
2 | 200 |
 Tasty Meat |
2 | 200 |
 Limpet |
1 | 200 |
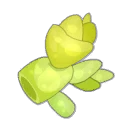 Salikronia |
1 | 200 |
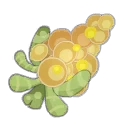 Quisnoa |
1 | 200 |
Which team to bring against the Chokao Priestess
Healing and protection. Bells of Chokao hits the whole team and the Shards make the fight last: Eniripsa, Masqueraider and above all Feca are valuable. A Feca's Bastion makes up to 4 characters invulnerable on a Bell turn.
Poisons and indirect damage. Poisons ignore the Shards' reduction and, like bombs and summons, do not give Chocolathiest. The Rogue is very strong here: a bomb that explodes near a Shard does not apply the state.
Earth and Neutral resistances. The Priestess is weak to Earth: it is the element to favor to kill her quickly. She and the Torreflayer hit in Neutral, so Neutral resistances make the whole fight easier.
The comfortable classes. The Feca (Bastion, Ataraxia), Eniripsa and Masqueraider to hold out; the Rogue, Sram, Sadida and Osamodas to kill the Shards without taking Chocolathiest. To kill the Priestess in one turn, the Pandawa positions, and an Earth Rogue, a Sram with a trap network or an Eliotrope and Iop duo hit.
The six achievements of the Chokao Temple
Each achievement gives 75,000,000 XP and 2 Chokao Priestess's Embroidery, and Duo doubles the XP. Chrono, First, Freedom and the Special are completed in the same fight; with the Duo, they unlock the meta-achievement Here Choccy-Choccy.
| Achievements | Condition | Points | XP |
|---|---|---|---|
| Chokao Temple | Defeat the Chokao Priestess in this boss's dungeon. | 10 | 75 000 000 |
| Chokao Priestess (First) | Defeat the Chokao Priestess in her dungeon by completing the “First” challenge. | 10 | 75 000 000 |
| Chokao Priestess (Freedom) | Defeat the Chokao Priestess in her dungeon by completing the “Freedom” challenge. | 10 | 75 000 000 |
| Chokao Priestess (Duo) | Defeat the Chokao Priestess in her dungeon by completing the “Duo” challenge. | 20 | 150 000 000 |
| Chokao Priestess (Special) | Defeat the Chokao Priestess in her dungeon by completing the “A Nice Light Snack” challenge. | 10 | 75 000 000 |
| Chokao Priestess (Chrono) | Defeat the Chokao Priestess in her dungeon by completing the “Chrono” challenge. | 10 | 75 000 000 |
First
The Chokao Priestess must be finished off first. Contrary to the basic strategy, kill one Shard per turn to make her vulnerable as early as possible, limiting Chocolathiest before the turn-3 Bells. Then kill her before turn 5, the next Bells turn. With little damage but healing, play slowly: Shards killed in one hit at 1,000 HP, by poison or by summons (Sadida, Osamodas, Sram, Rogue).
Chrono
Defeat all the monsters in fewer than 9 turns. It takes big damage, and killing the Shards quickly: left alive, their 50% reduction will cost you too many turns. Do it with First, keeping a single character under Chocolathiest. Poisons ignore the reduction.
Freedom
Do not attempt to reduce your opponents' MP or Range for the duration of the combat. No particular difficulty: no MP or Range removal, on any monster. It stacks easily with the other achievements.
Special: A Nice Light Snack
No Chokao Shard may be on the battlefield when an enemy fighter is finished off. Kill the Shard before each kill. First bring the monsters down as low as possible without touching the Shard (its summoner is invulnerable, the others take 50% less), then kill the Shard with a single character, ideally in one hit or with poison, before finishing off. Stay vigilant at the end of the fight, when only monsters remain.
Duo
Two characters maximum, fewer than 40 turns. First option: an Air Sram with Mist and a poison class. Kill the monsters with poison (Toxic Injection, Insidious Poison, Epidemic) without killing a Shard, hiding with Mist. Then deal 1,000 poison damage to each Shard: it dies on its second turn without giving Chocolathiest. At threshold III, you have one turn to hit before the next Shard. Second option: an Eliotrope who solos the Priestess with portals on both sides of the map, Neutral resistances maxed.
Drops and loot of the Chokao Temple
Base in-game rates, before Prospecting bonuses.
On the Chokao Priestess
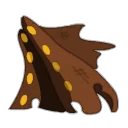 Chokao Priestess's EmbroideryGarment12 %
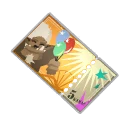 Collectible PictureFleaster Island8,5 %
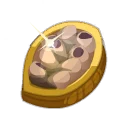 Broken Chokao ChipMiscellaneous Resource2 %
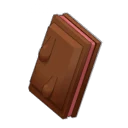 Fleaster TargaCeremonial shield1 %
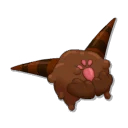 Fleaster TopperCeremonial hat1 %
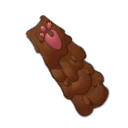 Fleaster CapeCeremonial cape1 %
 Paragon of PowerMain quests0,7 %
 Tasty CarrionMeat0,6 %
On the henchmen of the Chokao Priestess
- Podploder HatGarment · Podploder12 %
- Tasty MeatMeat · Podploder12 %
 Chocoligarch DiademMiscellaneous Resource · Chocoligarch12 %
- Milipraline HairHair · Milipraline12 %
- Temperaumaturge CauldronMiscellaneous Resource · Temperaumaturge12 %
- Torreflayer SkinSkin · Torreflayer12 %
- Collectible PictureFleaster Island · Podploder7 %
- Broken Chokao ChipMiscellaneous Resource · Podploder2 %
All achievements in one fight
The map for the first four turns
For Chrono, First, Freedom and the Special together, bring a Pandawa and heavy Earth damage. Turns 1 and 2: deal 1,000 damage to the Shard, always with the same character, so that it dies by losing its HP bonus. Turn 3: kill the Shard in one hit, i.e. 1,000 HP plus 500 per character. Turn 4: the Priestess is vulnerable, kill her in one turn, before the last monster in initiative resummons a Shard: so your last character to play must be the healer. That leaves 4 turns for the three monsters.
Which carries the damage of turn 4
An Eliotrope and an Iop: Wrath charged on turn 1, portals placed to hit through. A Sram: trap network from turn 1 and Chakra Concentration, which disappears at the start of their next turn. An Earth Rogue: seismobombs protected by boots and Bunker, Last Breath, then Detonator. The Pandawa's Brewing applies a vulnerability to her that benefits everyone.
Where is the Chokao Temple?
On Fleaster Island, in , at the Chocomancers' Laboratories. The nearest zaap is the Elevation Stones one .
At what level should you do the Chokao Temple?
Level 190 minimum, 200 recommended. The Chokao Priestess is level 220 and her Chocomancers level 200.
Which quest should you do at the Chokao Temple?
Chocomagic vs Chocomancy, between levels 180 and 200. Add the weekly quest Chocolate Factory Surprises, at Lilivonne Kah's , which is completed in the same fight.
How do you make the Chokao Priestess vulnerable?
By killing three Chokao Shards. Her counter goes from I to III and she becomes vulnerable for the rest of the fight, but each threshold increases her damage.
Should you kill the Chokao Shards right away?
No, except for the First or Chrono achievements. Kill the monsters first, preferably with poison, then the three Shards when the Priestess is alone.
How do you avoid the Chocolathiest state?
Kill the Shard in one hit, with poison, with a summon or with a bomb. If you have to damage it, always do so with the same character.
Which monster should you target first in the Chokao Temple?
The Torreflayer, for its erosion and heavy damage. Also put the Chocoligarch under Gravity to block Ganache.
Which classes should you bring?
Feca, Eniripsa or Masqueraider to hold out, Rogue or Sram for the Shards. Poisons and bombs kill the Shards without giving Chocolathiest.
Can the Chokao Temple be done with two characters?
Yes, it is even an achievement: the Duo, in fewer than 40 turns. An Air Sram with Mist and a poison class, or an Eliotrope who solos the Priestess with their portals.



Comments
No comments yet. A tip, or a detail about this page? Be the first.