 2 × Skt-Zo Leg
Dungeon Wukin and Wukang
Orukam's Memory
Level 200 dungeon in the Kingdom of Ink, at [-3,-1]: a single fight in three waves against King Imagami, who enters Lotus three times and then lends you Queen Amirukam. Quests to start, strategy, monsters, achievements and loot.
Quests linked to Orukam's Memory
The dungeon quest, Two Breaths, One Inhalation, sends you there at the end of a long series of steps in Pandala: have it active before entering, it is completed on King Imagami then in the last room. Two collection quests also go through the King.
It is completed on King Imagami. After the trails of Myamowa Musashwan and Tanukang Jei, enter the Royaumes célestes through a temple, explore Orukam's Memory, beat King Imagami in a single fight, then decipher the spirit-words in the last room.
- Start
- The Grandapan, Forbidden Inn
- Prerequisites
- Level 180
 Words to Speak By3 Imafugo Apostrophe, 3 Fugokam Apostrophe and 50,000,000 XP
For later
Two dragon haikus drop here. Kigob asks for 42 different haikus: King Imagami drops Dragon Haiku: Creation, the Imafugo drops Dragon Haiku: Passion, and Imihasu, at the exit, trades a duplicate for the branch's missing haiku.
- Start
- Kigob, Kingdom of Paper
- Prerequisites
- Level 180 and Pandala Awakens
 Poet Certificateand 50,000,000 XP
King Imagami can give you the Totem of Joy. Maimane asks for six emotion totems, each from a boss of your choice: for joy, Klime, Merkator, King Imagami, King Nidas or Servitude.
- Start
- Maimane, Destroyers' Nightmare
- Prerequisites
- Level 180
 Totem of Balanceonce the six totems are handed in
The 2 rooms of Orukam's Memory
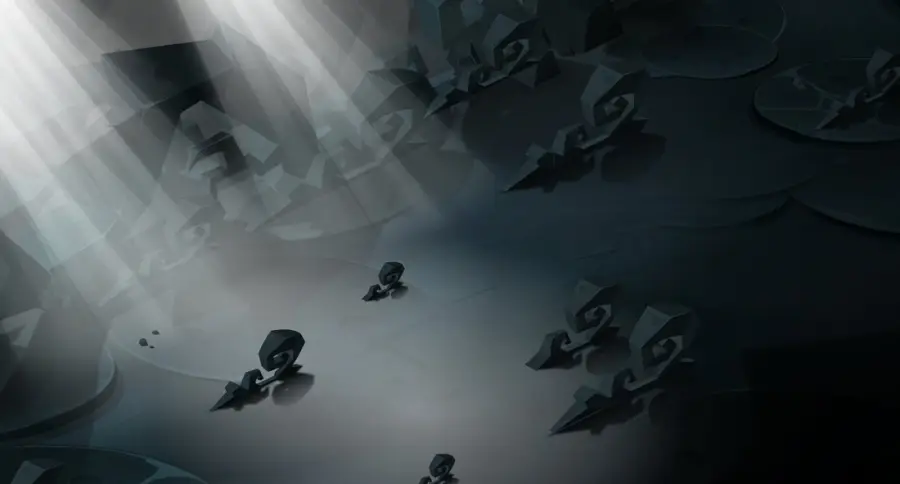
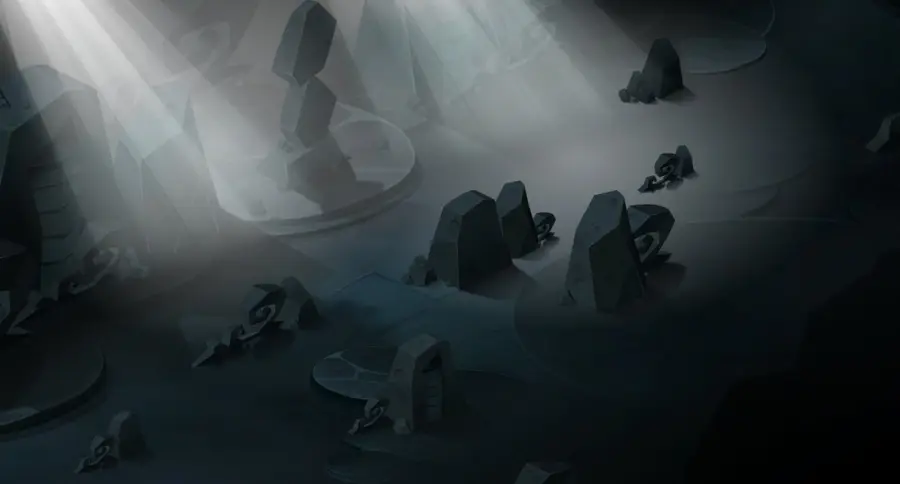
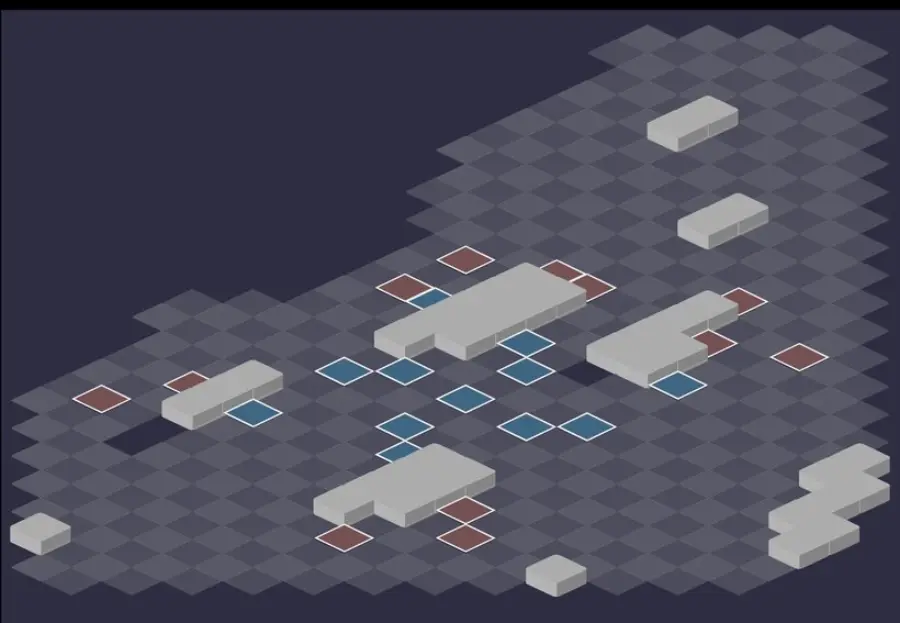
As in the dimension dungeons, everything is played in a single fight, in three waves, against King Imagami and his Yokianzhi. The last room is used for Two Breaths, One Inhalation, in which you decipher the spirit-words. For each room: the scenery, then the tactical view with the starting cells (blue: you, red: the monsters). Tap an image to enlarge it.
Room 1
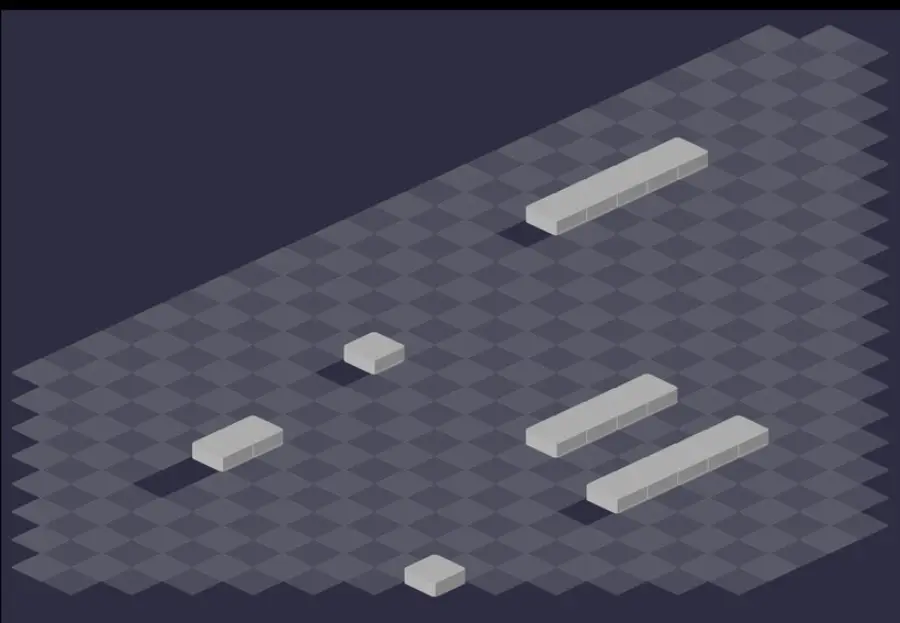
Room 2 — King Imagami
Defeat King Imagami
Stationery Slaughter, every 3 turns
From turn 2 and every 3 turns after, the King places white glyphs on all entities, then hits all your characters on the next turn. End that turn on the center cell of a white glyph: it's the only way to avoid the damage.
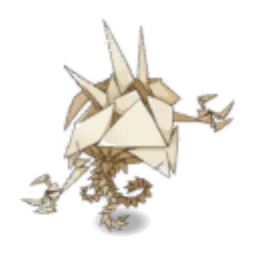
Level 220
 27,000 HP
 20 AP
 6 MP
- Resistances (%)
 Earth 18%
 Fire -11%
 Water -8%
 Air -21%
 Neutral 22%
He hits mostly in melee or at short range: Rock Paper Scissors makes him leap and inflicts a random debuff on you, Shortcut Scroll teleports a monster into contact with you. At 75, 50 and 25% of his HP, he enters Lotus. Weak Point: Air, at -21%.
 Shortcut Scroll3 AP · melee ·41 to 60 Neutral damage
In melee: teleports the nearest paper monster next to its target, never the same one twice per turn.
 Stationery Slaughter
White glyphs on all entities; on the next turn, all your characters take damage, except on the center cell of a glyph. Monsters that start in a glyph gain a shield.
 Rock Paper Scissors4 AP · melee · Teleports to the targeted cell ·71 to 100 Neutral damage · -100 Flight · 40% Erosion · Effect Duration: -2
Leaps to the targeted cell, then a random debuff for your characters around it: flight, shortened enchantments or erosion. Don't stay in melee with it.
 Kami no Jishin5 AP · 5 range ·41 to 60 Earth damage · -3 MP · Kami no Jishin State
Large area without line of sight: removes 3 dodgeable MP, pushes back the edges and pulls in the center. Cooldown 2 turns.
The five-step strategy against King Imagami
Turn 1: the first threshold. Hit the King as much as possible from turn 1: the first threshold is the easiest one to reach. Pass it before the Imorok plays, or move the King away from it, to avoid Tessellation. The character closest to the King summons the Queen: make it the one who plays first.
Five turns with the Queen. Queen Amirukam must hit each monster once per turn. Give her MP and place her near the enemies, alternate Wukin Surge and Wukin Stability, and protect her to keep her for 5 turns. Your characters kill in this order: Imafugo, Imushin, Imiyama, Imetsu, Imorok.
Wave 2, the most dangerous. It arrives just before the King returns to his form. Kill the Imafugo very quickly: at full health, it gives 100 damage to both Imiyama, which hit on four damage lines. Remove their range or tackle them, and push the remaining counterparts into the King's glyph.
The return of the King. Kill the Queen yourself with Wukin Extinction, then hit the King before he plays again to pass the next threshold. Otherwise, put him in Gravity and stay at a distance: he mostly hits up close. The third threshold often takes two turns.
After the third Lotus. The last 5 turns with the Queen are used to clear wave 3, keeping the Imushin away from you. The King then has no threshold left: hit him until he dies, at range and in Gravity if possible.
The King's Lotus and Queen Amirukam
At each threshold, the King becomes rooted and invulnerable for 5 turns, and fully heals: the next threshold is calculated on his full HP. Queen Amirukam, summoned by the character closest to him, fights on your side during that time; if she dies, the King returns to his normal form.
With 20 AP and 6 MP, she casts her attack four times per turn with four characters, one more per additional character, and hits through an Eliotrope's portals. Wukin Extinction kills her whenever you want, without failing the Special achievement.
The King's glyph
On reaching a threshold, the King places a white glyph around himself: a square of size 3, then 2, then 1. Any ink monster inside dies when the King returns to his form, marked by a skull. If a Pandawa has moved the King out of his glyph, the effect doesn't trigger.
The monsters' Lotus
Each Yokianzhi has a threshold at 10% of its HP: it enters Lotus, invulnerable and rooted, heals 25 then 50% and summons its ink counterpart (Fugokam, Tsunam, Mabram, Rokoram or Shinlam), with 25% less HP. Kill the counterpart before the fourth turn of the Lotus: otherwise the monster kills it itself, gets back up, and has to be brought down to 10% again.
The counterpart appears on the cell above its summoner and escapes Sram traps and pre-placed bomb walls. A hit from the Queen is often enough to finish it. A monster in Lotus can be carried with a Pandawa, but can be neither pushed nor pulled.
The monsters of Orukam's Memory
Five level 200 Yokianzhi, each gaining 13,500 HP in the dungeon. With four characters: Imorok, Imafugo and Imetsu at the start, two Imiyama, an Imorok and an Imafugo on turn 5, then Imiyama, Imetsu and two Imushin on turn 10. An incoming wave is invulnerable for one turn, and emptying the current wave brings in the next one immediately. The resistances in red are their weaknesses.
In which order to kill the monsters
- Imafugo — it gives up to 100 damage to all its allies as long as it has a lot of HP.
- Imushin — it hits very hard and halves the heals received.
- Imiyama — it hits from very far, heals, and makes full use of the Imafugo's boosts.
- Imetsu, then Imorok — not very dangerous, except an Imorok that protects its target with Tessellation: kill it first in that case.
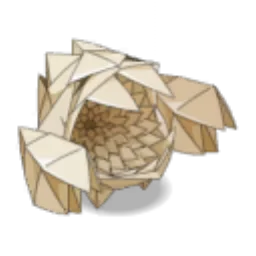
Level 200
- 5,500 HP
- 12 AP
- 6 MP
- Resistances (%)
- Earth -15%
- Fire 24%
- Water -21%
- Air 18%
- Neutral -6%
Its life is its strength: Hadaka Matsuri gives all its allies 100 to 20 damage depending on its HP Left. Creative Inspiration pulls 4 cells and removes 2 AP, but it is only truly dangerous in melee. Weak to Water and Earth.
 Creative Inspiration3 AP · 5 range · Pulls 4 cells ·31 to 40 Fire damage · -2 AP · Triggers: Artistic Inspiration
Pulls 4 cells and removes 2 AP in a line; allies near the Imafugo gain 2 AP.
 Go-o Hanmā4 AP · 3 range ·51 to 65 Fire damage · 50 MP Parry
Hits in a square and gives MP Parry to the Imafugo and the monsters in the area.
 Resshō No Kiba4 AP · melee ·41 to 50 Fire steal
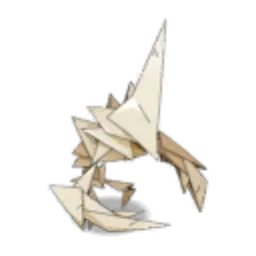
Level 200
- 5,500 HP
- 12 AP
- 6 MP
- Resistances (%)
- Earth -12%
- Fire -17%
- Water 19%
- Air 25%
- Neutral -15%
Most dangerous along with the Imiyama: Oriken halves heals received, and Aerogami throws it into contact with you in a line. Its damage decreases over the turns. Weak to Fire, Neutral and Earth.
 Shikigami No Mai4 AP · melee ·35 to 39 Air damage · 43 to 48 Air damage
 Oriken4 AP · 3 range ·41 to 50 Air damage · Heals Received x50%
Halves the heals received, in a ring. It can be dispelled.
 Aerogami3 AP · 7 Range · Advances 6 cells ·36 to 45 Air damage
The Imushin charges into contact with you in a line: keep an obstacle between you.
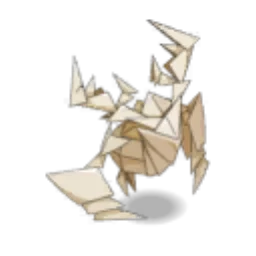
Level 200
- 5,500 HP
- 12 AP
- 4 MP
- Resistances (%)
- Earth 5%
- Fire 5%
- Water 5%
- Air 5%
- Neutral -20%
It heals with Kusudama and Legend of a Thousand Swanes, hits in every element except Neutral with Paper Brambles and summons a static Imikaminokin near its allies. Its long range threatens your bombs. Weak to Neutral.
 Paper Brambles3 AP · 11 range ·9 to 12 Water damage · 9 to 12 Air damage · 9 to 12 Fire damage · 9 to 12 Earth damage
If the target is healed afterward, whoever heals it loses 3 dodgeable MP.
 Kusudama4 AP · 9 RNG ·21 to 25 Fire heals · 31 to 40 Fire heals · 41 to 60 Fire heals
Immediate heal then heal over time, 2 turns. The reason not to linger on an Imiyama.
 Legend of a Thousand Swanes5 AP · 5 range ·16 to 20 Water damage · 16 to 20 Air damage · 16 to 20 Fire damage · 16 to 20 Earth damage · 31 to 40 Fire heals · 40 Flight · Legend of a Thousand Swanes State
Cone that hits your characters and heals the monsters inside it, giving them flight.
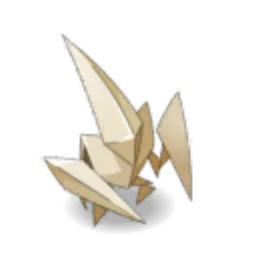
Level 200
- 5,500 HP
- 12 AP
- 5 MP
- Resistances (%)
- Earth -22%
- Fire 10%
- Water 21%
- Air -20%
- Neutral 11%
Shidekami pulls 2 cells and removes 2 AP in a line, Sonobe moves it to the other side of its target, Miura Trap puts you in Gravity. Its range drops each turn. Weak to Earth and Air.
 Shidekami4 AP · 9 range ·41 to 50 Water damage · -2 AP · Pulls 2 cells
Pulls 2 cells and removes 2 dodgeable AP, in a line. Don't stay lined up with the Imetsu.
 Sonobe3 AP · 2 range · Teleports the caster to the other side of the target ·31 to 40 Water damage
The Imetsu teleports symmetrically to its target: it ends up behind you.
 Miura Trap
Trap that hits and puts you in Gravity for one turn. Look at the cells before advancing.
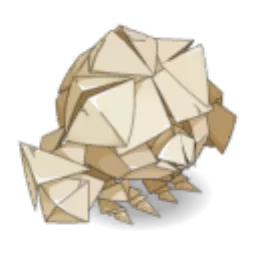
Level 200
- 5,500 HP
- 12 AP
- 5 MP
- Resistances (%)
- Earth 26%
- Fire -11%
- Water -16%
- Air -13%
- Neutral 14%
Tessellation makes him take the damage dealt to his allies around him: if the King takes advantage of it, your focus collapses. Pure Land gives him a shield each turn, Valley Fold makes him leap and pull. Weak to Water, Air and Fire.
 Tessellation
The Imorok takes the damage meant for its nearby allies. Cannot be dispelled, cooldown 4 turns: kill it before the one it protects.
 Scrap of Paper3 AP · 5 Range ·41 to 50 Earth damage · -200 Power
Removes 200 power for one turn, without line of sight.
-
Valley Fold5 AP · 3 range · Teleports to the targeted cell · Pulls 2 cells ·51 to 70 Earth damage
Leaps to the targeted cell, then pulls everything in the area toward itself.
Preparing your run through Orukam's Memory
A heavily simplified dungeon for level 200 teams: any composition of four can beat it, preferably with classes that hit well at range. King Imagami cannot be captured: you come for the quest, the haikus and the King Imagami Diacritics.
How to enter Orukam's Memory
The entrance is in the Kingdom of Ink, dimension of the Wukin and the Wukang, at ; the nearest zaap is the Kingdom of Ink one . The key ring doesn't work, nor does teleporting in front of the dungeon: craft a Key to Orukam's Memory and come on foot.
Crafting the Key to Orukam's Memory
It is crafted by a handyman. Four ingredients drop from the dungeon's monsters, at 12%: Imushin Semi-Clouton, Imorok Circumflex Carapace, Imiyama Quote Marks and Imetsu Ellipses. Liquid Crystal, Ink Snapper, Paper Tulip and Quisnoa complete the recipe.
| Ingredient | Quantity | Level |
|---|---|---|
 Imushin Semi-Clouton |
2 | 200 |
 Imorok Circumflex Carapace |
2 | 200 |
 Imiyama Quote Marks |
2 | 200 |
 Imetsu Ellipses |
2 | 200 |
 Liquid Crystal |
1 | 200 |
 Ink Snapper |
1 | 200 |
 Paper Tulip |
1 | 200 |
 Quisnoa |
1 | 200 |
Which team to bring against King Imagami
Ranged damage. With 13,500 more HP per monster, you need enough to pass the thresholds quickly. Classes that hit well at range do the job; MP removal and positioning help without being mandatory.
Healing and a positioner. Between Stationery Slaughter and the waves, you take a lot of hits: an Eniripsa or a Feca relieves the group. A Pandawa carries the Lotuses and clumps the monsters together in the passage in the middle of the map.
The first in initiative near the King. The character closest to the King at the threshold summons the Queen. Have her controlled by whoever plays first: they kill her with Wukin Extinction, and the others hit the King before he plays again.
The classes that are comfortable here. The Pandawa positions, tackles and carries the Lotuses. The Rogue passes thresholds quickly, and its bomb wall kills the counterparts once they've played. The Eniripsa heals and boosts, the Feca protects, bombs included, and hits in Water while pushing back. An Eliotrope simplifies the fight even more: the Queen hits through its portals.
The five achievements of Orukam's Memory
Each achievement gives 200,000,000 XP and 2 King Imagami Diacritic, the Trio doubles the XP. Special and Trio are played with the basic strategy, and Clean Hands is easily completed with the Queen and the King's glyph.
| Achievements | Condition | Points | XP |
|---|---|---|---|
 Orukam's Memory |
Defeat King Imagami in this boss's dungeon. | 10 | 200 000 000 |
| King Imagami (Impertinence) |
Defeat King Imagami in his dungeon by completing the “Impertinence” challenge. | 10 | 200 000 000 |
| King Imagami (Clean Hands) |
Defeat King Imagami in his dungeon by completing the “Clean Hands” challenge. | 10 | 200 000 000 |
| King Imagami (Trio) |
Defeat King Imagami in his dungeon by completing the “Trio” challenge. | 20 | 400 000 000 |
| King Imagami (Special) |
Defeat King Imagami in his dungeon by completing the “Ink Regency” challenge. | 10 | 200 000 000 |
Impertinence
Allies must end their turn on a cell adjacent to an enemy. Take sturdy characters, with healing and protection (Masqueraider, Ouginak, Eniripsa, Feca), in melee gear, and turn the fight into a big general brawl. Keep passing the King's thresholds to keep the Queen, who doesn't have to respect Impertinence. In a ranged composition, isolate the King on the first turn and end your turns against his Lotus.
Clean Hands
Enemies must be finished off without direct damage. Traps, glyphs, poisons, pushes, reflections and summons are allowed. Finish with the Queen or with the King's glyph, and don't directly kill the trees summoned by the Imiyama and the Mabram. Once the King has no threshold left, finish him with an indirect spell or a summon.
Trio
Three characters maximum, under 80 turns. Made simple by the dungeon's overhaul: any ranged composition succeeds by following the basic strategy.
Special: Ink Regency
Queen Amirukam must be finished off by an ally before King Imagami comes out of his Lotus. Having entered Lotus on turn 1, the King returns at the start of turn 6: kill the Queen with Wukin Extinction before that deadline. This spell doesn't fail the achievement, but a Queen killed by the enemies doesn't count. Ideally, the Pandawa is the closest to the King at each threshold, so that he is the one who summons her.
Drops and loot of Orukam's Memory
Base game rate, before prospecting bonus. Dragon Haiku: Creation, from the King, and Dragon Haiku: Passion, from the Imafugo, are used for the quest So Many Words, So Little Time.
On King Imagami
 Wukang Lance KianzhiArchipelago of Valonia18 %
 King Imagami DiacriticMiscellaneous Resource12 %
 Dragon Haiku: CreationHaiku12 %
 Nougat Rabmarac BarTreat6 %
 Fortunawa CookieTreat6 %
 Bag of BeansContainer3 %
 Paper PetalPlant2 %
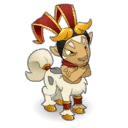 LilcentorCeremonial pet2 %
 Queen Amirukam DiacriticMiscellaneous Resource2 %
 Al Howin GobtubbyCeremonial pet1 %
 Wa Odanowth's CloakCeremonial cape0,95 %
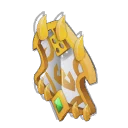 Queen Odasouth ShieldCeremonial shield0,95 %
 Wa Odanowth ShieldCeremonial shield0,95 %
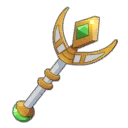 Queen Odasouth WandCeremonial weapon0,95 %
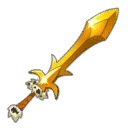 Wa Odanowth's SwordCeremonial weapon0,95 %
 Wa Odanowth's CwownCeremonial hat0,95 %
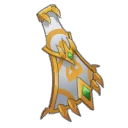 Queen Odasouth CloakCeremonial cape0,95 %
 Queen Odasouth CrownCeremonial hat0,95 %
 Paragon of PowerMain quests0,7 %
 Tasty CarrionMeat0,6 %
 FuyutoraCeremonial pet0,2 %
 RataldaCeremonial pet0,2 %
 SerporCeremonial pet0,2 %
 TutuyutuCeremonial pet0,2 %
 WingepigCeremonial pet0,2 %
 MoonotaurCeremonial pet0,2 %
 KinryuCeremonial pet0,2 %
 Ink PetalPlant0,1 %
On the henchmen of King Imagami
 Imafugo ApostropheMiscellaneous Resource · Imafugo12 %
 Tasty MeatMeat · Imafugo12 %
- Imetsu EllipsesMiscellaneous Resource · Imetsu12 %
 Third Piece of Forgotten ScrollPandala · Imetsu12 %
- Imiyama Quote MarksMiscellaneous Resource · Imiyama12 %
- Imorok Circumflex CarapaceMiscellaneous Resource · Imorok12 %
- Imushin Semi-CloutonMiscellaneous Resource · Imushin12 %
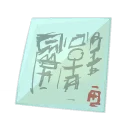 Dragon Haiku: PassionHaiku · Imafugo8 %
- Wukang Lance KianzhiArchipelago of Valonia · Imafugo6 %
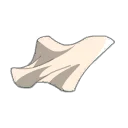 Edible PaperPandala · Imafugo6 %
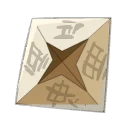 Folded WordsHaiku Words · Imetsu4 %
- Paper PetalPlant · Imafugo2 %
 Fugokam ApostropheMiscellaneous Resource · Imafugo2 %
- Fortunawa CookieTreat · Imafugo2 %
 Tsunam EllipsisMiscellaneous Resource · Imetsu2 %
 Mabram Quote MarksMiscellaneous Resource · Imiyama2 %
 Rokoram Circumflex CarapaceMiscellaneous Resource · Imorok2 %
 Shinlam Semi-CloutonMiscellaneous Resource · Imushin2 %
- Bag of BeansContainer · Imafugo1 %
- Ink PetalPlant · Imafugo0,12 %
The dragon haikus
Imihasu's exchange
At the dungeon exit, Imihasu trades a Dragon Haiku: Passion or Creation for the branch's missing haiku. Keep a duplicate if you're filling Kigob's collection for So Many Words, So Little Time.
Where is Orukam's Memory?
In the Kingdom of Ink, at , in the dimension of the Wukin and the Wukang. The nearest zaap is the Kingdom of Ink one .
At what level should you do Orukam's Memory?
Minimum level 190, 200 recommended. King Imagami is level 220, but a team of four that hits well at range can beat him.
How many fights does the dungeon have?
A single fight, in three waves. With four characters, the King and three monsters at the start, then a wave on turn 5 and one on turn 10, earlier if you empty the current wave.
How do you beat King Imagami?
By passing its three thresholds as fast as possible. At 75, 50 and 25% of his HP, he spends 5 turns in Lotus and lends you Queen Amirukam, who clears the waves; after the third, hit him until he dies.
How do you avoid Stationery Slaughter's damage?
Stand on the center cell of a white glyph. The King places them from turn 2 and every 3 turns after, and hits all characters on the next turn.
Which monster should you target first in Orukam's Memory?
The Imafugo, then the Imushin and the Imiyama. The first boosts all its allies as long as it has life, the other two deal the most damage.
What should I do when a monster turns into a Lotus?
Kill its counterpart before the fourth turn of the Lotus. Otherwise the monster gets back up and has to be brought back down to 10% of its HP.
Can King Imagami be captured?
No, King Imagami cannot be captured. No soul stone needed.
Does the key ring work for Orukam's Memory?
No, neither the key ring nor teleporting in front of the dungeon. Craft a Key to Orukam's Memory for each run and come on foot.



Comments
No comments yet. A tip, or a detail about this page? Be the first.