 2 × Skt-Zo Leg
Dungeon Shrouded Canals
Throne Room of the Dark Court
Level 200 dimension dungeon in Srambad, at [8,-4]: a single fight in five waves, Bonbombs that kill in a line and a queen who disappears into her Mist, the Queen of Thieves. Quest to start, positioning, strategy, monsters, achievements and loot.
Quests linked to the Throne Room of the Dark Court
The dungeon quest, The Court of Miracles, concludes the investigation into the Dark Court and is completed by defeating the Queen of Thieves in a single fight. Accept it before entering, and keep some time after the victory: several dialogues follow, on the spot.
It is completed on the Queen of Thieves. Talk to Chamberla in front of the dungeon, defeat the Queen in a single fight, then climb the steps before talking to her. Then discover the Court of Miracles without leaving .
- Start
- Injured Violet Arrow, Srambad
- Prerequisites
- Level 200 and The Queen's Butcher
 Orichor50 Orichor, 3 Magic Skemage Skull and 50,000,000 XP
For later
Finishing the Throne Room gives you the Locked Chest. Meriana sends you on the trail of the stolen egg to Srambad. Keep the chest: hand it to Frank Lee Smisse at immediately triggers a fight against 4 Rogues.
- Start
- Meriana, Nauseating Swamps
- Prerequisites
- Level 200 and The Last Emperor's Revenge
The Queen can give you the Totem of Surprise. Maimane asks for six emotion totems, each from a boss of your choice: for surprise, the Queen of Thieves, Catseye, Count Harebourg, Kabaal or the Chokao Priestess.
- Start
- Maimane, Destroyers' Nightmare
- Prerequisites
- Level 180
 Totem of Balanceonce the six totems are handed in
During events
- Tiwagrum Simulation
Tiwagrum can designate the Queen of Thieves as the guardian to defeat. Amakna Village, .
The loot is also useful elsewhere: Memories of the Afterlife (level 200) requires a Magic Skemage Skull, which drops from the Skemages in the dungeon.
The 2 rooms of the Throne Room of the Dark Court
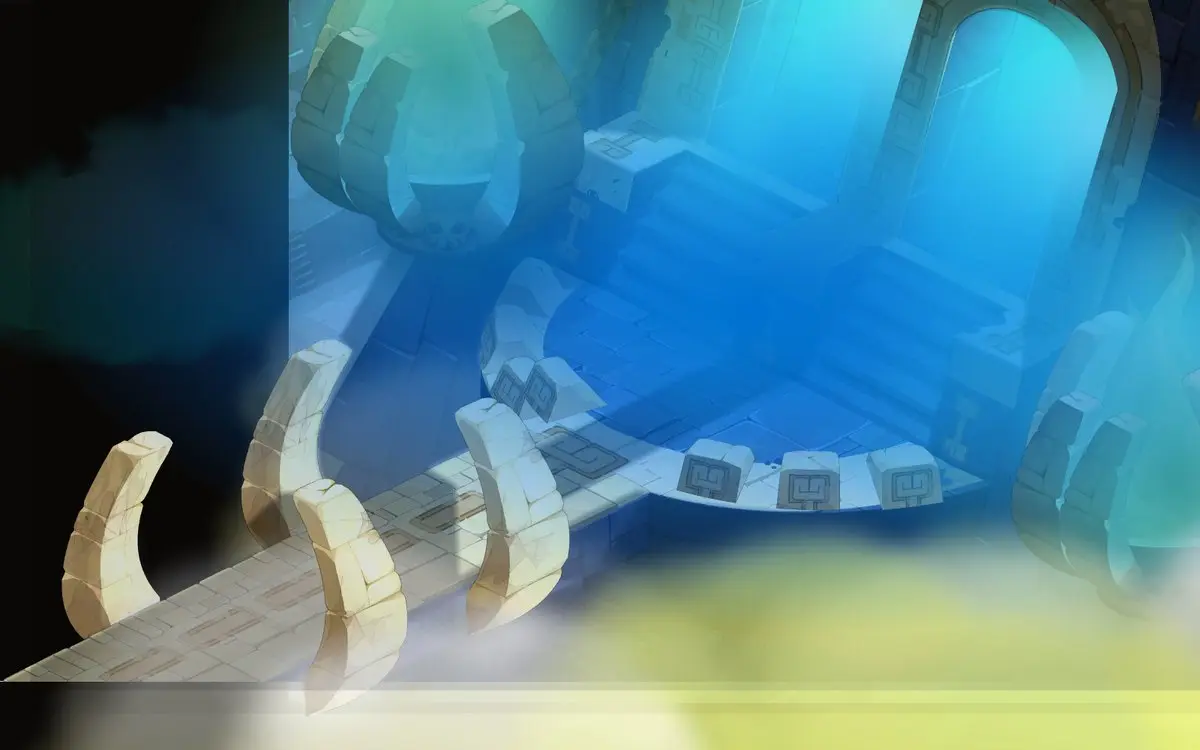
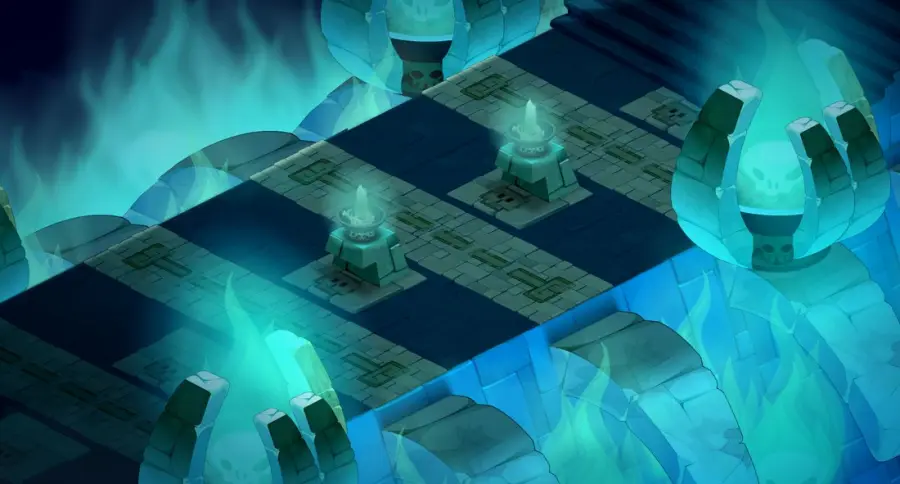
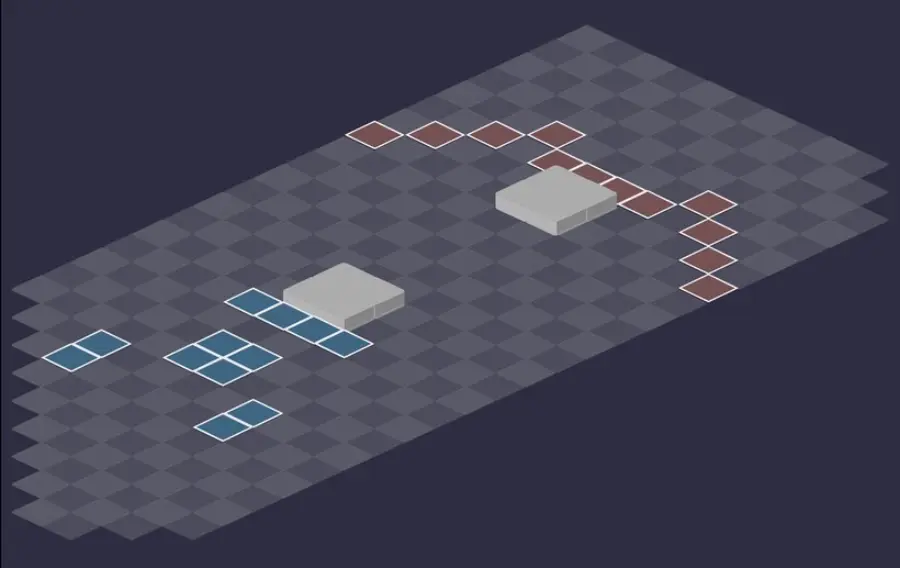
A dimension dungeon: a single fight, against five waves of monsters, with no rooms to chain. The game lists two maps for this arena. For each room: the scenery, then the tactical view with the starting cells (blue: you, red: the monsters). Tap an image to enlarge it.
Room 1
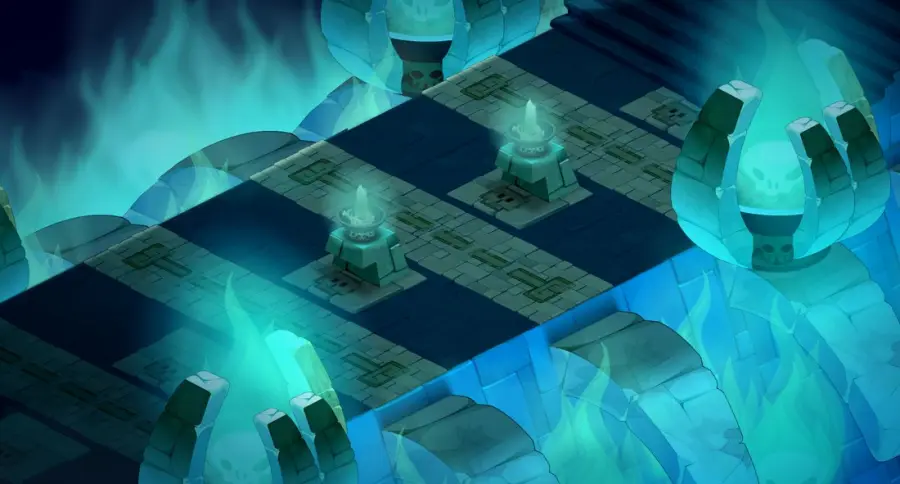
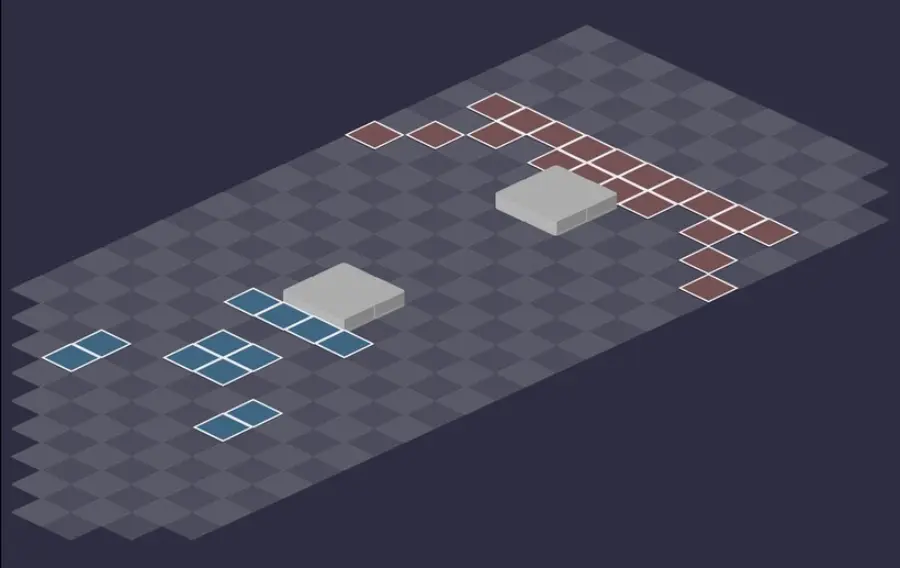
Room 2 — the Queen of Thieves
Defeat the Queen of Thieves
The red Bonbombs
Each turn, your characters summon a Bonbomb 2 cells in front of them. A red Bonbomb that explodes kills all characters in line up to 10 range, summons included. Before ending your turn, check that no red bomb is lined up with you.
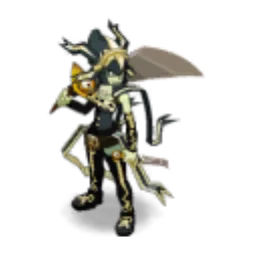
Level 220
 15,000 HP
 20 AP
 6 MP
- Resistances (%)
 Earth 26%
 Fire 42%
 Water 13%
 Air 18%
 Neutral 31%
She hits in melee with Critical Hit and swaps places with her target thanks to Impending Death, which dooms the target in 6 turns. Each Bonbomb in play reduces her damage taken by 10%, and explosions don't hurt her. Weak Point: Water; Fire is what she withstands best.
 Impending Death4 AP · 5 range · Advances 6 cells · Switches positions · Kills the target · Impending Death State ·Air Damage: 20% erosion of the caster's eroded HP
She pulls herself in a line toward her target, ally or enemy, then swaps places with it. The marked character dies after 6 turns, unless healed by a blue Bonbomb or the Queen dies.
 Mist
From turn 4, then every 3 turns: a black glyph that makes her and the monsters inside it invisible. Look for her on the three cells of the upper ring.
 Critical Hit4 AP · melee ·150 Water damage (% remaining MP) · 20 Water damage per 1 MP used
In melee, twice per turn, with a one-in-two chance of a critical hit, which also reduces the duration of your effects by 4 turns. Each MP spent afterward costs you HP.
The four-step strategy against the Queen of Thieves
“Auto-win” positioning. Line up your characters on the same line, two cells apart, with the one that has the initiative at the very top: it will never move again. Each bomb is then placed diagonally, on a parallel line, and never explodes on you. With four or five characters, the last ones join the line on the first turn; a Pandawa can carry allies there.
Wave 1: the Terristocrat. Kill the first wave quickly, Terristocrat first, removing its MP so it doesn't place its Bomb Ilical in melee with you. Push the monsters into the bomb lines: all the explosions in a line easily exceed 4,000 damage.
The Queen, little by little. Start hitting her as soon as wave 1 has fallen, on turns when few Bonbombs are in play. Keep her away: Impending Death breaks your line, and she can pull herself to a monster near you. She must die during wave 2, otherwise at wave 3.
Waves 2 to 5. On each wave, remove the Skemages' range and slow the Terristocrats. Wave 2 brings two easy Doubles, wave 3 two Terristocrats and a Skemage. Wave 4 is the last difficult one: two Skemages (three to six or more) and a Terristocrat. Wave 5 only has one Skemage.
How the Bonbombs work
At the start of his turn, each character summons a Bonbomb 2 range in front of him; if the cell is taken, it moves to the right diagonal, and so on clockwise. As soon as a character has two, the first one explodes and triggers those in line with it, the nearest first.
A bomb turns blue if another one explodes on its diagonal. Red, it kills characters in line up to 10 range; blue, it heals them completely, unless a red one also explodes in their line. In both cases, it hits the monsters in that area. Invulnerable, Bonbombs can be pushed or pulled, but not carried.
Finding the Queen in her Mist
From turn 4, then every 3 turns, at the end of her turn the Queen places a black glyph of radius 3 that makes her invisible, along with the monsters inside it. The glyph covers 25 cells, but she is always on one of the three cells of the upper ring. Test those three cells, at least to slow her or push her back.
Five waves of monsters
The fight starts with the Queen and three monsters with four players, one more for each additional character; each wave then has as many monsters as there are fighters. The timeline shows the current wave and the turn the next one arrives. Kill an entire wave and the next one arrives immediately, invulnerable for one turn.
When the Queen dies, Guilty Pleasure makes you take 50% more damage until the end of the fight: waves remain to be finished, so play them carefully.
The monsters of the Throne Room of the Dark Court
Five level 200 monsters, arriving in waves. Each has -24% in a different element: the resistances in red are their weaknesses. Terristocrat and Skemage are the real dangers, Tortryck and Double pose few problems.
In which order to kill the monsters
- Terristocrat — its Bomb Ilical kills any character within 2 cells or less when it explodes.
- Skemage — the Skoul's trap removes 10 MP and can lock you in a bomb's line.
- Mastaklyr — it places traps and removes 3 AP at long range.
- Tortryck, then Double — dangerous only in melee, and the Double has half the HP.

Level 200
- 6,000 HP
- 12 AP
- 4 MP
- Resistances (%)
- Earth 26%
- Fire 6%
- Water -24%
- Air 21%
- Neutral 11%
Bomb Ilical places a bomb in melee with you, which explodes on its next turn or on its death and kills the characters and summons within a radius of 2. Fumerus brings it quickly close to you, Attack hits everything around it. Weak to Water.
 Bomb Ilical2 AP · 6 range ·41 to 50 Neutral steal · Summons: Bomb Ilical · Triggers: Dangerous Proximity
The bomb is placed in contact with you and moves 3 cells closer to any character who hits a monster. Move it away from your allies before it explodes.
 Fumerus5 AP · 4 range · Teleports to the targeted cell ·81 to 85 Air steal · -4 Range
Teleportation in a line up to 4 range, life steal and -4 range around its landing cell.
 Attack5 AP · on itself ·81 to 100 Neutral damage
Hits in a circle of radius 4 around the Terristocrat: don't let it get close to the group.

Level 200
- 6,000 HP
- 12 AP
- 5 MP
- Resistances (%)
- Earth 21%
- Fire 11%
- Water 26%
- Air 6%
- Neutral -24%
Remove its range first: the Skoul's trap removes 10 MP and heals everything around whoever steps on it. Devaskulltation also heals the neighbors of its target, allies and enemies alike, and Warning poisons whoever hits a protected monster. Weak to Neutral.
-
Devaskulltation4 AP · 7 range ·46 to 55 Earth damage · Heals: 15% of max HP
Heals all entities around the target, your characters included, for 15% of their max HP.
 Warning
Protects the Skemage and its nearby allies for one turn: whoever hits them is poisoned at the start of their next turn. Dispel them, or hit another target.
 Skoul4 AP · 8 range ·61 to 70 Neutral damage · Places a trap
Places a diagonal trap that removes 10 MP and heals all entities around the one that steps on it. Removing range from the Skemage prevents it.
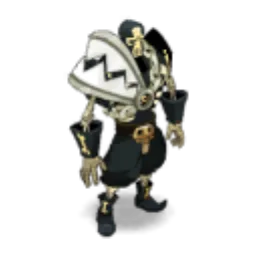
Level 200
- 6,000 HP
- 12 AP
- 4 MP
- Resistances (%)
- Earth 11%
- Fire 26%
- Water 6%
- Air -24%
- Neutral 21%
Beartrap places traps on the four cells around its target, Bonbombs included. Stay Dry removes 3 AP, in a line from 4 to 10 range. Remove its range too, after the Skemages'. Weak to Air.
 Beartrap4 AP · 8 range ·50 Fire damage · Places a trap
Places traps on the 4 cells around the target, twice per turn: watch your paths.
 Stay Dry4 AP · 10 Range ·46 to 55 Water damage · -3 AP
Removes 3 dodgeable AP, in a line from 4 to 10 range, twice per turn.

Level 200
- 6,000 HP
- 12 AP
- 5 MP
- Resistances (%)
- Earth 6%
- Fire -24%
- Water 21%
- Air 11%
- Neutral 26%
Not very dangerous at range, but to be avoided in melee: Guilty hits hard and shortens your effects, Spinundate removes 10 MP and applies Gravity. Toward the Light pulls 6 cells in a line: don't stay lined up with him. Weak to Fire.
 Toward the Light
Pulls 6 cells, in a line from 2 to 7 range, twice per turn.
 Guilty4 AP · melee · Kills the target · Duration of effects: -2 ·101 to 120 Water damage
In melee, twice per turn: heavy damage, -2 turns off the duration of your effects, and instant death of a summon.
 Spinundate4 AP · melee ·-10 MP · Gravity State
Removes 10 dodgeable MP and applies Gravity for 2 turns: any displacement suffered during that time deals damage.
Level 200
- 3,000 HP
- 12 AP
- 3 MP
- Resistances (%)
- Earth -24%
- Fire 21%
- Water 11%
- Air 26%
- Neutral 6%
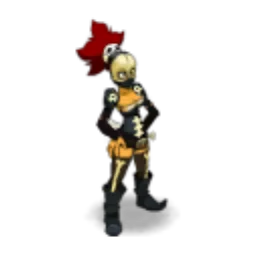
She splits in two at the start of the fight or of a wave: the double and the Double share the damage and gain power with each hit received. Circular Cut steals MP and AP around her. With half the HP of the others, she falls quickly. Weak to Earth.
 Double
Creates the double and makes the Double invisible for one turn. After 3 turns, the double dies, hitting everything around it.
 Circular Cut4 AP · on self ·51 to 60 Fire damage · Steals 2 MP · -3 AP
Steals 2 MP and removes 3 AP around the Double; the double recasts it at the end of its turn.
 Subtlety4 AP · 6 range · Switches positions ·41 to 50 Neutral damage · Pushes back 2 cells
The Double swaps places with its double: characters near one are pushed back, those near the other are pulled in.
Preparing your run through the Throne Room of the Dark Court
A dungeon for teams of level 190 to 200 who accept strict positioning. You come here for The Court of Miracles, the achievements and The Queen of Thieves' Embroidery: the Queen cannot be captured.
How to enter the Throne Room of the Dark Court
The entrance is in the Srambad dimension, in the Shadowy Heights, at . To reach Srambad, you need to find a portal: the portal hunt starts at the Voyagers' Tower . You then need a Key to the Throne Room of the Dark Court, consumed: the keyring doesn't work in a dimension.
Crafting the Key to the Throne Room of the Dark Court
It is crafted at a handyman's workshop. Four ingredients drop from the dungeon monsters, at 12%: Mastaklyr's Disarmed Trap, Terristocrat Bomb Fuse, Double's Scrunchie and Tortryck Shoulder Pad. The Dark Court Fabric is bought at the Srambad outpost for 3 Orichor; Icefish (fishing), Snowdrop and Frosteez (harvesting) complete the recipe.
| Ingredient | Quantity | Level |
|---|---|---|
 Mastaklyr's Disarmed Trap |
2 | 200 |
 Terristocrat Bomb Fuse |
2 | 200 |
 Double's Scrunchie |
2 | 200 |
 Tortryck Shoulder Pad |
2 | 200 |
 Dark Court Fabric |
1 | 200 |
 Icefish |
1 | 200 |
 Snowdrop |
1 | 200 |
 Frosteez |
1 | 200 |
Which team to bring against the Queen of Thieves
A Cra and an Enutrof. The Cra keeps monsters and the Queen at range, the Enutrof slows their advance: the dungeon becomes much simpler. It remains doable with any composition, as long as you don't let the Queen get close.
MP and range removal. Removing range from the Skemages, and failing that from the Mastaklyrs, avoids the Skoul's trap. Removing MP from the Terristocrats stops them from placing their Bomb Ilical in melee with you.
Enough to move the bombs. Pushbacks and pulls are useful for everything: lining up the Bonbombs so they explode together, saving an ally from a red line, or placing the monsters in their area.
The classes that fit well. The Cra pushes back and hits, the Enutrof slows. The Pandawa positions his allies on the first turn for the “auto-win” tactic. The Rogue can kill the Queen on turn 3 or 4 with a wall of bombs, and the Iop can charge his Wrath on turn 1 to kill her on turn 4.
The six achievements of the Throne Room of the Dark Court
Each achievement gives 200,000,000 XP and 2 The Queen of Thieves' Embroidery, Trio doubles the XP; Sidekick gives 75,000,000 XP. The “auto-win” positioning is the basis for First, Tight and Special.
| Achievements | Condition | Points | XP |
|---|---|---|---|
 Queen of Thieves (Special) |
Defeat the Queen of Thieves in her dungeon by completing the “Life Is Full of Pitfalls” challenge. | 10 | 200 000 000 |
| Queen of Thieves (Sidekick) |
Defeat the Queen of Thieves in her dungeon by completing the “Garbage Pail Sidekicks” challenge | 5 | 75 000 000 |
| Throne Room of the Dark Court |
Defeat the Queen of Thieves in this boss's dungeon. | 10 | 200 000 000 |
| Queen of Thieves (First) |
Defeat the Queen of Thieves in her dungeon by completing the “First” challenge. | 10 | 200 000 000 |
| Queen of Thieves (Tight) |
Defeat the Queen of Thieves as a team in her dungeon by completing the “Tight” challenge. | 10 | 200 000 000 |
| Queen of Thieves (Trio) |
Defeat the Queen of Thieves in her dungeon by completing the “Trio” challenge. | 20 | 400 000 000 |
Special: Life Is Full of Pitfalls
Allies must not be healed using blue Bonbombs. The achievement only fails if a character is actually healed: at 100% of their HP, a blue bomb in their line doesn't count. Keep your two cells of spacing and a healer to bring your HP back up, or shift the blue bomb out of your line. Failing that, line up all your characters on a line without a bomb and shift them each turn: none will turn blue. An allied summon being healed also fails the achievement.
First
The Queen of Thieves must be finished off first. Since your characters summon the Bonbombs, make sure they don't kill any monster before the Queen. An Enutrof or a Cra to slow and push back remains advisable. A Rogue kills her on turn 3 or 4 with a wall of bombs; an Iop charges his Wrath on turn 1 to kill her on turn 4.
Tight
Allied fighters must end their turn on a cell adjacent to another allied fighter. Two methods with the “auto-win” positioning. A summon between each character, but the explosions kill them and you have to re-summon every turn; only a Cawwot at the very back, next to the last character, survives. Simpler: a Cawwot to the left of each character, behind him for the last one. It doesn't die from the bombs but blocks the left: allow 6 MP to go around, hit and come back. If you master the Bonbombs, simply stick to the bombs or your allies.
Trio
Three characters maximum, fewer than 80 turns. Doable with almost any composition, not very different from the four-character dungeon. The simplest: a Cra who pushes back and hits, an Enutrof who slows, a class that hits. With a Pandawa and a Rogue, kill the Queen on turn 3 or 4 with a wall of bombs, re-form it and throw the monsters into it, without letting the Bonbombs set off the rogue's bombs. Otherwise, kill the Queen around turn 5 or 6, then chain through the waves.
Sidekick: Garbage Pail Sidekicks
At least four characters, including an eligible Sidekick: Grute, Goboff, Rint or Piggy Paupe. The fight plays out as usual: include the Sidekick in your line and keep it out of the lines of red Bonbombs and the Bomb Ilical.
Drops and loot of the Throne Room of the Dark Court
Base in-game rates, before Prospecting bonuses.
On the Queen of Thieves
 The Queen of Thieves' EmbroideryGarment12 %
 Nougat Rabmarac BarTreat6 %
 Skull and CrossbonesMiscellaneous Resource3 %
 Barrel of Scurvion BloodContainer3 %
 Rusty HookMiscellaneous Resource1,2 %
 Al Howin GobtubbyCeremonial pet1 %
 Queen Odasouth CrownCeremonial hat0,95 %
 Queen Odasouth ShieldCeremonial shield0,95 %
 Wa Odanowth ShieldCeremonial shield0,95 %
 Wa Odanowth's CloakCeremonial cape0,95 %
 Wa Odanowth's CwownCeremonial hat0,95 %
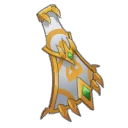 Queen Odasouth CloakCeremonial cape0,95 %
 Wa Odanowth's SwordCeremonial weapon0,95 %
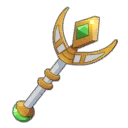 Queen Odasouth WandCeremonial weapon0,95 %
 Paragon of PowerMain quests0,7 %
 Tasty CarrionMeat0,6 %
On the henchmen of the Queen of Thieves
- Tortryck Shoulder PadGarment · Tortryck12 %
 Tasty MeatMeat · Tortryck12 %
- Double's ScrunchieGarment · Double12 %
 Magic Skemage SkullBone · Skemage12 %
- Mastaklyr's Disarmed TrapMiscellaneous Resource · Mastaklyr12 %
- Terristocrat Bomb FuseCombat Resource · Terristocrat12 %
 Stolen Centoror SkullMain quests · Tortryck5 %
- OrichorToken · Tortryck3,6 %
- Skull and CrossbonesMiscellaneous Resource · Tortryck3 %
- Rusty HookMiscellaneous Resource · Tortryck1,2 %
- Barrel of Scurvion BloodContainer · Tortryck1 %
 Gein Map fragment 4/8Map fragment · Tortryck0,8 %
 Gein Map fragment 8/8Map fragment · Tortryck0,8 %
 Gein Map fragment 3/8Map fragment · Double0,8 %
 Gein Map fragment 7/8Map fragment · Double0,8 %
 Gein Map fragment 5/8Map fragment · Mastaklyr0,8 %
 Gein Map fragment 1/8Map fragment · Mastaklyr0,8 %
 Gein Map fragment 6/8Map fragment · Terristocrat0,8 %
 Gein Map fragment 2/8Map fragment · Terristocrat0,8 %
Srambad modifiers
Ten modifiers, only one active
Each dimension applies one of ten combat modifiers, which can help or complicate the fight. It only changes when you complete this dungeon, the level 200 one in Srambad. Cyclic Power, for example, gives enemies 50% more vitality, but +25% damage to your characters per turn from the second turn on, reset every 5 turns.
Where is the Throne Room of the Dark Court?
In the Srambad dimension, at , in the Shadowy Heights. You reach Srambad through a portal, thanks to the portal hunt at the Voyagers' Tower .
At what level should you do the Throne Room of the Dark Court?
Level 190 minimum, 200 recommended. The Queen of Thieves is level 220, her monsters level 200.
Which quest should I do at the Throne Room of the Dark Court?
The Court of Miracles, with Injured Violet Arrow in Srambad , after The Queen's Butcher. It is completed by defeating the Queen in a single fight.
How do you avoid dying to the Bonbombs?
Never end a turn in line with a red Bonbomb, up to 10 range. The “auto-win” positioning, with characters lined up two cells apart, places all the bombs outside your lines.
How do you find the Queen in her Mist?
She is always on one of the three cells of the glyph's upper ring. Test those three cells rather than hitting the whole area.
Which monster should you target first in the Throne Room of the Dark Court?
The Terristocrat, on each wave, before it places its Bomb Ilical in melee with you. Then remove the Skemages' range to avoid the Skoul's trap.
How many waves do you have to beat?
Five waves, in a single fight. Killing an entire wave before its countdown brings the next one right away.
Can the Queen of Thieves be captured?
No, the Queen of Thieves cannot be captured. No soul stone is needed for this dungeon.
Do you need a key for every run of the Throne Room of the Dark Court?
Yes, the keyring doesn't work in a dimension. Four ingredients for the key drop in the dungeon, and the Dark Court Fabric is bought for 3 Orichor.
Can the dungeon be done with three characters?
Yes, it is even an achievement: Trio, in under 80 turns. A Cra, an Enutrof and a class that hits are enough.




Comments
No comments yet. A tip, or a detail about this page? Be the first.