 2 × Skt-Zo Leg
Dungeon Archipelago of Scales
Turtelonia's Sanctuary
Level 200 dungeon on the island of Crocuzko, at [-84,-16]: five crocodyl rooms governed by a lunar cycle, and an invulnerable boss who can only be hit from the Moonorb's glyph, Turtelonia. Quests to start, map of each room, strategy, monsters, achievements and loot.
Quests linked to Turtelonia's Sanctuary
The dungeon quest, The Meaning of Sacrifice, concludes Crokalcrolak's series, after Lost in Time and Thrust into a Bloodbath. Its first step is to defeat Turtelonia in a single fight: accept it before entering, a fight won without the quest in progress doesn't count.
It's completed on Turtelonia. For the priest to recognize Crokalcrolak, you must bring in Ixchelonia: beat Turtelonia in a single fight, talk to her Mouthpiece, then follow the sacrificial ritual at the Altar of Sacrifices.
- Start
- Ixchelonia Priest, Crocuzko
- Prerequisites
- Thrust into a Bloodbath
 Guilodyle Tongue3 tongues and 50,000,000 XP
For later
Turtelonia can give you the Totem of Sadness. Maimane asks for six emotion totems, each from a boss of your choice: for sadness, Turtelonia, Captain Meno, Queen Amirukam, Sylargh or Vortex. The totem is obtained automatically at the end of the fight.
- Start
- Maimane, Destroyers' Nightmare
- Prerequisites
- Level 180
 Totem of Balanceonce the six totems are handed in
During events
- Tiwagrum Simulation
Tiwagrum can designate Turtelonia as a guardian for you to defeat. Amakna Village, .
The 5 rooms of Turtelonia's Sanctuary
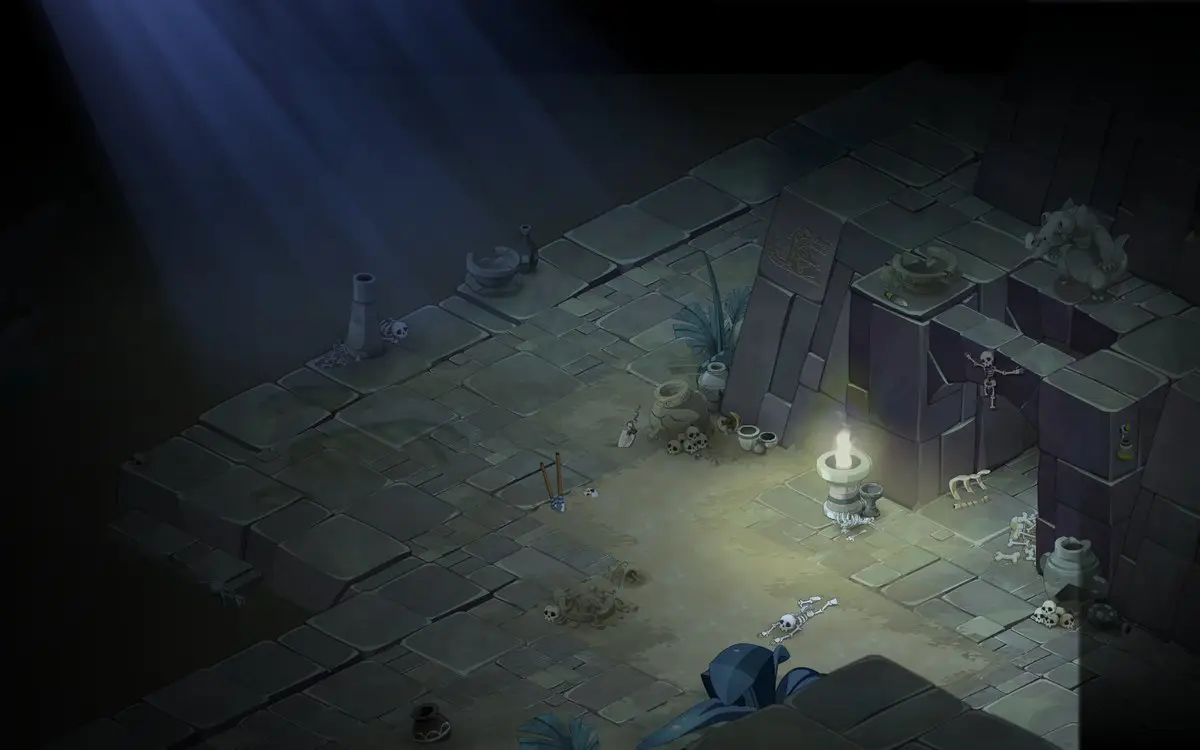
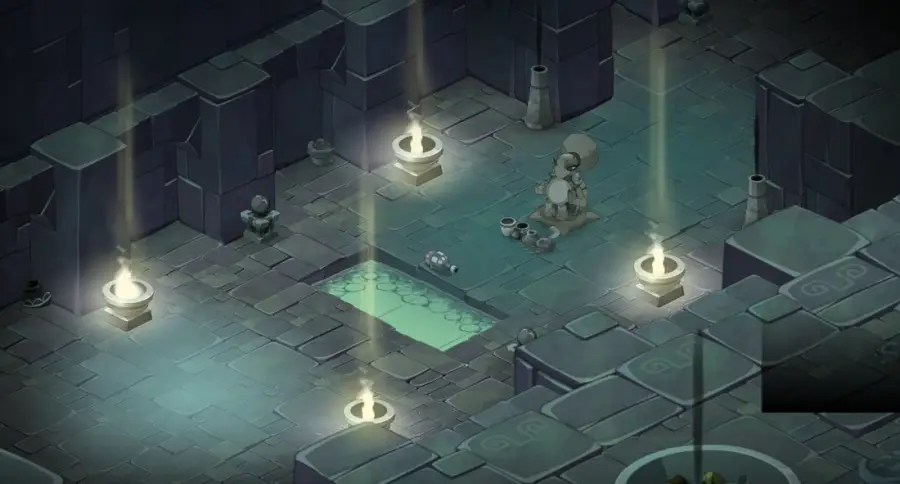
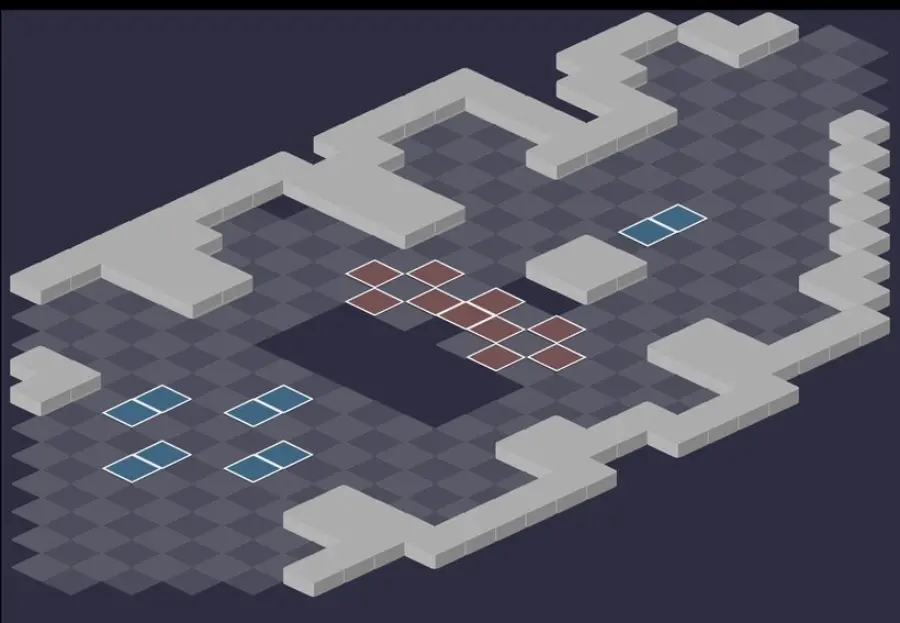
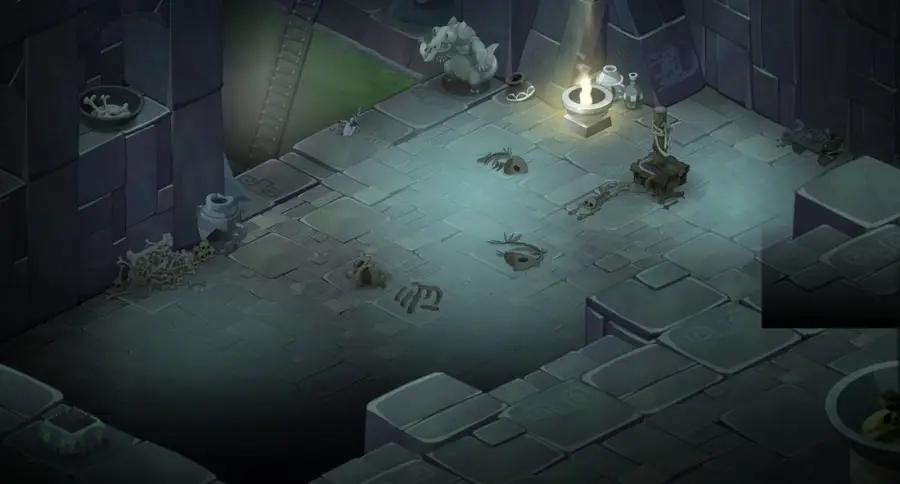
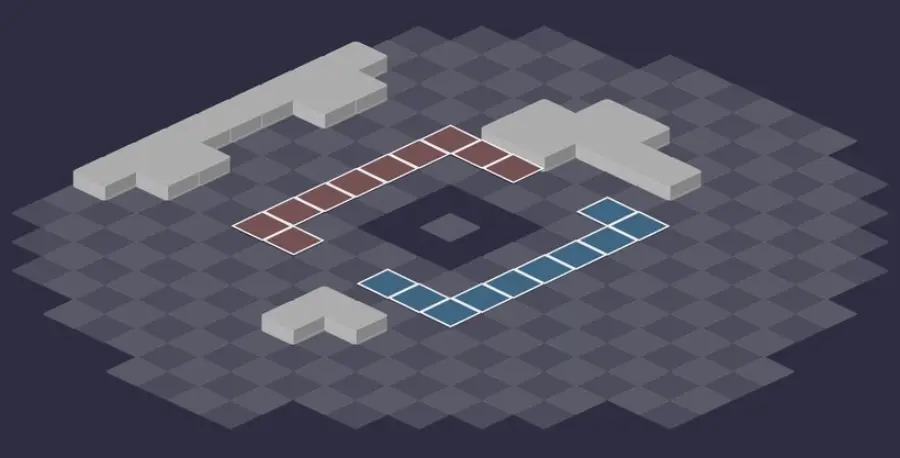
Five fights against the crocodyls of Crocuzko. Throughout the dungeon, each turn advances a lunar cycle that gives a bonus to the monsters, and killing a monster freezes that bonus on all the others until the end of the fight. For each room: the scenery, then the tactical view with the starting cells (blue: you, red: the monsters). Tap an image to enlarge it.
Room 1
Room 2
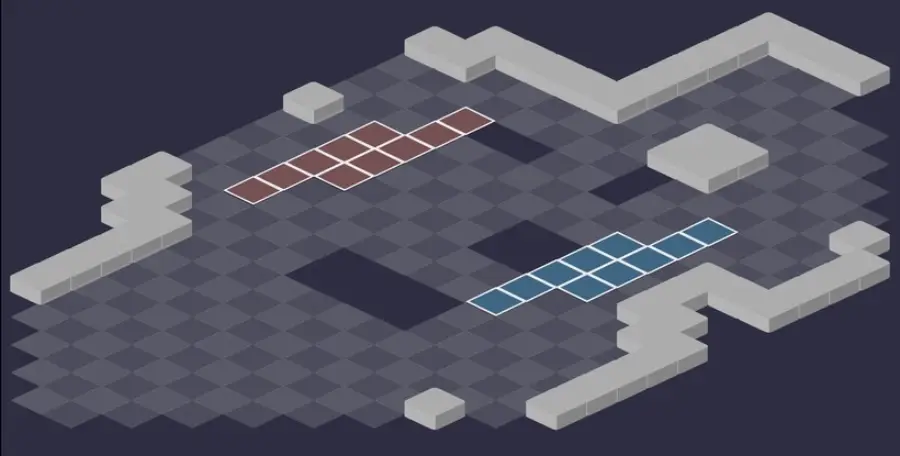
Room 3
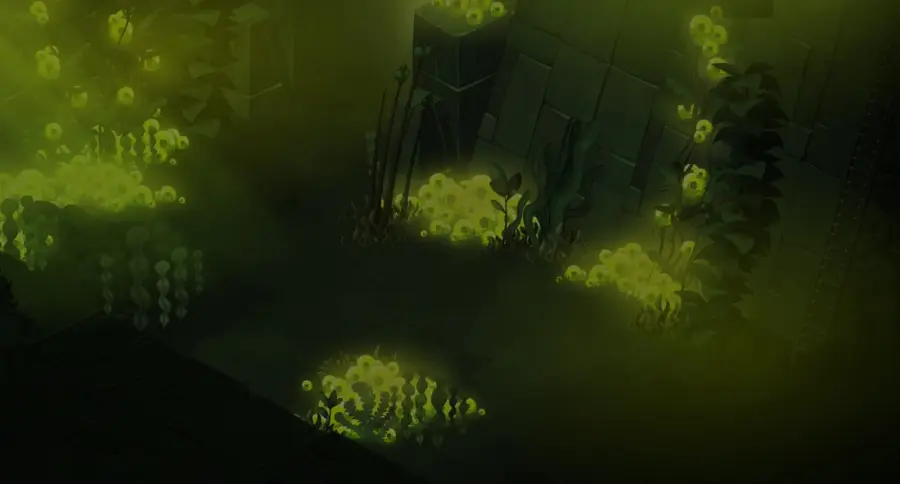
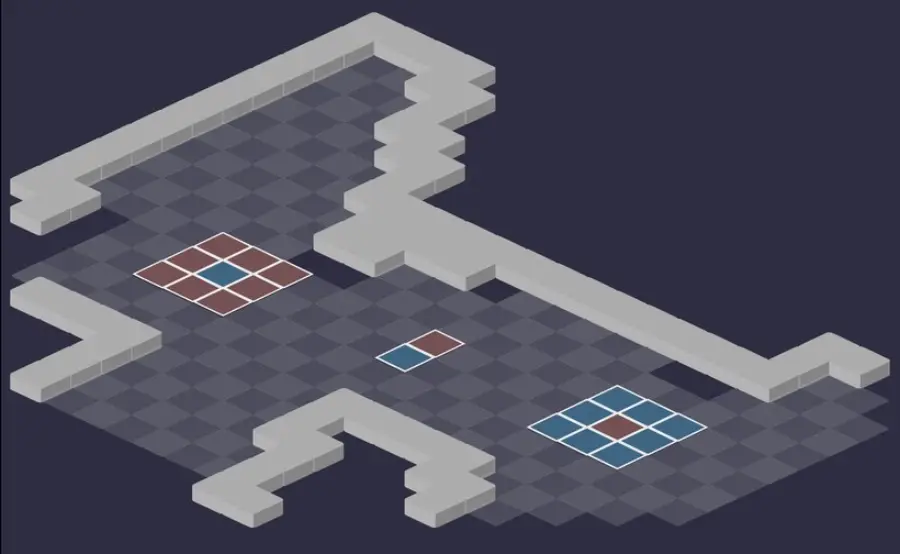
Room 4
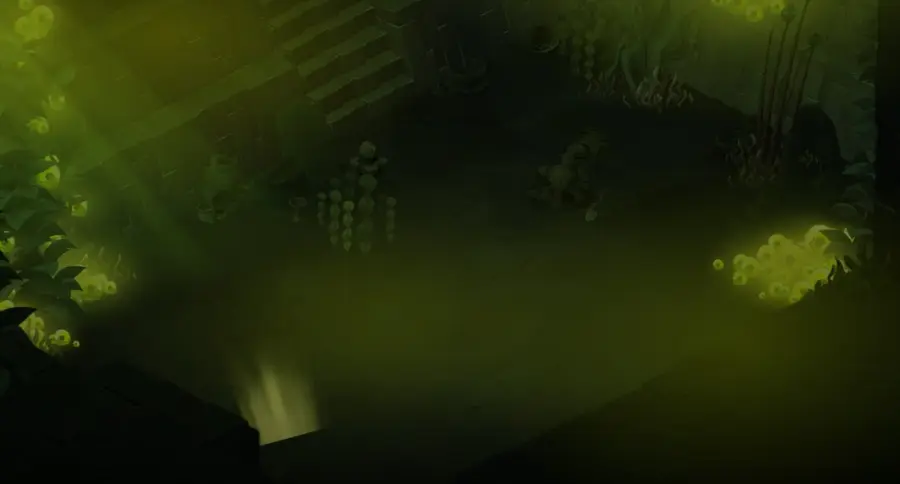
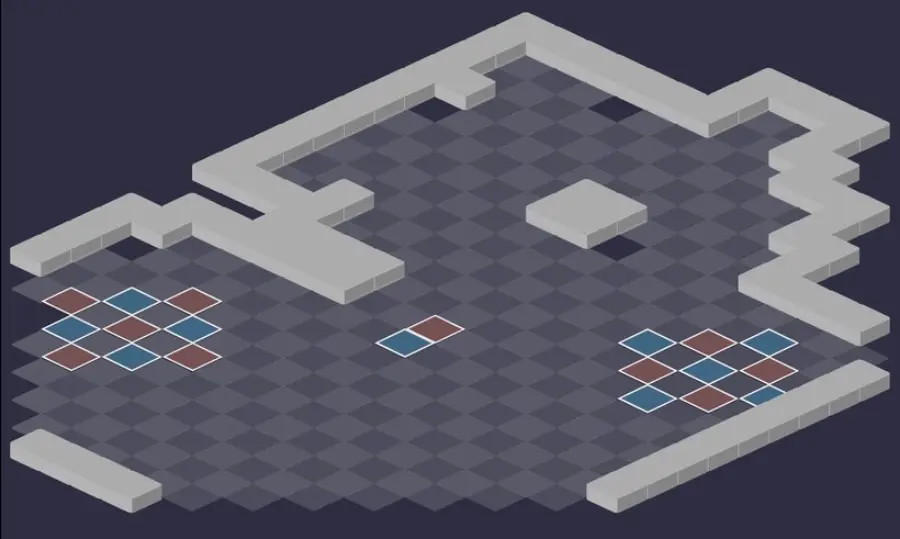
Room 5 — Turtelonia
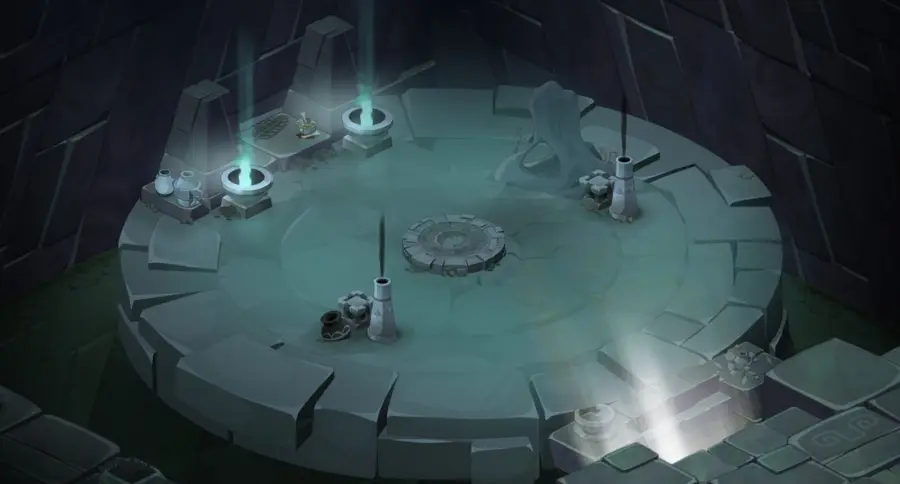
Turtelonia's room, with the Moonorb in the center: all enemies there are invulnerable, except from the blue glyph. The strategy is detailed just below.
Defeat Turtelonia
Each death freezes the cycle
The bonus of the lunar cycle in effect at the moment of a death passes to all remaining monsters, until the end of the fight. Never kill in Full Moon, which passes on a damage reflection, or in New Moon, which heals and protects the others.

Level 220
 14,000 HP
 20 AP
 6 MP
- Resistances (%)
 Earth 14%
 Fire 22%
 Water 24%
 Air 18%
 Neutral 12%
Protected by the Moonorb like her monsters, she hits from afar: Lunar Beam in a line and diagonal at infinite range, Sacred Ricochet which bounces from character to character. The character who finishes her dies at once, except in New Moon or Full Moon. She can't be captured and resists Neutral the least (12%).
 Lunar Beam4 AP · on itself ·66 to 85 Fire damage
In a line and diagonally, at infinite range: never line up with Turtelonia.
-
Lunar Beam4 AP · on itself ·66 to 85 Fire damage
In a line and diagonally, at infinite range: never line up with Turtelonia.
-
Lunar Beam4 AP · on itself ·66 to 85 Fire damage
In a line and diagonally, at infinite range: never line up with Turtelonia.
 Lunar Carapace
Reduces the damage she takes for 2 turns: save your big turns for afterward.
 Sacred Ricochet5 AP · 5 RNG ·71 to 100 Water damage · -2 AP · Ricochet State 1 · Ricochet State 2 · Removes the Ricochet state 1 · Removes the Ricochet state 2 · Removes the spell's effects
Bounces to the nearest character, then the next: spread the team out. Removes 2 AP from targets under Lunar Target.
 Lunar Drop4 AP · 8 Range ·71 to 90 Water damage · 10% Erosion
In a line and diagonally up to 7 cells, with an area that changes with each cast: square, cross, then cone. Erodes characters under Lunar Target.
-
Lunar Drop4 AP · 8 Range ·71 to 90 Water damage · 10% Erosion
In a line and diagonally up to 7 cells, with an area that changes with each cast: square, cross, then cone. Erodes characters under Lunar Target.
-
Lunar Drop4 AP · 8 Range ·71 to 90 Water damage · 10% Erosion
In a line and diagonally up to 7 cells, with an area that changes with each cast: square, cross, then cone. Erodes characters under Lunar Target.
The five-step strategy against Turtelonia
A tank on Turtelonia. A tank Pandawa locks Turtelonia and keeps her away from the rest of the team throughout the fight. The others keep the monsters at a distance, especially the Caimaneedyl, who removes MP and AP.
Hit from the glyph. On your turn, step onto the blue glyph and cast a cheap spell on your target: this first hit removes its invulnerability without hurting it. Stay on the glyph to hit it: if you leave it or end your turn, it becomes invulnerable again.
Alassslash, then Caimaneedyl. First kill the Alassslash, who heals his allies enormously, then the Caimaneedyl. Beware of the Guilodyle, who easily pulls you into melee. Follow the glyph, which rotates around the Moonorb each turn.
Kill at the right moment. Finish each monster during a low-impact cycle, never in Full Moon or New Moon. Don't force the Moonorb's rotation without reason: the bonuses stack, and a death during the acceleration makes them all permanent.
Turtelonia last. Alone, she deactivates like the others. Finish her in New Moon or Full Moon, or have a summon deliver the final blow: in the other phases, the character who kills her dies with her. When she dies, the Moonorb and the glyph disappear.
The lunar cycle
Eight phases follow one another in a loop, one per turn, each giving a bonus to all the monsters: New Moon, Waxing Crescent (damage taken reduced), First Quarter (10% resistances), Waxing Gibbous (2 MP), Full Moon (200 damage reflection), Waning Gibbous (2 AP), Last Quarter (500 shield points), Waning Crescent (20% final damage).
In New Moon, hitting a monster reflects part of the damage to your nearby allies. A death in New Moon or Full Moon heals all the other monsters and makes them invulnerable for a turn, and Full Moon also passes on its reflection. When the dial has made a full turn, the Moonorb casts Lunar Parry, which randomly removes 1 AP or 1 MP from you until the end of the fight.
The blue glyph and the Moonorb
Summoned at the center of the map, the Moonorb is invulnerable and unmovable, and makes all enemies invulnerable. It places a blue glyph in a line or diagonal, which rotates clockwise: a monster passing over it heals 10% of its HP. Each character must redo the deactivation maneuver on their own turn.
A line of damage on the Moonorb advances the dial by one phase, but the monsters then stack the bonuses of several phases. If you make it complete a full turn in less than a turn, the glyph disappears until the next turn.
The monsters of Turtelonia's Sanctuary
Five crocodyls of level 200, each weak to a different element. Against Turtelonia, the Alassslash first, then the Caimaneedyl, always picking the right moment in the cycle. The resistances in red are their weaknesses.
In which order to kill the monsters
- Alassslash — he heals his allies enormously in an area and boosts their critical.
- Caimaneedyl — he removes MP and AP, and applies Lunar Target, which makes the others' spells worse.
- Guilodyle — he pulls you into melee and his poison can teleport you.

Level 200
- 6,000 HP
- 12 AP
- 4 MP
- Resistances (%)
- Earth -14%
- Fire 11%
- Water 16%
- Air 21%
- Neutral 11%
Sacrificial Regeneration heals his allies in an area while hitting the enemy at the center; Accurate Shot steals range from you, and Critical Accumulation boosts the critical of nearby monsters. Keep him away from his allies. Weak to Earth.
 Accurate Shot4 AP · 8 RNG · Steals 2 Range ·46 to 55 Neutral damage
From 3 to 8 cells: steals 2 range.
-
Sacrificial Regeneration5 AP · 8 RNG ·36 to 50 Fire damage · Heals: 10% of max HP
From 3 to 8 cells: big area heal on the monsters around the target. Kill the Alassslash first.
 Critical Accumulation
Critical and critical damage for monsters within 2 cells of him for 2 turns.

Level 200
- 5,500 HP
- 12 AP
- 5 MP
- Resistances (%)
- Earth 9%
- Fire 22%
- Water -16%
- Air 7%
- Neutral 29%
Bewitched Poppet removes 2 MP and places you under Lunar Target, which triggers the worst effects of the others: AP removal, erosion, unhealable. Sanguine Prison traps the cells around you. Weak to Water.
 Sanguine Prison
Glyphs under you and around you: crossing the red cells costs resistances and HP, and makes you unhealable under Lunar Target.
 Pin Game5 AP · 7 Range ·41 to 55 Water damage · -2 AP
In a line up to 7 cells, in a cross: removes 2 AP if the target is under Lunar Target.
 Bewitched Poppet3 AP · 5 RNG ·36 to 45 Neutral damage · -2 MP · Lunar Target State
From 2 to 5 cells: removes 2 MP, stackable, and places under Lunar Target.

Level 200
- 6,000 HP
- 12 AP
- 5 MP
- Resistances (%)
- Earth -17%
- Fire 29%
- Water 13%
- Air 15%
- Neutral 7%
Invisible Attraction pulls you 5 cells, in a line or diagonal, and Reptilian Trapster places a trap that pushes back. Petrifying Poison teleports you if you don't use your AP or your MP. Weak to Earth.
-
Reptilian Trapster
Cross-shaped trap, from 2 to 5 cells, that hits hard and pushes back 2 cells.
 Petrifying Poison
Under Lunar Target, each AP used poisons you; otherwise, each MP does. If you use none, you're teleported one cell. Can be dispelled.
-
Invisible Attraction5 AP · 6 RNG · Pulls 63 cells ·36 to 50 Earth damage
In a line or diagonal, from 2 to 6 cells: pulls you into melee.

Level 200
- 6,000 HP
- 12 AP
- 4 MP
- Resistances (%)
- Earth 30%
- Fire 11%
- Water 5%
- Air -5%
- Neutral -15%
A melee monster: Reptilian Savagery gains 20 base damage with each cast, with no limit, and Nocturnal Rage hits in an area in front of him. Hit him from range. Weak to Neutral and Air.
 Nocturnal Rage5 AP · melee ·56 to 70 Fire damage
In melee, in a triangle in front of him, and boosts his melee damage for a turn.
 Reptilian Savagery4 AP · melee ·51 to 60 Fire damage · Reptilian Savagery: +20 base damage
In melee: its base damage increases with each cast, until the end of the fight.
-
Cannicodylism4 AP · 2 range ·51 to 60 Earth steal
Earth life steal up to 2 cells.

Level 200
- 5,500 HP
- 12 AP
- 5 MP
- Resistances (%)
- Earth 14%
- Fire 26%
- Water 23%
- Air 5%
- Neutral -12%
Blind Leap teleports him into melee with you, then Bloody Tornado hits everyone around him. Burning Uppercut hits in a line. Don't let him into the group. Weak to Neutral.
-
Blind Leap4 AP · 3 Range ·41 to 60 Air damage
From 2 to 3 cells: he hits and teleports into melee with you.
-
Bloody Tornado5 AP · on self ·41 to 50 Air damage
Hits all enemies in melee.
-
Burning Uppercut4 AP · 3 range ·61 to 80 Fire damage
In melee, in a line of 3 cells: don't stay lined up behind an ally.
Preparing your run through Turtelonia's Sanctuary
A level 190 to 200 dungeon where rhythm matters as much as damage. You come here for The Meaning of Sacrifice, the achievements, the Totem of Sadness and Turtelonia's Scale: Turtelonia can't be captured.
How to enter Turtelonia's Sanctuary
The entrance is on the island of Crocuzko, in the Archipelago of Scales, at , right next to the Crocuzko zaap . To access the island, you must have completed Lost in Time, with Crokalcrolak in Astrub . Three ways to open it: a Turtelonia's Sanctuary Key (consumed), the keyring, or the automatic group search.
Crafting the Turtelonia's Sanctuary Key
It's crafted at a handyman's. Headband, Canine, Loincloth, Doll and Tasty Meat drop at 12% from the dungeon's crocodyls. Thrust into a Bloodbath also gives 5 Caimaneedyl Doll. Limpet (fishing), Salikronia and Quisnoa (harvesting) complete the recipe.
| Ingredient | Quantity | Level |
|---|---|---|
 Nosee Headband |
2 | 200 |
 Cannicodyl Canine |
2 | 200 |
 Alassslash Loincloth |
2 | 200 |
 Caimaneedyl Doll |
2 | 200 |
 Tasty Meat |
2 | 200 |
 Limpet |
1 | 200 |
 Salikronia |
1 | 200 |
 Quisnoa |
1 | 200 |
Which team to bring against Turtelonia
A tank Pandawa. He locks Turtelonia and keeps her away from the team, and in Duo he even holds the boss and several monsters in melee. It's the piece that simplifies this fight the most.
Low-cost spells. Each character loses their first hit to remove their target's invulnerability. Keep a small spell for this deactivation, and your AP to hit afterward from the glyph.
Something to deliver the final blow. A summon that finishes Turtelonia saves you from losing a character, if the cycle doesn't land in New Moon or Full Moon at the right time.
Comfortable classes. The Pandawa locks, places Turtelonia and dispels Petrifying Poison with Bamboo Milk. Summoners can land the final blow safely. Classes that hit hard in a single turn make the best of their time on the glyph.
The six achievements of Turtelonia's Sanctuary
Each achievement awards 200,000,000 XP and 2 Turtelonia's Scale, the Duo doubles the XP; the Sidekick awards 75,000,000 XP. Last is completed with the base strategy, and can be added to the Duo.
| Achievements | Condition | Points | XP |
|---|---|---|---|
 Turtelonia (Special) |
Defeat Turtelonia in her dungeon by completing the “Lunartic” challenge. | 10 | 200 000 000 |
| Turtelonia (Sidekick) |
Defeat Turtelonia in her dungeon by completing the “Tormented Knights” challenge | 5 | 75 000 000 |
| Turtelonia's Sanctuary |
Defeat Turtelonia in this boss's dungeon. | 10 | 200 000 000 |
| Turtelonia (Last) |
Defeat Turtelonia in her dungeon by completing the “Last” challenge. | 10 | 200 000 000 |
| Turtelonia (Statue) |
Defeat Turtelonia in her dungeon by completing the “Statue” challenge. | 10 | 200 000 000 |
| Turtelonia (Duo) |
Defeat Turtelonia in her dungeon by completing the “Duo” challenge. | 20 | 400 000 000 |
Last
Turtelonia must be finished off last. It's even the recommended method, so as not to let the Alassslash and its heals live. A tank Pandawa locks Turtelonia and keeps her at a distance while the team kills the Alassslash, then the Caimaneedyl, watching for the Guilodyle's pull. Kill each monster during an unrestrictive cycle, and never during damage reflection.
Statue
Each ally must end their turn on the cell where they started it. A tank Pandawa locks then places Turtelonia: she must be killed by turn 4 at the latest. After that, the glyph disappears and the monsters become vulnerable. Against Petrifying Poison, use at least 1 AP and 1 MP: the Pandawa breaks free of the lock with Nausea, Sherpa or a summon and Eviction, spends his MP and comes back, or dispels with Bamboo Milk. Dying while finishing Turtelonia doesn't make Statue fail.
Special: Lunartic
Each enemy must be finished off in New Moon or Full Moon, without ever speeding up the cycle with the Moonorb. To be done with four. Full Moon reflects too hard: kill everything in New Moon, one target at a time, since the others become invulnerable after each death. So you have to wait 8 turns between two kills: kill the Alassslash on turn 1, then start on the next target during the wait, without touching the others, who will be healed. A tank blocks Turtelonia and one or two monsters; the rest of the time, you pass your turns.
Duo
Two characters maximum, fewer than 40 turns. A tank Pandawa and another class. The Pandawa doesn't hit: he locks Turtelonia and three monsters in melee, and soaks damage. The other kills the monsters, the Alassslash first, rotating with the glyph; place the Caimaneedyl in melee with the Pandawa, out of line of sight from you. Turtelonia is killed last.
Sidekick: Tormented Knights
Four characters minimum, including Flame, Drop, Cloud, Leaf or Darkness. The base strategy applies. Kill the Alassslash quickly and keep Turtelonia under control to limit the heals that drag the fight out.
Drops and loot of Turtelonia's Sanctuary
Base in-game rates, before Prospecting bonuses.
On Turtelonia
 Unaltered MoonstoneArchipelago of Scales24 %
 Nibbled ScrollArchipelago of Scales12 %
 Turtelonia's ScaleSkin12 %
 Nougat Rabmarac BarTreat6 %
 Albino Crocodyl's EyeEye2 %
 Al Howin GobtubbyCeremonial pet1 %
 Bag of AuberginesContainer1 %
 Paragon of PowerMain quests0,7 %
 Tasty CarrionMeat0,6 %
On the henchmen of Turtelonia
- Unaltered MoonstoneArchipelago of Scales · Alassslash24 %
- Alassslash LoinclothGarment · Alassslash12 %
- Nibbled ScrollArchipelago of Scales · Alassslash12 %
- Tasty MeatMeat · Alassslash12 %
- Caimaneedyl DollMiscellaneous Resource · Caimaneedyl12 %
- Cannicodyl CanineBone · Cannicodyl12 %
- Guilodyle TongueMiscellaneous Resource · Guilodyle12 %
- Nosee HeadbandGarment · Nosee12 %
 Kinichinti's FireMain quests · Alassslash2,4 %
- Albino Crocodyl's EyeEye · Alassslash2 %
- Bag of AuberginesContainer · Alassslash1 %
Where is Turtelonia's Sanctuary?
On the island of Crocuzko, in the Archipelago of Scales, at . The Crocuzko zaap is right next door.
How do you get to the island of Crocuzko?
By completing the quest Lost in Time, started by Crokalcrolak in Astrub .
At what level should you do Turtelonia's Sanctuary?
Level 190 minimum, 200 recommended. Turtelonia is level 220, with 14,000 HP, and her crocodyls level 200.
Which quest should you do in Turtelonia's Sanctuary?
The Meaning of Sacrifice, with the Ixchelonia Priest , after Thrust into a Bloodbath. Its first step is to defeat Turtelonia in a single fight.
How do you remove the enemies' invulnerability?
Step onto the blue glyph and hit your target a first time. This hit removes its protection without hurting it; then hit without leaving the glyph.
Which monster should you target first in Turtelonia's Sanctuary?
The Alassslash, who heals his allies enormously, then the Caimaneedyl, who removes MP and AP. Beware of the Guilodyle and his pull.
Why do monsters become invulnerable after a death?
You killed in New Moon or Full Moon. These two phases heal the other monsters and make them invulnerable for a turn; Full Moon also passes them a damage reflection.
How do you prevent the death of the character who kills Turtelonia?
Finish her in New Moon or Full Moon, or with a summon. In the other phases, the character who lands the final blow dies.
Can Turtelonia be captured?
No, Turtelonia can't be captured. No soul stone is needed for this dungeon.
Can you do Turtelonia's Sanctuary with two characters?
Yes, it's even an achievement: the Duo, in under 40 turns. A tank Pandawa locks the boss and the monsters while the other character kills them.




Comments
No comments yet. A tip, or a detail about this page? Be the first.