 2 × Skt-Zo Leg
Quest Aerdala
Dance of Dissonance
Level 200 Eliocalypse quest, with Draconiros in front of the Dofus receptacle at [21,-33]: weaken the Mother of the Destroyers' influence by exploring her Nightmare. All the steps, the dialogue choices, the items to prepare, the positions and the fights.
What to prepare
Plan for 14,000 kamas, six items to wake the Twelvians, the Battle of the Crimson Dawn dungeon, 800 Strength or more and the ability to drop to 0 Wisdom.
 2,000 kamasthe Signed Brakmar Gobbowl Ball, at the Brakmar arena
- 2,000 kamasthe Signed Bonta Gobbowl Ball, at the Bonta arena
- 10,000 kamasthe Legendary Whitebeerd Beer, at the Bagrutte tavern
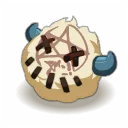 1 × Signed Brakmar Gobbowl Ball2,000 kamas, room to the left of the Brakmar arena at [-25,36]
 1 × Signed Bonta Gobbowl Ball2,000 kamas, room to the left of the Bonta arena at [-32,-59]
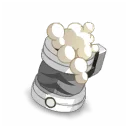 1 × Legendary Whitebeerd Beer10,000 kamas, from Bagrutta Stonestomach at [-29,-59]
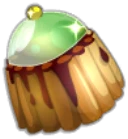 1 × Rasputin Caketo buy, or to craft (level 30 Farmer)
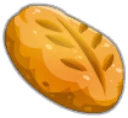 1 × Frosteez Breador 1 Tahde Bread
 1 × Drinking Wateror 1 Mimilk
Quest Resources, obtained along the way
 30 × Nightmare Webon the monsters of the Destroyers' Nightmare, 100% base rate
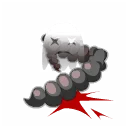 12 × Visceral Fearone per Nourishing Demon fought
The 26 quest steps
-
1Talk to Draconiros
Dialogue · Draconiros
The quest starts right after the previous one, in front of the Dofus receptacle. The Mother of the Destroyers is waiting for you: the plan is to weaken her influence through her Nightmare. Draconiros cannot intervene himself and first sends you to help the Huppermages, whose Rok Island is in danger of collapsing.
Draconiros · [21,-33] -
2Go to Rok Island
Movement
Use the Huppermage platform to get to Rok Island.
-
3Talk to Rimanda
Dialogue · Rimanda
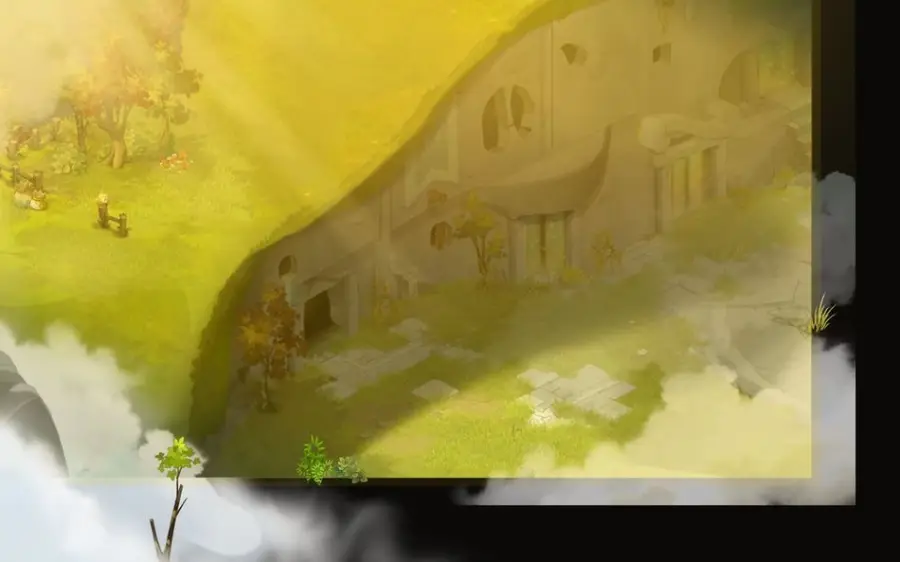
The island's prismatic pyramids have fallen into dissonance. According to Rimanda, a bad dream is fueling the conflict between Bonta and Brakmar; Huppermages have already joined the nightmare, and a passage is said to be open in the Atoll of the Possessed.
Rimanda · [38,-21] -
4Enter the nightmare
Movement
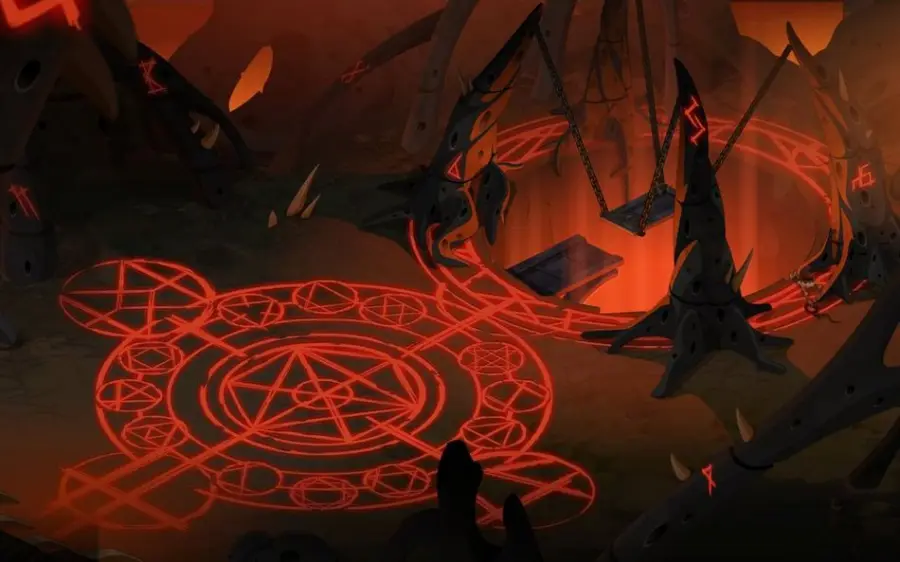
On the Atoll of the Possessed, click the Ch'Tyx Statue to enter the Destroyers' Nightmare area. Discovering the Dissonance Ritual map is one of the objectives.
Access is blocked until you have performed the Dissonance Ritual: you need to start and complete the quest The Weight of Its Gaze.
Enter the nightmare · [43,-59] -
5Talk to Hogion
Dialogue · Hogion
All the creatures in the area strengthen the nightmare, victims and tormentors alike, and attacking the spirit is pointless. Tell the Huppermage that the nightmare comes from the breaking of the Dofus' harmony, and that you know the spirit's name, which must not be spoken: a rune bearing that name could control it.
Dialogue
- “Greet the Huppermage and talk about your meeting with Rimanda”
-
6Write the name on the tablet
· Futhark the Runimancer
Futhark the Runimancer hands you a tablet: write the spirit's name on it in your mind, with your hand resting on it. The name becomes a rune, but the rune remains incomplete: you need to know the nightmare's spirit better.
 Incomplete Runereceived
-
7Gather the items to wake the Twelvians
Items
Four steps let you get to know the adversary better, in any order you like. The first is to wake the sleeping Twelvians, on the maps where there is a Nightmare's Influence. First go back to the Twelve world to gather six items.
- buy 1 Signed Brakmar Gobbowl Ball for 2,000 kamas, in the room to the left of the Brakmar arena
- buy 1 Signed Bonta Gobbowl Ball for 2,000 kamas, in the room to the left of the Bonta arena
- at the Bagrutte tavern, order a Legendary Whitebeerd Beer from Bagrutta Stonestomach for the Traumatised Stubbyob, 10,000 kamas
Dialogue
- “Agree to pay 10,000 kamas for a mug of this legendary brew”
You may need to meet the Traumatised Stubbyob first before you can order the beer. Also plan for 1 Rasputin Cake (level 30 Farmer: 10 Scurvion Seed, 5 Piece of Pippin Blop, 1 Bowl from the Brakmar or Bonta grocery, 3 Cherry), 1 Frosteez Bread or Tahde Bread, and 1 Drinking Water or Mimilk.
- 14,000 kamasto pay
- Signed Brakmar Gobbowl Ballreceived
- Signed Bonta Gobbowl Ballreceived
- Legendary Whitebeerd Beerreceived
-
8Wake the gobbowlers
Dialogue
Brakmarian and Bontarian Prisoners are playing gobbowl; in each team, one is asleep. Pinch each prisoner: if he answers Ouch, he is awake, if he doesn't react, he is asleep. Give him his team's gobbowl ball: on the Brakmar side, the Brakmarian Prisoner in the center left; on the Bonta side, the Bontarian Prisoner on the far right. The Nightmare's Influence must disappear from the map.
Dialogue
- “Pinch the prisoner”
- “Give him a gobbowl ball signed by the Brakmar team”
- “Give him a gobbowl ball signed by the Bonta team”
Don't pick the wrong prisoner, otherwise you have to buy a gobbowl ball again. Their position seems fixed, but check anyway.
- 1 × Signed Brakmar Gobbowl Ballto give
- 1 × Signed Bonta Gobbowl Ballto give
-
9Wake the Traumatised Stubbyob
· Traumatised Stubbyob
Find the secret passage behind the statue of the Brakmarian dictator: stand on the cell behind the statue's crotch. In the banquet hall of the Whitebeerd clan, give the Legendary Whitebeerd Beer to the Traumatised Stubbyob. Talk to the ghost King of Kings, who wonders why he took dessert four times, then show the Stubbyob the Rasputin Cake.
- 1 × Legendary Whitebeerd Beerto give
- 1 × Rasputin Caketo hand over
-
10Listen to the two Srams
Dialogue · Brakmarian Poisoner
Two Srams appear. The Brakmarian Poisoner reveals that Brakmar poisoned the Whitebeerd clan, which refused to pick a side in the Crimson Dawn war. The Corrupt Bontarian believes nothing would have happened if he had sided with Bonta. Talk to the Traumatised Stubbyob again: he remembers everything and disappears, along with the map's influence.
-
11Wake the war orphans
Give 1 Drinking Water or 1 Mimilk to the Thirsty Orphan, then 1 Frosteez Bread or 1 Tahde Bread to the Hungry Orphan. The map's influence disappears.
- 1 × Drinking Waterto hand over
- 1 × Frosteez Breadto give
-
12Defeat the Demolisher Trool
Combat · Demolisher Trool
Two Trools are demolishing the stone bridge. Talk to a Demolisher Trool: a solo fight starts.
Dialogue
- “Step in to protect the work”
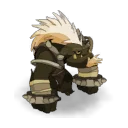 Demolisher Troolfight · level 200 · 6,600 HP · 10 AP · 6 MP
-
13Defeat the Builder Crackler
Combat · Builder Crackler
The Builder Crackler has taken the Trools' place and is trying to rebuild the bridge. Talk to it: a solo fight starts. After the victory, the influence disappears. Once all four awakenings are done, the step Wake up the Twelvians caught in the conflict between the two cities is completed.
Dialogue
- “Put a stop to the works”
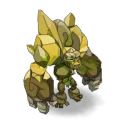 Builder Cracklerfight · level 200 · 11,000 HP · 12 AP · 5 MP
-
14Collect 30 Nightmare Web
Items
To fight the Destroyers haunting the place, defeat 30 monsters of the Destroyers' Nightmare: the Nightmare Web drops at a base rate of 100%. Then double-click the webs in your quest inventory to complete the step.
First start Soaring Demongraphy, which requires 15 monsters of each kind, and Nightmare on Elm Boulevard up to the Demon Blood step: their fights take place in the same area.
- Nightmare Webreceived
-
15Sense the spirit of the Great Krackal
Dialogue · Great Krackal
Click the skeleton in its rocking chair to make the spirit of the Great Krackal appear, then talk to it. The beast tries to intimidate you, but you catch a glimpse of Medoroziam's influence before it disappears.
Dialogue
- “Try to sense the true nature of the beast”
It would take a certain number of vitality points to make the Great Krackal disappear; this is not confirmed.
-
16Sense the spirit of Julith the Butcher
Dialogue · Julith the Butcher
Click the pile of bones on the ground: Julith the Butcher appears. Talk to her to feel the power of the nightmare in her voice.
Dialogue
- “Try to sense the true nature of the legendary Huppermage”
You need 800 Strength or more before talking to her, otherwise she draws a sword.
-
17Prepare for the Grimacing King
Movement · Prismatic Pyramids
You need exactly 0 Wisdom to talk to the Grimacing King. If you have scroll points in Wisdom, go all the way to the back of the Bonta Palace, to the top of the small tower. Stand on a cell adjacent to the Prismatic Pyramids and touch them: the curse Momentary Dissonance removes 100 Wisdom and 20% Critical for 2 fights.
Dialogue
- “Touch the pyramids”
-
18Sense the spirit of the Grimacing King
Dialogue · Grimacing King
In the nightmare, find the secret passage behind the statue of the king of Bonta: stand on the cell behind his left knee. Click the throne of madness to make the Grimacing King appear. Remove all equipment that gives Wisdom, then talk to him: he no longer trusts anyone. Once you have met the three spirits, the step is completed.
Dialogue
- “Try to sense the true nature of this sinister sovereign”
-
19Let the dead rest in peace
Combat · Wimpy Dead
The Wimpy Dead is about to go through a machine that turns people into chafers. Talk to him: a fight in 3 waves starts, which can be done with other players. Winning completes the step.
Dialogue
- “Try to stem the proliferation of chafers”
At 41 HP, each chafer becomes an invulnerable Bonheap, which can only die from push damage. If it plays again in this form, it turns back into a chafer with 800 Bonus Damage.
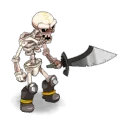 Corpse in Pantsfight · level 200 · 4,400 HP · 7 AP · 5 MP
-
20Complete the rune
Once the four steps are complete, double-click the Incomplete Rune in your quest inventory. The rune is now complete, and a call can be felt in the distance: you obtain a Demonic Nightmare Rune.
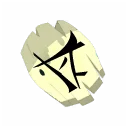 Demonic Nightmare Runereceived
-
21Defeat The Eternal Conflict
Combat · Aurora Horror
Talk to the Horror of the Dawn, who invites you to enter the Battle of the Crimson Dawn dungeon. Reach the boss and defeat The Eternal Conflict.
Before entering, start A Rolling Pin Gathers No Moss: its toy drops only from the Demolochs in the dungeon, at a base rate of 10%.
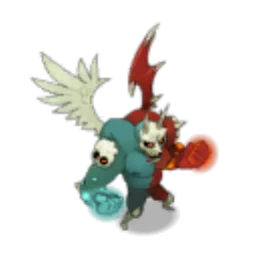 The Eternal Conflictfight · level 220 · 20,000 to 31,000 HP · 20 AP · 4 MP
-
22Challenge the Destroyers' Nightmare
Combat · Destroyers' Nightmare
Don't leave the dungeon right away: talk to the Destroyers' Nightmare. It makes you feel the emotions of Hyrkul, left for dead by Ulgrude and then turned into a lich by a black dragon's fire. Brandish the rune: it reduces it to dust with a swipe of its claw. It forms a whole with other souls on which it feeds, and you notice a source of power at the bottom of this river of emotions.
Dialogue
- “Try to find out more about him and this place”
- “Brandish the rune as a talisman and command it to obey you”
-
23Find the way to the source of power
Movement
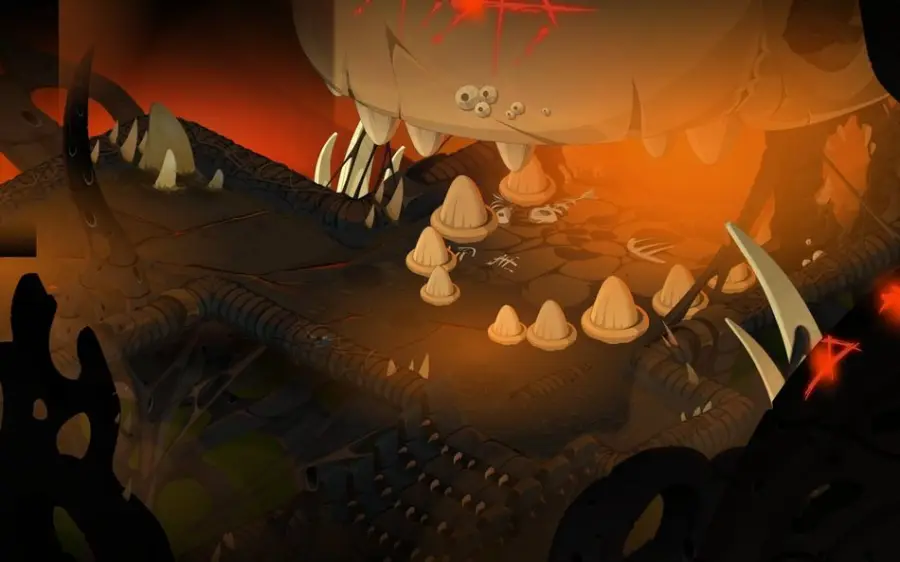
Click the giant maw visible in the crevice. It is impossible to go down there safely: only those who feed the infernal spirit can. You have to steal offerings from the nourishing demons.
-
24Collect 12 Visceral Fear
Combat
Each Nourishing Demon fought gives one Visceral Fear. Talk to a Nourishing Demon to start the fight, which can be done with other players.
- fight against 2 Nourishing Demon
- fight against 3 Nourishing Demon
- fight against 1 Nourishing Demon
- fight against 4 Nourishing Demon
Dialogue
- “Attack the demons”
There are fewer than 12 demons in the area: you need to redo some fights. They respawn about every 10 minutes and are shared by all characters on the server.
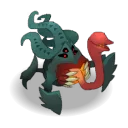 Nourishing Demonfight · level 200 · 8,800 HP · 18 AP · 8 MP
- Visceral Fearreceived
-
25Feed the nightmare
Click the maw again to feed the nightmare, and go down toward the source of power, which strangely resembles a Dofus. Click on it: it is impossible to move, protected by symbols reminiscent of Kabaal's mark.
- 12 × Visceral Fearto give
-
26Confront Kabaal
Dialogue · Kabaal
On the Atoll of the Possessed, ask Na'Hama to take you before Kabaal, then talk to him. This Dofus was not laid by a dragon: it is his work, one of his greatest achievements. Make him understand that, if you cannot master it, you will be forced to destroy it. The quest ends.
Dialogue
- “Demand to be taken before Kabaal”
- “Take him at his word and say you have decided to ignore some rules”
Kabaal · [43,-57]
The fights
Level 200
In , solo fight.
-
Vindicture
For 4 turns, gains 1 MP on each attempt to remove AP, and 1 AP on each attempt to remove MP. When pushed, it becomes Unmovable for 1 turn and gains 200 Power for the next turn. When the effect ends, it gains 5 MP for 1 turn.
-
Earthabsorption
For 2 turns, heals 300 HP and gains 1 MP if you hit it with Earth or Neutral damage.
-
Collapse
Up to 3 range. Deals 800 Earth damage and removes up to 3 AP for 1 turn.
-
Troolofar
In a line only, up to 12 range. Pulls the target 2 cells and deals 700 Neutral damage.
Level 200
In , after the Demolisher Trool. Solo fight.
-
Bridgestruction
Summons the Bridgehead and heals 1,000 HP.
-
Consolidation
4-turn cooldown. Gives 1 MP for 2 turns to itself and its allies in a circle of radius 5, and gives itself 1,100 Bonus Damage for 2 turns.
-
Wetting Stone
Up to 8 range without line of sight. Deals 500 Water damage, pushes back 1 cell and places a trap of 1 cell that deals 500 Water damage and removes 2 AP for 1 turn.
-
Heavy Shock
On the 4 cells around it. Deals 550 Earth damage, removes 1 MP and applies the Gravity state for 1 turn.
-
Good Intention Pavers
From 2 to 6 range. Deals 450 Earth damage and removes 2 range for 1 turn.
-
Push Work
In a line only, up to 4 range. Deals 400 Neutral damage and pushes back 2 cells.
Level 200
In , fight in 3 waves, can be done with other players. Wave 1: 1 Corpse in Pants, 1 Corpse in Boots, 2 Skeletal Corpse, 2 Emaciated Corpse. Wave 2, two turns later: 2 Corpse in Pants, 2 Corpse in Boots, 1 Skeletal Corpse, 1 Emaciated Corpse. Wave 3, three turns later: 2 of each. All the chafers have a threshold at 41 HP: they then become an invulnerable Bonheap, which can only die from push damage. If it is not killed in this form, it casts Bringing Bony Back on its turn: it loses the Bonheap state, plays again and gains 800 Bonus Damage for 3 turns. The spells encountered:
-
Big-Boned
At the start of each turn: the fewer HP it has, the more damage and AP it gains for the turn, from 20 Damage up to 5 AP at most.
-
Calcifications
Up to 4 range. Deals 250 Water damage in a cross of size 1 and removes 50 Power (stackable 6 times) for 2 turns.
-
Sawbones
Up to 2 range. Deals 100 Fire damage and removes 2 range (stackable 4 times) for 2 turns.
-
Bone Bond
Up to 5 range, 3-turn cooldown. Intercepts damage dealt to the targeted monster.
-
Presto Bono
At the start of each turn, enters the Unlockable (infinite) state and pushes back characters in its melee range by 1 cell.
-
Bone-Headed
Melee only. Deals 150 Earth damage and increases the spell's damage by 3 for 1 turn.
-
Bone's Throw
Melee only. Deals 350 Air damage and pushes back 2 cells; removes 10% resistances for 1 turn if the target takes push damage.
-
Throbbone
Makes the character invisible for 1 turn, every other turn.
-
Bones of Glass
From 2 to 12 range. Places a poison of 19 to 23 Water damage for 2 turns and removes 1 range for 2 turns.
-
Bone Trap
Up to 9 range, 2 times per turn. Places a trap of 1 cell that deals 400 Air damage, removes 2 MP and applies the Gravity state for 1 turn.
-
Bone Spurn
Melee only. Deals 1,600 Earth damage and applies 40% erosion for 2 turns.
-
Bony Fingers
In a line only, up to 5 range. Deals 400 Fire damage and pulls 2 cells.
-
Bone for a Bone
Up to 6 range, once per turn. Swaps places with the target; if the target is a Bonheap, it can immediately recast this spell.
Level 220
Boss of the Battle of the Crimson Dawn dungeon, accessed through the Horror of the Dawn at . Don't leave the dungeon after the victory: the Destroyers' Nightmare is waiting for you there.
Level 200
In , , and , can be done with other players. Each time it casts Vision of Terror, it gains a tier of Sinister Harvest, three at most: crescent moon, 25% ranged resistance, 20% final damage and 1 MP less; half moon, 50%, 40% and 2 MP less; full moon, 75%, 60% and 3 MP less, kept until the end of the fight. Stay at a distance and never get hit by Vision of Terror.
-
Frightful Puncture
Up to 5 range. Deals 400 Earth damage, removes 1 MP for 1 turn and pulls 2 cells.
-
Vision of Terror
Up to 3 range without line of sight. Deals 650 Fire damage, removes 4 dodgeable AP for 1 turn and puts it in the Visceral Fear state, which triggers Sinister Harvest.
-
Insidious Fear
Up to 6 range without line of sight. Deals 200 Water damage, places a poison of 22 to 26 Air damage for 2 turns and removes 3 range for 2 turns.
-
Infernal Energy
Gives itself 4 MP and 880 Bonus Damage for 2 turns and heals about 400 HP.
The rewards
- XP6,300,000 experience points
- 105,552 kamas
 2 × Destroyer Spike
Related quests
The quest follows The Beginning of the End. By continuing the conversation with Kabaal, you unlock Ashes to Ashes, Dust to Descendre. It is part of the achievement Eliocalypse: Reminiscence, which includes four quests.
- Start
- Draconiros
- Start
- Kabaal

Achievements · Eliocalypse
Eliocalypse: Reminiscence
Complete the following quests:
Gives the Nightmare Dofus
- Dance of DissonanceLvl. 200
- Ashes to Ashes, Dust to DescendreLvl. 200
- A Tormented HeritageLvl. 200
- Maimane's TotemsLvl. 200
Where does the quest Dance of Dissonance start?
With Draconiros, in front of the Dofus receptacle at . You must be at least level 180 and have completed The Beginning of the End.
How to enter the Destroyers' Nightmare?
By completing the quest The Weight of Its Gaze, which unlocks the Dissonance Ritual. Then click the Ch'Tyx Statue, on the Atoll of the Possessed at .
How many kamas should I plan for?
14,000 kamas: 2,000 for each Signed Gobbowl Ball, at the Brakmar and Bonta arenas, and 10,000 for the Legendary Whitebeerd Beer from Bagrutta Stonestomach.
What stats are needed for the nightmare spirits?
800 Strength or more for Julith the Butcher, and exactly 0 Wisdom for the Grimacing King. If you have scrolled Wisdom, touch the Prismatic Pyramids of the Bonta Palace at .
Which prisoner is asleep among the gobbowlers?
The Brakmarian Prisoner in the center left, and the Bontarian Prisoner on the far right. Pinch them to check: the ones who don't react are asleep.
How to kill a Bonheap?
Only with push damage. Finish it off before its turn, otherwise it turns back into a chafer with 800 Bonus Damage.
Where to find the Nourishing Demons?
In , , and . Each demon fought gives one Visceral Fear; they respawn about every 10 minutes.
Which quest comes after Dance of Dissonance?
Ashes to Ashes, Dust to Descendre, which Kabaal gives you at if you continue the conversation.

Comments
No comments yet. A tip, or a detail about this page? Be the first.