 2 × Skt-Zo Leg
Dungeon Archipelago of Valonia
Chamber of Evils
Level 200 dungeon on Ephedrya Island, in the Archipelago of Valonia, at [29,-88]: five rooms of protectors that teleport onto you and a boss who is invulnerable as long as her monsters live, Belladonna. Quest to start, map of each room, strategy, monsters, achievements and loot.
Quests linked to the Chamber of Evils
The dungeon quest, The Exiled Witch, is completed by defeating Belladonna in a single fight, after several steps on Ephedrya Island. Arrive at the dungeon with the quest in progress: a fight won without it doesn't count.
It is completed on Belladonna. Gidrud sends you to Ephedrya to find the Forgelance Grenn: boat at , Grenn's Lance, castle entrance, then Belladonna defeated in a single fight, before the enchanted books in the library.
- Start
- Gidrud, Archipelago of Valonia
- Prerequisites
- Level 180 and Last but Plot Least
 Statulip Helmet5 helmets and 50,000,000 XP
For later
Belladonna is waiting for you with the Ebony Dofus. For the thorn forest part, finish the Chamber of Evils, equip the Ebony Dofus without leaving the dungeon, then talk to Belladonna again before taming the two Wild Spirits.
- Start
- Elya Wood, Eniripsa temple
- Prerequisites
- Protect Us From the Protector
During events
- Tiwotokar Simulation
Tiwotokar can designate Belladonna as the guardian to defeat. Astrub, .
The next part of the plot, The Seeds of Rebellion, rewards 5 Soldalia Vine and 5 Arm-of-the-Valley Thorn, two ingredients of the key.
The 5 rooms of the Chamber of Evils
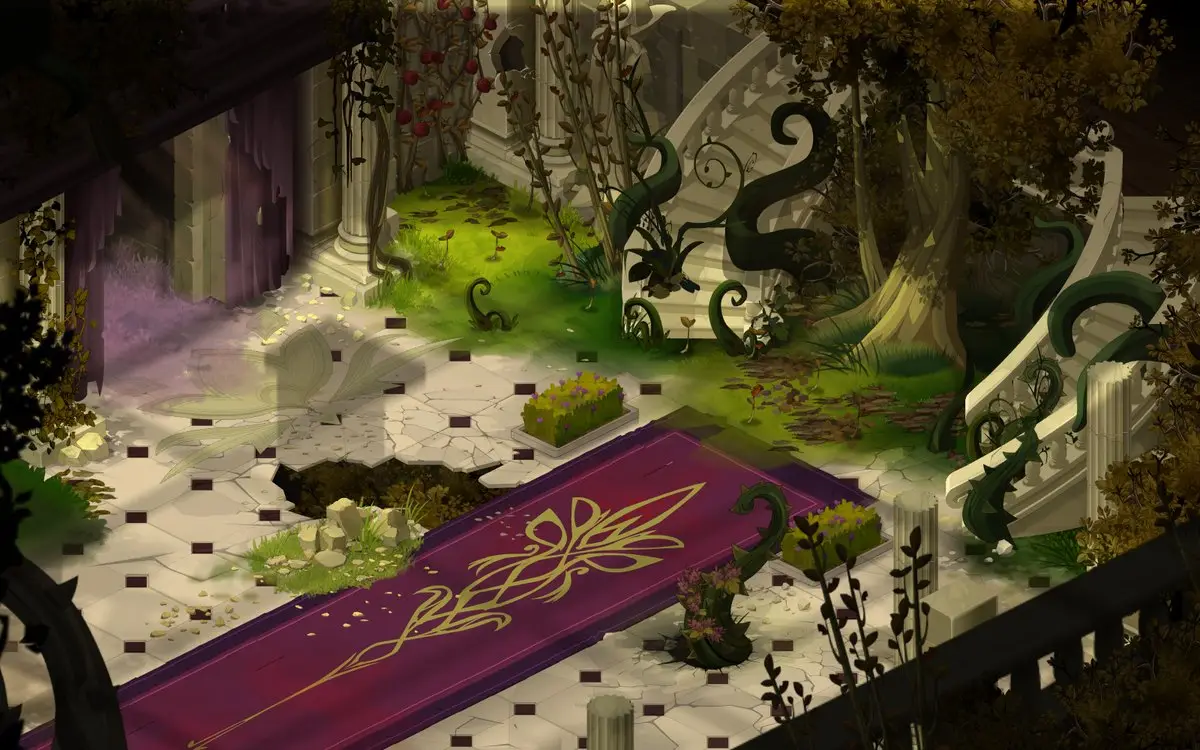
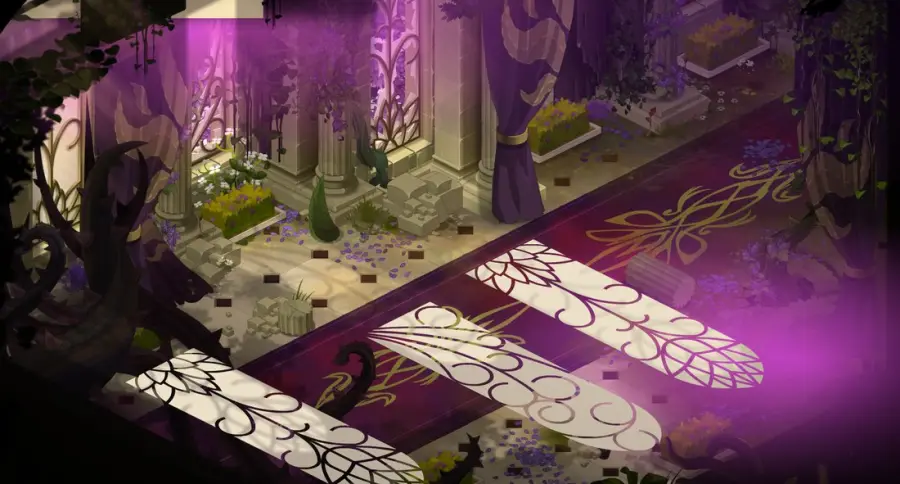
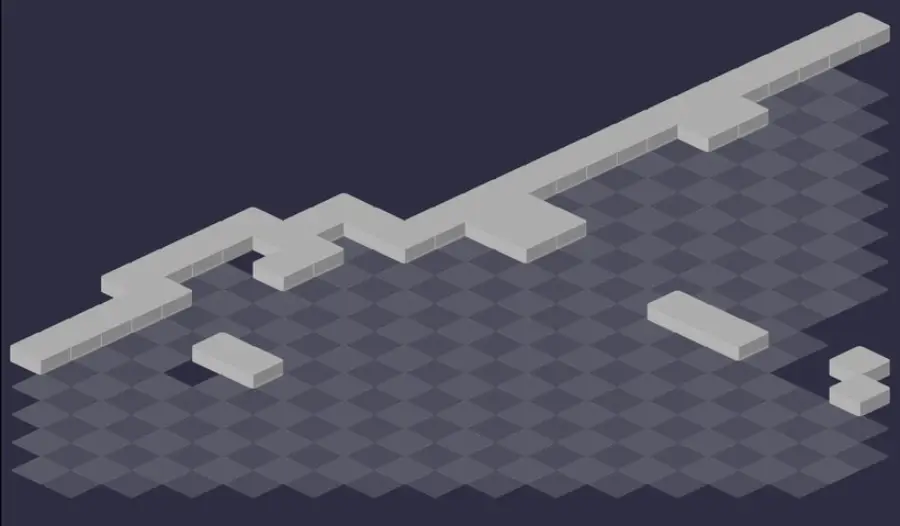
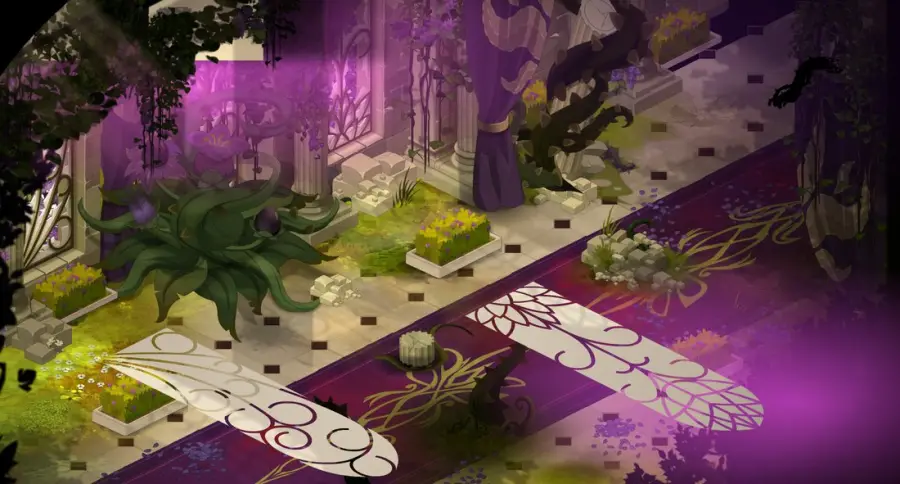
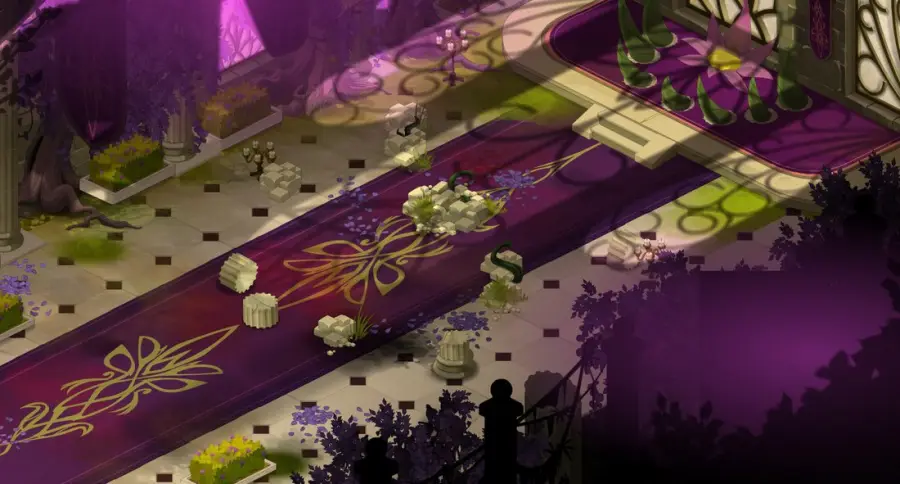
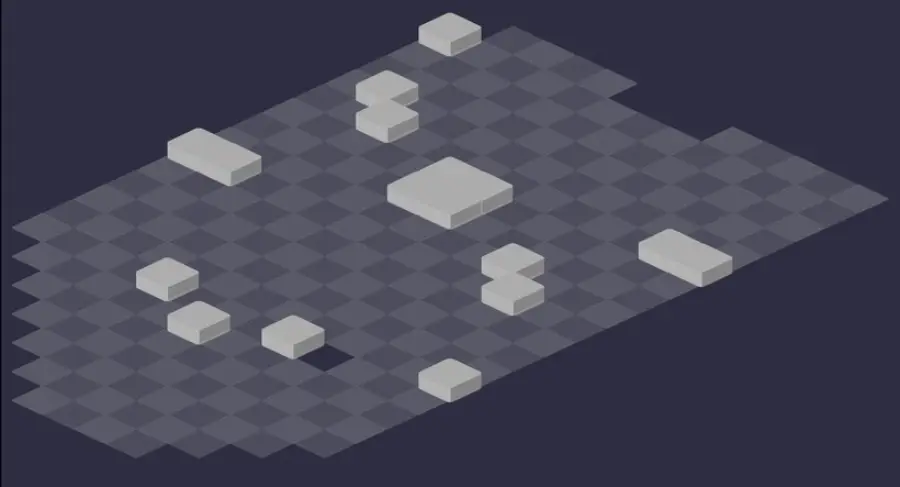
Five fights against the protectors of Ephedrya. In each, the monsters teleport onto any character visible from more than 4 range: this Protectors' Detection is detailed in the boss section. For each room: the scenery, then the tactical view with the starting cells (blue: you, red: the monsters). Tap an image to enlarge it.
Room 1
Room 2
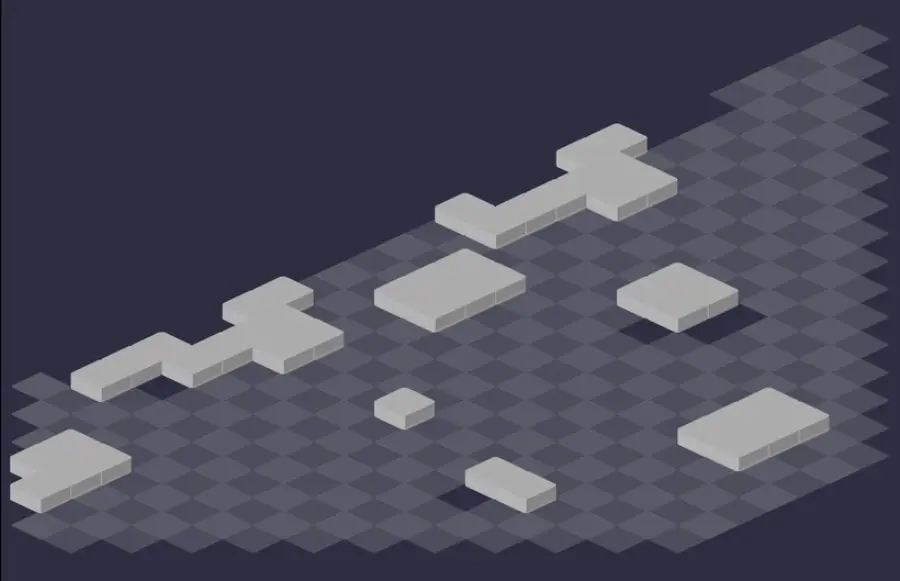
Room 3
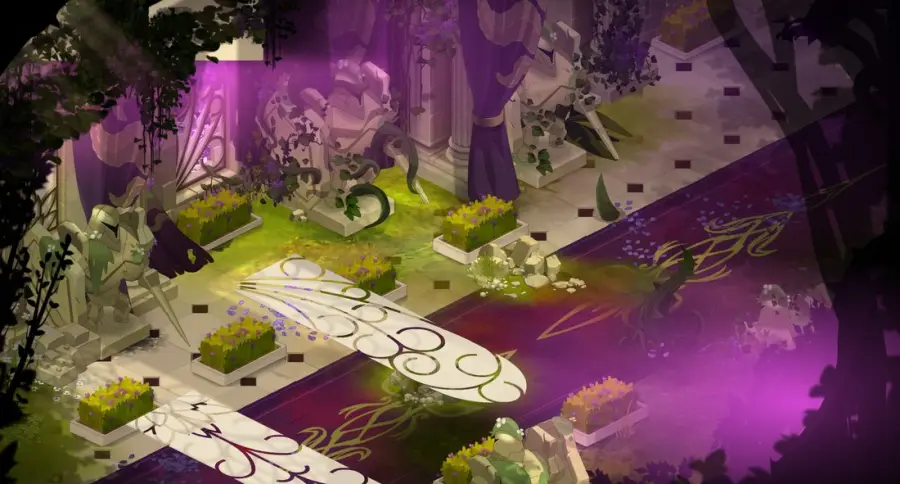
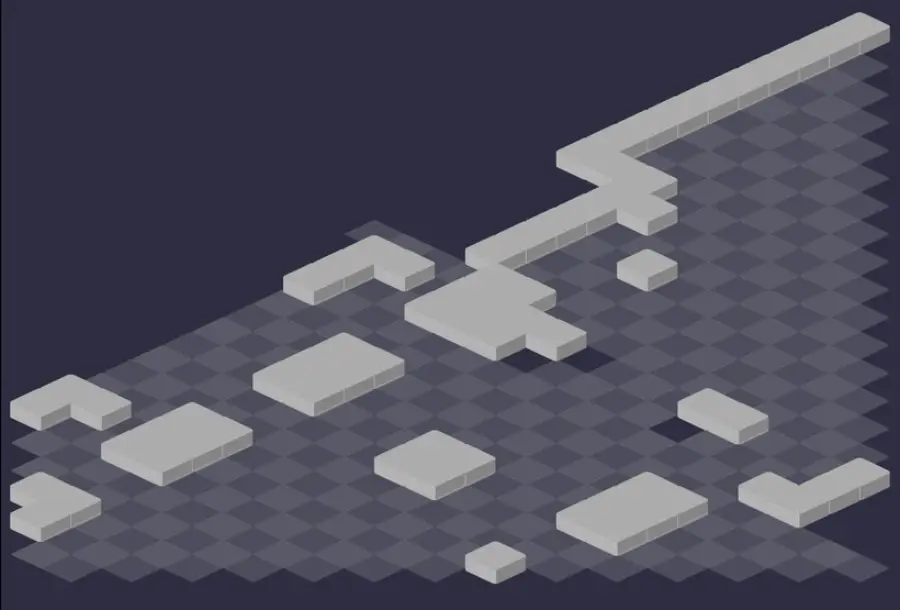
Room 4
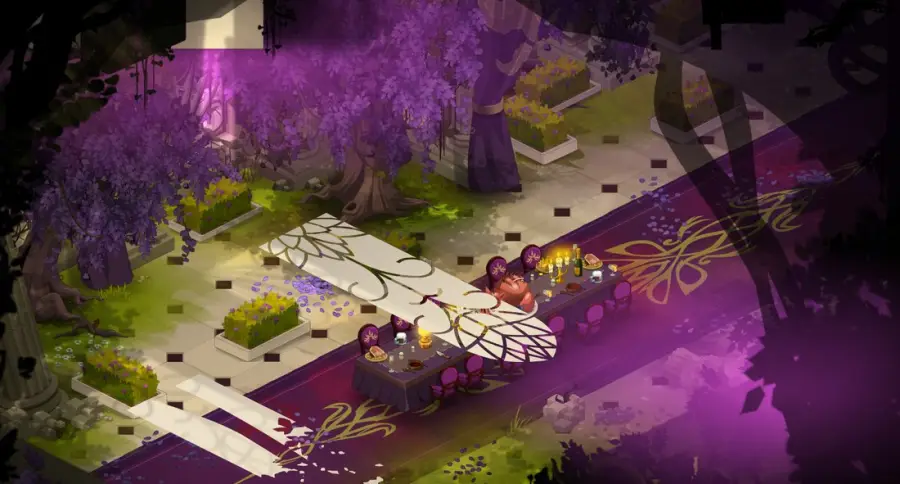
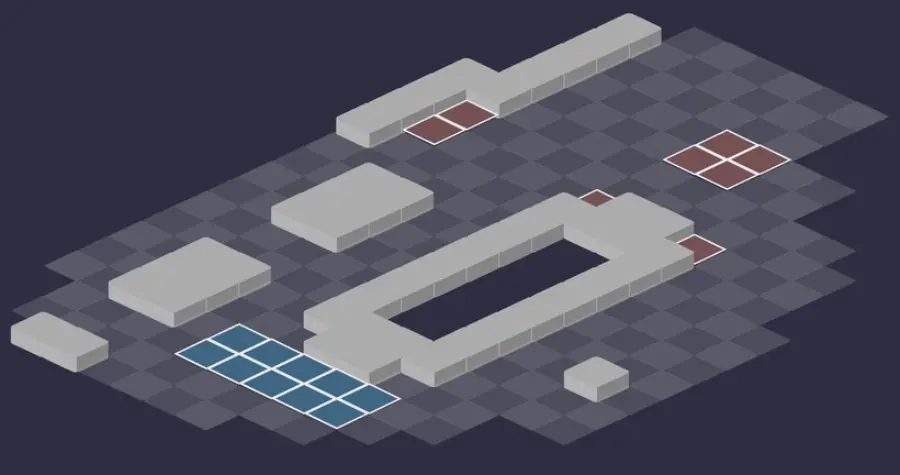
Room 5 — Belladonna
Belladonna's arena. She starts alone on an islet at the top of the map, invulnerable: no character must end in her line of sight as long as she stays there.
Defeat Belladonna
The Condemnation Glyph
On her islet, Belladonna targets any character in line of sight on her turn: poison, then a black star-shaped glyph, across the whole map around it, which kills any character who starts their turn inside it. Her allies lined up with it, in a line or diagonally, are doomed. Stay hidden from her as from her protectors.

Level 220
 29,000 HP
 25 AP
 10 MP
- Resistances (%)
 Earth 18%
 Fire 8%
 Water 24%
 Air 14%
 Neutral 22%
On her islet, she is invulnerable, doesn't move and doesn't hit: she heals and strengthens her protectors, more so the more of them you have killed. She only comes down onto the field when the last monster dies, with 10 MP and damage spells, until a threshold at 50% of her HP. Her lowest resistance: Fire, at 8%.
 Explosive Bewitchment
Burnt Pie on an allied monster for two turns: place swap on the first hit received as long as it carries a 2, then a Fire explosion around it. Don't hit it, don't push it.
 Fatal Enchantment1 AP · on itself · Shield: 2% of max HP ·1 MP · 1 Range · Shield: 4% of max HP · 2 MP · 2 Range · Shield: 6% of max HP · 3 MP · 3 Range · Shield: 8% of max HP · 4 MP · 4 Range
Shield, MP and range for all its monsters each turn, stronger with each Ensorcellement level. It mostly hinders poisons.
 Evil Charm
Heals and final damage, at infinite range and without line of sight, twice per turn. Kill your targets within the turn rather than wearing them down.
 Condemnation Glyph1 AP · 63 Range · Places a glyph-aura ·10 Neutral damage per 1 AP used · Triggers: Kills the targets in the glyph
On a character in view of the islet: poison depending on the AP used, and a star glyph that kills those who start their turn inside it. Stay out of its view.
 Phantasmagorical Unleashing4 AP · 7 Range ·42 to 48 Fire steal · 42 to 48 Water steal · Unhealable State
Double life steal cross, and the character in the center becomes unhealable for a turn.
-
Intoxicating Teleportation
Each turn, she teleports into contact with the farthest character and erodes them. It's pointless to run from her.
 Motionless Evil4 AP · 6 Range · Motionless Evil State · Switches places (forced) ·-100 MP · 93 to 108 Earth damage · Triggers: Kills the target that ends its turn in the glyph
Place swap, removal of all your MP and a glyph under your feet that kills you at the end of the turn. Get out of it via an ally, a teleportation or a rush.
 Binding Conjuration3 AP · 14 Range ·60 to 70 Neutral steal · -4 AP
Life steal and dodgeable AP removal, up to four times per turn: each character loses some.
The five-step strategy against Belladonna
Turn 1: hide. The protectors have low initiative: take it and place everyone out of their line of sight from the first turn, or 4 range or less from them. Two methods: a tank Pandawa who tackles the monsters while the others stay hidden, or MP removal behind the obstacles, with the Camelliaxe as far away as possible and the Armuguet with no monster in line.
The Camelliaxe first. It teleports, pushes back and erodes: it is the monster to take down first. Put it in Gravity to stop it from coming onto you, and unbewitch Thorny Sharing if the Armuguet has linked itself to it. Erode the others too: when resurrected later, they will keep their erosion.
Keep the last monster. Belladonna comes down on the turn after the last monster dies. Keep one alive while you heal, boost and set up your big turn: rage, bomb wall, Sram network. You cannot kill her on arrival, though: she stays invulnerable until the end of her turn.
Belladonna on the field. She teleports onto the closest character, then every turn into contact with the farthest one. Get the character who received the Motionless Evil glyph out of it immediately, via an ally or a teleportation spell. Lock and MP removal don't hold her: bet on damage, healing and protection down to 50% of her HP.
The second round. At the threshold, she goes back up to her islet, all the characters return to their starting cells and the killed monsters resurrect, invulnerable for a turn. They play right after her and gain 10% final damage per turn, but lose 10% resistances. Same order, Camelliaxe first, then remove the second half of her HP.
Protectors' Detection
A protector who starts its turn with a character in line of sight from more than 4 range enters Protectors' Ferocity: it teleports into contact with them, at infinite range, hits them and puts them in Gravity. It then gains 3 AP, 30% final damage and a bonus specific to its species, and its spells with no cooldown get stronger. If it cannot teleport onto anyone, it gains 1 MP and 2 range for a turn.
After this turn, the protector goes into Resting Protector: -20% resistances in all elements and no new teleportation the next turn, so take the opportunity to hit it. The targeted character is Detected for a turn: no protector can teleport onto them anymore.
The Burnt Pie of Ensorcellement explosif
Belladonna marks one of her monsters with a Burnt Pie for two turns. As long as the Burnt Pie carries a small 2, don't hit it: it swaps its place with the first character who touches it, and this swap recharges on each of its turns. Gravity or Rooted, on it or on the attacker, cancels it: the Feca's Ataraxie, for example.
Don't push it either: each push gives it 3 MP. At the start of its next turn, it explodes in a circle of radius 2 around it: move everyone away, summons included. A tank Pandawa can, however, hit the marked monster to swap places with it, then reposition the monsters around it.
Ensorcellement, threshold and islet
Each monster killed gives Belladonna one Ensorcellement level, up to III, which strengthens Fatal Enchantment, Evil Charm and Explosive Bewitchment. With seven or eight characters, she stays at the maximum for a long time: the fight gets harder in a large group.
She has 29,000 HP with four characters, 1,000 more per character beyond that, and her threshold is at half. Once she has dropped below it, her islet keeps a black glyph that kills anyone who tries to walk on it.
The monsters of the Chamber of Evils
Five level 200 protectors, all subject to Protectors' Detection. The Camelliaxe is killed first, the order of the others matters little. The resistances in red are their weaknesses.
In which order to kill the monsters
- Camelliaxe — it teleports, pushes back and erodes: the most dangerous monster in the fight.
- Statulip — its glyph deprives the character who ends their turn in it, and their lined-up allies, of all their MP, especially annoying with five or more.
- Soldalia, then Wallopoppy, then Arm-of-the-Valley — the monster without Explosive Bewitchment first; locked or deprived of MP, they pose little threat. Keep the last one to prepare for Belladonna's arrival.
Level 200
- 7,100 HP
- 16 AP
- 6 MP
- Resistances (%)
- Earth 13%
- Fire -21%
- Water -16%
- Air 14%
- Neutral 6%
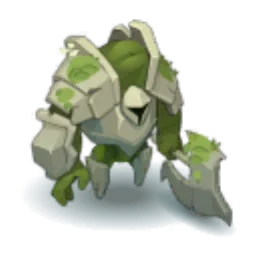
The most dangerous of the protectors: Tactical Jump teleports it and pulls toward it, Infinite Shock pushes back, erodes, then teleports it onto its target, Swirling Surge pushes back everything around it. Gravity nails it in place. Weak to Fire and Water.
-
Infinite Shock5 AP · 3 Range ·60 to 70 Earth steal · Push Away 5 cells
Pushes back, erodes, then the Camelliaxe teleports onto its target. Up to three times per turn, once per target.
-
Tactical Jump
Teleportation without line of sight, then pulls all characters in a cross around its arrival cell. Not in Ferocity.
 Swirling Surge4 AP · on self ·74 to 86 Air damage · Pushes back 8 cells
Pushes back all the characters diagonally around it, far away: it can throw you into view of another protector.
-
Swirling Surge4 AP · on self ·74 to 86 Air damage · Pushes back 10 cells
Pushes back all the characters diagonally around it, far away: it can throw you into view of another protector.
-
Infinite Shock5 AP · 3 Range ·60 to 70 Earth steal · Push Away 5 cells
Pushes back, erodes, then the Camelliaxe teleports onto its target. Up to three times per turn, once per target.

Level 200
- 7,700 HP
- 16 AP
- 6 MP
- Resistances (%)
- Earth 10%
- Fire -16%
- Water 7%
- Air -14%
- Neutral 23%
Protectors' Glyph covers an infinite star around it: entering it costs HP and erosion, ending your turn in it removes all MP, from you and from your lined-up allies. Alternative Assault swaps its place with yours and steals power. Weak to Fire and Air.
 Protectors' Glyph
Two-turn yellow glyph in an infinite star: ending your turn inside removes all MP, from you and your allies in line or diagonal.
 Alternative Assault4 AP · 4 Range · Switches places (forced) ·60 to 70 Fire damage
Place swap and power steal, without line of sight; its range grows with each cast.
-
Alternative Assault4 AP · 4 Range · Switches places (forced) ·60 to 70 Fire damage
Place swap and power steal, without line of sight; its range grows with each cast.
 Sharp Shield3 AP · 8 Range ·25 to 29 Water steal · 25 to 29 Earth steal
-
Sharp Shield3 AP · 8 Range ·25 to 29 Water steal · 25 to 29 Earth steal

Level 200
- 6,900 HP
- 14 AP
- 5 MP
- Resistances (%)
- Earth -24%
- Fire 7%
- Water 12%
- Air -17%
- Neutral 18%
It heals and protects its allies with Adaptive Vine, removes AP with Binding Vine, and Attractive Vine roots and removes MP from grouped characters. Its Rooted can break a Pandawa's lock. Weak to Earth and Air.
 Adaptive Vine3 AP · 8 range ·51 to 59 Fire steal
Reduces the healing received by its target; on an allied monster, it heals it and gives it a shield.
-
Adaptive Vine3 AP · 8 range ·51 to 59 Fire steal
Reduces the healing received by its target; on an allied monster, it heals it and gives it a shield.
-
Binding Vine4 AP · 10 Range ·38 to 44 Water steal
Two-turn Water poison and AP removal, up to twice per turn.
-
Binding Vine4 AP · 10 Range ·38 to 44 Water steal
Two-turn Water poison and AP removal, up to twice per turn.
-
Attractive Vine
Pulls the characters around an empty cell, then removes MP and roots those in the center. Recast every 3 turns.

Level 200
- 7,000 HP
- 16 AP
- 5 MP
- Resistances (%)
- Earth 20%
- Fire 7%
- Water -20%
- Air 9%
- Neutral -18%
Watery Fist pulls all the characters lined up with its target into contact with it. Don't leave any summon in line with an ally and in view of it. Withdrawal Fist makes it fall back, Destructive Fist hits harder with each cast. Weak to Water and Neutral.
 Watery Fist
Pulls all the characters in line with the target into contact with it, then hits them. A badly placed summon makes you move.
-
Withdrawal Fist3 AP · 8 Range · Falls back 3 cells ·23 to 27 Water damage · 23 to 27 Earth damage
 Destructive Fist4 AP · 10 Range ·46 to 54 Earth damage · Triggers: Critical Aim
Its base damage rises with every cast, for the whole fight: a Wallopoppy left alive becomes dangerous.
-
Watery Fist
Pulls all the characters in line with the target into contact with it, then hits them. A badly placed summon makes you move.
-
Withdrawal Fist3 AP · 8 Range · Falls back 4 cells ·23 to 27 Water damage · 23 to 27 Earth damage
-
Destructive Fist4 AP · 10 Range ·46 to 54 Earth damage · Triggers: Critical Aim
Its base damage rises with every cast, for the whole fight: a Wallopoppy left alive becomes dangerous.

Level 200
- 8,200 HP
- 16 AP
- 6 MP
- Resistances (%)
- Earth -19%
- Fire 23%
- Water 17%
- Air 8%
- Neutral -29%
It pulls 5 cells with Burning Attraction and steals MP in an area with Invigorating Thorn. Thorny Sharing links its damage to that of an ally and gives it vitality with each direct hit received: unbewitch it. Weak to Earth and especially to Neutral.
 Thorny Sharing
Shares damage between the Armuguet and a lined-up ally, for two turns. Can be unbewitched, and key to the Clean Hands achievement.
-
Invigorating Thorn4 AP · 4 RNG ·44 to 52 Air life steal
-
Burning Attraction3 AP · 6 range · Pulls 5 cells ·39 to 45 Fire damage
Pulls 5 cells and steals dodge, in a line only: don't stay lined up with the Armuguet.
-
Invigorating Thorn4 AP · 4 RNG ·44 to 52 Air life steal
-
Burning Attraction3 AP · 6 range · Pulls 5 cells ·39 to 45 Fire damage
Pulls 5 cells and steals dodge, in a line only: don't stay lined up with the Armuguet.
Preparing your run through the Chamber of Evils
A dungeon for teams of level 190 to 200 who know how to play line of sight. People come here for The Exiled Witch, the achievements and Belladonna's Lipstick: Belladonna cannot be captured.
How to enter the Chamber of Evils
The entrance is on Ephedrya Island, in the Archipelago of Valonia, at ; the nearest zaap is the one in the Snowbound Timberland , and the boat to Ephedrya leaves from . Three ways to open it: a Chamber of Evils Key (consumed), the key ring if it is registered there, or the automatic group search.
Crafting the Chamber of Evils Key
It is made at a Handyman's workshop. Five ingredients drop from the dungeon's monsters, at 12%: Soldalia Vine, Camelliaxe Moss, Arm-of-the-Valley Thorn, Wallopoppy Fist and Tasty Meat. Ink Snapper (fishing), Paper Tulip and Quisnoa (harvesting) complete the recipe.
| Ingredient | Quantity | Level |
|---|---|---|
 Soldalia Vine |
2 | 200 |
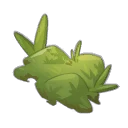 Camelliaxe Moss |
2 | 200 |
 Arm-of-the-Valley Thorn |
2 | 200 |
 Wallopoppy Fist |
2 | 200 |
 Tasty Meat |
2 | 200 |
 Ink Snapper |
1 | 200 |
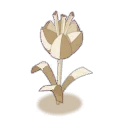 Paper Tulip |
1 | 200 |
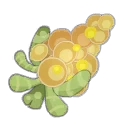 Quisnoa |
1 | 200 |
Which team to bring against Belladonna
A tank Pandawa, or MP removal. The two common methods: a Pandawa in tank gear who locks the monsters, or MP removal from behind the obstacles. In both cases, nobody stays in view of a monster from more than 4 range. A team entirely in melee also gets through, with healing and protection, at 4 range or less from the monsters.
Gravity and unbewitching. Gravity stops the Camelliaxe from coming onto you and cancels, on the marked monster or its attacker, the swap from Ensorcellement explosif. Unbewitching removes the Armuguet's Thorny Sharing. These tools simplify the whole fight.
Healing for the field phase. Against Belladonna, Gravity has no effect and locking or MP removal help little. Bet on damage, healing and protection. A Ceinture de Dame Jhessica worn in contact at the end of the turn removes 100 dodge from her, which limits her escapes after each teleportation.
The comfortable classes. The Pandawa locks, puts the Camelliaxe in Gravity with Brewing and places Belladonna with Waterfall and Stretcher: it is the basis of almost every Duo composition. The Feca cancels place swaps with Ataraxia, the Sadida and the Rogue set up a forest or a bomb wall to get through a threshold in one turn, and the Sram plays earth and network under his Mist.
The six achievements of the Chamber of Evils
Each achievement gives 200,000,000 XP and 2 Belladonna's Lipstick, Duo doubles the XP; Sidekick gives 75,000,000 XP. Tight and Clean Hands are played with the basic strategy, give or take one constraint.
| Achievements | Condition | Points | XP |
|---|---|---|---|
| Chamber of Evils | Defeat Belladonna in this boss's dungeon. | 10 | 200 000 000 |
| Belladonna (Tight) | Defeat Belladonna as a team in her dungeon by completing the “Tight” challenge. | 10 | 200 000 000 |
| Belladonna (Clean Hands) | Defeat Belladonna in her dungeon by completing the “Clean Hands” challenge. | 10 | 200 000 000 |
| Belladonna (Duo) | Defeat Belladonna in her dungeon by completing the “Duo” challenge. | 20 | 400 000 000 |
| Belladonna (Sidekick) | Defeat Belladonna in her dungeon by completing the “Z'others” challenge | 5 | 75 000 000 |
| Belladonna (Special) | Defeat Belladonna in her dungeon by completing the “Easy Target” challenge. | 10 | 200 000 000 |
Tight
Each ally must end their turn on a cell adjacent to another ally. Summons no longer count for this challenge. The obstacles leave enough cells to hide in pairs: with MP removal, nothing changes. With a tank Pandawa, stick another character to them. Against Belladonna, the character hit by Motionless Evil must leave their glyph and still end up next to an ally.
Clean Hands
Enemies must be finished off without direct damage: traps, glyphs, poisons, pushbacks, reflects and summons are allowed. The rule applies to resurrected monsters and to the final blow on Belladonna, but not to getting through her threshold. Her shields each turn hinder poisons: hit the monster again just before it plays. The Armuguet kills itself with its own Thorny Sharing: hit it until its vitality bonus exceeds its HP, then unbewitch it. As a Rogue, only walls and explosions count, not a bomb thrown at the target.
Special: Easy Target
The character designated by Belladonna at the end of her turn must be in her line of sight at the start of her next turn, and must not die. On the islet, this character receives her Condemnation Glyph: nobody must be lined up with them, nor they in view of the monsters. A tank Pandawa who blocks the monsters helps a lot, and an ally can move the target. On the field, she no longer places this glyph, but her threshold sends everyone back to their starting cells: pass it when the target plays late in the timeline.
Duo
Two characters at most, under 40 turns. The hardest part is Belladonna on the field: get through each of her thresholds in one turn. A tank Pandawa and a high-damage class are enough; erode all the monsters in the first phase. With an Air Sadida, keep the Armuguet or the Wallopoppy, never the Camelliaxe, charge the forest and Sacrificed, then place Belladonna in the trees for Shake. With an Air Rogue, same principle with a protected bomb wall, out of the Wallopoppy's view. An earth and network Sram, under Mist, also gets through: Chakra Concentration before the network.
Sidekick: Z'others
Four characters minimum, including an eligible sidekick: Haku, Manitou Zoth, Karotz, Grouillot or Phong Huss. The fight plays out as usual: hide the sidekick from lines of sight like your characters, and keep it away from the Statulip's place swaps.
Drops and loot of the Chamber of Evils
Base in-game rates, before Prospecting bonuses.
On Belladonna
 Belladonna's LipstickMiscellaneous Resource12 %
 Nougat Rabmarac BarTreat6 %
 Protectors' FlowerFlower2 %
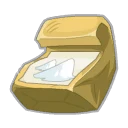 Bag of SaltContainer1 %
 Al Howin GobtubbyCeremonial pet1 %
 Paragon of PowerMain quests0,7 %
 Tasty CarrionMeat0,6 %
On the henchmen of Belladonna
- Tasty MeatMeat · Arm-of-the-Valley12 %
- Arm-of-the-Valley ThornPlant · Arm-of-the-Valley12 %
- Camelliaxe MossPlant · Camelliaxe12 %
- Wallopoppy FistCombat Resource · Wallopoppy12 %
- Soldalia VinePlant · Soldalia12 %
- Statulip HelmetGarment · Statulip12 %
 Lost BillhookArchipelago of Valonia · Arm-of-the-Valley6 %
- Protectors' FlowerFlower · Arm-of-the-Valley2 %
- Bag of SaltContainer · Arm-of-the-Valley1 %
Where is the Chamber of Evils?
On Ephedrya Island, in the Archipelago of Valonia, at . The nearest zaap is the one in the Snowbound Timberland , and the boat to Ephedrya leaves from .
What level should I do the Chamber of Evils at?
Level 190 minimum, 200 recommended. Belladonna is level 220, with 29,000 HP with four characters and 1,000 more per additional character.
Which quest should I do in the Chamber of Evils?
The Exiled Witch, at Gidrud's , after Last but Plot Least. It is completed by defeating Belladonna in a single fight.
How do I defeat Belladonna?
Kill all her monsters, twice. She then comes down from her islet: remove half of her HP, she resurrects her monsters, then do it again for the second half.
Which monster should you kill first in the Chamber of Evils?
The Camelliaxe, which teleports, pushes back and erodes. Put it in Gravity to stop it from coming onto you; the order of the others matters little.
How do I avoid the protectors' teleportations?
Out of their line of sight, or 4 range or less from them. Everything is decided at the start of their turn: take the initiative on turn 1 to hide behind the obstacles before they play.
Why not hit the monster with the Burnt Pie?
It swaps its place with the first character who hits it, as long as the Burnt Pie carries a 2. Wait for the next turn, or put it in Gravity or Rooted.
Can Belladonna be captured?
No, Belladonna cannot be captured. No soul stone is needed for this dungeon.
Can the Chamber of Evils be done with two?
Yes, it is even an achievement: Duo, in under 40 turns. A tank Pandawa with a Sadida, a Rogue or another high-damage class, able to get through each of Belladonna's thresholds in one turn.
Do you need a key for every run of the Chamber of Evils?
Yes, or the keyring, or the automatic group search. Five of the key's ingredients drop from the dungeon's monsters.




Comments
No comments yet. A tip, or a detail about this page? Be the first.