Dungeon Rygurgal Plateau
Koutoulou's Temple
Level 200 dungeon in the Depths of Sufokia, in [27,26]: five rooms under the threat of Madness states and a boss that teleports you next to it, the Koutoulou Larva. Quests to start, map of each room, strategy, monsters, achievements and loot.
Quests linked to Koutoulou's Temple
The dungeon's quest, From Bad to Ungodly, takes you through the temple to the Koutoulou Larva, then has you fight the Yellow Priest right after. Accept it before entering: a fight won without the quest in progress does not count.
It is completed in the temple. Defeat the Koutoulou Larva in a single fight, talk to Captain Kice, then defeat the Yellow Priest, accompanied by Flauticultists and a N'yalgy. Report to Queen Viktoria.
- Start
- Queen Viktoria, Sufokia Bay
- Prerequisites
- Give Me a Sign
 Pearl of the Depths10 pearls, 5 Flauticultist's Flute and 50,000,000 XP
For later
The Koutoulou Larva can give you the Totem of Fear. Maimane asks for six emotion totems, each from a boss of your choice: for fear, the Larva, Anerice the Shushess, Ilyzaelle or Misery.
- Start
- Maimane, Destroyers' Nightmare
- Prerequisites
- Level 180
 Totem of Balanceonce the six totems are handed in
The Immiscible and Unspeakable Oil is obtained from the Larva. Meriana gathers seven components to separate Crocoburio's and Leane's souls: the oil is one of them, to be placed in the crucible in third position.
- Start
- Meriana, Nauseating Swamps
- Prerequisites
- In Search of Crocoburio
 Angular Stone3 stones and 60,000,000 XP
During events
- Tiwagrum Simulation
Tiwagrum can designate the Koutoulou Larva as the guardian to defeat. Amakna Village, .
The 5 rooms of Koutoulou's Temple
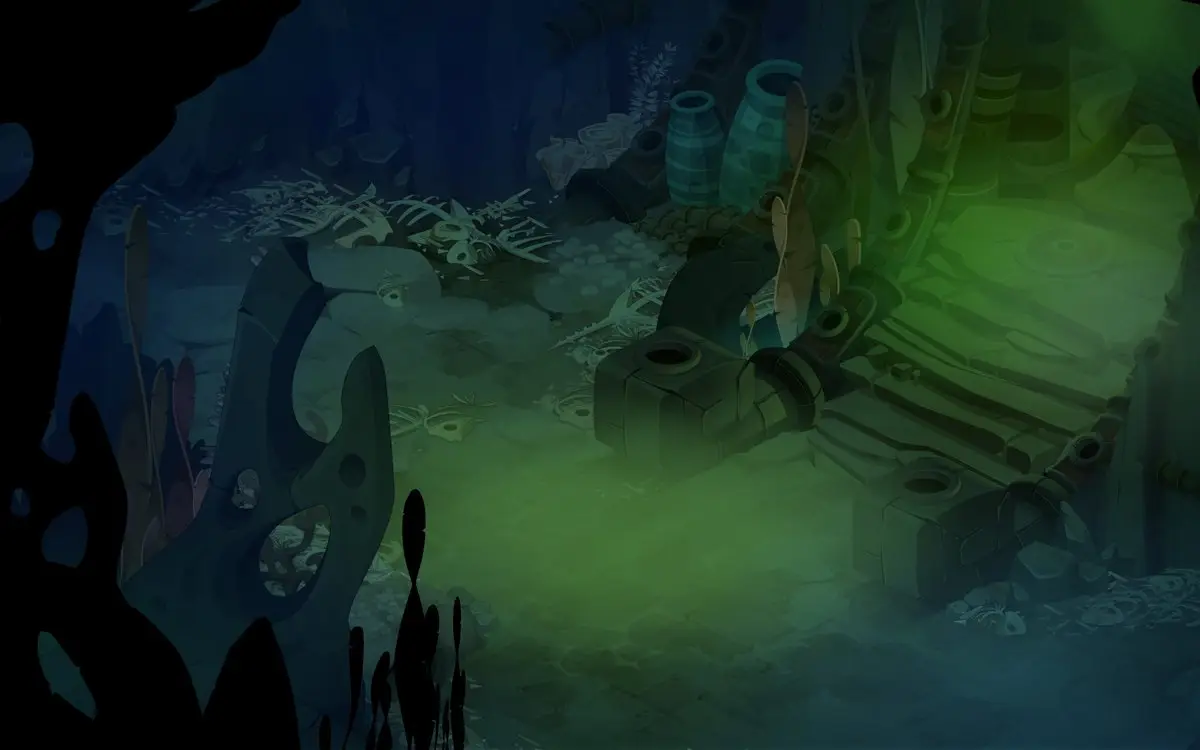
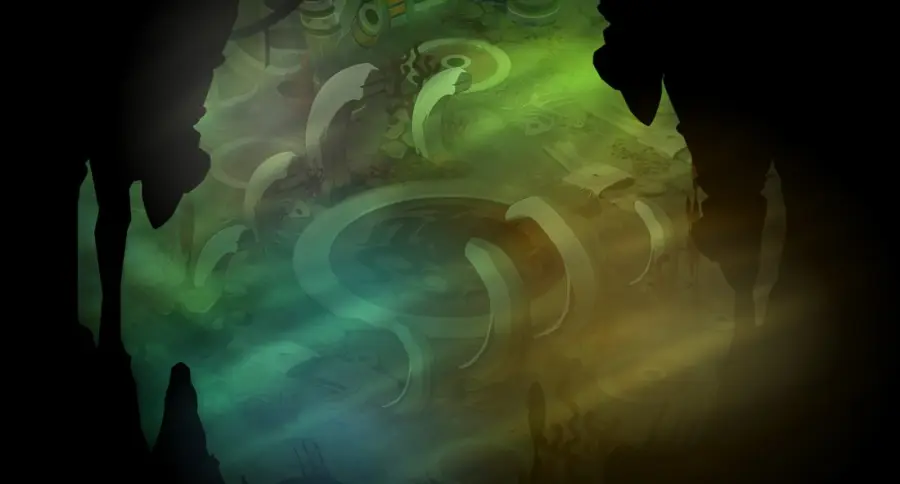
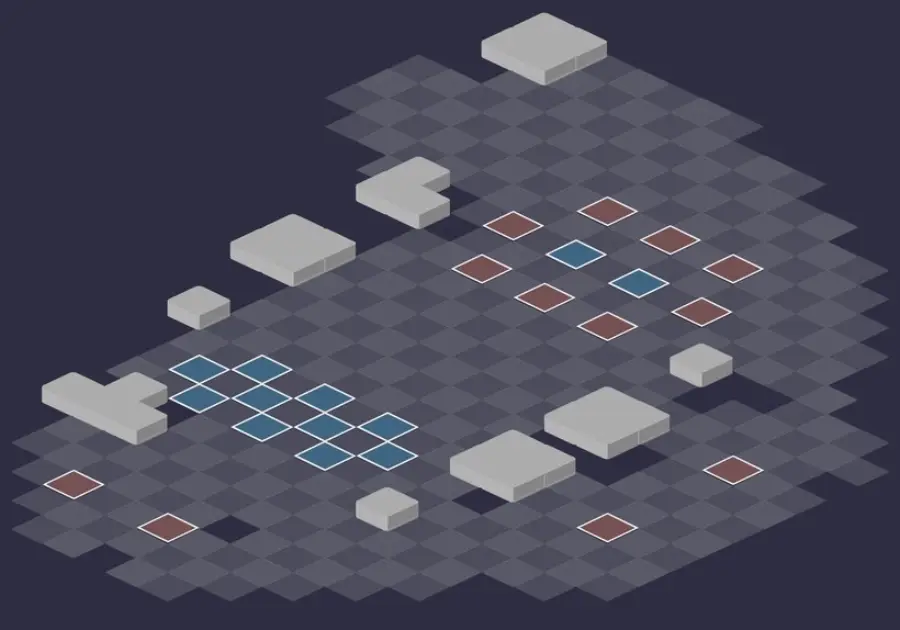
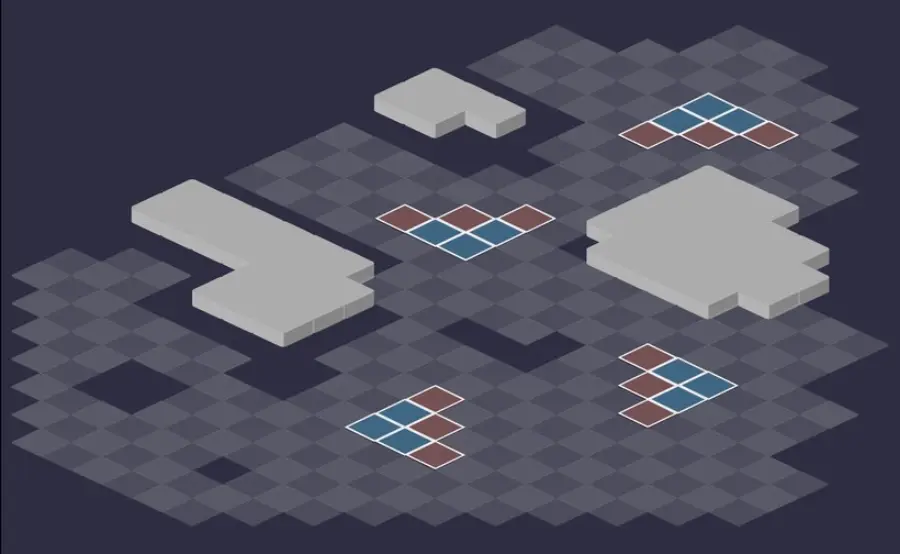
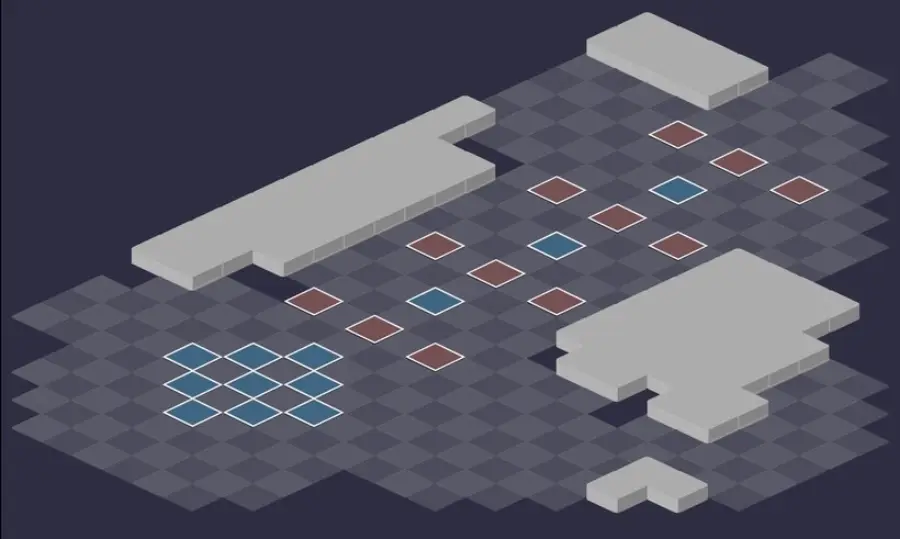
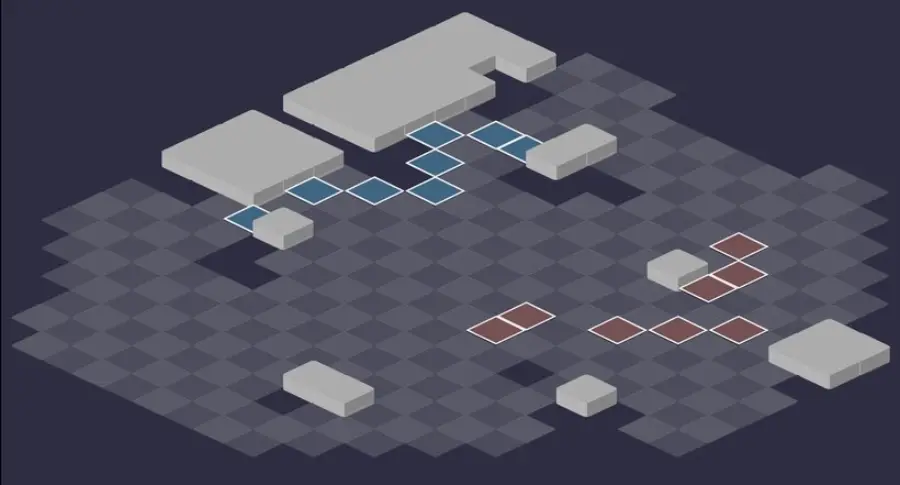
Five fights, and Madness states throughout the dungeon: how they work is detailed in the boss section. Before the last room, it is very rare for a character to reach Madness 10. For each room: the scenery, then the tactical view with the starting cells (blue: you, red: the monsters). Tap an image to enlarge it.
Room 1
Room 2
Room 3
Room 4
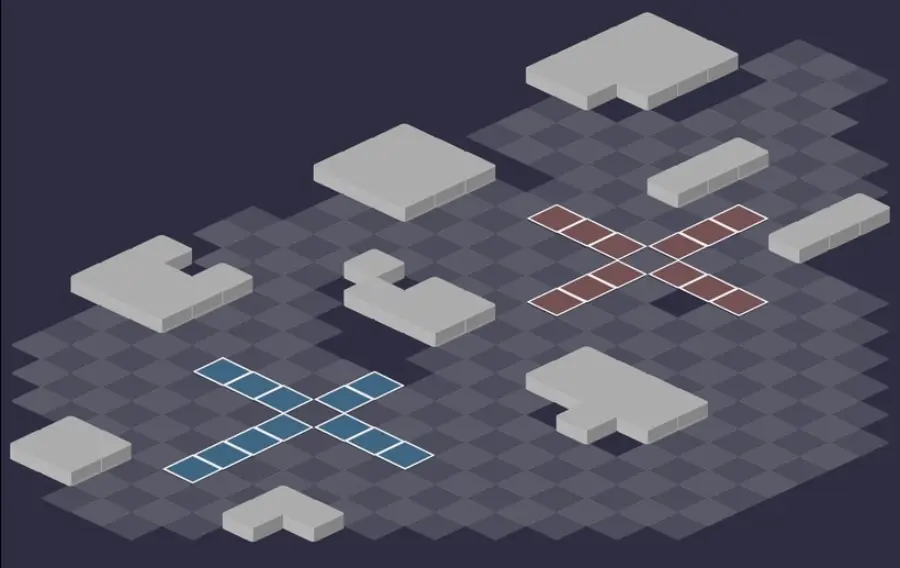
Room 5 — the Koutoulou Larva
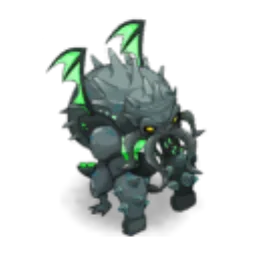
The Koutoulou Larva and its acolytes. Here, each direct damage makes you swap places with the nearest entity. Outside tactical mode, you can see the real Koutoulou at the back of the map: you only fight one of its larvae.

Defeat the Koutoulou Larva
Madness 10 means death
Monster hits, your doubles, ending turns in the Larva's line of sight and repeated swaps make your Madness states climb. At Madness 10, the character dies outright. You lose one at the start of each turn: hide a character who climbs too high for a few turns.
Level 220
 18,000 HP
 20 AP
 6 MP
- Resistances (%)
 Earth 22%
 Fire 17%
 Water 17%
 Air 28%
 Neutral 16%
She only strikes in melee, but very hard, with Koutonian Blow. She does nothing on turn 1 except move; after that, she teleports any character in her line of sight to her side and swaps places with her allies to reach you. Alone, she is no longer any danger.
 Koutonian Blow4 AP · melee ·151 to 155 Earth damage · Triggers: MADNESS!
Its only attack, in melee, up to four times per turn and twice per target. Each hit adds a Madness state: never end your turn in contact with it.
 Worrying Permutation
From turn 2, she swaps places with two allies per turn, without line of sight, to reach you. Gravity on her, or on a monster, blocks the swap.
The five-step strategy against the Koutoulou Larva
Turn 1: the Flauticultist. The Larva simply advances. Kill the Flauticultist before turn 2, thanks to its Earth weakness: the Skt-Zo will no longer be able to duplicate it. Keep the Spookkoth at a distance from the start.
Cut off her line of sight. From turn 2, at the start of each of her turns, she teleports all the characters she sees to her. End each turn behind an obstacle, or place a summon in front of her. Gravity, Unmovable and Rooted also prevent the teleportation.
The Skt-Zo, then the Spookkoth. Move the Skt-Zo away from the other monsters or remove its MP, otherwise it duplicates them. Stay more than 5 range from the Spookkoth, and push your doubles against a monster to remove them. Diepwon and N'yalgy are controlled with obstacles and MP removal.
Hit without going mad. Each line of damage swaps you with the nearest entity: prefer poisons and spells with a single line, and use the swaps to get out of its sight. From Madness 2 onward, hit from at least 3 range away from your allies. Putting the Larva under Gravity stops it from swapping with its allies.
The Larva alone. Without allies, it can no longer swap and only hits in melee. End your turns out of its sight and more than 6 cells away, and push it back if needed. Do not be afraid to lose characters to kill its acolytes: once alone, it does very little.
The Madness states
They range from 1 to 10 and are displayed above the character. Four thresholds matter: Madness 2 makes you deal your damage to all allies within 2 range of you, Madness 4 halves the healing received, Madness 6 increases the damage you take, and Madness 10 kills. Each threshold keeps the penalties of the previous ones.
You gain a state when Crazy Cacophony, Corrosive Sphere, Morbidrain or Koutonian Blow hit you, when the N'yalgy pulls you, on each turn played by your double, and when you end your turn in the Larva's line of sight. In its room, swapping places twice with the same entity in a turn adds one.
Cosmic Horror: the position swaps
In the boss room, each direct damage on an enemy makes you swap places with the nearest entity, ally or enemy, summons excepted. It is a forced movement: neither Gravity nor Rooted prevents it. Poisons, on the other hand, trigger no swap.
Swapping twice with the same enemy in your turn makes it invulnerable until your next turn, and gives you a Madness state; swapping twice with the same ally gives one Madness state. The effect is limited to 10 times per turn: beyond that, you hit freely until the next turn.
The doubles
The Spookkoth duplicates you in melee, with Horrifeye or the Dementriangle glyph. Your double advances toward the monsters without hitting, you take its damage, and each of its turns adds a Madness state to you. Push it against a monster to eliminate it; a hit that kills it in one blow is not passed back to you.
The Skt-Zo, for its part, duplicates a monster within 3 range or less from turn 2, and the double plays like a real monster. It cannot copy the Larva: no need to keep it away, but keep it away from the Flauticultist.
The monsters of Koutoulou's Temple
Five level-200 acolytes with 6,000 HP, each weak in a different element (-9%). The resistances in red are their weaknesses.
In which order to kill the monsters
- Flauticultist — the most dangerous: 4 MP removal at range, a big hit in melee and boosting its allies.
- Skt-Zo — it duplicates monsters from turn 2 and steals vitality.
- Spookkoth — its doubles make you take their damage and gain Madness.
- Diepwon, then N'yalgy — less dangerous, they are kept at a distance with obstacles and MP removal.

Level 200
- 6,000 HP
- 12 AP
- 5 MP
- Resistances (%)
- Earth -9%
- Fire 16%
- Water 16%
- Air 6%
- Neutral 26%
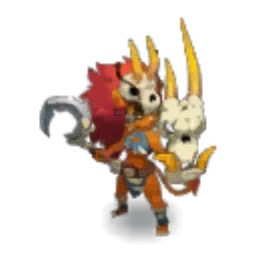
Your first target. Pernicious Chant removes 4 MP from very far away, Crazy Cacophony hits in melee, pushes back and adds Madness, and Demonic Strength boosts the monsters around it. Weak to Earth; removing range from it reduces its effectiveness.
 Pernicious Chant4 AP · 12 RNG ·-4 MP · 65 to 69 Water damage
Removes 4 MP that can be dodged but cannot be dispelled, twice per turn and once per target. Keep some MP dodge or stay out of range.
 Crazy Cacophony4 AP · melee ·83 to 87 Fire damage · Pushes back 3 cells · Triggers: MADNESS!
Hits in a semicircle in melee, pushes back 3 cells and adds a Madness state.
 Demonic Strength4 AP · on self ·2 MP · 25% Vitality · 200 Power
Gives MP, power and vitality to the monsters around the Flauticultist for one turn. The effect can be dispelled.
Level 200
- 6,000 HP
- 12 AP
- 6 MP
- Resistances (%)
- Earth 16%
- Fire 16%
- Water 6%
- Air 26%
- Neutral -9%
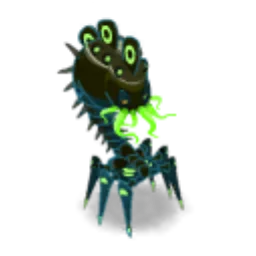
Morbidrain steals vitality, makes the target unhealable and adds Madness. Above all, Grotesque Duplication copies a nearby monster from turn 2. Move it away from the others or remove its MP, then kill it right after the Flauticultist. Weak to Neutral.
 Morbidrain
Steals vitality for 2 turns, stackable twice, and makes the target unhealable for one turn. Adds one Madness state.
 Grotesque Duplication
Duplicates a monster within 3 range or less, never on turn 1 nor on the Larva. When recast, it replaces its previous double.
Level 200
- 6,000 HP
- 12 AP
- 4 MP
- Resistances (%)
- Earth 6%
- Fire 26%
- Water -9%
- Air 16%
- Neutral 16%
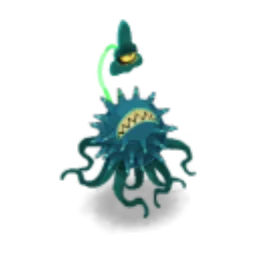
It duplicates you in melee with Horrifeye and Dementriangle. Always stay more than 5 range away from it, or pin it in a corner, for example with a Pandawasta. Weak to Water.
 Dementriangle
Places a black cone-shaped glyph in melee: any character on it or passing through it is duplicated. Cooldown 3 turns.
 Horrifeye4 AP · melee ·51 to 55 Neutral damage · Triggers: Cursed Silhouette
Hits in melee and duplicates you. Your double passes its damage on to you: remove it by pushing it against a monster.
Level 200
- 6,000 HP
- 12 AP
- 4 MP
- Resistances (%)
- Earth 26%
- Fire -9%
- Water 16%
- Air 16%
- Neutral 6%
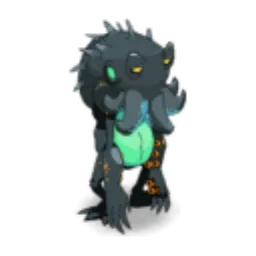
It pulls 5 cells in a line with Repugnant Attraction, then hits everything around it with Corrosive Sphere, which adds Gravity and a Madness state. Do not group up near it. Weak to Fire.
 Repugnant Attraction4 AP · 6 range ·65 to 69 Water damage · Pulls 5 cells
Pulls 5 cells in a line, once per turn: do not stay lined up with the Diepwon.
 Corrosive Sphere4 AP · on self ·65 to 69 Earth damage · Gravity State · Triggers: MADNESS!
Strikes around the Diepwon and puts you under Gravity for one turn, with a Madness state as a bonus.

Level 200
- 6,000 HP
- 12 AP
- 5 MP
- Resistances (%)
- Earth 16%
- Fire 6%
- Water 26%
- Air -9%
- Neutral 16%
Paralysing Whiplash removes 4 MP, and Miasmatic Expulsion summons a Polarising Miasme in contact with you: its glyph reduces your final damage while you are in it. It can also pull those who pass through its lines. Weak to Air.
-
Miasmatic Expulsion4 AP · 6 RNG ·84 to 88 Water damage
Summons an unmovable Polarising Miasme in contact with you. Its glyph reduces your final damage and hurts you if you end your turn on it.
-
Paralysing Whiplash4 AP · 3 range ·83 to 87 Air damage · -4 MP
Removes 4 MP that can be dodged, twice per turn and once per target.
Preparing your run through Koutoulou's Temple
A level 200 dungeon where the danger comes as much from Madness as from blows. People come for From Bad to Ungodly, the achievements, the Totem of Fear and the Immiscible and Unspeakable Oil: the Koutoulou Larva cannot be captured.
How to enter Koutoulou's Temple
The entrance is in the Abysses of Sufokia, in , on the Rygurgal Plateau. You go down into the abysses from the Palace of Sufokia ; the nearest zaap is the one at Sufokia . There are three ways to open it: a Koutoulou's Temple Key (consumed), the key ring if it is registered on it, or the automatic group search.
Crafting the Koutoulou's Temple Key
It is crafted at a handyman's workshop. Three ingredients drop from the dungeon's monsters: Diepwon Tentacle, N'yalgy Tentacle and Spookkoth's Eye. Mahaquany Wood, Sepiolite, Limpet, Salikronia and Quisnoa complete the recipe.
| Ingredient | Quantity | Level |
|---|---|---|
 Diepwon Tentacle |
2 | 200 |
 N'yalgy Tentacle |
2 | 200 |
 Spookkoth's Eye |
2 | 200 |
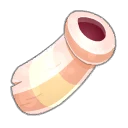 Mahaquany Wood |
1 | 200 |
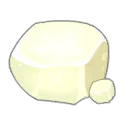 Sepiolite |
1 | 200 |
 Limpet |
1 | 200 |
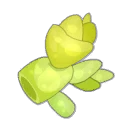 Salikronia |
1 | 200 |
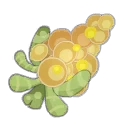 Quisnoa |
1 | 200 |
Which team to bring against the Koutoulou Larva
Poisons and single-line spells. Poisons hit without causing a place swap: use them freely. For the rest, prefer spells with a single line of damage, which limit swaps, Madness and invulnerabilities.
Something to break line of sight. A summon placed in front of the Larva at the end of the turn protects you from the teleportation. Gravity, Unmovable or Rooted do the same job on a character, and Gravity on the Larva blocks its swaps.
MP removal and pushing. Removing MP from the Skt-Zo and the Spookkoth stops them from duplicating, and pushing the Larva back keeps it out of range when it is alone. Ranged damage does the rest.
The comfortable classes. The Sram hits with poison without a position swap and hides with their invisibility: it is the basis of the Duo. The Pandawa positions, carries and stabilises, essential for Impertinence, and their Pandawasta can pin the Spookkoth in a corner. Any class that summons can cut the Larva's line of sight at each end of turn.
The six achievements of Koutoulou's Temple
Each achievement gives 200,000,000 XP and 2 Koutoulou Larva Wing, and Duo doubles the XP; Sidekick gives 75,000,000 XP. Cautious is practically free with the basic strategy, but it prevents Impertinence in the same fight.
| Achievements | Condition | Points | XP |
|---|---|---|---|
 Koutoulou Larva (Cautious) |
Defeat the Koutoulou Larva in its dungeon by completing the “Cautious” challenge. | 10 | 200 000 000 |
| Koutoulou Larva (Impertinence) |
Defeat the Koutoulou Larva in its dungeon by completing the “Impertinence” challenge. | 10 | 200 000 000 |
| Koutoulou Larva (Duo) |
Defeat the Koutoulou Larva in its dungeon by completing the “Duo” challenge. | 20 | 400 000 000 |
| Koutoulou Larva (Special) |
Defeat the Koutoulou Larva in its dungeon by completing the “Musical Chairs” challenge. | 10 | 200 000 000 |
| Koutoulou Larva (Sidekick) |
Defeat the Koutoulou Larva in its dungeon by completing the “Mini Inuits” challenge | 5 | 75 000 000 |
| Koutoulou's Temple |
Defeat the Koutoulou Larva in this boss's dungeon. | 10 | 200 000 000 |
Cautious
No ally must end their turn next to an enemy. No particular difficulty: never end your turn in contact with a monster, and always stay out of the Larva's line of sight so you are not teleported next to it.
Impertinence
Each ally must end their turn next to an enemy. You need a Pandawa with 81 dodge, to reliably escape the Skt-Zo's lock, 6 MP, Boozer, Brewing and the Helmet Hicc, which recasts Stabilisation every 2 turns. Kill the Flauticultist and Spookkoth quickly, then keep only the Pandawa and your best hitter alive, letting the others die in contact with the monsters. The Pandawa gets in contact with the Skt-Zo while carrying the other character, and puts the Larva 5 cells behind the Skt-Zo, in line. Each turn: drop the ally, cast Stabilisation or Brewing on the Skt-Zo, go hit the Larva to swap places, throw it onto its cell, use Boozer or Dépicole for one MP, return to the Skt-Zo and pick the ally up again. While Carried, the ally hits the Larva without swapping places, with 50% less damage. Two hits in the turn still give Madness: a single hit per turn is enough. Finish the Skt-Zo without moving.
Special: Musical Chairs
After its first turn, each enemy must swap places with an ally at least once between each of its turns. Simpler with four: with five, a N'yalgy is added, and its summons seem to have to be swapped too. One swap per monster per turn is enough, thanks to the dungeon's mechanic; a Pandawa and your summons help do it without exposing yourself. Kill the Flauticultist quickly, move the Skt-Zo away from the other monsters on turn 2 to avoid a copy, remove the doubles, and keep the Larva for last: swap with it every turn by hitting it until it dies.
Duo
Two characters maximum, fewer than 40 turns. Many classes solo the Larva; the best known is still an Agility Sram with any class. Toxic Injection and Insidious Poison kill monsters without hitting them directly. The second character, single-element with a single-line weapon and the Ebony Dofus, dumps everything on the Flauticultist: it does not need to survive long. The Sram plays invisible out of the Larva's sight, then moves away, summons a double in front of themself to cut the line of sight and swaps places with the monsters to take cover. Against the Larva alone: 7 MP of distance, behind an obstacle, Fear every turn and poisons.
Sidekick: Mini Inuits
Four characters minimum, including an eligible sidekick, such as Inferno, Styx, Mandrin or Will Killson. The basic strategy does not change. Protect the sidekick from MP removal and from the Larva's line of sight, and keep four fighters until the victory.
Drops and loot of Koutoulou's Temple
Base in-game rates, before Prospecting bonuses.
On the Koutoulou Larva
 Koutoulou Larva WingWing12 %
 Nougat Rabmarac BarTreat6 %
 Bag of Jelly BlubberContainer3 %
- Angular StoneStone2 %
 Al Howin GobtubbyCeremonial pet1 %
 Paragon of PowerMain quests0,7 %
 Tasty CarrionMeat0,6 %
On the henchmen of the Koutoulou Larva
 P'Koutoulou GlaakiphSufokia · Flauticultist30 %
 P'Koutoulou Ch'tonSufokia · Flauticultist30 %
 P'Koutoulou ZothothSufokia · Flauticultist30 %
 Tasty MeatMeat · Diepwon12 %
- Diepwon TentacleMiscellaneous Resource · Diepwon12 %
 Flauticultist's FluteMiscellaneous Resource · Flauticultist12 %
 Skt-Zo LegLeg · Skt-Zo12 %
- N'yalgy TentacleMiscellaneous Resource · N'yalgy12 %
- Spookkoth's EyeEye · Spookkoth12 %
 Wet Centoror SkullMain quests · Diepwon5 %
- Angular StoneStone · Diepwon2 %
- Bag of Jelly BlubberContainer · Diepwon1 %
Koutoulou's Temple as a guild Expedition
The Temple exists in two guild Expeditions, Audacious and Valour. The course remains that of a normal fight: Spookkoth kept away, Flauticultist killed before turn 2 of the Skt-Zo, a summon in front of the Larva at the end of each turn.
- Audacious: each swap caused by Cosmic Horror gives 1 AP and 1 MP for one turn, but removes 5% of maximum HP for 2 turns, from you as well as the swapped ally, and everything stacks;
- enough to pull off huge turns and hide easily, but the HP penalty builds up fast: one or two direct attacks per turn remain manageable, and poisons and summons avoid the problem;
- Valour: at the start of its turn, an enemy under Hallucination, therefore swapped with you, gains 20% of its HP as a shield; otherwise, it gains 50% final damage;
- so swap mainly with the most dangerous ones, the Flauticultist and the Larva, but not with the Skt-Zo, which deals no direct damage and stays your target: no shield for it;
- the Larva is handled from a distance, in a corner and away from its allies. When alone, do not put it under Hallucination: it would gain 4,000 shield. Hit every other turn, or poison it, which gives neither a swap nor a shield.
Where is Koutoulou's Temple?
In the Abysses of Sufokia, in . You go down there from the Palace of Sufokia ; the nearest zaap is the one at Sufokia .
At what level should you do Koutoulou's Temple?
Level 190 minimum, 200 recommended. The Koutoulou Larva is level 220 and has 18,000 HP.
Which quest should you do at Koutoulou's Temple?
From Bad to Ungodly, at Queen Viktoria's . Accept it before entering: after the Larva, it has you fight the Yellow Priest.
How do the Madness states work?
They go from 1 to 10, and Madness 10 kills outright. Monster hits, your doubles, ending turns in the Larva's sight and repeated swaps make them climb; you lose one at the start of each turn.
How do you avoid the Larva's teleportation?
End your turn out of her line of sight. An obstacle or a summon in front of her is enough; Gravity, Unmovable and Rooted also protect you.
Which monster should you target first in Koutoulou's Temple?
The Flauticultist, ideally before turn 2. The Skt-Zo will no longer be able to duplicate it. Next come the Skt-Zo, then the Spookkoth.
Why does a monster become invulnerable?
You swapped places with it twice in the same turn. It stays invulnerable until your next turn: prefer poisons and spells with a single line of damage.
Can the Koutoulou Larva be captured?
No, the Koutoulou Larva cannot be captured. No soul stone is needed.
Can Koutoulou's Temple be done with two characters?
Yes, it is even an achievement: two characters, fewer than 40 turns. An Agility Sram who kills the monsters with poison, with any other class, is the best-known method.



Comments
No comments yet. A tip, or a detail about this page? Be the first.