 2 × Skt-Zo Leg
Dungeon Pandala Island
Tanukouï San's Workshop
A level 130 dungeon in Terrdala, on Pandala Island, at [26,-24]: five rooms of Tanukis that are invulnerable on their geoglyphs and a three-phase boss who heals between its thresholds, Tanukouï San. Quests to start, map of each room, strategy, monsters, achievements and loot.
Quests linked to Tanukouï San's Workshop
In the Name of Art and The Warrior's Path are completed on Tanukouï San, The Gendarmes' Tactics only requires reaching the Workshop Storeroom. Accept them before entering: a fight won without the quest in progress does not count.
The Terrdala investigation goes through the workshop. After the craftsmen and the Tanukis, enter the Workshop, defeat Tanukouï San in a single fight and talk to it, then continue the investigation into the geoglyphic code.
- Start
- Daimya Hikomi, Pandala Island
- Prerequisites
- Level 110 and Caught in a Thicket of Wrath
 Shinobuubusu Mask3 masks and 3 Magic Tanuki Hairs
Tanukouï San is the second of the six guardians. After Skeunk, defeat it in a single fight, discover the workshop exit and go back to see The Key Master, before Founoroshi, Soft Oak, Minotot and Bworker.
- Start
- The Key Master, Cania Lake
- Prerequisites
- Dungeons and Yet More Dungeons
 Magic Tanuki Hairsand one resource from each of the six bosses
No need to defeat Tanukouï San. Discover the Workshop Storeroom and free Gomery Mont, in a fight with three characters at most, then escort her to Bonta.
- Start
- Amayiro, Bonta
- Prerequisites
- Level 130 and House Hunting
For later
Tanukouï San's soul is requested. The Ochre Dofus quest asks for the souls of many dungeon guardians: capture this one with a Soul Stone for Big Souls.
- Start
- Otomai, Otomai Island
- Prerequisites
- Level 40
 Ochre Dofusat the end of the 19 steps
During events
- Merry Kwismas
Defeating Tanukouï San in a single fight is part of the quest. Harry Kwismas, . - Tiwagrum Simulation
Tiwagrum can designate Tanukouï San as the guardian to defeat. Amakna Village, .
Gender Equality requires a Male Tanuki Defeat and a Female Tanuki Defeat: they drop at 6% from the dungeon's Tanukis, male (Ishibig Pak, Parashutackle, Tanukouï San) or female (Tatatojiki, Shinobuubusu, Titinuki).
The 5 rooms of Tanukouï San's Workshop
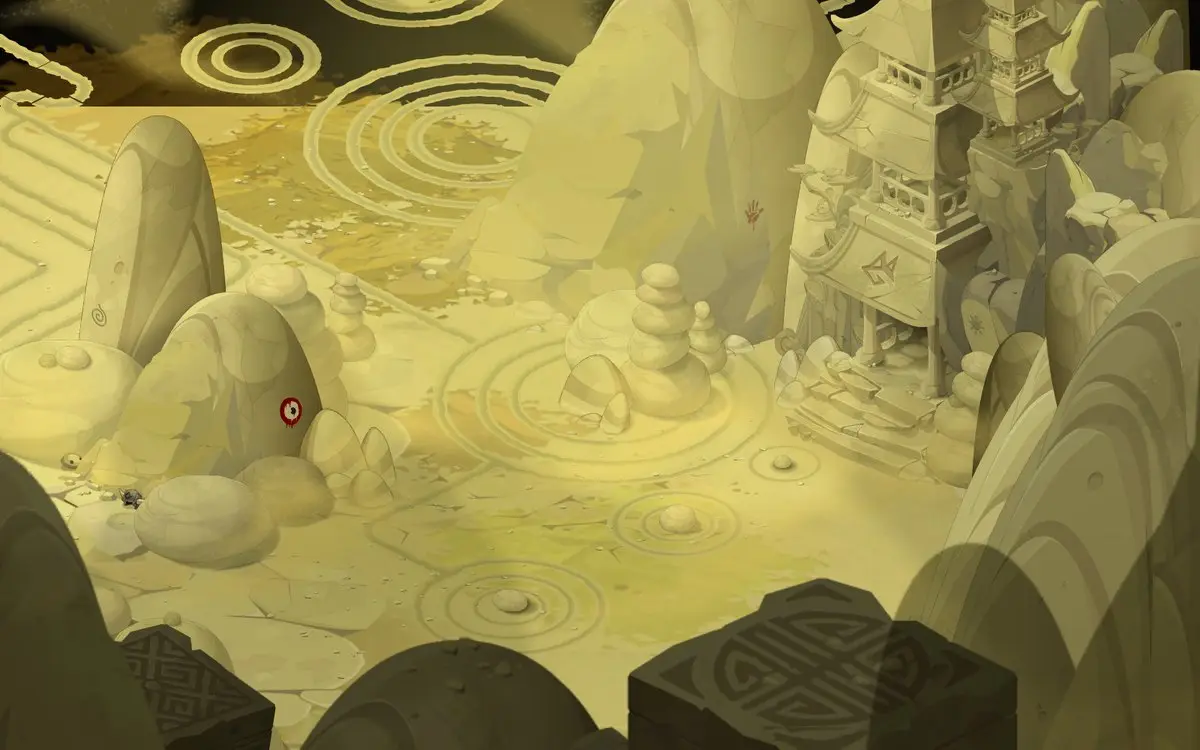
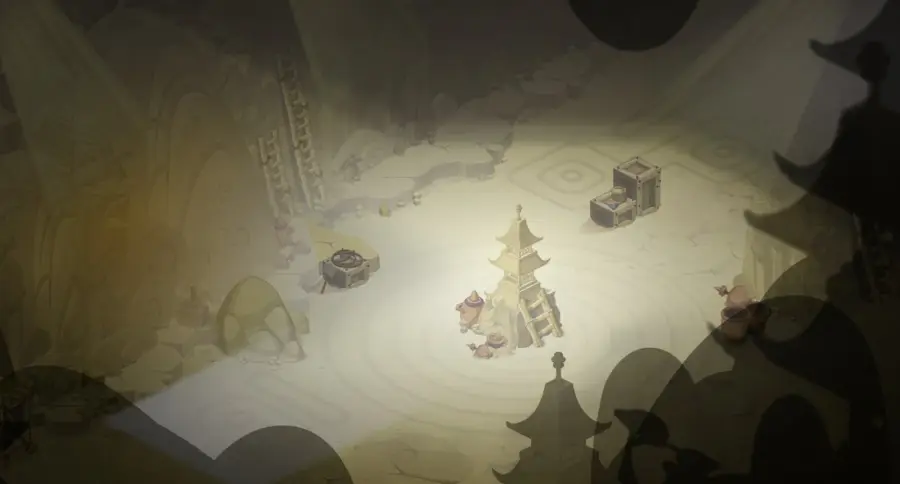
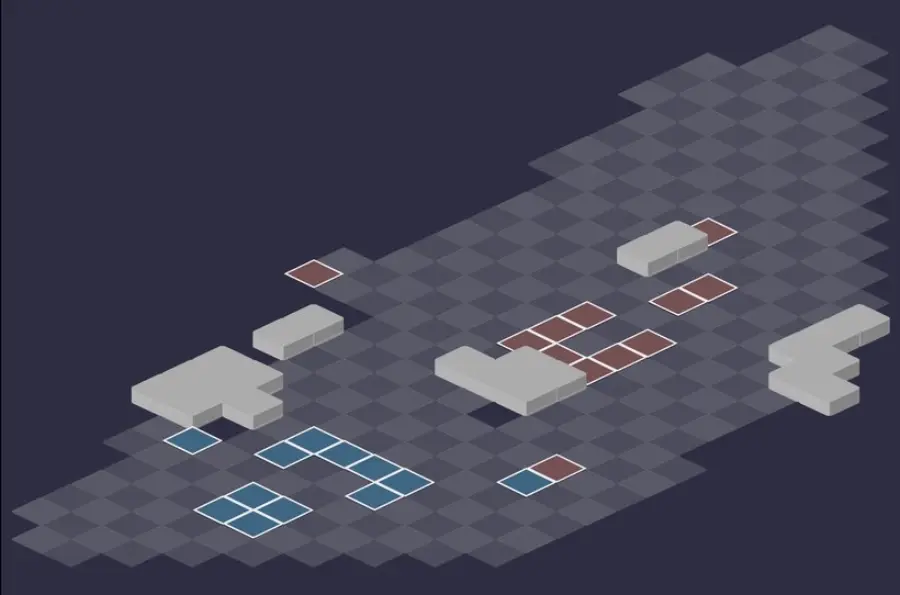
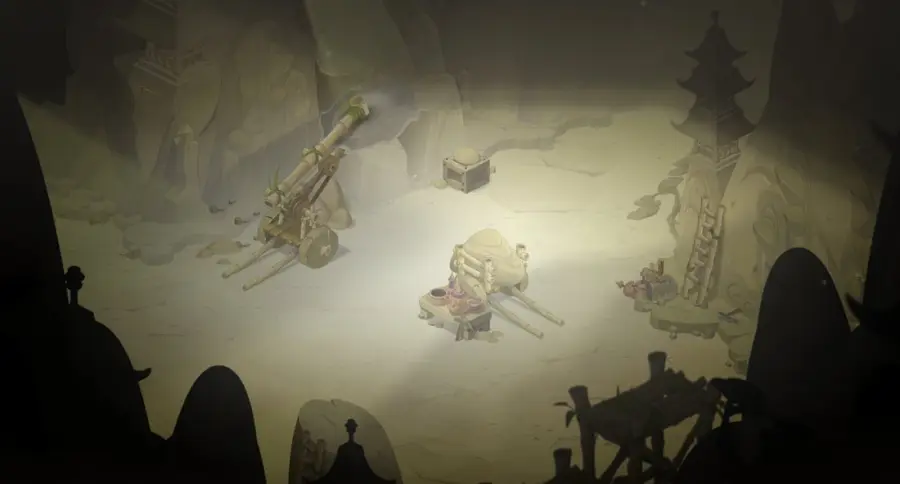
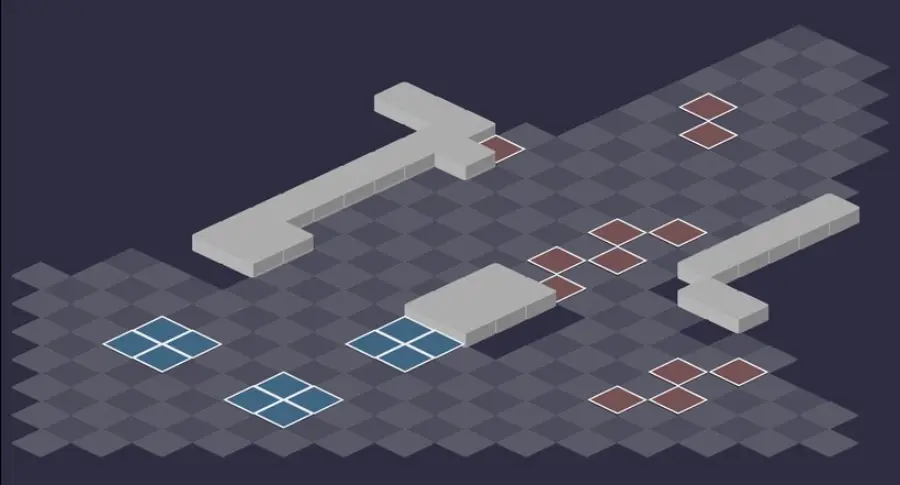
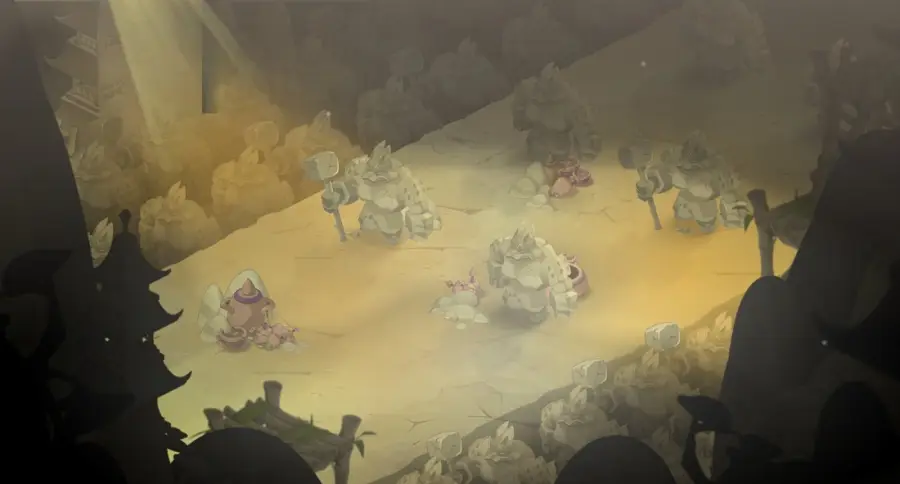
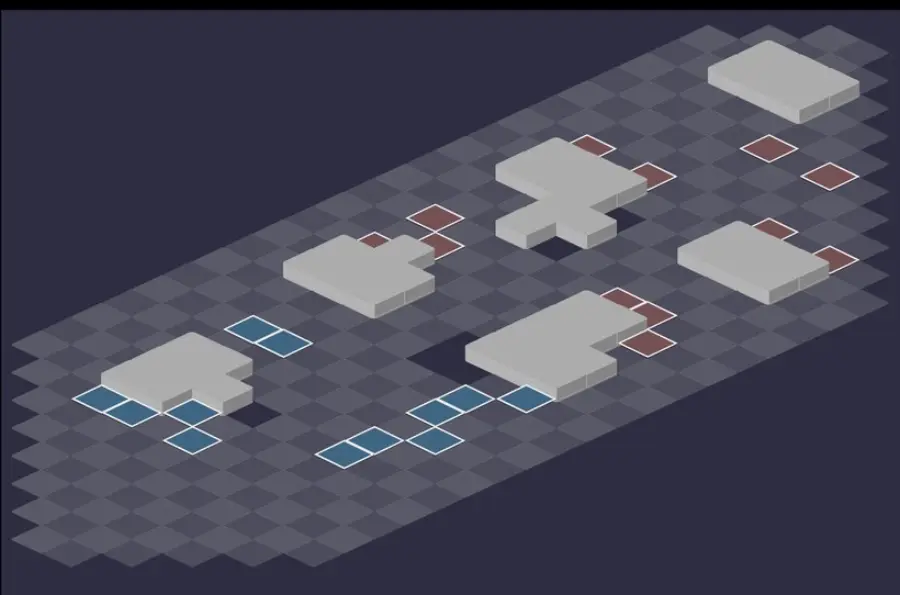
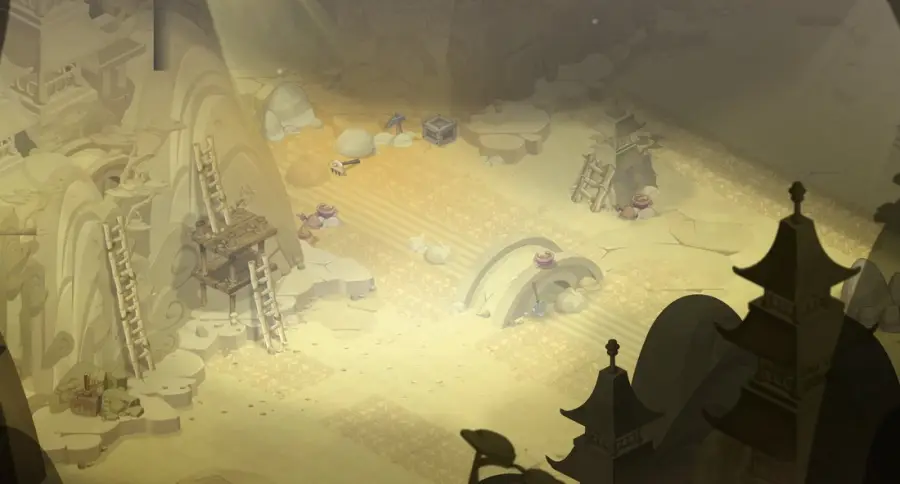
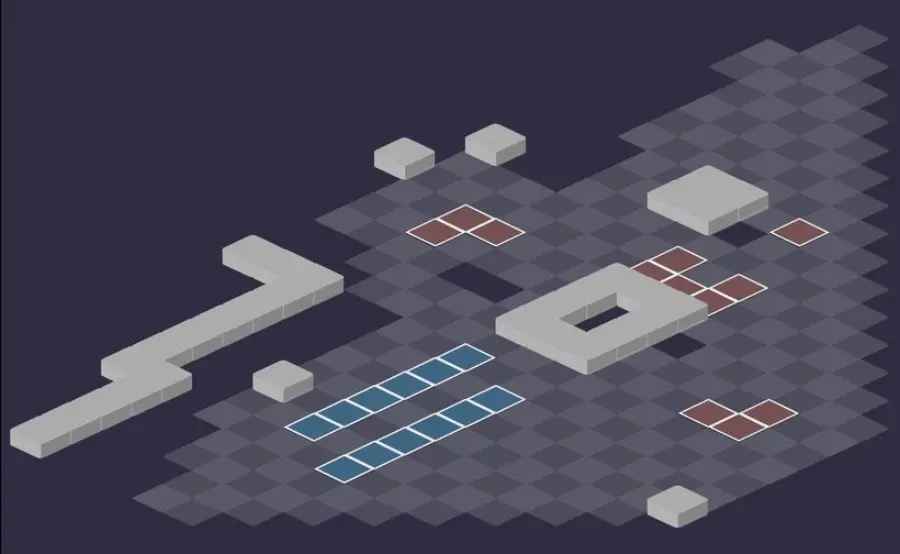
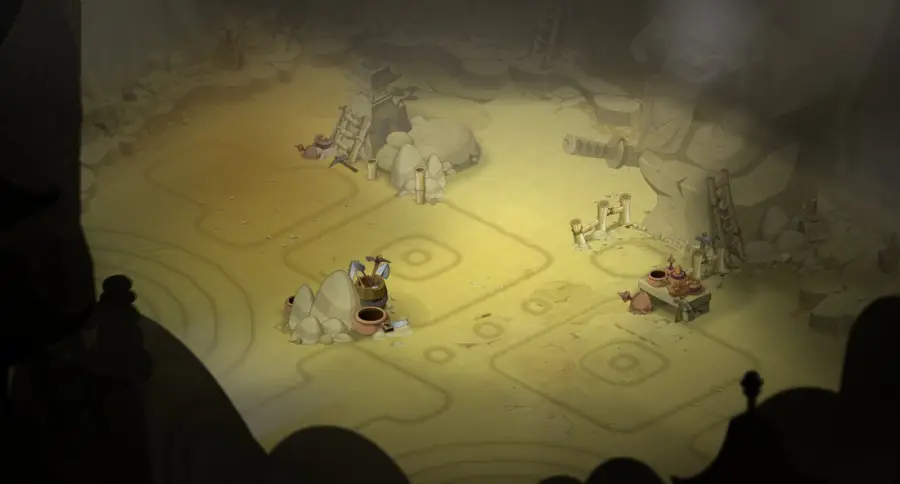
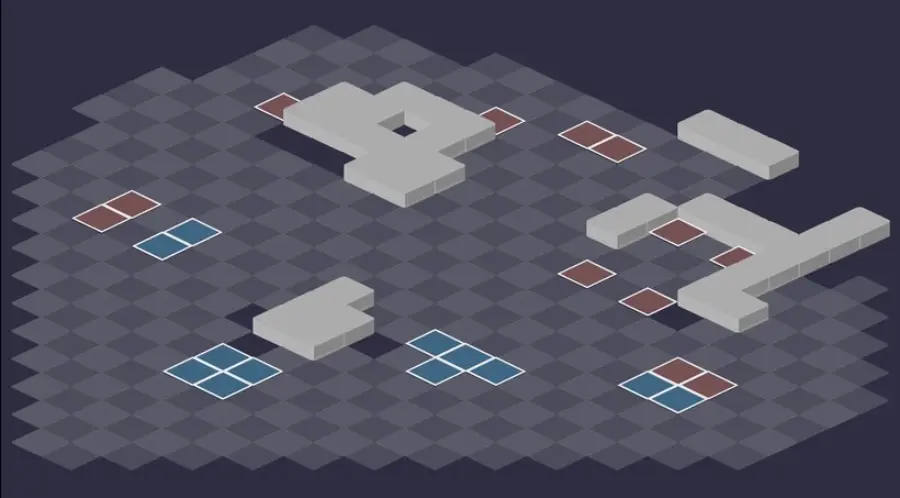
Five fights. Everywhere, a Tanuki standing on a geoglyph is invulnerable: you have to get it off before hitting, as detailed in the boss section. For each room: the setting, then the tactical view with the starting cells (blue: you, red: the monsters). Tap an image to enlarge it.
Room 1
Room 2
Room 3
Room 4
Room 5 — Tanukouï San
Defeat Tanukouï San
Another's glyph protects too
A Tanuki in any geoglyph, its own or a neighbor's, stays invulnerable. Check the landing cell before every hit: pushed or pulled 2 cells, it can land in another one's area, especially the boss's.
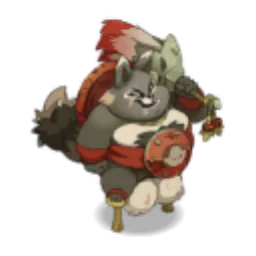
Level 130
 6,100 HP
 16 AP
 5 MP
- Resistances (%)
 Earth 15%
 Fire -25%
 Water -2%
 Air 15%
 Neutral 30%
Invulnerable on its geoglyph, which grows with each phase until it covers all its lines and diagonals in phase III. It heals if it stays on an intermediate threshold until its turn. Weak Point: Fire; Neutral is what it takes best.
 Privithwack3 AP · 2 Range ·16 to 20 Earth damage · Push Away 2 cells
Up to 2 Range: pushes 2 cells.
 Uchimizu3 AP · 10 RNG ·21 to 25 Water damage
In a line up to 10 Range: hits the target and the 3 cells behind it. Do not line up one behind another.
 Ballot Balls
Gives the boss 50 Power for each ally still alive: a reason to kill the monsters first.
 Nutcracker4 AP · 4 Range ·31 to 40 Earth damage · -200 Power
Up to 4 Range: hits and removes 200 Power for one turn.
 Tibagin4 AP · 8 Range · Teleports to the targeted cell · Effect duration: -1 ·26 to 35 Fire damage
Phase III only: it teleports up to 8 Range, hits in a circle around itself and removes one turn of a spell effect.
 Bowling Pitch4 AP · 6 Range · 150 Pushback Damage ·21 to 30 Neutral damage · Push Away 4 cells
Phase II only, in a line up to 6 Range: pushes 4 cells, and the boss gains pushback damage.
The four-step strategy against Tanukouï San
Separate the Tanukis. Move the monsters away from each other so that their geoglyphs do not overlap, and above all keep Tanukouï San away, whose glyph is the biggest.
Get a target out of its glyph. On its glyph, a Tanuki is invulnerable, but your hits move it: pushed 2 cells in melee, pulled 2 cells at range. Get it out that way, without throwing it into another glyph, then hit. A positioning class helps, without being mandatory.
Monsters first. Kill the monsters one by one, then focus on Tanukouï San alone. Ballot Balls gives it power for each living ally: each monster killed weakens it.
Clear its thresholds in one go. On each intermediate threshold, it heals about 1,300 HP at the start of its turn if it has not reached the next phase. Keep 400 to 500 damage to spare to chain through in one go, up to the last threshold, around 800 HP with four characters.
The geoglyphs
At the start of the fight and at each end of turn, each Tanuki places a brown geoglyph on its cell and around it, and always ends its turn on it: it is therefore invulnerable at the end of every turn. On its glyph, a melee hit pushes it back 2 cells, a ranged hit pulls it 2 cells.
Each monster has its own shape: inverted triangle of height 2 for the Ishibig Pak, diagonal of size 2 for the Tatatojiki, 3 × 3 square for the Parashutackle, cross of size 2 for the Shinobuubusu, checkerboard of radius 2 for the Titinuki.
Tanukouï San's three phases
A Roman numeral above its head shows its phase. Its glyph is a 7 × 7 square in phase I, a checkerboard of radius 6 in phase II, then an infinite star, lines and diagonals, in phase III. Bowling Pitch only appears in phase II, Tibagin only in phase III.
With four characters, the intermediate thresholds fall around 4,575 HP (before phase II, around 4,200), 2,575 HP (before phase III, around 2,200) and 800 HP. On each one, it heals about 20% of its HP at the start of its turn if it has not cleared the next threshold.
The monsters of Tanukouï San's Workshop
Five level 122 Tanukis, each protected by its geoglyph at the end of every turn, and very weak to one or two elements. The resistances in red are their weaknesses.

Level 122
- 2,500 HP
- 10 AP
- 6 MP
- Resistances (%)
- Earth 40%
- Fire 10%
- Water -15%
- Air -30%
- Neutral 5%
Tsunamishi charges at you in a line up to 5 Range and pushes 2 cells; Ishi Nuken removes 1 AP three times in melee. Rock Garden Elevation erodes around it and surrounds it with stones, which it destroys on the next turn in exchange for a shield. Very weak to Air.
-
Tsunamishi4 AP · 5 Range · Advance 4 cells ·27 to 30 Earth damage · Push Away 2 cells
In a line up to 5 Range: the Ishibig Pak advances up to you, hits and pushes 2 cells.
 Rock Garden Elevation4 AP · on itself · 20% Erosion ·30 to 34 Neutral damage
Erosion around itself and stones in contact with it; at the start of its next turn, each destroyed stone gives it a shield.
 Ishi Nuken3 AP · melee ·6 to 8 Earth damage · -1 AP
In melee: three hits that each remove 1 dodgeable AP.

Level 122
- 2,500 HP
- 10 AP
- 3 MP
- Resistances (%)
- Earth 15%
- Fire -30%
- Water 30%
- Air -15%
- Neutral 15%
Tanuki Pottery surrounds its target with jars, which gain 6 MP at the start of its next turn. Kaolin removes 3 Range up to 10 Range, Clay removes MP Parry in a diagonal. Very weak to Fire.
-
Tanuki Pottery4 AP · 12 Range ·22 to 25 Water damage · Summons: Tanukiware Jar
Surrounds the target with jars, which gain 6 MP at the start of this Tanuki's next turn.
 Kaolin3 AP · 10 Range ·16 to 19 Earth damage · -3 Range
Up to 10 RNG: removes 3 RNG for one turn.
 Clay4 AP · 8 Range ·12 to 14 Earth damage · 12 to 14 Water damage · -10 MP Parry
In a diagonal of size 2, up to 8 Range: removes MP Parry.

Level 122
- 2,500 HP
- 10 AP
- 4 MP
- Resistances (%)
- Earth -20%
- Fire 5%
- Water 10%
- Air 30%
- Neutral -15%
Transpompoko swaps places with you, removes your AP and turns you into a teapot, until you take damage. Cobblers and Testirossa teleport it. Weak to Earth and Neutral.
 Cobblers4 AP · 4 Range · Teleports to the targeted cell ·27 to 30 Earth damage · -20 Flight · 20 Flight
Teleportation up to 4 Range, hits around its landing cell and removes Flight.
 Transpompoko4 AP · 8 Range ·29 to 32 Air damage · Switches positions · Changes appearance · -100 AP · Transformed into a Teapot State
Position swap, removal of all AP and transformation into a teapot; the effect disappears as soon as the target takes damage.
-
Testirossa3 AP · 2 Range ·20 to 23 Air damage · Teleports the caster to the other side of the target
Hits an area and teleports it to the opposite side of its target.
Level 122
- 2,500 HP
- 10 AP
- 5 MP
- Resistances (%)
- Earth 30%
- Fire -20%
- Water -10%
- Air -10%
- Neutral 20%
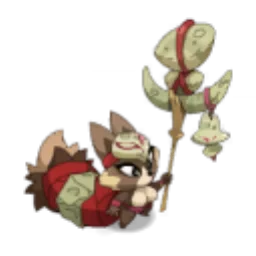
Henshinobi creates doubles 4 Range away in a line: guess the real one, which does not place a glyph that turn. As a stone golem (Chimi Nuki): immovable, but without a glyph. As a mud golem (Mōryō Nuki): untackleable. Weak to Fire.
 Henshin No Numa4 AP · 8 Range ·-3 MP · 25 to 28 Earth damage
As a mud golem only: removes 3 dodgeable MP in a cross, up to 8 Range.
 Henshinobi3 AP · 4 Range · Henshinobi State ·3 MP · Images of the Floating World State 1 · Creates illusions · Ends turn
Like Roguery: it teleports 4 Range away at the end of its turn and creates doubles on the cells 4 Range away in a line.
 Nukiyo-e3 AP · 8 Range ·11 to 13 Neutral damage · 2 Earth damage · 2 Fire damage · 2 Water damage · 2 Air damage
Start-of-turn poison in all four elements, up to 8 Range.
 Yama No Tuki3 AP · 6 RNG ·23 to 26 Neutral damage
As a stone golem only: hits in a circle of radius 2, up to 6 Range.
-
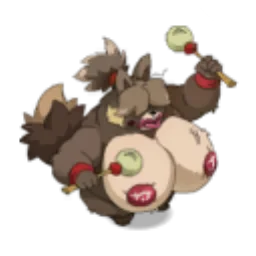
Yama-Uba
Level 122
- 2,500 HP
- 10 AP
- 6 MP
- Resistances (%)
- Earth 20%
- Fire 30%
- Water -30%
- Air -5%
- Neutral -5%
Clodrum pulls all characters within a radius of 4 by 4 cells; Thwackjubblies hits an area at 2 Range and applies Gravity. Karmateat hits and removes 2 MP from anyone who tries to push this Tanuki. Very weak to Water.
 Clodrum4 AP · on itself · 40 Damage ·28 to 31 Fire damage · Pulls 4 cells · Push Away 4 cells
Pulls all your characters within a radius of 4 by 4 cells and gives damage to the Titinuki for one turn.
 Thwackjubblies4 AP · 2 Range ·26 to 29 Earth damage · Gravity State · Sein-Supplice State
Up to 2 Range, in a circle of radius 2: damage and Gravity.
 Karmateat
Retaliation: dodgeable damage and removal of 2 MP when someone tries to push this Tanuki.
Preparing your run through Tanukouï San's Workshop
A level 120 to 130 dungeon where positioning matters more than damage: each Tanuki is invulnerable on its geoglyph. People come for the Pandala quests, The Warrior's Path, the achievements and Tanukouï San's soul for the Ochre Dofus, with a Soul Stone for Big Souls (captures up to level 150).
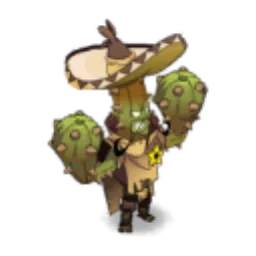
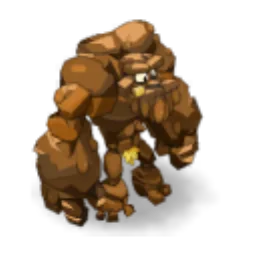
How to enter Tanukouï San's Workshop
The entrance is in Terrdala, on Pandala Island, at ; the nearest zaap is the Abandoned Labowatowies one . Three ways to open it: a Tanukouï San's Workshop Key (consumed), the key ring if it is registered there, or the automatic group search.
Crafting the Tanukouï San's Workshop Key
It is crafted at a handyman's workshop. Four ingredients drop from the dungeon's Tanukis, at 29%: Ishibig Pak Rocky Fist, Tatatojiki's Broken Pottery, Parashutackle Glasses and Titinuki Wand, like the Marbled Meat. Blue Ray (fishing), Pandkin Seed and Malt (harvesting) complete the recipe.
| Ingredient | Quantity | Level |
|---|---|---|
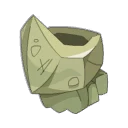 Ishibig Pak Rocky Fist |
2 | 130 |
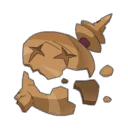 Tatatojiki's Broken Pottery |
2 | 130 |
 Parashutackle Glasses |
2 | 130 |
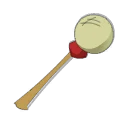 Titinuki Wand |
1 | 130 |
 Marbled Meat |
2 | 130 |
 Blue Ray |
2 | 130 |
 Pandkin Seed |
3 | 120 |
 Malt |
3 | 120 |
Which team to bring against Tanukouï San
Positioning. Pushbacks, pulls and swaps get the Tanukis out of their glyphs. A positioning class helps a lot, without being mandatory: your hits already move a target standing on its glyph.
Fire for the boss. Tanukouï San is weak to Fire and resistant to Neutral. Grouped Fire damage clears its thresholds before it heals.
The comfortable classes. The Pandawa easily pulls the Tanukis out of their glyphs, and it is the recommended class for the Special achievement.
The six achievements of Tanukouï San's Workshop
Each achievement gives 9,508,000 XP and 2 Tanukouï San Testicles, Duo (under 20 turns) doubles the XP; Sidekick, with Kloug, Klume, Fyred Ampe or Lektor in a team of four, gives 14,262,000 XP. Special forbids moving the same enemy twice between two of its turns.
| Achievements | Condition | Points | XP |
|---|---|---|---|
 Tanukouï San (Sidekick) |
Defeat Tanukouï San in its dungeon while completing the “Professional Sidekicks” challenge. | 5 | 14 262 000 |
| Tanukouï San (Special) |
Defeat Tanukouï San in its dungeon while completing the “Make a Killing” challenge. | 10 | 9 508 000 |
| Tanukouï San's Workshop |
Defeat Tanukouï San in this boss's dungeon. | 10 | 9 508 000 |
| Tanukouï San (Statue) |
Defeat Tanukouï San in its dungeon while completing the “Statue” challenge. | 10 | 9 508 000 |
| Tanukouï San (Versatile) |
Defeat Tanukouï San in its dungeon while completing the “Versatile” challenge. | 10 | 9 508 000 |
| Tanukouï San (Duo) |
Defeat Tanukouï San in its dungeon while completing the “Duo” challenge. | 20 | 19 016 000 |
Special: Make a Killing
An enemy must not be moved more than once between each of their turns. A Pandawa easily places monsters outside their glyph. Get a target out and hit it: ideally, kill it before it plays again; if it goes back into a glyph, move on to the next one. Starting with Tanukouï San can be justified: its glyph is the biggest and shelters the others.
Drops and loot of Tanukouï San's Workshop
Base in-game rates, before Prospecting bonuses.
On Tanukouï San
 Tanukouï San TesticlesMiscellaneous Resource29 %
 Male Tanuki DefeatPandala6 %
 Nougat Rabmarac BarTreat6 %
 Rock Pandawushu ArtefactPrecious stone4,84 %
- Magic Tanuki HairsHair4,84 %
 Fortunawa CookieTreat3,9 %
 Marbled CarrionMeat1,45 %
 Barrel of Drinking WaterContainer1 %
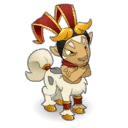 LilcentorCeremonial pet0,95 %
 Al Howin GobtubbyCeremonial pet0,5 %
7 rare items are added at 0.095% each: Wingepig, Serpor, Fuyutora, Ratalda, Kinryu, Tutuyutu, Moonotaur.
On the henchmen of Tanukouï San
- Marbled MeatMeat · Ishibig Pak29 %
- Ishibig Pak Rocky FistGarment · Ishibig Pak29 %
- Tatatojiki's Broken PotteryMiscellaneous Resource · Tatatojiki29 %
- Parashutackle GlassesGarment · Parashutackle29 %
- Shinobuubusu MaskGarment · Shinobuubusu29 %
- Titinuki WandGarment · Titinuki29 %
 Tanuki EntrailsMiscellaneous Resource · Ishibig Pak12 %
- Male Tanuki DefeatPandala · Ishibig Pak6 %
 Female Tanuki DefeatPandala · Tatatojiki6 %
- Rock Pandawushu ArtefactPrecious stone · Ishibig Pak4,84 %
- Magic Tanuki HairsHair · Ishibig Pak4,84 %
 Rock Wushu EssencePandala · Ishibig Pak3,6 %
- Fortunawa CookieTreat · Ishibig Pak1,3 %
- Barrel of Drinking WaterContainer · Ishibig Pak1 %
Capturing the soul of Tanukouï San and the Ochre Dofus
 A Soul Stone for Big Souls (captures up to level 150) is enough for Tanukouï San, level 130. The soul is used for the Ochre Dofus quest An Eternal Harvest.
| Stone ingredient | Quantity |
|---|---|
 Superior Soul Splinter |
10 |
 Mineral Potion |
1 |
Where is Tanukouï San's Workshop?
In Terrdala, on Pandala Island, at . The nearest zaap is the Abandoned Labowatowies one .
What level should you do Tanukouï San's Workshop at?
Level 120 minimum, 130 recommended. Tanukouï San is level 130 and its Tanukis level 122.
Which quest should you do in Tanukouï San's Workshop?
In the Name of Art, at Daimya Hikomi . The Warrior's Path, from The Key Master, also goes through Tanukouï San, and The Gendarmes' Tactics through the Workshop Storeroom.
Why do my hits do no damage?
The Tanuki is on a geoglyph, its own or a neighbor's. Get it out: a melee hit pushes it 2 cells, a ranged hit pulls it 2 cells.
Why does Tanukouï San heal itself?
It stayed on an intermediate threshold until its turn. Take it to the next phase in one go, with 400 to 500 damage to spare.
Should you kill Tanukouï San first?
No, except possibly for the Special achievement. Kill the monsters first, as they give it power as long as they live, and keep the boss away: its glyph is the biggest.
Which stone should you use to capture Tanukouï San?
One Soul Stone for Big Souls (captures up to level 150). The soul is used for the Ochre Dofus quest.
Do you need a key for every run of Tanukouï San's Workshop?
No, with the key ring or the automatic group search. The key is crafted at a handyman's workshop with resources from the dungeon's Tanukis.


Comments
No comments yet. A tip, or a detail about this page? Be the first.